Molding and casting
Gruop assignement:
review the safety data sheets for each of your molding and casting materials,then make and compare test casts with each of them
Individual assignement:
design a mold around the stock and tooling that you'll be using,mill it (rough cut + (at least)three-axis finish cut),and use it to cast parts
Individual Work
For my individual assignement I've decide to design a chess pawn in On Shape : i've designed my model(positive)on the wax block; it consists of two symmetrical parts in order to have two silicone part negative that i am going to link together and where ,by two small and cicular space (that I have designed in the model),I am going put the material; in that way when the material harden, the work is finished and I have my model (molded and casted):
On Shape tool used in my model and molding simulation
In this week I've improved my ability in the using of On Shape because the model of the molding is quite particular about the design:
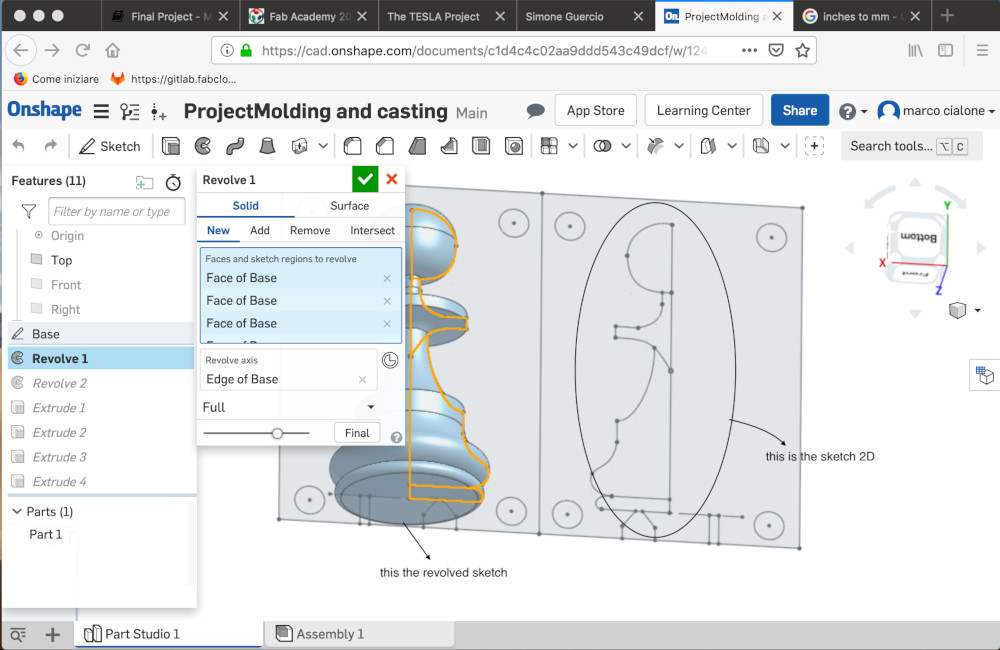
- revolve : I' ve used the revolve function to create the pawn; I' ve design a 2D face and then I've "rotate" it (with the revolve function) design this face on every angles and have a 3D desig of object.
- extrude: I' ve done an extrusion of the plan that divide my two pedestrian in two parts, because an half part of the pawn must "dive" in the block because I have to do two half negative parts as I've said before.
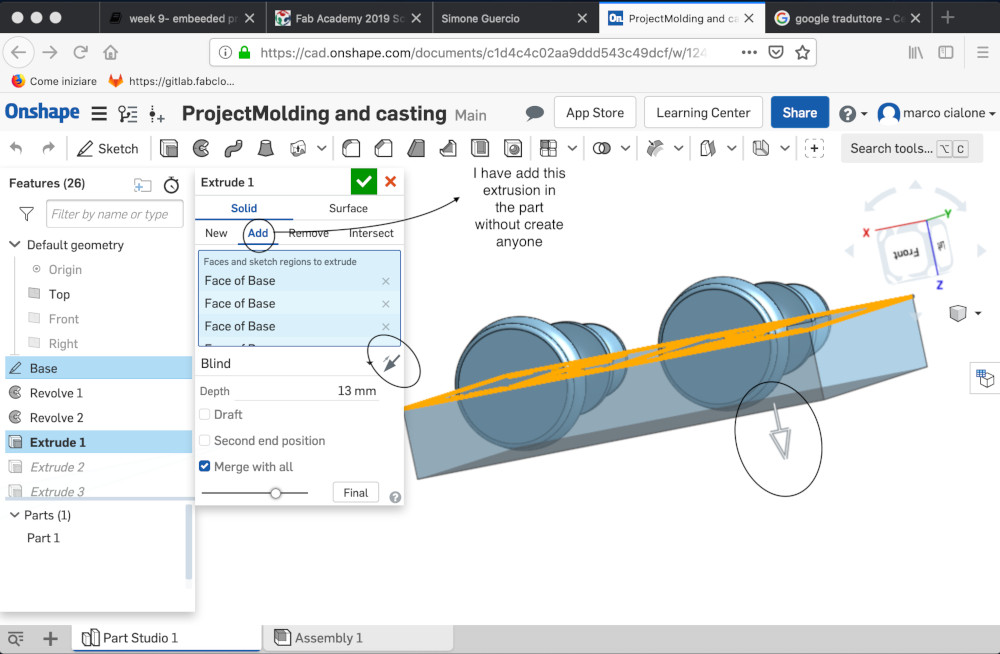
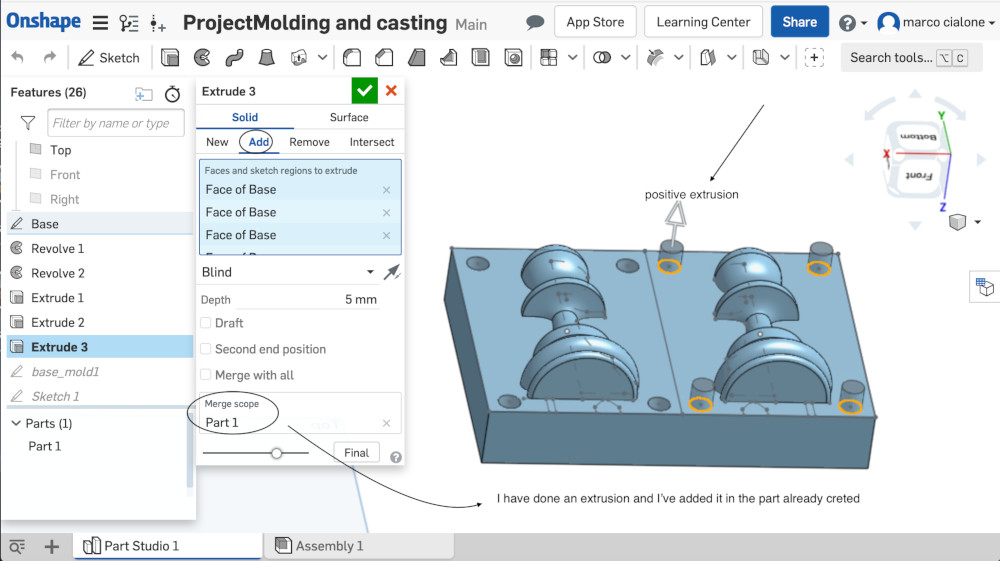
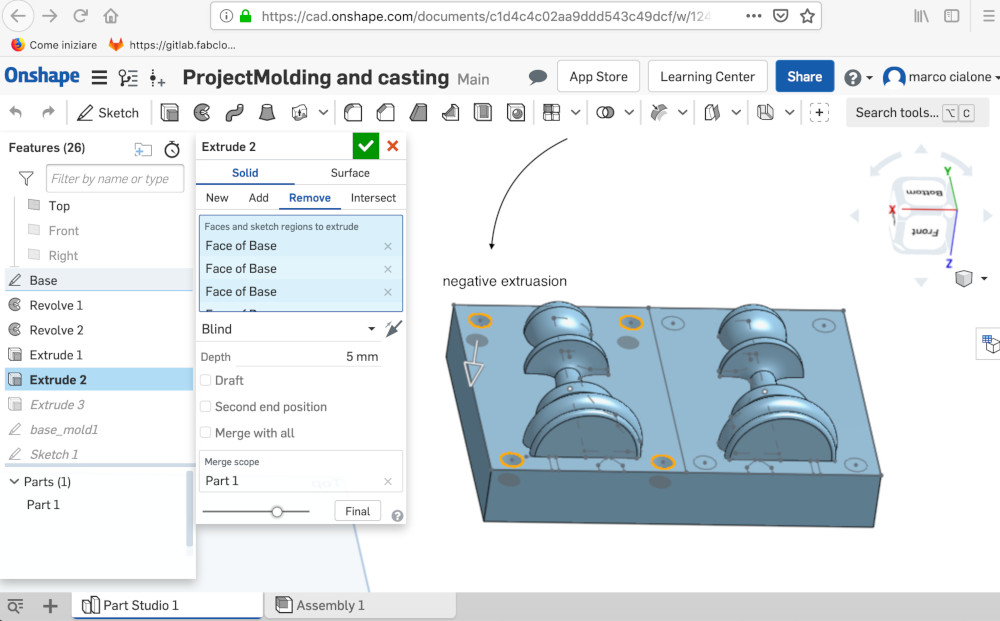
I also had an extrusion (remove) for the negative joint and an extrusion(add)to the positve one;
I want to simulate the process of the molding in order to see if I've done a mistake in the design:
- boolean : To do this I ve create on the block when I've rest my pawn an other block(by a simply extrusion)
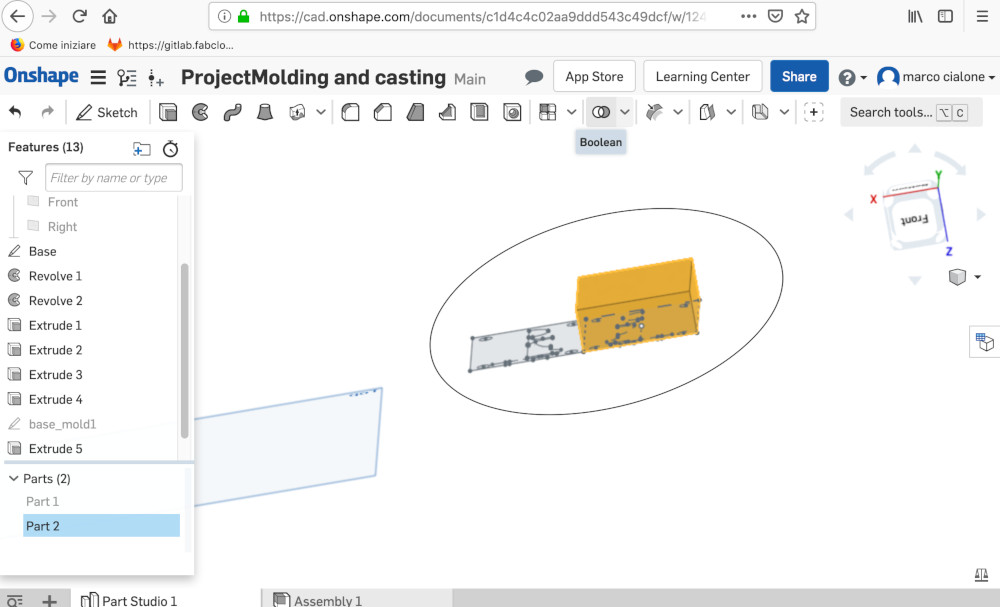
then I do a boolean subtract function between this new parts and the part of my pawn

and finally I have my mold part.
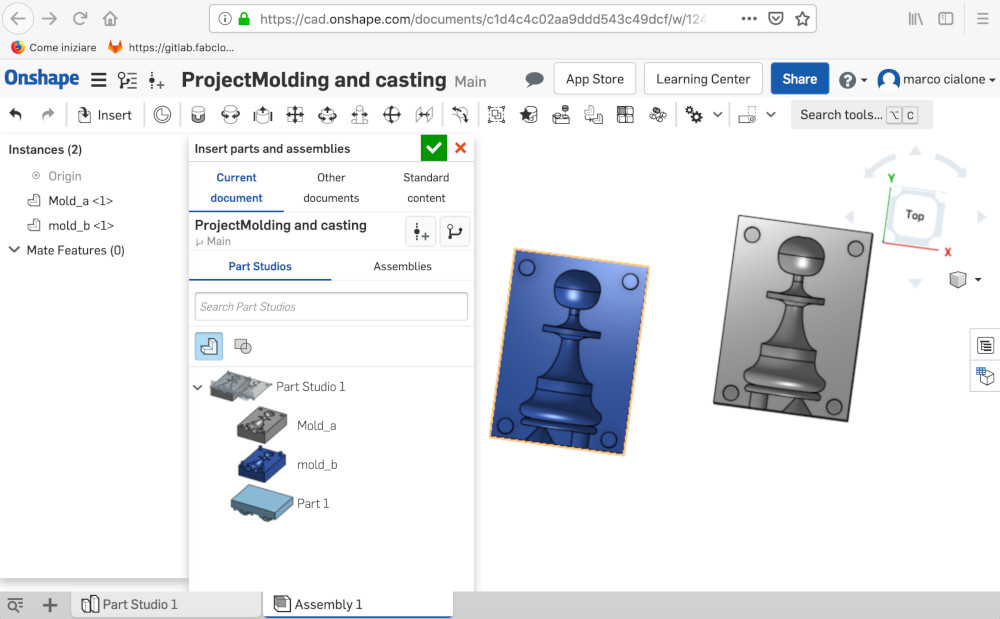
- union of molded parts: finally I have my model simulated in the section assembly
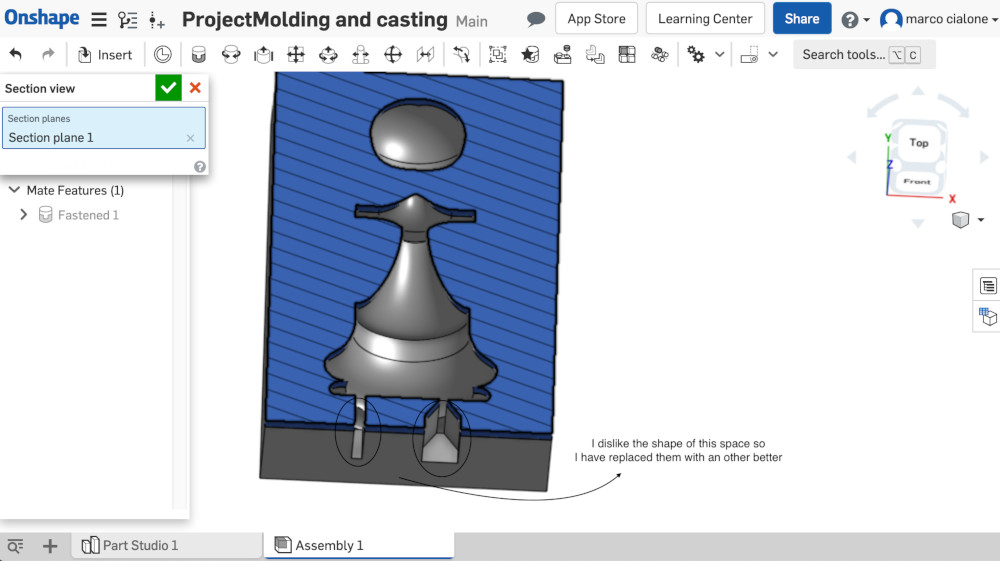
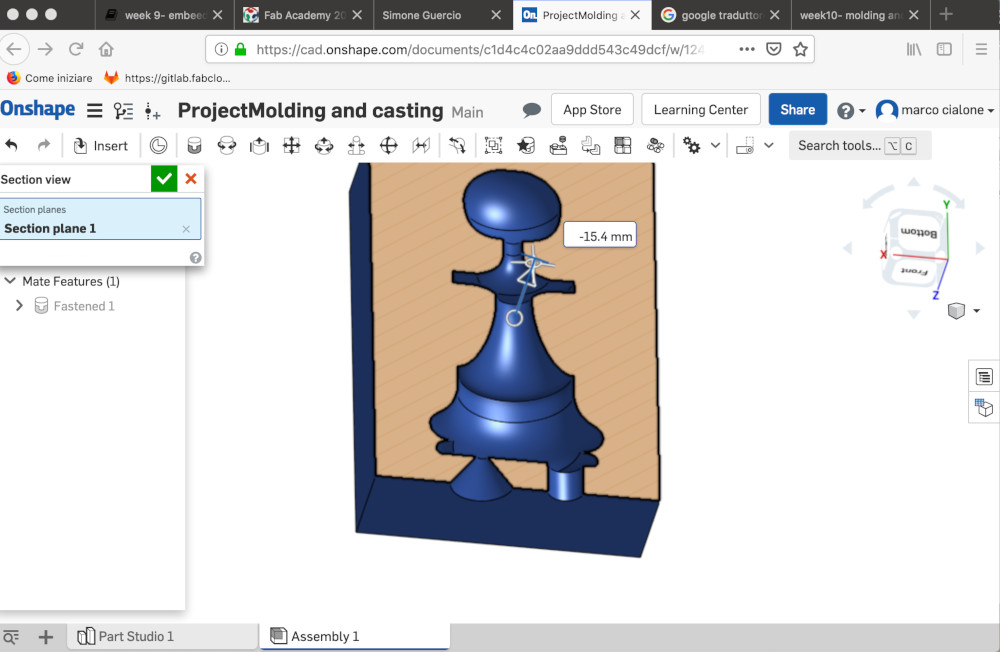
this is the internall section of the previous design: in this simulation I haven't liked the shape of the space that we have to put the material to cast my model.
the definitve simulate with the mold seen in the second last screenshot are this:
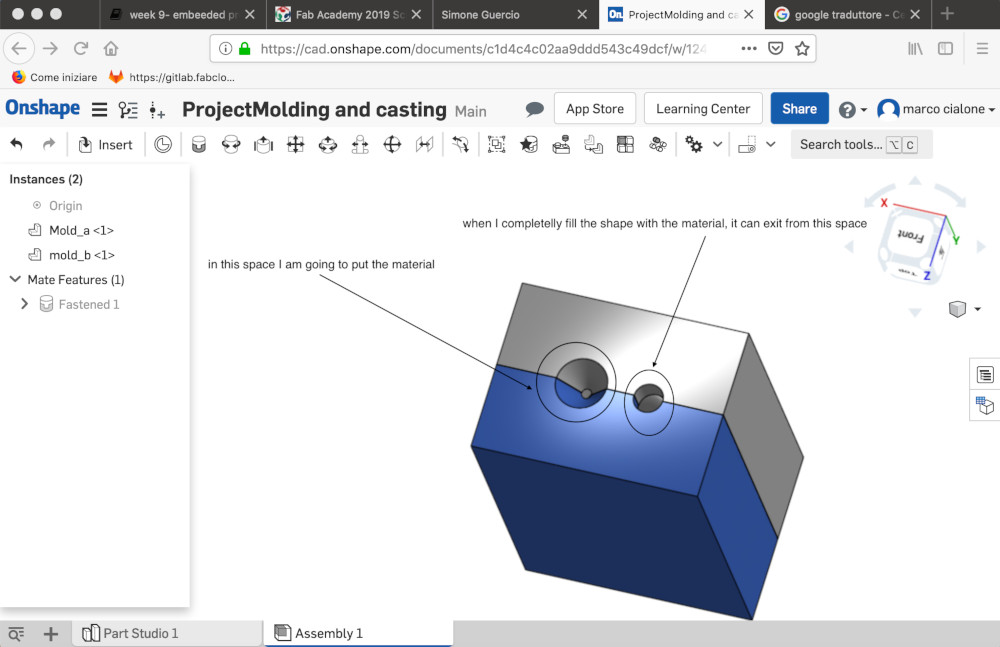
the internall section is this:
The toolpath of my milling on the block
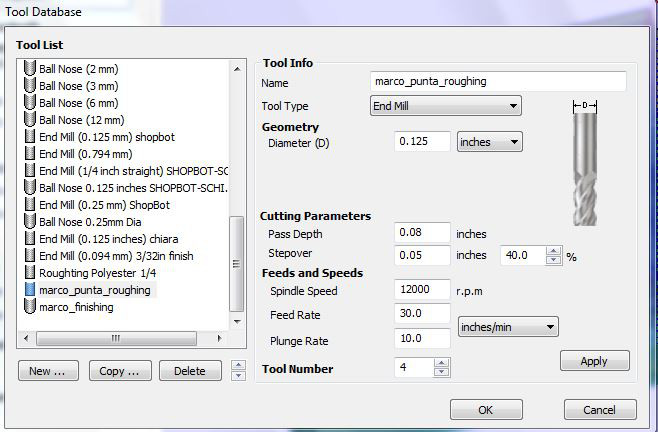
To do the toolpath of my milling I export my stl file and I launch it with the programm cut3D in the computer linked to the roland machine: in order to have an order of my setting I create my roughing and finishing tip:
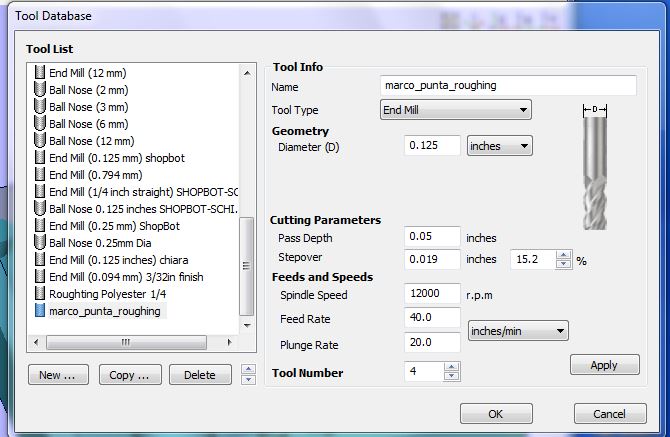
The roughing tip:
tip 1/16: 0.0625 inches
a the beginnign I set this parameter:
- the feedrate: 40 inches/min
- the stepover: 35%
- plunge rate: 20
- spindle speed: 8000 r.p.m.
- max pass depth: 0.05
- tool n°: 4
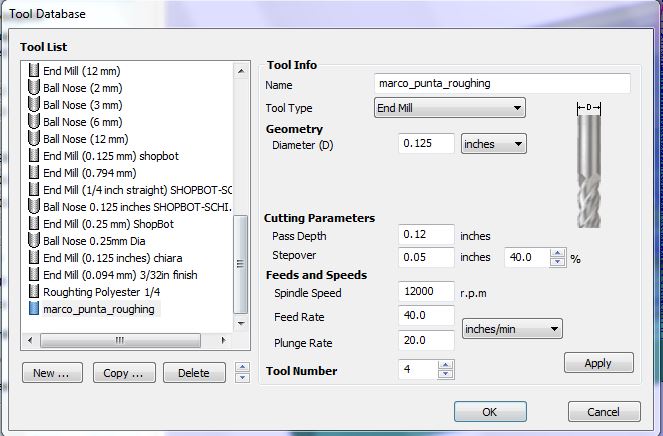
tip 1/8: 0.125 inches
- the feed rate: 40 inches/min
- the stepover: 40%
- plunge rate: 20
- spindle speed: 8000 r.p.m
- max pass depth: 0.120
- tool n°: 4
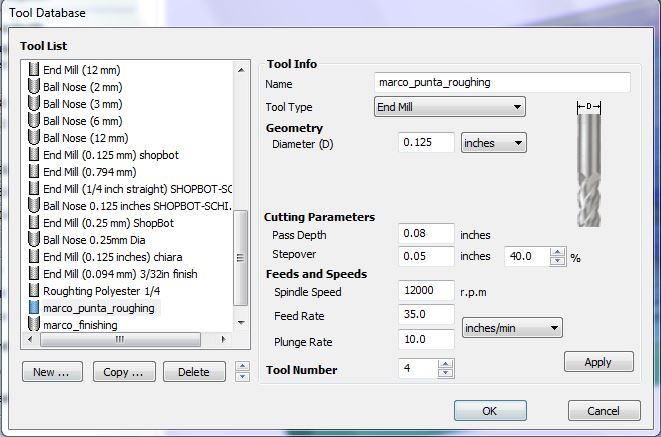
when I start the milling the machine stop to mill and make a warning tha said me I am using a speed to fast; in my opinion I also do a mistake in the choice of the max cut depth because I choose a setting very high(very close to the diameter lenght of my tip):
in order to solve this problem I change my settings of the tip of the roughing and I continue the milling with the origin fixed:
- the feed rate: 35 inches/min
- the stepover: 40%
- plunge rate: 10
- spindle speed: 8000 r.p.m
- max pass depth: 0.08
- tool n°: 4
The errors on the milling
I have done two error in the milling :
-
the first in the toolpath: I have not calculate the high of my model in the initial setting of my toolpath with cut3D
-
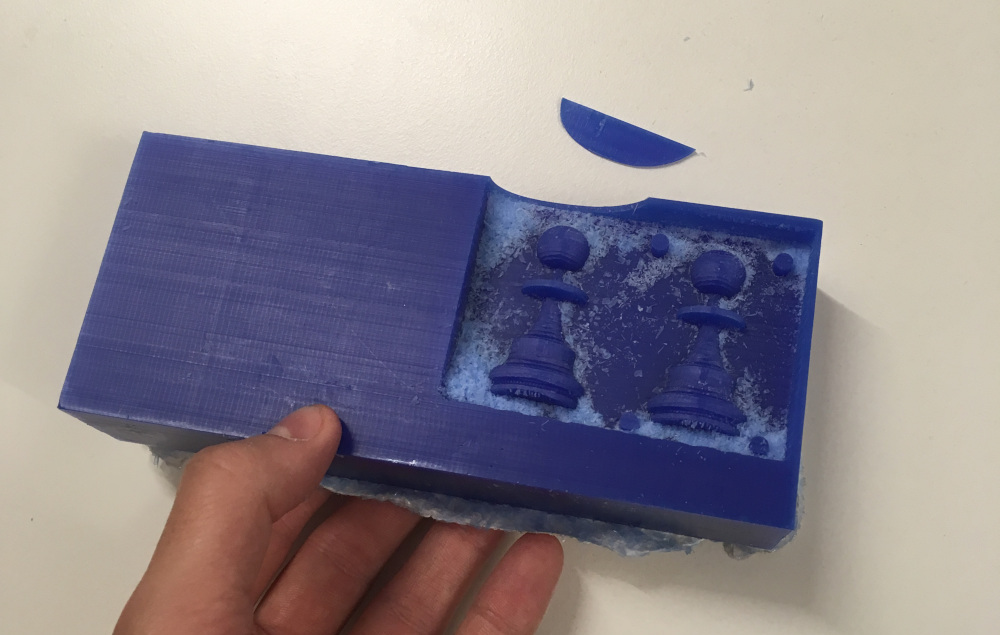
the second : I have broked the lateral side of my box when there is the positive mold done
After the error I've re-done the milling with setting of the roughing a bit changed:
- the feed rate: 30 inches/min
- the stepover: 40%
- plunge rate: 10
- spindle speed: 12000 r.p.m
- max pass depth: 0.08
- tool n°: 4
For this two reasons I have re-done my milling doing more attention in everithing step of the toolpath: I have set the depth of the model below the surface to 4mm (rather than 0mm like before):
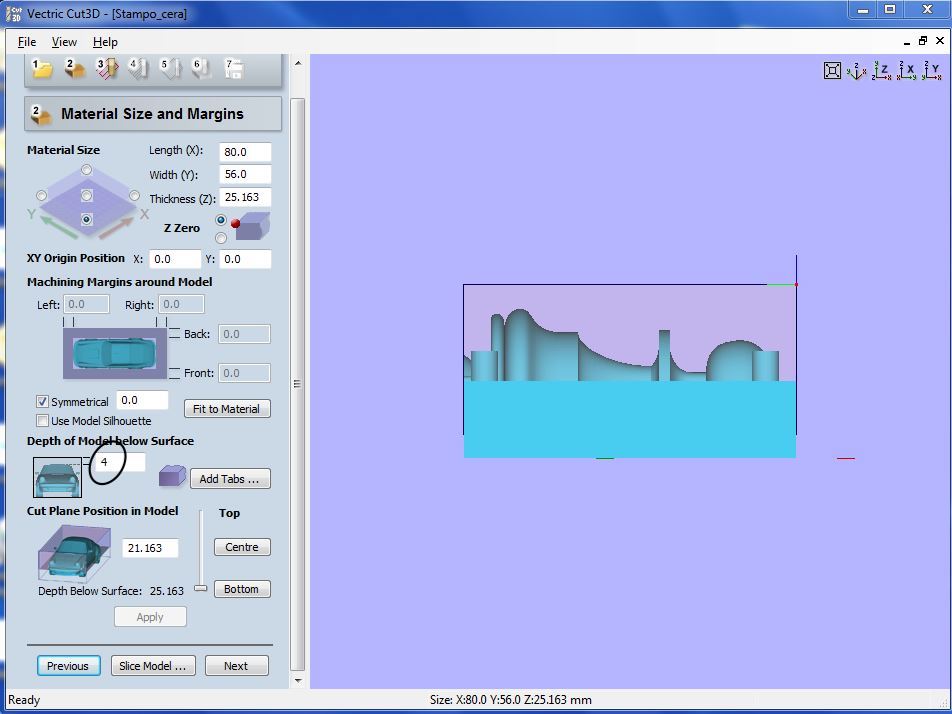
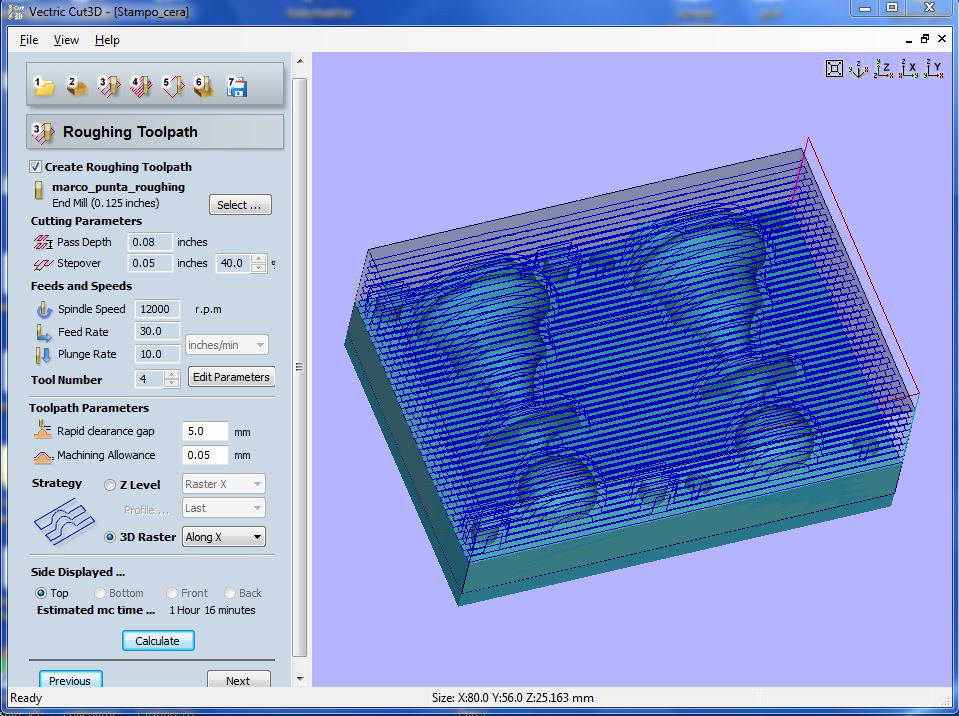
with this settings my toolpath are this:
roughing toolpath:
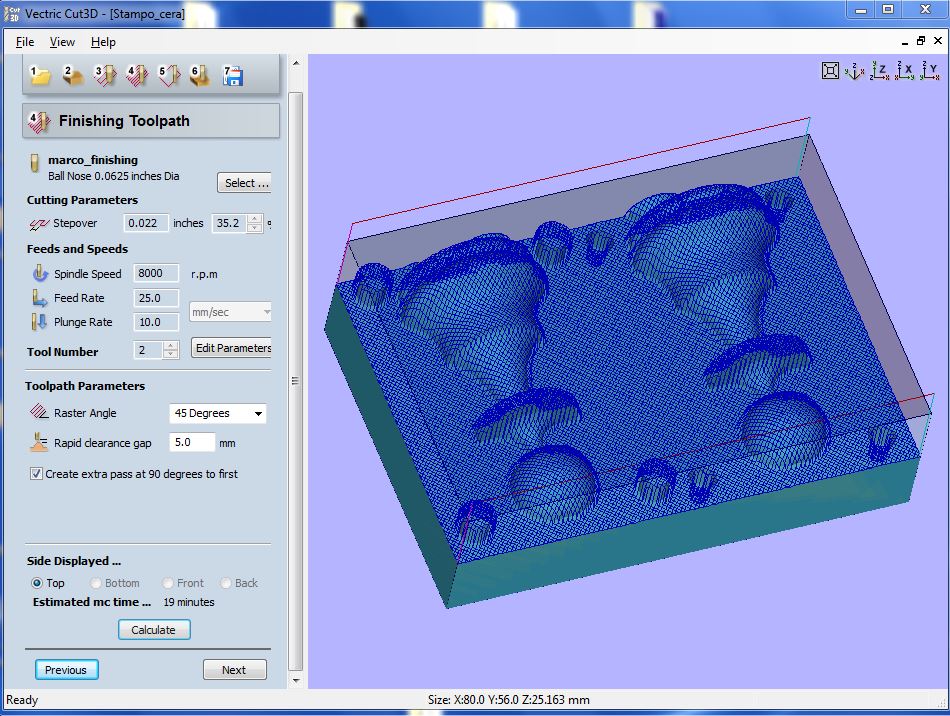
finishing toolpath:
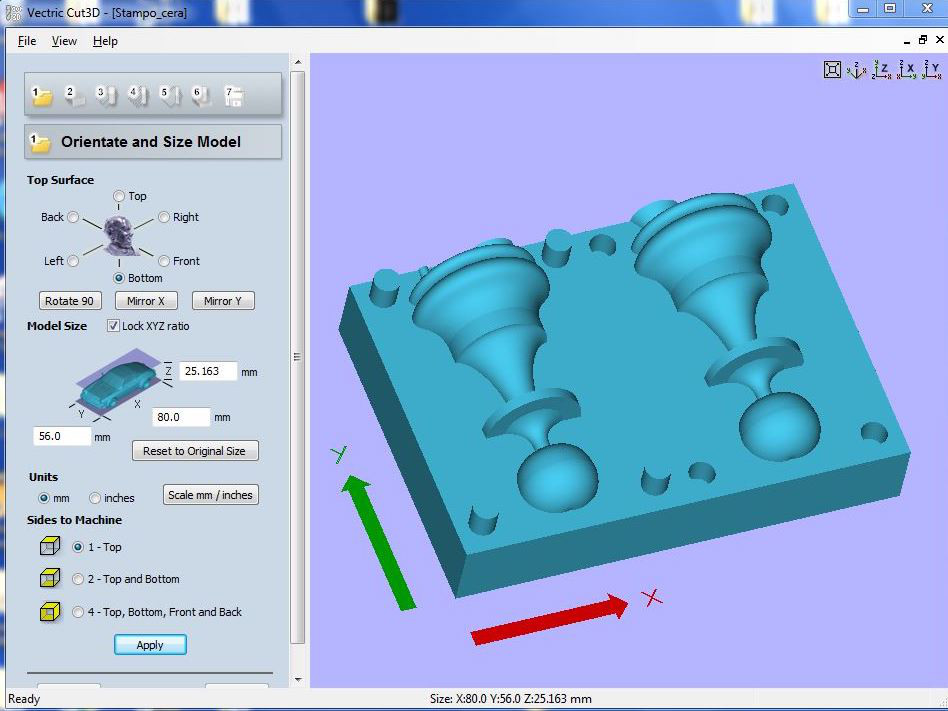
the representation of my mold block:
In the second milling I don't manage to mill the "neck" of my pawn :
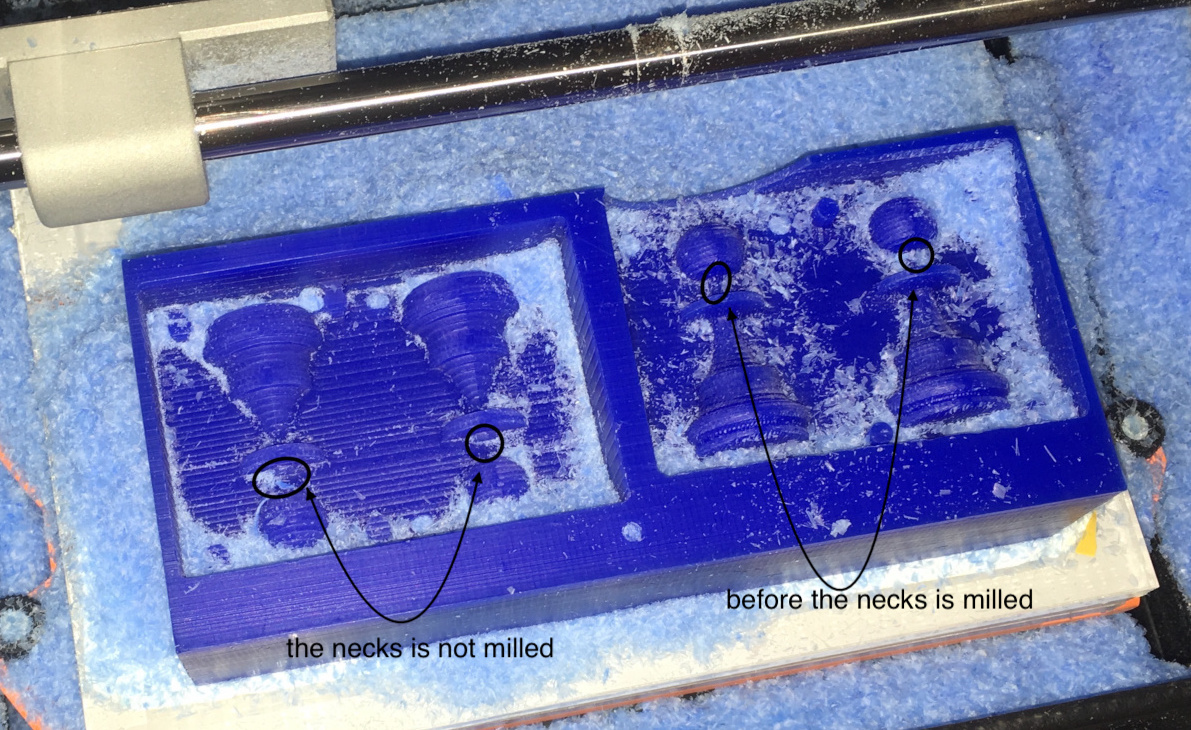
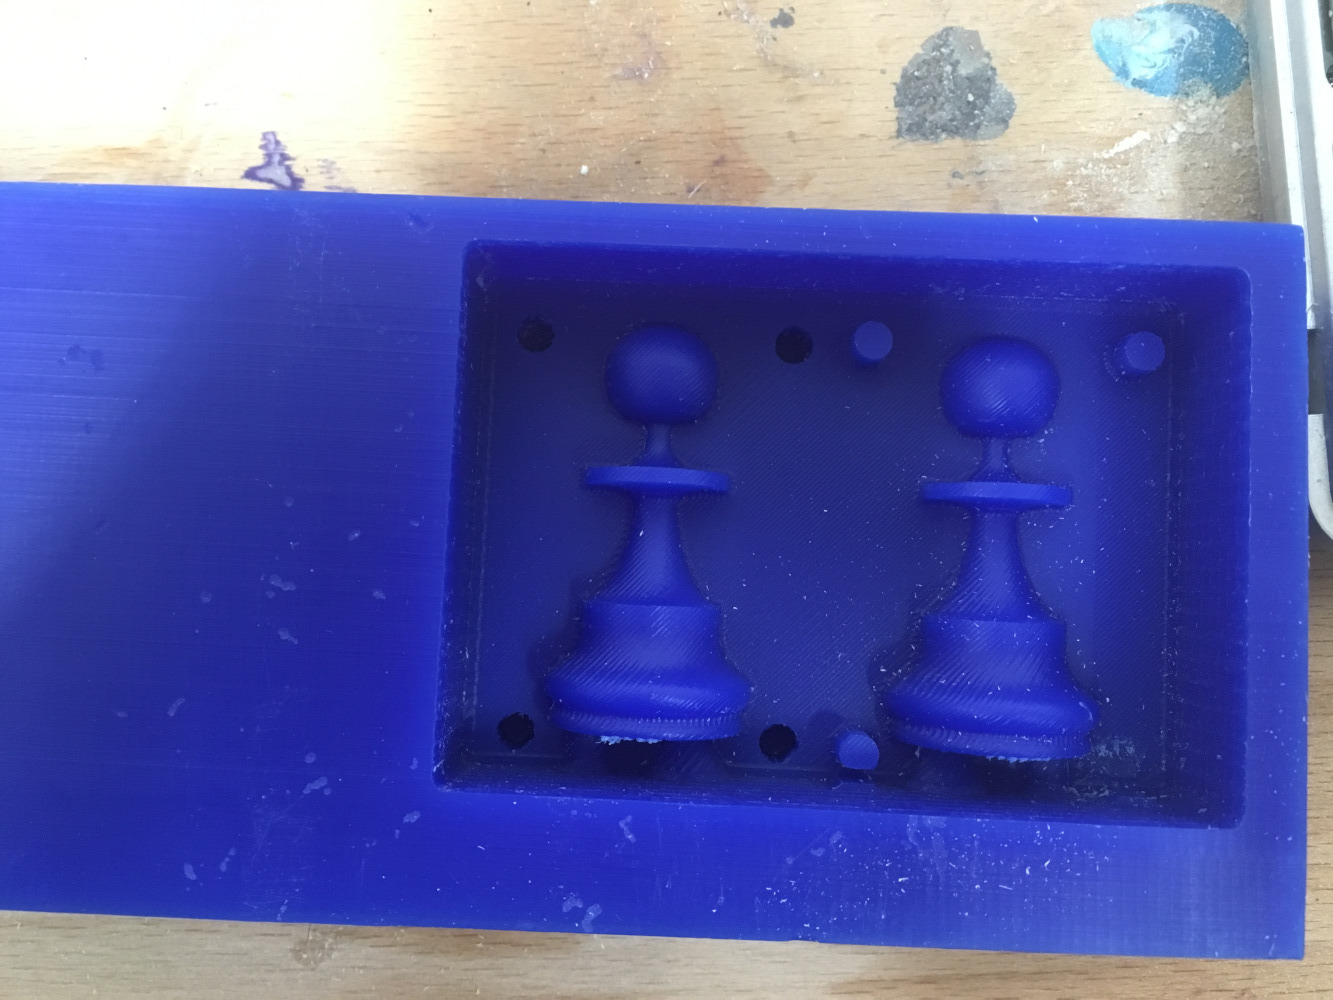
this is happened because I change the position of the tip in the spindle witout fixing the new axis z of the machine. The reason why I have changed the position of the tip is that I wanted to not strain the spindle (is one of the causes because that the milling machine has gone in stop before); so I've redone the roughing fixing the new axis z but I haven't solved the problem; in fact I have redone the whole work... at the end the mold milling went well:
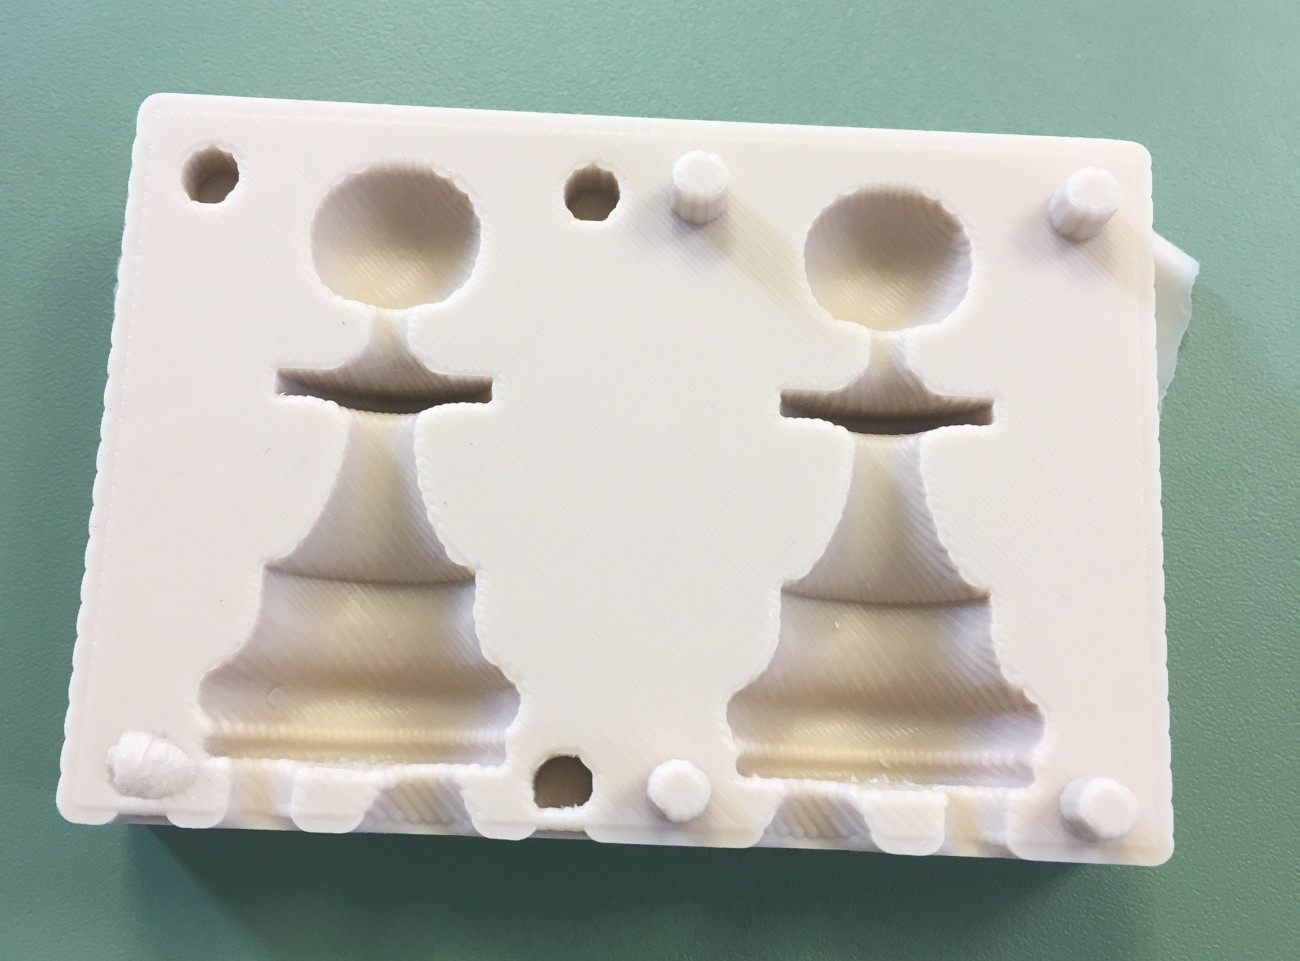
Molding and cast of my pawn
- mold:
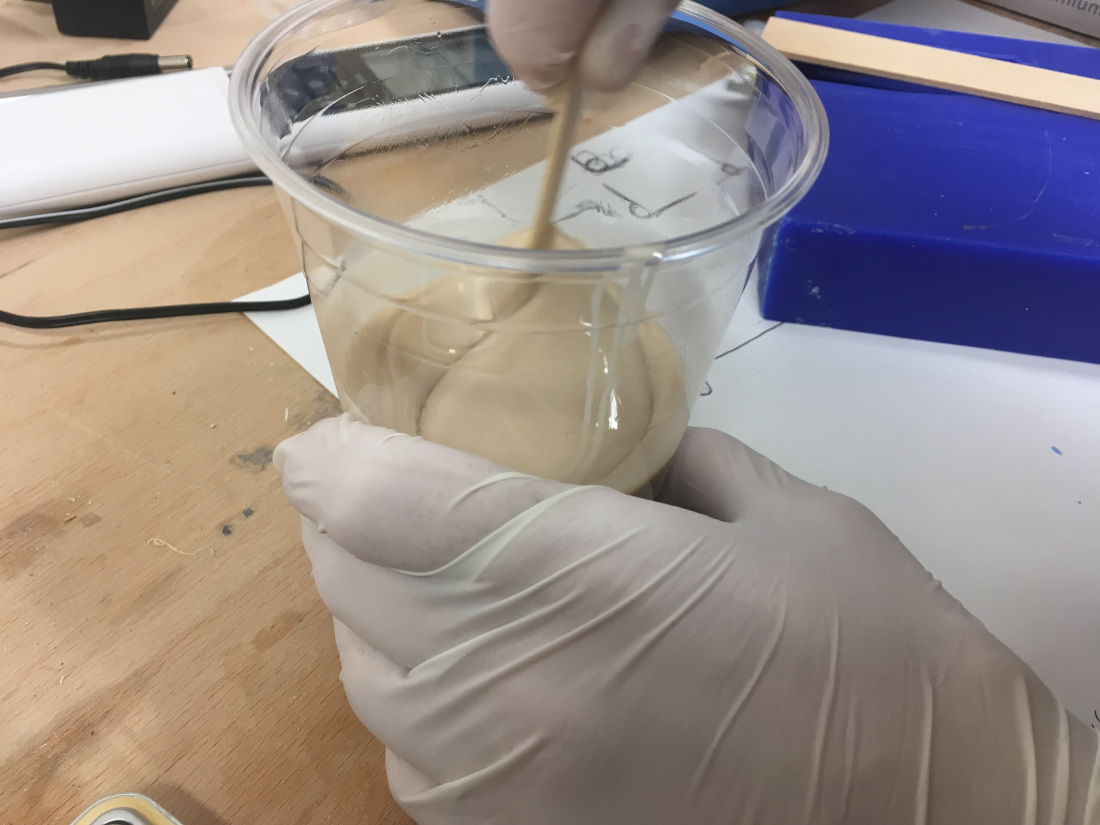
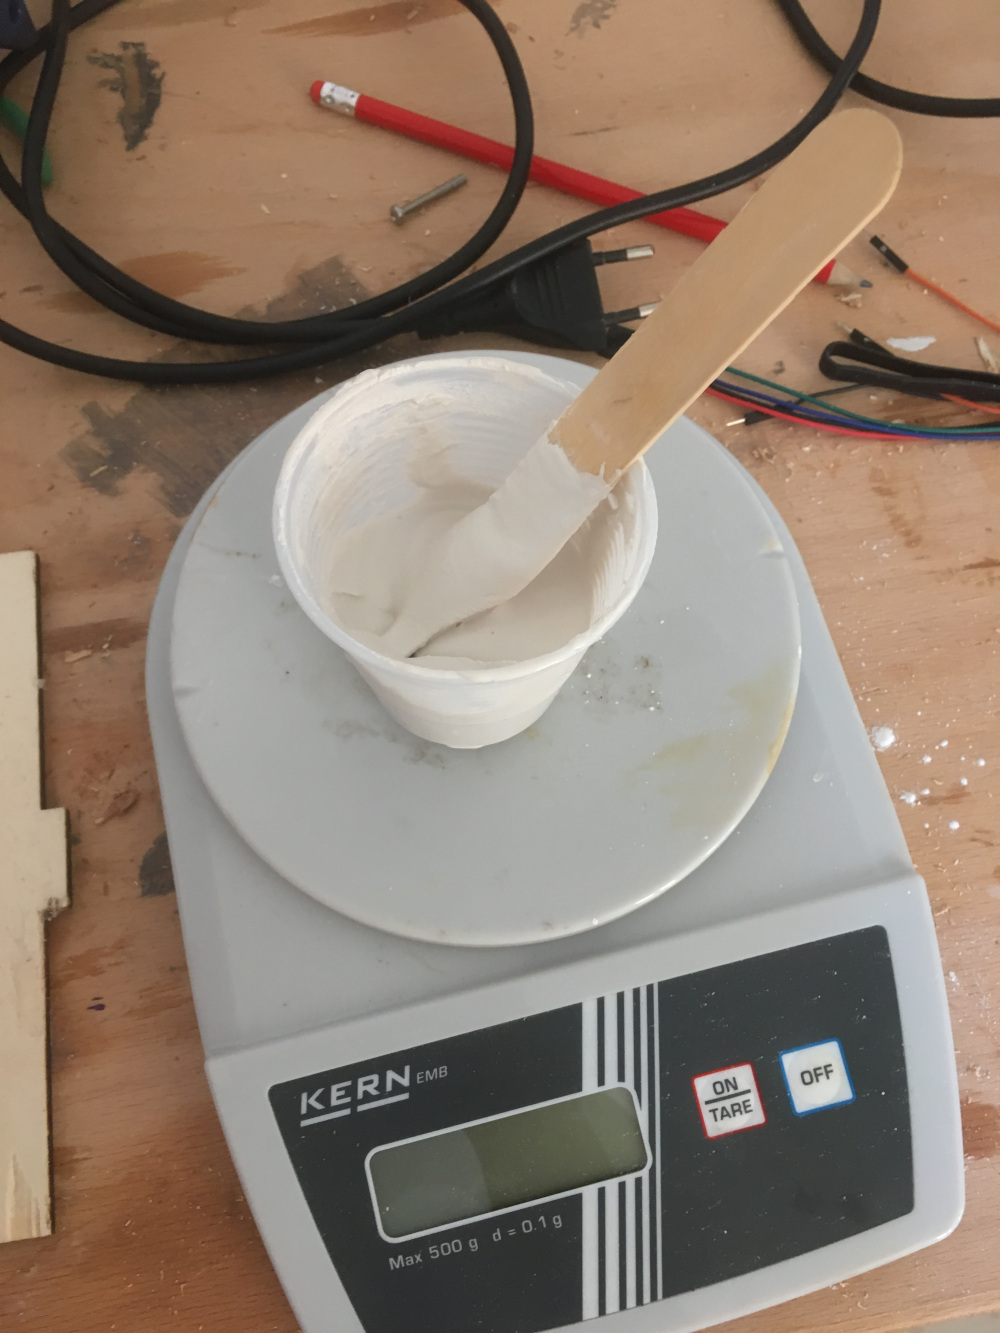
Now I' ve prepared the silicon with the catalizator to to my mold: the weight of hte catalizator is the 5% of the silicon's one like I have seen in the datasheet. Then I have mixed the composition for 5 minuts:
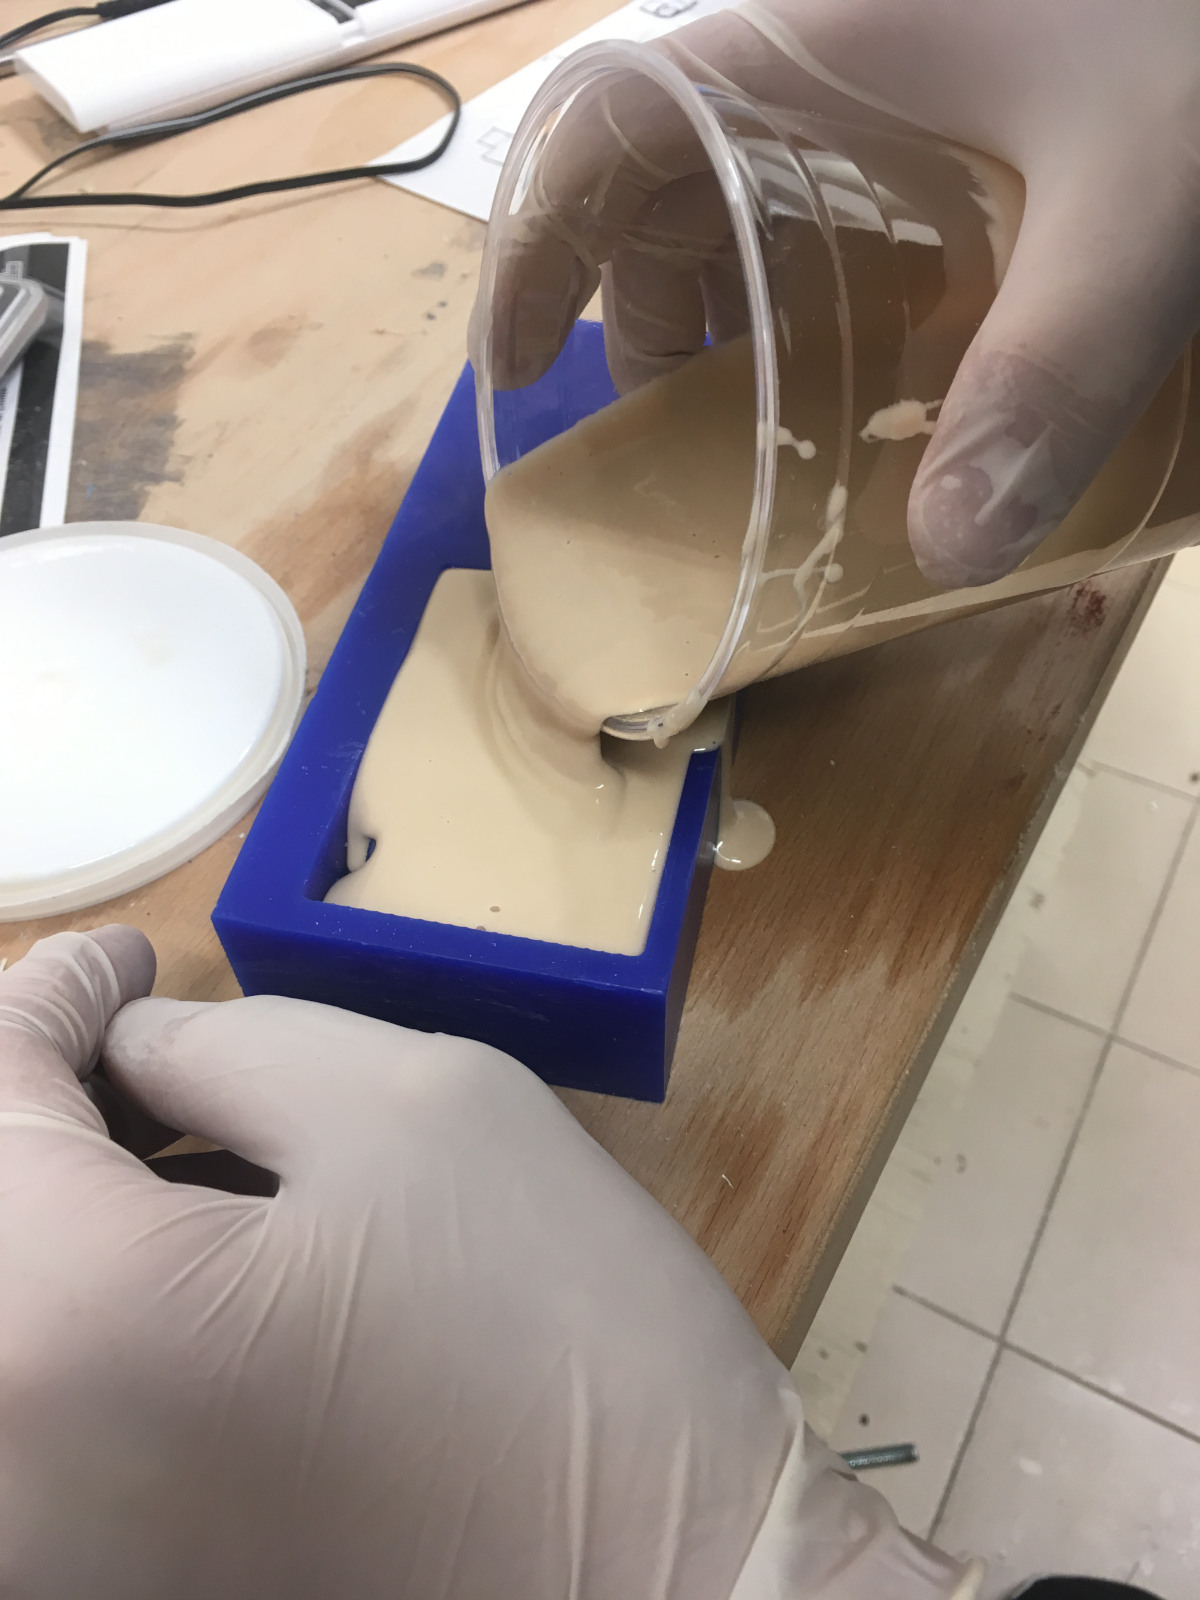
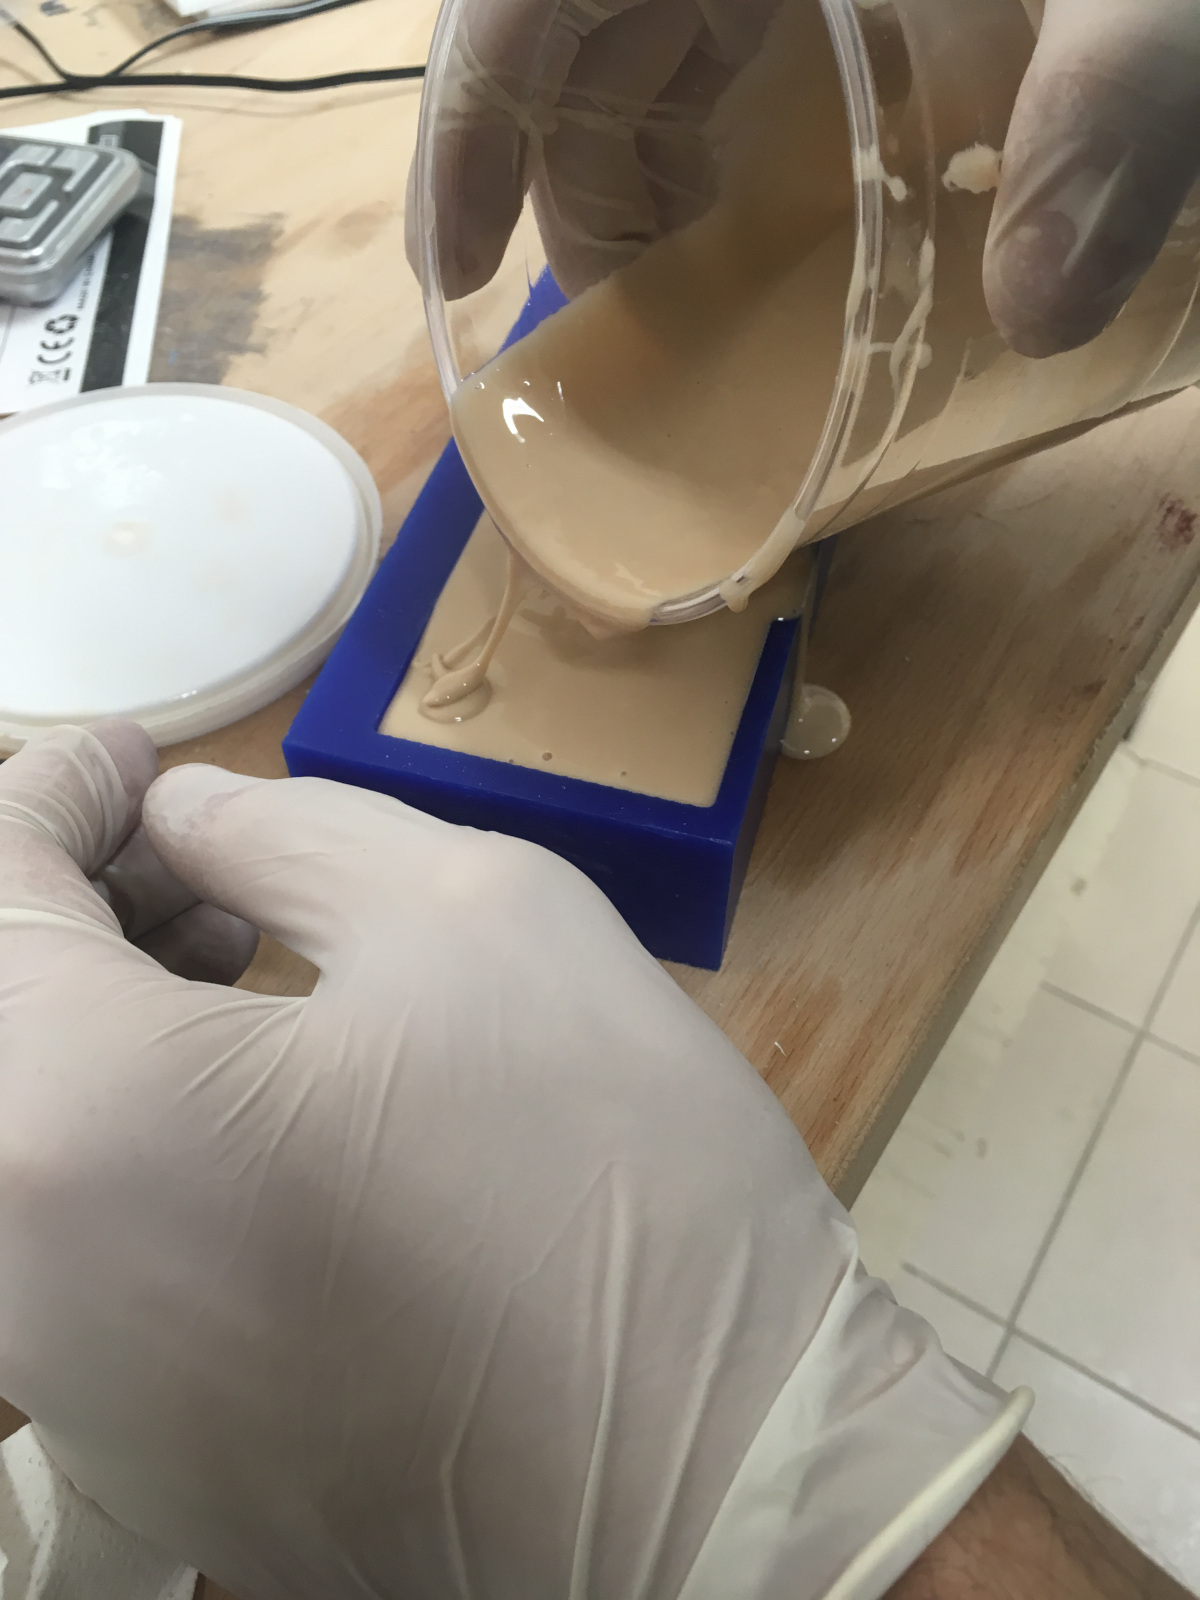
then I put this composition in my milled mold:
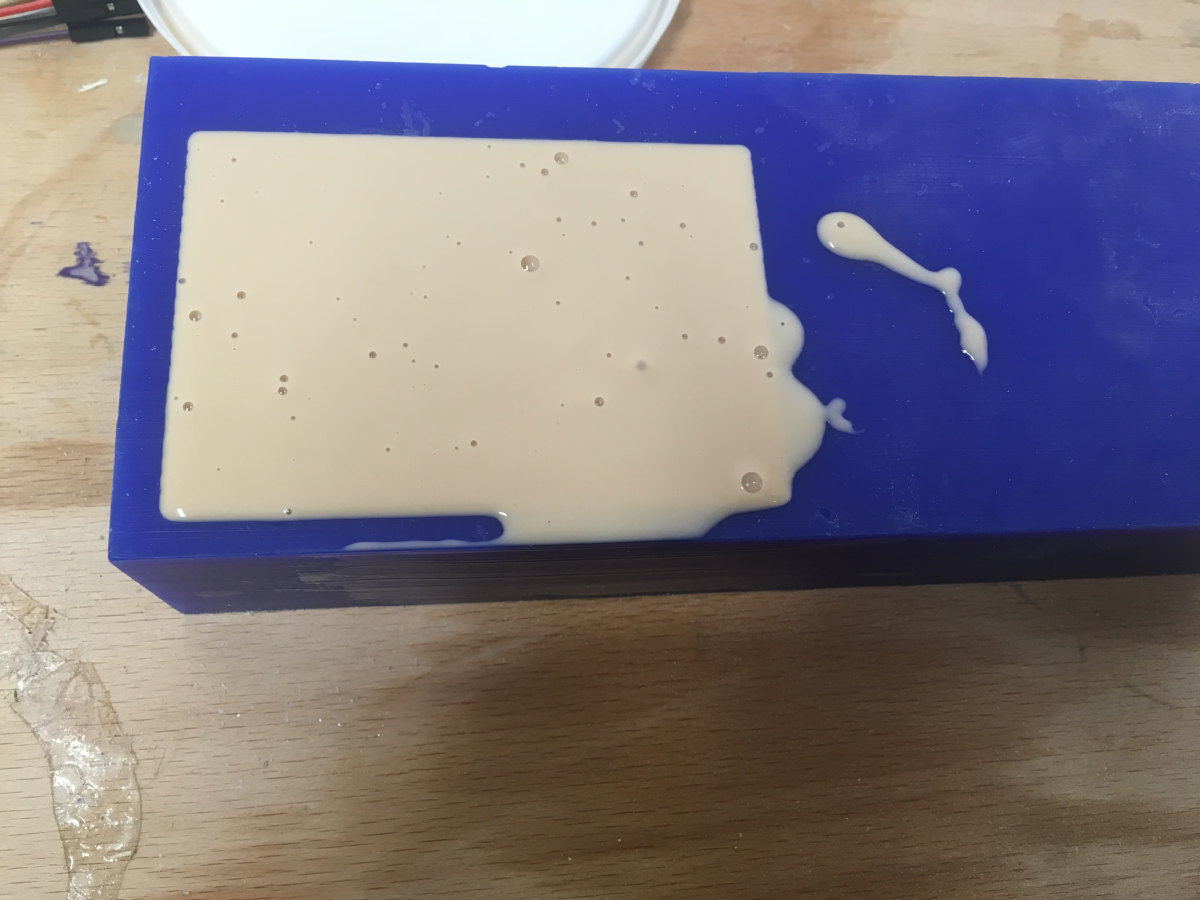
and at the end I wait about 18 hours to harden my silicon and then I have my mold:
when the material became stiff I removed my silicon mold to the wax block:
- cast:
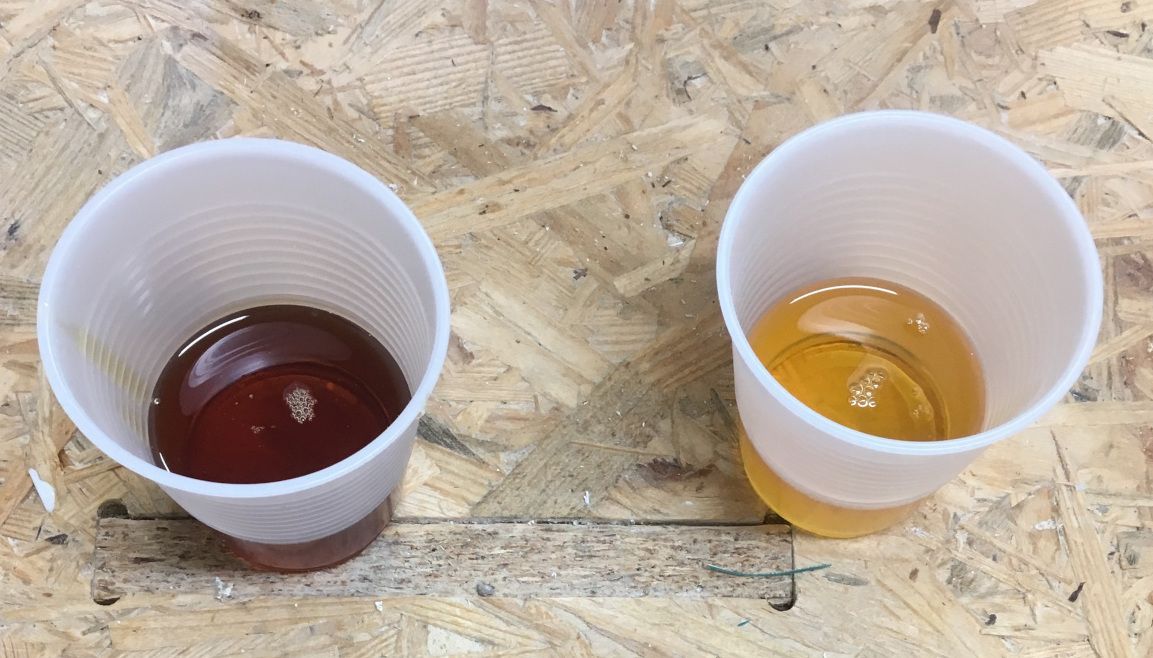
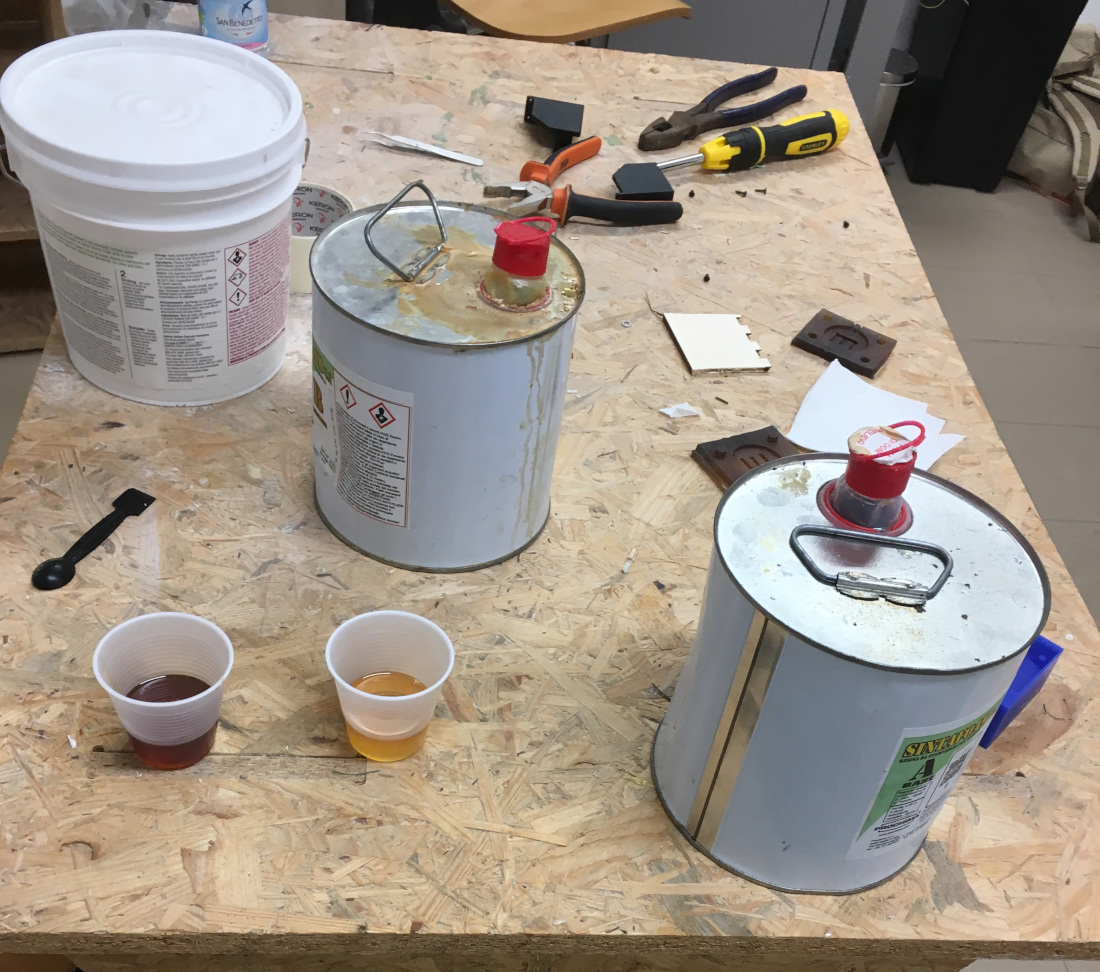
to cast my pawn I have prepared my cast material (the resin) fixing the two material A and B with the same volume as I've seen in the datasheet of the material: I've chosen the polyurethane resin because in my fab lab It's the more used and It has a good quality:
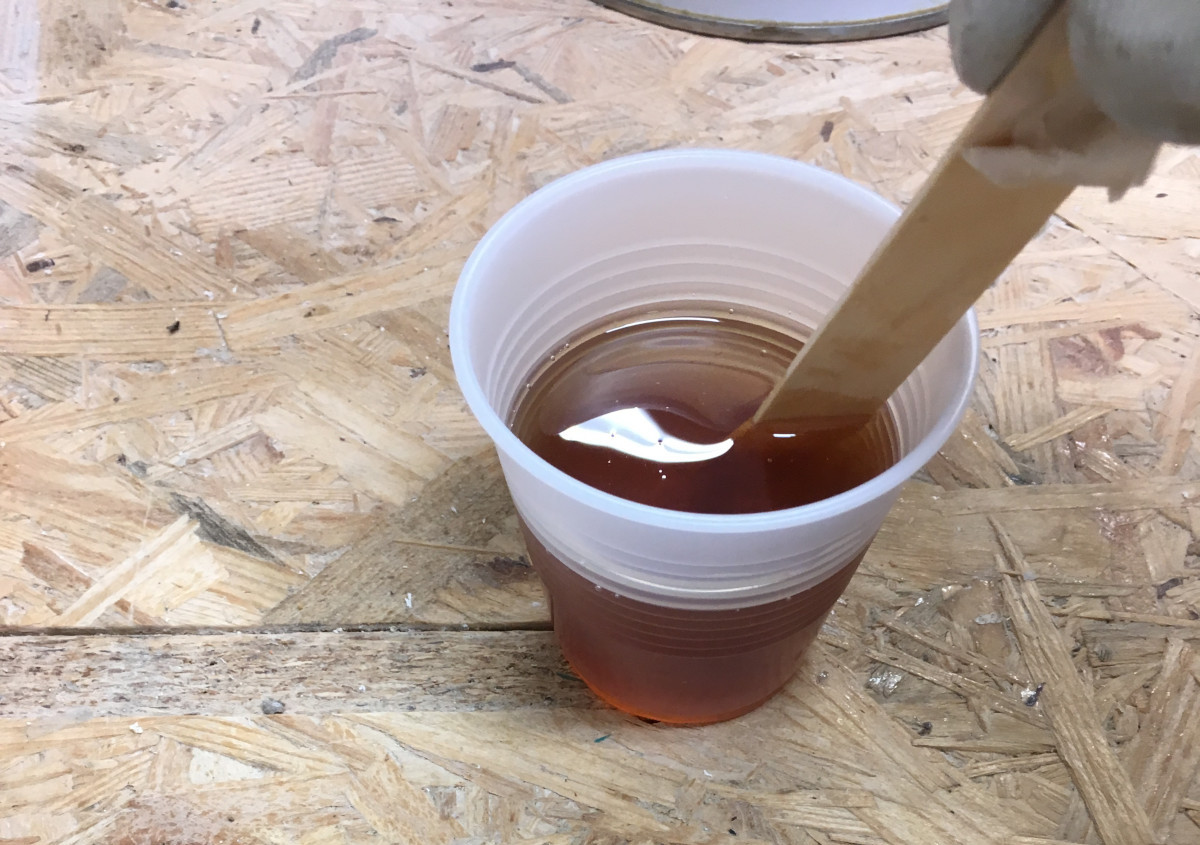
and then after fixing my two faces of the molding I slowly put the resin in the bigger space until the material exit from the other smaller space:
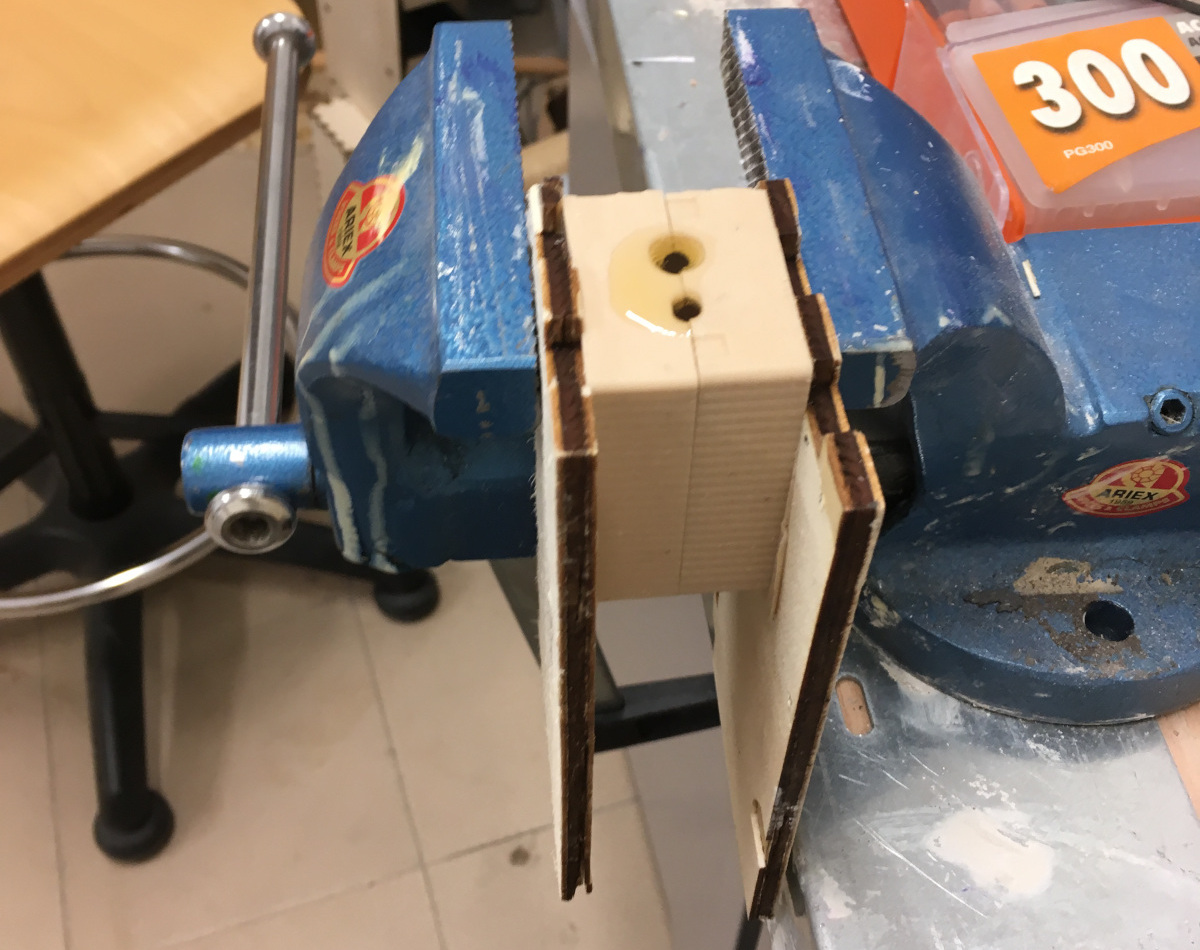
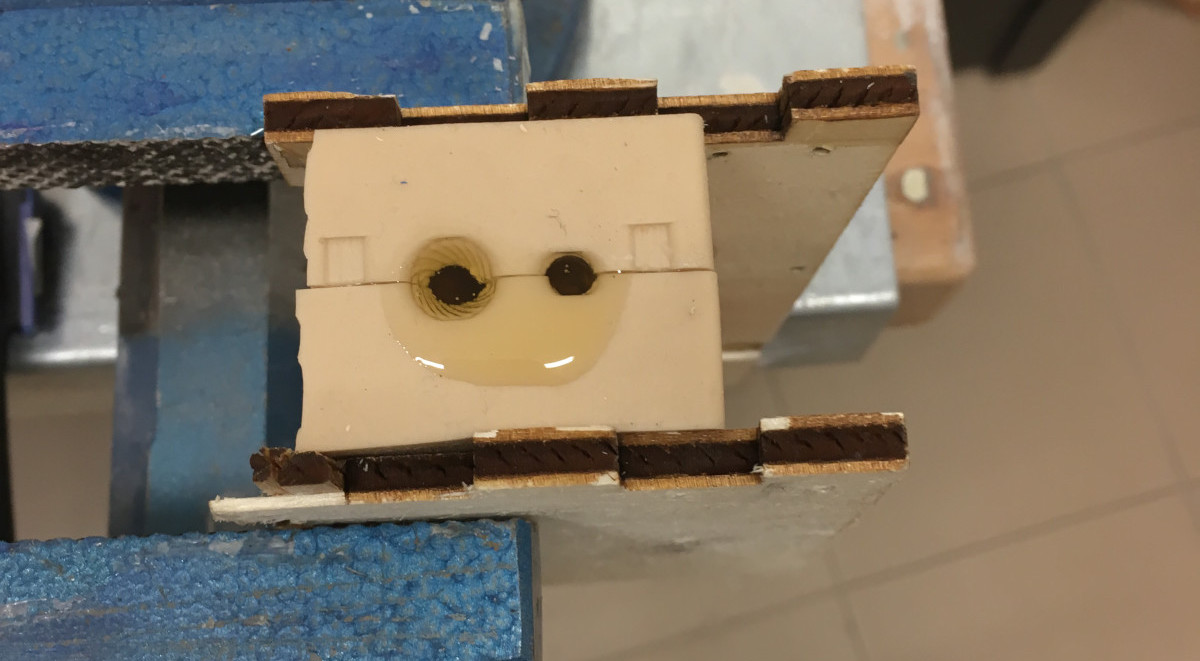
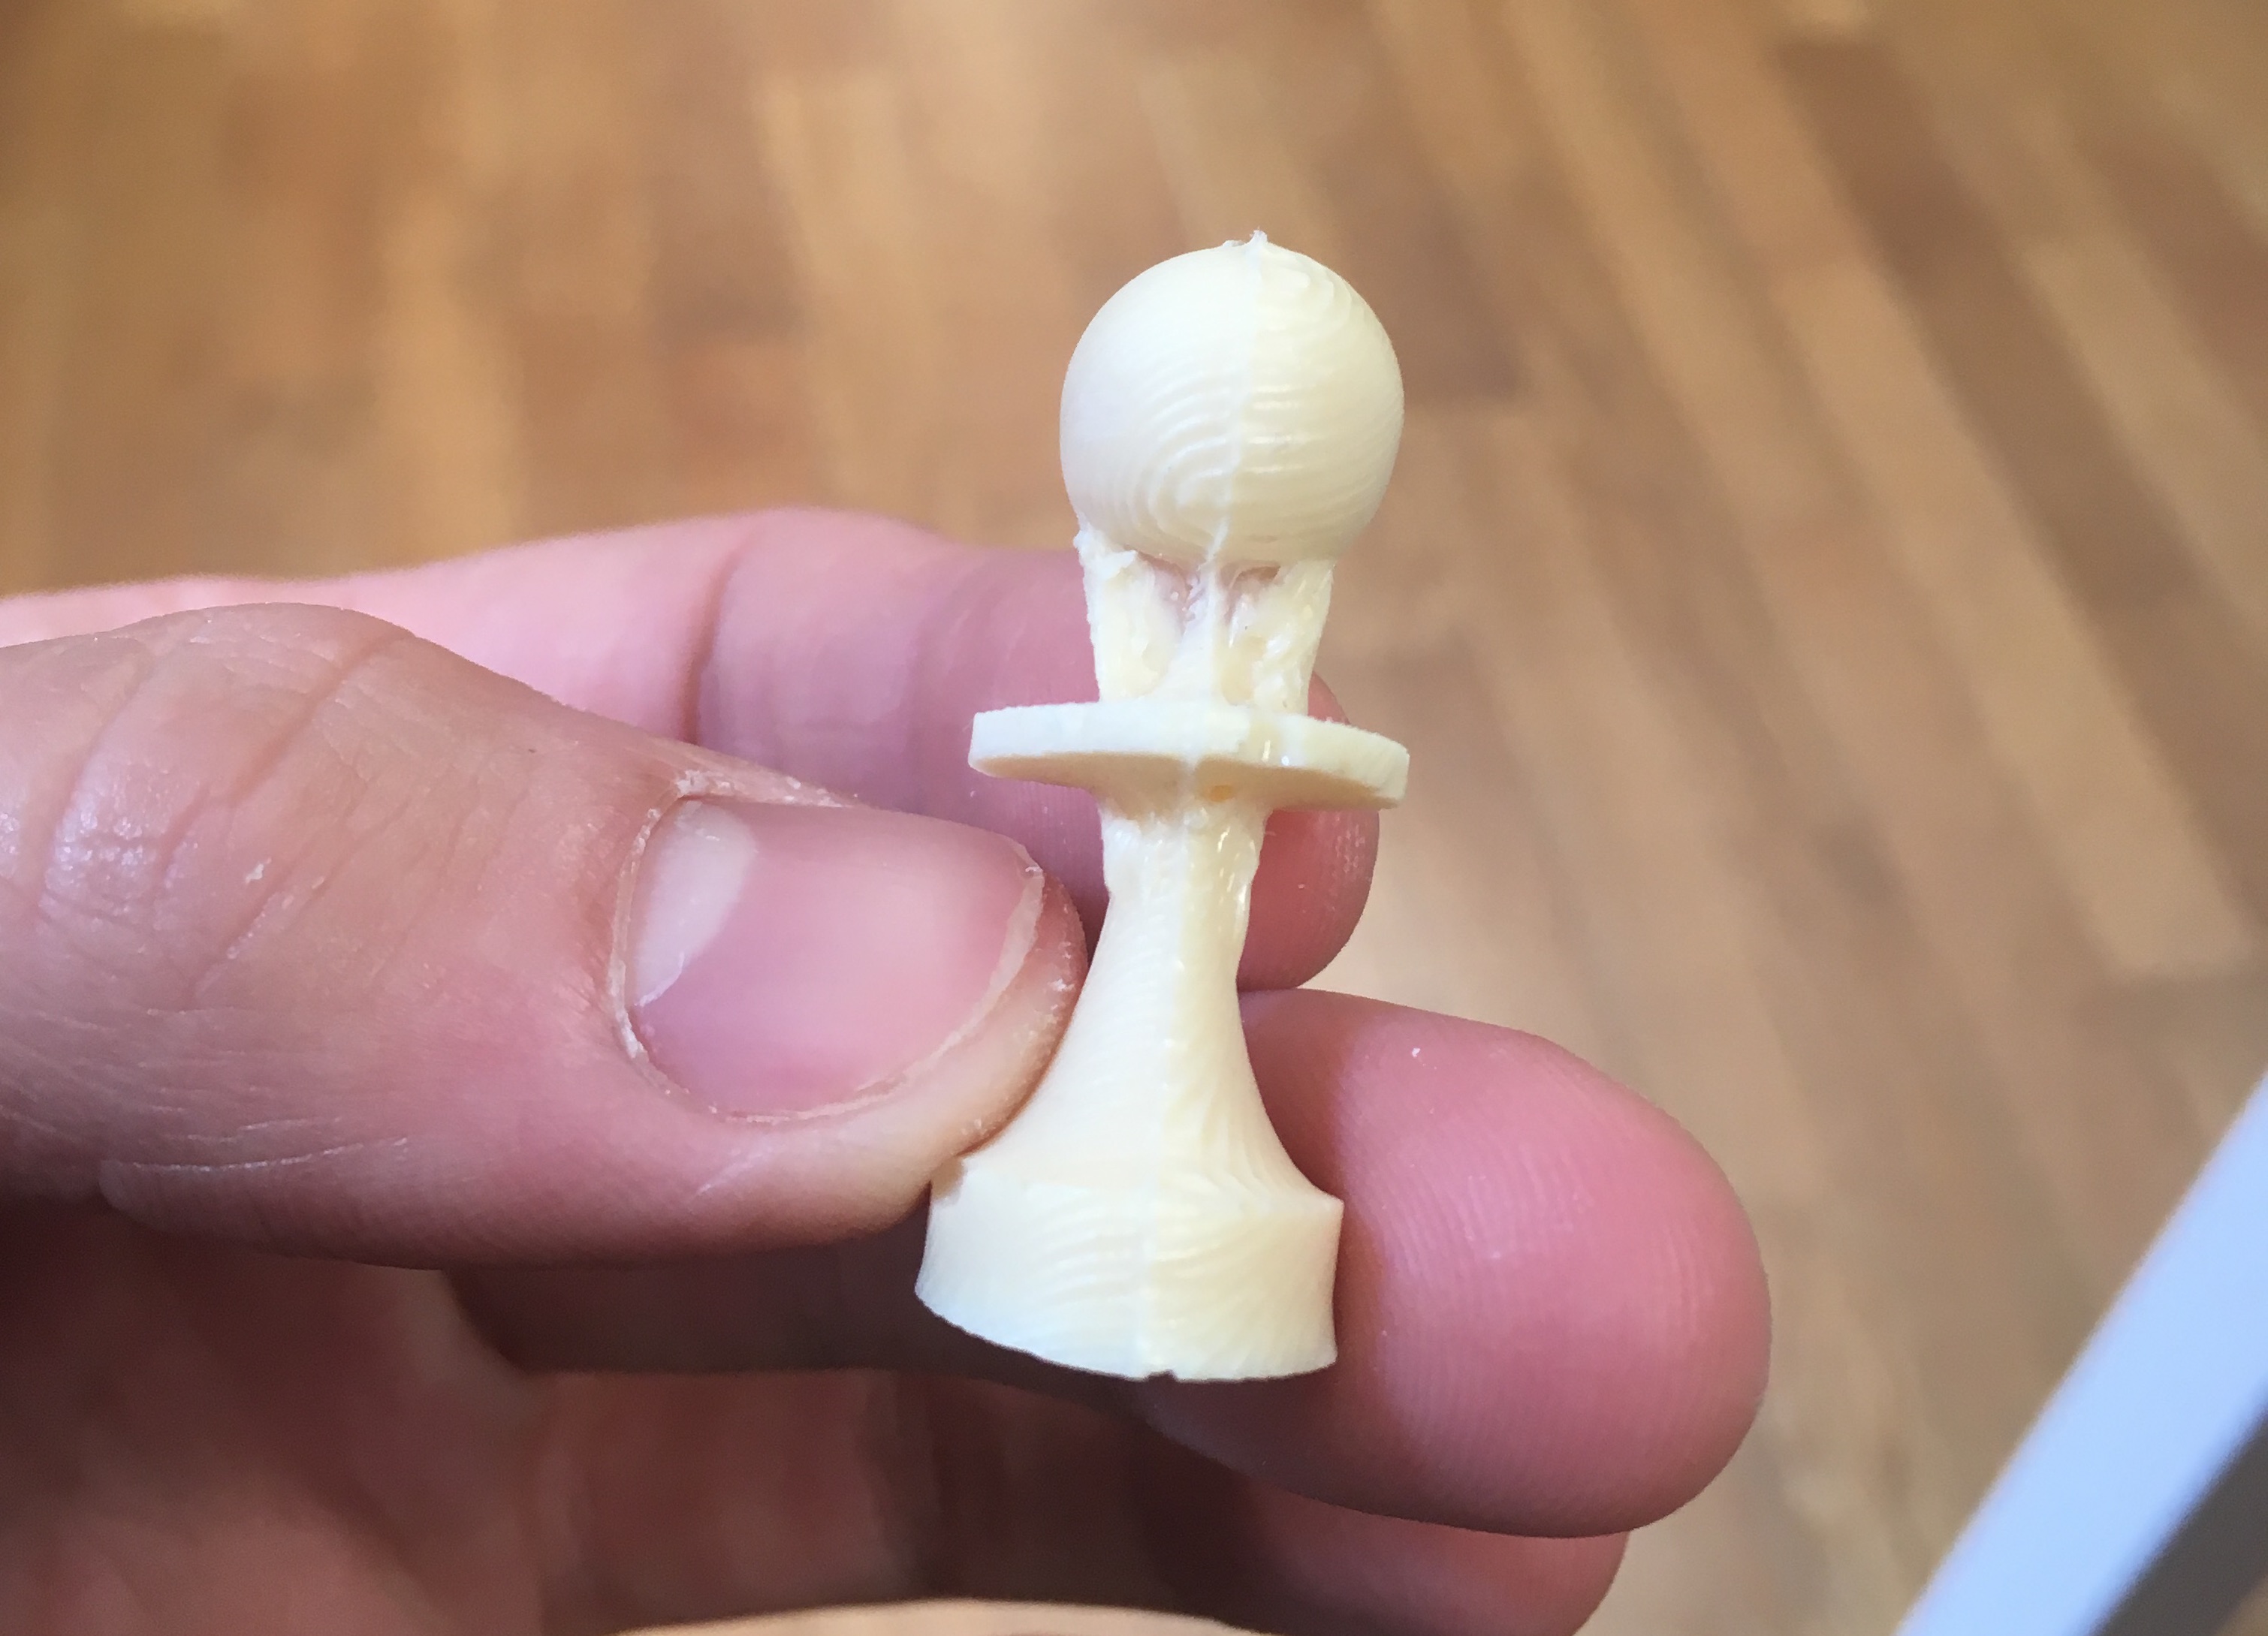
the final work is a quite good:
File stl:
the group assignement
for my individual work I've decided to use that material (resin) because It was the only material available: but when I've bought a new material and I've test it too with my mold:
I've seen the datasheet to create the material to my cast:
the final result is this:
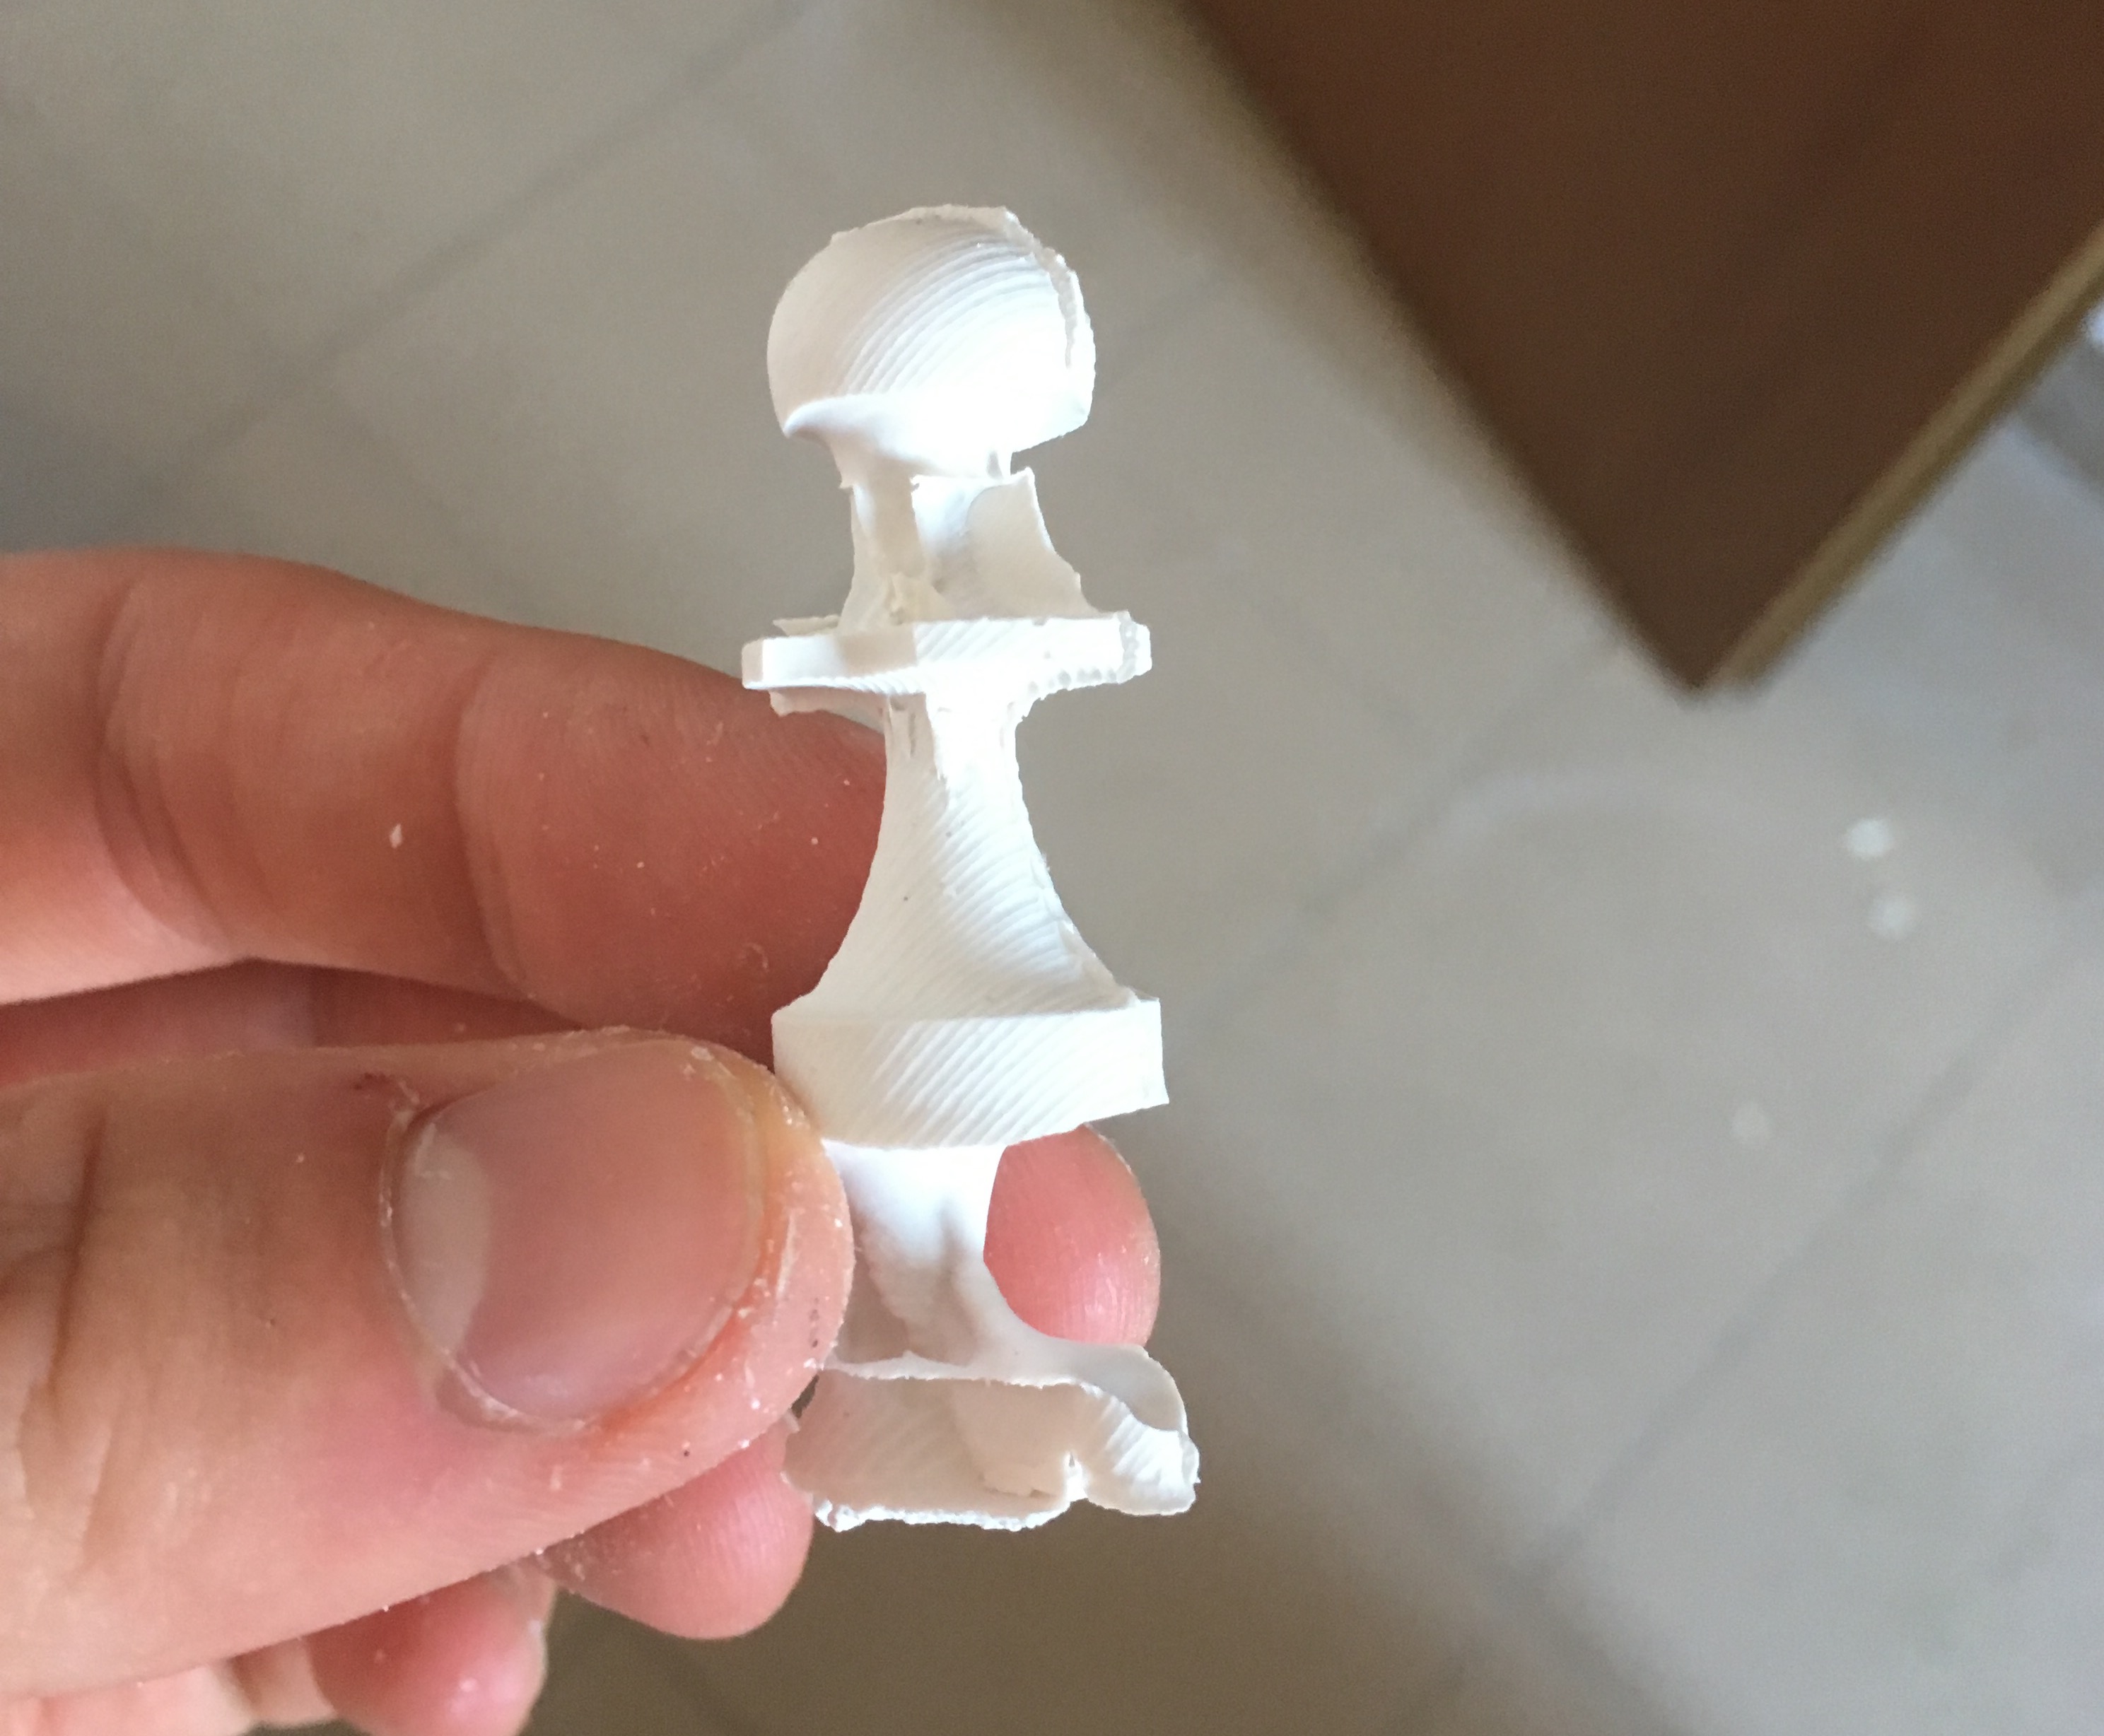
In the conclusion I've preferred the result obtained with the first material because the material has taken a more uniform form.