6. 3D Scanning and printing
The task for this week was:
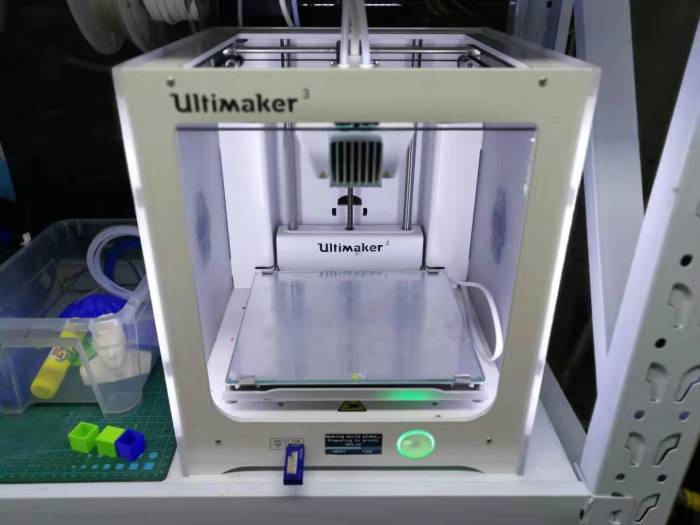
- Described what you learned by testing the 3D printers. Done.
- Shown how you designed and made your object and explained why it could not be made subtractive. Done.
- Scan an object. Done.
- Outline problems and how you fixed them. Done.
- Included your design files and ‘hero shot’ photos of the scan and the final object. Done.
What I have learned during group and individual assignments.
- The types of materials
There are several 3D printing technologies: SLA (Stereolithography) that uses a laser beam to bake liquid resin, DLP (Digital Light Processing) that harden liquid resin with light, SLS (Selective Laser Sintering) that melt nylon powder with laser and FDM (Fuse Deposition Modeling) that uses melted plastics. FDM technology supports different types of plastics: ABS, PLA (Polylactic Acids), Nylon, Rubber. PLA is the most commonly used type of plastic for prototyping. However, this type of filament has some weak point. This material is not durable, and it easily loses its structural strengths. On the other side, it is cheaper and requires a lower temperature compared to ABS. Therefore, PLA is better for prototyping, when the form is more important than function.
- The limitations and advantages of 3D printing
The limitations of 3d printing are decreasing. However, several limitations still exist: low speed of printing, high energy consumption, the technology itself is expensive for mass production, limited materials, the technology is not very easy to understand. However, there is another side. 3d printing has its advantages: despite the production speed is slow, the technology allows to get a prototype or even final product without preparing expensive and complex production process that is required for other technologies; the technology is ideal for small production amount of the product; it allows to print complex structures, that not always can be made with other technologies; it allows easily get the prototype and reduce the risks for manufacturing; the technology is easy to access; the technology allows to produce with the low amount of waste materials; wall of the model cannot be thinner than the diameter of the injector of the printer; model shrinking after printing; level of details, it means that the details cannot too tiny as some printers cannot provide necessary printing quality.
-
The history of 3D printing
-
The rules for the design of the part for 3D printing.
There are several rules that should be considered while the design process. However, these rules are relevant for FDM technology; 45-degree rule, it means that in case there is nothing under printing layers, there should be support, as the material cannot be distributed onto air.
- Famous projects and start-up related to 3D printing.
https://reprap.org/wiki/RepRap https://ultimaker.com https://formlabs.com/
More information about group assignment can be found on the page of my classmate Siyu. Link
Individual assignment
Design and 3D print part related to final prject
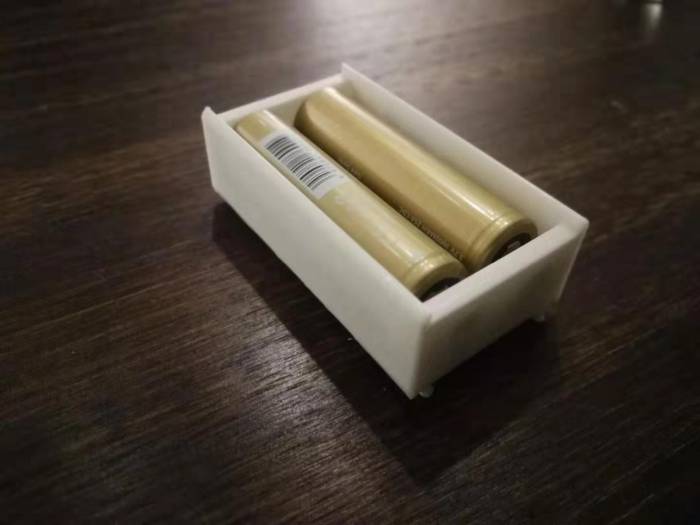
The task was to design the part that cannot be made in a subtractive way. Therefore, I decided to create and print the path that I can use for my final project. The part is the 18650-accumulator holder. You can see how this part will be included in the final design.
The purpose of the accumulator holder is to keep the batteries inside and be a base for the other parts of the device that I create for my final project. The tricky part was to understand what inners structure should I make to hold the accumulators nicely. As I have these batteries at home, I just measured one of them. And then I created the structure of the whole part around the space needed to place two same batteries.
The size of the batteries is: diameter 18 mm, height 650 mm.
The design processes
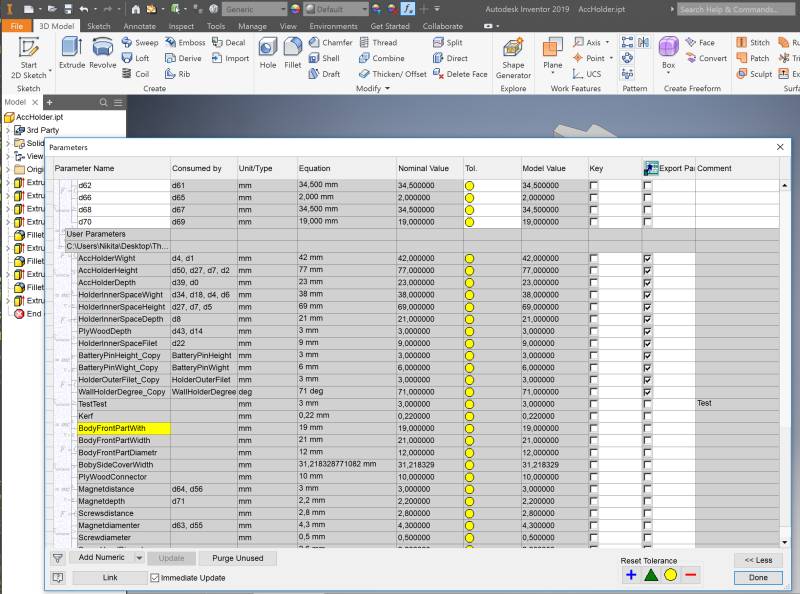
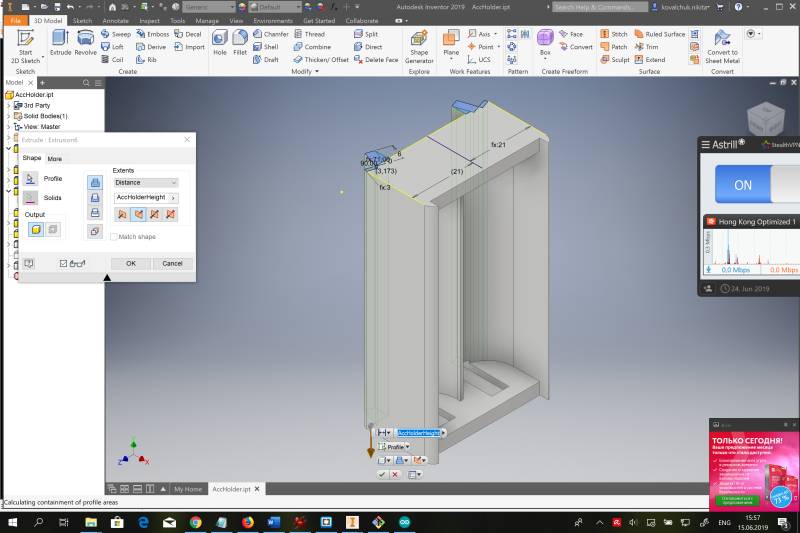
I have used parametric design to make this part. It is part of the final project. Therefore, it will require many adjustments. The parametric design allows me to change the parameters of the piece by changing a specific number in the table.
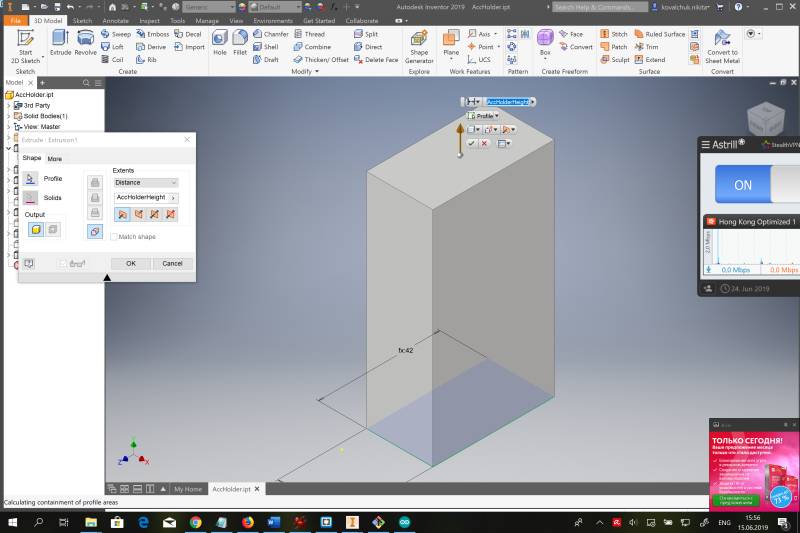
First, I created a simple block.
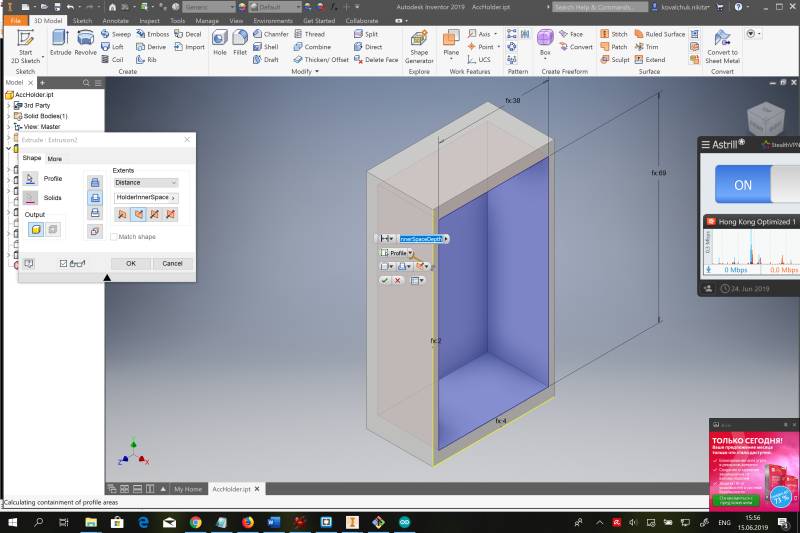
Then I started to create an inner structure.
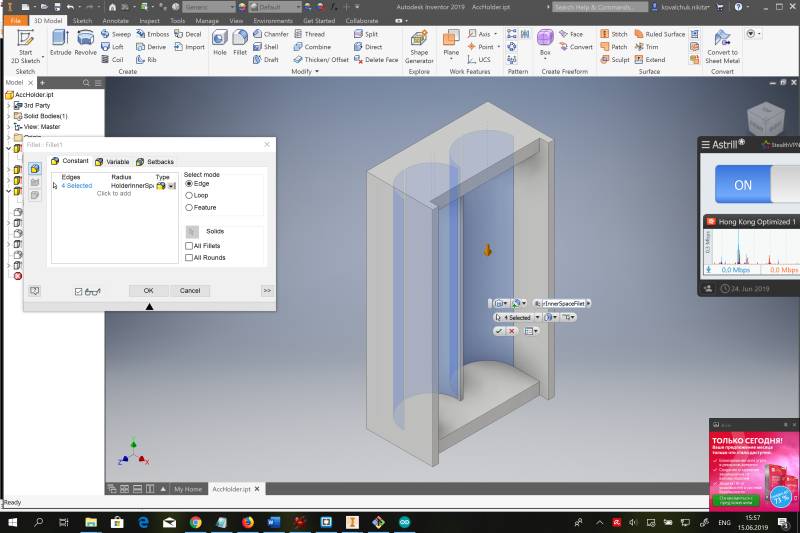
The most challenging part was to create the outer holders for other parts of the device. The angles that should be used depend on may attributes, such as the width of the outer covers, the thickness of plywood, and others.
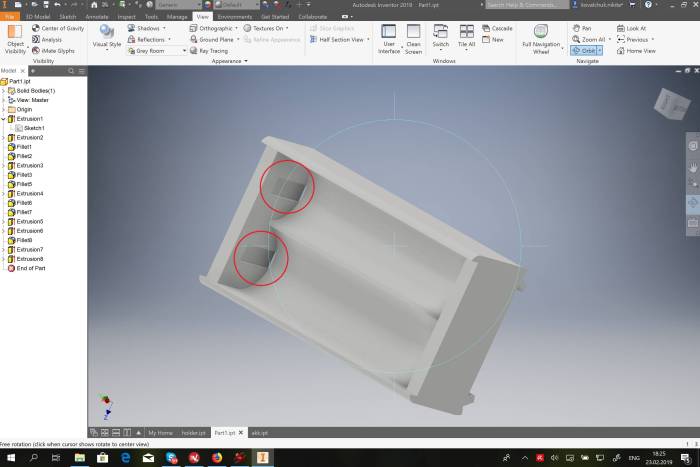
This part can be made in a subtractive way, but it will require an expensive CNC machine. The difficult part of the design is that there are places four metal pins that connect accumulators. These places are subtracted from the body of the part.
Once I designed it, I was ready to send to print. Therefore, I converted the model into STL format and sent it to Ultimaker Cura.
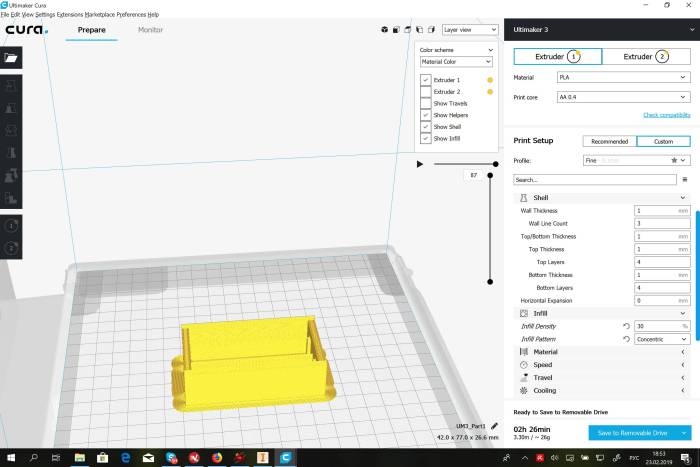
The part does not have tiny detail. Therefore, to increase the speed of printing, I have selected a relatively big number for layer height. I have chosen 0.3 mm. As a result, the printing speed decreased to 2 and a half hour compares to 6 hours with 0.1 mm layer height. The filament of the inner space also did not require to be solid. Therefore, I have selected 30% filament to increase the printing speed. Also, the model has parts that cannot be printed without support. So, I added support. Additionally, I added a brim to be sure that the part is fixed on the bed. I created the file that can be sent to the 3D printer and uploaded it to Ultimaker. Despite relatively low resolution, the result was more or less good.
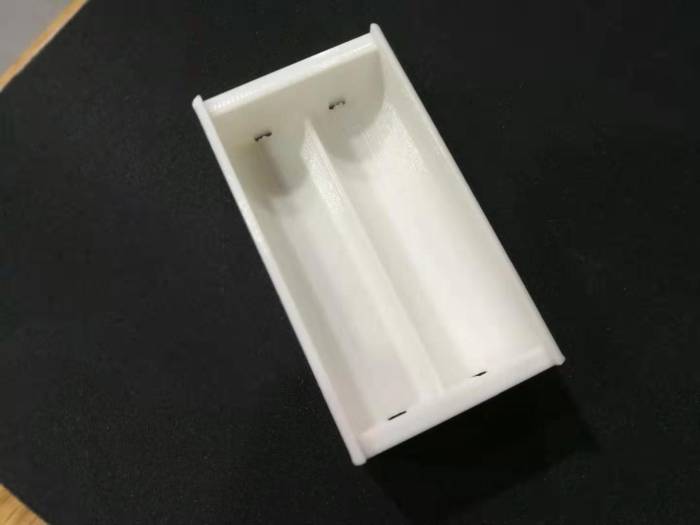
The 18650-accumulators fit perfectly.
Files
Scan and 3D print
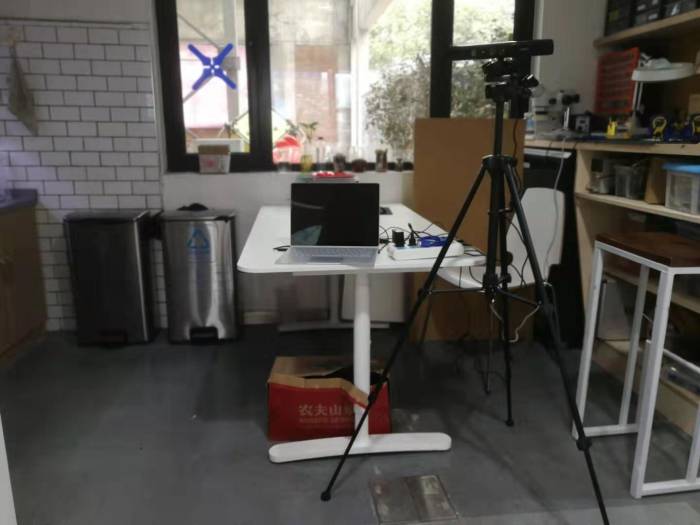
The task was to scan the object and print its model. As we used Microsoft Kinect for this task, it was important to use a big object with a small number of details. Therefore, I have decided to scan myself.
Microsoft Kinect requires a special program to use it on PC. The most famous tool is program Skanect. Also, it was necessary to install drivers that support this hardware. After installation, I can use Kinect.
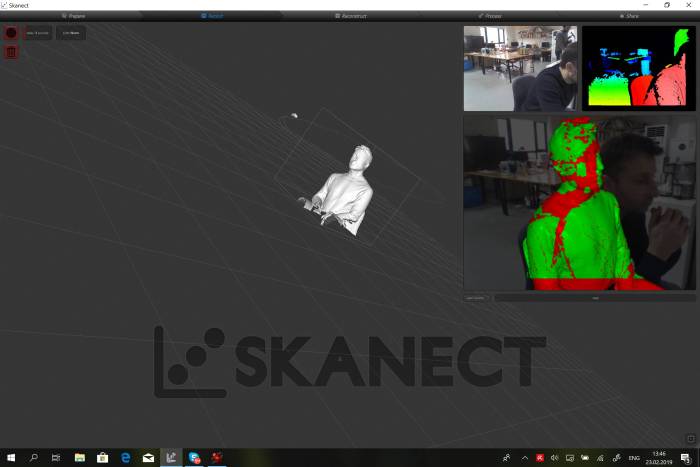
To get a better 360-degree model, it was important to spin the object without any additional movements. Also, it is important that the rotation axis is in the center of the object. Therefore, the easiest way was to spin while sitting on the office chair.
The resulted quality was relatively good. However, it is noticeable that many details were lost.
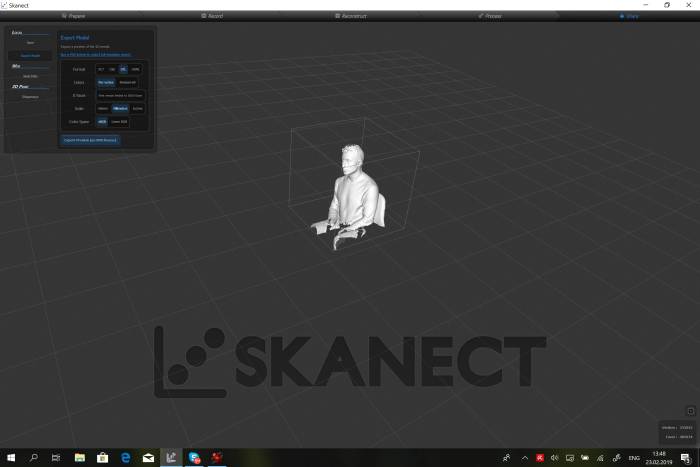
After the model was processed by Skanect is cannot be printed directly as it has a lot of unnecessary parts that should be deleted before printing. To do this, it is necessary to save this model in STL format and use another program for 3D mash design.
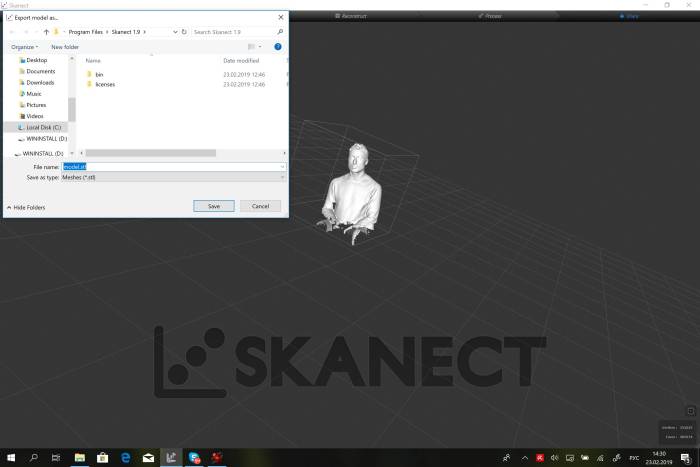
Meshmixer is one of such programs. It allows sculpting the 3D object in any way.
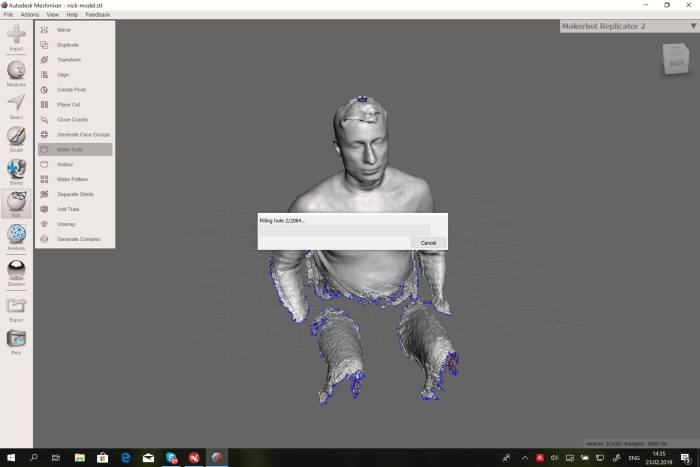
I used it to delete unnecessary traces and make the model solid. It was empty inside and the scanning process.
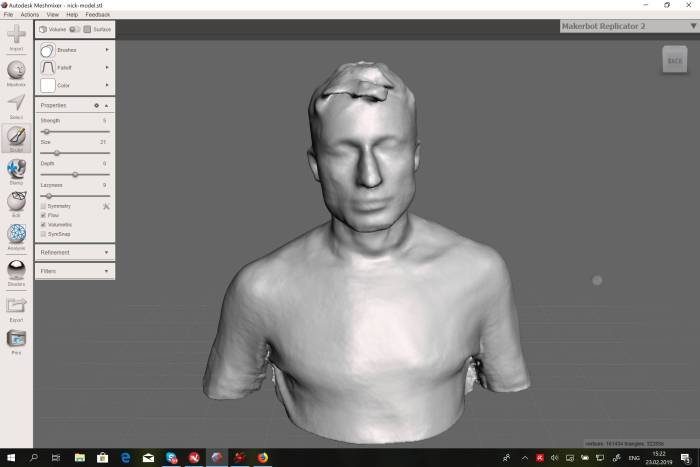
After the model was edited and ready to print, I saved the file once again and sent it to Cura to prepare the file for Ultimaker.
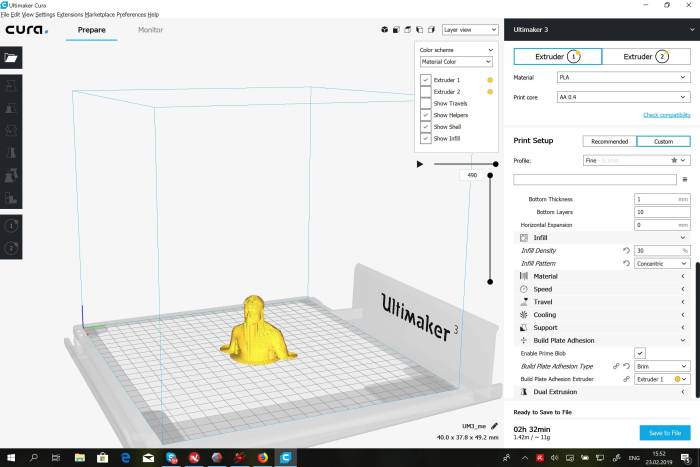
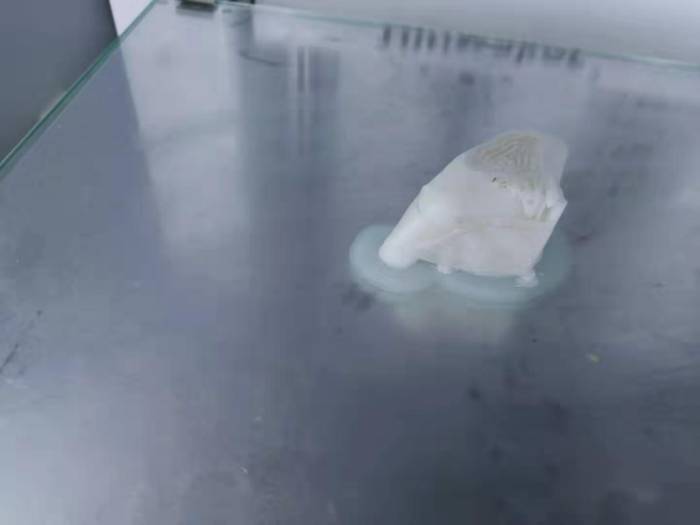
I decided to print the model on a small scale to decrease printing time. At the same time, I did not want to make the printed object too low quality. Therefore, I have decided to set up a small height for the layers. Also, it was necessary to set up support for some parts as chin and nose. After, the file was prepared I sent to the Ultimaker.
The printing process took about two and a half hours. It was not completely smooth, and some problems appeared. Please check the “Problems” chapter for more information.
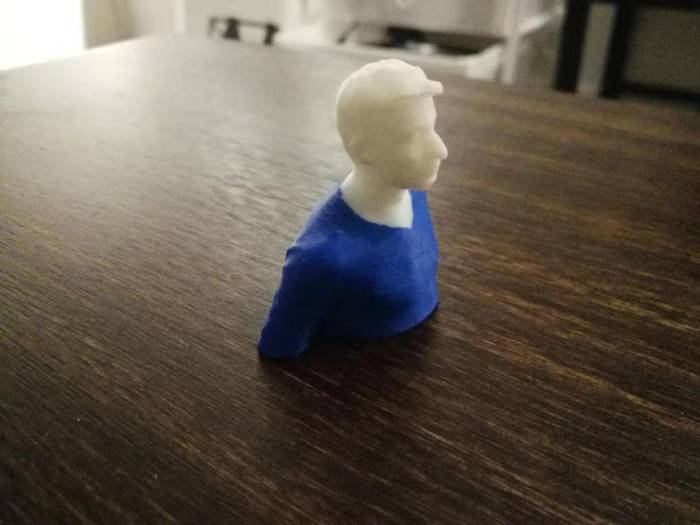
However, the result was very good from my point of view.
Problems
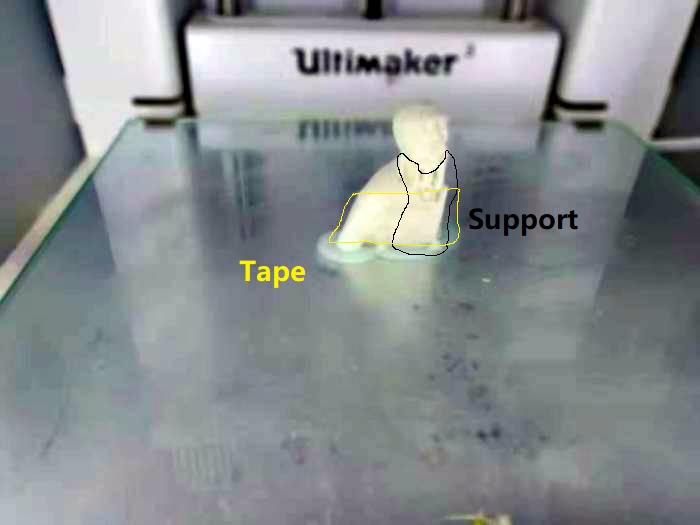
The problem that appeared while printing was that the support for the model had very small connection area on the brim. This connection point broke at some moment, and the nose of the printer started hitting the support every time it reaches it. It has created a situation when the entire object can be ruined. I have decided to pause the printing process and fix the support with the tape.
After the support got fixed, I resumed the printing process.