Final Project
Inspiration
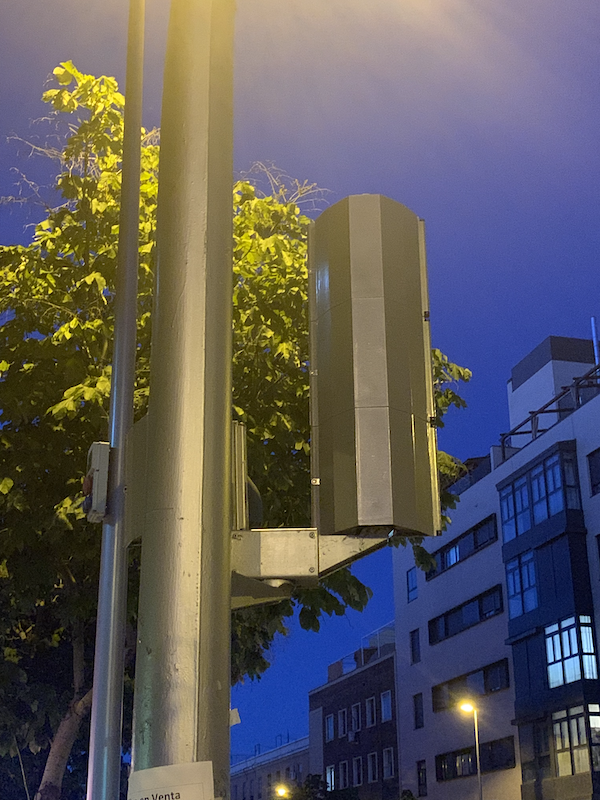
With growing population comes growing transportation. Since the number of vehicles on the road has only grown exponentially. My aim is for my project to address traffic management efficiency, particularly at intersections. I want to use tech to optimise traffic flow using vehicular sensors and processors.
I’m looking to design a complete traffic signal with sensors, yet in the fab lab, I want to test out the algorithms and design on a smaller scale. For this, I estimate that I would be using 3d printing, electronics boards, laser cutting and moulding.
“I’m looking to design a complete traffic signal with sensors, yet in the fab lab, I want to test out the algorithms and design on a smaller scale.”
Motivation
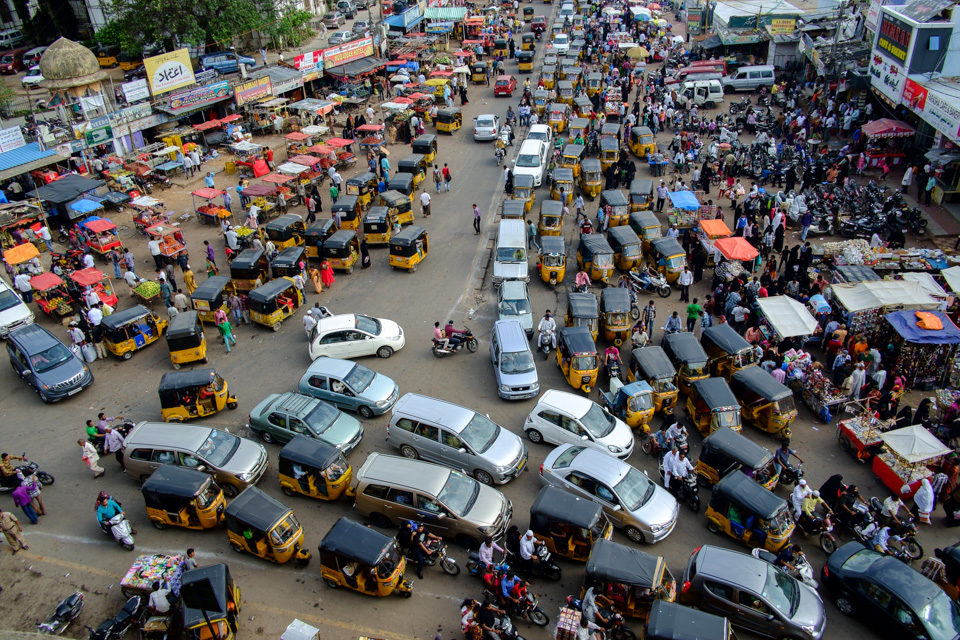
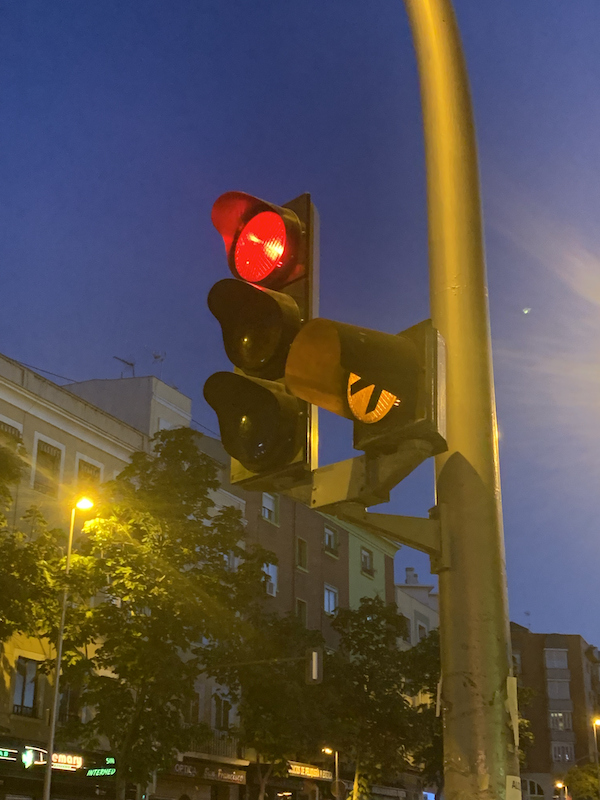
Traffic is hell in most cities in India. Number of vehicles are increasing on the road almost exponentially. I’ve noticed that all traffic intersections are basically dumb devices. They either operate on a timer or manually by policemen at the intersections during peak hours.
Policemen get affected by spending long hours in traffic, making this an occupational hazard for them.

Find more statistics at Statista
Solution needed
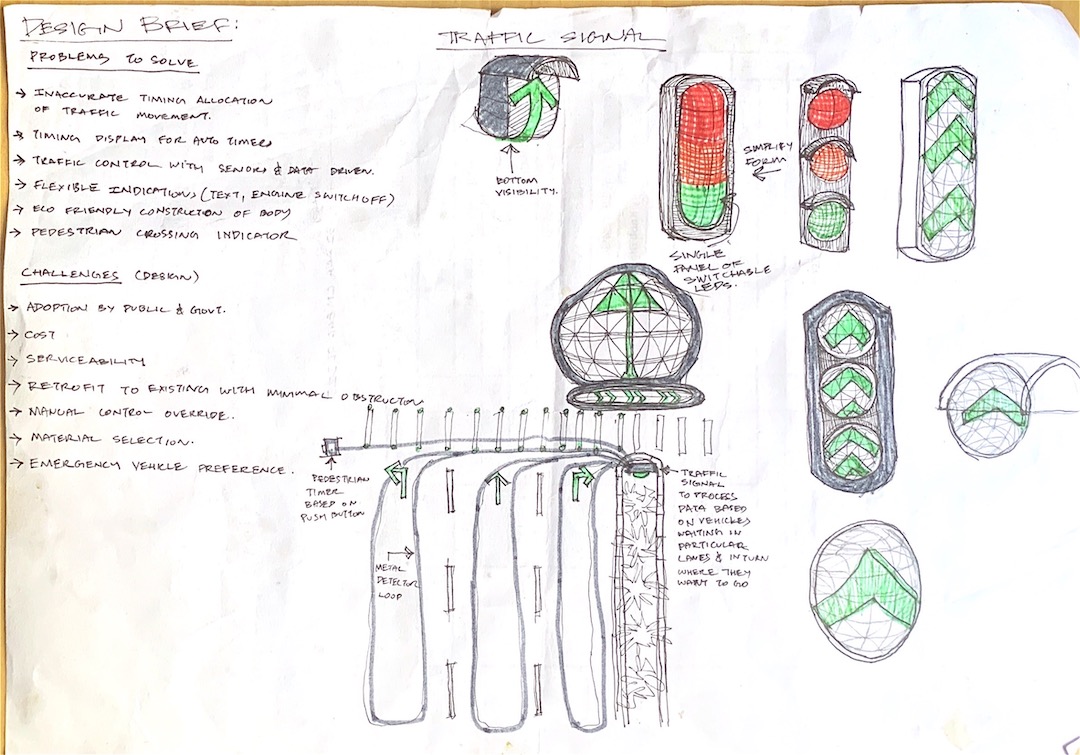
Automatic traffic control based on traffic volume and vehicle priority. Supplemental requirement would be a pedestrian crossing lighting on the road surface which gives an interactive feedback to the crossing timer so that a person knows where he has to be at the crossing to make it in time.
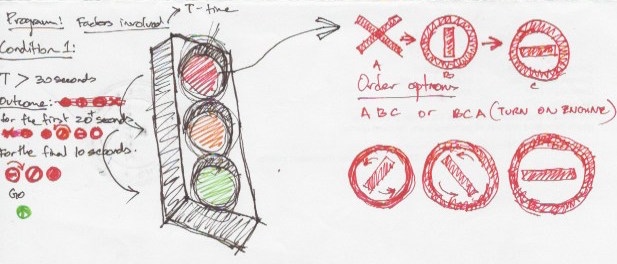
Conceptual Development
Due to the size constraint of the final project, I’m planning to make a miniature version of the signal but focus more on the internal electronics and detection systems.
Detection systems shortlist:
-
Webcam/ IP camera mounted overhead
-
Metal detcector loop embedded in road
-
Force sensitive resistor / pressure sensor
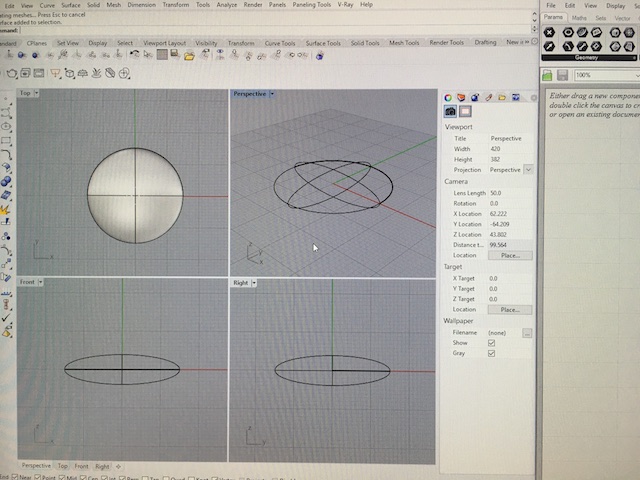
Initial 2D and 3D Modeling
Signal housing material shortlist
-
Recycled plastic
-
Road dust
-
Aluminum
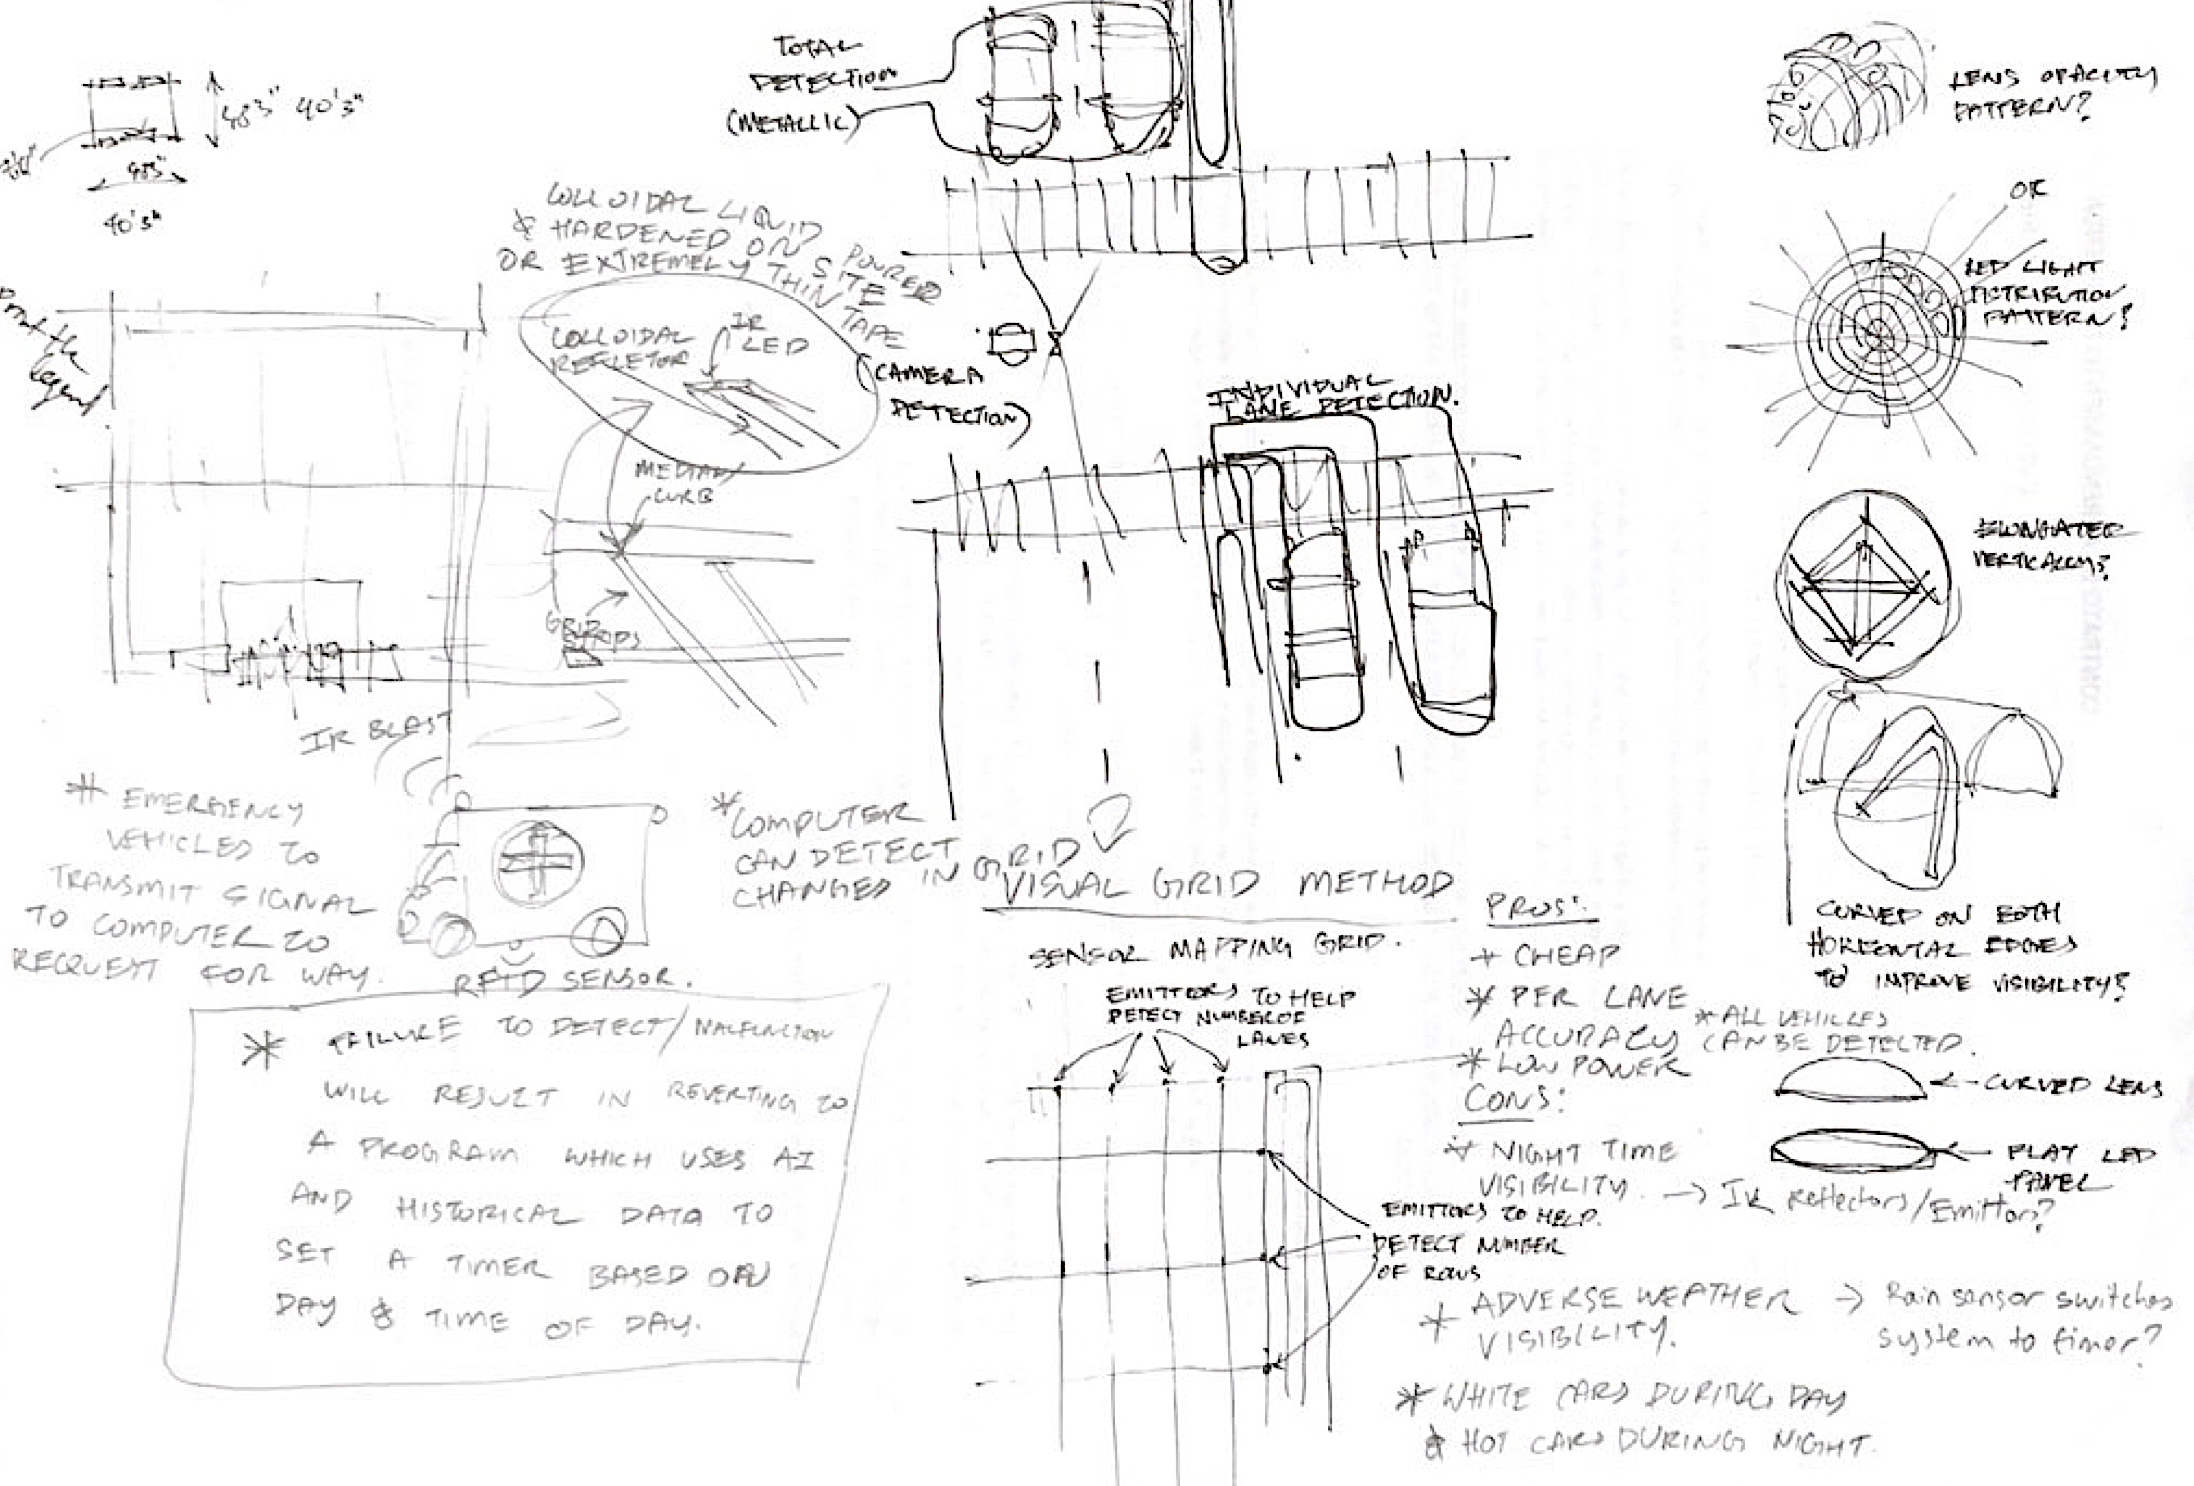
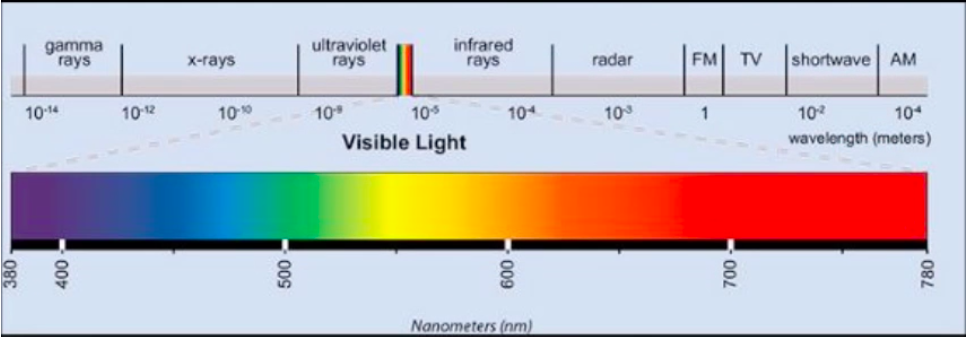
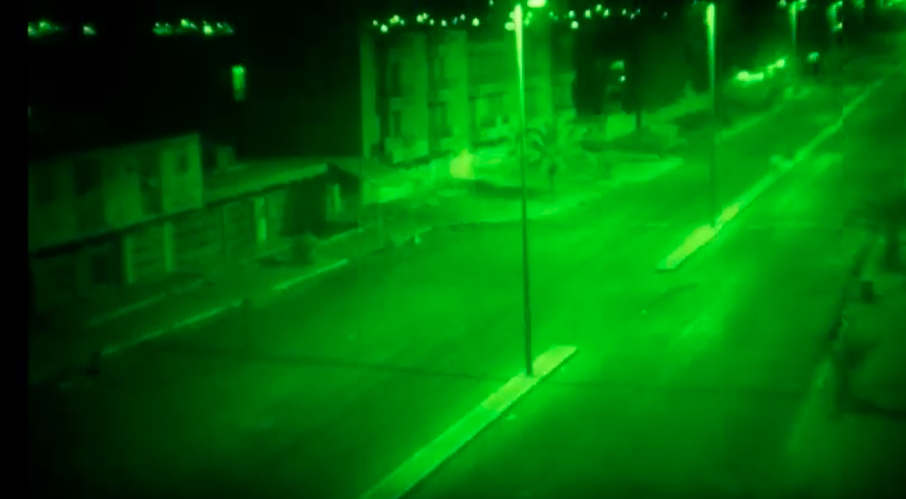
Night time detection Technology
Detection Technology: Infrared grid
-
Pulse width modulation detection
Single 360 degree camera detection:
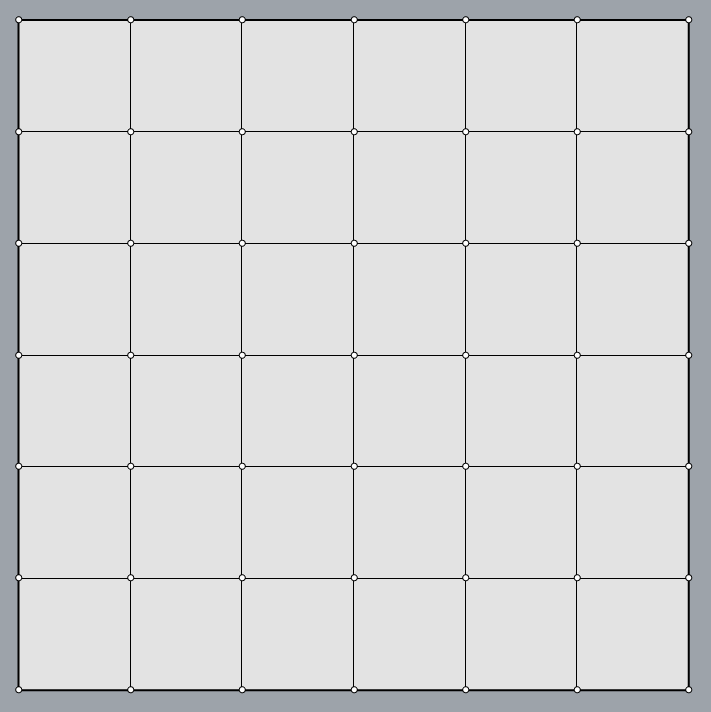
Grid for detection of vehicles
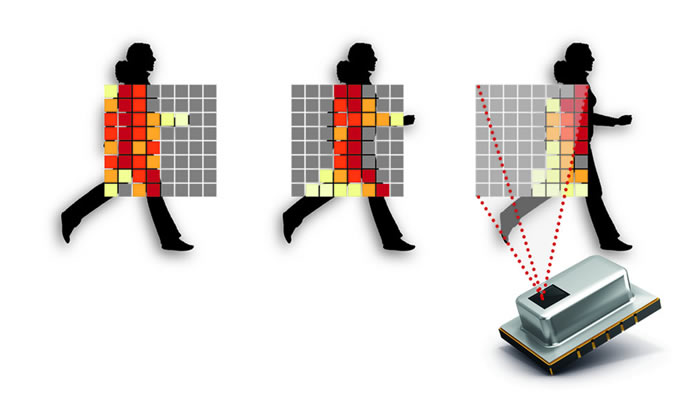
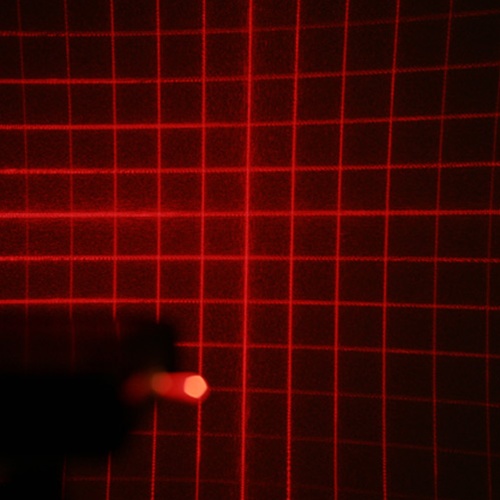
Physical grid on road to provide a background for volume detection.
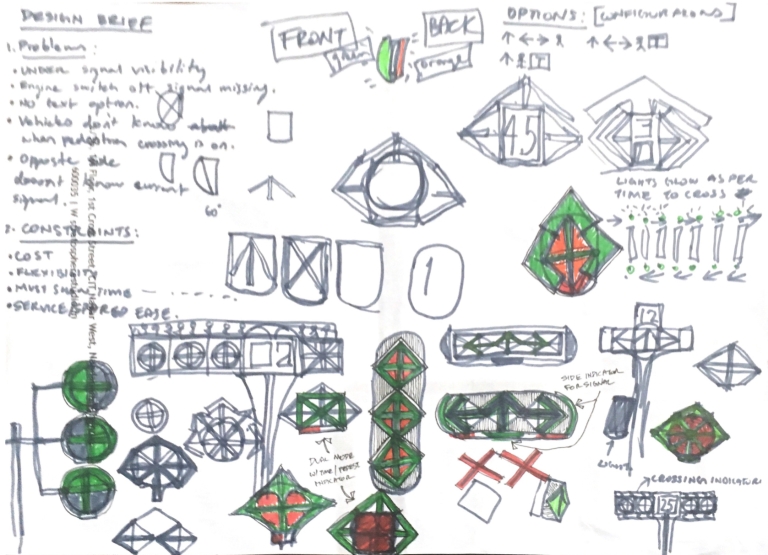
Design brief:
- What will it do?: Automate switching of stop lights based on traffic volume. I aim to make a scaled down prototype for the same
The signal unit will determine the number of vehicles / traffic volume using cameras and ultrasonic sensors. The signal housing should be rain proof and so should the sensors. The sensors should have high accuracy and range since the signal will be mounted far from the vehicles.
- Who’s done what beforehand? AI recognition: - 1 - 2
- What will you design? Traffic stop light and pedestrian crossing lights PCBs, light housing and sensor housing.
| Materials | Source | Cost |
|---|---|---|
| Raspberry Pi | Amazon | 36 |
| Camera module | Amazon | 8 |
| NeoPixel RGB 64 | Mouser | 23.5 |
| PLA | FabLab | 4 |
| Attiny 44 | Fablab | |
| PCB |
- What parts and systems will be made? PCBs, light housing and sensor housing. The system will detect cars and send data to a processor to determine which direction has most cars every 5 seconds. Based on this data, another board will tell the LEDs to light up accordingly.
- What processes will be used? 3D printing for sensor housing, CNC milling for PCB, casting for light housing, waterjet cutting for overall housing and acrylic heat moulding for light luminaire.
- What questions need to be answered?
- How will it be evaluated? Vehicles wait periods are shorter, on average, than those at a regular intersection
Your project should incorporate 2D and 3D design, additive and subtractive fabrication processes, electronics design and production, microcontroller interfacing and programming, system integration and packaging
Updated 3D Modeling
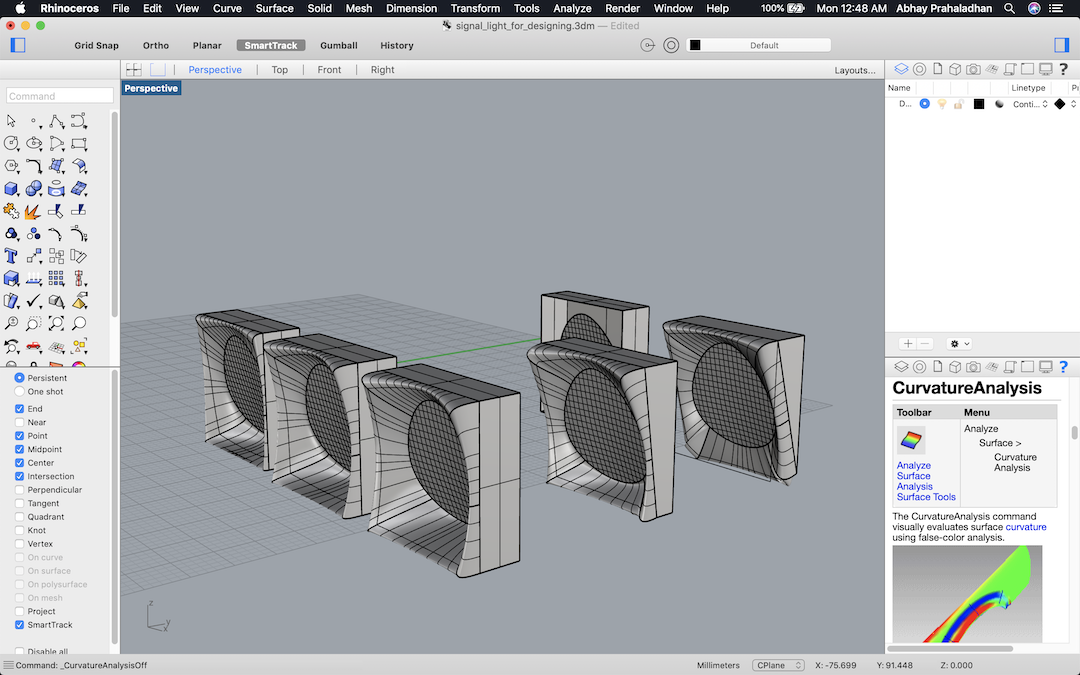
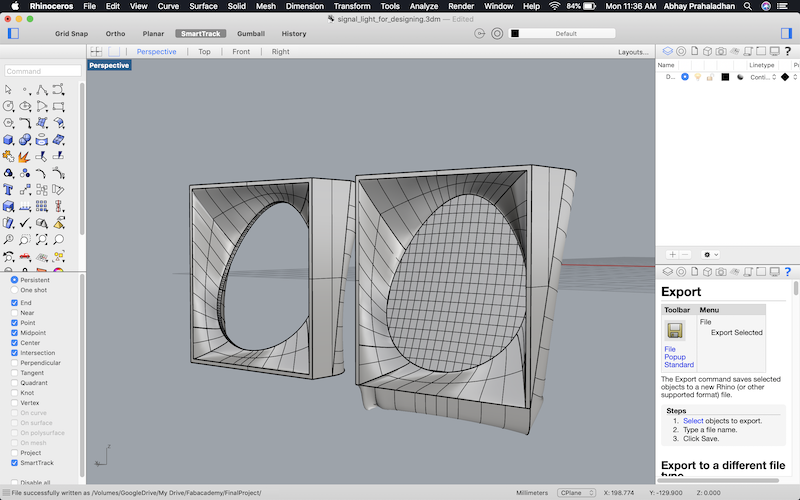
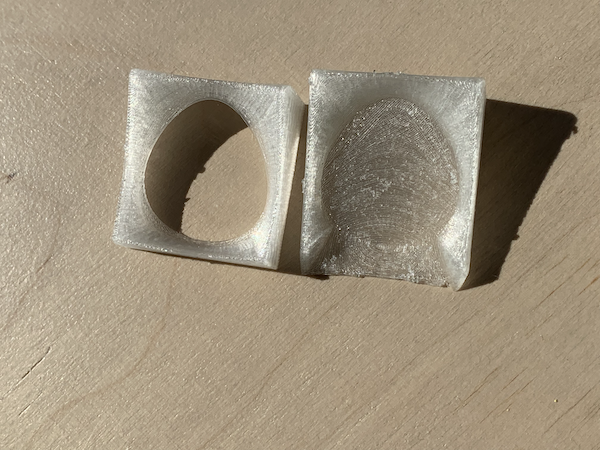
Design process refinement
Computer Vision
For my signal to detect vehicles, I needed the system to use a camera to send images to an onboard classifier which is trained to look for them. Since I had absolutely ZERO coding experience before coming into Fabacademy, I decided to stand on the shoulders of open source tools and build upon them to work for my need.
Even without doing much of the coding, this is a lot of learning and pushed me extremely out of my comfort zone. Also, I realised that the Raspberry Pi I’m using might not detect the vehicles as fast as a GPU such as NVIDIA.
Hence I decided to first runt the program on my computer before proceeding with the RPI.
Process to get started with computer vision basically involves the following steps:
- Install the tools that enable you to make a image classifier. (Darknet,Tensorflow,OpenCV)
- Write the code for the classifier or use precompiled code. (Keras,YOLO)
- Scrape images off the net based on the classes of objects that you want the program to detect.(car, bike, truck, person) or use a compiled dataset.
- Use the images to train the program and build a model. (or download an existing model)
- Process the input image or video with the trained model to identify objects in the image.
- The program prints boxes around detected objects along with a trust score of how likely they are accurate.
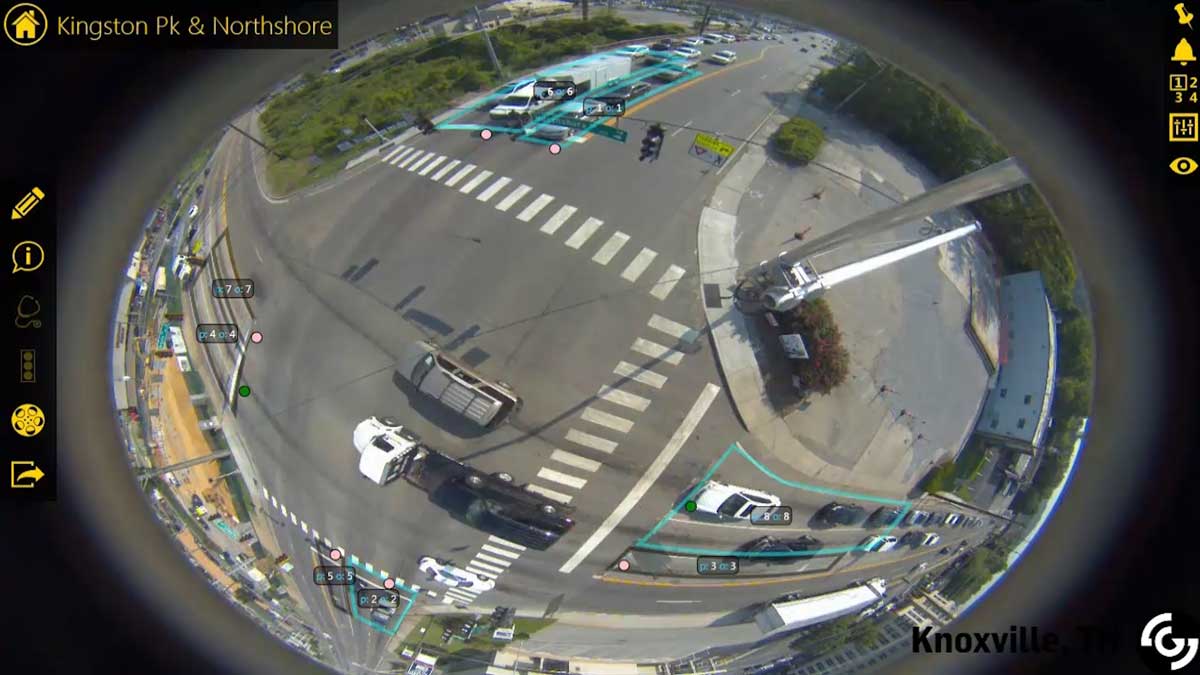
Testing on a laptop with Darknet:
The first tool I used was YOLO which runs on Darknet using a pretrained model. I used an image from the top of my page to test.
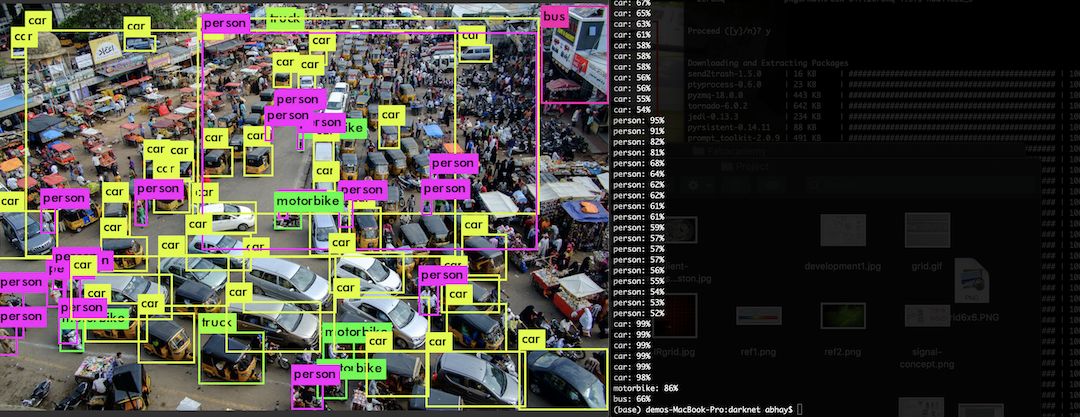
The classificartion took 17 seconds on my computer without a GPU, irrespective of size of image. It missed out on a bunch of vehicles clustered together further from the PoV. I will need to train the model with respect to indian conditions to make this more efficient.
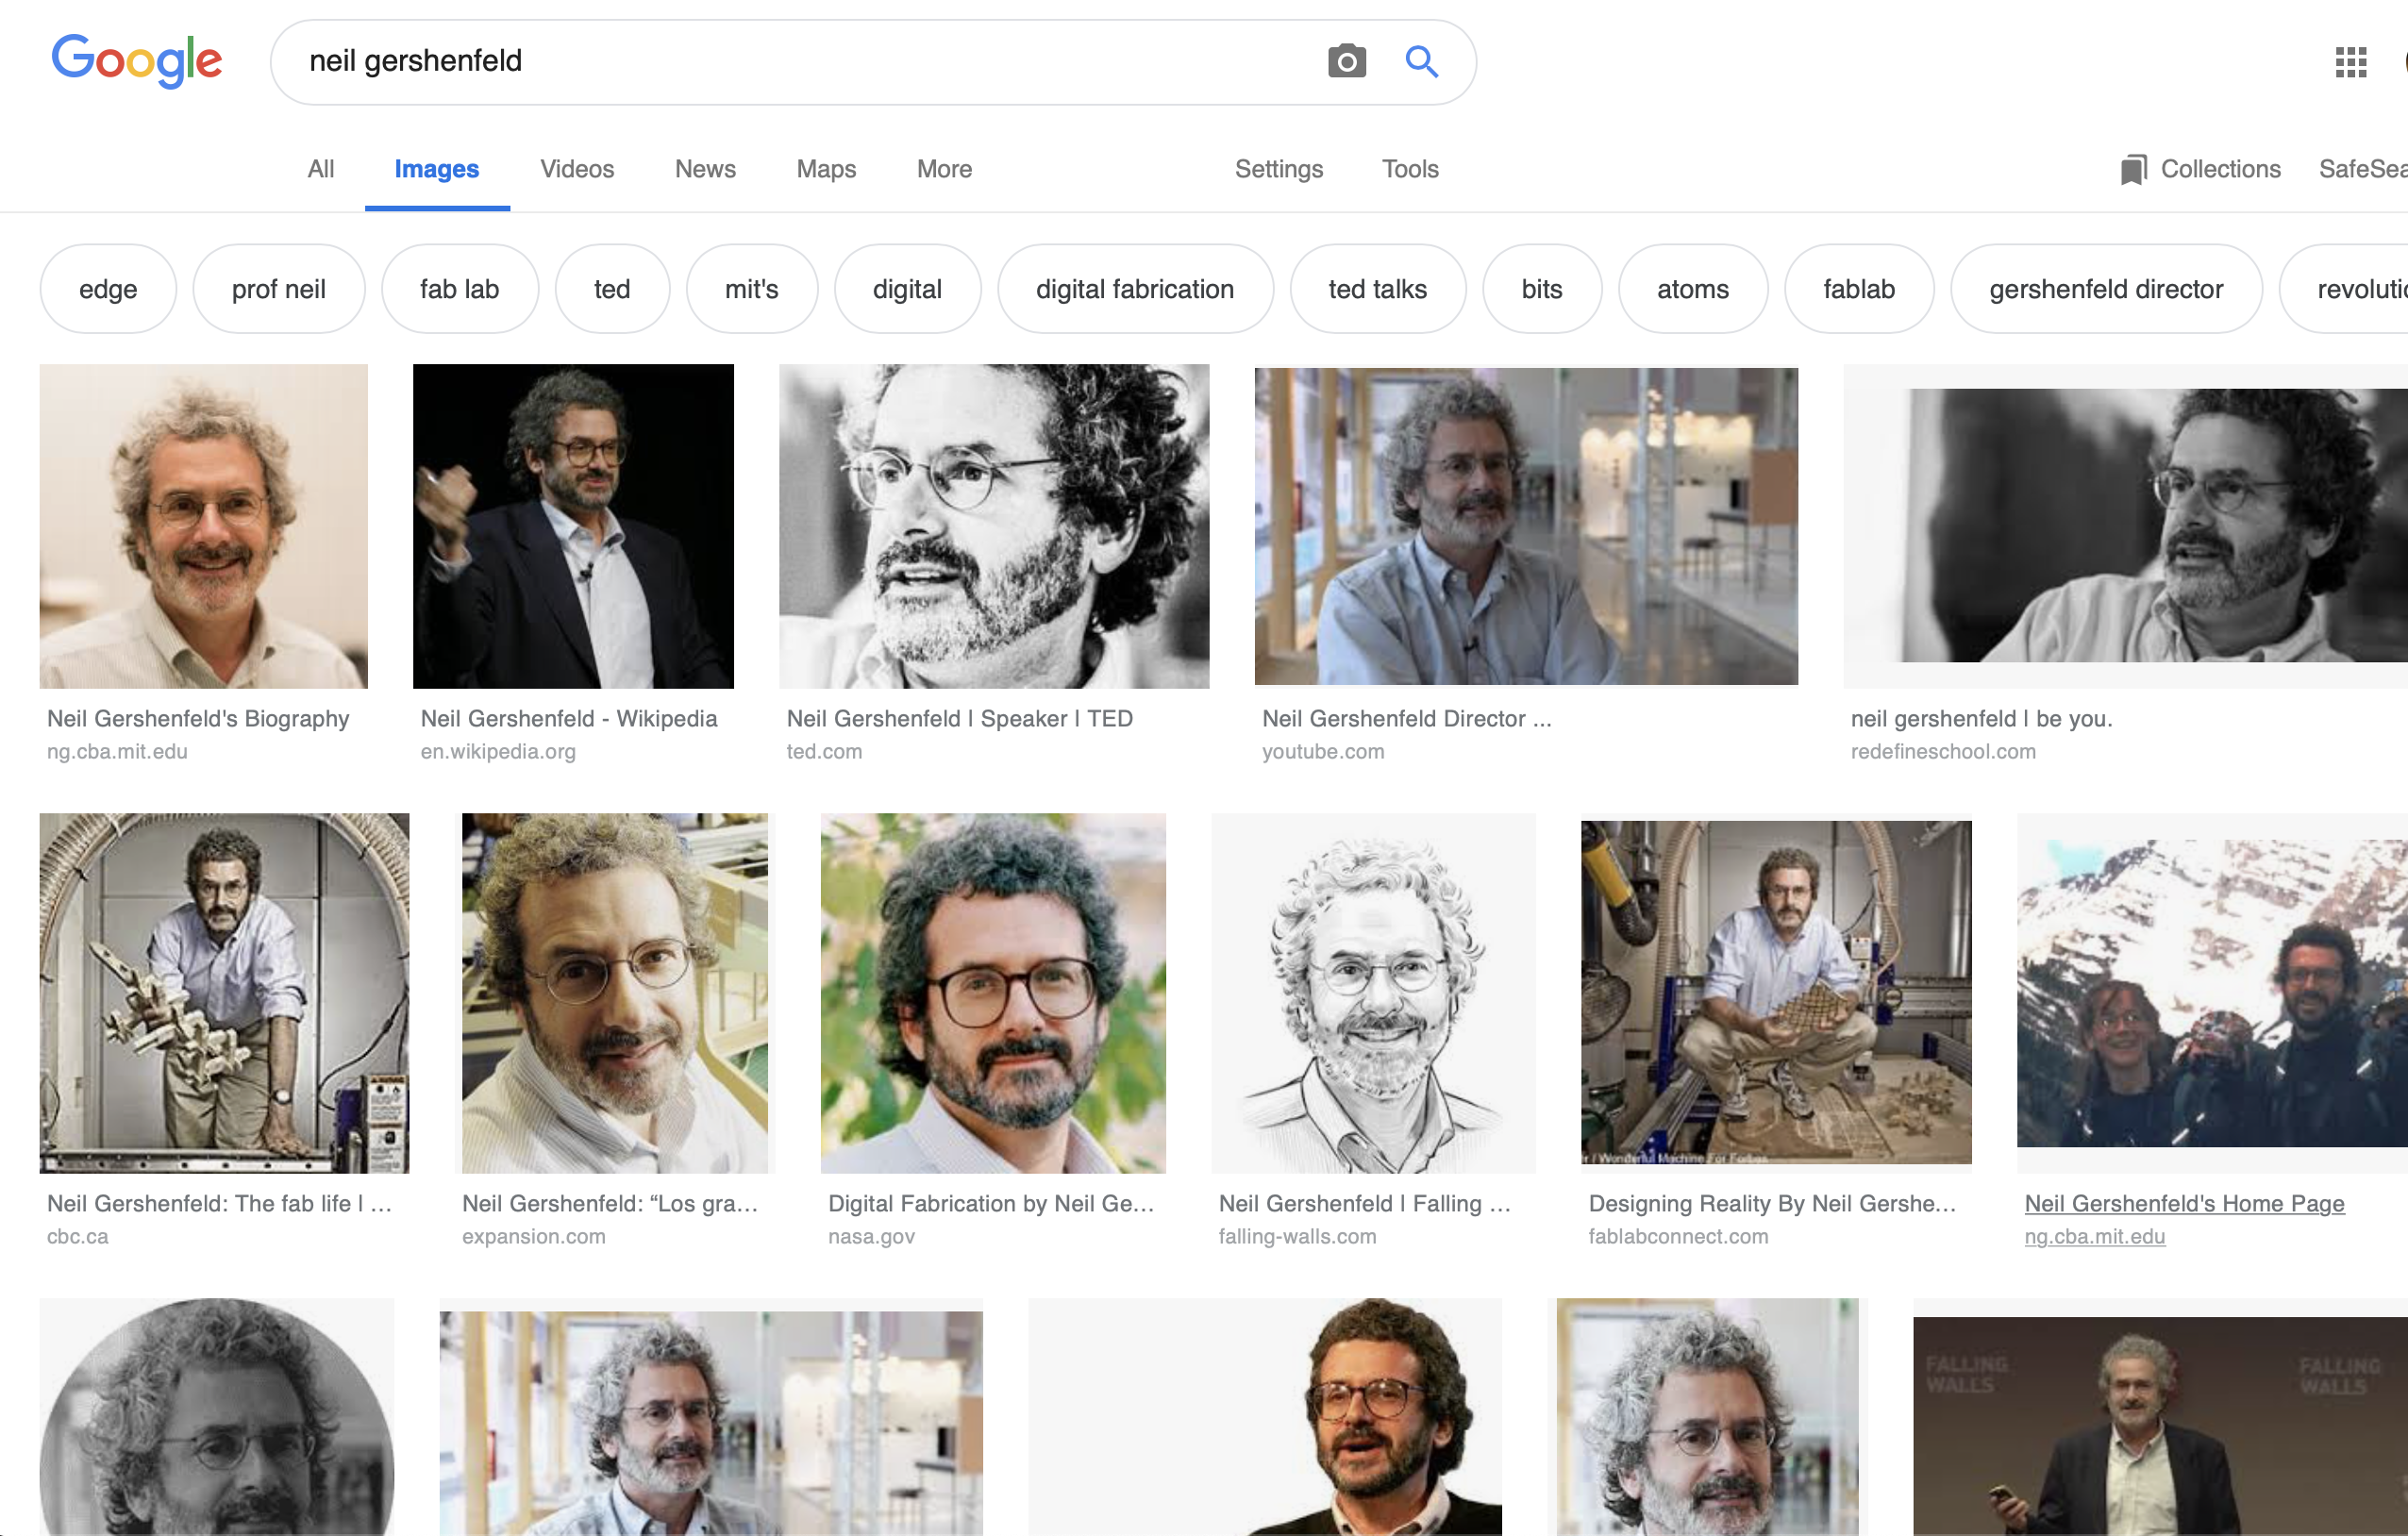
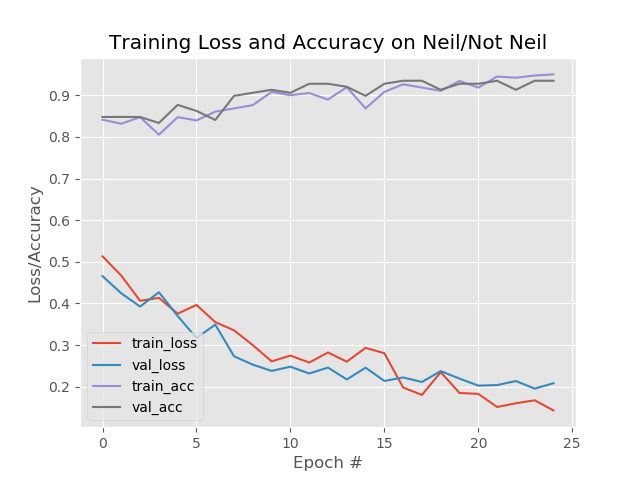
Testing on a laptop with Keras
This involved manually scraping images off Google.
I wanted to try something fun for the review with Neil, instead of using my project directly on the road and confuse vehicles.
I wont go into the process of training in detail but you can check under references at the bottom of this page for tutorials on training the keras model. I have linked the original files in my GIT if you want to use the same trained model.
While selecting the images, ensure to crop them effectively so that you tell the computer exactly what to look for. This ensures higher efficiency in learning.
Finally, I tested out the detector with some example images.
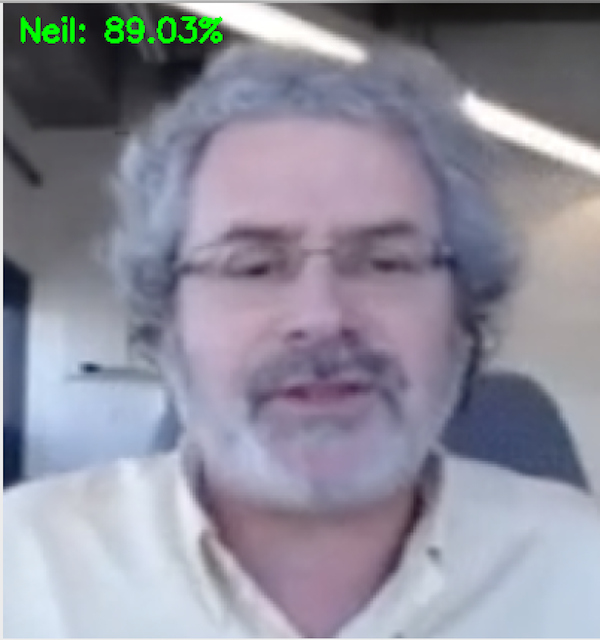
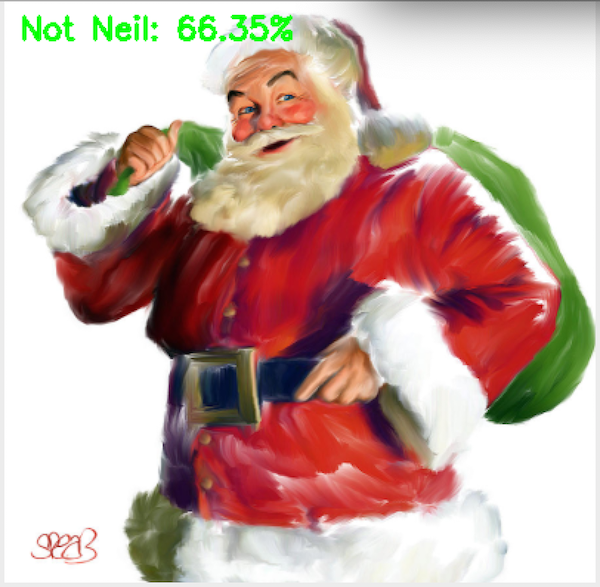
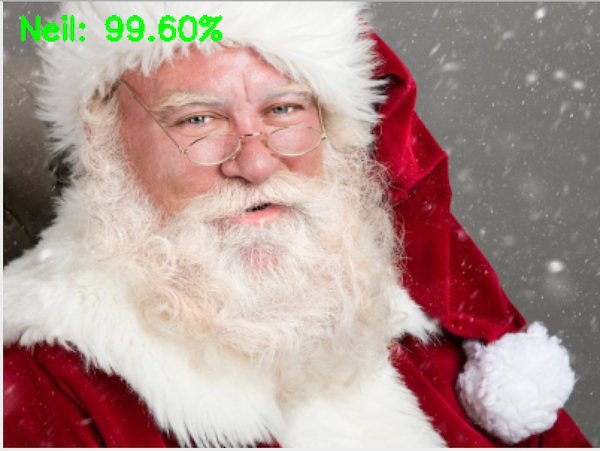
Not bad!! This can be used as tool to know when Neil is back from the bio-break, unless Santa walks in.
So the model has to be trained with more images for it to differenciate between faces.
Comparision between YOLO & Keras
I found Keras to be faster than Yolo, at least for how I’m going to use it, and is easier to teach. It is also lighter of the two.I will therefore use Keras in my project. Also, to detect multiple objects like bikes, cars, trucks, motorcycles and rickshaws, I will have to edit the code and retrain the model.
Programming the Neopixel
Reviews
References

This work is licensed under a Creative Commons Attribution-NonCommercial 4.0 International License.