10. Molding and casting
This week I worked on CNC milling a 3D object from wax and making a silicon mould out of it
Safety
- Wear latex gloves while handling the casting & moulding chemicals. Wear a lab coat for further protection.
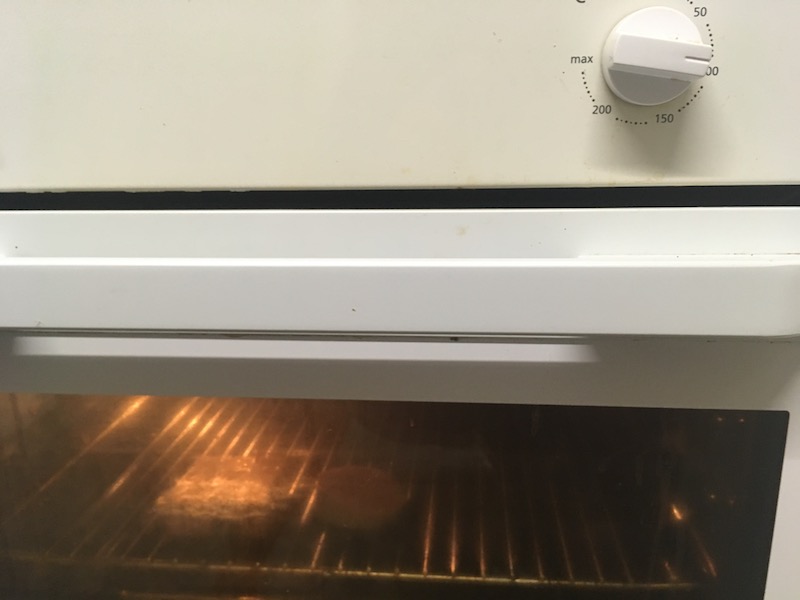
- Use food grade silicon for moulding food products. Cook the mould in an oven/ boiling water for the defined duration as per the datasheet.
Group Assignment
Research
USG Hydro-Stone
Design a mould
Designing the final product
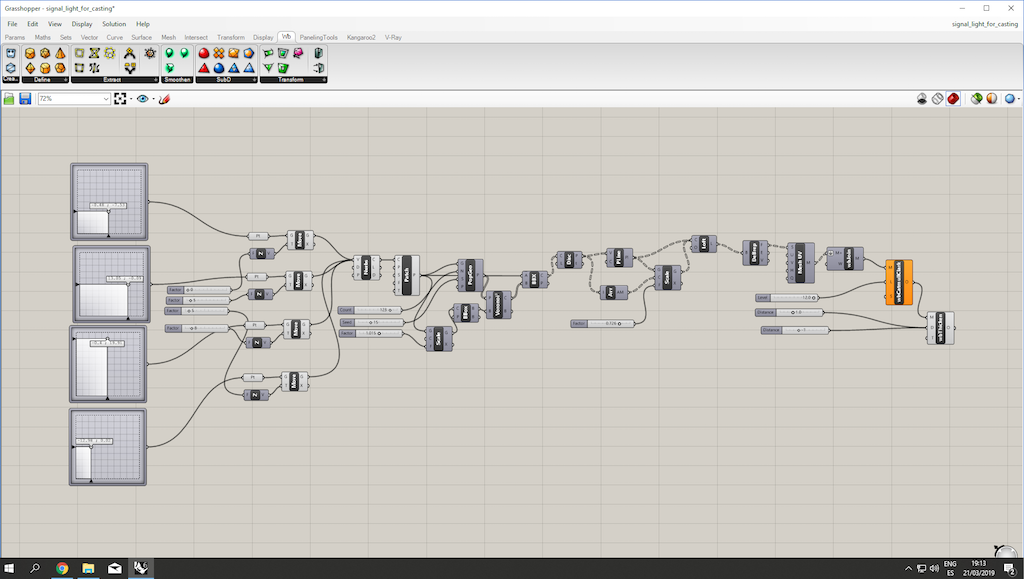
I began designing the positive finished product that I needed out of the final mould. I used Grasshopper to model the file since I needed the raw surfaces to make negatives of the same and for axis accuracy. The voids are programmed from Voronoi to structurally look as close to nature as possible. This is an inbuilt command in Grasshopper.

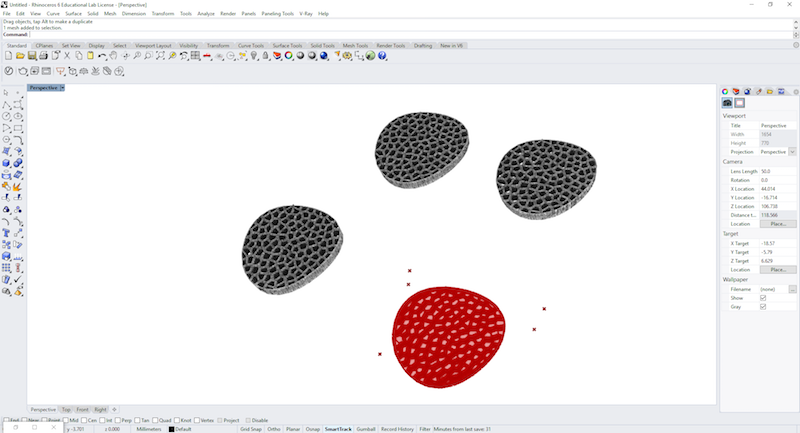
Ensure your 3D file does NOT have surfaces like the above image to ensure smooth finishing.
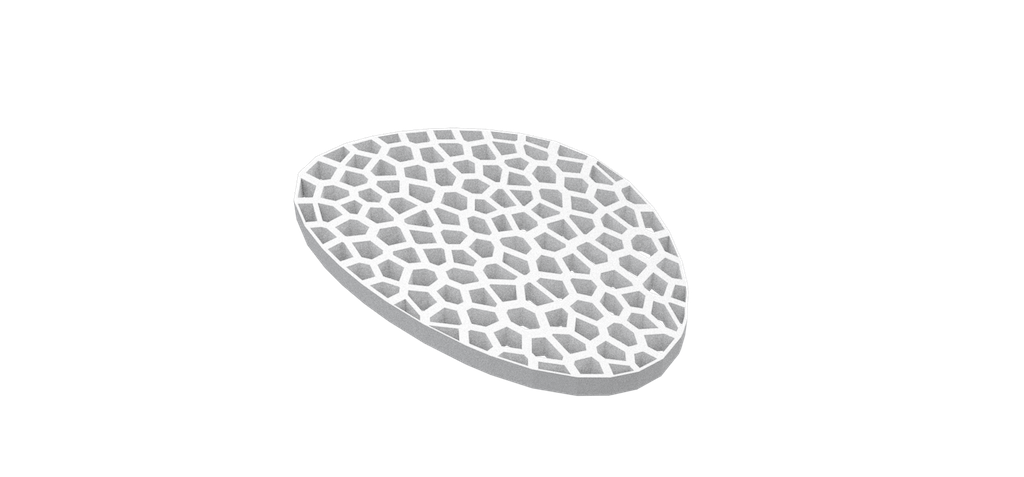
I wanted my final finished product to look like this.
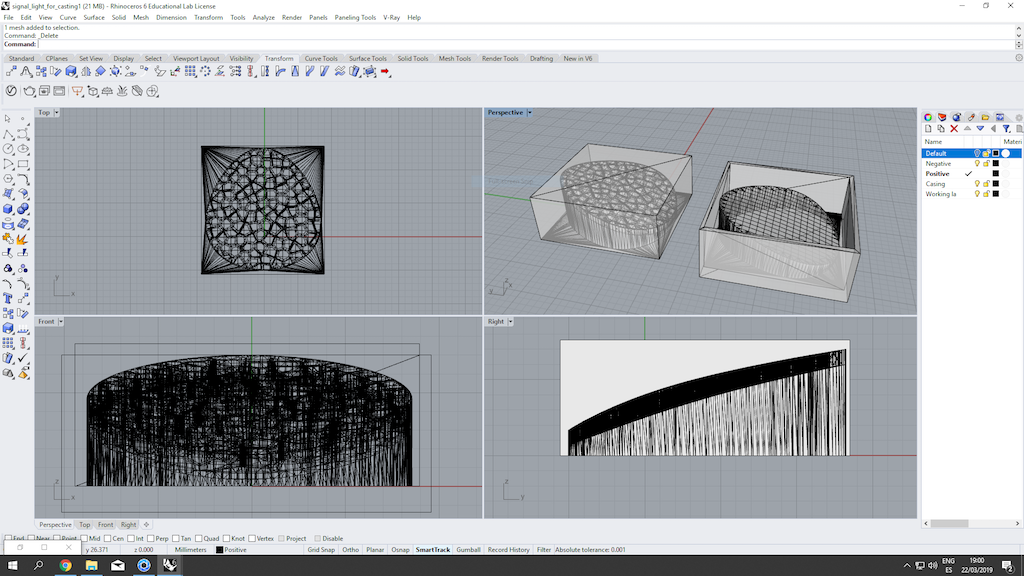
Designing the mould, for the mould
I split the mould into two parts and added two cylinders to form tubes to pour the final casting liquid and ensure the liquid flows throughout.
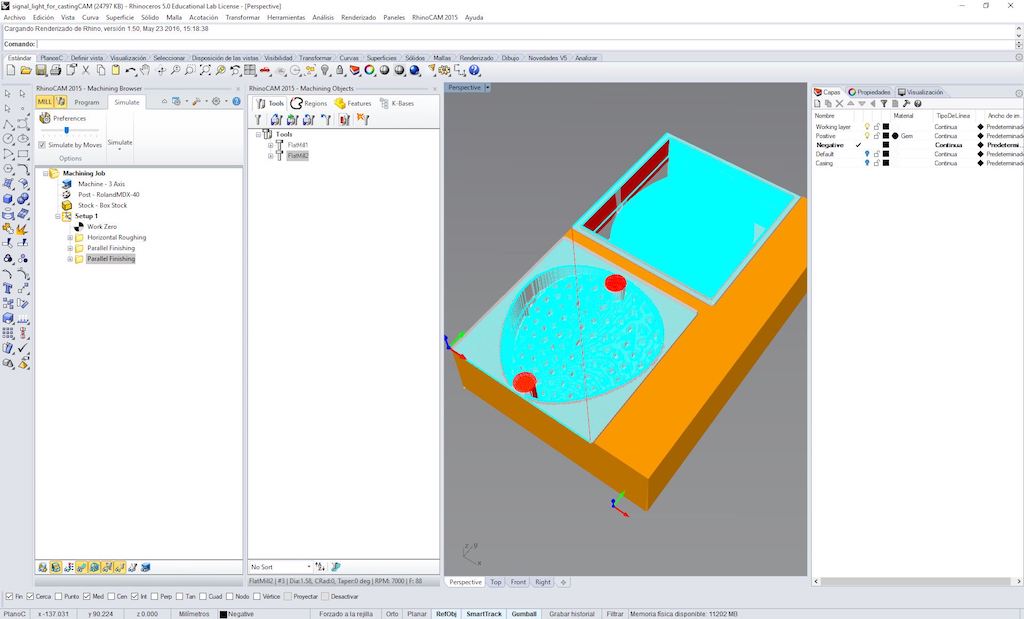
I used Rhinocam to set up the code files to be read by the mill firmware. The milling work was split into 3 parts: Horizontal Roughing, Parallel finishing 0 degree rotated, and Parallel finishing 90 degree rotated
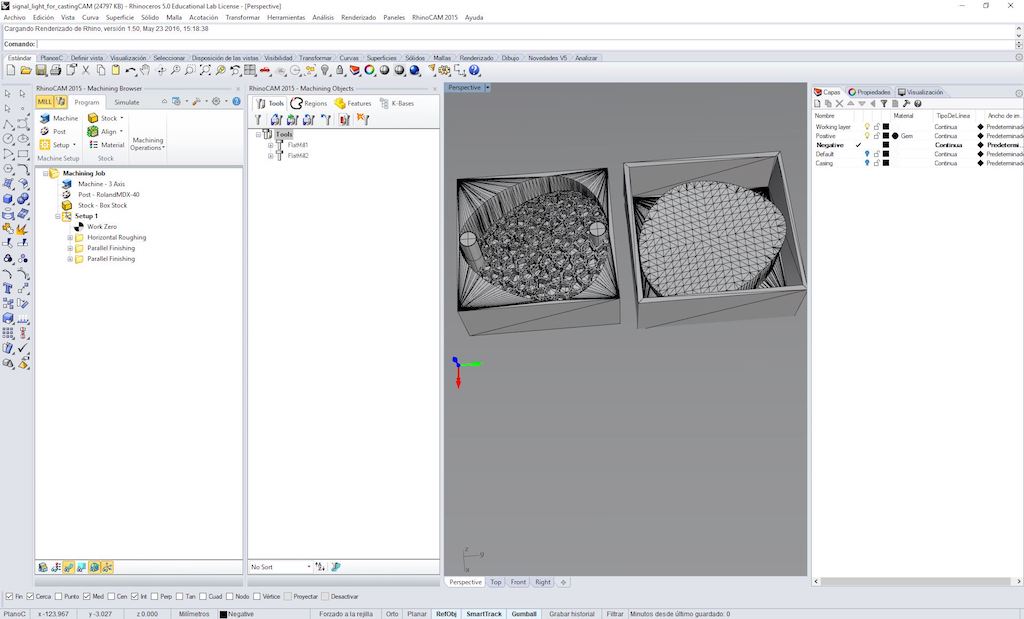
RhinoCAM generated a 3D preview of the milling process to ensure the settings are correct.
Machining the mould, for the mould
I divided my CNC milling job to 3 parts: Horizontal rough cut, Parallel Finishing 1 and Parallel Finishing 2. The rough cut was to take away most of the material. The first finishing cut was to add definition. The second parallel finishing cut was to be done at a 90 degree rotation to the first cut to add further definition.
Horizontal Rough cut
100% step over 3mm diameter flat mill head 0 degree rotation
RhinoCAM settings:

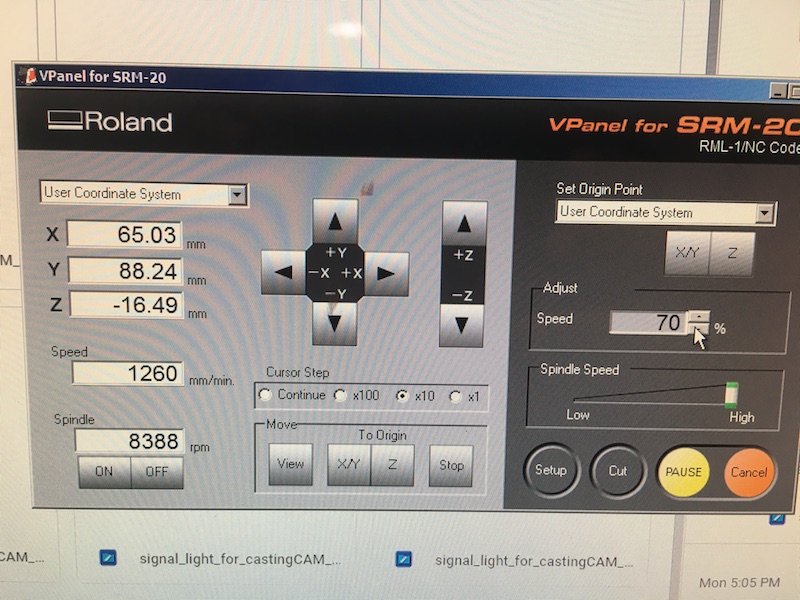
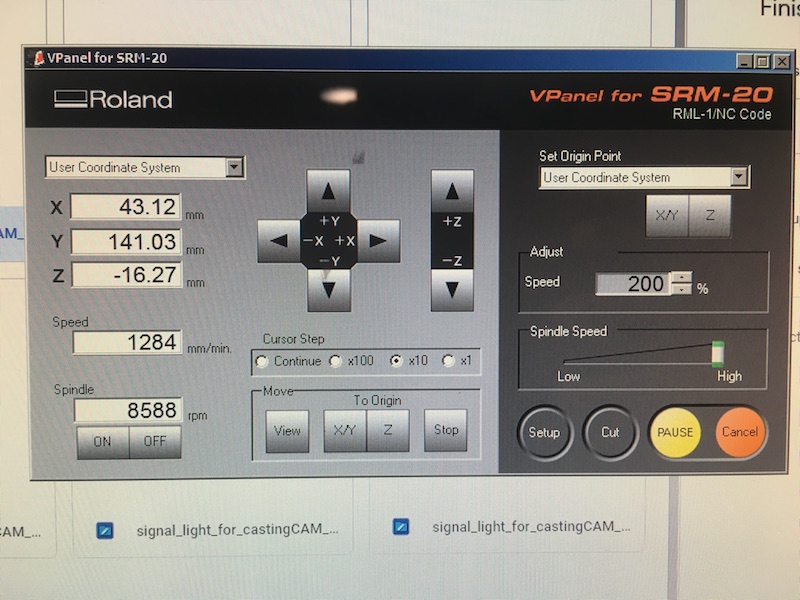
Roland settings for Horizontal rough cut and Parallel 1:
Speeds will have to be varied from 10% to 100% based on location of cut. Deep plunges in parallel finishing with a smaller dia mill requires a slow down to 10%
Parallel Finishing cut 1
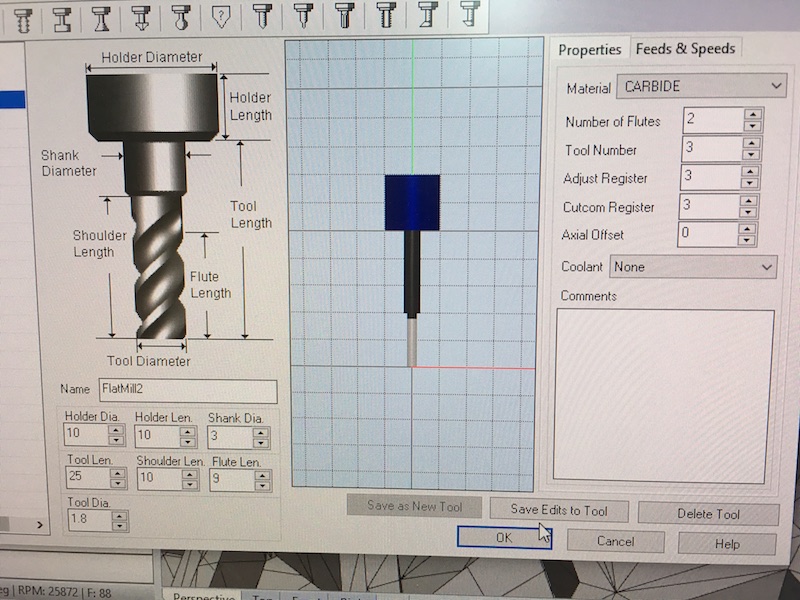
25% step over 1.7mm round mill with 3mm neck diameter 9mm shoulder and 9mm neck height 0degree rotation
Parallel Finishing cut 2
20% step over 1.7mm round mill with 3mm neck diameter 9mm shoulder and 9mm neck height 90degree rotation
RhinoCAM settings:

Roland settings only for Finishing cut 2:
Trial rough cut in foam
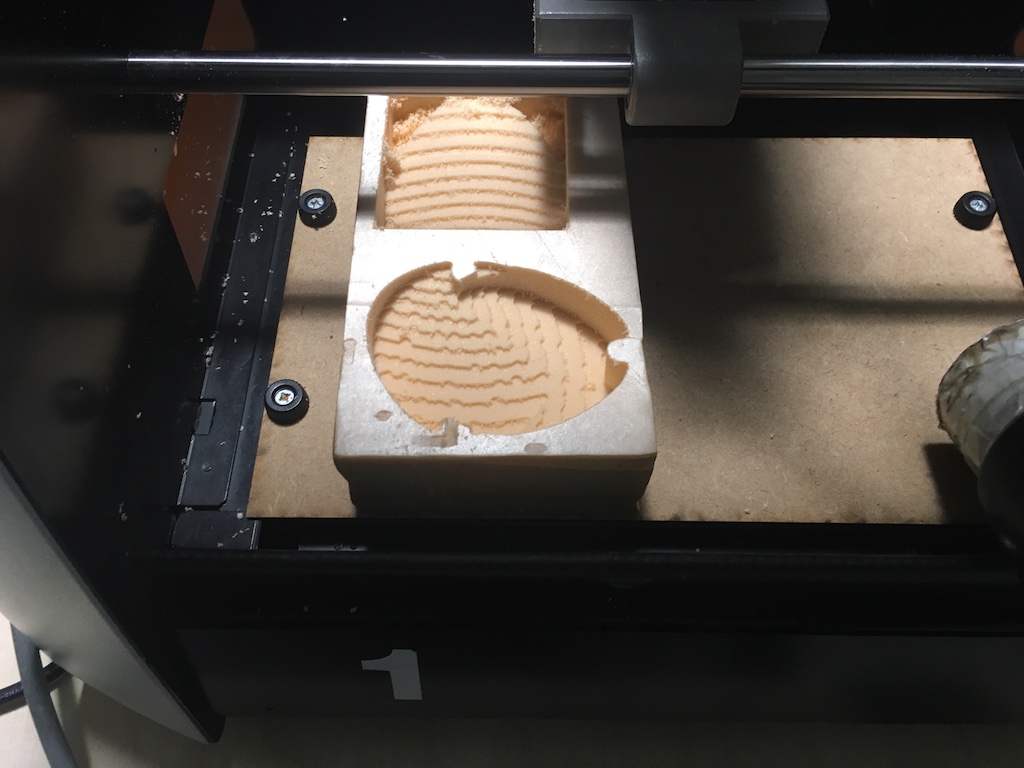
No problems!
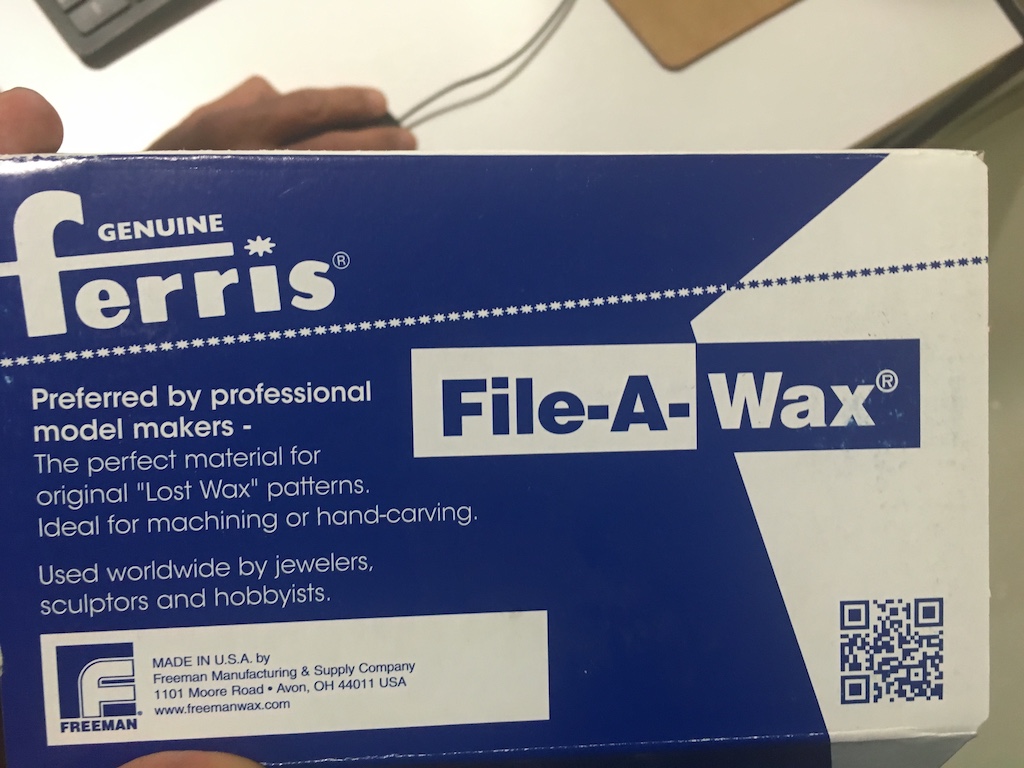
Final cut in wax
My file was scaled down to fit within the parameters of the roland and the block of wax we purchased for this assignment.
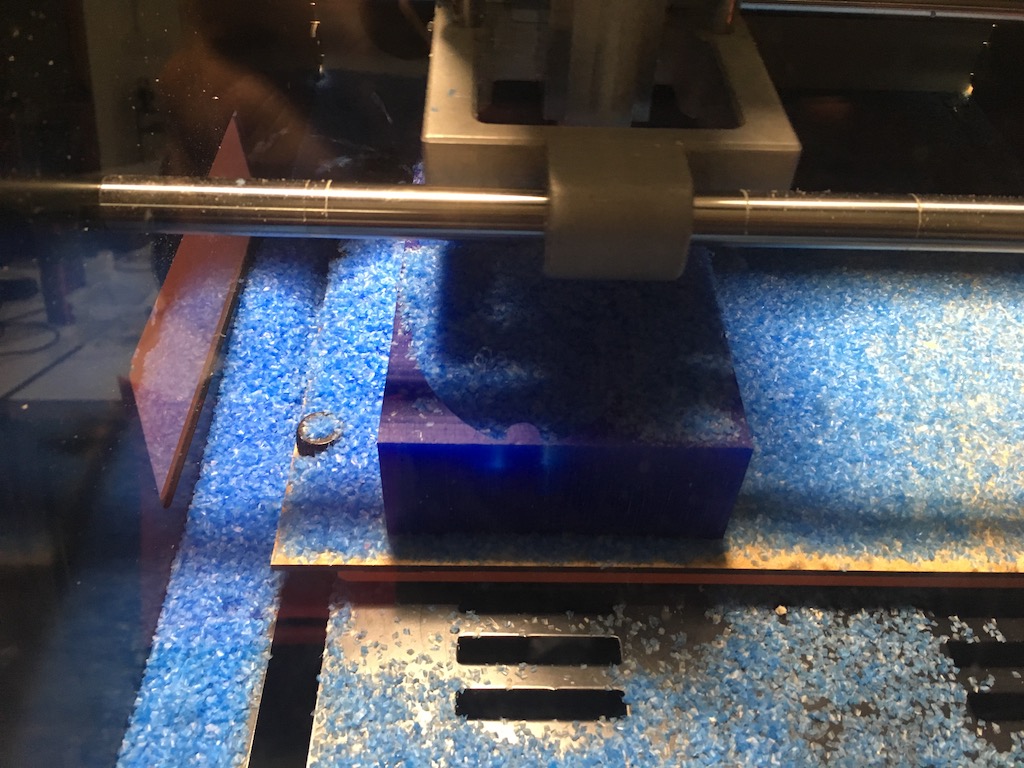

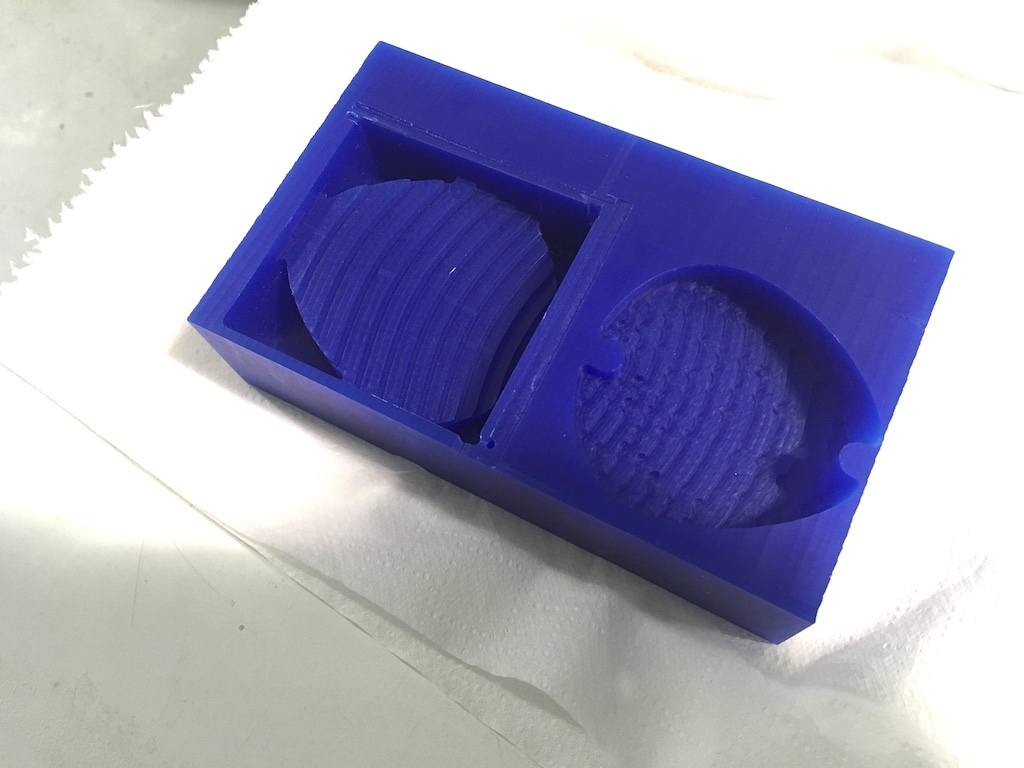
Only horizontal roughing worked out without any issue. We had some trouble regarding the tighness of the collette. I will have to try milling the wax again.
Done!
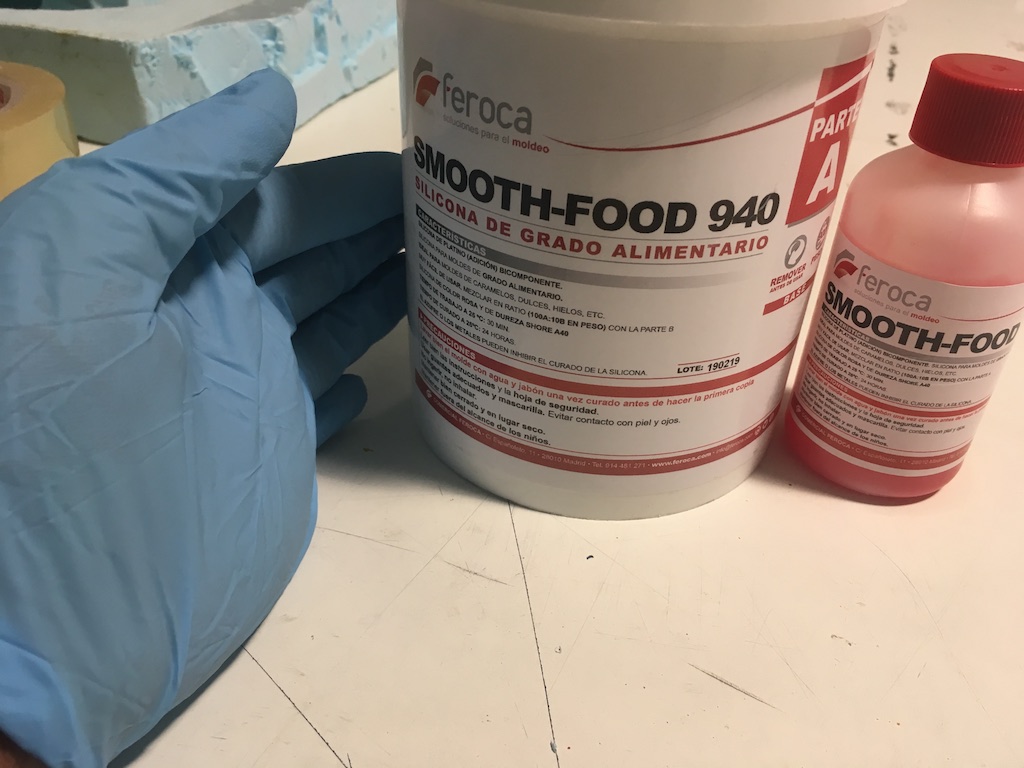
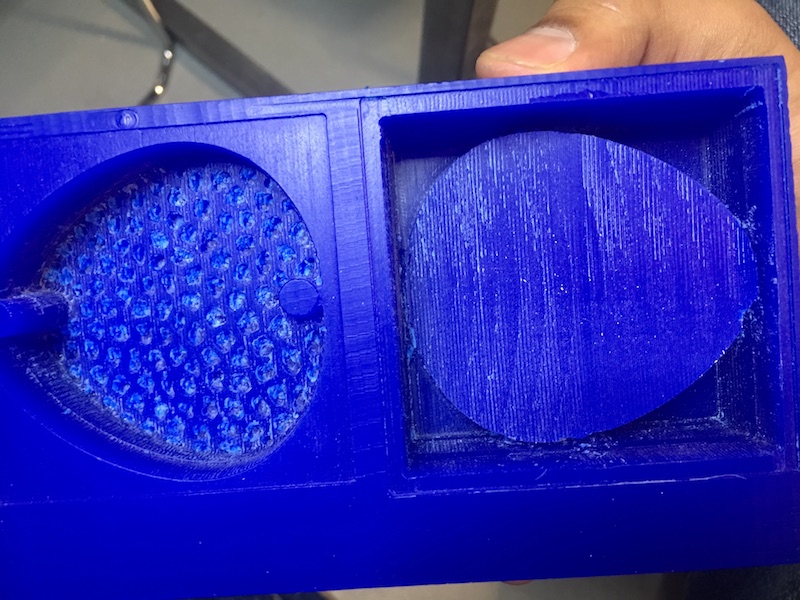
I have used food grade silicon for my mould for this. The curing takes 24 hours.

The silicon mould needs to be baked in an oven/ boiled in water @100degrees for 2 hours before it can be used with food.
Done!