Given that the stepper motor is my main output device, I tried to write an application to interface a stepper motor to my computer through my board. I used Python to write a small application That send the pulse rate to the microcontroller which will make the motor turn accordingly. A counter is incremented at each iteration and printed on the screen. The microcontroller code is written in Arduino language.
The python codes require installing the serial and wxPython libraries with commandes: pip install PySerial
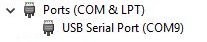
The board is connected to the PC with an FTDI cable. The port number can be read in the Device Manager in the Control Pannel
Arduino code
const int DIR_1 = 5;
const int STEP_1 = 6;
const int STEP_REV = 200;
int PULSE=1000;
void setup() {
pinMode(STEP_1, OUTPUT);
pinMode(DIR_1, OUTPUT);
digitalWrite(DIR_1, HIGH);
Serial.begin(9600); // opens serial port, sets data rate to 9600 bps
}
void loop() {
if (Serial.available() > 0) {
PULSE = Serial.read(); // read the incoming byte
stepper1_on();
}}
import serial
import time
serialInterface = serial.Serial('COM9', 9600)
text = ''
counter = 1
while True:
time.sleep(0.5)
serialInterface.write(100)
counter = counter + 1
text = str(counter)
print("send "+text)
Running first code
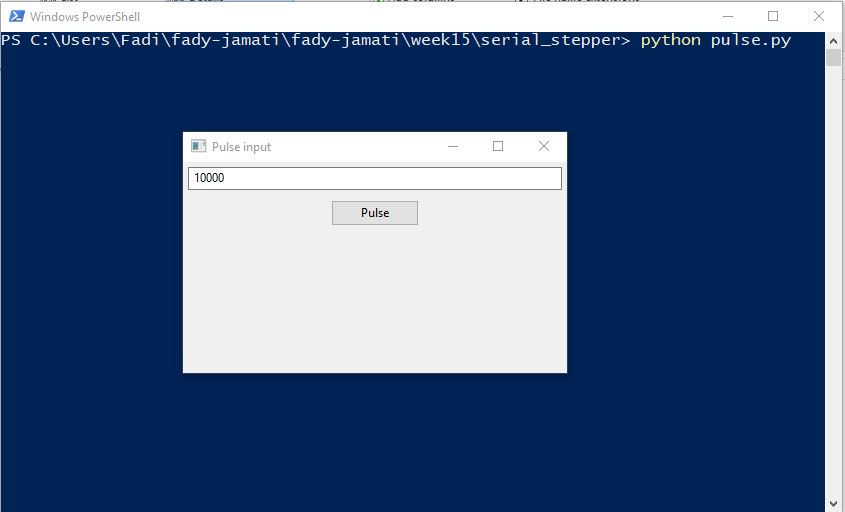
Python code with graphic interface
After getting started with a simple Python code I tried to write a more complex code with a graphic interface using the wxPython library. The code take as input a pulse number and sends it to the microcontroller via serial which turns the stepper motor one step according to the value of the pulse. The Arduino code is the same.
The python codes require installing the wxPython library with commandes: pip install -U wxPython
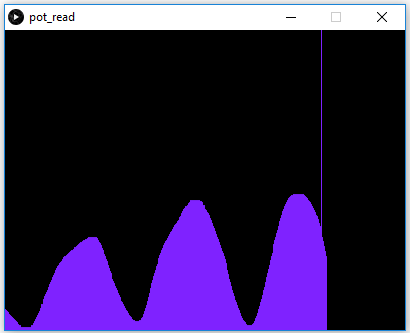
We tested the Processing language with an input such as a potentiometer. The code plots the variation of the potentiometer. We also tried the same application with Python. Many examples of similar codes are available online, such as in the arduino Library: Arduino tutorial
Arduino code
void setup() {
Serial.begin(9600);
}
void loop() {
// send the value of analog input 0:
Serial.println(analogRead(A0));
delay(2);
}
Processing code
import processing.serial.*;
Serial myPort; // The serial port
int xPos = 1; // horizontal position of the graph
float inByte = 0;
void setup () {
size(400, 300); // set the window size:
println(Serial.list()); // List available serial ports
myPort = new Serial(this, Serial.list()[0], 9600); // Open port in use
myPort.bufferUntil('\n'); // don't generate serialEvent until new character
background(0); // set background:
}
void draw () {
stroke(127, 34, 255); // line style
line(xPos, height, xPos, height - inByte); //line position
if (xPos >= width) {
xPos = 0; // at the edge of the screen, go back to the beginning:
background(0);
} else {
xPos++; // increment the horizontal position:
}
}
void serialEvent (Serial myPort) {
String inString = myPort.readStringUntil('\n'); // get string
if (inString != null) {
inString = trim(inString); // trim off any whitespace:
inByte = float(inString); // convert to an int and map to the screen height
println(inByte);
inByte = map(inByte, 0, 1023, 0, height);
}
}
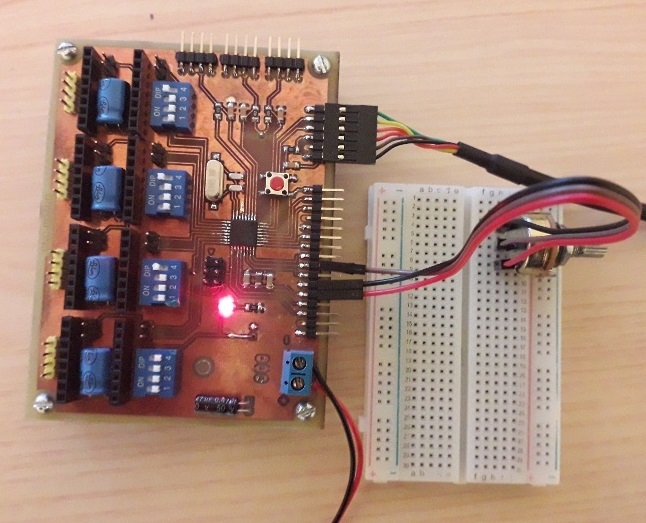
Board
Processing plot
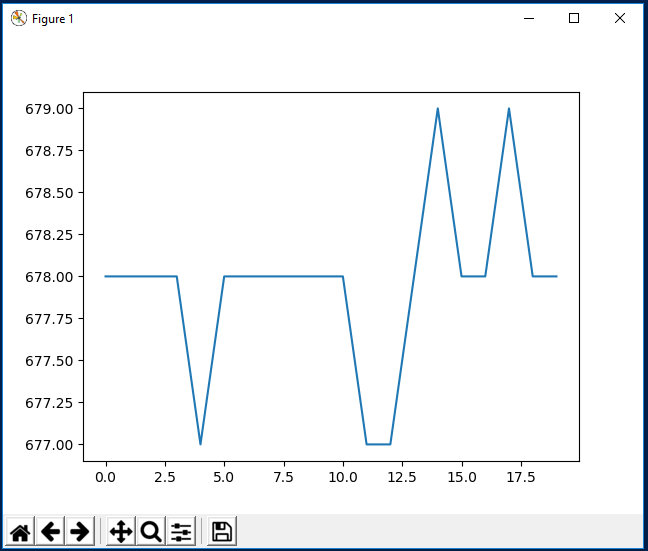
Comparing with Python
I tried the same application with Python. Again many tutorials and
Python examples for reading a senor or input are available online.
The python codes require installing the matplotlib library with commandes: python -m pip install -U matplotlib
The python code requires special attention to the format of the characters:
A string (str) can be encoded into bytes with using the encode() function.Ex: a_byte=a_string.encode("utf-8")
A byte can be decoded from a string using the decode() function. Ex: a_string=a_byte.decode("utf-8")
Python code
import serial
import time
import csv
import matplotlib
matplotlib.use("tkAgg")
import matplotlib.pyplot as plt
import numpy as np
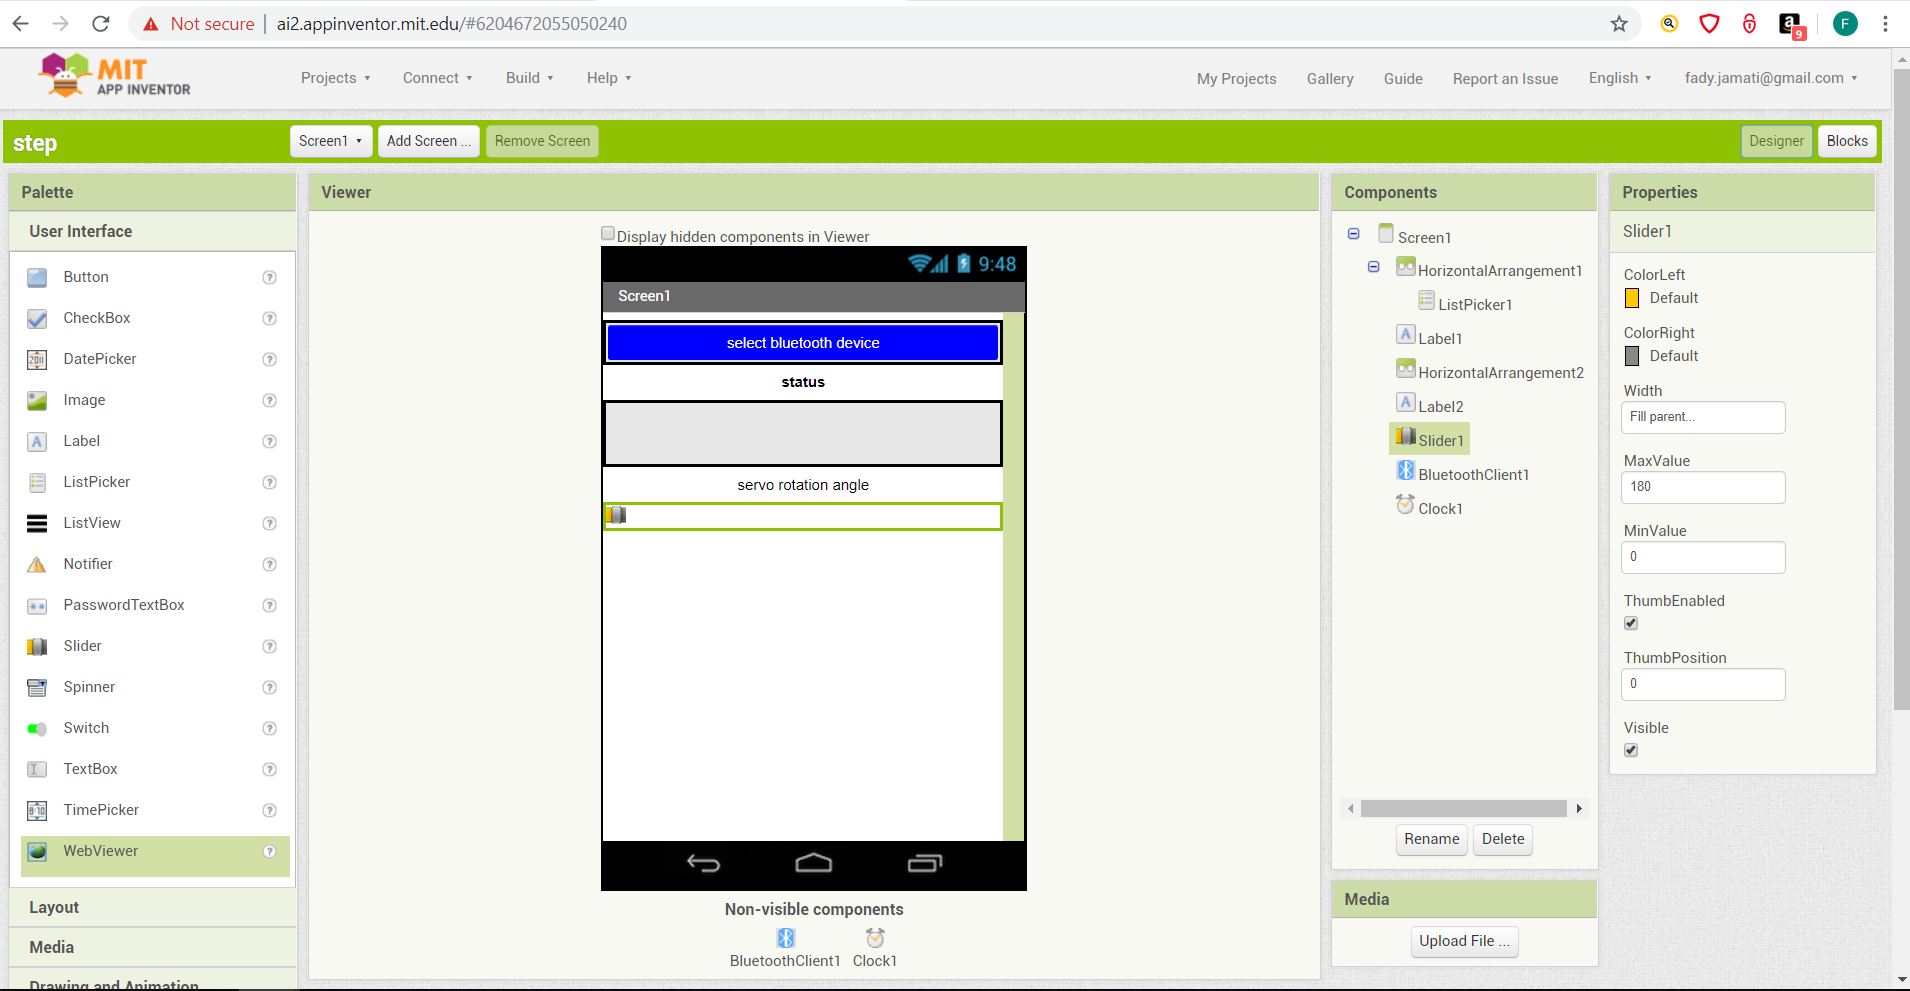
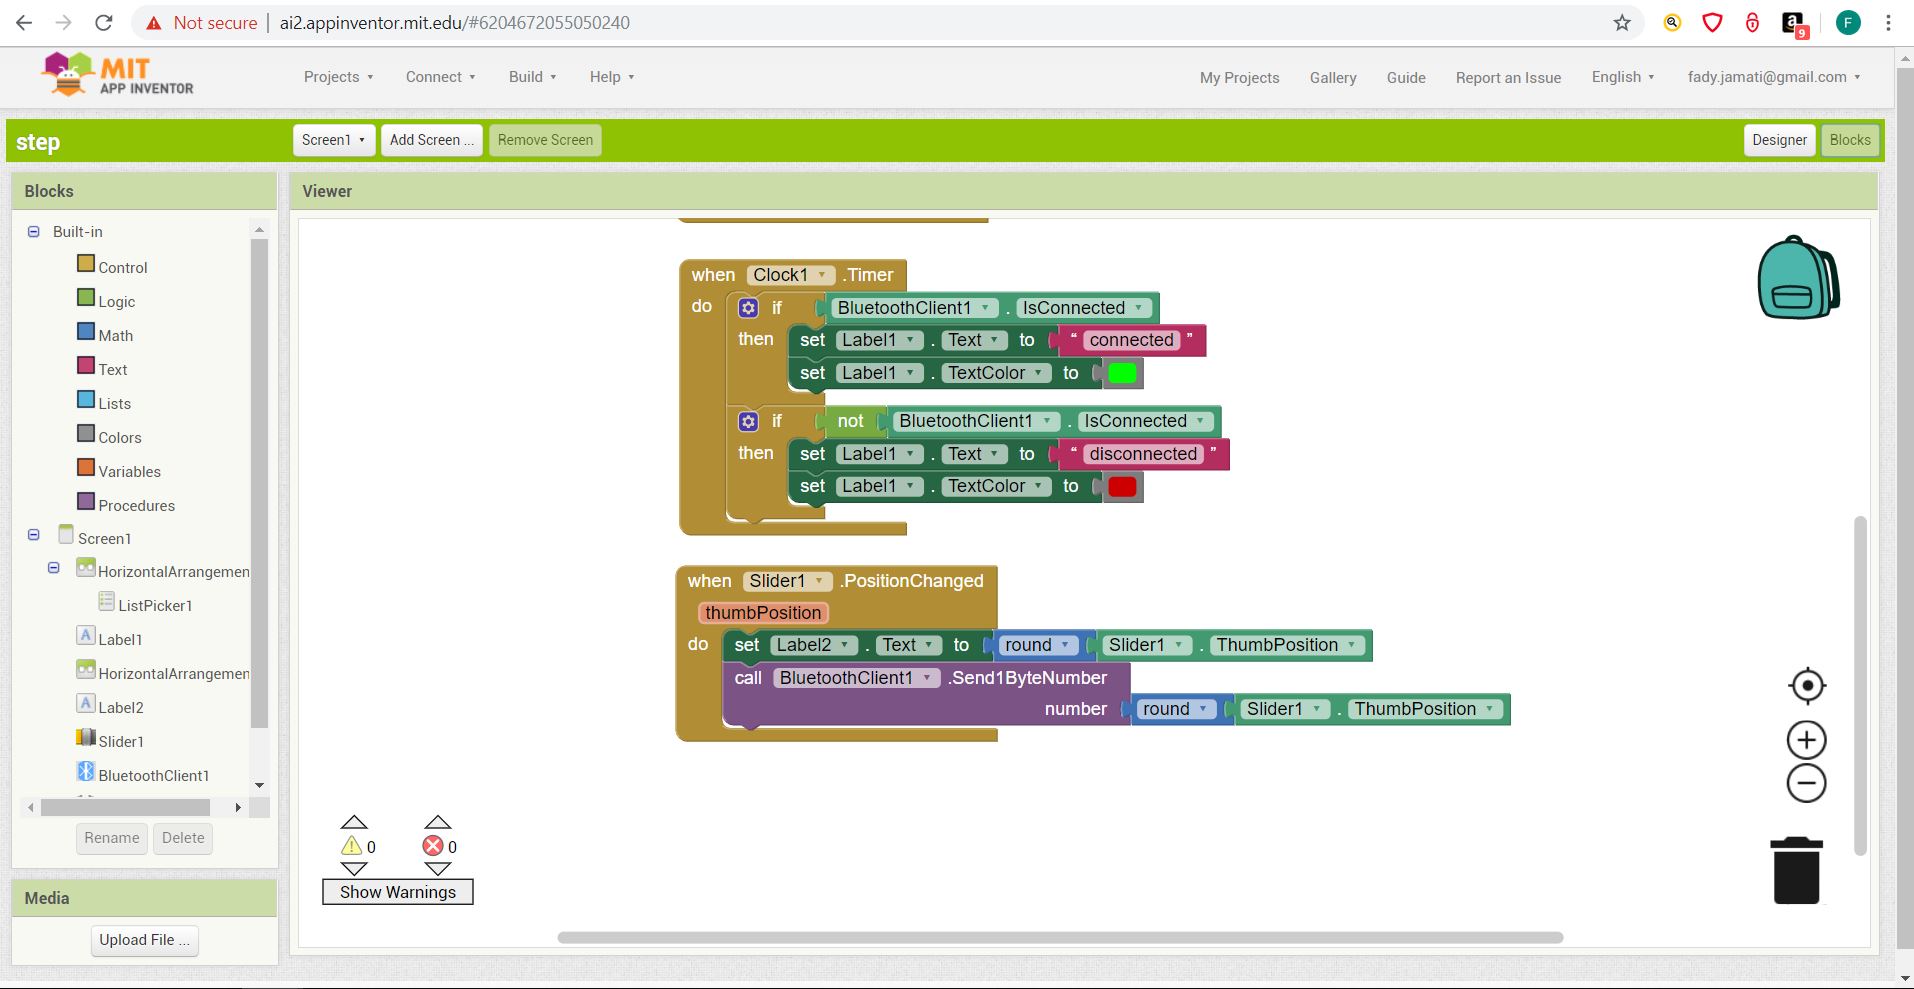
I tested the MIT App inventor with app that controls the rotation angle of a servo motor. The App cosists of List-picker from wich we ca select the Bluetooth connection, and a Slider that sets the rotation angle ranging from 0 to 180 degrees. The value selected by the user on the slider is rounder and sent via Bluetooth to the microcontroller to wich the servo is connected. The graphic layout is defined in the Designer window. The non visible part of the designer section includes a BluetoothClient module (from the connectivity toolbar) and a clock (from the sensor toolbar). The Blocks diagram defines the relation between the different modules. When the timer runs out, if the Bluetooth Client is connected a label signals that the device is connected, then the value of the rotation angle selected with the Slider is sent via Bluetooth. It has to be noted that the pairing between the phone and the HC-06 bluetooth module has to be done on the phone before using the app. The arduino code utilises the SoftwareSerial and the Servo libraries