6. 3D Scanning and printing
The goal for this week was to
-
Design a 3D model by using additive manufacturing and print the same model using a 3D Printer.
-
Scanning a model using the Microsoft XBOX Kinect available at our lab. Learning the techniques for scanning objects.
-
Group assignment for this week was to test the design rules for 3D printers, to identify the tolerance of 3D Printers by printing a tolerance test for future accurate printing
Useful links
- MakerBot
- XBOX Kinect
- MakerBotDesktop
- Torture Test Download
- Tutorial on 3d printing
- Skanect 3d scanning
3d Printing Group Assignment
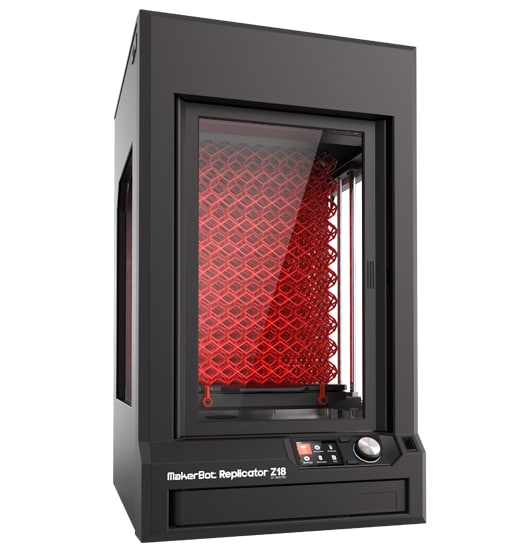
We started with group assignment and as discussed with our instructor we performed a torture test on 3d printer to verify the design rules and settings to get an optimal performance from 3d printer. In the lab we have two MakerBot replicator z18 on which we carried out this test. You can find more details on our Lab Group page
Priniting Material Analysis
In FAB Lab Akgec we have PLA as well as ABS material for our ptinting process we used PLA material.
| Filament | Properties | Printing Temperature | Bed Temperature |
|---|---|---|---|
| ABS | Making durable parts that need to withstand higher temperatures,Easy to print with, strong plastic | 210°C to 250°C | 80°C to 110°C |
| PLA | Odorless, Low-warp, Eco-Friendly, Less energy to process | 190°C to 230°C | 60°C to 80°C |
| PVA | Non harmful, non-toxic, and environment friendly,Easily be dissolved in water under normal temperature, Easily stripping | 180°C to 230°C | 45 °C |
| PET | FDA approved for food containers and tools used for food consumption,barely warps, no odors or fumes when printed | 230 to 255 °C | 55 °C-70 °C |
Understanding Torture test
Its basically an open source 3d printing test that address the lack of a common standard to assess the performance of FDM 3D printers. (FDM stands for Fused Deposition Modeling which is the standard layer-by-layer process)
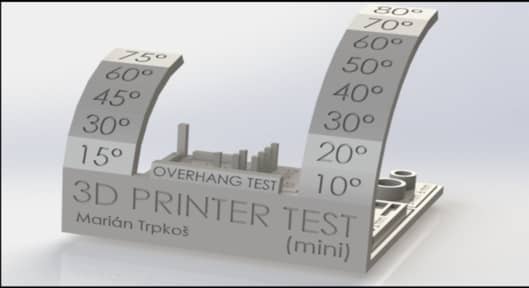
For our group assignment we picked up the torture test by Autodesk research scientist Andreas Bastian who has developed a test procedure designed to help creators better calibrate their machines and showcase their printers’ capabilities to backers on Kickstarter. He developed a single, consolidated STL file that tests a printer’s dimensional accuracy, resolution, and alignment.
Understanding MakerBot Software
-
MakerBot Desktop is a free app for preparing 3D prints and managing your 3D content. Whether you print directly to your MakerBot 3D printer via USB cable, Ethernet or Wi-Fi or you export your print files to a USB drive or SD card,
-
MakerBot Desktop is where all of your prints will begin. You can add a STL file in the MakerBot desktop App and the you can play around its setting like scale it down to reduce the printing time you can adjust whether you need some rafting or support to be printed or not, also you can define how mach dense you object can be by deciding the infill amount.
The basic Terminologies to know are below and you can refer following guide-
- Layer Height
- Infill
- Speed
- Wall Thickness
- Print Coolinng
- Support
- Build Plate Adhesion
Preparing torture test for Printing
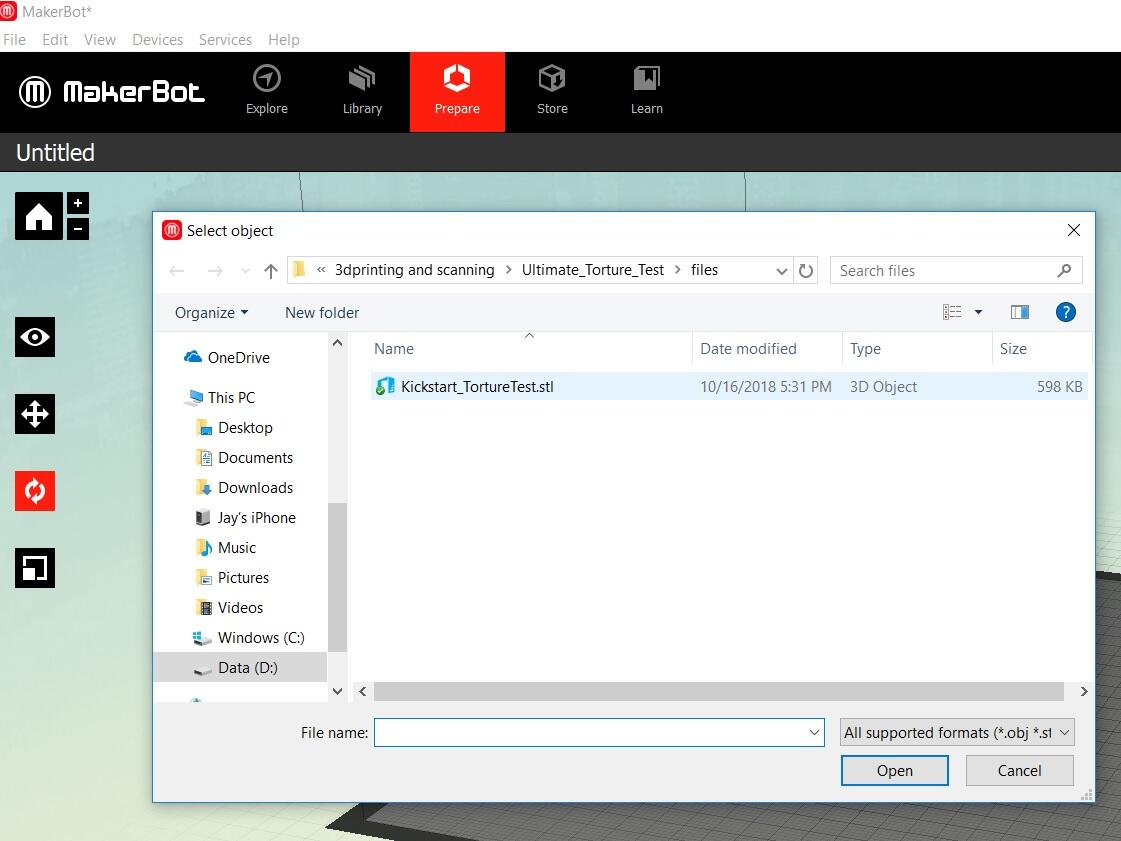
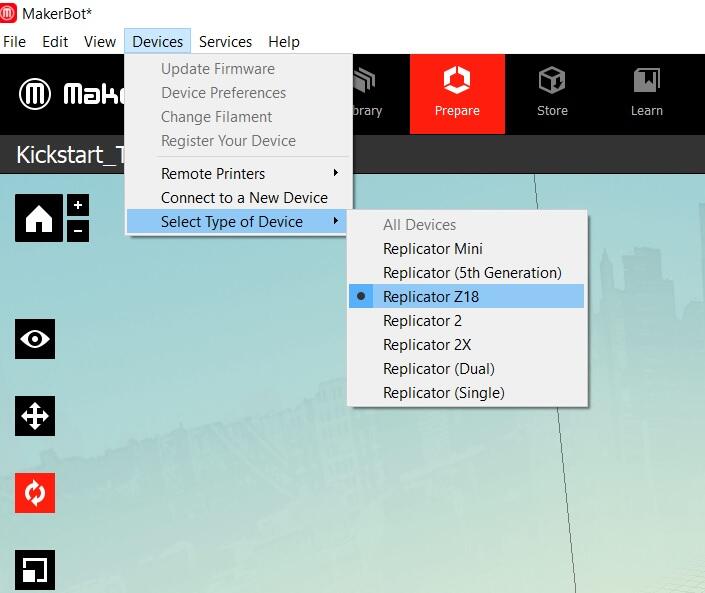
We opened the STL file we downloaded from Thingiverse in Makerbot Desktop and decided to go for default settings to print out the torture test.Then we chose the printer type in our case MakerBot Replicator z18, as makerbot has various printer version so we had to choose what was available in our lab.
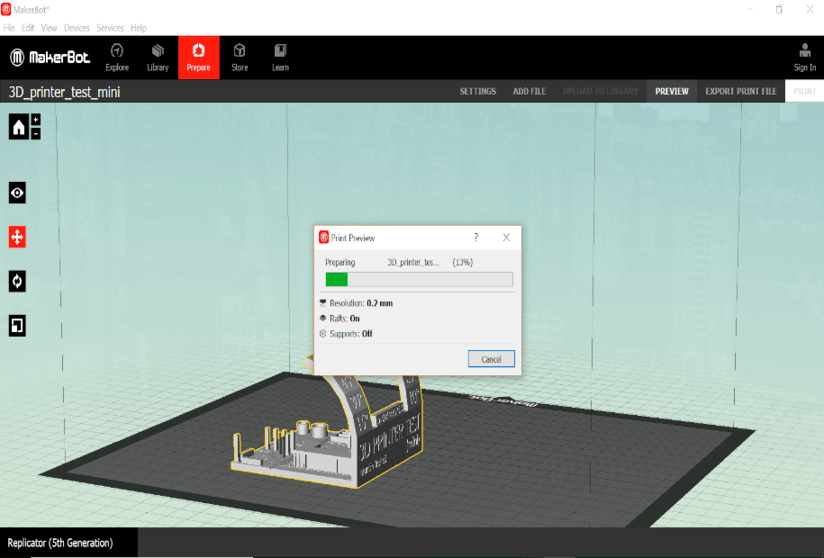
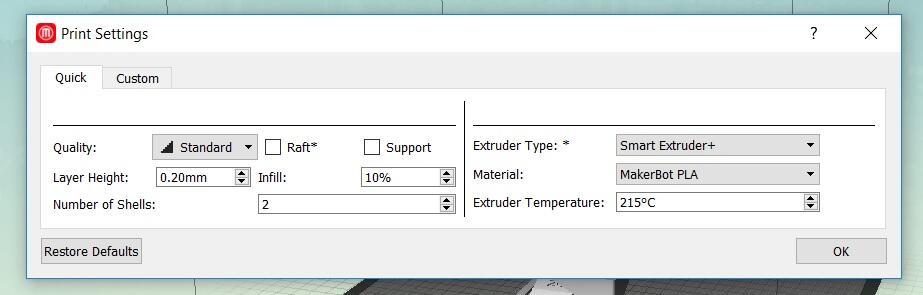
Next step was to choose default settings for torture test. Like in below image you can see some of the default settings
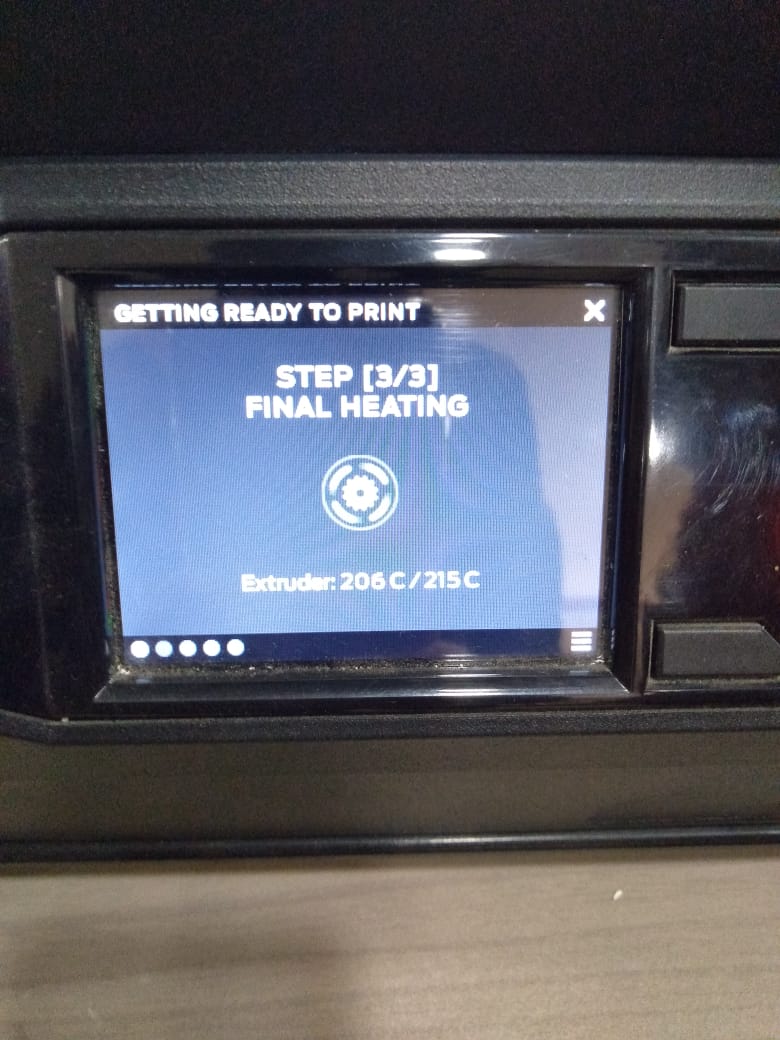
- Temperature we set for 215 degrees
- We removed RAFT(A Raft is a horizontal latticework of filament that is located underneath your part. Your 3D printed part will be printed on top of this raft, instead of directly on the build platform surface) and support (to print parts on angle)
- selected the right type of extruder for our printer
- we kept the quality to standard
Printing torture test
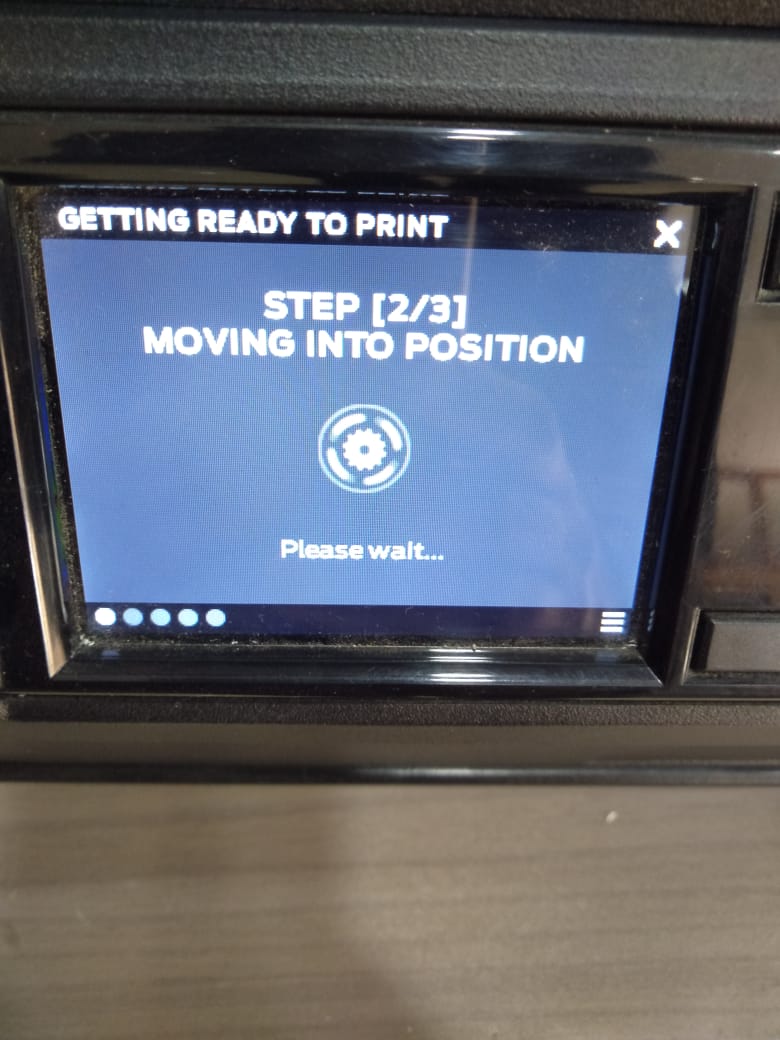
We downloaded the file from Makerbot Desktop and used a USB stick to upload it to printer. Attached are the screenshots. Estimated time was 4 Hours 30 Minutes . Too steep for such a simple print :(
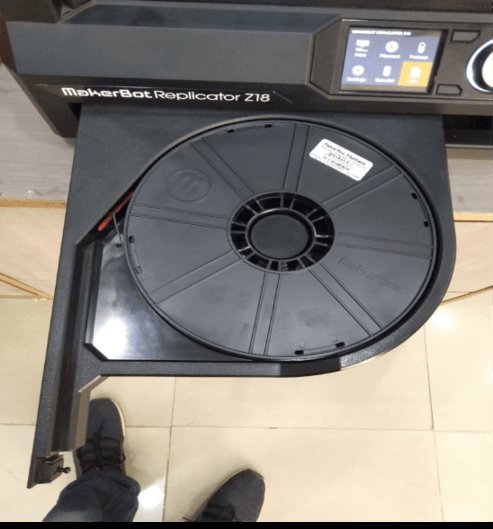
- Feeding the Spool of PLA filament Material
- Inserting the USB drive that Contains The make File Select the file and Press the Knob in the centre and it will Start printing. Before printing it takes some time to heat the filament to ample temperature so that it can ooze out from the extruder.
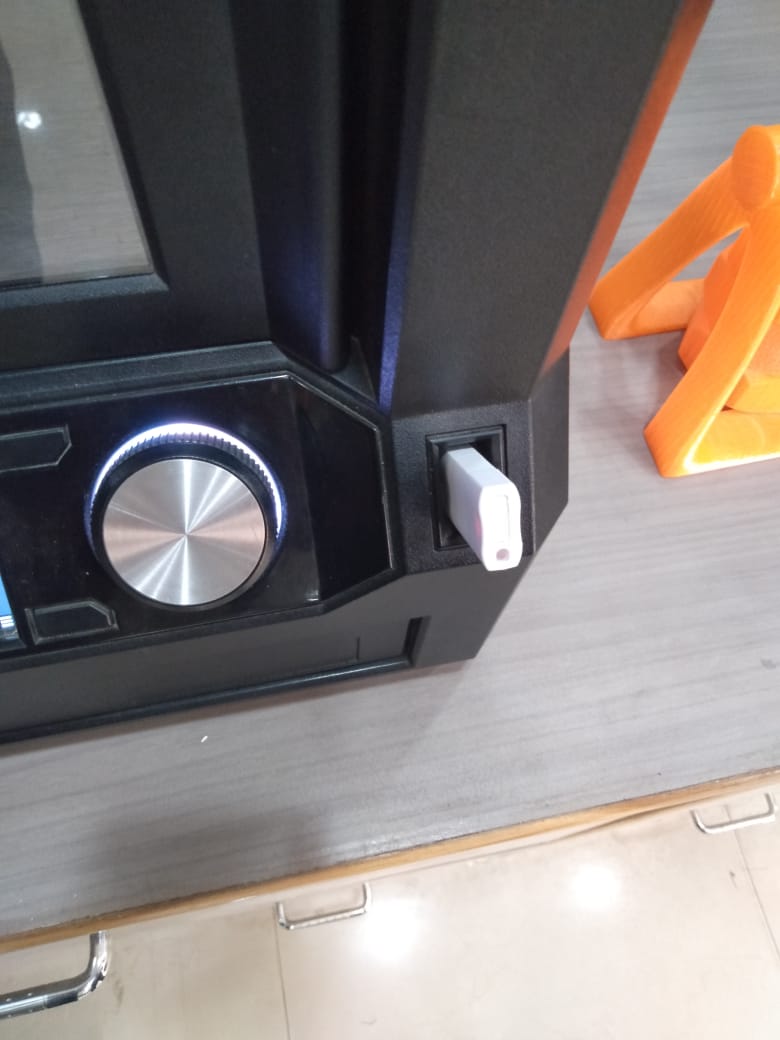
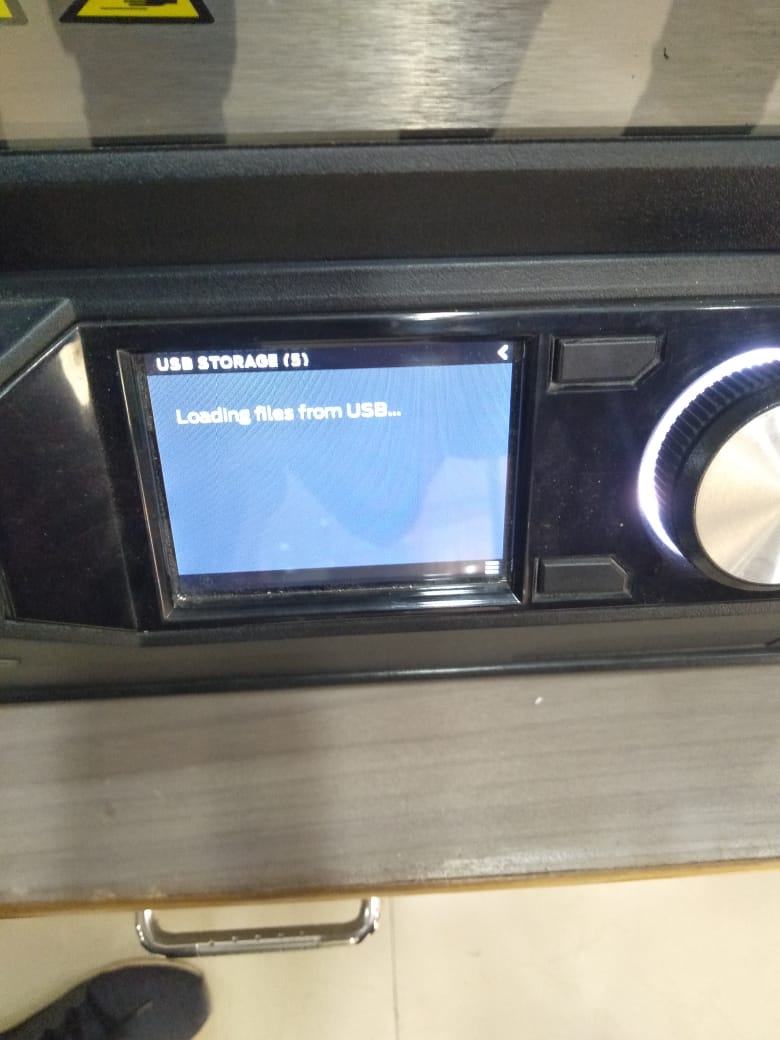
- Once we hit print before it start printing it works in three stage, Before printing it takes some time to heat the filament to ample temperature so that it can ooze out from the extruder.

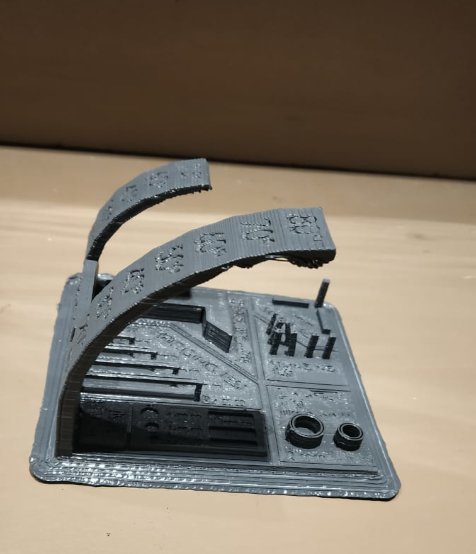
Torture test Results
These are the snapshots of our results
-
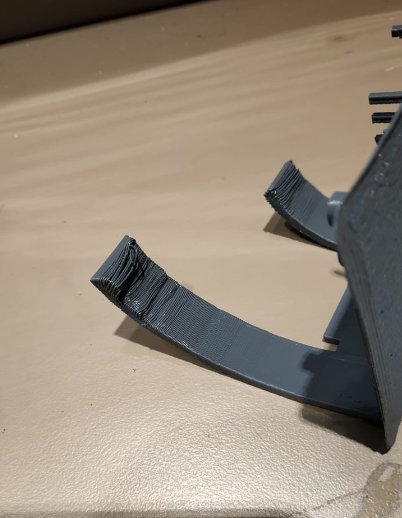
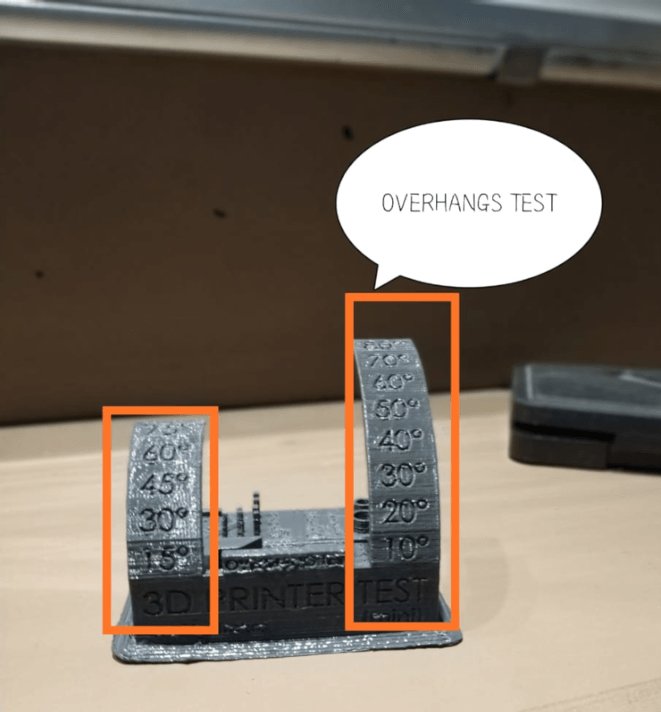
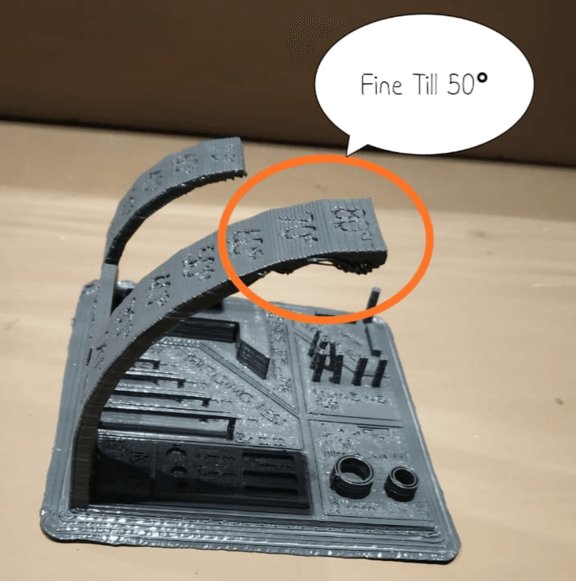
Overhang test- It basically tests that how inclined we can print without any support required for printing, the famous YHT test in this The letter arms of the letter Y consist of two overhangs at a 45° angle. The crossbar of the letter T consists of two overhangs at a 90° angle. The letter H, on the other hand, contains no overhangs at all, but does include a bridge which is supported at either end by two uprights. Results- In the overhang test Our Printer can print upto 50 to 60 degree without any issue and without supports.
-
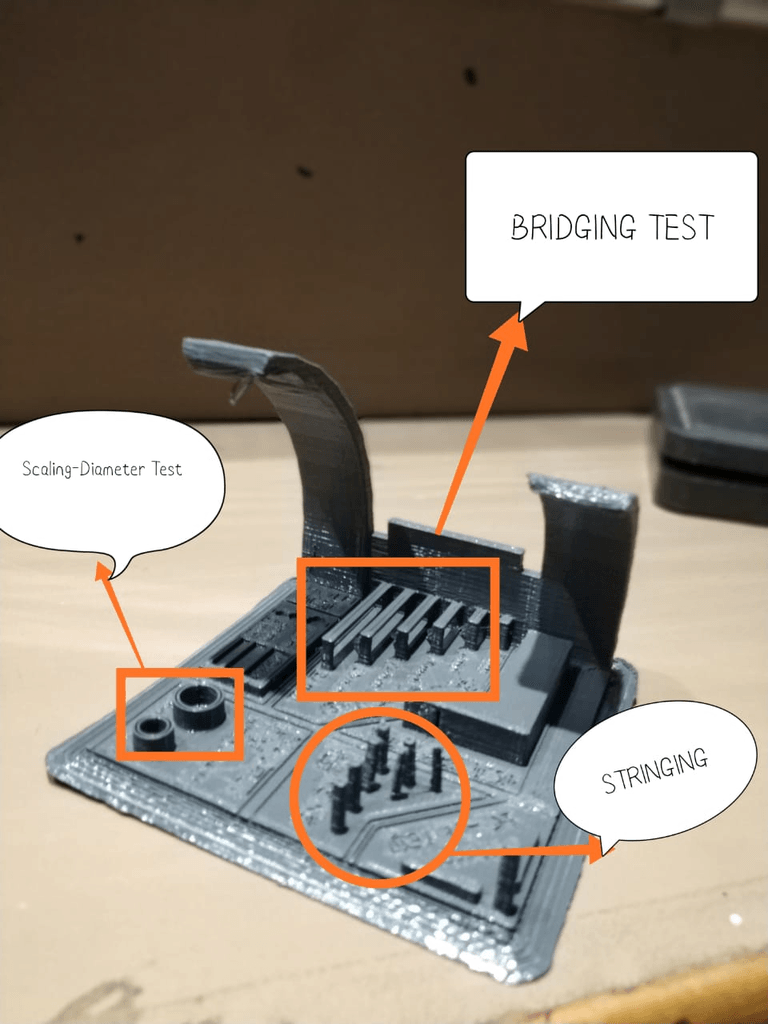
Bridging test- Bridging is your printer’s ability to print a layer between gaps in lower layers without support, essentially printing over thin air, creating a “bridge”. Results- There printer was able to print the minutes bridge very efficently.
-
Stringing test- It refers whenever a material is being printed from a filament, the filament gets heated up and oozes out from the extruder now from movind one point to other point during printing process it oozes out some material out of the extruder due to heated filament and gravity that forms a kind of mesh or web (similar to cobweb) in the final print. It can be controlled by controlling Rraction which causes to pull back some material back in the extruder. Results-
There are some oozing issues in printing of the pillars but it could be minimized by increasing the Retraction time -
Tolerance test- This really comes into play when attempting to join prints or parts together into one assembly. Negative space dimensions are material specific and are affected by curing and surface finish. and Scaling Test- It’s basically testing your actual model to the xact dimensions of the design and see the difference. Results- In the scaling test the dimension was 64.62 mm whereas the actual dimension of the design was 65mm
-
Overall we have a good machine that can print efficient intricacies of the design keeping in mind that the dimensions of the files is under 100-200 mm above that stringing issues may occur.
Additive and Subtractive manufacturing Differences
| Additive Manufacturing | Subtractive Manufacturing |
|---|---|
| Involves addition of material layer by layer to create any object | Removes material from an object. |
| Good for rapid prototyping | Uses computer and robotics to assist standard machining process like, turning drilling or milling. |
| Uses computers and special 3D printer to create any object | A variety of Surface finished can be machined, inluding smooth stepped, mottled etc. |
| Usually layering often gives a rough surface wich often needs clearing afterwards. | Milling undercuts and intricate shapes can be quite diffficult |
| Intricate and hollow objects can easily built up in layers. | Best suited for manufacturing voluminous items and parts |
| Depending on the size of object, 3D printing can be a slow process.Overall, 3D printing is a fairly cheap process. | It's a relatively fast process and comparartively more expensive process.Overall, Subtractive manufacturing is a costlier process. |
3d Printing Personal Assignment
One of the objective for persoanl assignment was to design and print my own object and explain why this cannot be printed subtractively. This weel i also wanted to build wheels for a line following robot car which i am planning in wildcard Week. Once i was comfortable operating the printer and software settings so next step was to print my own 3d object. In my week3 i spent lot of my time of various 3d designing software so used some of the designs i already worked on.
Why 3d Print
I haven choosen below kind of design for this assignment because one advantage of Additive Manufacturing has over subtractive is based on the way parts are built: layer by layer, from nothing. Since they’re built up from scratch,certain models can be created using 3D Printing that can’t be manufactured in any other way. 3D Printing is not limited by the same restrictions that come from using rigid tooling, so features such as curved holes, which would be impossible to cut with a rotating endmill or drill, can be printed without issue. But to be honest comparing 3d printing right now with subtractive manufacturing has lot to catch up. For me i see 3d printer as a Rapid prototyping tool instead of mass production. Though the technology is catching up and it has lot of potential in future.
3d Print Chess Queen download fusion file
Please refer to Computer Aided design on video tutorial how i have designed it and you can refer design timeline to check the steps.
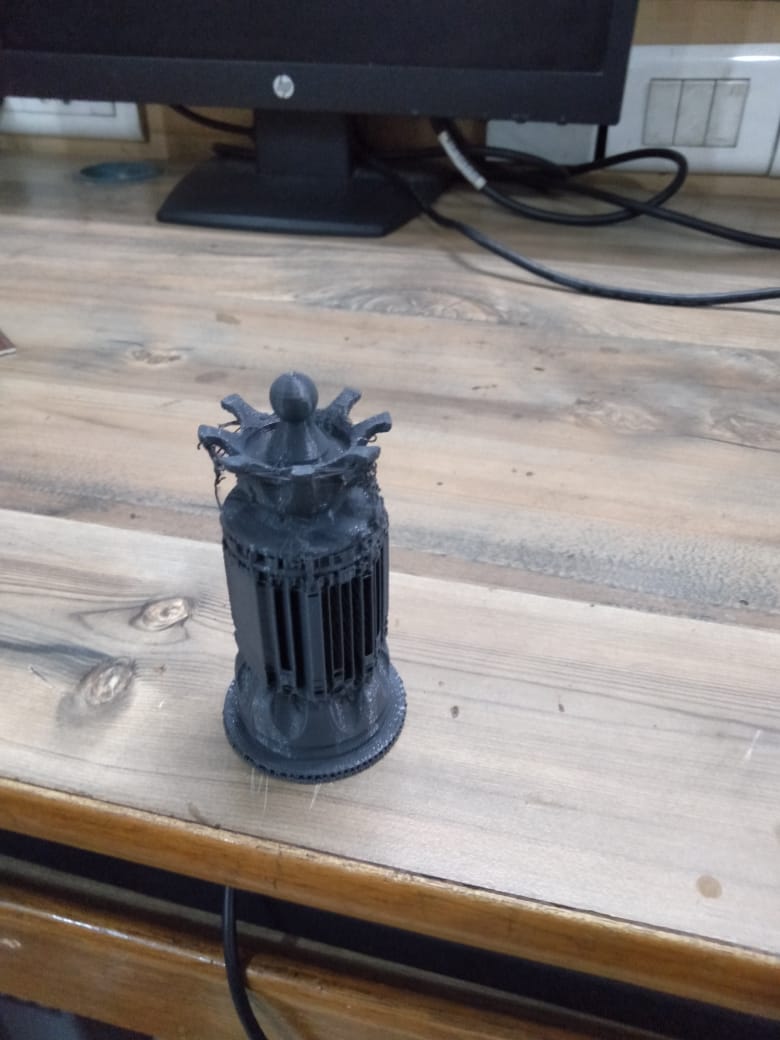
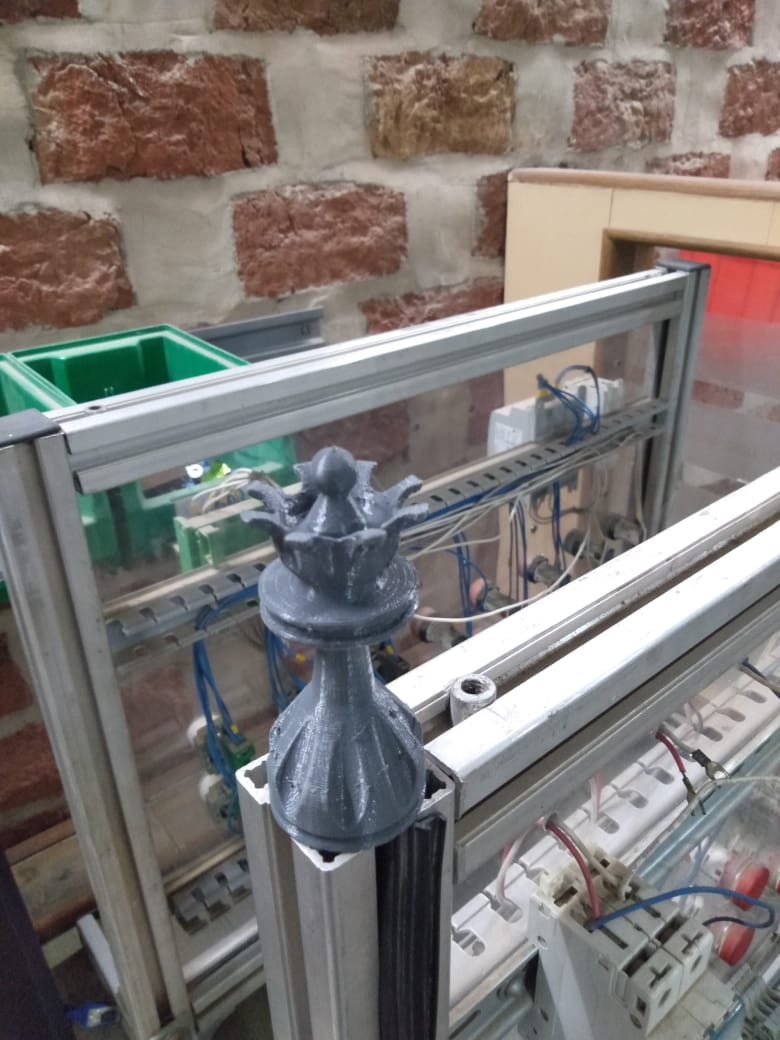
3d Print Chess Queen Final Outcome
I followed the steps i learnt in group assignment on torture test setting and printed below part using makerbot desktop.

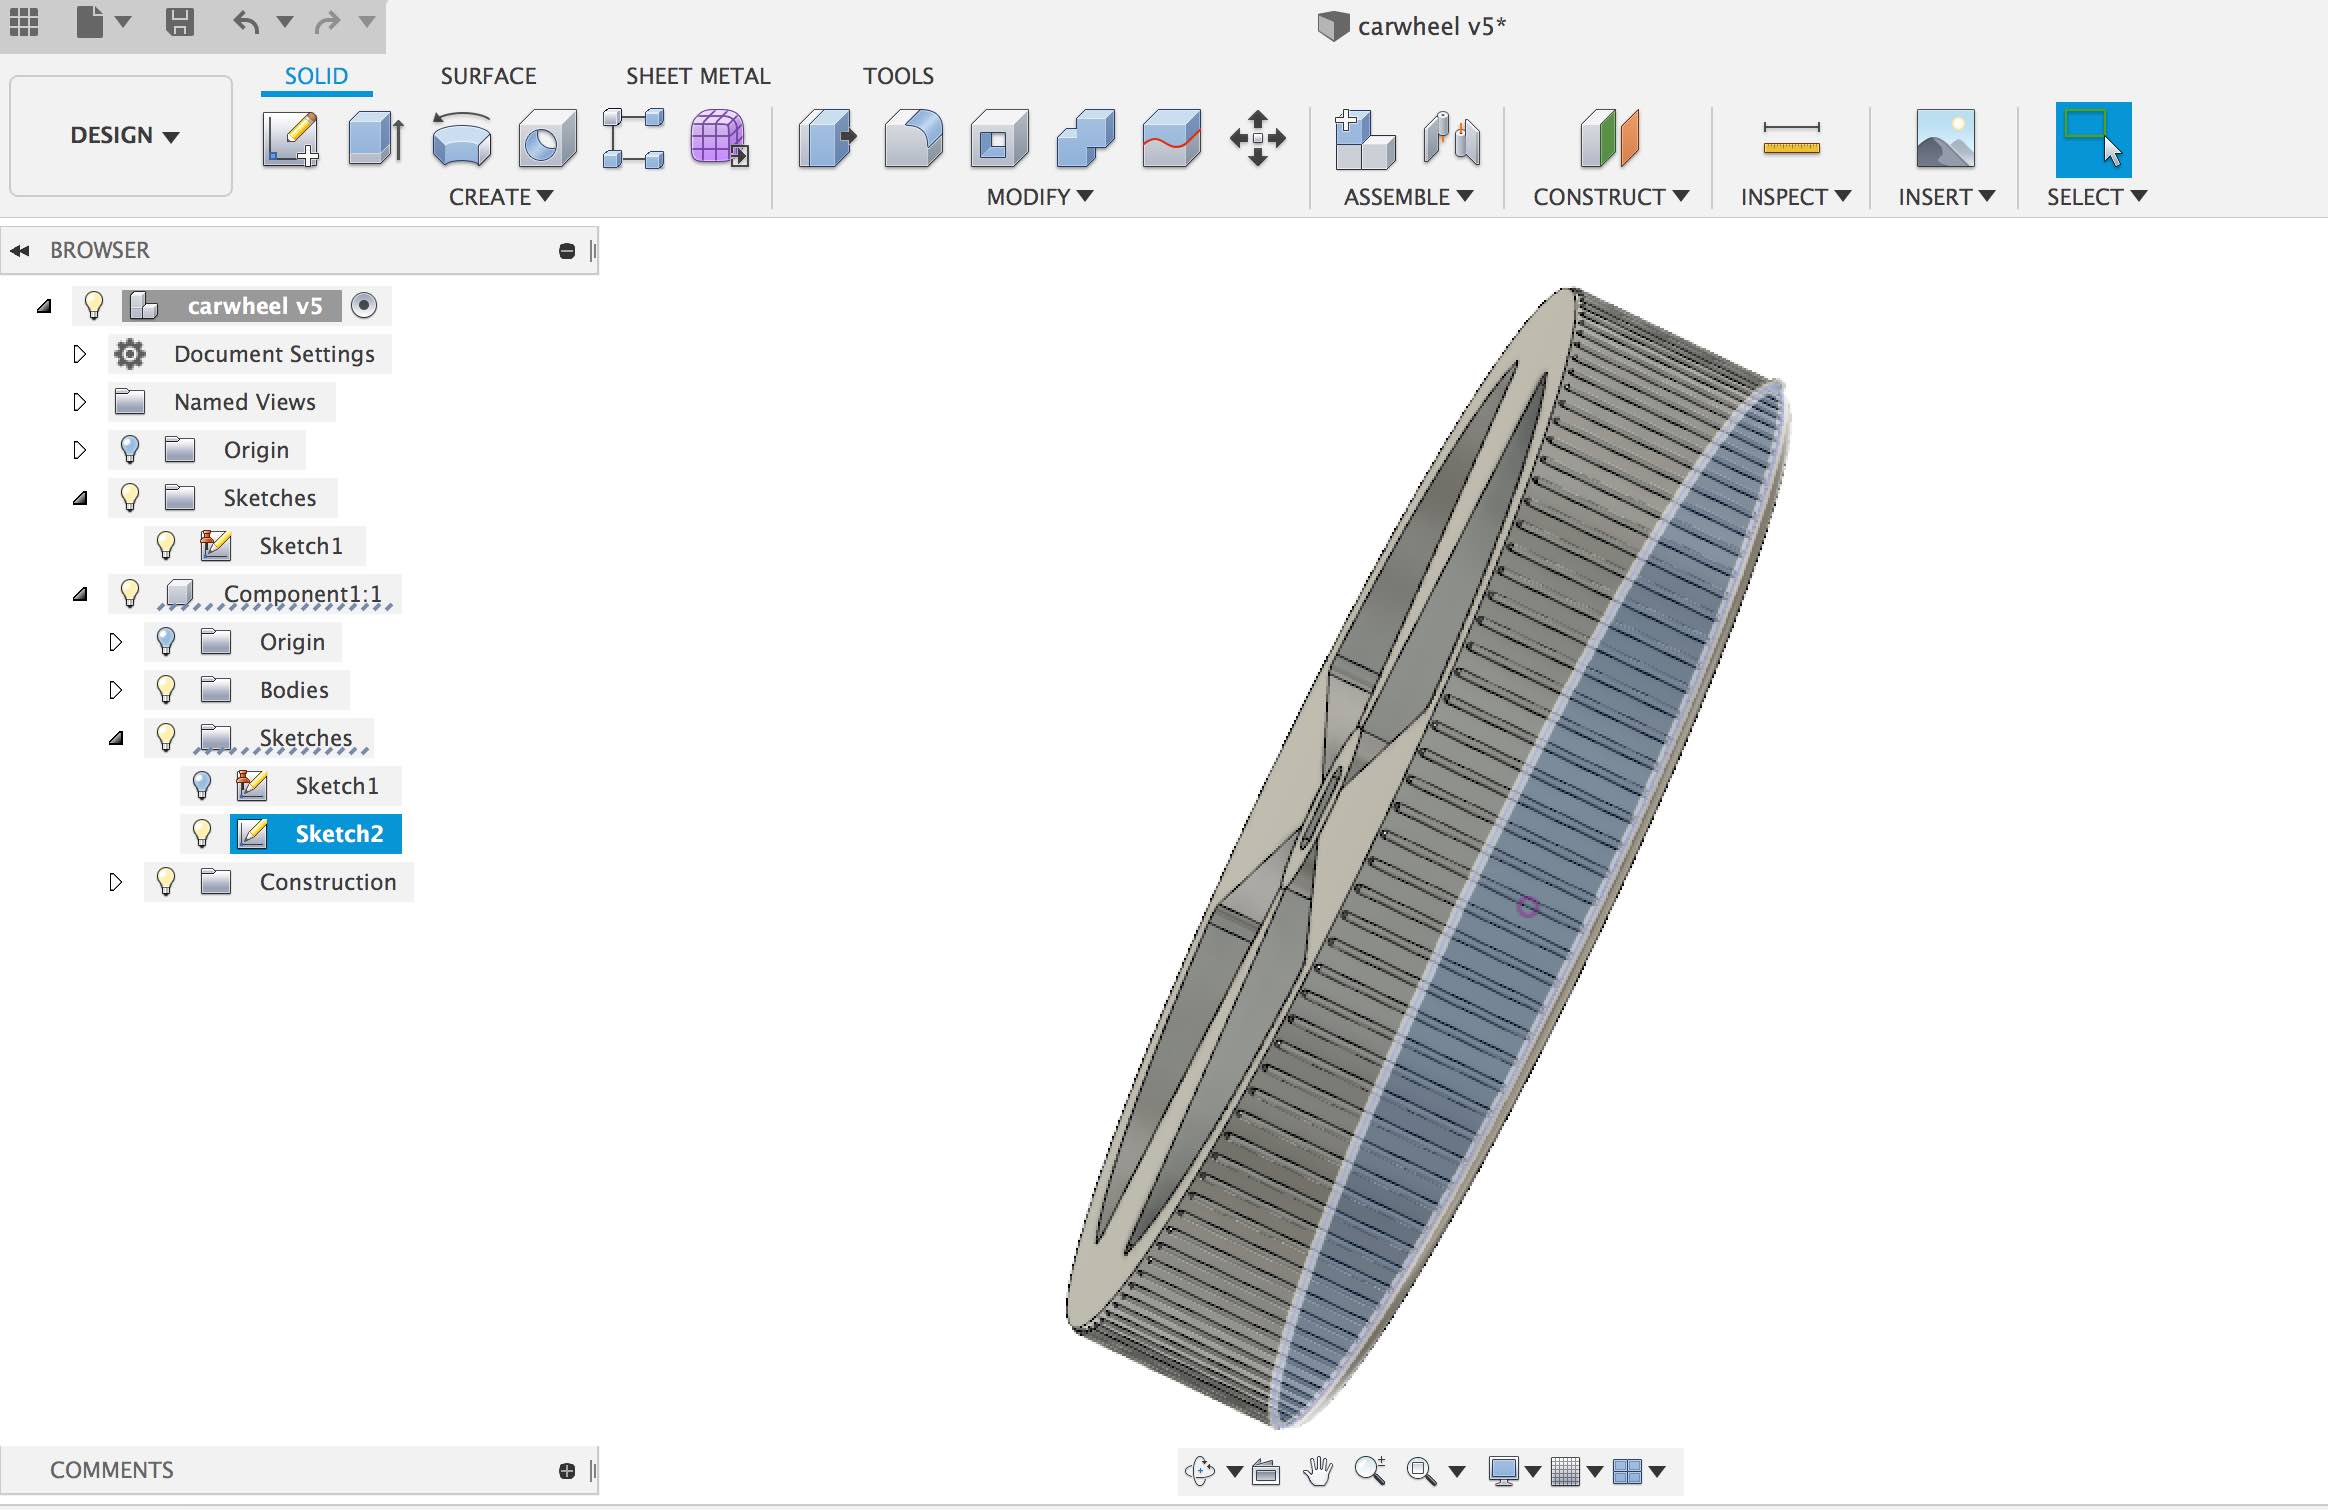
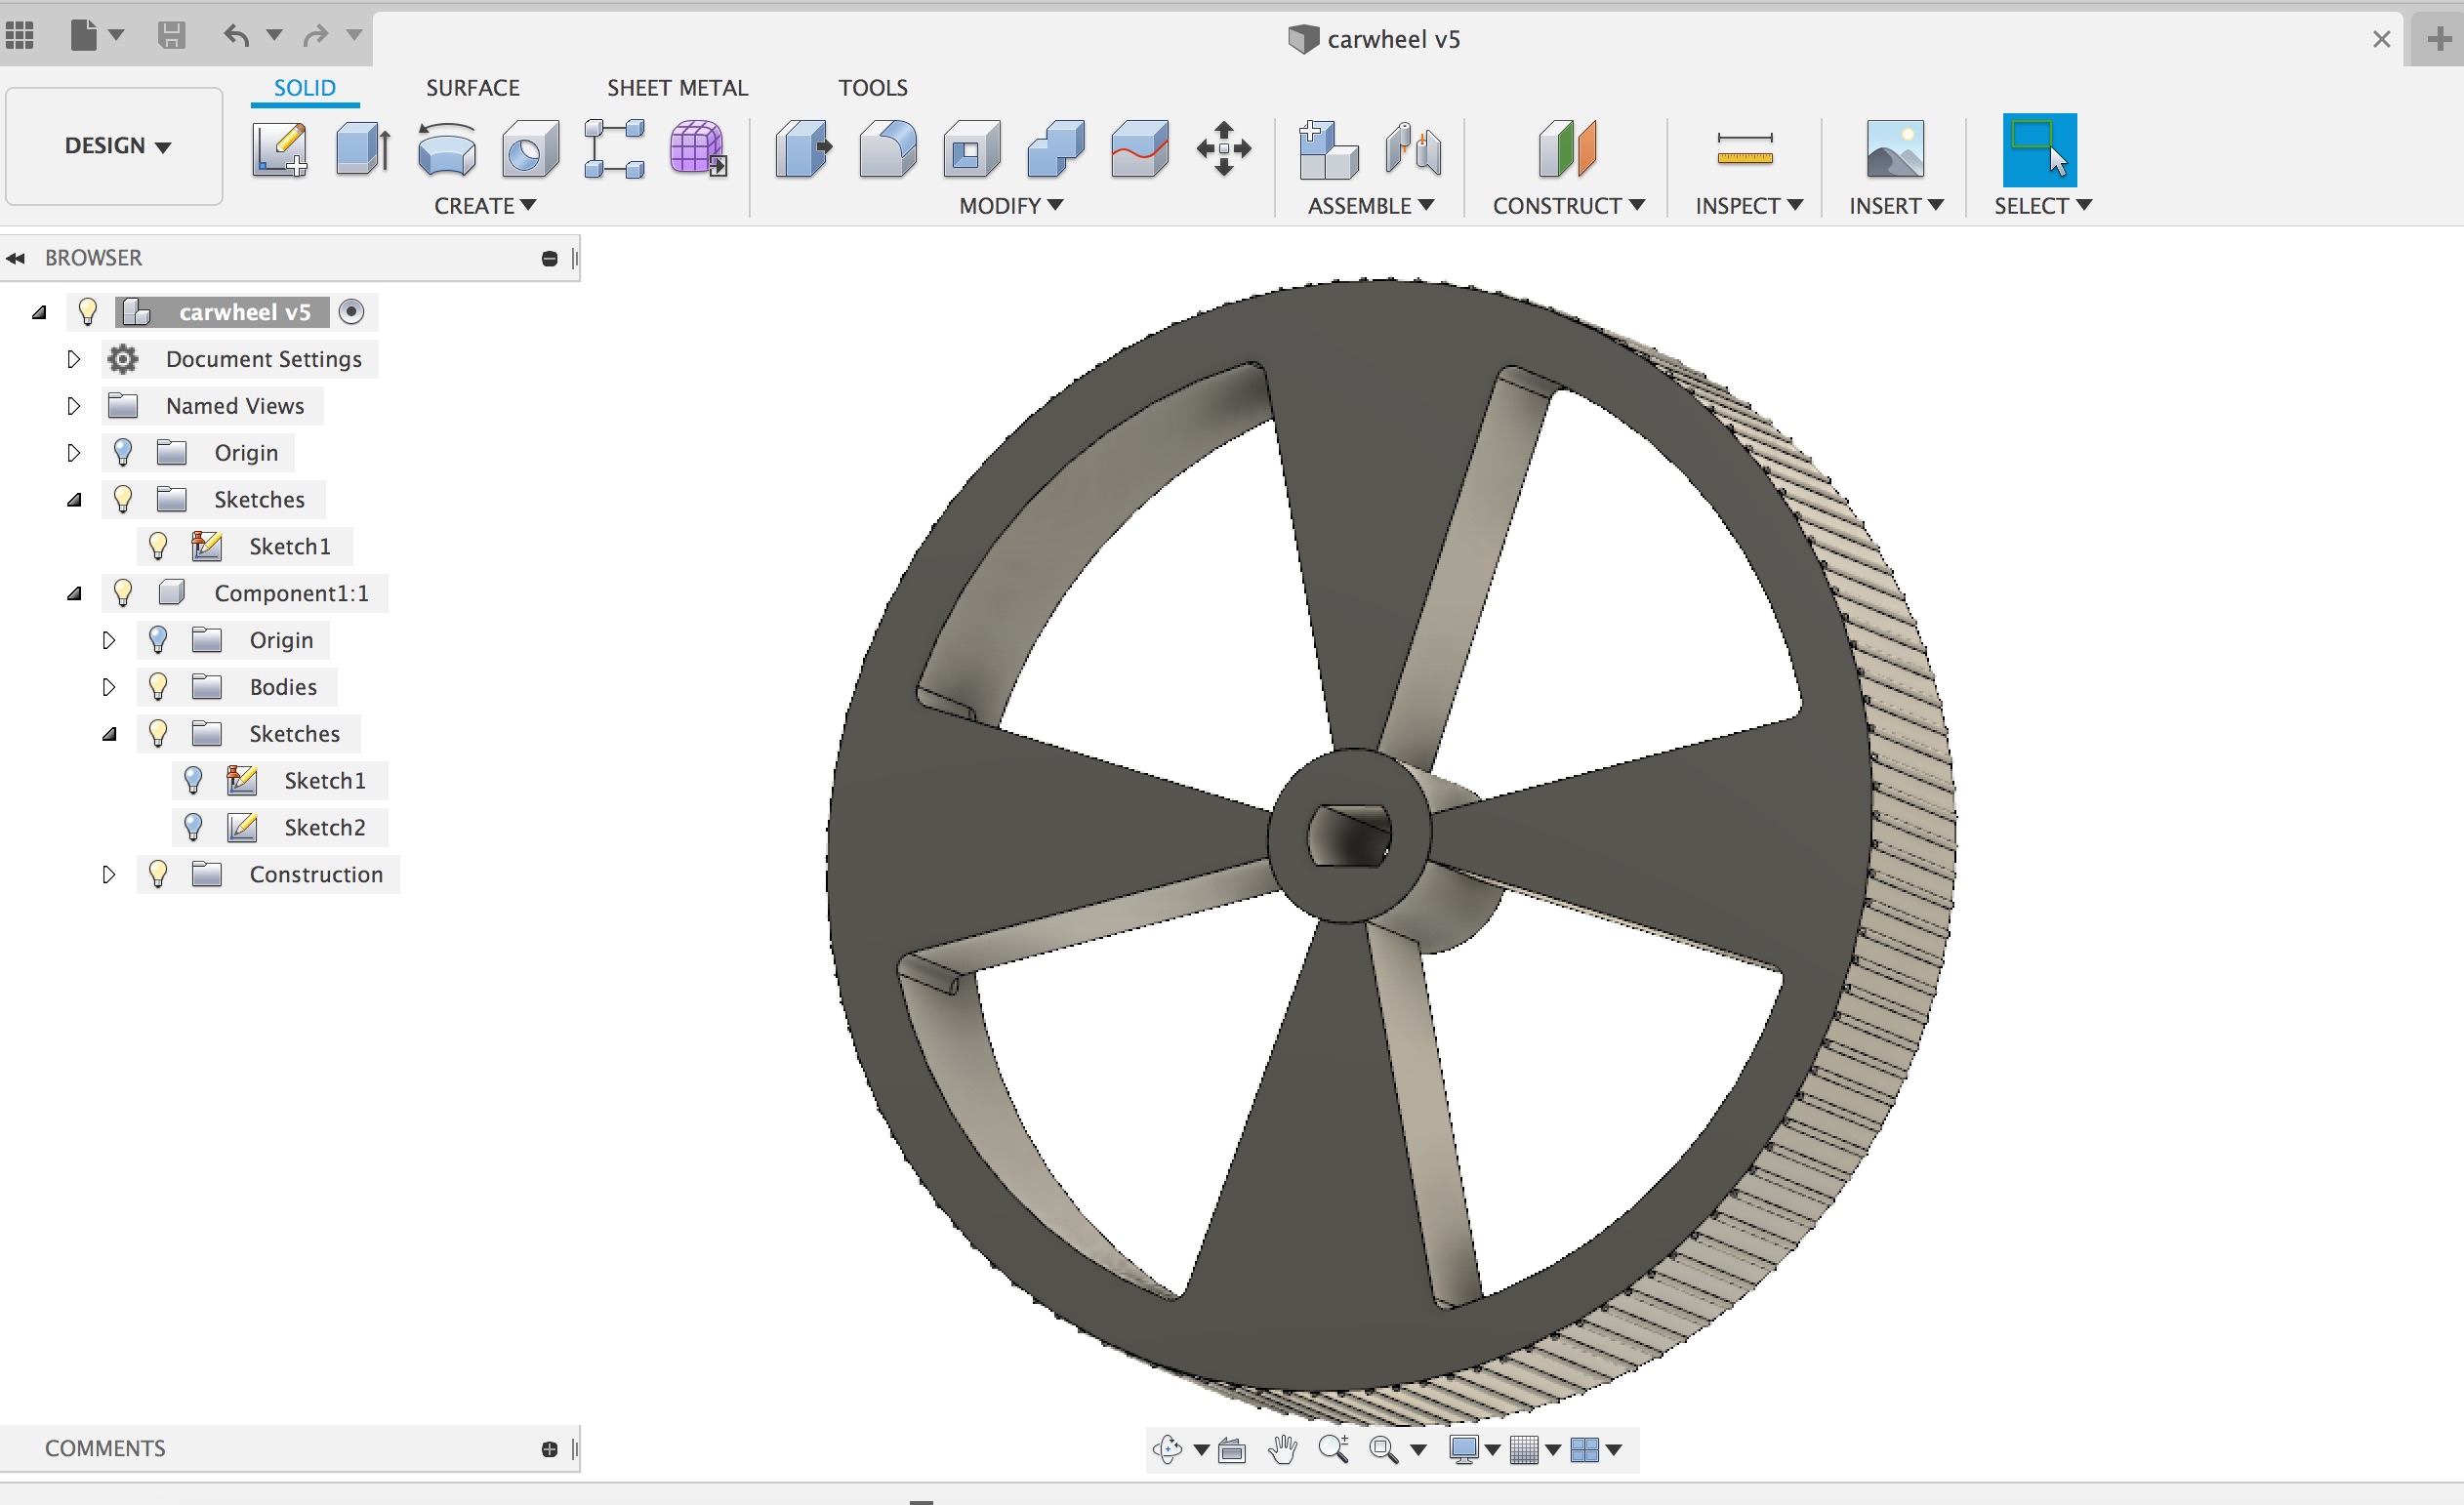
3d Printed Wheel For Line Following Robot download fusion file
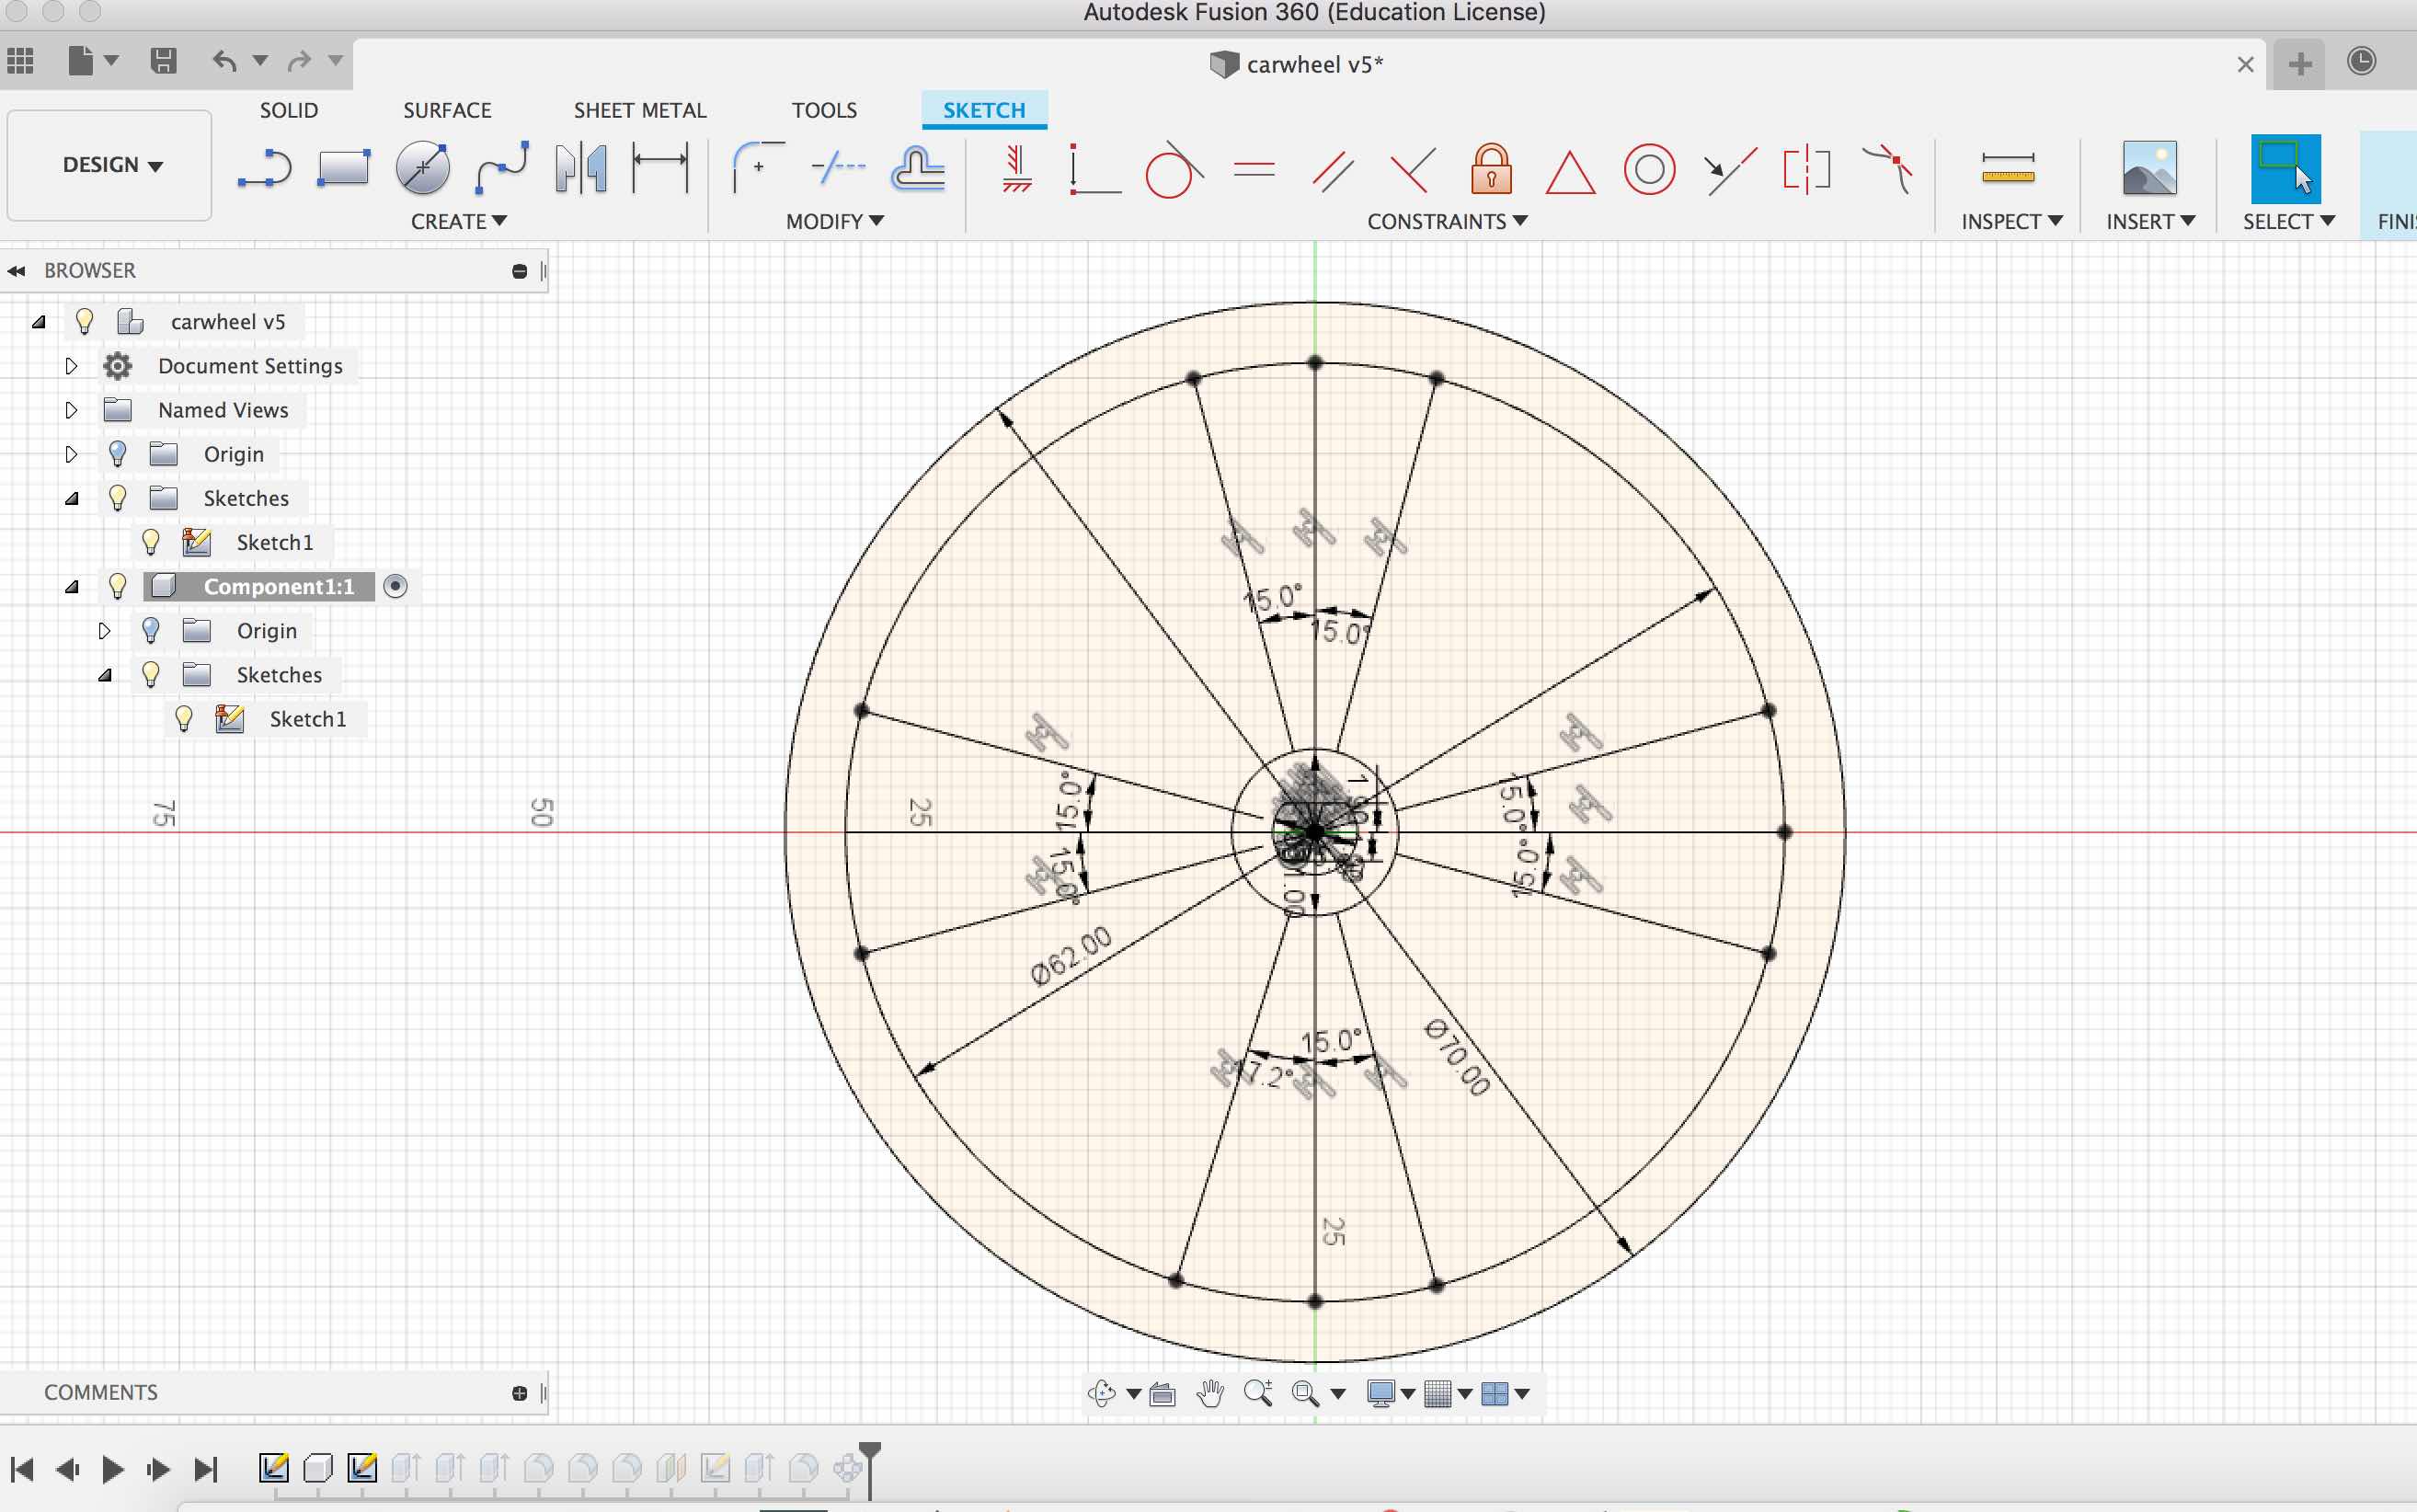
This i designed seperately for this week. Here are the snapshots from Fusion and you can refer design timeline. If you are new to 3d print, you should defienetly check out Computer Aided design
In Summary
- I started with 2d sketch to draw circle
- Used extrusion command to create wheel pattern
- For the tyre pattern on the wheel i first created an offset plane and then used the create circular pattern
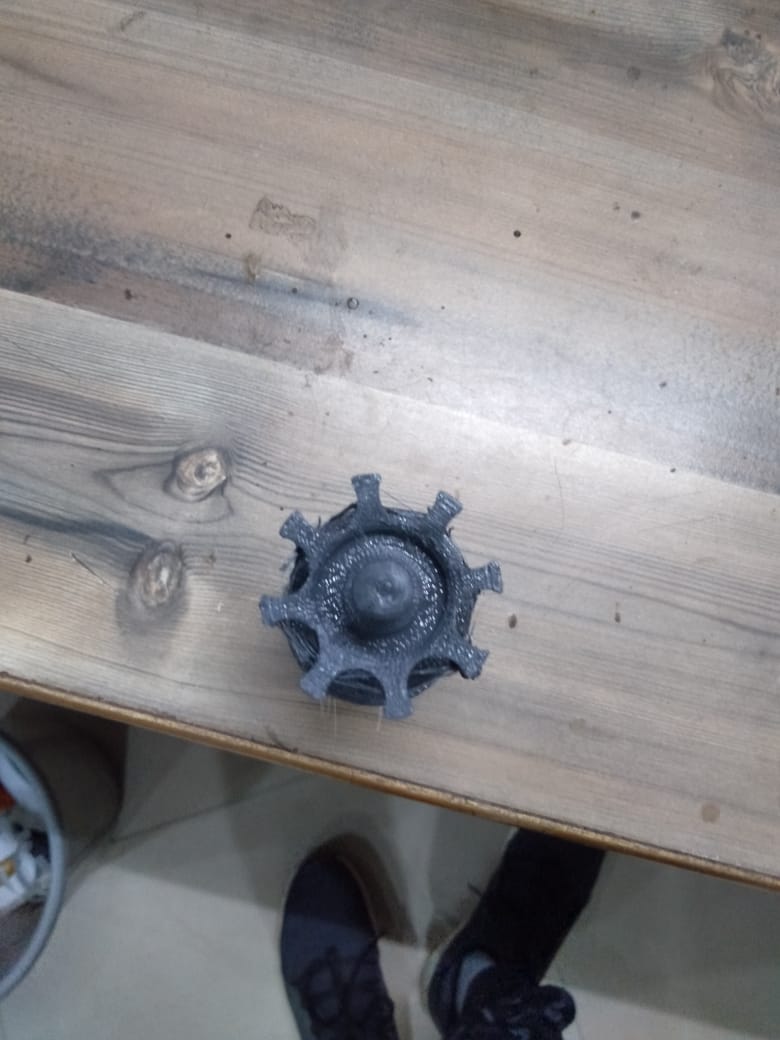
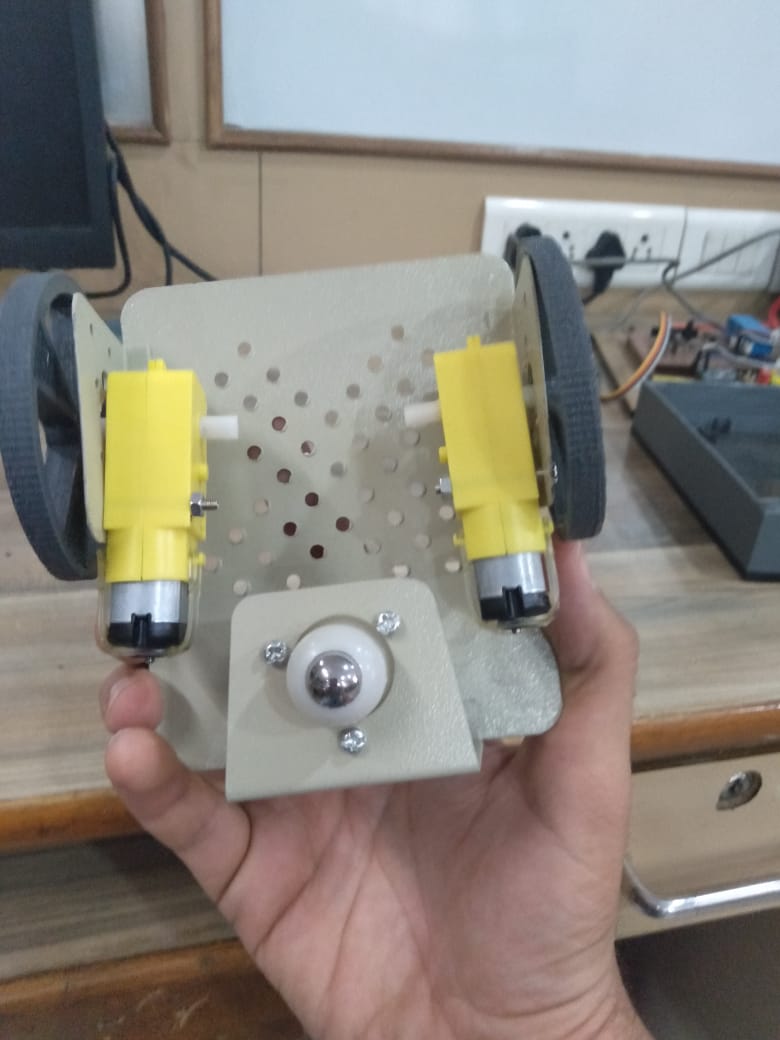
3d Print Wheel Final Outcome
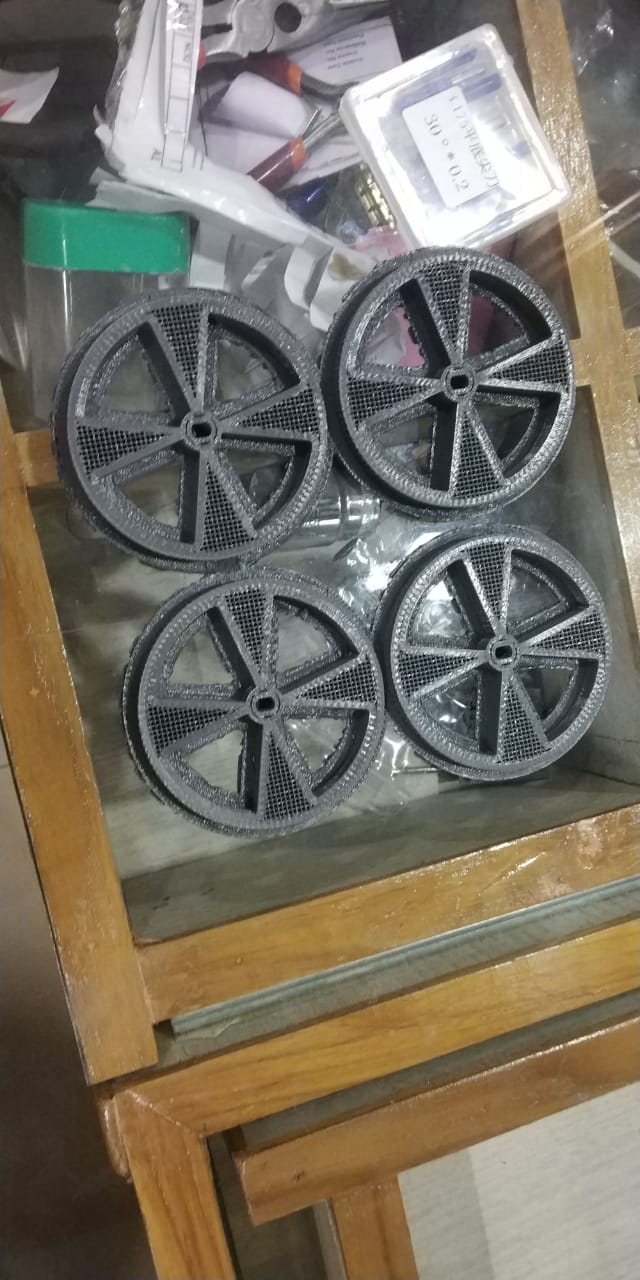
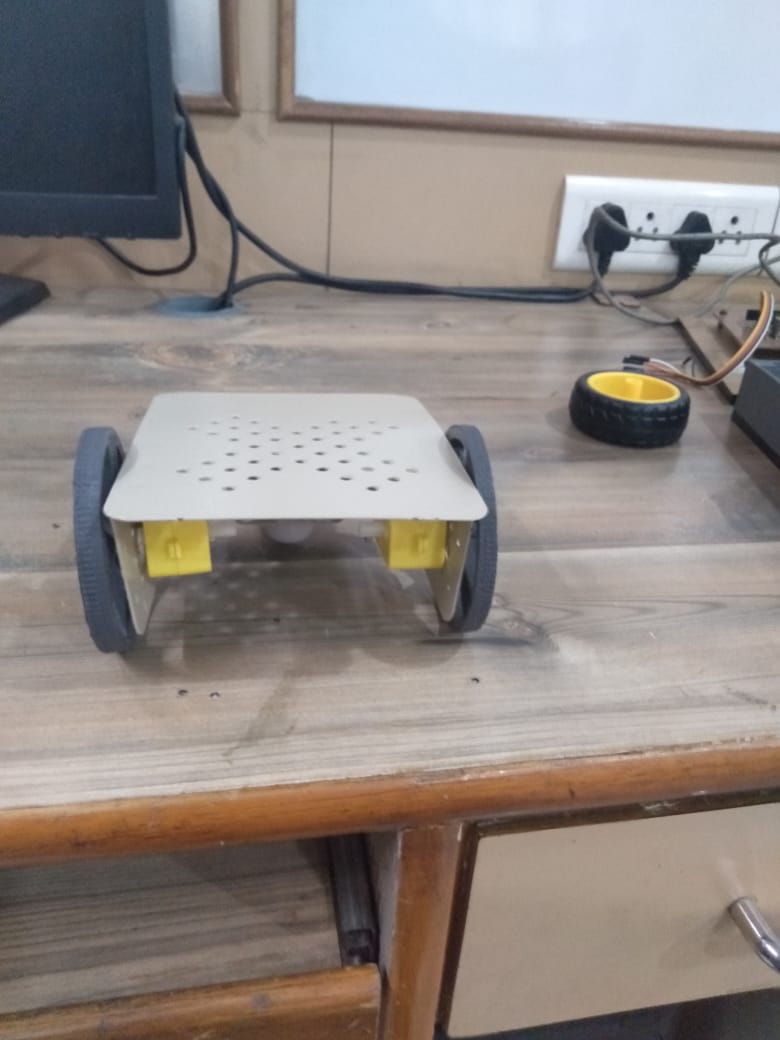
This does look nice on my line follower robot Chassis
3d Scanning
Next step was do 3d scanning. In our lab we had microsoft XBOX kinect available and that’s what we used for 3d scanning

Getting started 3d Scanning
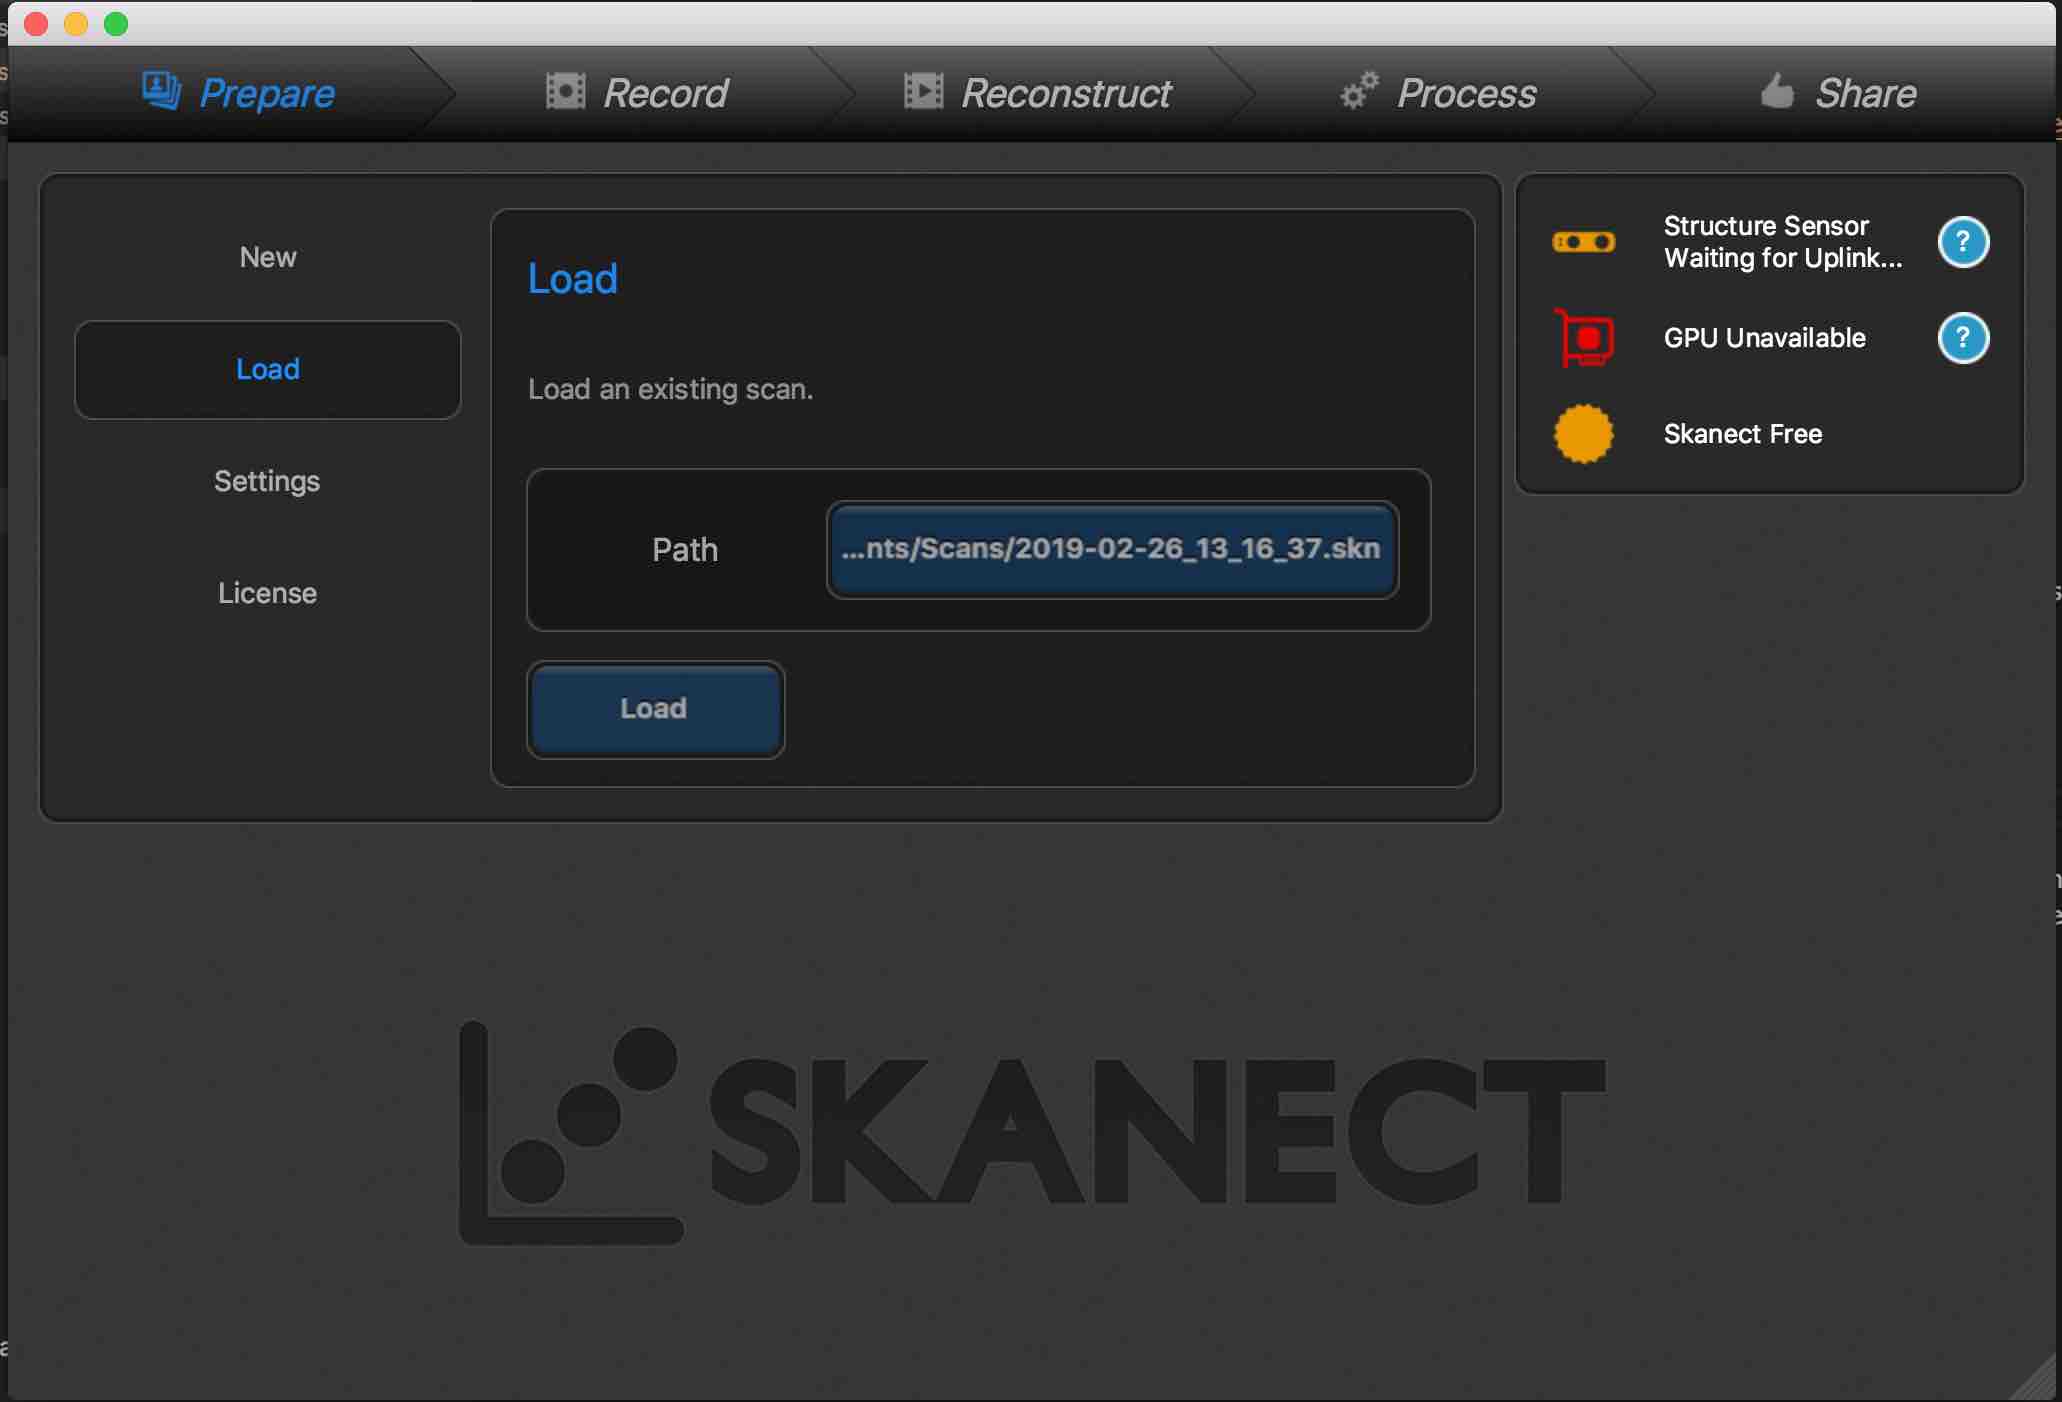
I started with installing Skanect. After that i plugged in the XBOX Kinect USB in my laptop and opened Skanect.Interface is quite intuitive for the software. It has five tabs
- Prepare tab allows to create and load new scans
- Record tab allows recording a 3d scan
- Reconstuct tab allows to perform an offline reconstruction in autodesk fusion
- Process tab let you apply coloring, fill holes and help in surfacing 3d model
- Share tab allows to share the model like we cn share model to Sketchfab
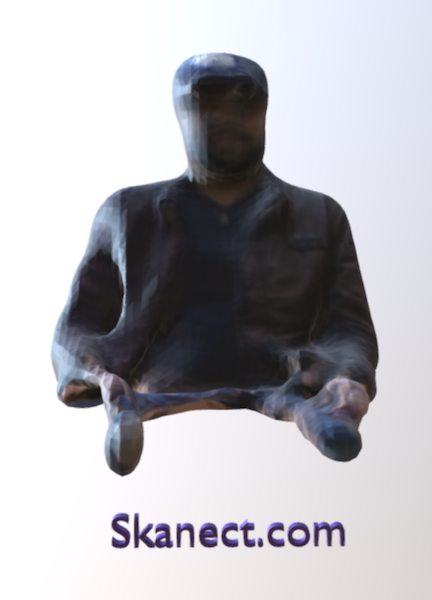
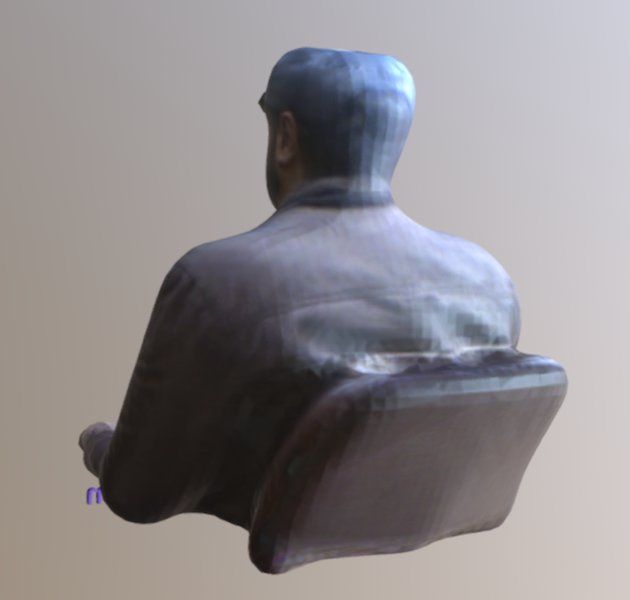
Scanning Myself
I decided to create my own scan, so i sat on a chair that was revolving and started recording the same. I rotated slowly on chair so that the Kinect captured my position, when i moved too fast it failed to detect me.
Final Outcome
Overall Learning Outcomes for this week
- I learnt how to use 3d printer and use scanning to create a 3d model
- I revisited my week3 CAD skills
- Personally not very impressed with 3d printing especially FDM as its way too slow if i compare it with CNC and Laser
- 3d printing is in nascent state but has lot of potential