3. Computer Aided design
The task for this week was to investigate, experience, compare & review various 2D, 3D, Animation (Motion Render), Audio & Video tools and softwares. Also to model a possible final project using these tools.
Research
This week it was a completely new skills for me and i think one of the most important skill in fab academy, because using the computer aided design you can visualise your idea. so i think its the first step towards How to design almost anything. Unless you can model your idea in a designing software its difficult to use any of fab lab machine like CNC, 3d Printer etc. later. So i spent good amount of time learning these tools.
“Expecting this part to be challenging i actually started in advance in week 2 itself and gone through 2018 video for computer aided design by Neil and looked at my instructors Darshan and Rahul on what they had tried in this week as part of their project. I also used google a lot, as most of the information is a simple search away so i used google to find various online video tutorials to learn 2d and 3d designing tools. I already had little experience in few tools like video editing on Mac and screen recording softwares like simplescreen recorder on my ubuntu machine, so i focussed my time on 2d and 3d softwares”
Useful links
- Download OpenScad
- OpenScad Tutorial
- AutoDesk Fusion I would highly recommend Lars Christensen channel on youtube one of the best Autodesk tutorials i found even 100 times better than Autodesk Academy
- QCad
- Titans of CNC
- Unity Tutorial
- Vuforia
- Gimp
- Inkscape
Getting Started Autodesk Fusion 360
As i was new to 3d desigining i picked up Autodesk Fusion to give it a try. So the first step i tried to find online tutorial to get the basics done. Finding the right tutorial is like an Art, there is no perfect answers. But finally found a good you tube channel by Lars Christensen called cadcamstuff and started going through the various basic video tutorials. Fusion 360 is a free 3D CAD/CAM design software for students, educators, and academic institutions. One of the key criteria for me choosing Fusion vs solidworks also was that Autodesk fusion software is also free to use.
Here is what i learnt from these tutorials. Super easy to follow and i got a very good hang of Autodesk Fusion functionality by building these small projects.
Design a Bracket, download fusion file
I followed the below video tutorial from Lars where he do live stream and design it step by step. So its simply following along with below video tutorial. He does these livestream every week and pick up an object and design it end to end in Autodesk fusion. So this is just not learning few interfaces of autodesk fusion but the mindset also on how to approach the solution.
Here are the few things i learnt about fusion from this video tutorial
- Fusion has various workspaces, this is designed in Design workspace
- Fusion maintains the design history as design timeline so you can see how the object has been designed
- Using simle lines to draw a triangle and putting measurements, which turns design lines as black, if you don’t put dimesnions then design lines stay blue
- Using plane faces to draw the sketch
- Extrdue to convert the 2d design like triangle to 3d shape for bracet
- Construction line to use it as a reference to draw like i wanted circle centre to be inline
- Usec champer to bevel the edges for bracket
Here is the Final Outcome From Video Tutorial. I used sketchfab to upload my design.
Next tutorial i finished was Design a Key download fusion file
Building the foundation on earlier design i followed this tutorial and i learnt about using projection.
- In below Lars first use prebuilt torus
- Then create an offset plane and draws a circle on it
- Then use extrude to connect torus with the circle creating the key
Here is the Final Outcome From Video Tutorial. I used sketchfab to upload my design.
Design a Chess Queen download fusion file
For this tutorial i searched on google and came across Titans of CNC they have free academy courses to teach design in autodesk fusion and use CNC machine to build them.One of the product was to design your own chess board. So i picked up designing a chess queen.
Link for Course Titan Queen
Here are the few things i learnt about fusion from this course
- Using dimension and constraints is key in sketch
- Next cool feature is revolve this helped me to turn the simple 2d sketch which was just designed on one side to turn it in something that look like a chess queen
- Also it uses concept of offset plane to cut through the revolved section
- Used repeat edit pattern feature to create cut sections at the bottom of chess queen
Here is the Final Outcome From Video Tutorial. I used sketchfab to upload my design.
Overall Learning Outcomes from Autodesk fusion 360
- I learnt a great deal about the Autodesk Interface
- How to publish model as a public link
- How to design in 2d and create a 3d model by extruding
- How to use various planes to draw
- How to use constrcution lines
- How to use Revolve
- I used this skill to design food computer box in CNC week
Getting Started TinkerCad
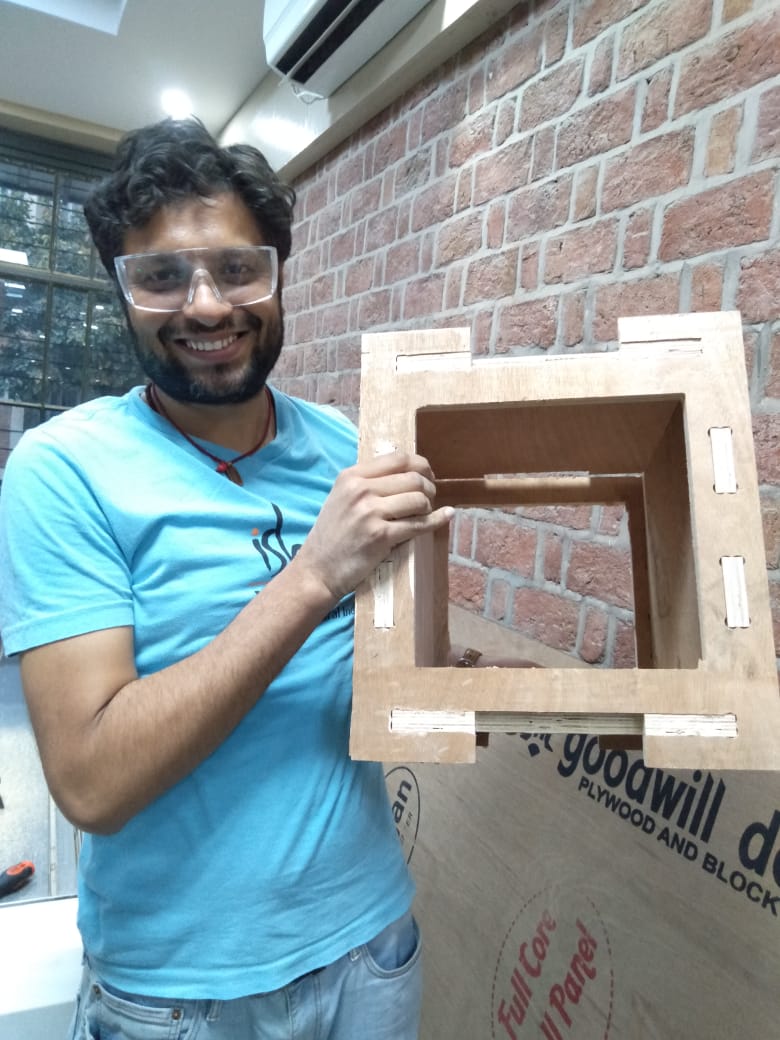
After working on Fusion i started looking into TinkerCad. TinkerCAD is a product of Autodesk and let you design 3D models from your browser, user only needs to sign-in, which is same i used for Fusion 360. GUI is quite intitutive for Tinkercad. So i decided to build a box that would hold my plant seeds and saplings. Idea of thsi design came from my Urban farming workshop which i attended in Week1. So it was time to test my skills. Basically we need to keep two things in mind when we are looking for a container which will hold plant seeds and saplings.
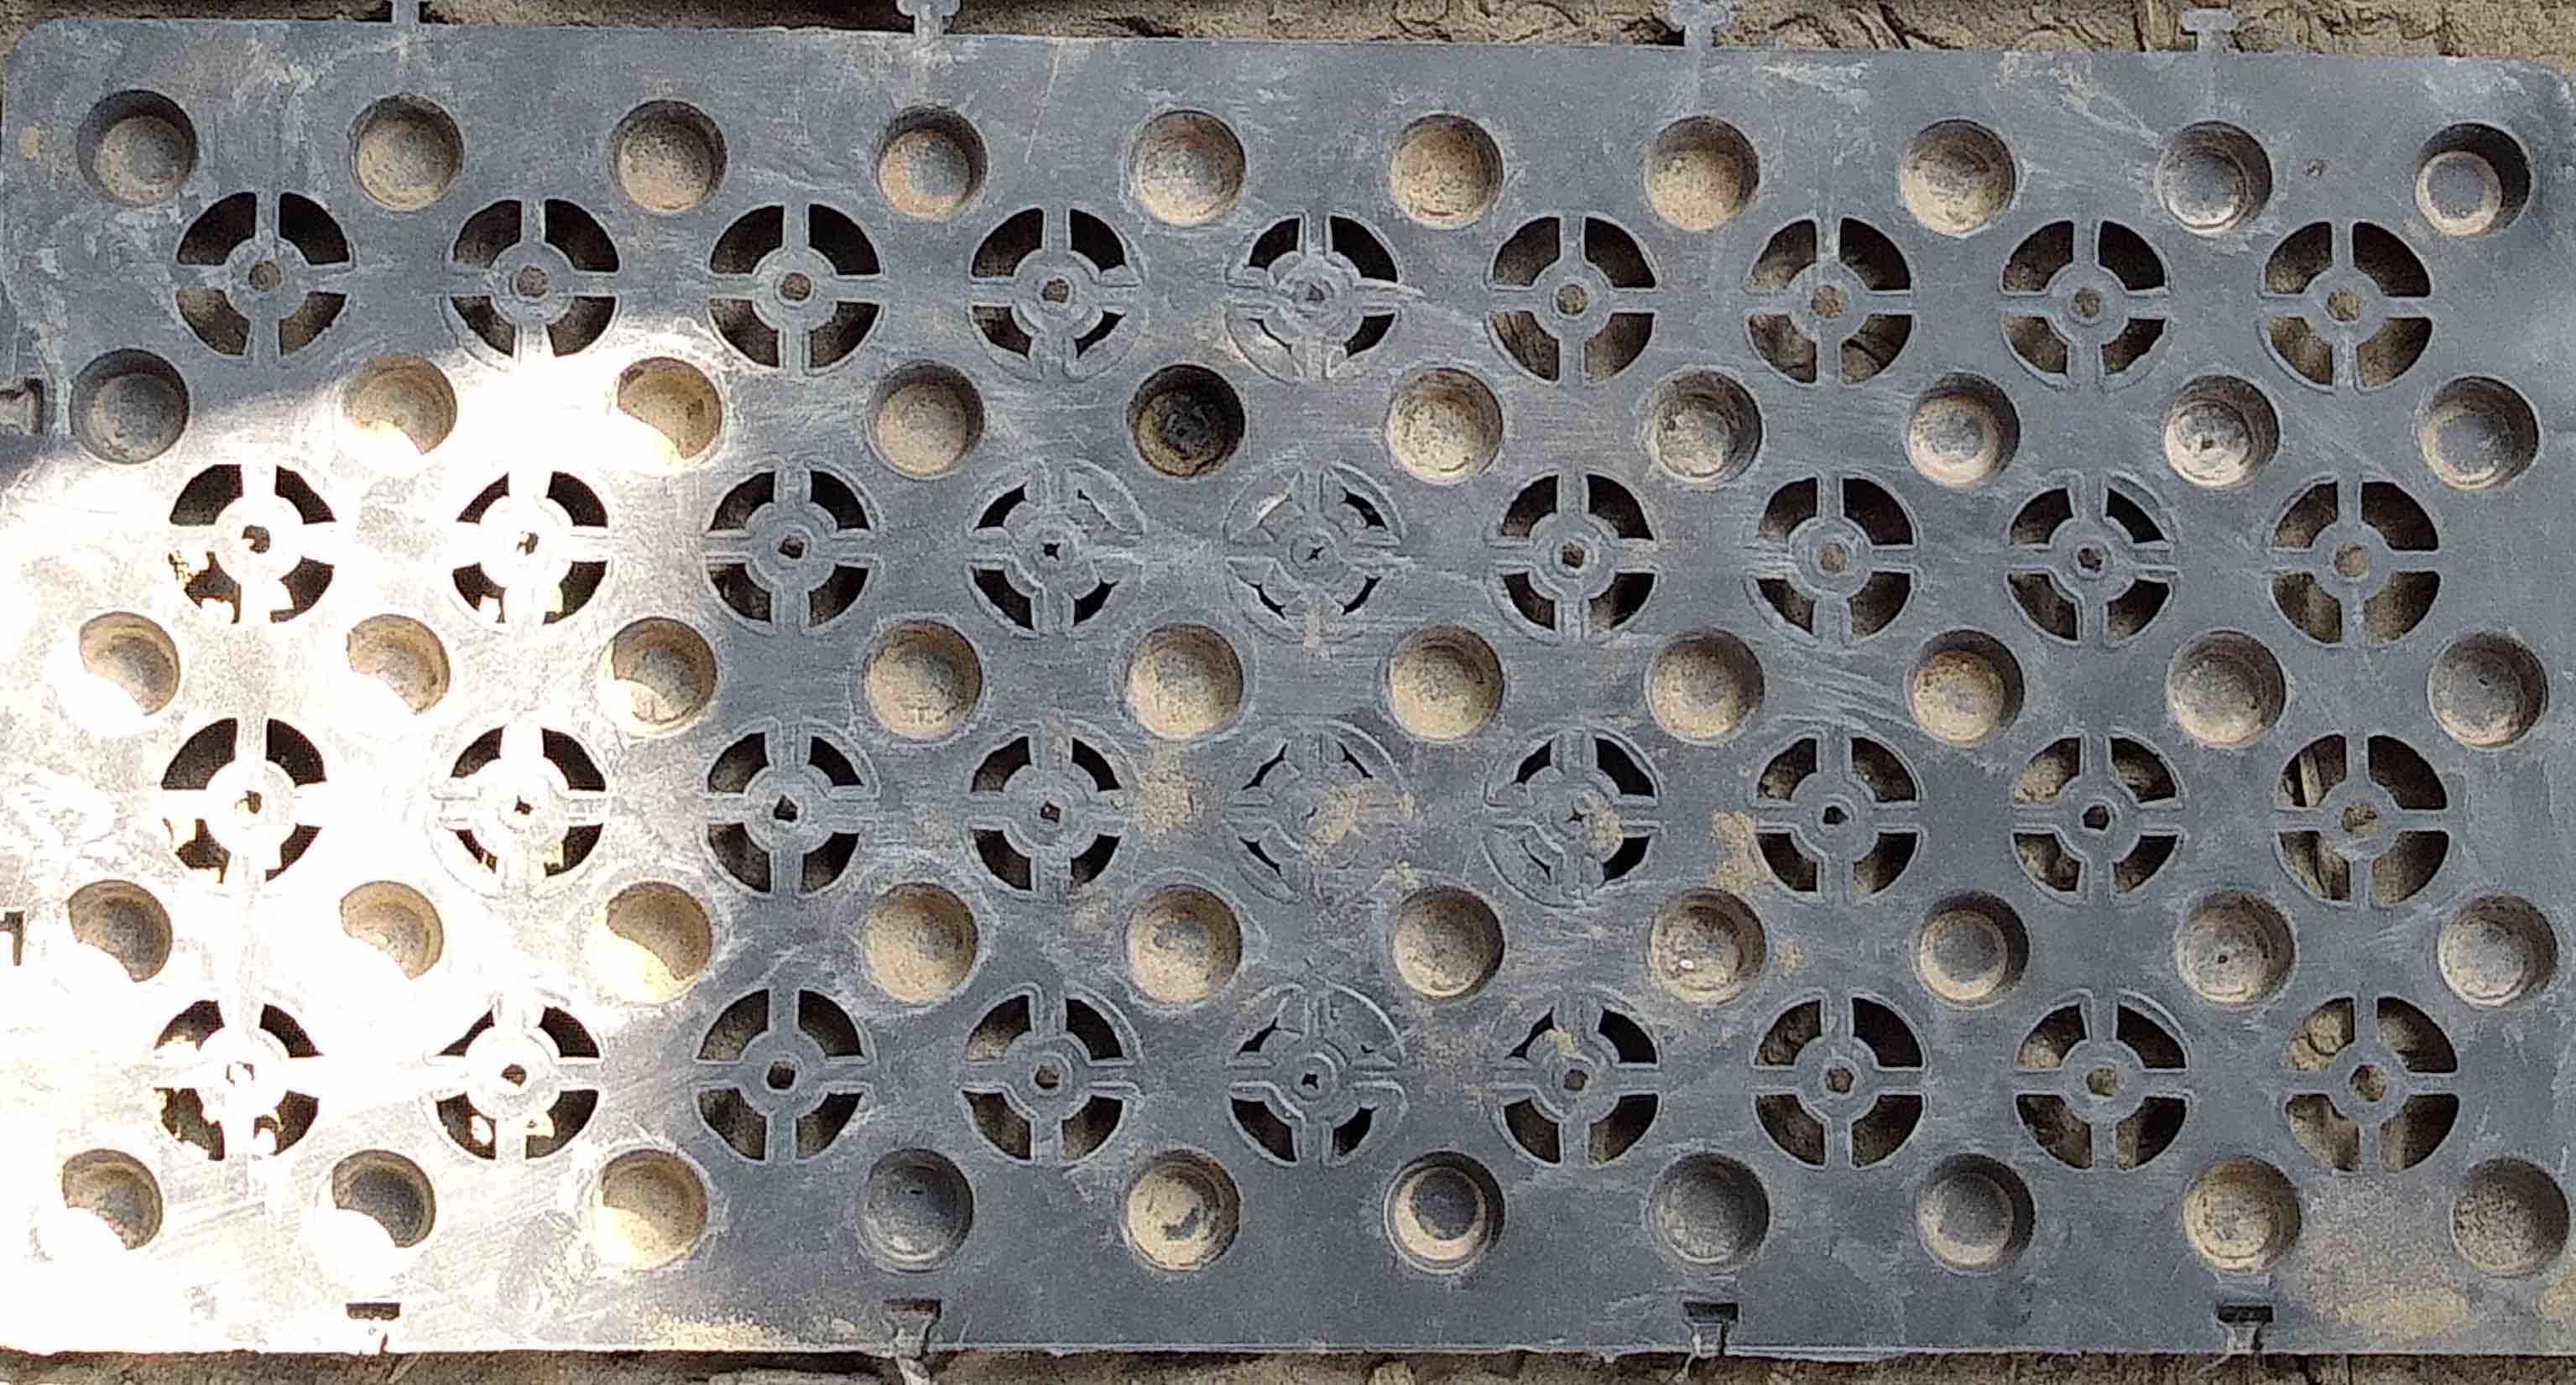
- a) A plastic mat that has holes ensuring aeriation and drainage (that’s why each pot has hole at a bottom)
- b) A cloth (infused with plastic to avoid soil to drain using excessive watering (hopefully we will learn to make one in Molding and Casting lecture)
Some images from the workshop i attended (to get a hang on what i am talking about
Plastic mat for air to circulate
Plastic infused cloth to avoid soil drainage

So i started designing a simple box, its pretty easy interface on TinkerCad. First thing i did was to finish some online exercises on TinkerCad, you should do the same first by going through these simple tutorials TinkerCad Learn. After this i selected some primitive shapes which you can drag and drop e.g. Box and a Holo cylinder and enclosed it with a featured softbox object and volla you have a box which i can 3d print and use for holding my plant seeds and saplings. In this box i just need to put plastic infused cloth, cover it with sand and start my own rooftop garden :)
Tinkercad Interface
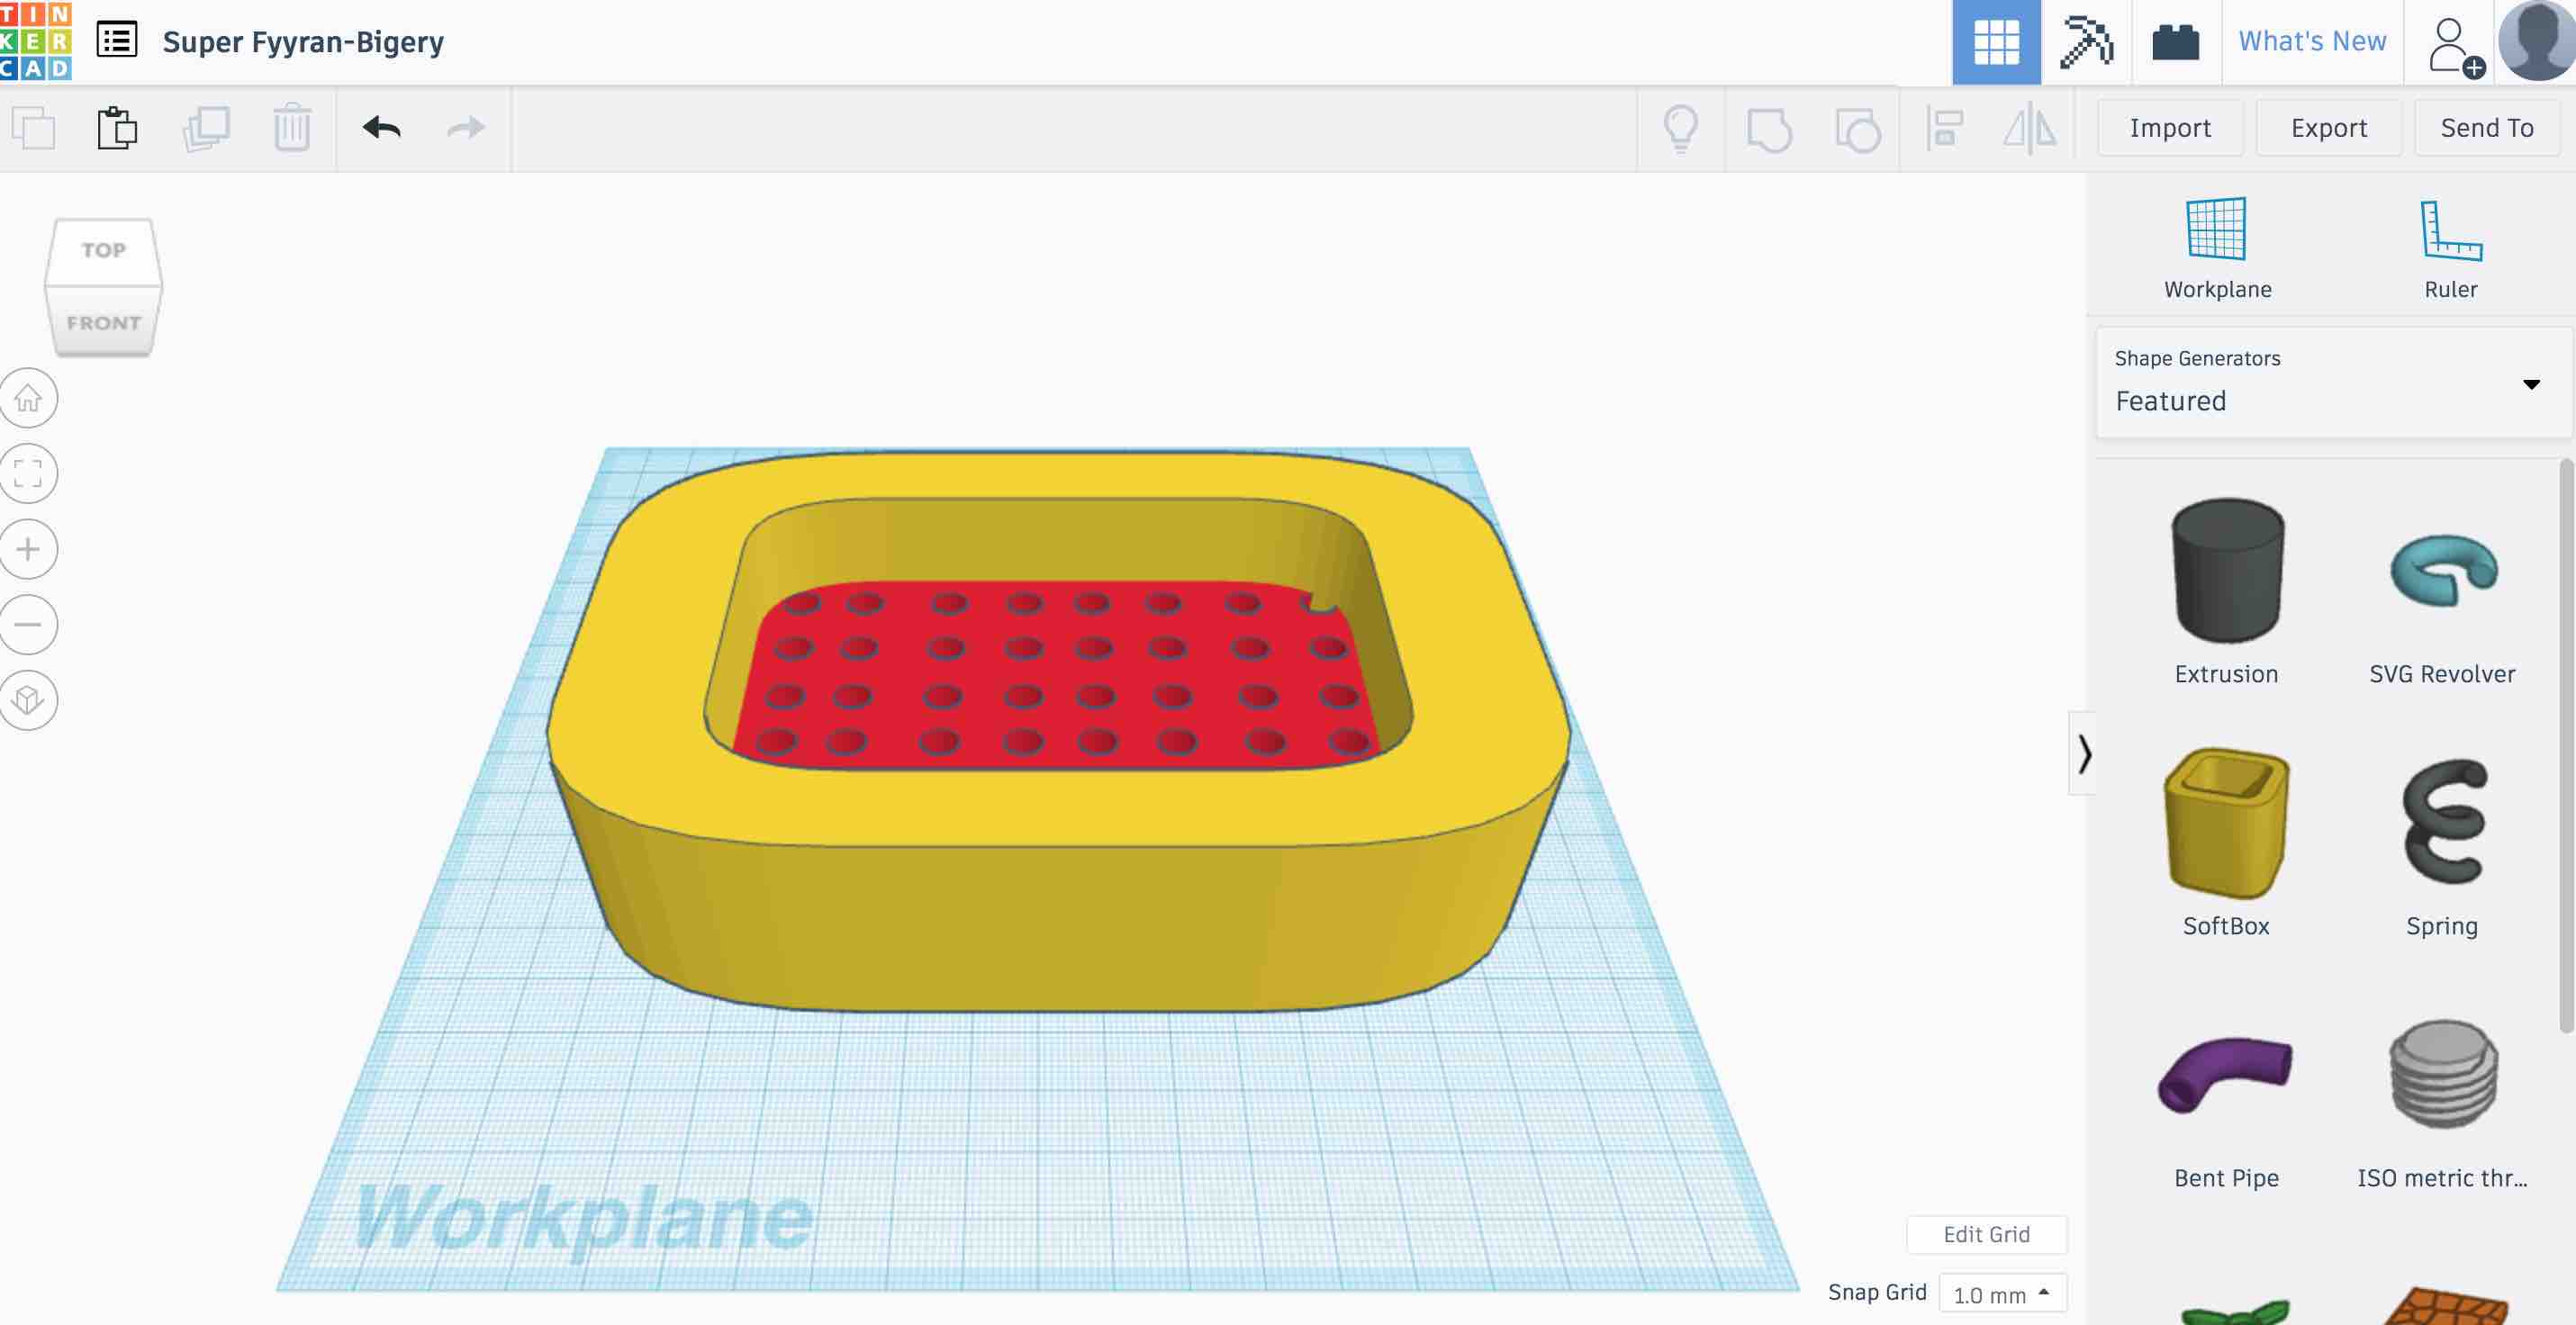
Here is the Final Outcome I used sketchfab to upload my design.
Learning Outcomes from Tinkercad
- Tinkercad is a good tool if you want to teach young students on 3d printing
- Very easy drag and drop interface and objects to create primitive designs
- Not that feature rich as compared to Autodesk fusion
- But as i was looking for a simple box to plant my seeds and saplings, so within 5-10 minutes i am able to design it. So its very good prototyping tool
Getting Started OpenScad
When i looked at OpenScad after spending my time on Autodesk and TinkerCad i realised why i have not spent same amount of time on OpenScad because this is the only tool that was talking about programming and i come from programming and an IT background. It could not have been so hard for me to understand :). So i decided to try this out too. OpenSCAD is an open source program available for all the platforms and has no dependencies so it can be installed very easily by just downloading the installer for mac i got started. Surfing through the OpenScad website there are some Tutorials and Cheat sheet.
So i watched various tutorials and tried to mimic what i created on TinkerCad. And here is what i was able to make and learn.
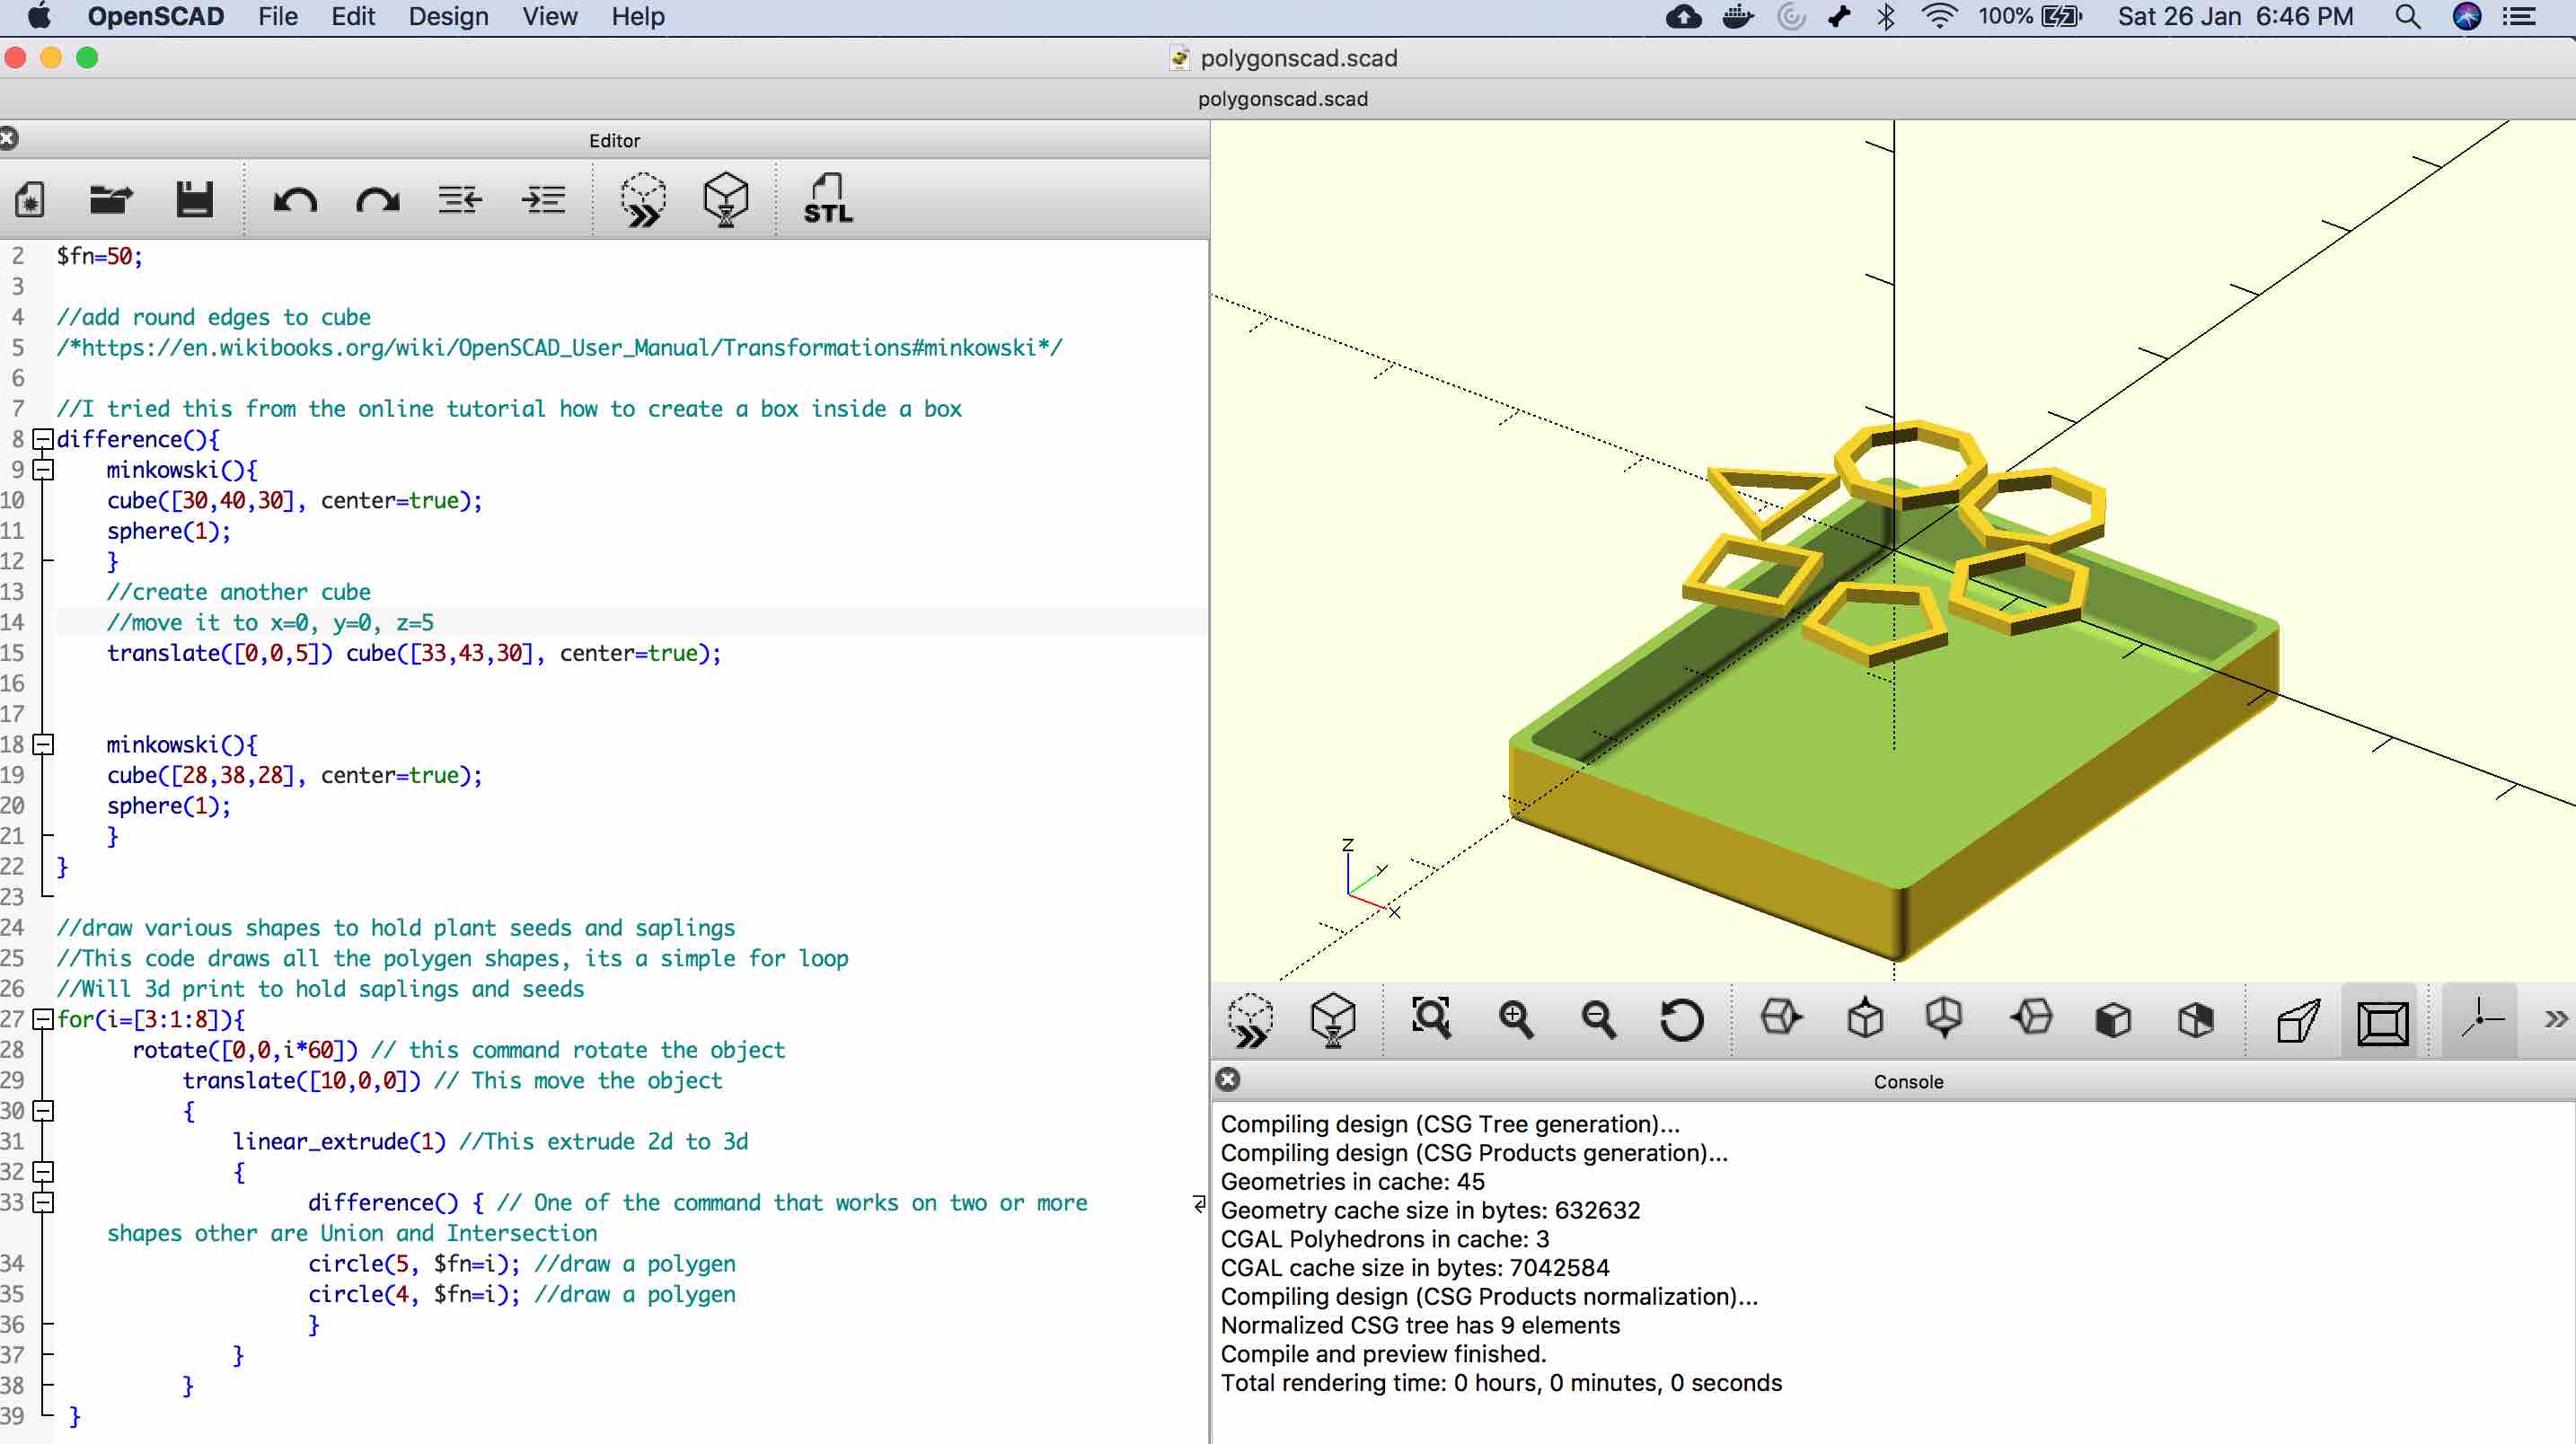
//create smooth surface as everthing in OpenScad is a Triangle
$fn=50;

//add round edges to cube
/*https://en.wikibooks.org/wiki/OpenSCAD_User_Manual/Transformations#minkowski*/

//I tried this from the online tutorial how to create a box inside a box
difference(){
    minkowski(){
    cube([30,40,30], center=true);
    sphere(1);
    }
    //create another cube
    //move it to x=0, y=0, z=5
    translate([0,0,5]) cube([33,43,30], center=true);


    minkowski(){
    cube([28,38,28], center=true);
    sphere(1);
    }
}

//draw various shapes to hold plant seeds and saplings
//This code draws all the polygen shapes, its a simple for loop
//Will 3d print to hold saplings and seeds
for(i=[3:1:8]){
      rotate([0,0,i*60]) // this command rotate the object
          translate([10,0,0]) // This move the object
          {
              linear_extrude(1) //This extrude 2d to 3d
              {
                    difference() { // One of the command that works on two or more shapes other are Union and Intersection
                    circle(5, $fn=i); //draw a polygen
                    circle(4, $fn=i); //draw a polygen
                    }
              }
          }
 }
Design a Box OpenScad
Learning Outcomes from OpenScad
- I think its a little bit difficult to understand design as a series of mathematical and geometry function
- Programming is easy to understand
- Not that feature rich as compared to Autodesk fusion
- Faster, simpler for design if you know what you are doing
Getting Started Unity
I have always been a great fan of playstation gaming. So i was aware about the gaming engines that are used to design games. Knowing nothing about Unity i again used the same approach as i used in all other tools which is google and find smart people who can teach me this skill :)
And based on my search i found few good tutorial on Unity. My focus was to learn and build a game in Augmented reality especially after hearing a lot about Pokemon Go (whcih my kids keep watching all the time) using Unity and Vuforia
So i started by downloading personal edition which is free and installing it on my Mac Download Link Unity Personal Edition
Next i found various tutorials on Unity
-
Foundation Unity Tutorial like Build a clock with simple objects
-
Create your own AR app using Unity and Vuforia
-
Design an AR game in Unity using Vuforia SDK
Now initially it was overwhelming to understand the interface but once i followed above articles i was able to sail through.
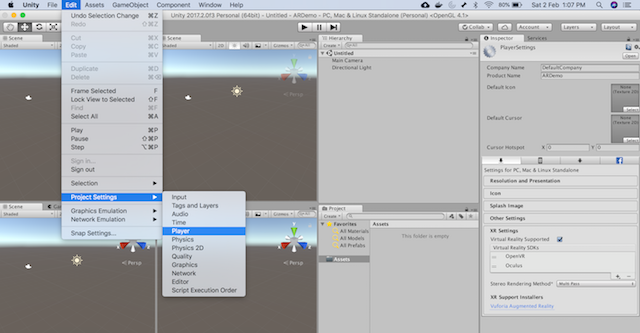
My first mistake was that i installed the latest version of Unity but the tutorial were on older version. So it took me some time to figure out the new interface as it has changed significantly
Some changes which has been introduced in latest version on Unity, which i leart the hard way
- In the video tutorial above (Design an AR game in Unity using Vuforia SDK ) we need to download Unity Package for Vuforia and manually import it in Unity. Unity latest edition has Vuforia already integrated in it. So no need to follow the step.Instead of that we need to go to project settings and go to XR Support Installers and enable Vuforia Augmentation reality supported.
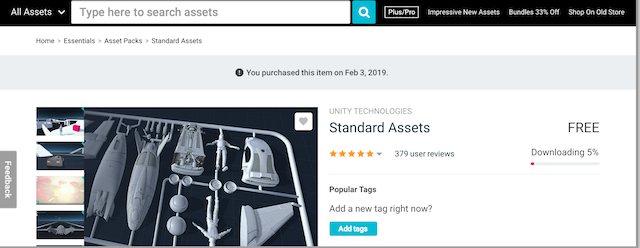
- Another key change is the video tutorial uses Assets Menu to install crossplatform mobile control, this is not available in new version. Instead of that now Unity has introduced the Asset Store concept. So you need to install it from Asset store by searching Standard Assets. To find asset store go to Window and Click Assets Store
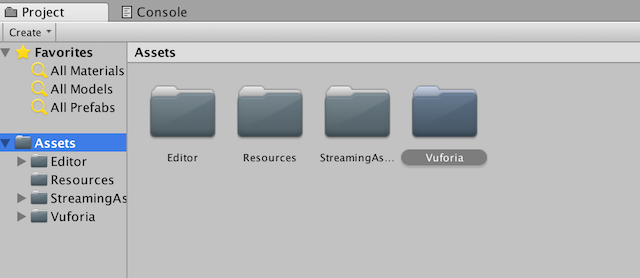
Also all the assets once added are available under Assets folder
Getting started with Vuforia
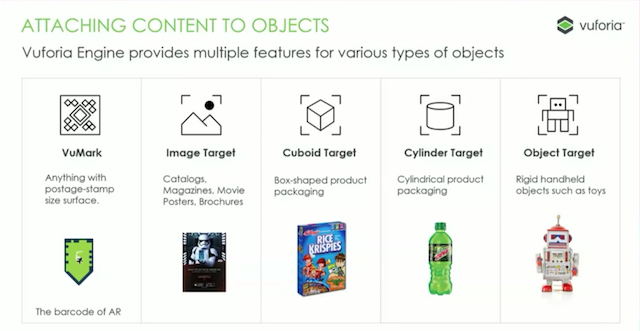
So how does AR actually work and where does Vuforia fits in. AR need a target which can be anything as shared below. Once it identify the target we can portray digital content on top of it. I used Image Target for my demo.
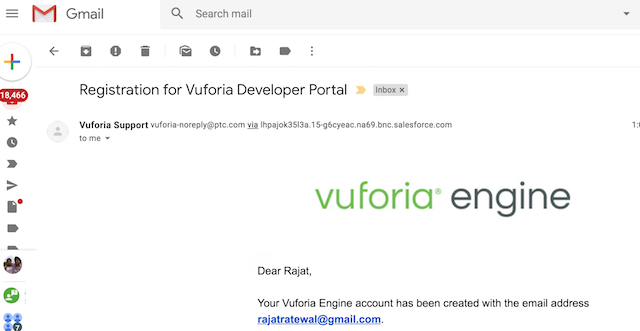
- First step get registered on Vuforia
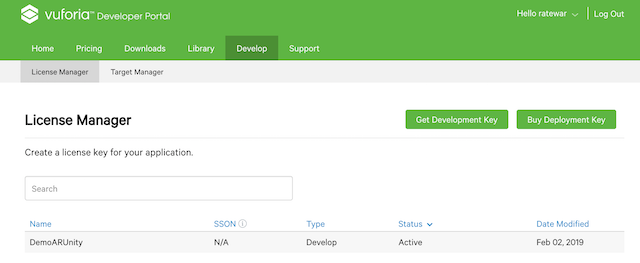
- Generate a licence key
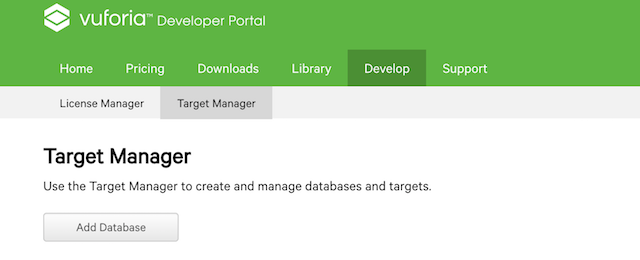
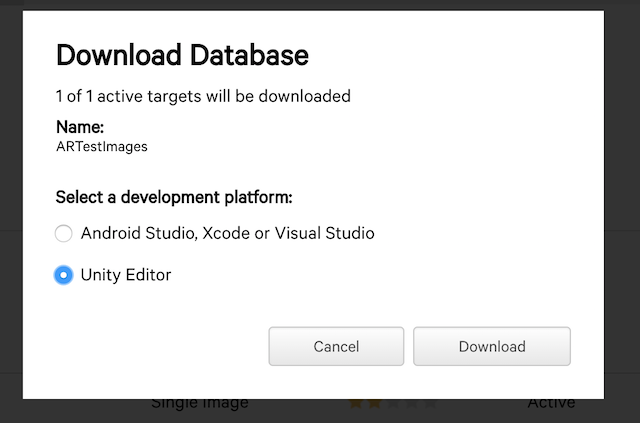
- Create a target database (with target image on which digital image will be portrayed)
- Download Target Database as Unity Custom Package
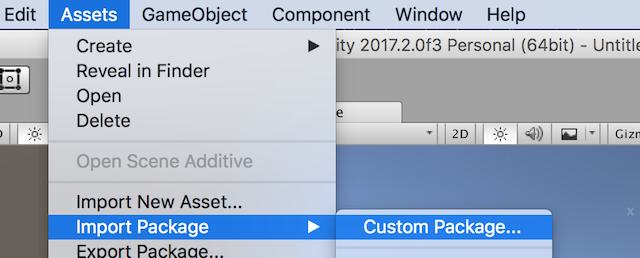
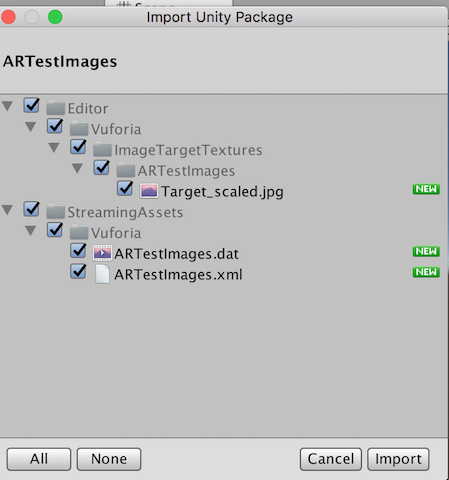
- Import it in Unity
- Import 3d object as per video Donal Trump
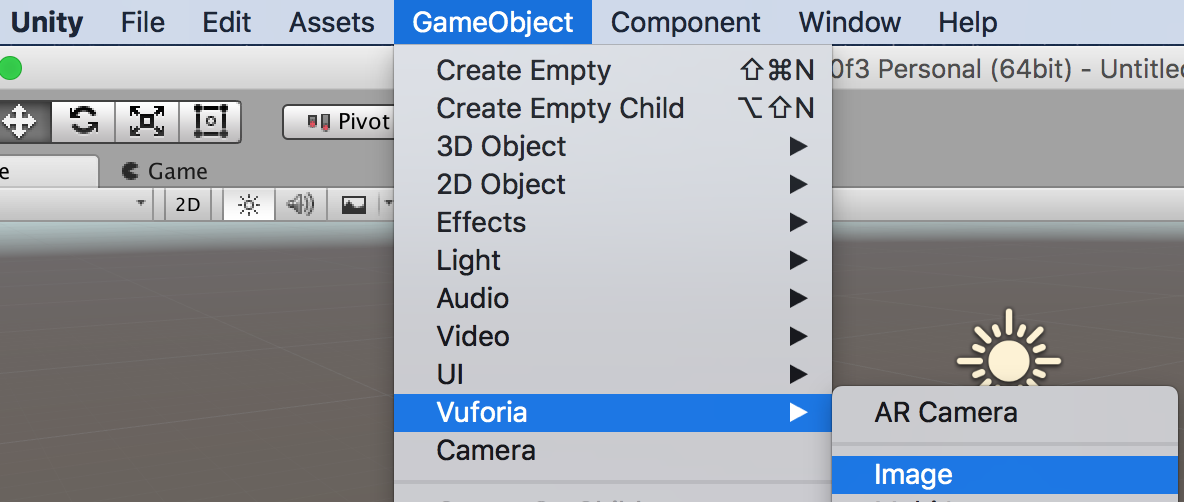
- Go to GameObject insert Vuforia AR camera and ImageTarget
- Enable test database in Vuforia Configuration (in new version this is automatically enabled)

- Once you insert Gameobject Image then select the uploaded Target database
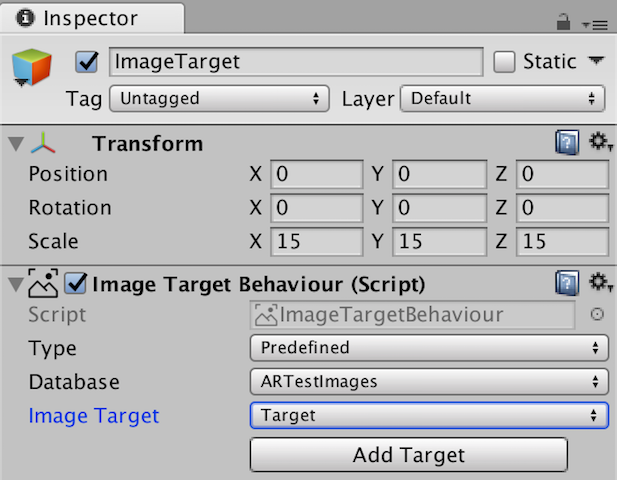
- Follow the video tutorial
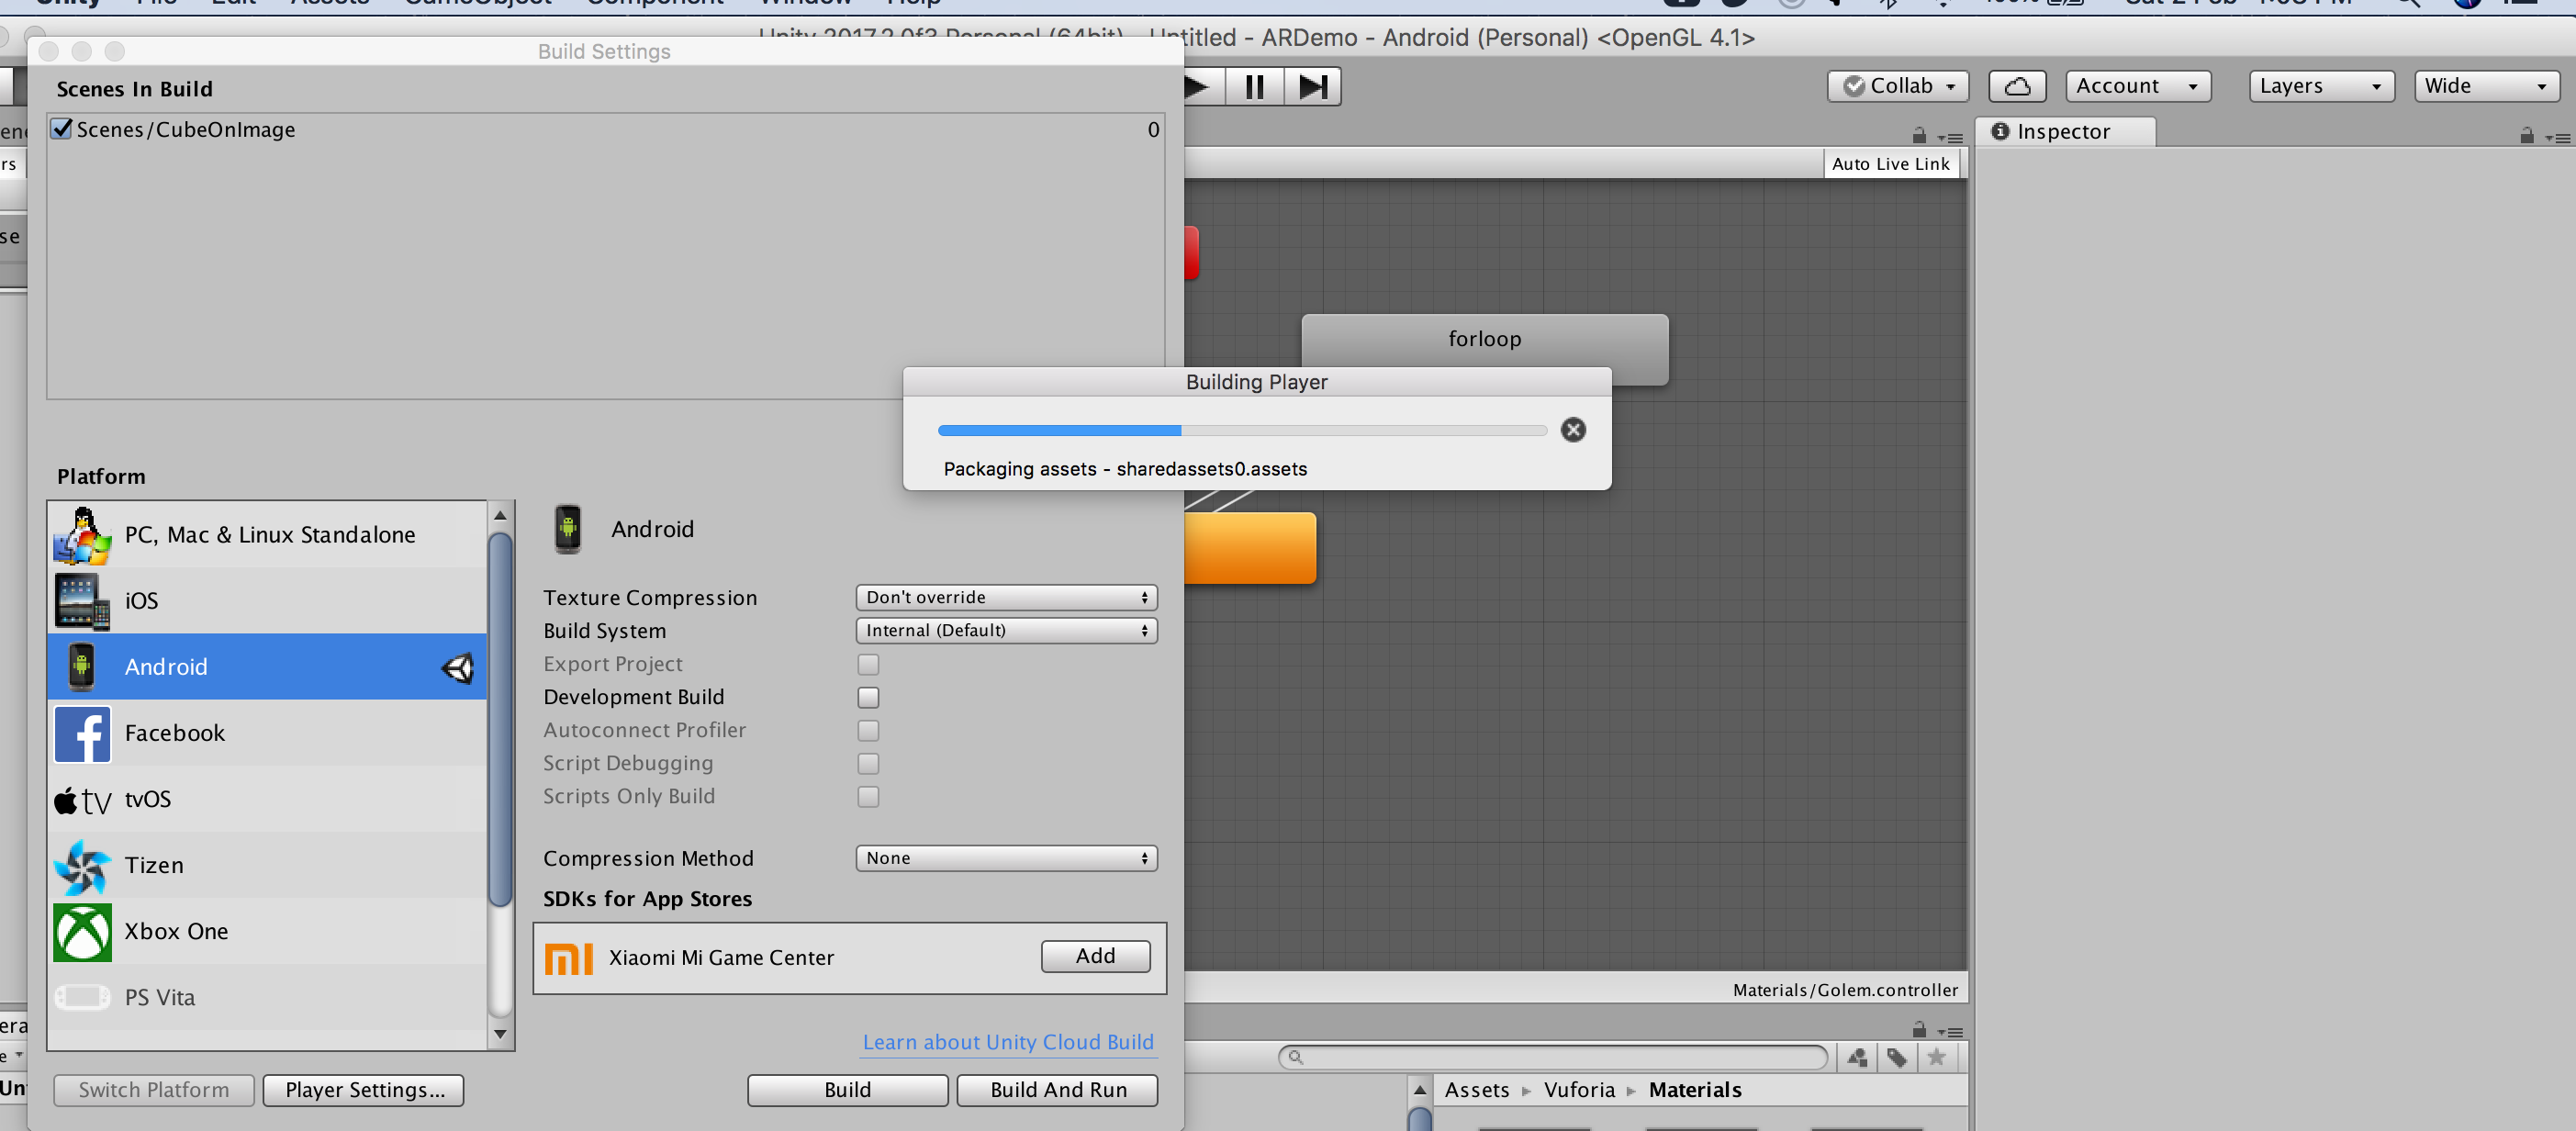
- Publish the app on Android
Here is the demonstration of what i was able to create
I have used iMovie on Mac to publish it directly on you tube and have used Quick Time Player that comes already installed on Mac for screen recording.
Getting Started Gimp
GIMP is a cross-platform image editor available for GNU/Linux, OS X, Windows and more operating systems. I started with couple of examples video tutorials on youtube to understand the software.
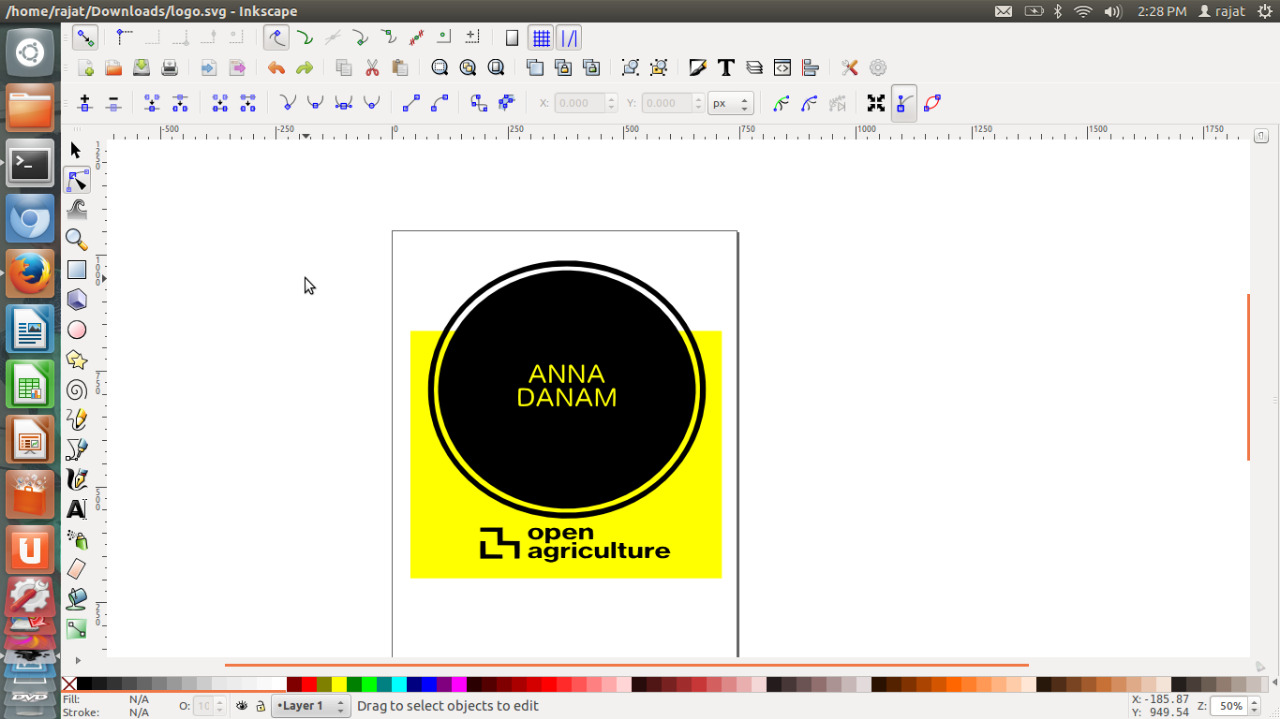
Design a Logo
As part of my final project i wanted to design a logo, so i used this tutorial to create a simple logo for my project food computer.
I followed the video tutorial and was able to create following logo.
![]()
Overall learning Gimp
- I had experience of Photoshop and it actually is similar where you have concept of layers
- Its a good editing tool for images
- It has wide range of tools and manipulation tricks which helps me to crop and resize images and do a lot more stuff which is to be explored by me in near future. Highly recommend this software to edit, merge, resize, crop, scale and play around almost any image file.
Getting Started Inkscape
Before starting It was important to learn about “vector” and “raster” files. There are two types of digital graphics- vector and raster. Vector images are made of pixels of hundreds of thousands of tiny lines and curves to create an image. Raster images are composed of pixels. Inkscape is used for vector drawings.
To download the software go to Incscape website and download according to your operating system.
So for inkscape i decided to my logo bitmap image into vector image so that i can cut the files using Vinyl Cutter. For that i started looking at below youtube tutorial.
And this is what i was able to create by following the video tutorial.
Final SVG image that i can cut using Vinyl cutter.

Overall learning Inkscape
- I found it easier then Gimp
- I think its a handy tool to create SVG files that can be used to cut on Vinyl cutter and laser which is covered in next week
Overall Software Comparison
| Software | Pros | Cons |
|---|---|---|
| Autodesk Fusion | Simple and Awesome | For me personally none |
| Unity | Good to build AR, VR and games | You need to be a programmer and understand .Net |
| Tinkercad | Simple and Fun to use | Limited capability on what you can build, good for starting but not for professional use |
| Openscad | Simple interface | Unless you are a Math Geek and can imagine geometry as math its very hard |
| Gimp | Open source image editing, if yo don't want to spend money on Photoshop | Too many menu options |
| Inkscape | Great tool to work on Vector images that would help in Laser cuttting and Vinyl cutting week | None from my end it simply works |
Overall Learning Outcomes for this week
- I think i am going to stick with Autodesk fusion because of following reasons 1) Lot of good tutorials 2) Feature rich 3) And it’s free
- Game engine like Unity are good tools if you want to do animation, gamification, AR demos
- One of the most important aspects of this week was to try different tools, softwares and review most of them, to efficiently suit some of my purpose to create a model or a project, which i think i did check out the project documentation :)