3D Printing and Scanning
- 1. Characterization of the 3D printer(Group Works)
- a. Orientation
- b. Thickness Test
- c. Hole Test
- d. Infill Test
- e. Overhang Test
- f. Bridge Test
- 2. Make a mini object and print it
- 3. 3D Scanning

3D Printing and Scanning
In Vigyan Ashram we have two 3d printer, one is Accucraft and another is Zulia from Fracktel Works. We are using Zulia for maintain and finishing our group assignment about Designing rules about 3D printer.Most of the cases we are using Zulia by fracktel (software) for completing our group and individual assignment, cause it has good standardization about maintain origin and and direct follow the gCode. No need to fix the origin and easily controllable. for making gCode we are using Fracktory 2.0 software for main slicing according to the origin and code.
Features of Zulia+:Direct Drive:Direct drive maximizes filament feed torque enabling Zulia to print flexible compositions like Nylon 618, ABS, PLA and other material.
Filament Sensor: Zulia’s new filament sensor ensures reliable printing alerting you of problems or filament run out.
Replaceable Nozzles: Replaceable nozzles enable you to change from 0.25mm to 0.8mm nozzles.
Heating Print Bed: Heating print bed enables you to print engineering thermoplastics like ABS, Nylon 618, to keep warping at a minimum.
Specification of Zulia+: Layer resolution: up to 80 um, Build volume: 21 cm × 25 cm × 26 cm, Recommended filament diameter: 1.75 mm, Nozzle diameter: 0.2- 0.8 mm (Replaceable Nozzle), Print technology: Fused filament fabrication (FFF), Stand-alone: SD-card printing, Frame dimension X Y Z: 48 mm × 47 mm × 42 mm, Operation nozzle temperature: 180-260 °C.
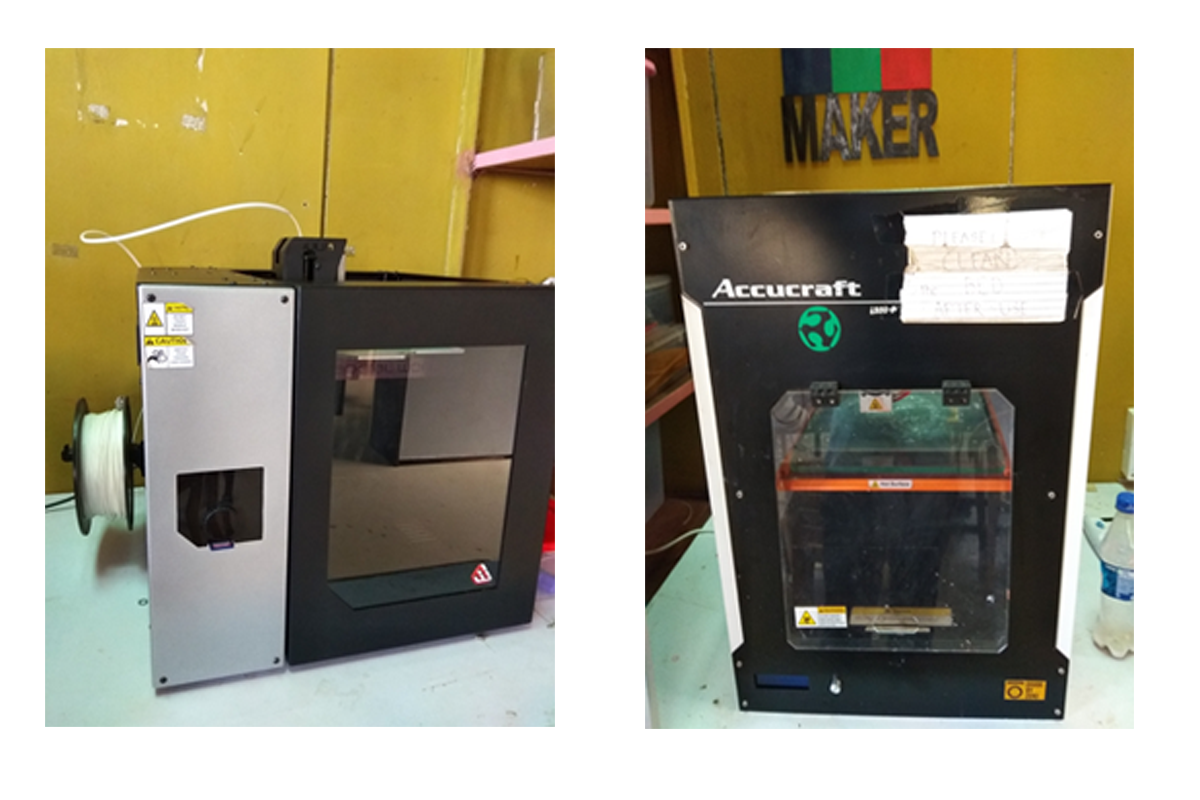
3d Printer we have 1. Zulia+ 2. Accucraft
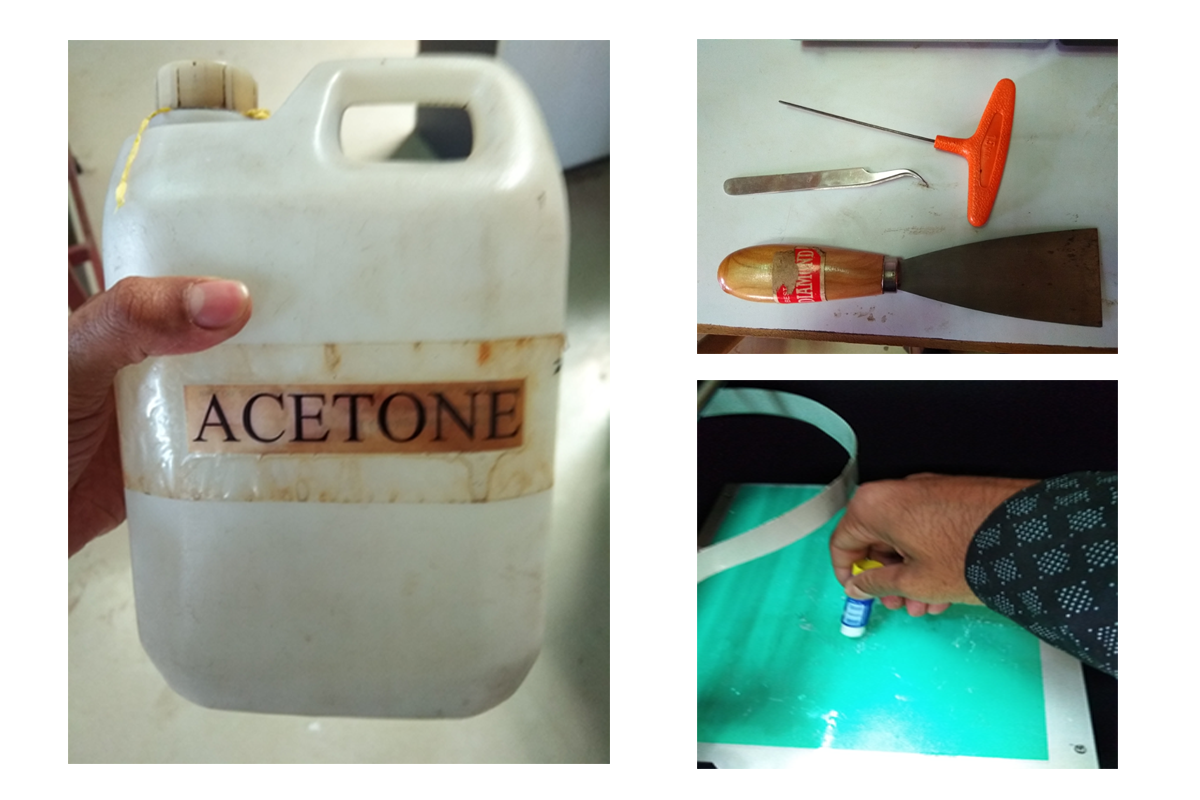
Materials we used for printing
Orientation Test: For orientation test we did our design by three orientation like horizontal, vertical, and stand alone. After completing the printing we saw different printing direction on the object. In horizontal object the printing line goes to diagonal line and vertical on standing here line goes to diagonal but there is gap in the line. When we reverse the stand alone then the vertical stand are print good when it goes print the extra site then the lower part are goes in mis place and the print doesn't look uniform as design.
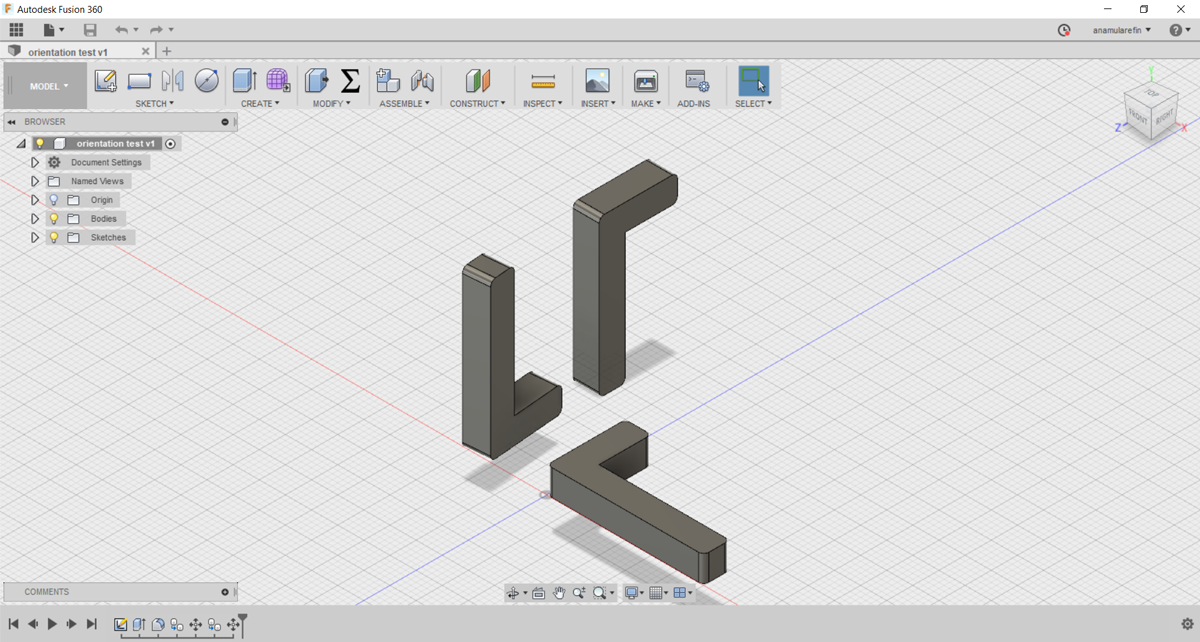
Fig1. Orientation design by Fusion 360
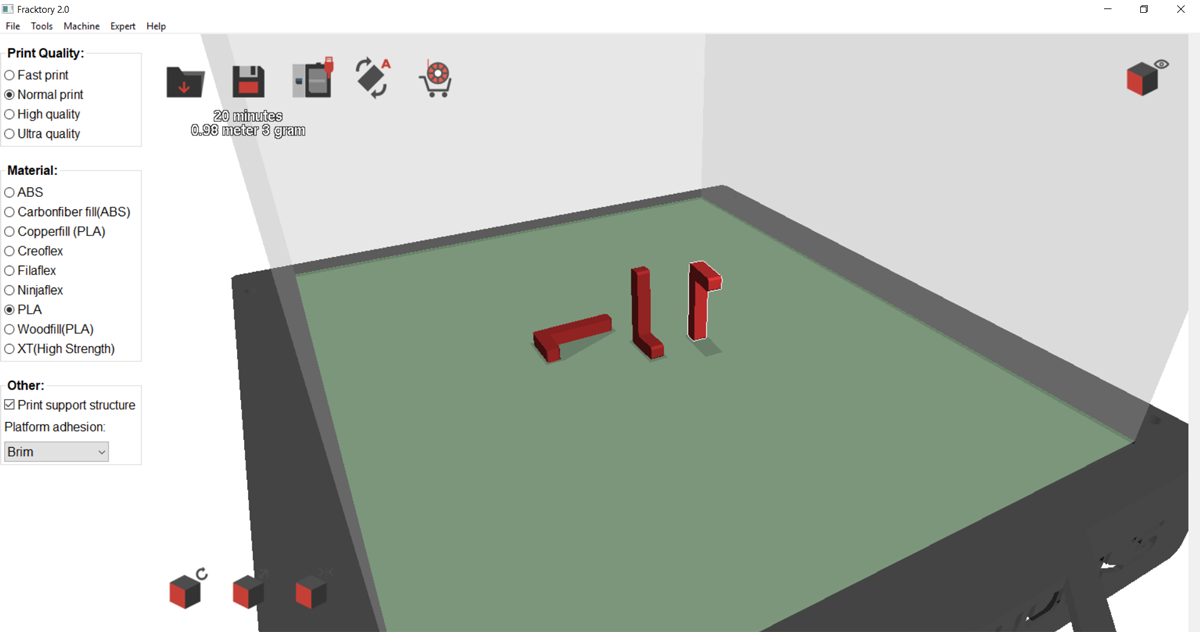
Fig2. Making gCode by Fracktory 2.0
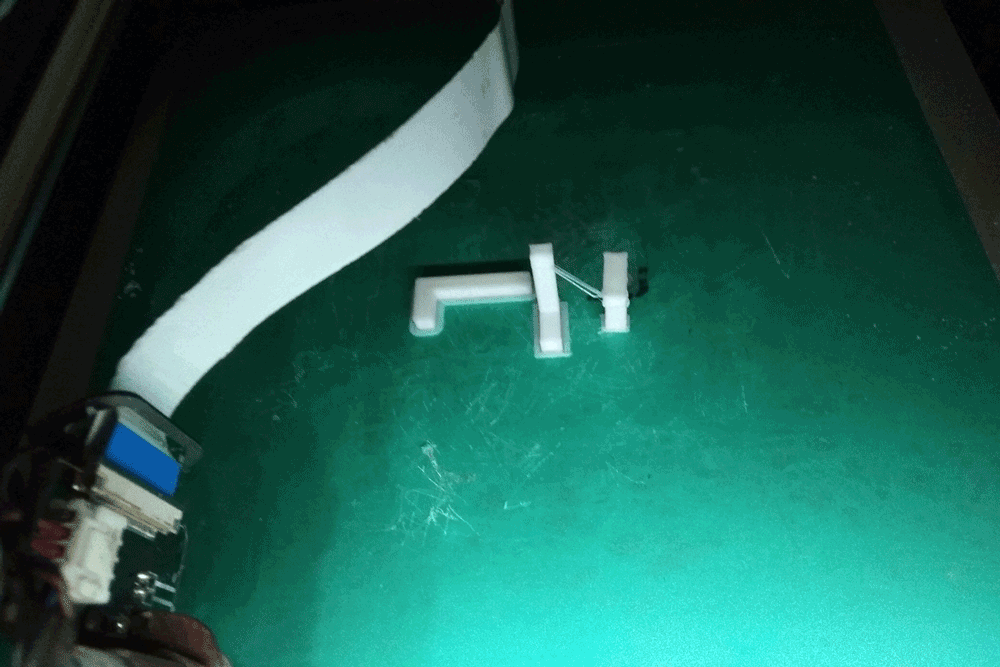
Fig3. After printing the object
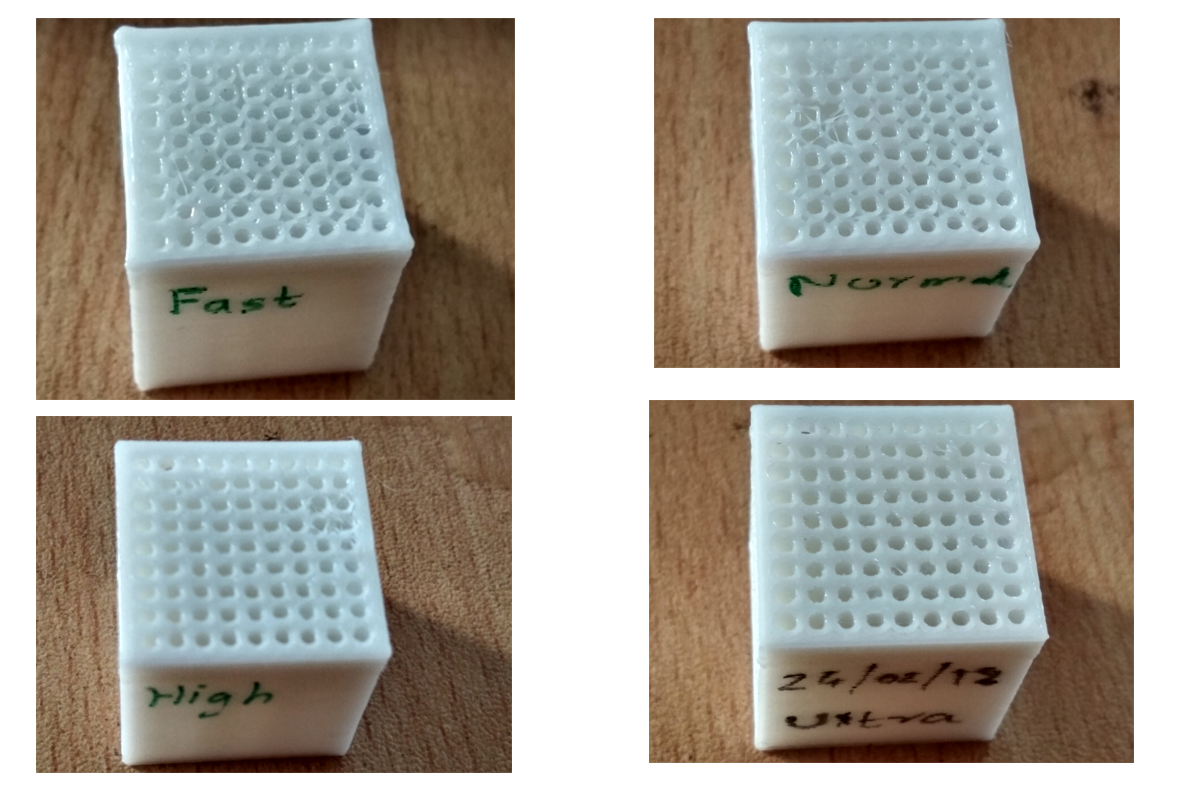
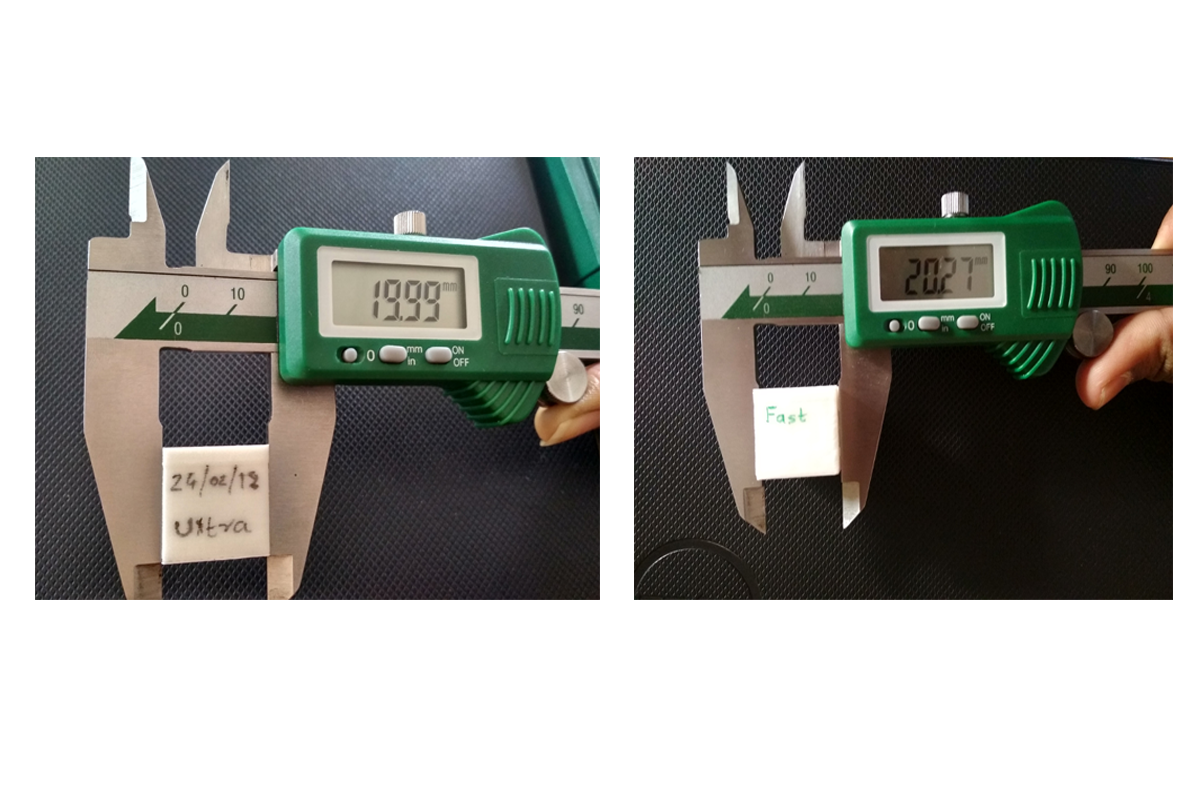
Thickness Test We are doing thickness test by making four cube according to the printing setup, like fast printing, Normal printing, Hard printing and finally Ultra printing. Here we can saw the scale is high in the fast printing rather than the other like ultra in minimum thickness. why actually its happened cause the size of the nozzle. The quality of the printing cause its actually doing thickness parameter with different wall thickness.
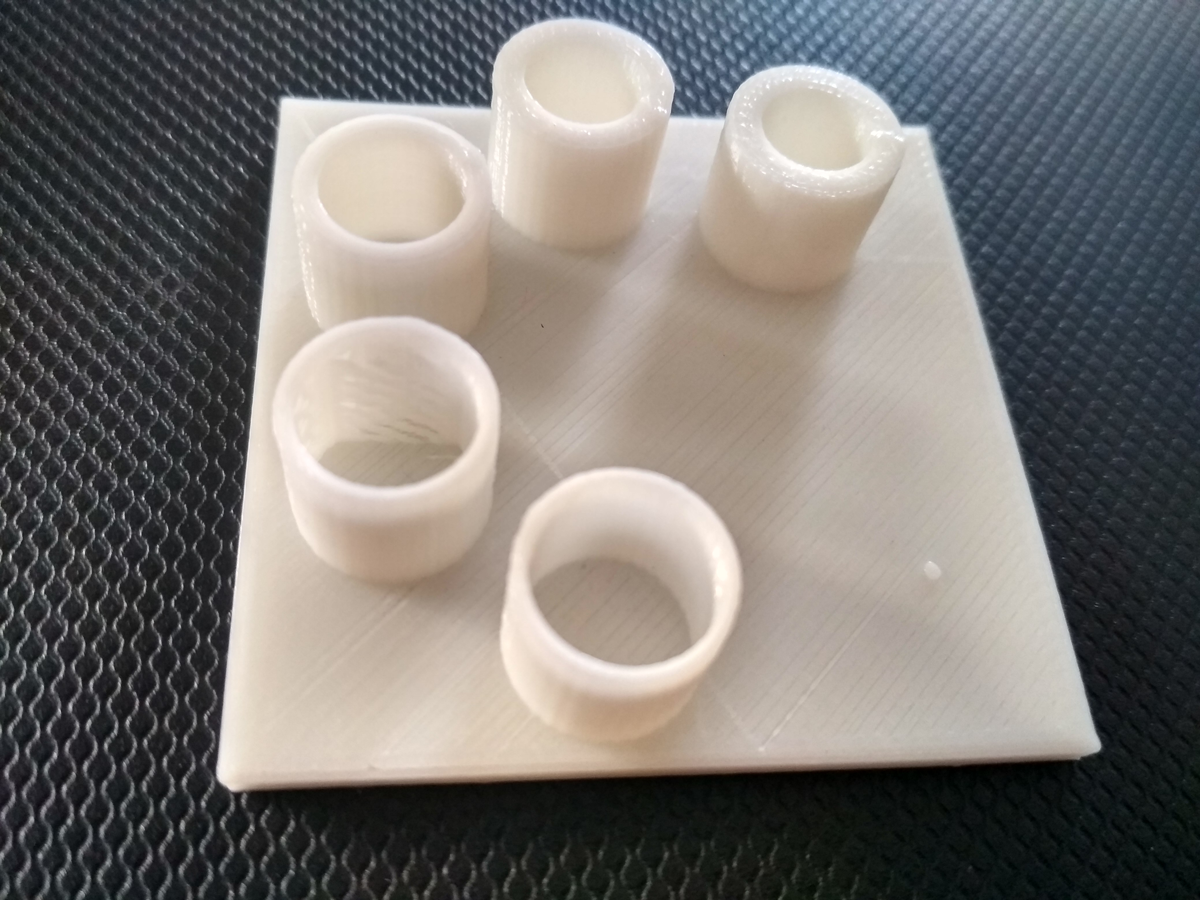
Hole Test: Where we want see that how was the print looking and what is the difference are show in the object in different hole diameter.
Infill Test: Here we design one cube in 15 sq.cm and take image on different percentage with time lapse. Here we take five different percentage according to the time, like 10%, 30%, 50%, 70% and 100%. Where as the 10% are complete within 3 minute, 20% are complete in 5 min, images are in below:
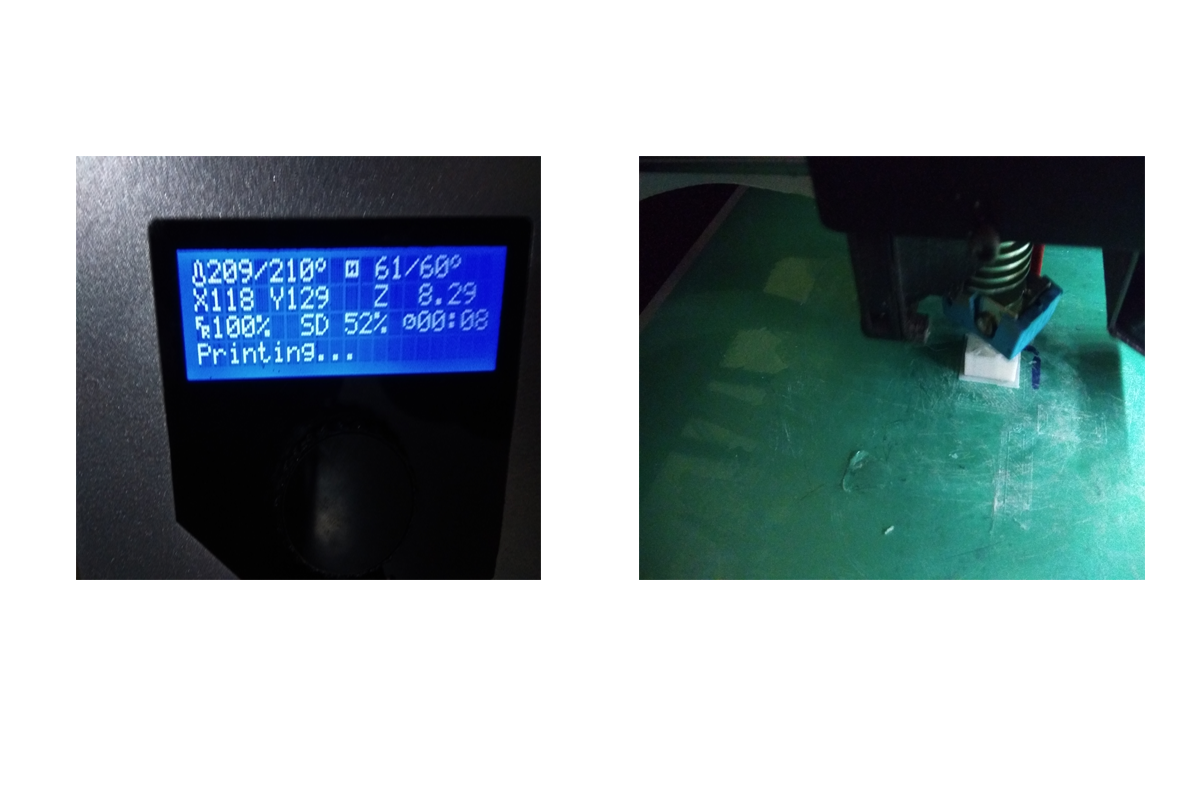
Time lapse after 50% printing complete
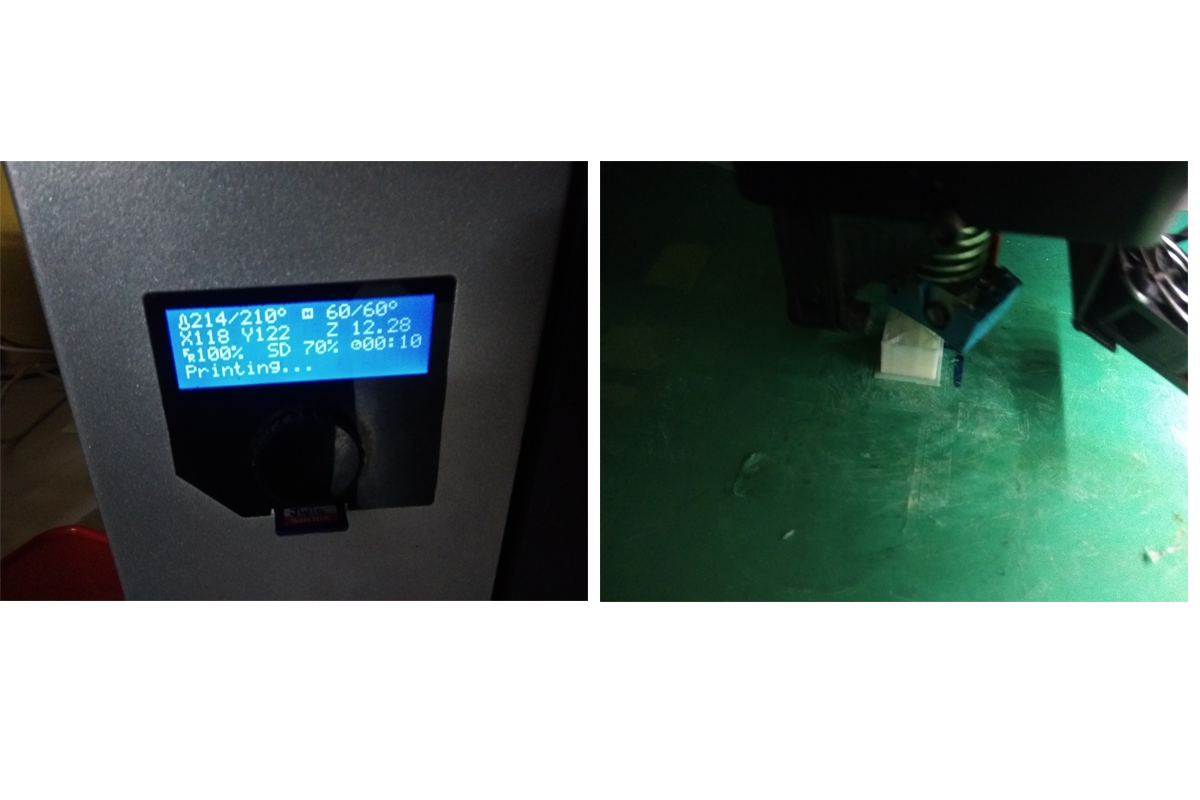
Time lapse after 70% printing complete
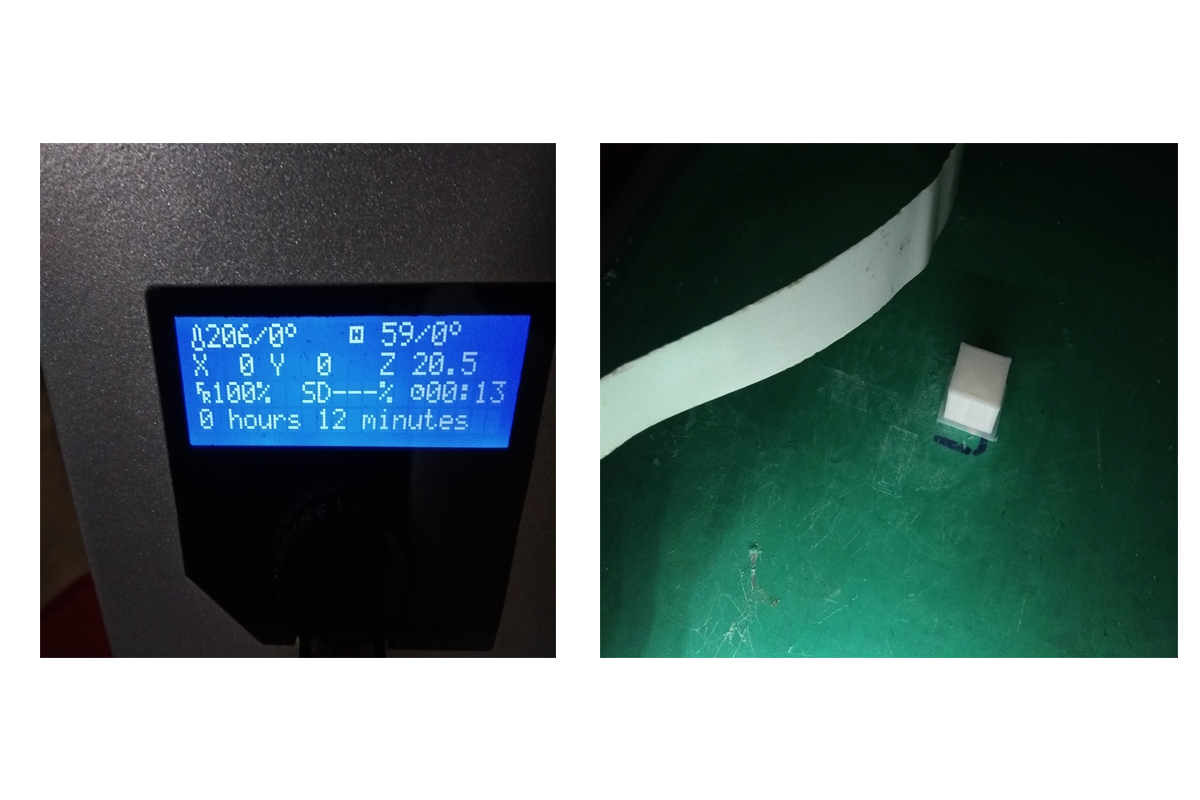
Time lapse after 100% printing complete
Overhang Test: Here we took four different object in different angle for testing the overhang where the support are needed or not. During the printing we saw some difference in different overhang position according to the angle. Here we design four different angle like 80, 60, 45, and 25 degree. Here we saw that the 60 degree are don't need the support but when it goes 45 degree then their is need to support for uniform print. In 25 degree here is more support to print. So 45 degree is the starting point to need the support.
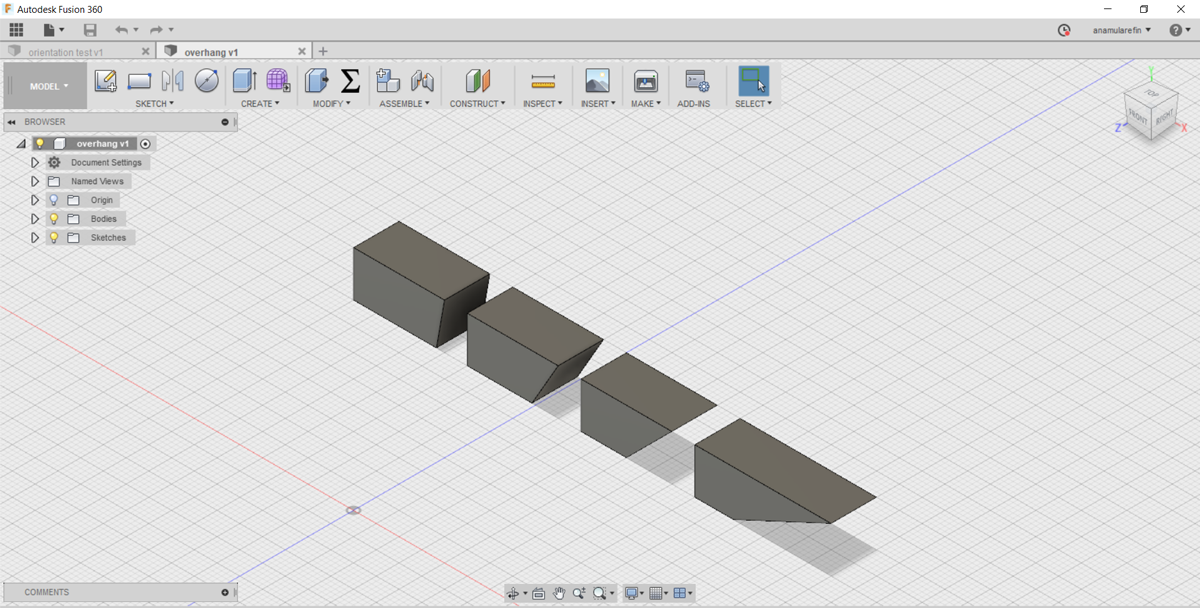
Fig1. Overhang object design by Fusion 360
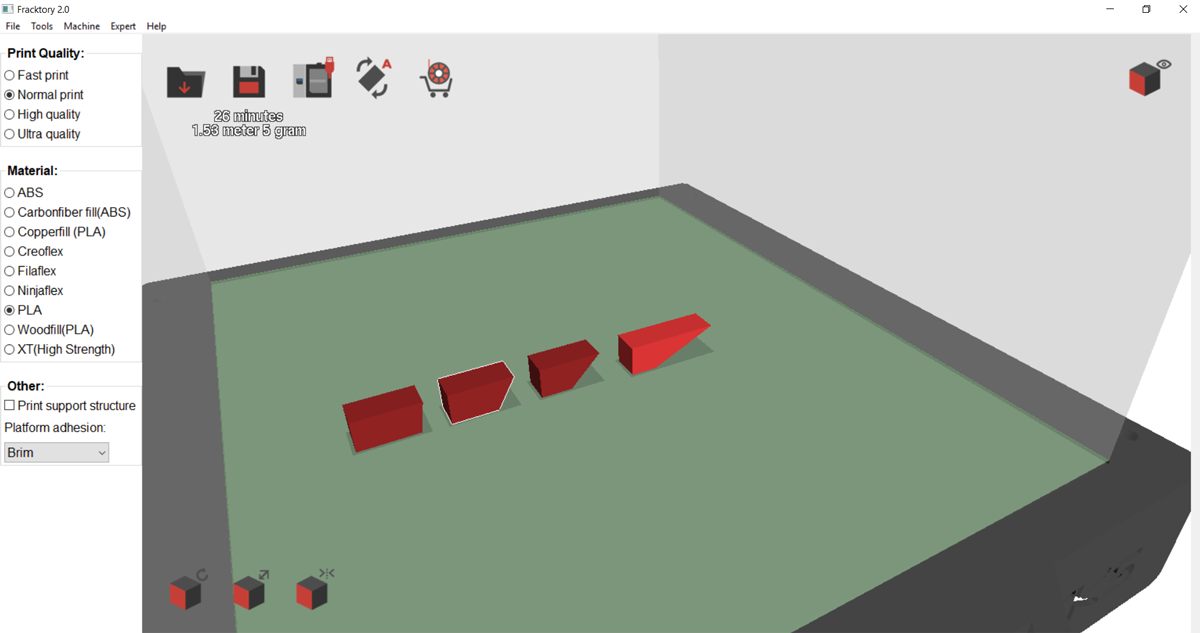
Fig2. Making gCode by Fracktory 2.0
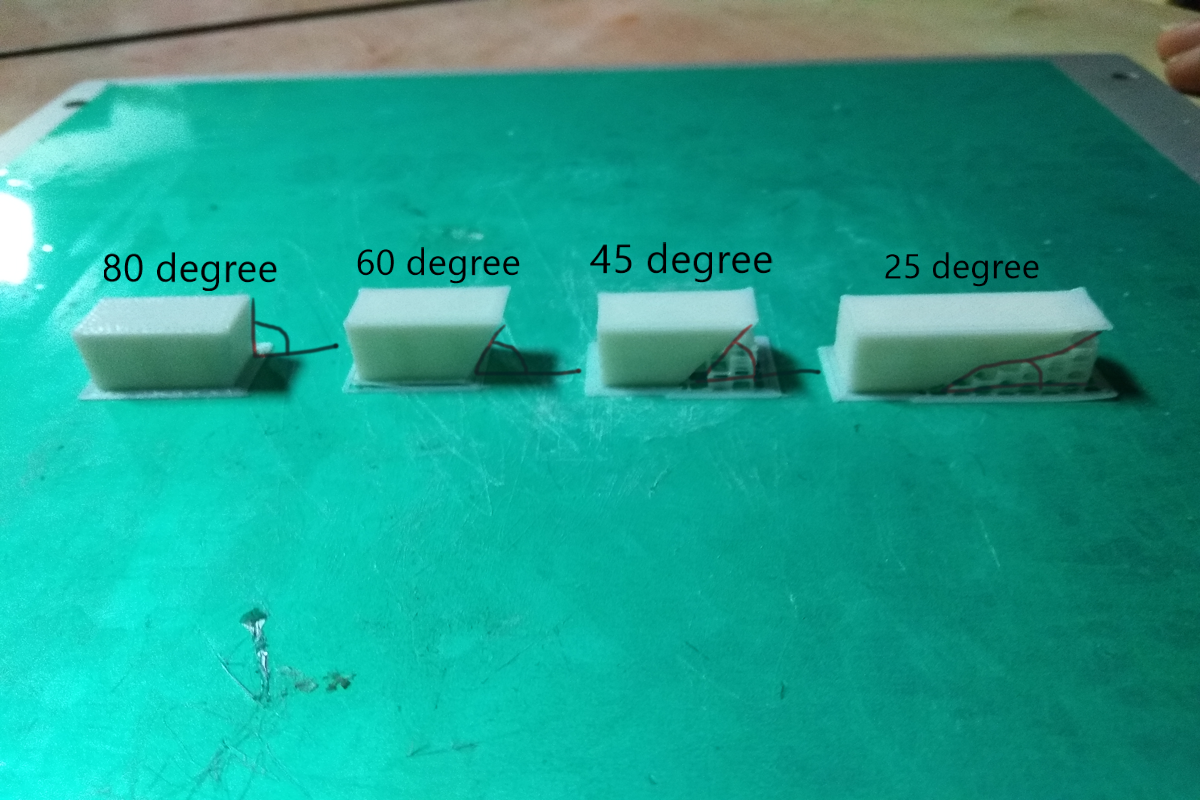
Fig3. After printing the object
Bridge Test: Here we make an object in different sizes, like 5, 9 and 15 mm distance of the support, actually we want to see how much far the printing line are distorted, here the after 8mm the line going to curve without support printing.

Bridge test with out support
Height and Point Test: We make stand in different sizes and printing it without support and we saw that the without support the printing goes on the distorted line where as the thread are come to the stand bar. Is means that the If we going to print with thin point stand then the extruder point can give uniform line as design, it's distorted. Here we also done point test for know the extruder point how much it can be done, we saw this after printing that is the 0.14mm difference then the design cause the extruder is 0.4mm but its not print accurate. In design the tip is fixed on 0.20mm where as the extruder thickness 0.44mm but after printing the tip is 0.54mm.
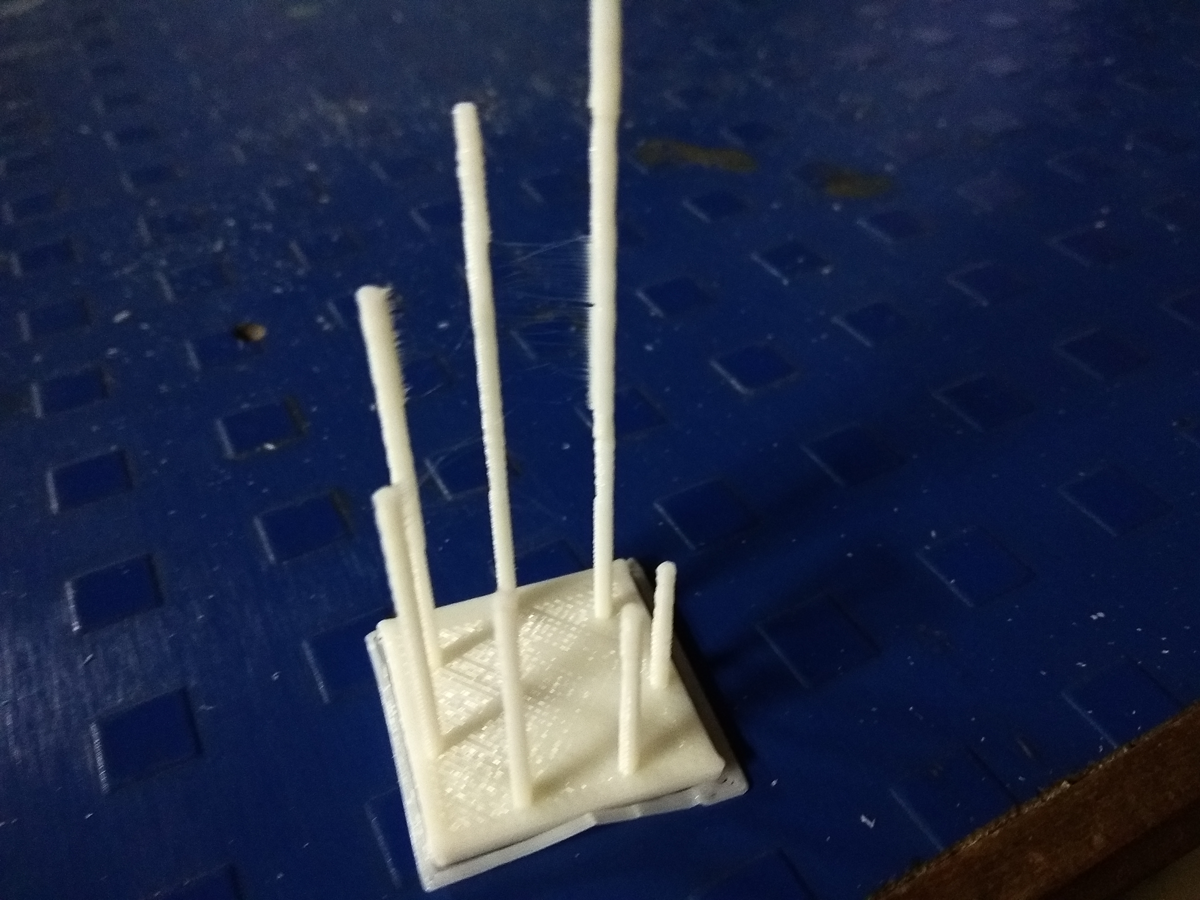
Distorted line and thread are seen on stand
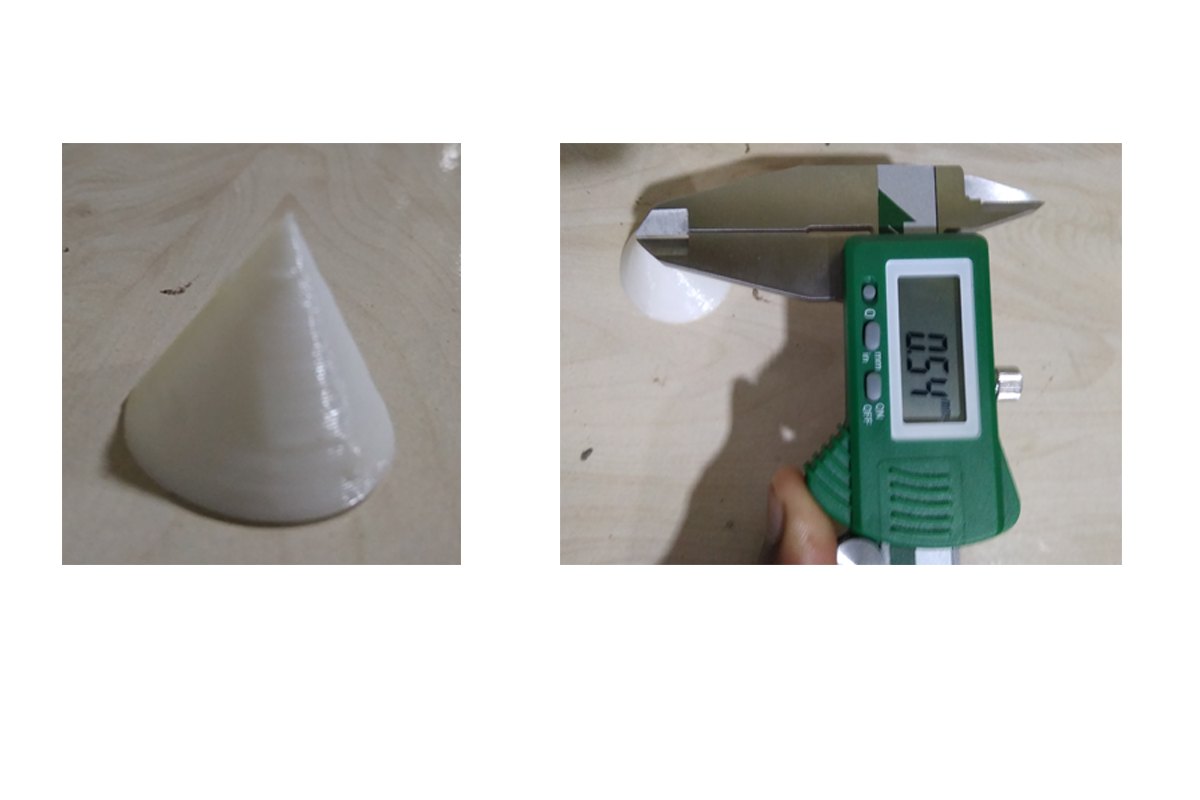
Point test show the not accurate printing
Make a mini object and print it: When I was going to design, that time thought to make a design which can be use for charging my MI Band. Here is mini story, I left my MI Band Charger in my country, and this is going off last fifteen days. That's why I'm going to design this band charger. In my design where as a round curve, in outer side of bottom is not possible to print substantively.
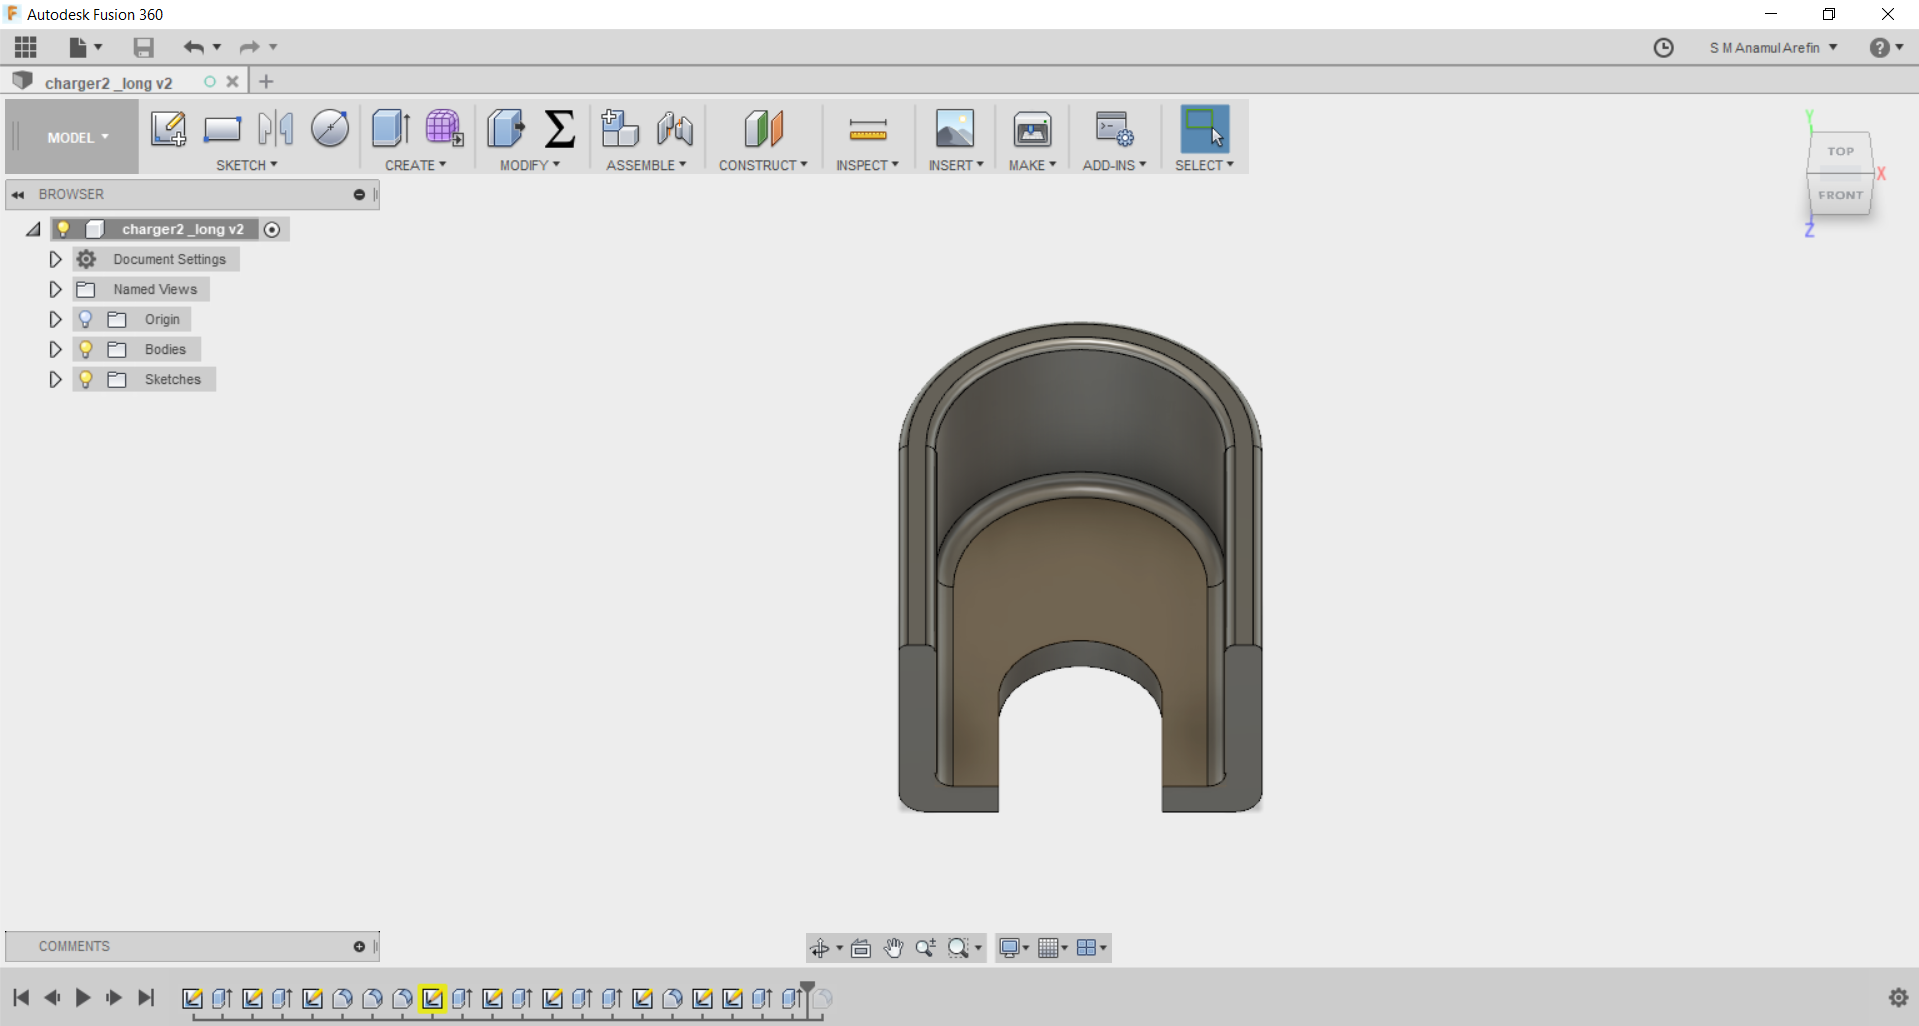
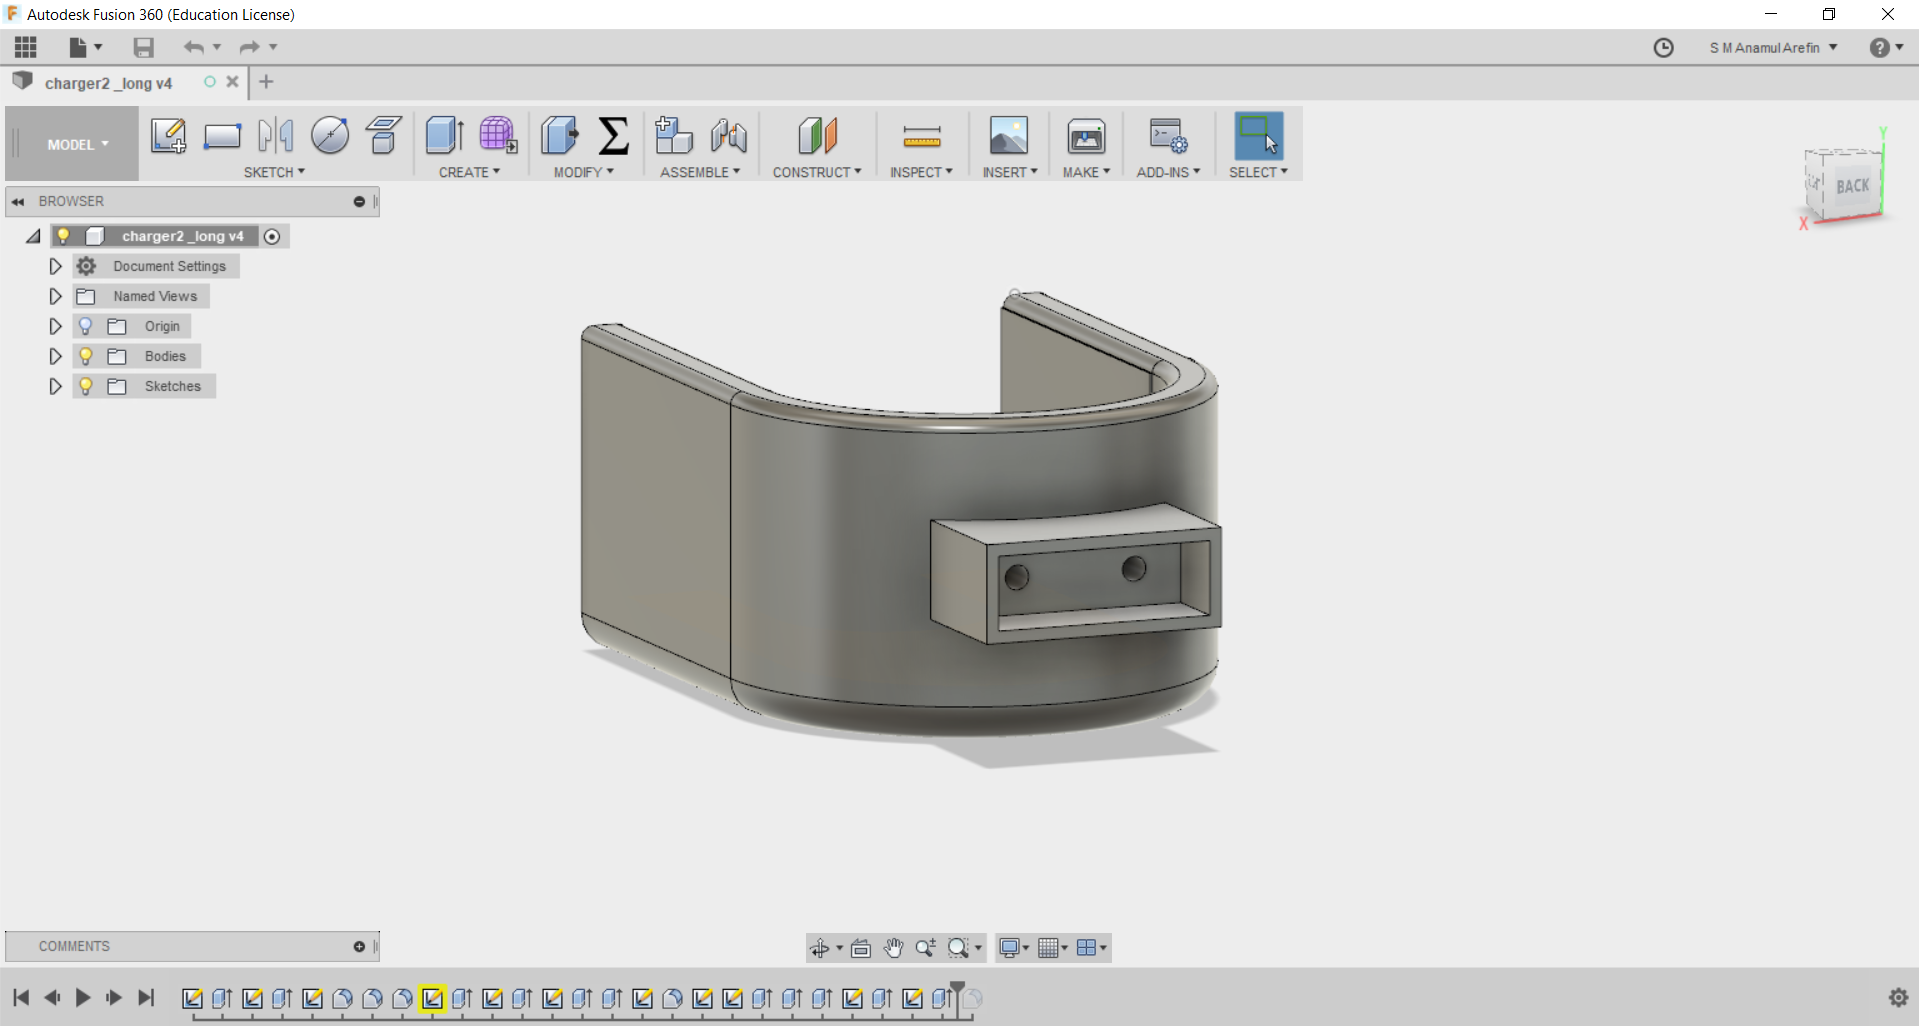
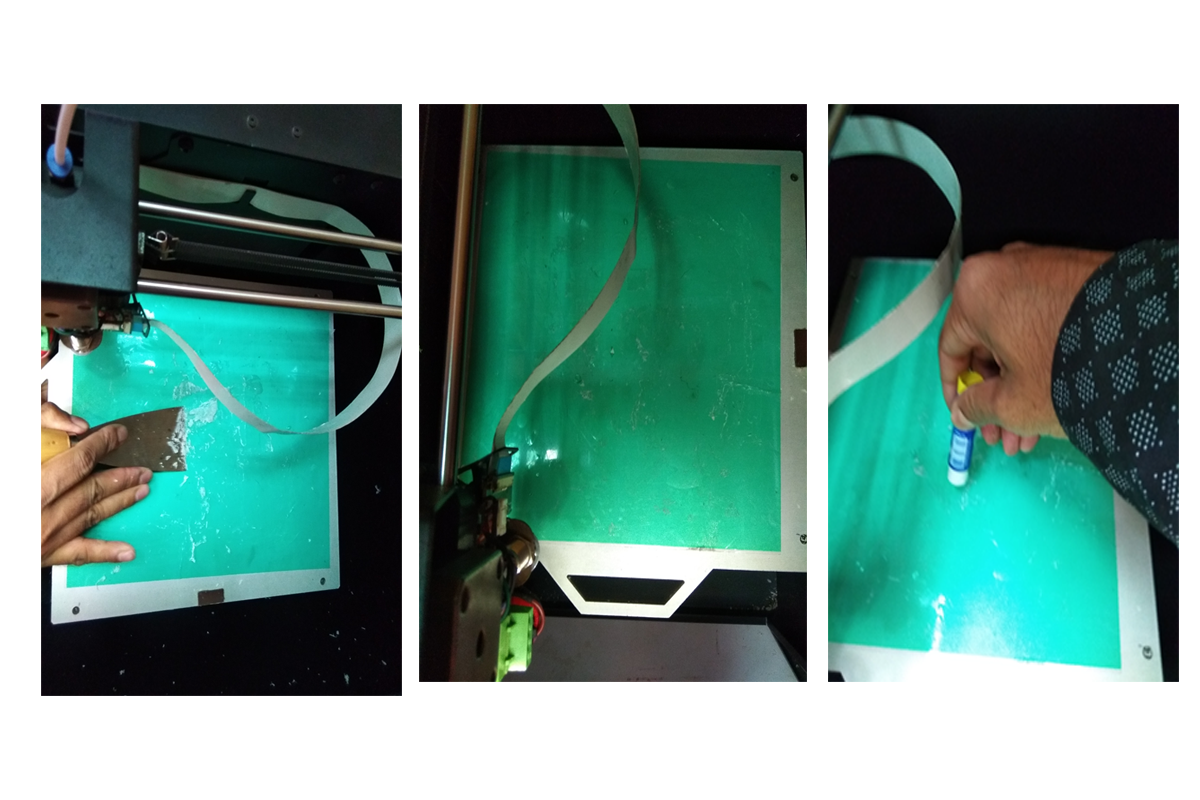
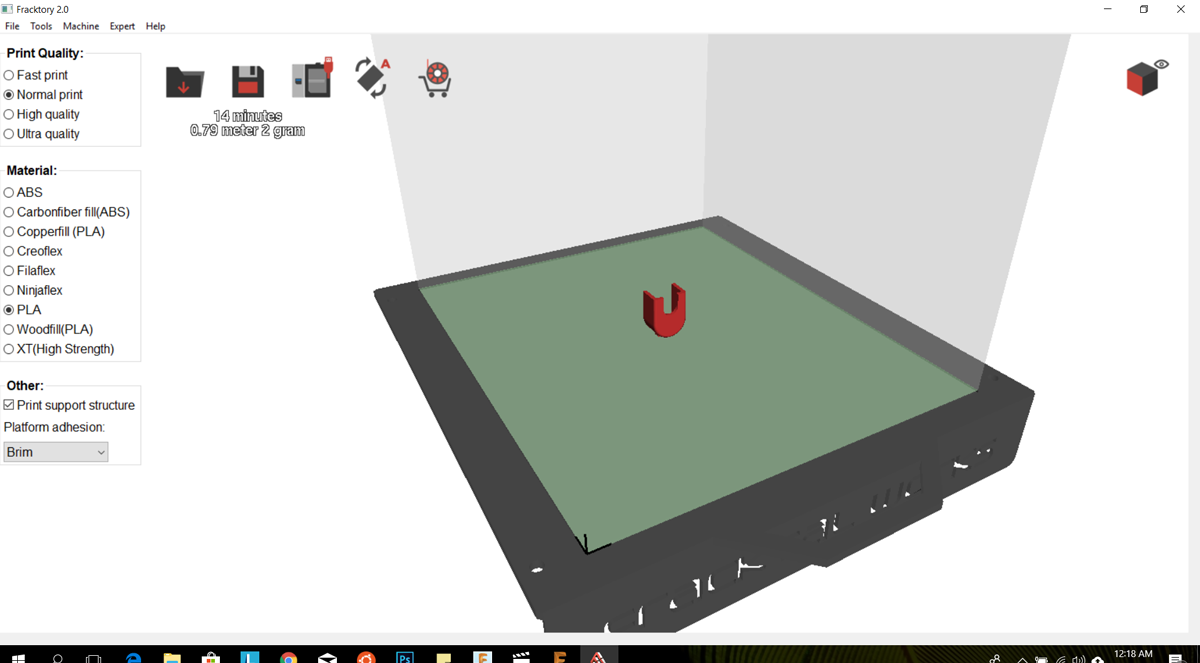
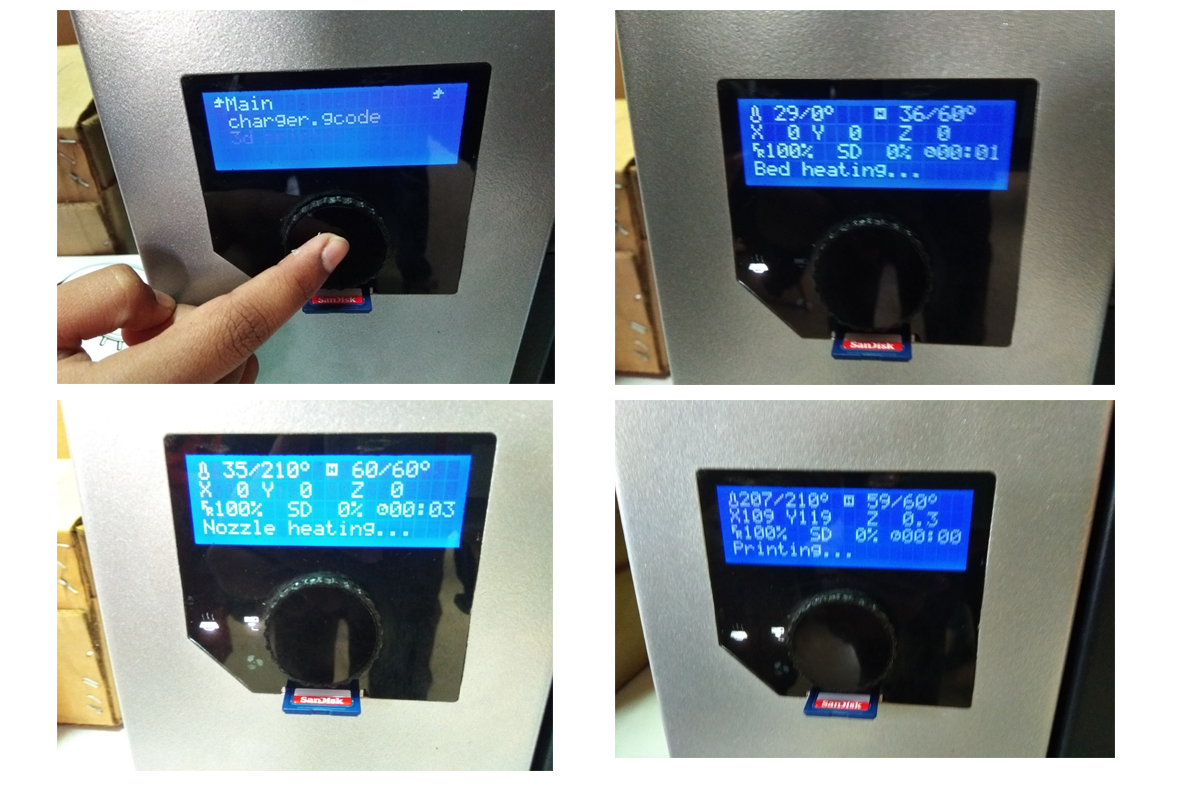
After completing my design I went to my lab, and setup the printer for printing according to the printer rules, First I clean the bed and add glue for proper attachment of the object with the bed, This printing command giving by the preparing gCode with the fracktory 2.0 software and giving command as PLA filament.
First the printer bed going to heating up, is around 250 degree and then nozzle goes to 60 degree. then the machine start automatically.
After completing the printing I saw the object on the bed, where it look nice and pretty good.
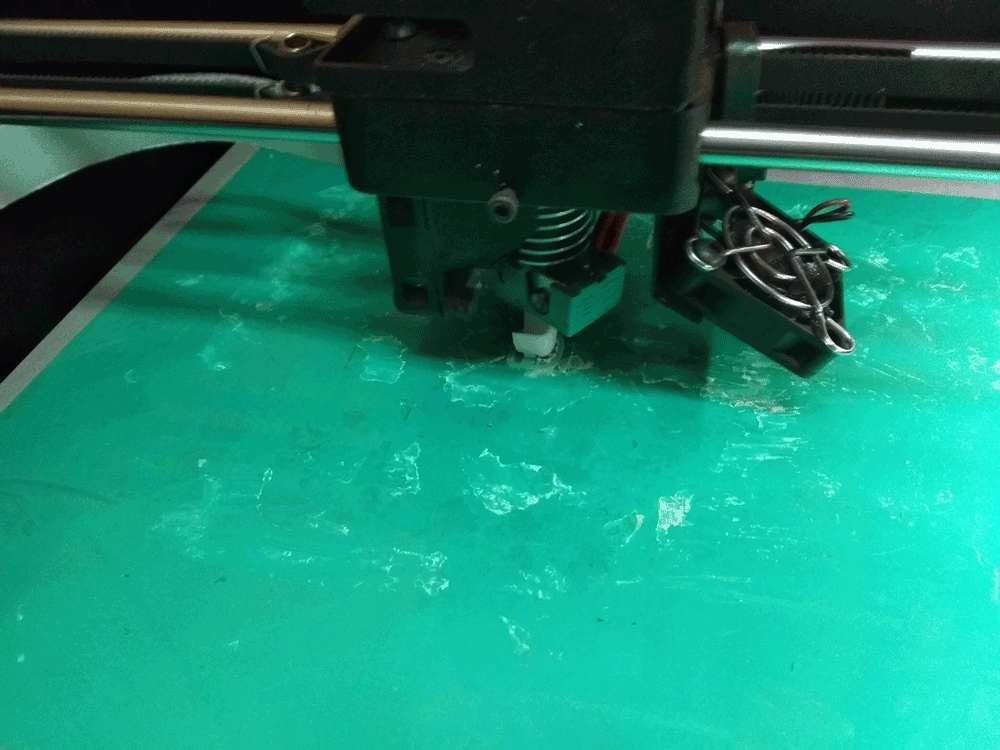
Printing process are going on

Object after print complete
Okay, Then I start making my charger by hand on with the soldering an discard ISP board. After soldering I tested it which is fit well and charging is going on good.
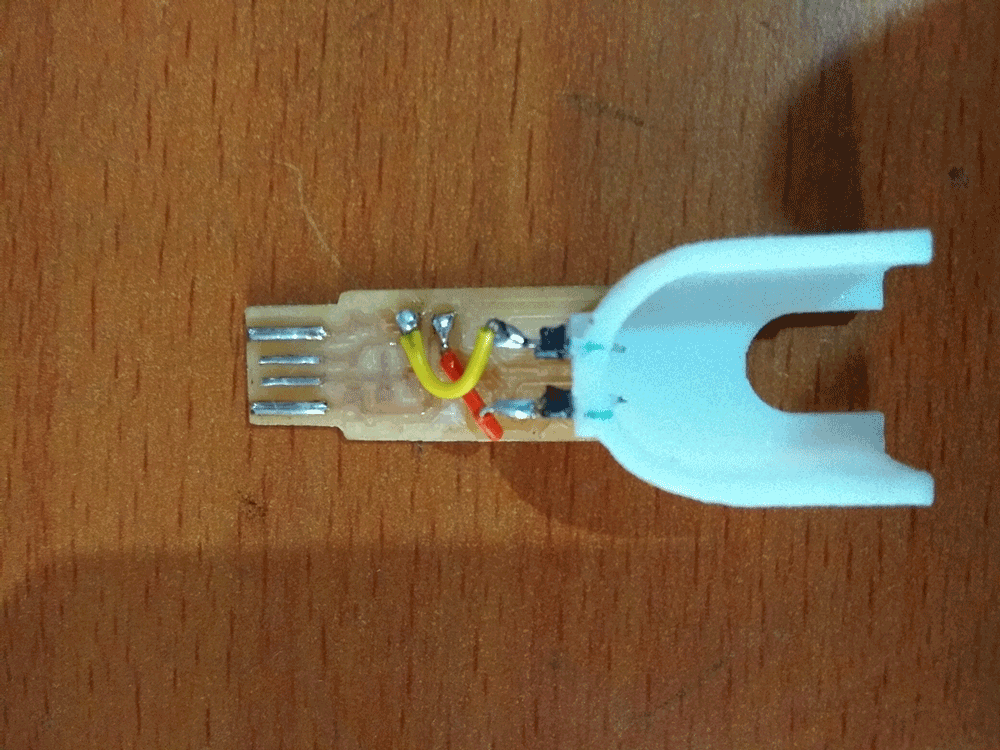
Charger of the Mi Band
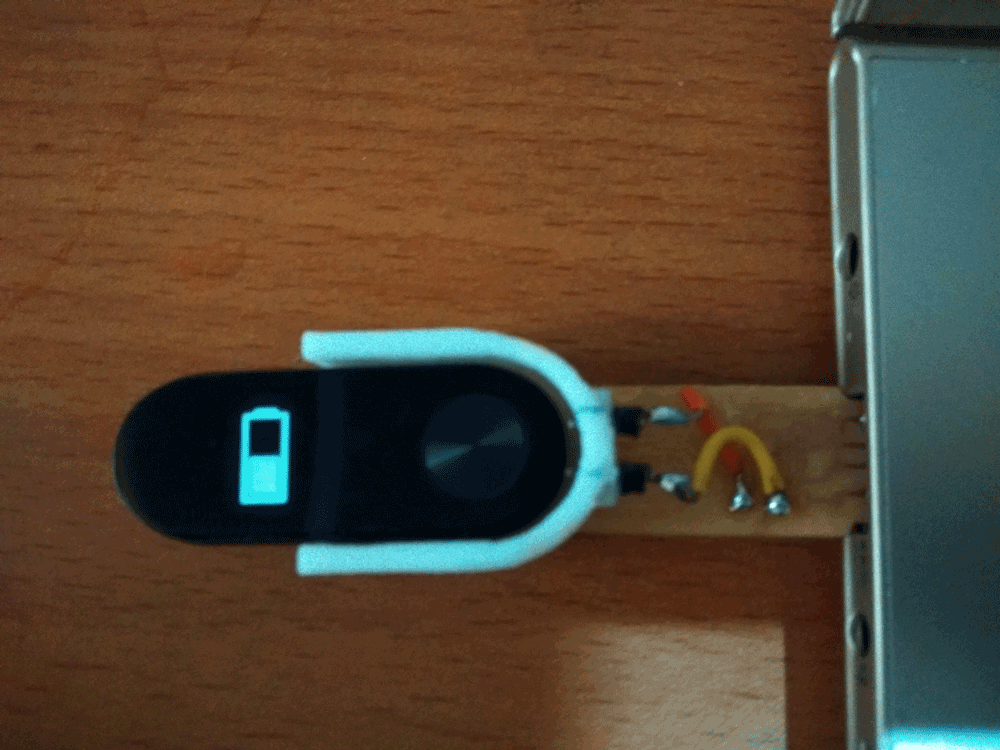
Charging on my MI band

Full Charge of the my MI Band
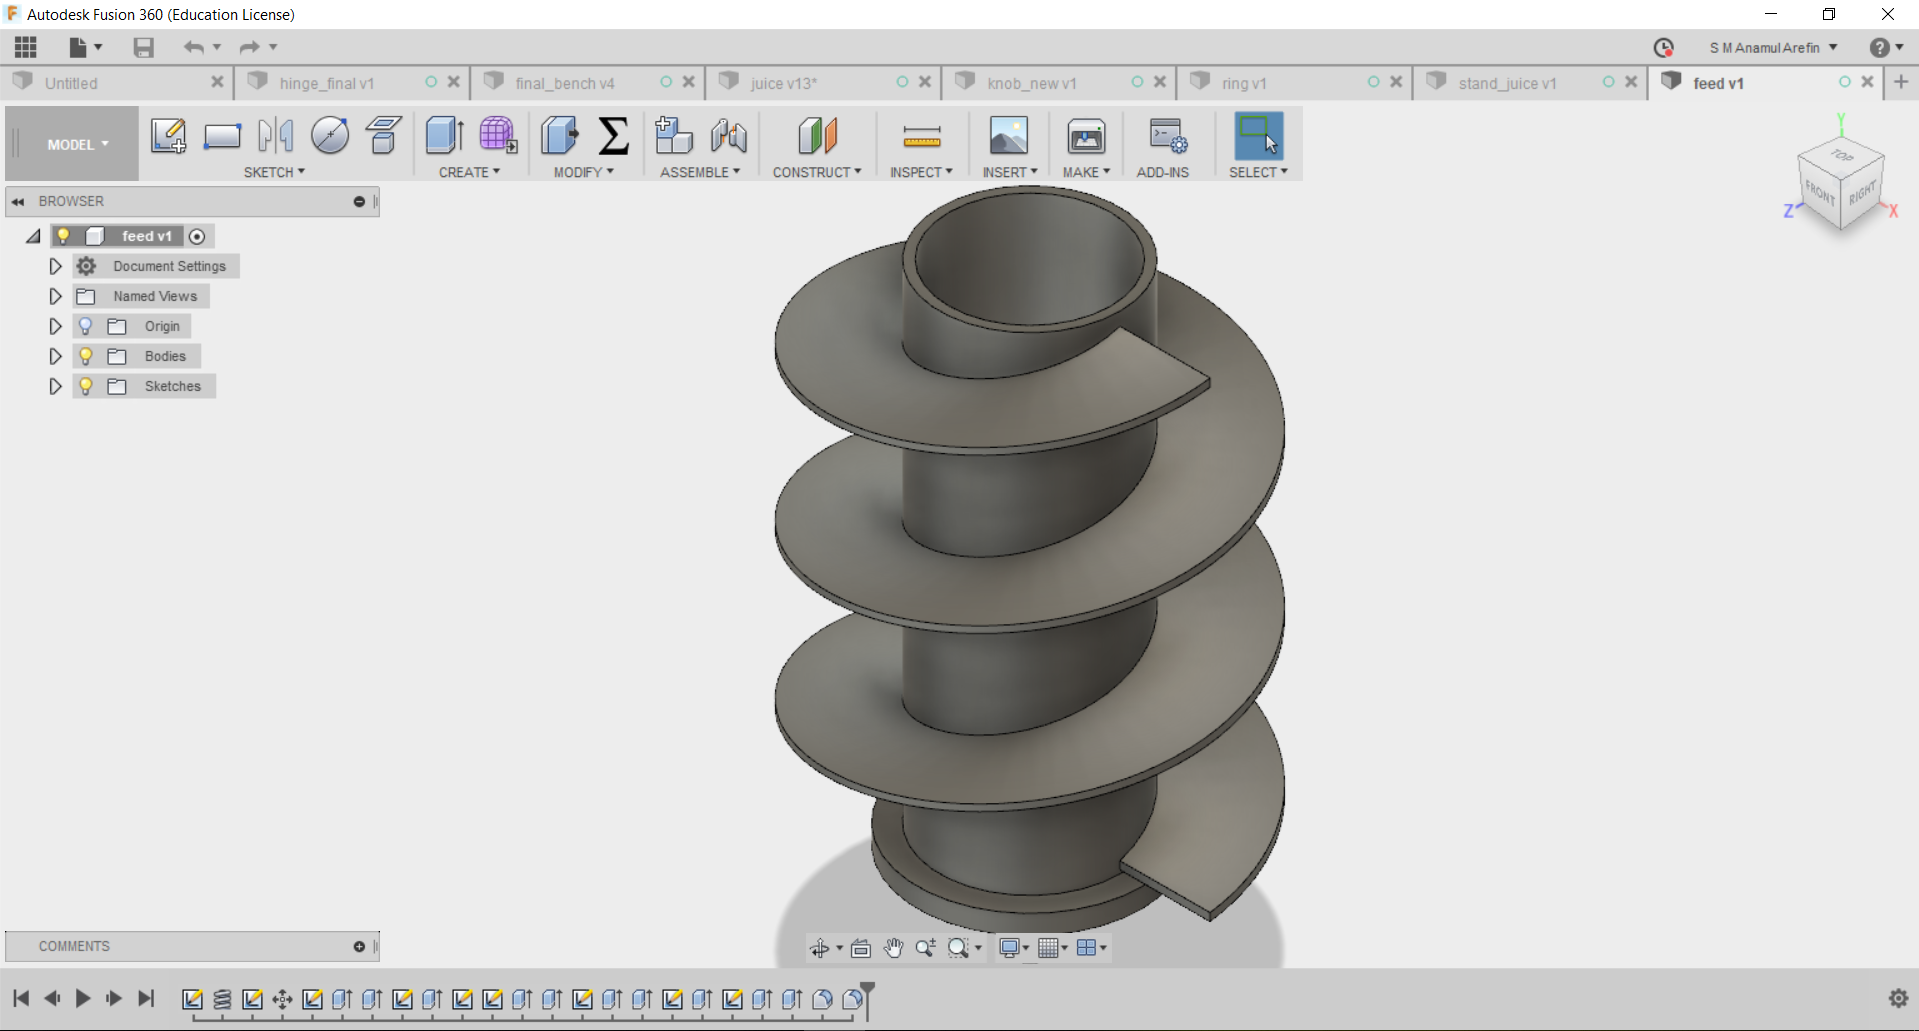
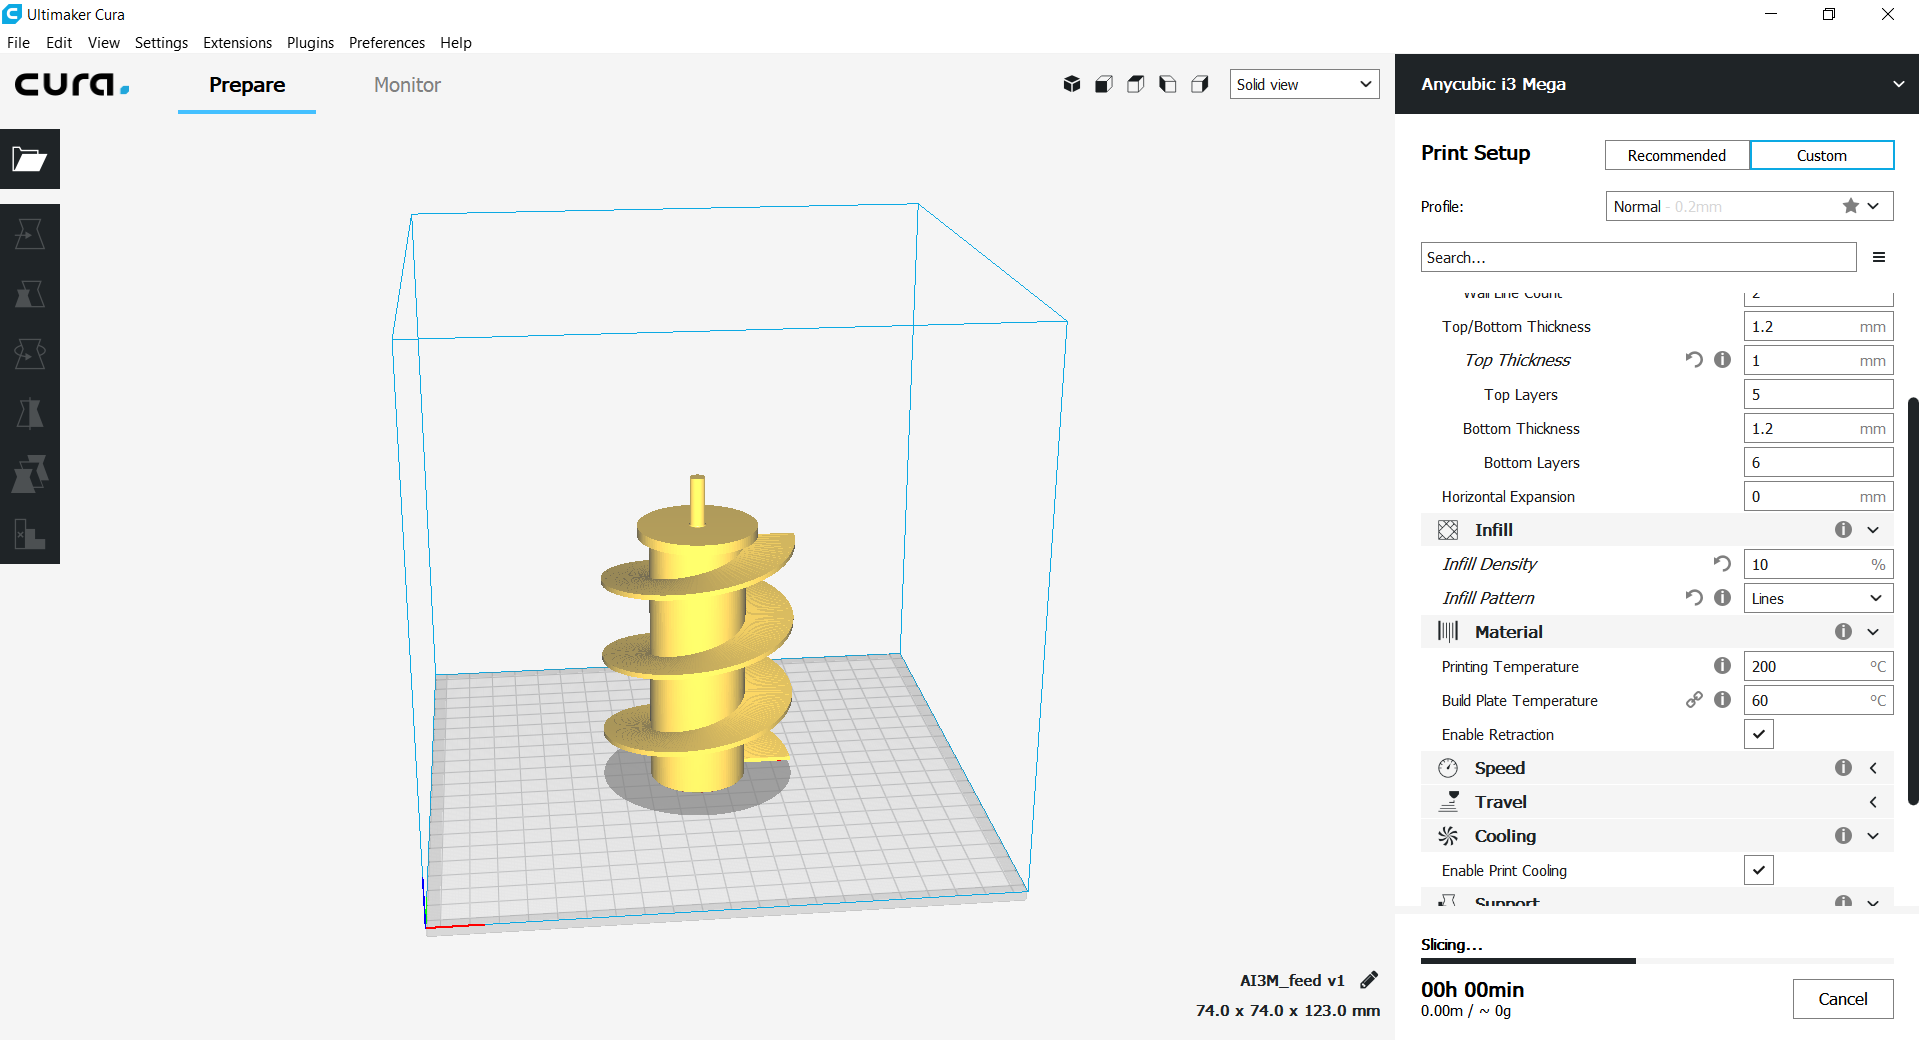
I'm going to make a juicer which is operated by stepper motor, I took idea from the hand juicer, As wildcard assignment task rules I will make CAD deign and add manufacturing any process. Here I share my 3D design of body parts and feeding parts of inside of body.
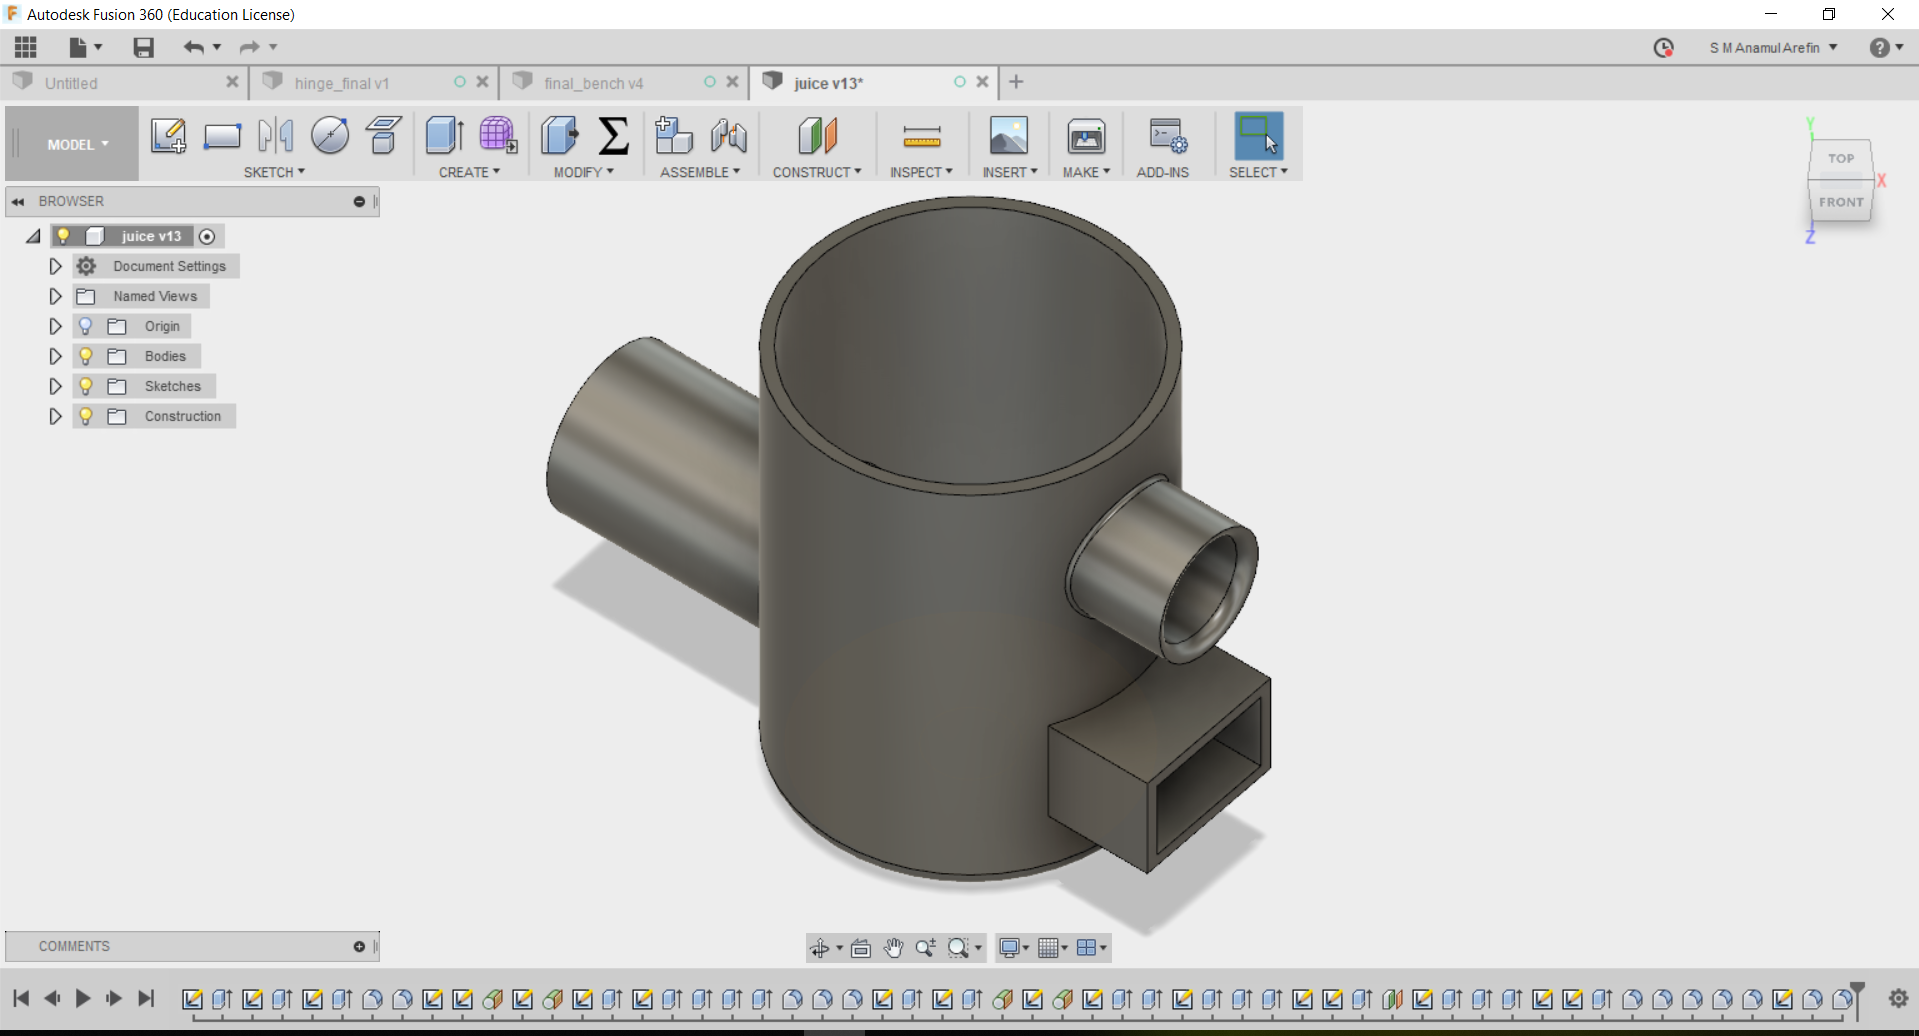
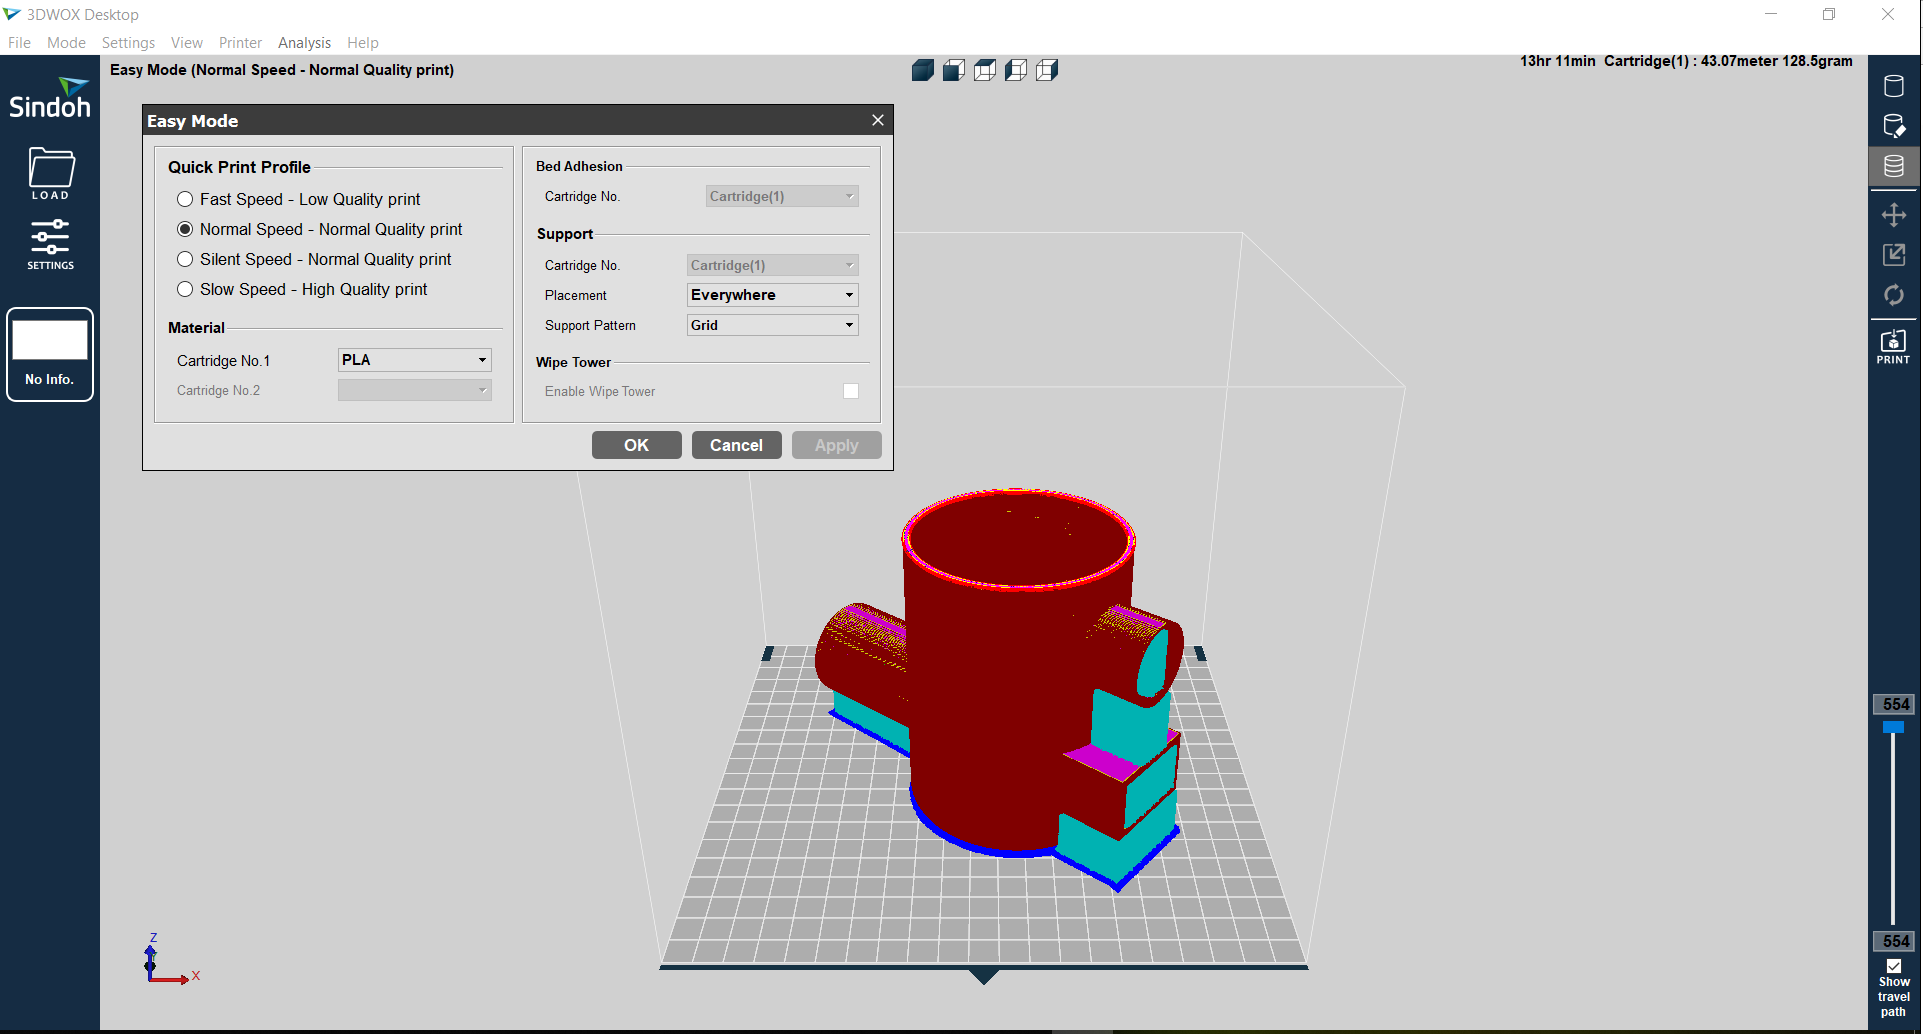
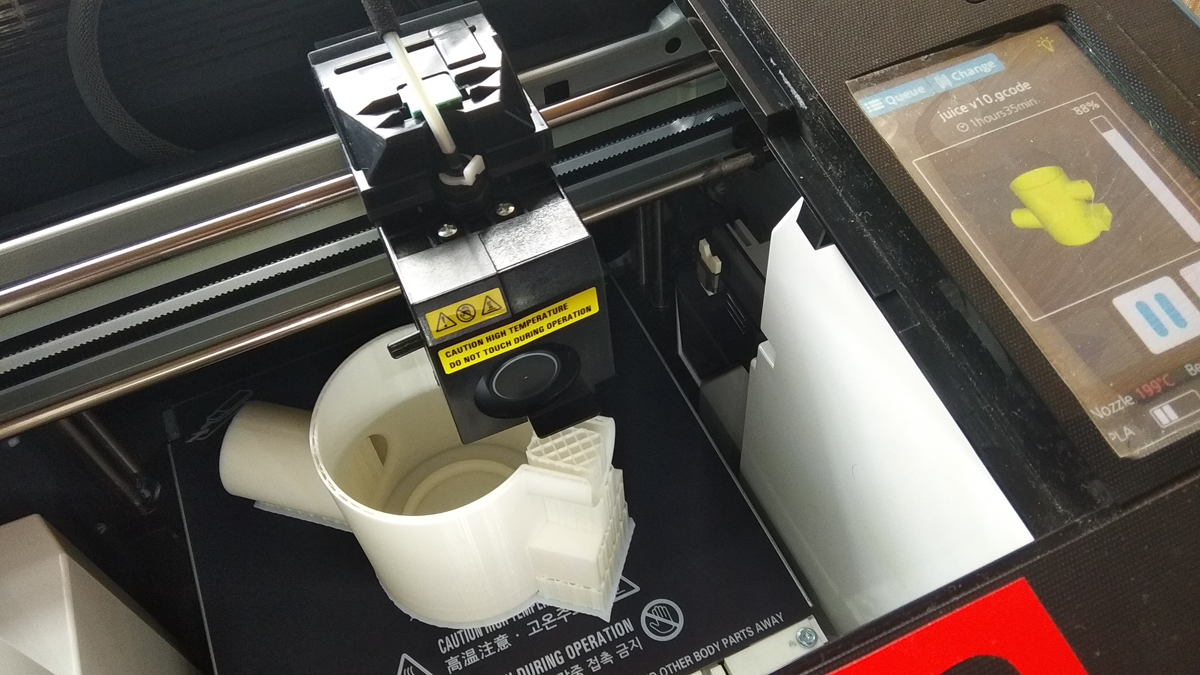
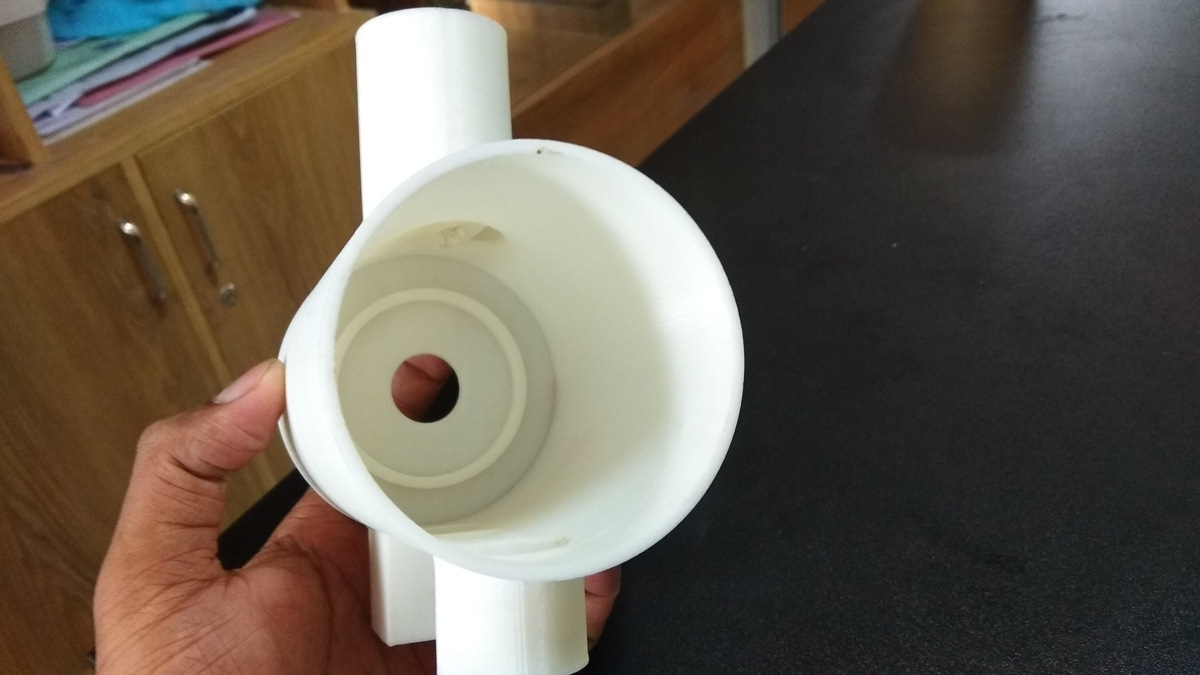
During printing process
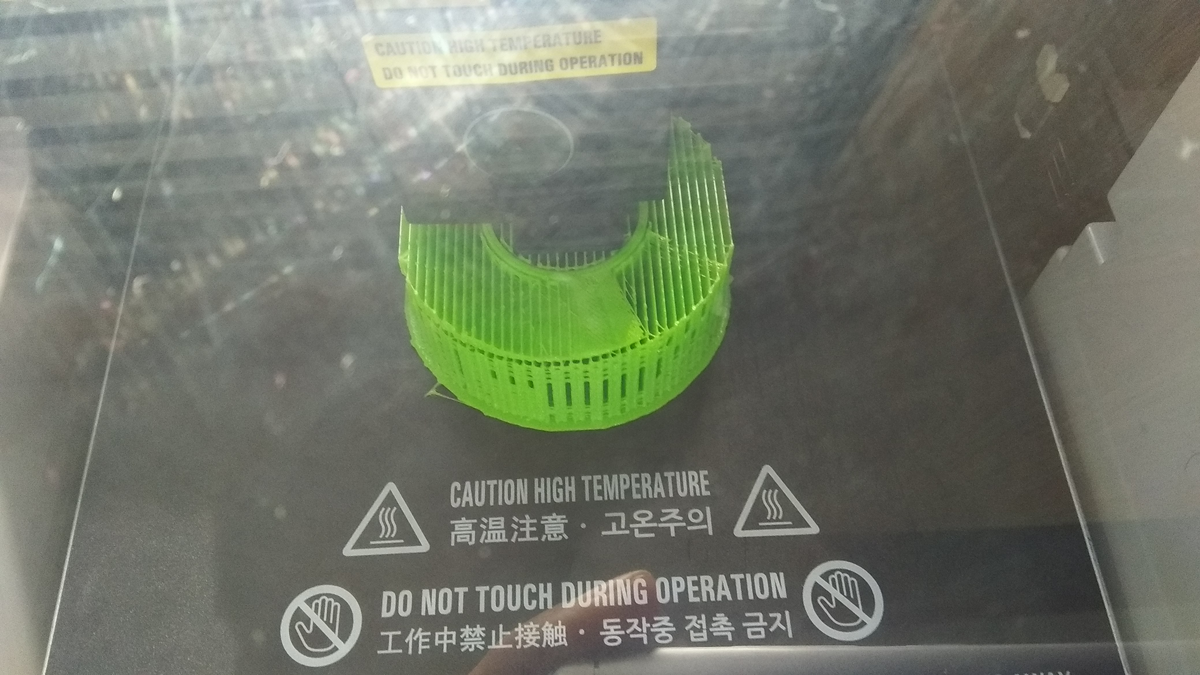
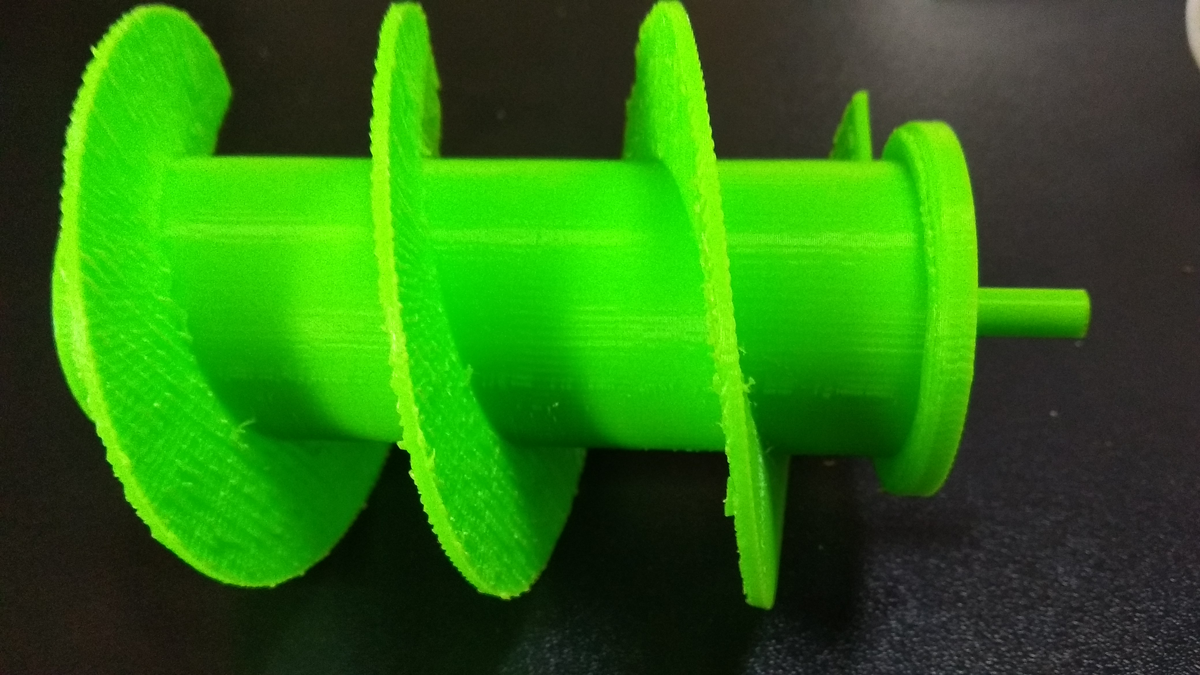
Here I try to demonstrated three different designs for making by 3D printer by 3D design, where this is making by 3D printing called additive technology, This is not possible to make it by substractively. Now I'm making this all design as additive according to the slicer gCode.
For this week I'm used three different machine for making 3d design
For scanning the object I'm used the Sense Scanner with Sense software, During scanning I face a problem which was to scan alone quit impossible cause during the scanning if the object are misplace then it stop the scanning and start to rescan. So and another thing was light which is reflected on the object where hard to difficult to trace. However I scanned an object of Glue Gun which is yellow color on mild light alone. Then i edit it and solidify it.
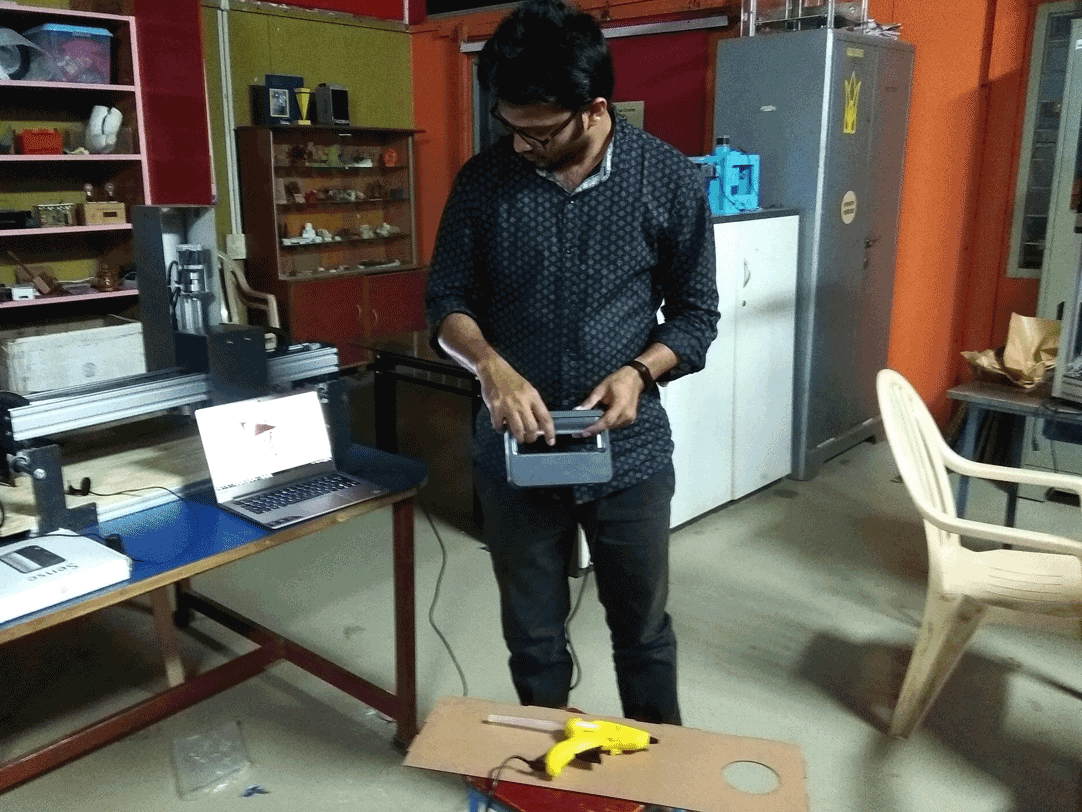
Scanning the glue gun in medium low light
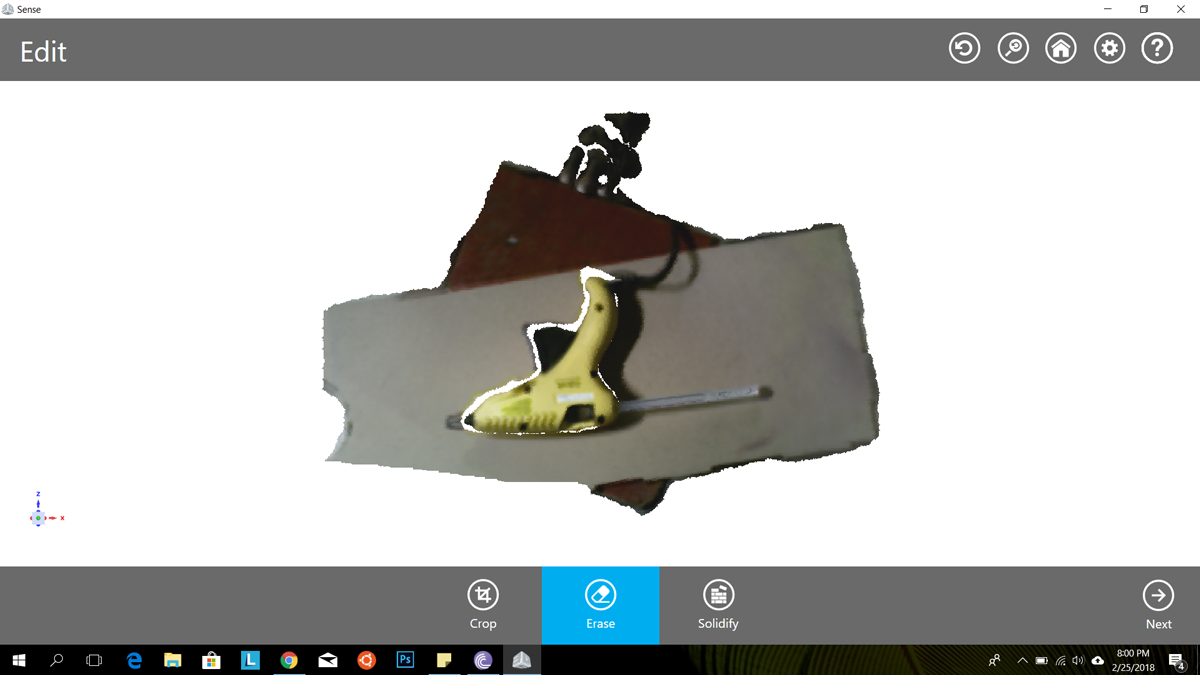
After scanning the object look like
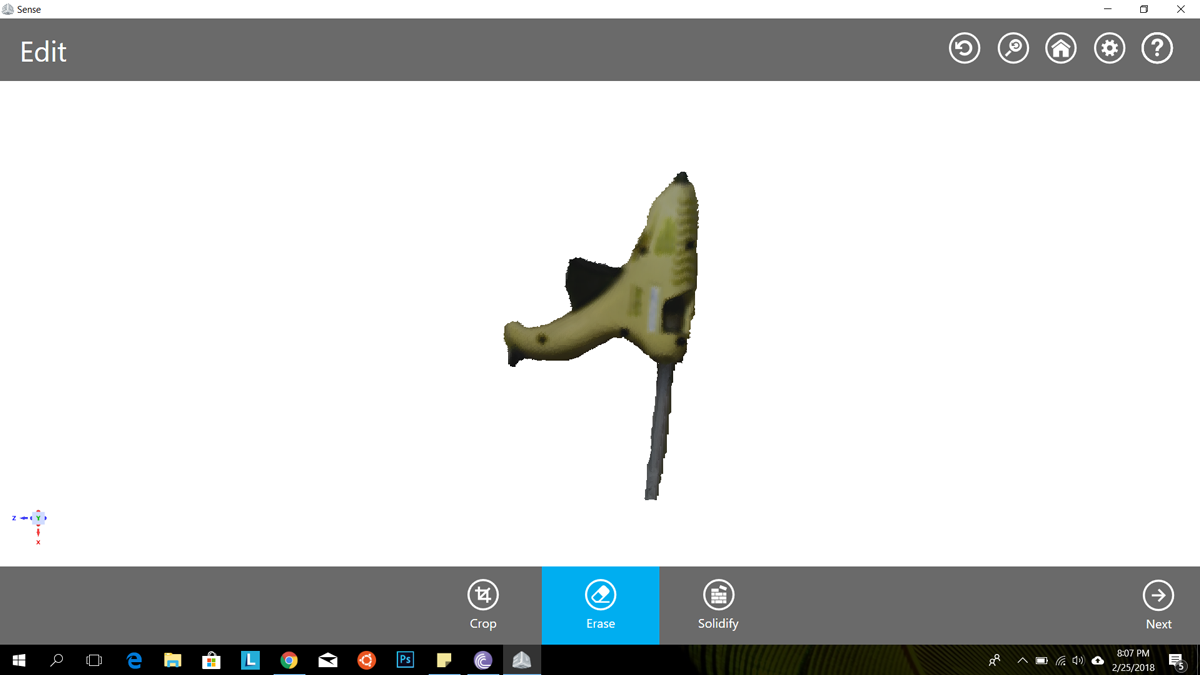
Editing the outer part of the object
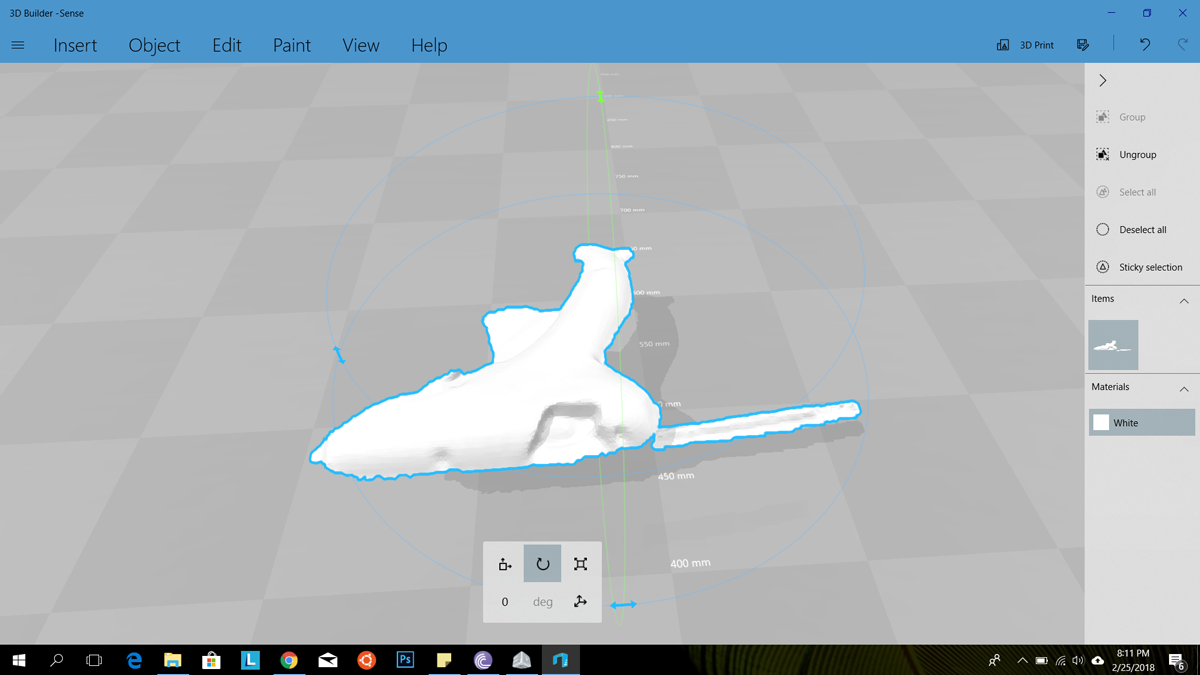
Final scan file .stl format
Uniqueness of 3D printing and why other manufacturing process are not capable to do which is done by 3D printing, In 3D printing process people can do some sort of manufacturing which is not possible before 3D printing invented.
At the Children’s Hospital of Michigan in the Detroit Medical Center, a 17-year-old girl was suffering from an aortic aneurysm, a potentially fatal heart condition that was discovered with a precautionary EKG. That’s when Dr. Daisuke Kobayashi and his team turned to 3D printing. A 3D printed model of her heart allowed the doctors to know exactly where to put stents in an otherwise delicate operation for a young patient.