Computer Controlled Cutting
- 1. Calculate kerf of laser machine
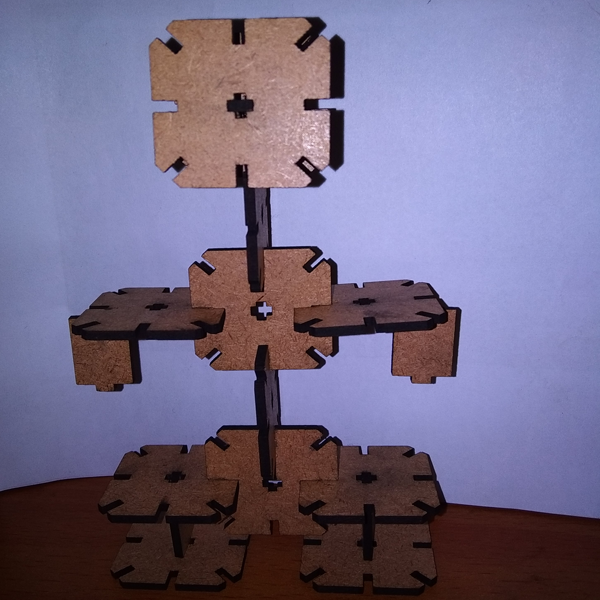
- 2. Design a parametric design as press fit
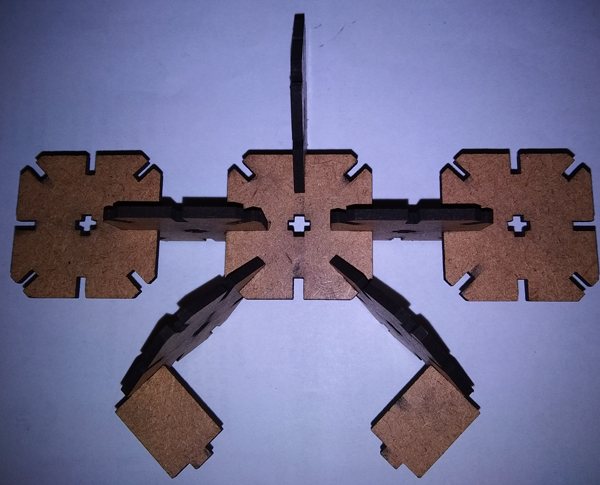
- 3. Assemble the press fit
- 4. Vinyl Cutting

Computer Controlled Cutting
The machine works on a standard single phase AC supply of 230-240V there have been a special setup made of electric components, for fluctuating the electrical volts it needed the stabilizer and for backup power it has connected with on line UPS. (Images are in the below:)

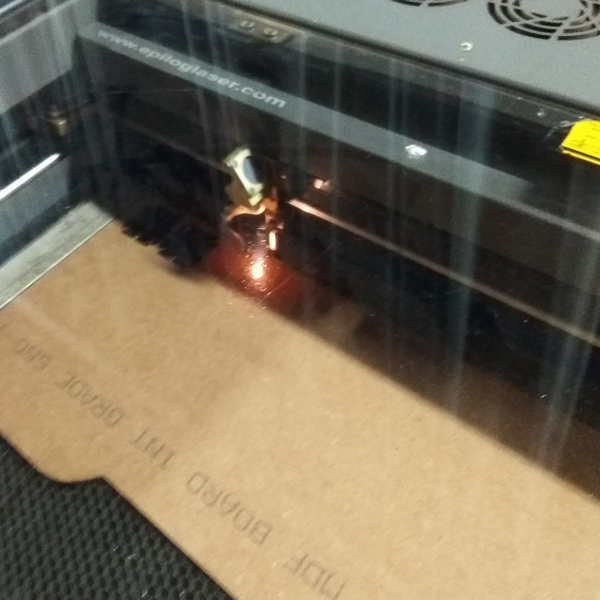
The machine works on the basic principle of photon generation i.e the laser is created as result of electron bombardment over the anode surface. The entire process takes place in a chamber filled with CO2 which usually acts as a medium of flow for the electrons The light is transmitted to the engraver through various mirrors which work on the principle of a periscope, which is further focused using a concave lens, in the engraver. It has a bed size of 3 X 2 feet
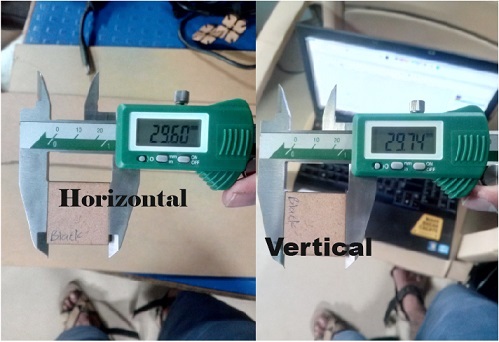
Kerf at different power and speed for MDF:- we are tested 8 squares and tested them at different speed between 22 to 28 and power between 55 to 67, and we found the best result at speed 26 and power of 59, where the kerf achieved was only 0.15mm
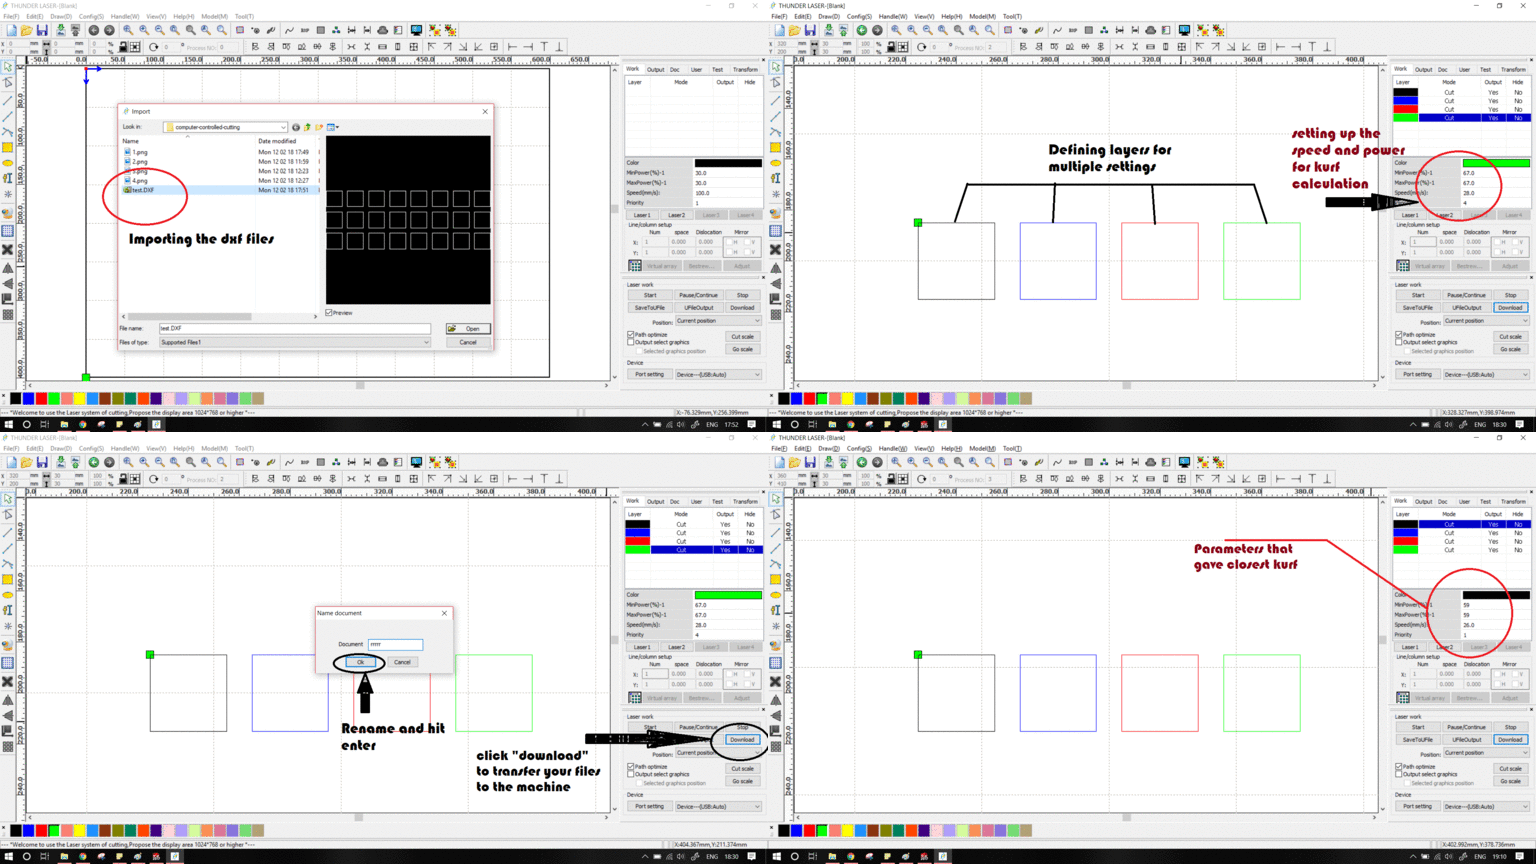
Acrylic 6mm: we made two patterns one with varying speed, another is different speed. The first pattern was having a constant power of 62% and speed ranging between 8 to 12. other has speed of 8 and the power ranging between 55% to 70% For this speed 8 and power at 68% is best result that was we found with the least kerf of 0.3mm.
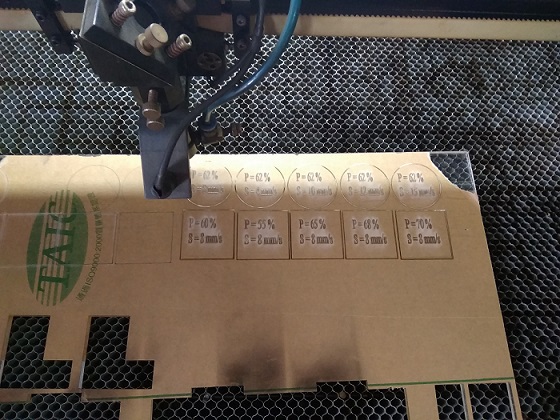
This is the smaller than the SIL but this functionality is more more better than the SIL, Those include
For this assignment we are going to test the similar pattern design and by the once we kept constant speed, and later constant power for differentiation the kerf We uses the different color boundary and specified individually .
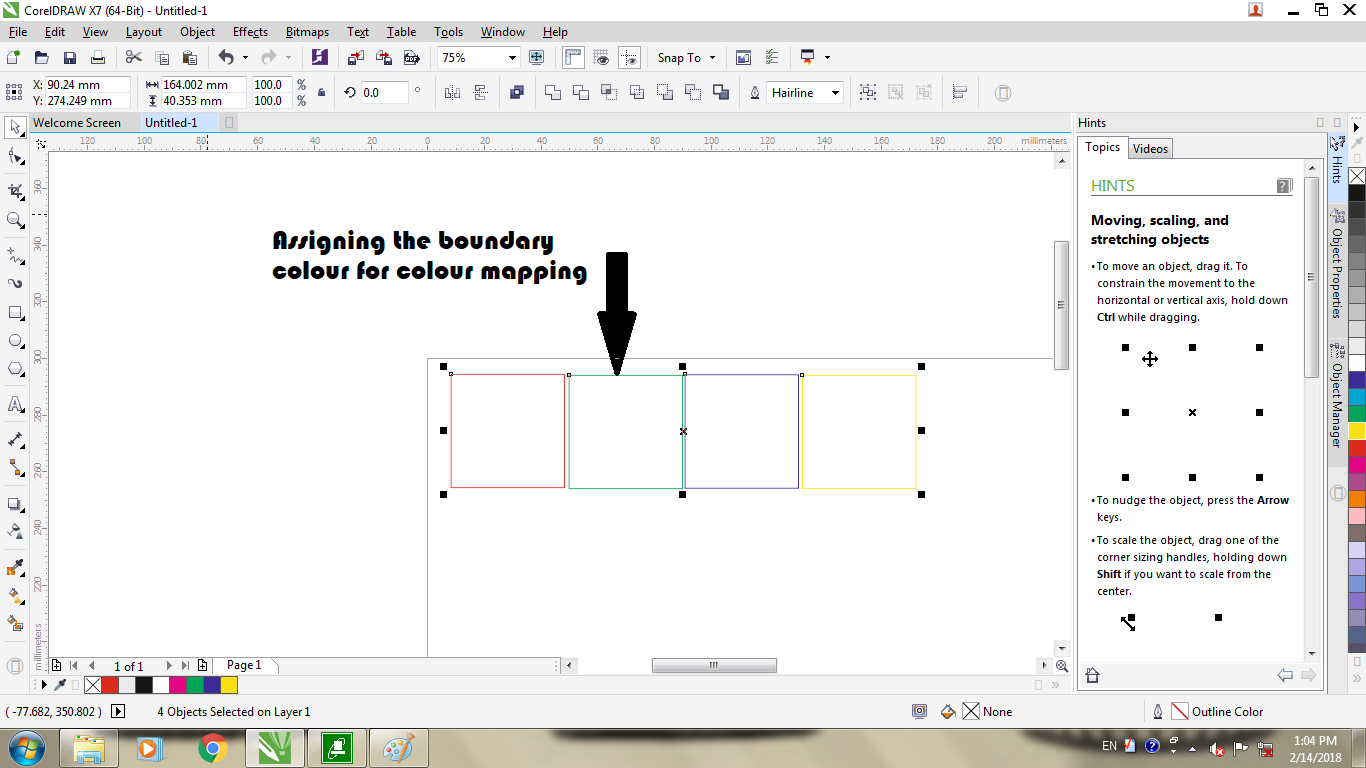
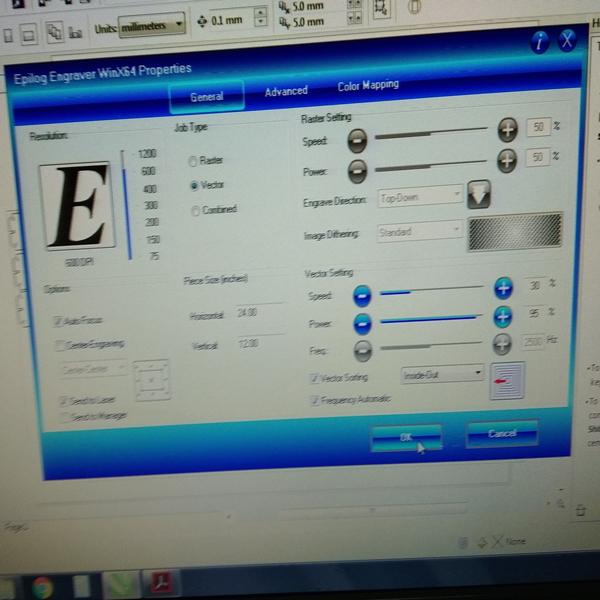
There are few more steps required in oder to work with Epilog, which are mentioned below:-
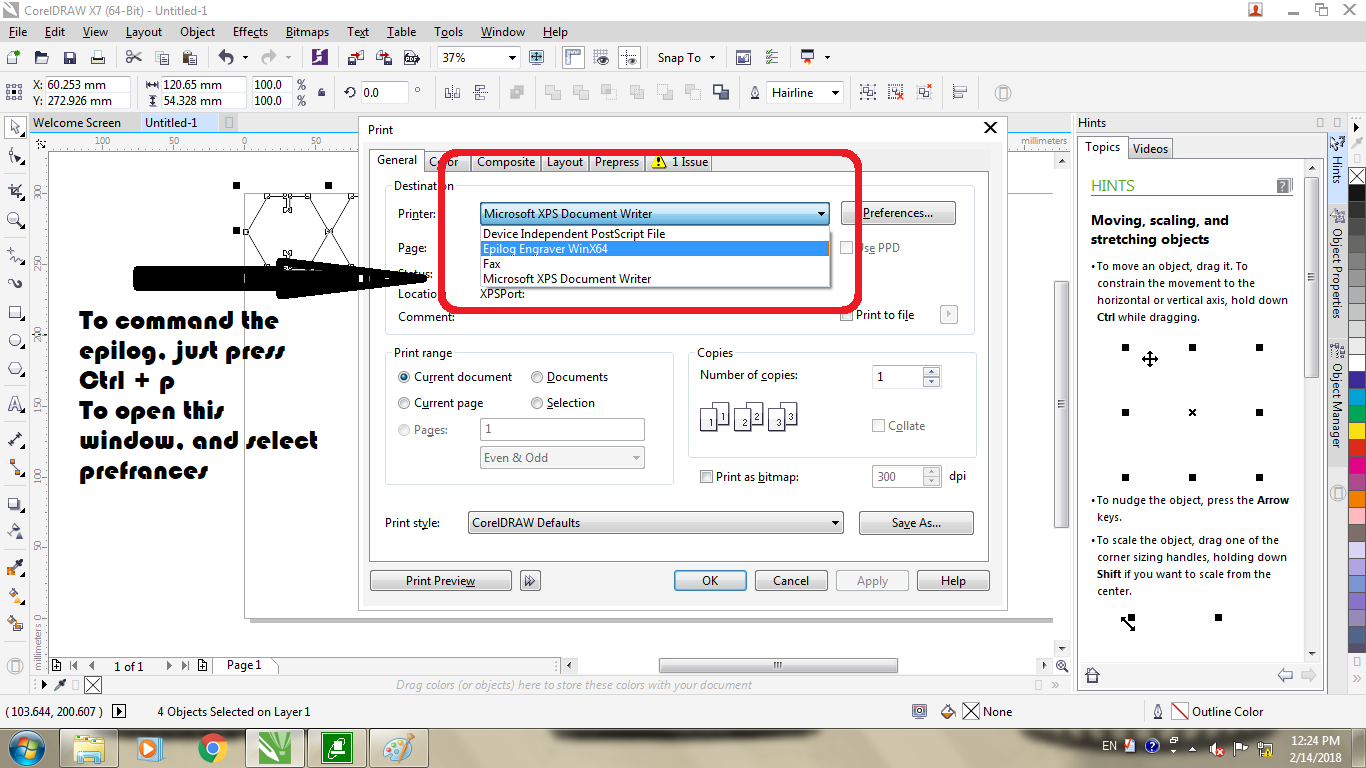
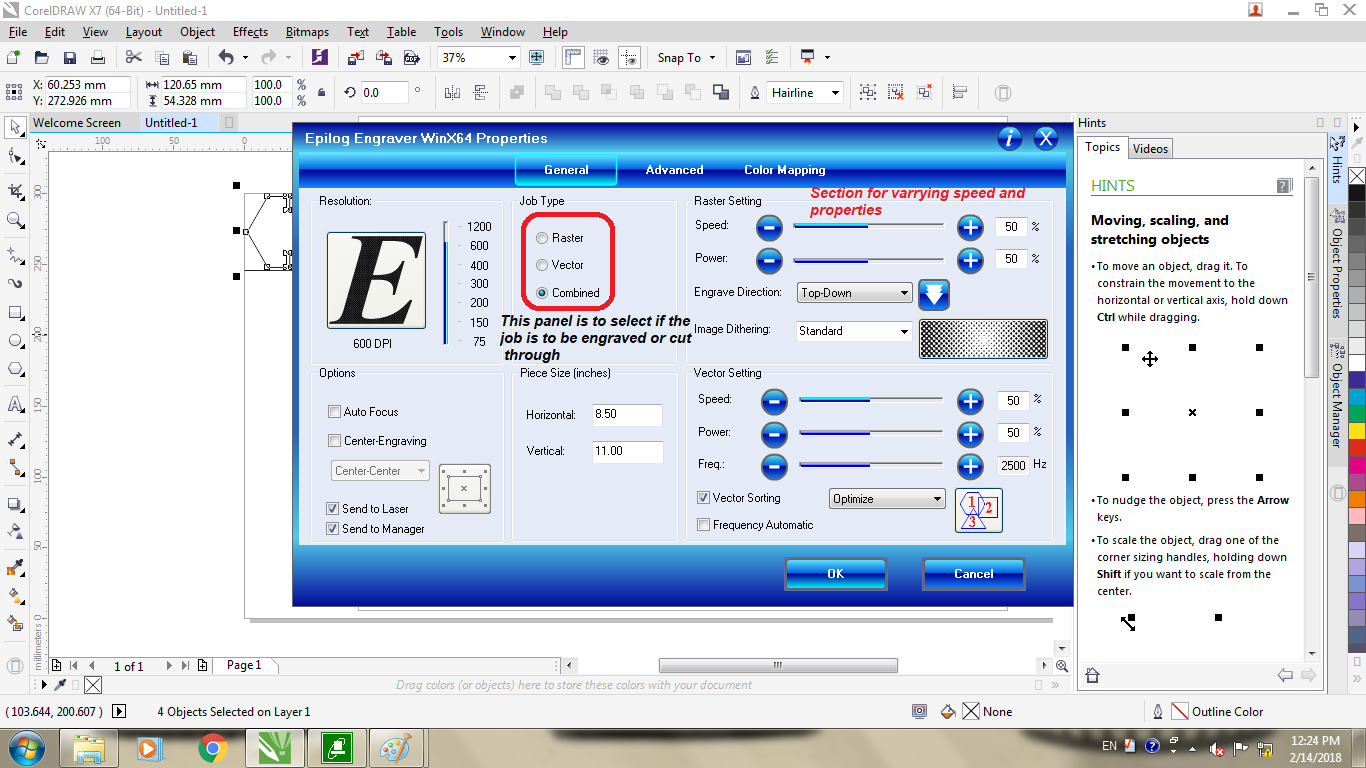
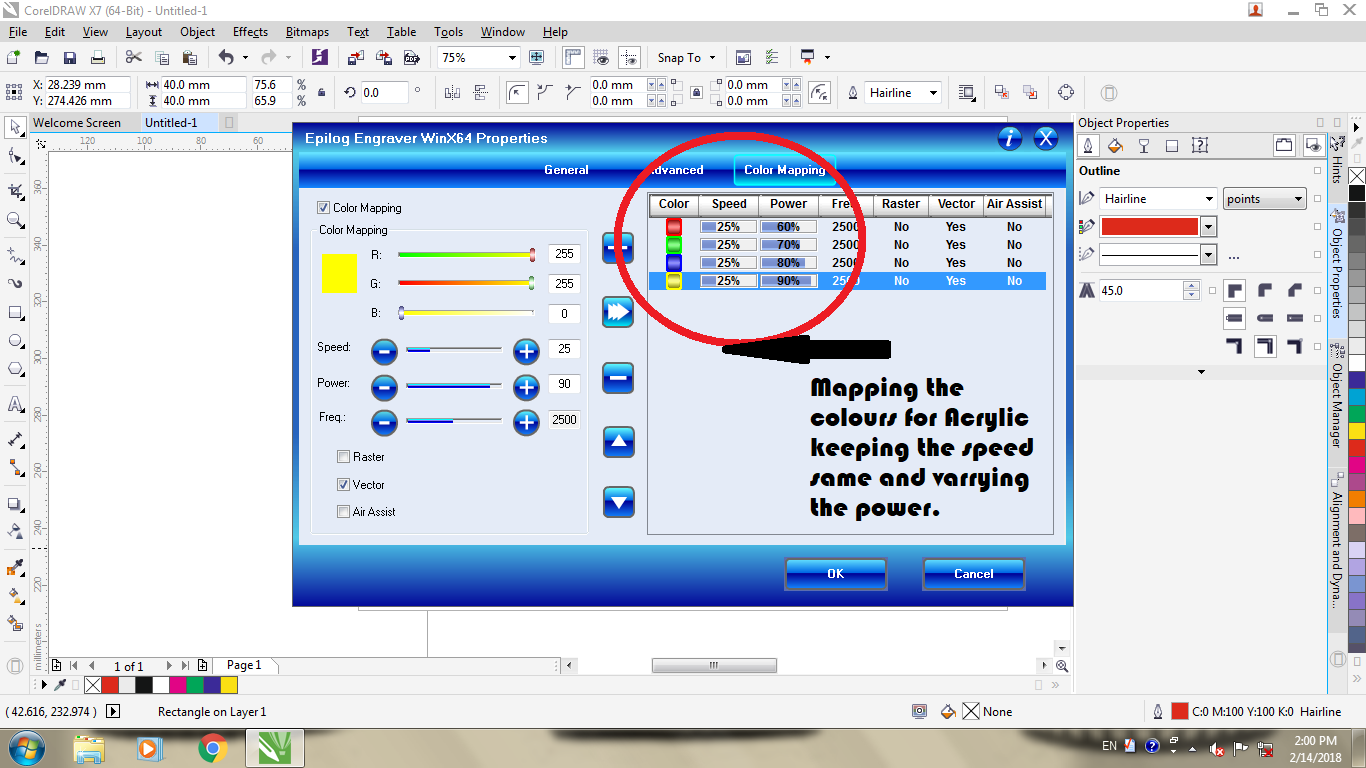
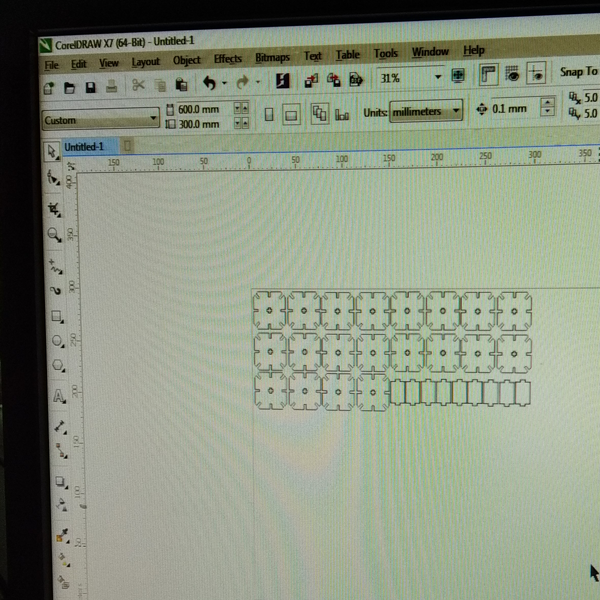
MDF:For this we decided to keep the power constant, and vary the speed between the range of 30 to 60 percent as shown in the image about color mapping
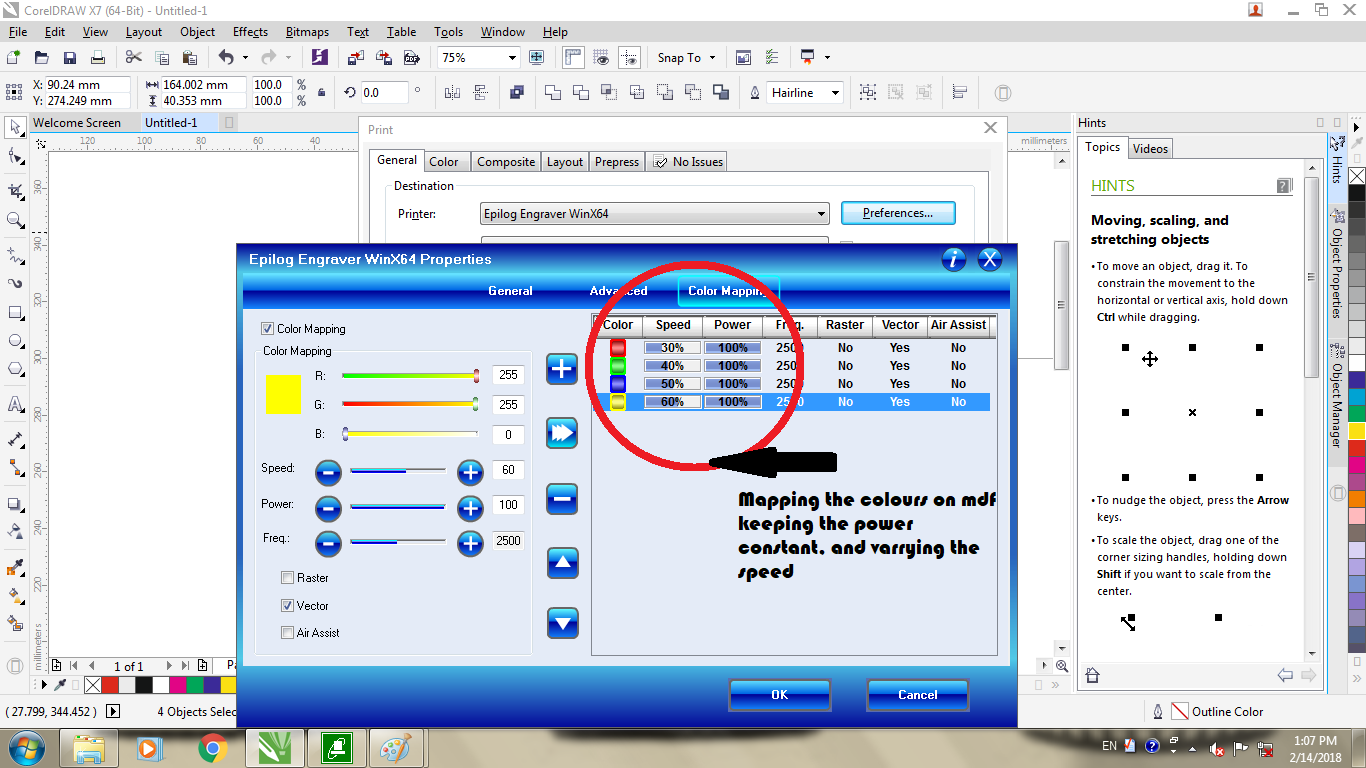
The following were the results we received about the deflection in the kerf Out of which we concluded that 100% power and 50% speed was ideal for minimal kerf of 0.14mm
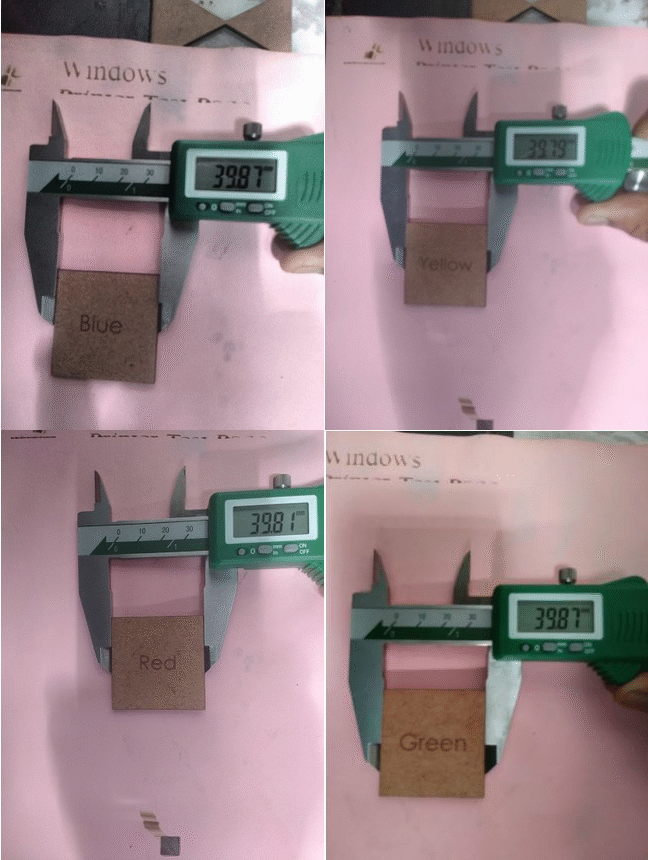
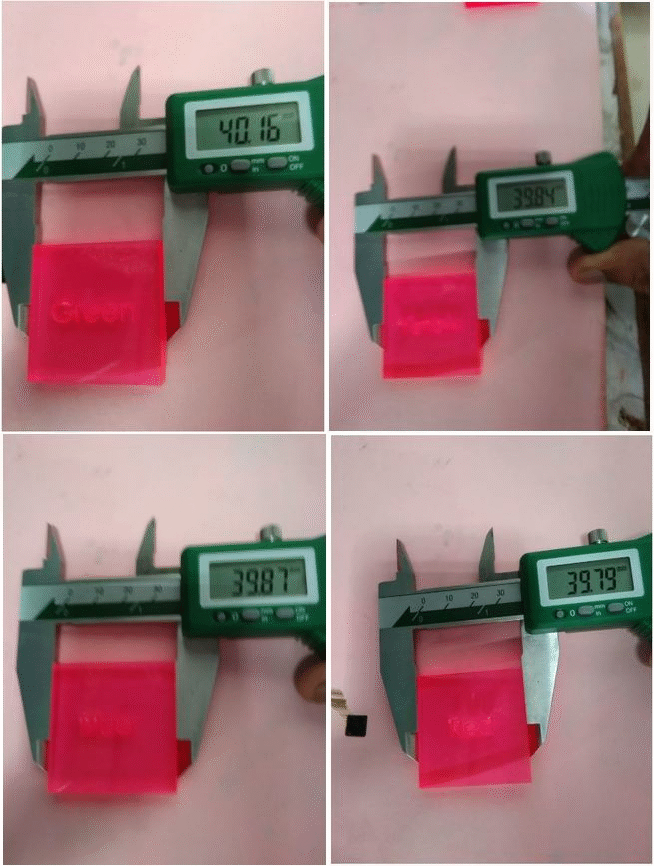
Acrylic For this assessment we did the same where we used same shapes of 40mm X 40mm with changing color maps, as shown below For this we had to feed the machine with multiple passes, which actually exceeded up to 8 passes, for the powers and speeds we wanted to test
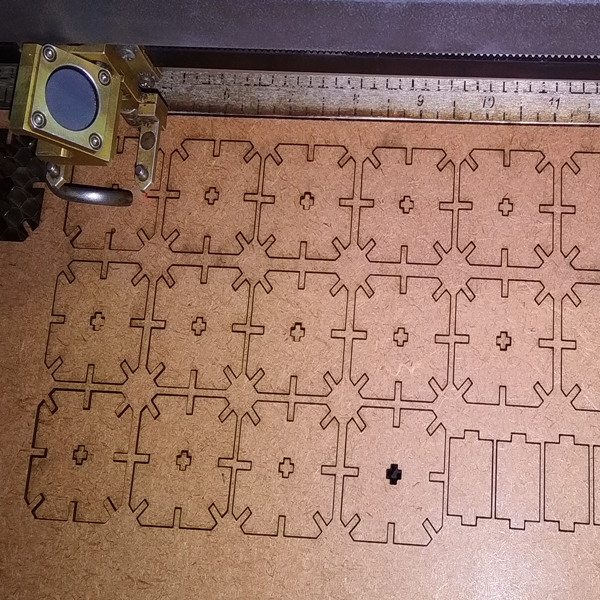
After 7 to 8 passes we got the cut outs to produce following results.
First I used solidworks for designing press fit and did a design but i made a mistake for designing without parametric method.
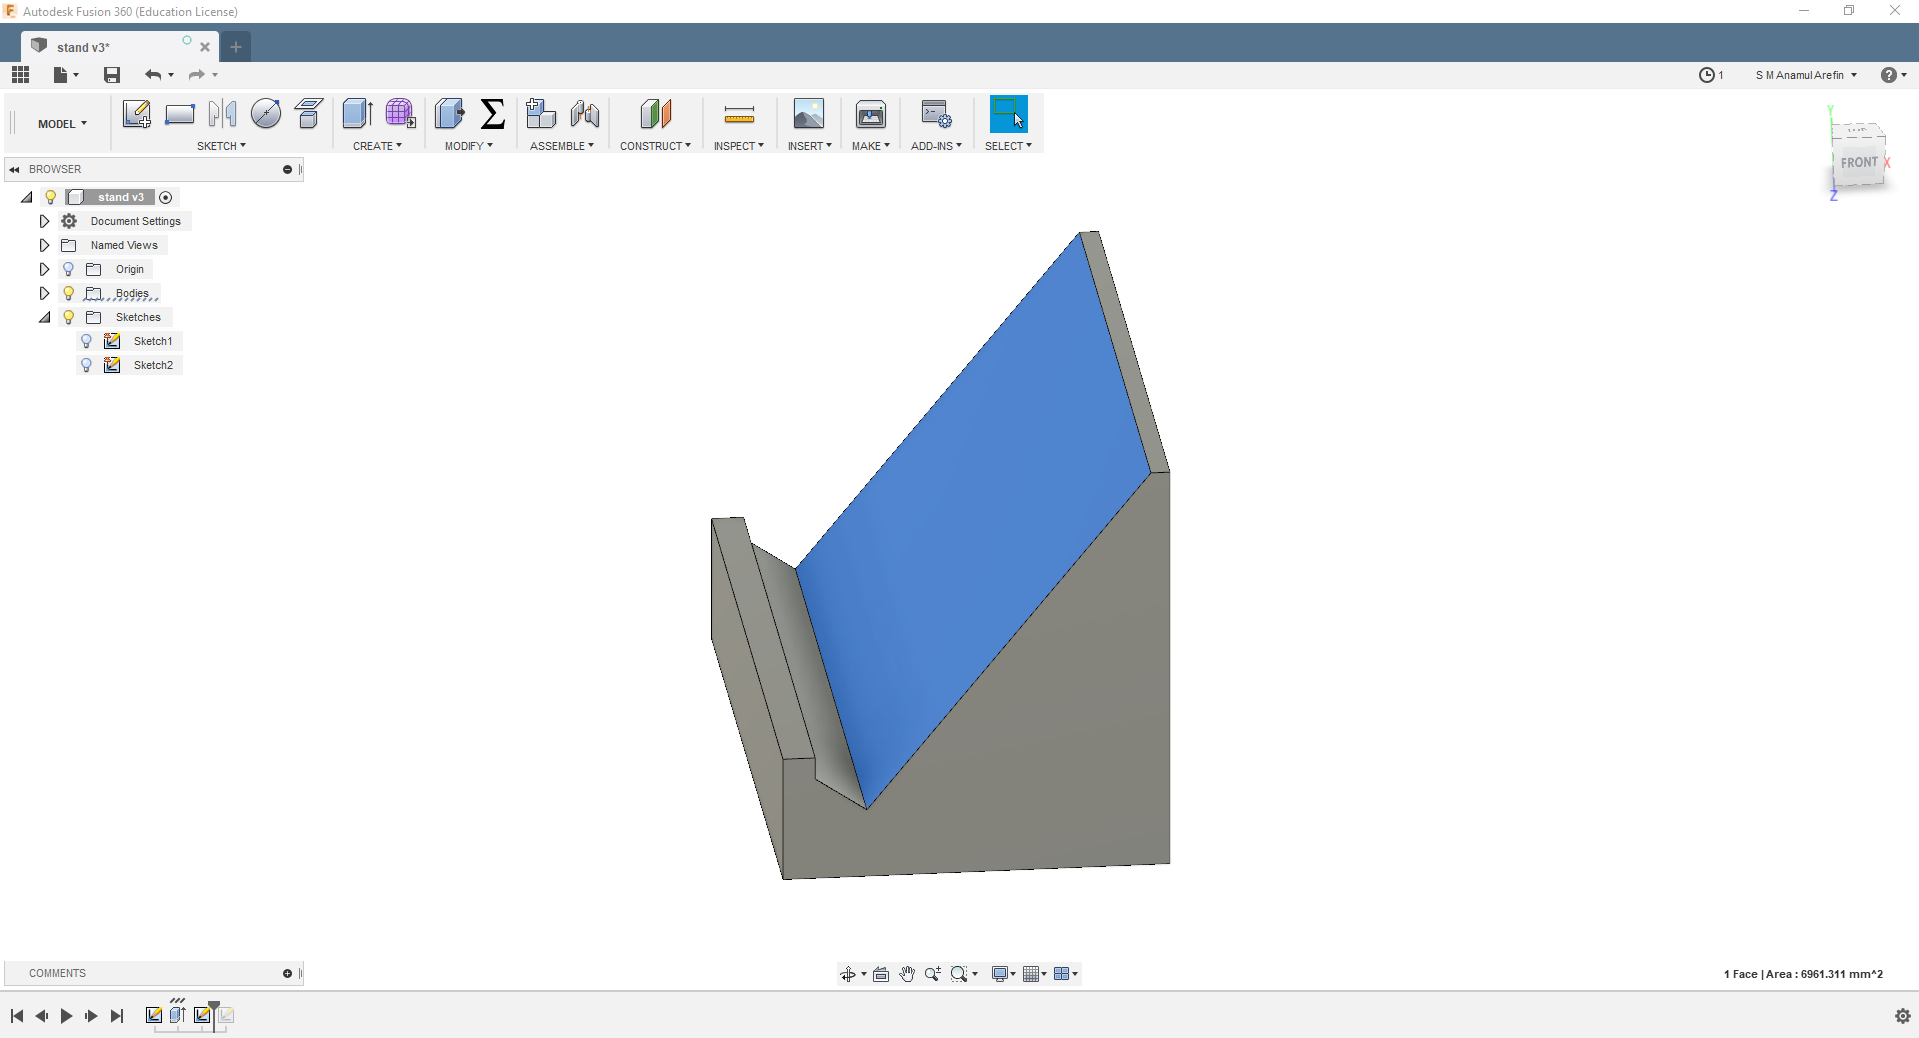
Then I design another small press fit by using Fusion 360 and besides I used and plugin of Fusion 360 Slicer for making press fit
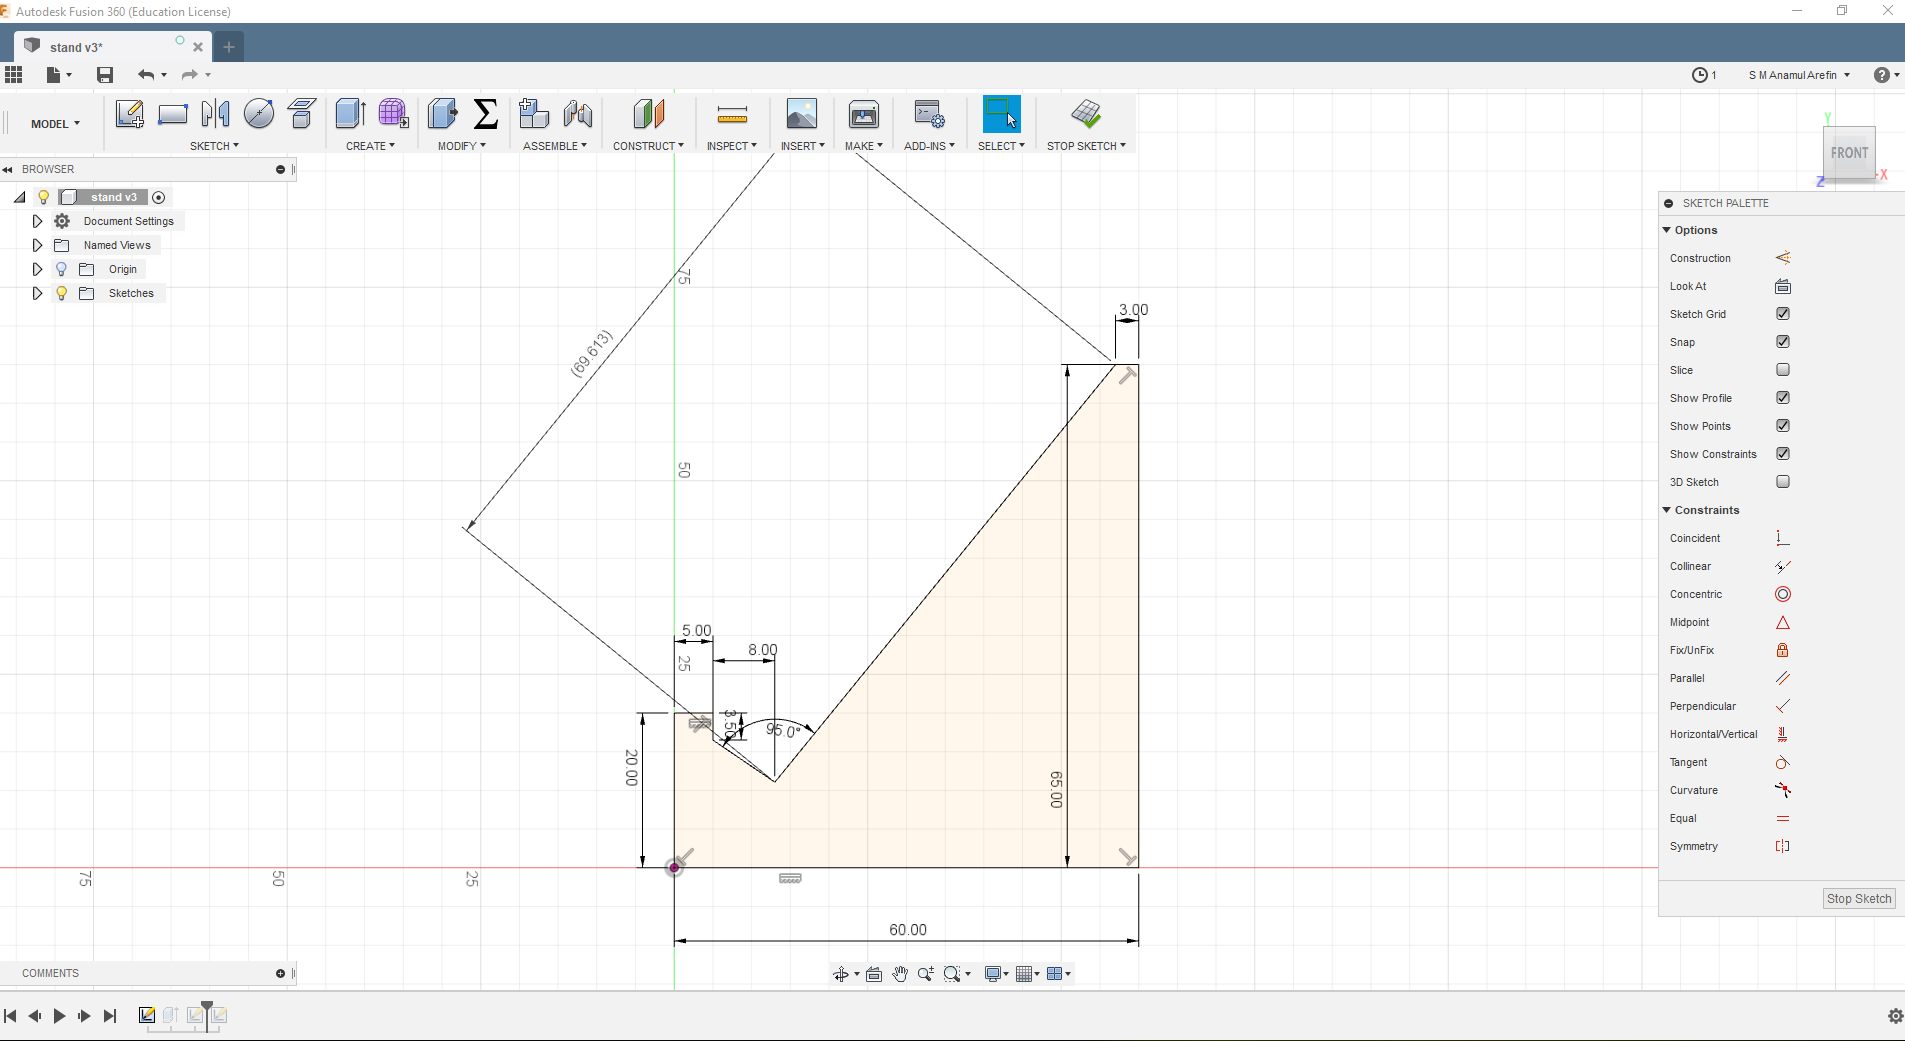
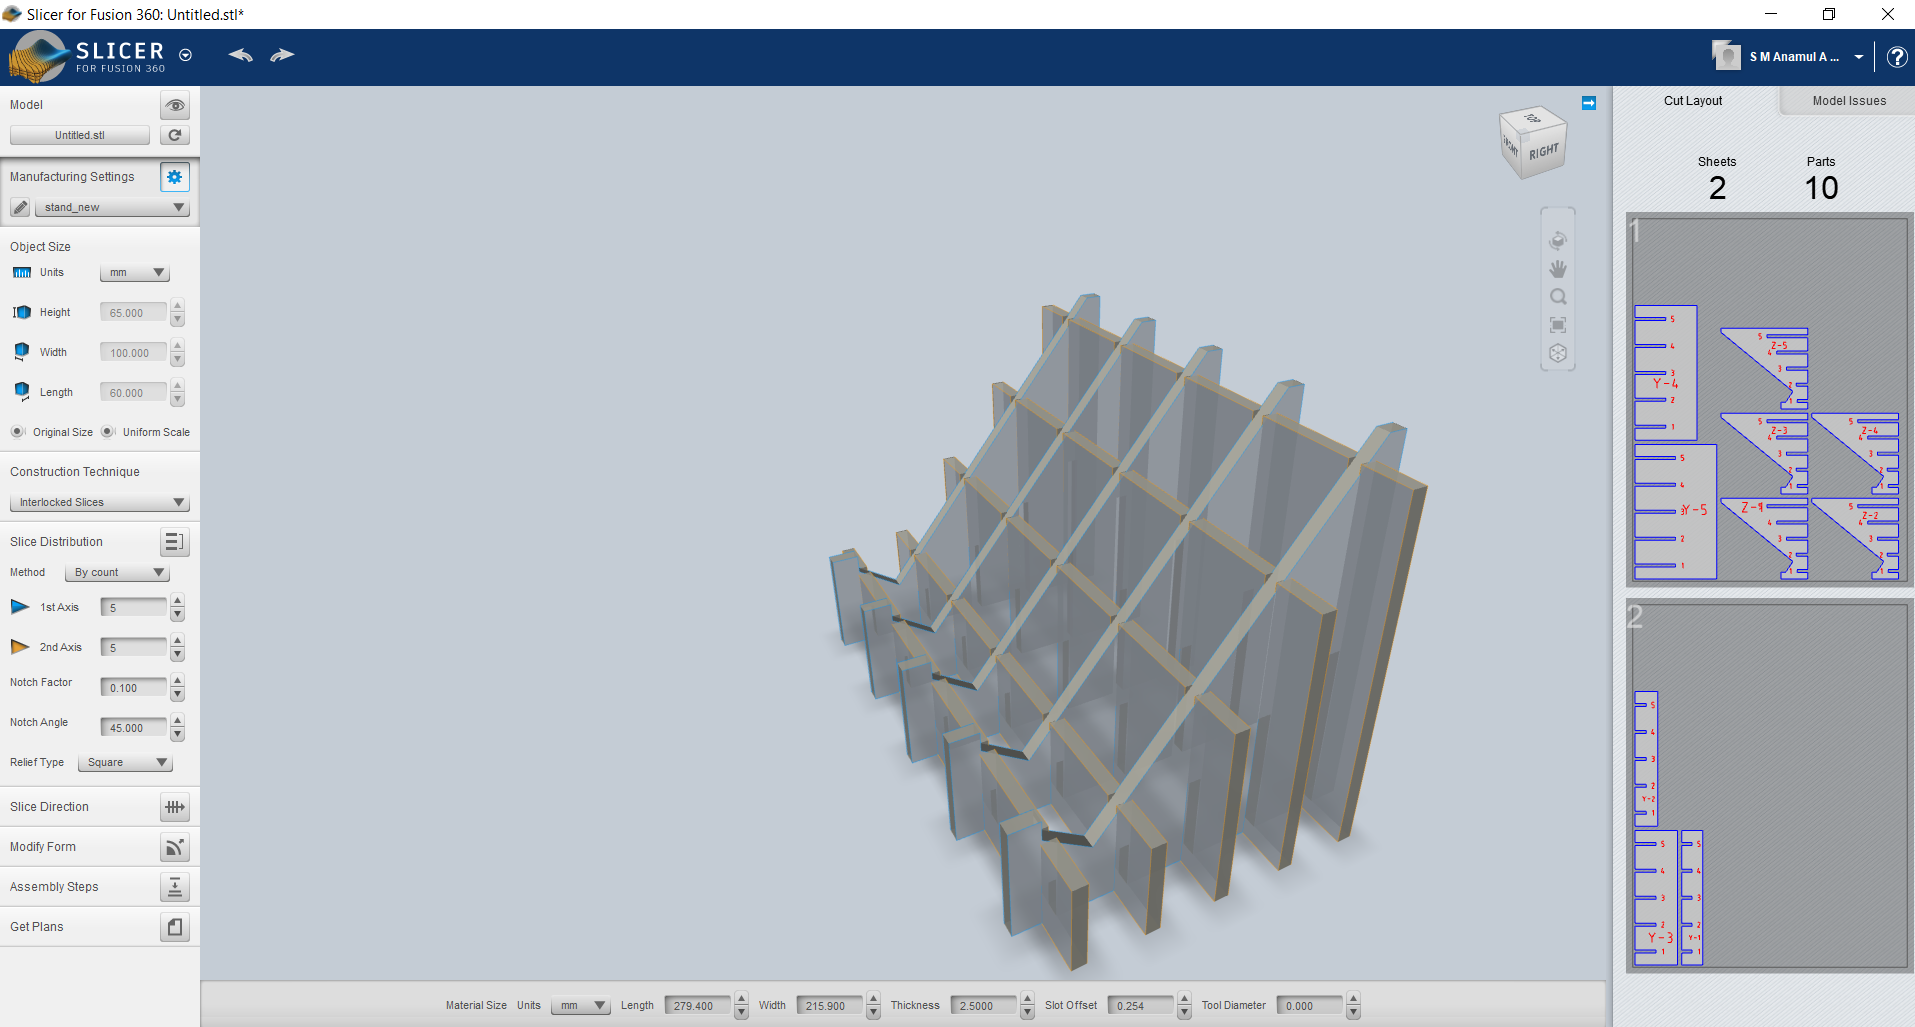
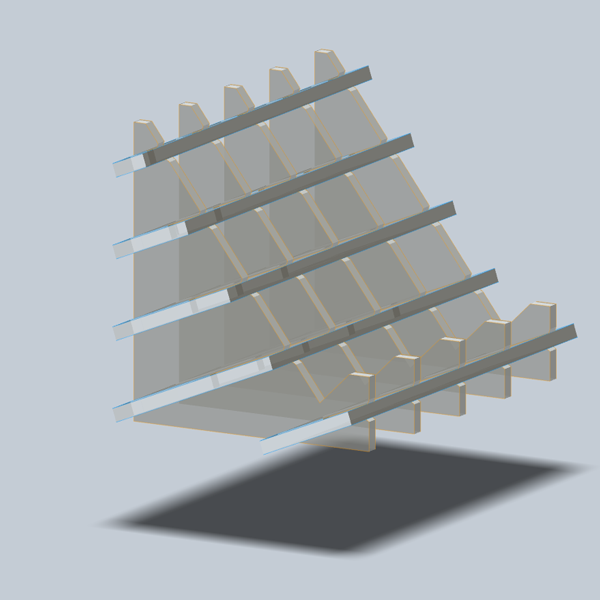
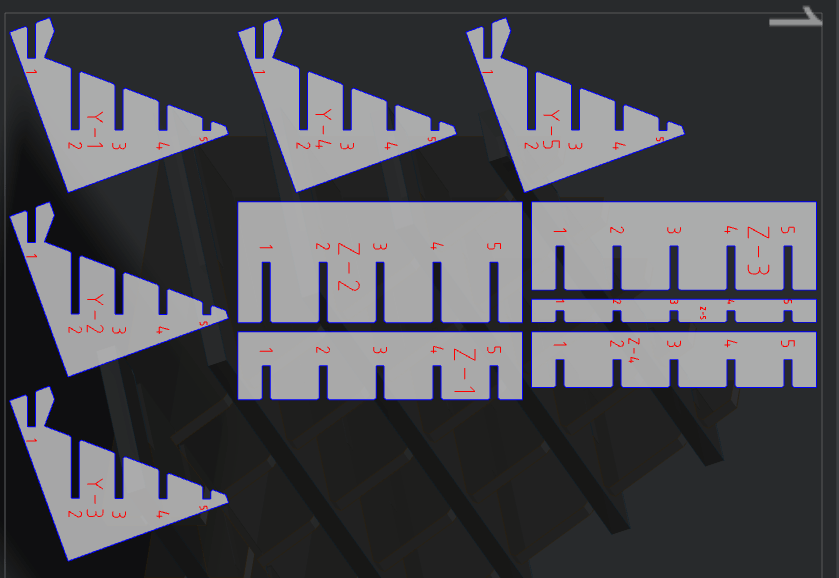
In slicer here the parameter are: a. Construction Technique: Interlocked slices; b.Slice Distribution: Method-By Count 5/5; Notch factor:-0.1; Notch Angle:45, Relief Type: Square. Thickness: 2.50mm, Slot offset: 0.254mm
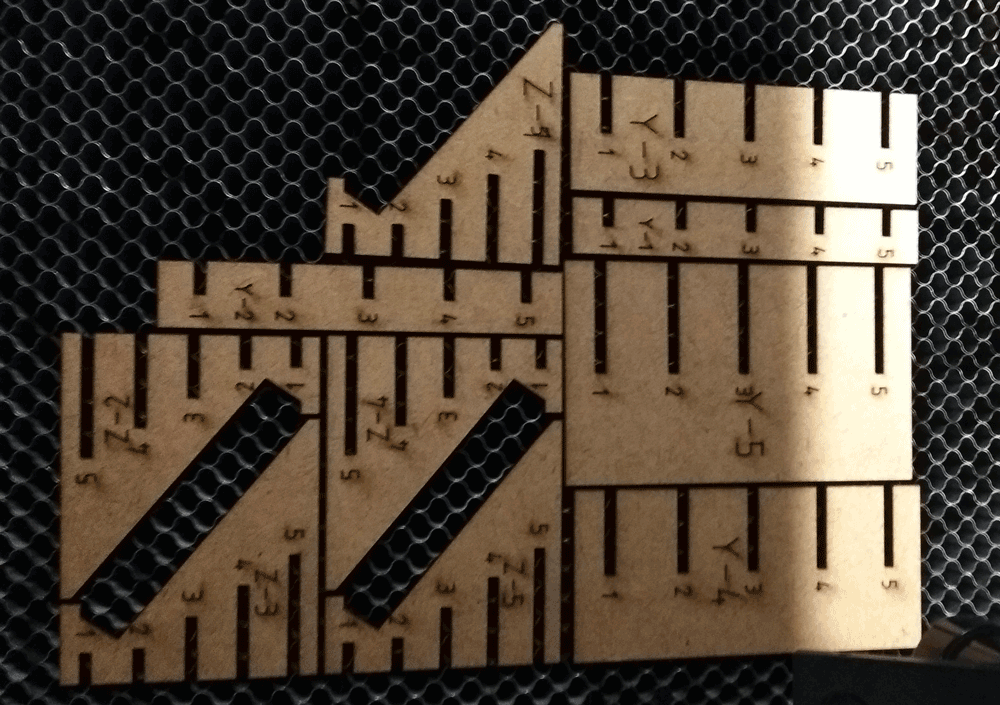
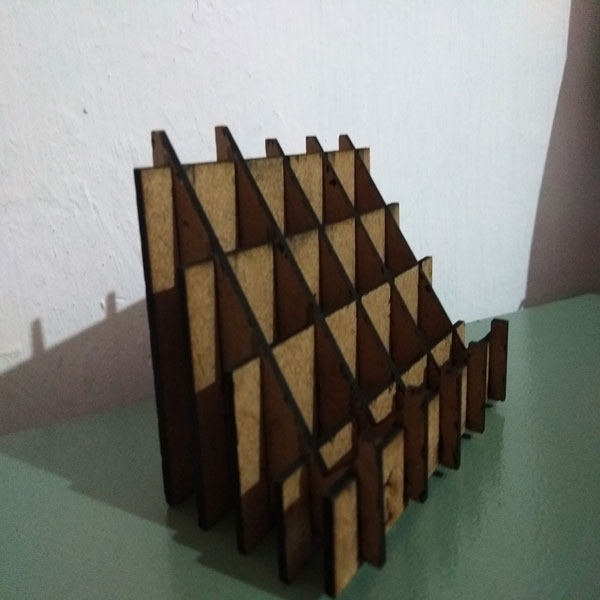
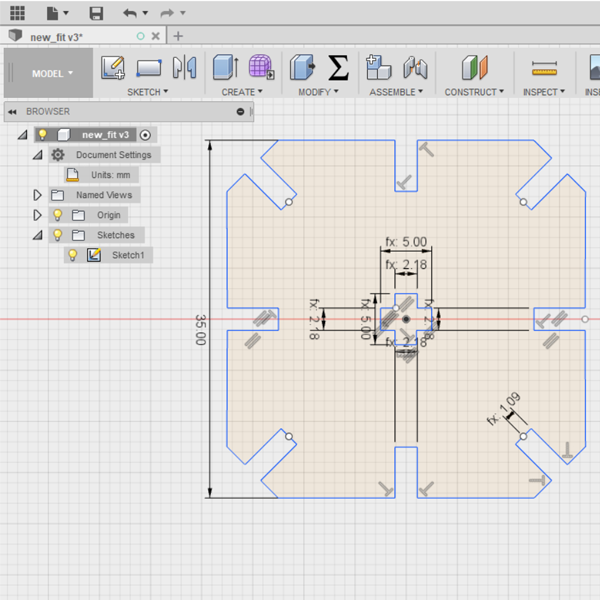
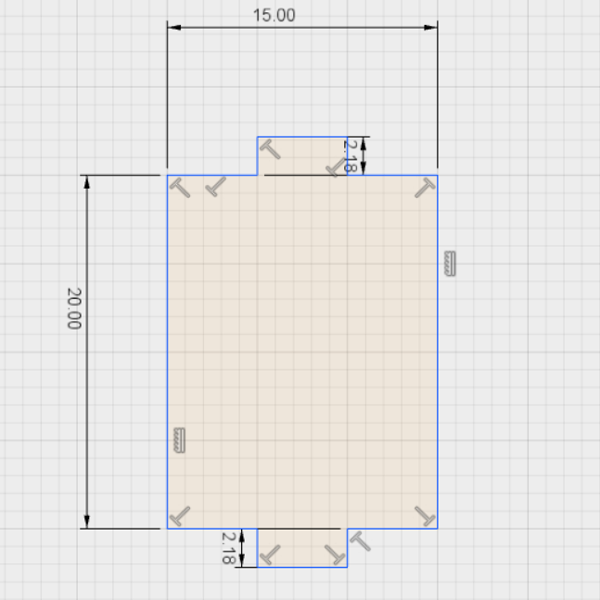
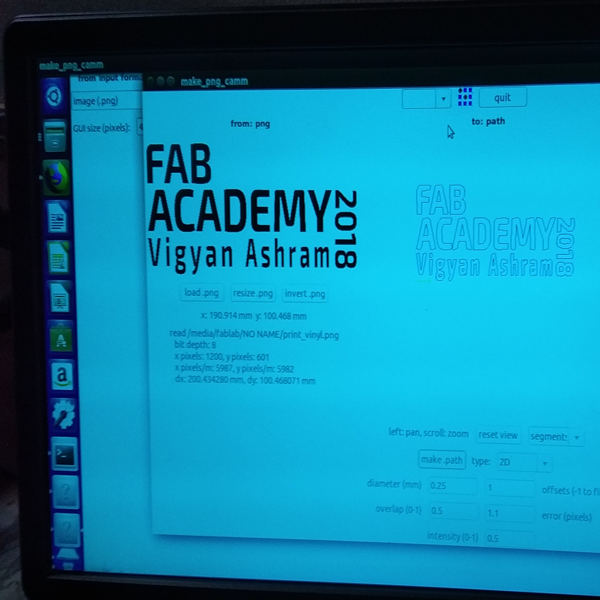
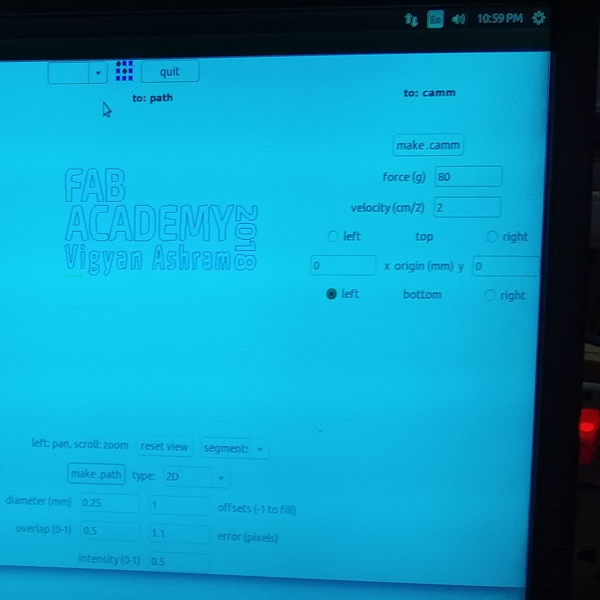
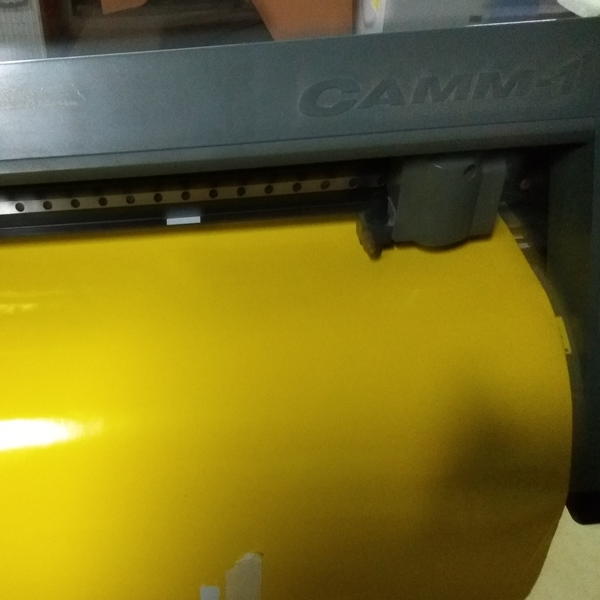
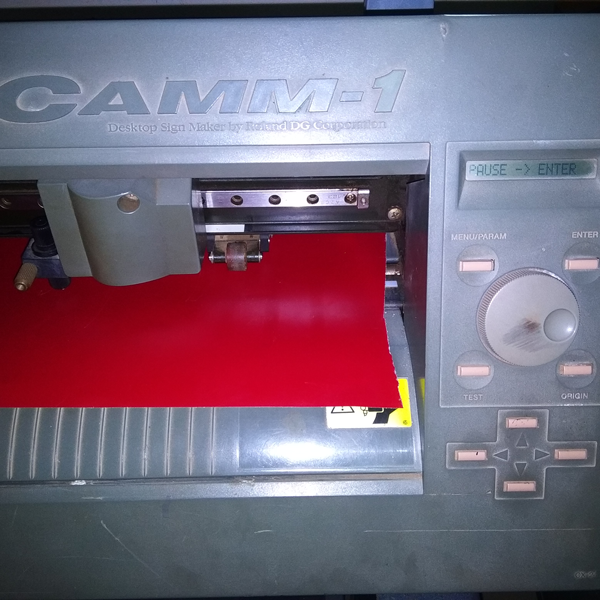
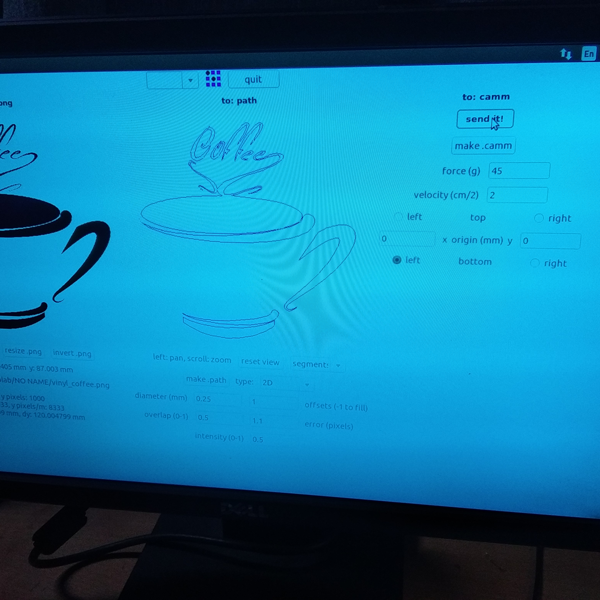
This is my first vinyl cutting, before cutting I have curiosity about vinyl how it's works. First i make a text design by illustrator named "FAB ACADEMy2018, VIGYAN ASHRAM". make a .png file and I use Fab Module to run the program. Now setting the vinyl paper and home origin the blade according the paper. But I made mistake here I don't check the vinyl where it is good or i has any previous cut. so after final cut when I peeling out by tweezer then I found a cut in V which is destroy my whole design. Image attached in below
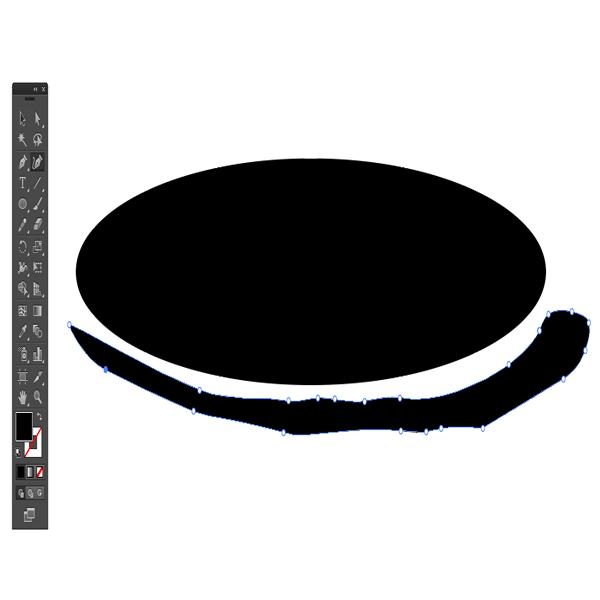
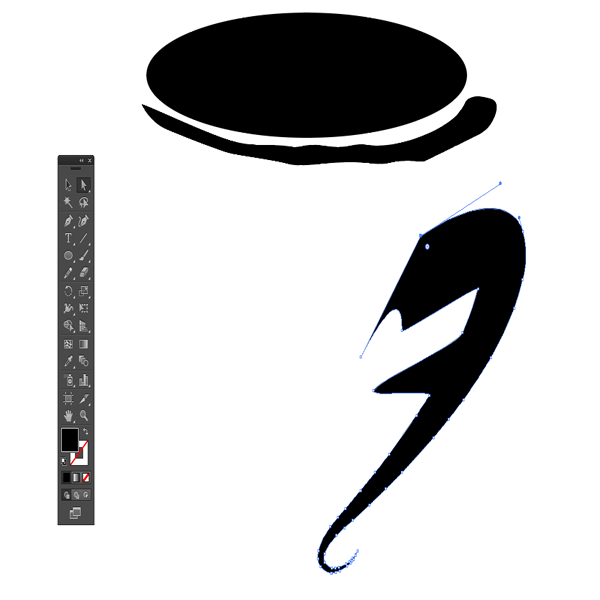
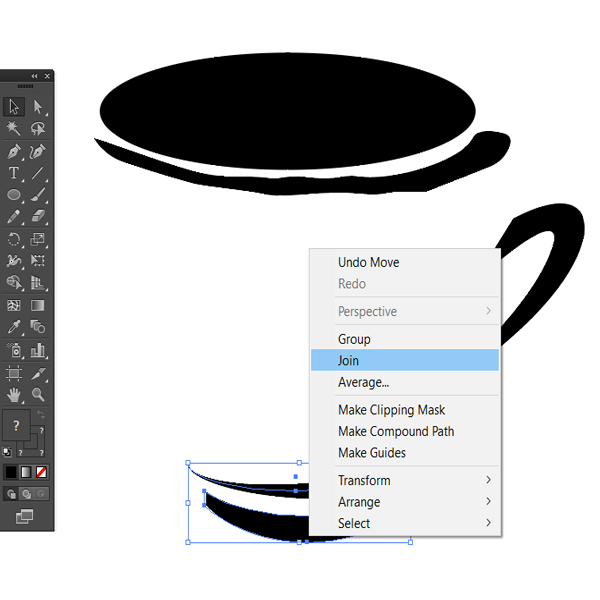
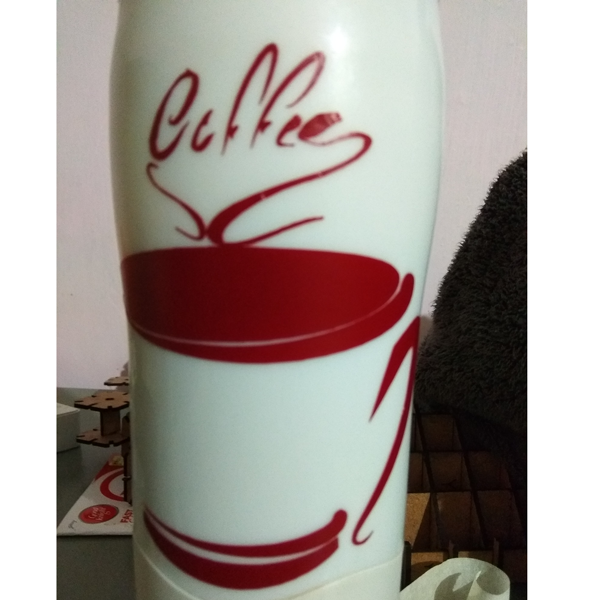
After that i decided that to make another design for cutting by vinyl cutter. So I make solid design by illustrator and convert is .png, Whole process are describe in below.
