
Week Two
This week Neil gave us an introduction to project management and various methods to update our project using version control system 'git'. We also had a class covering various features of git and setting up a git account. This weeks assignment was to set a basic web page to document our works and to push our website into the repository.
Develpoing my personal website
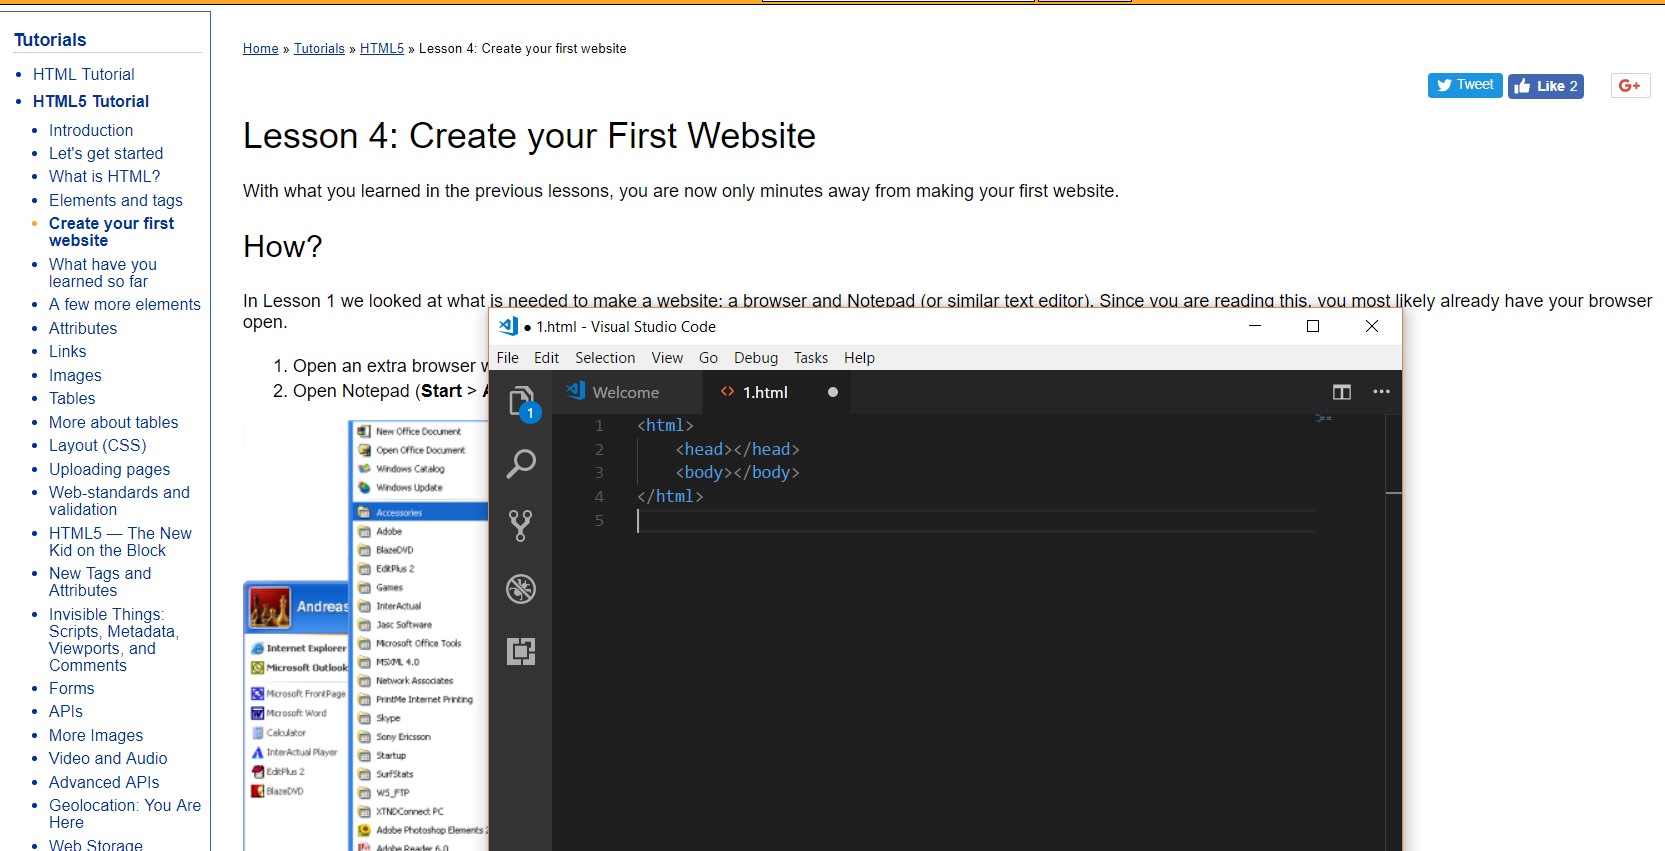
There are many ways to set up a website today. There are custom templates available everywhere and all you need to do is to edit those templates to your required style. But I personally preferred building a custom website.So, the very first step was to learn HTML. I had some experience with HTML from my secondary school days. So, all I needed was to brush up my HTML skills. I took up an HTML tutorial secession from html.net. I went through all the steps and created a sample website.For editing the HTML files we need a text editor, I first downloaded notepad++ and after using it for some time I happened to see one of my friends using a software called VS code. I really liked its features with automatic closing tags and tag suggestions. So downloaded VS code and started editing in it.
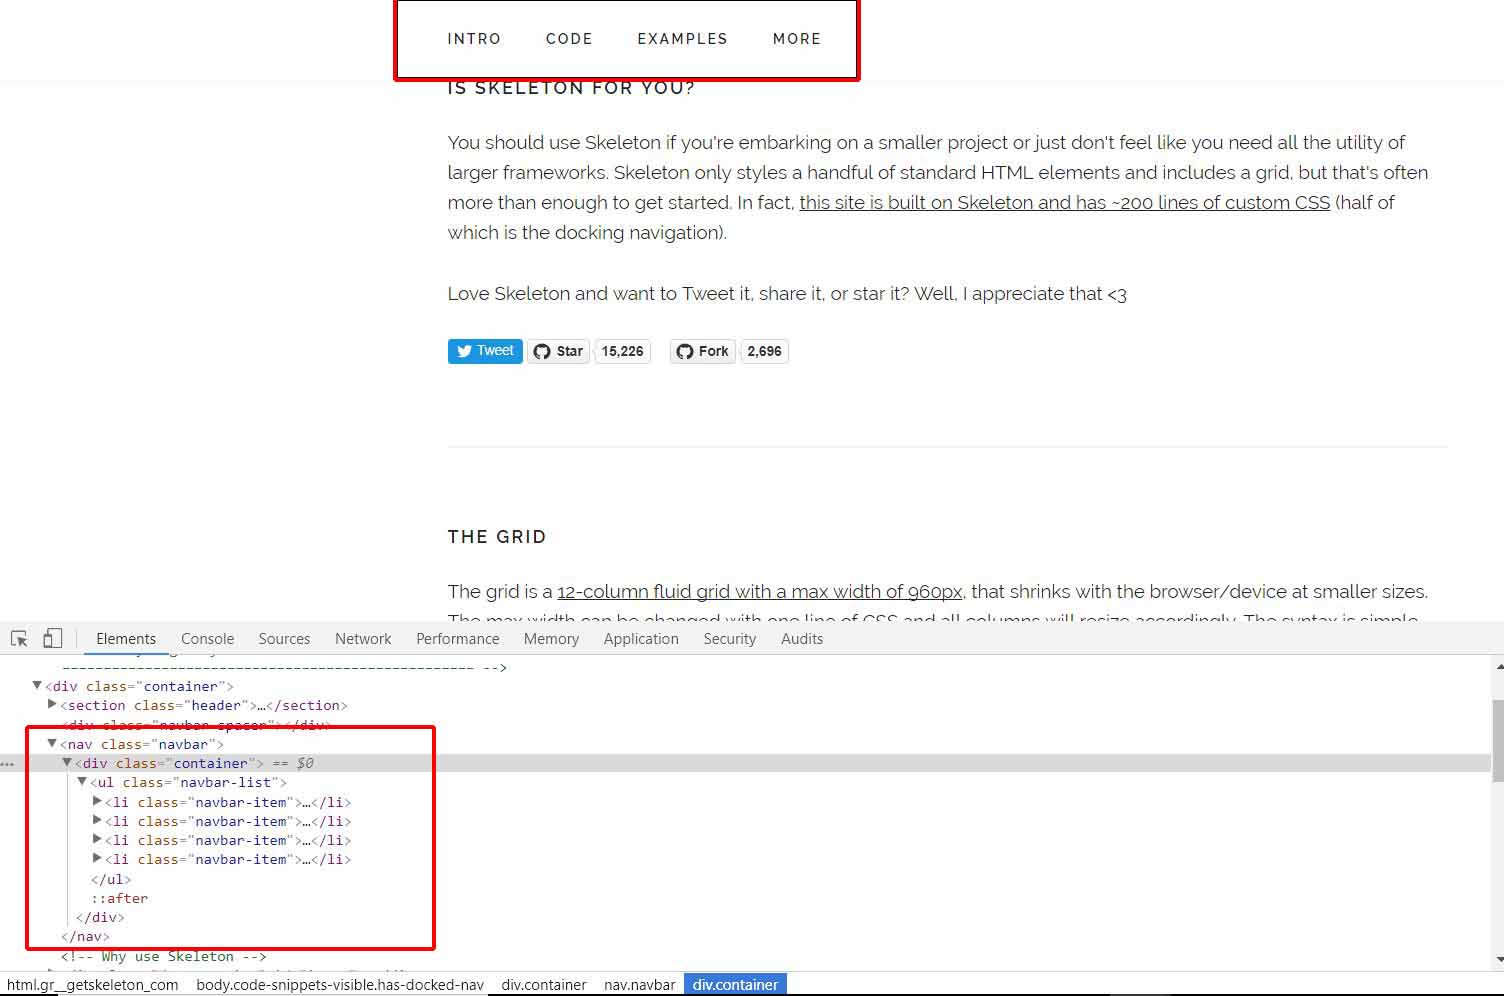
The first website I created was very basic and I wanted my website to be a little bit more attractive, clean and easy to read. So I decided to add a CSS file to my basic HTML file to make it more attractive and presentable. I started searching for a clean and minimalist CSS boilerplate and I really liked the skeleton CSS. It was pretty basic but yet very clean and attractive
The next step was to add different features to the webpage like adding navigation bars and separate tabs for my assignments and projects. I 've seen a navigation bar in the previous skeleton CSS page which I really liked. So, I thought to use the same and copied its HTML code by right-clicking and selecting inspect option. I then edited the tab names.
The next feature I wanted was to add a hovering feature when I move the cursor over the assignments tab to show each week's assignments. But I couldn't find it on the skeleton CSS page. I googled it and find one code in w3 schools which I added to my CSS file as a class and I added it to the 'Assignments' tab in my index file

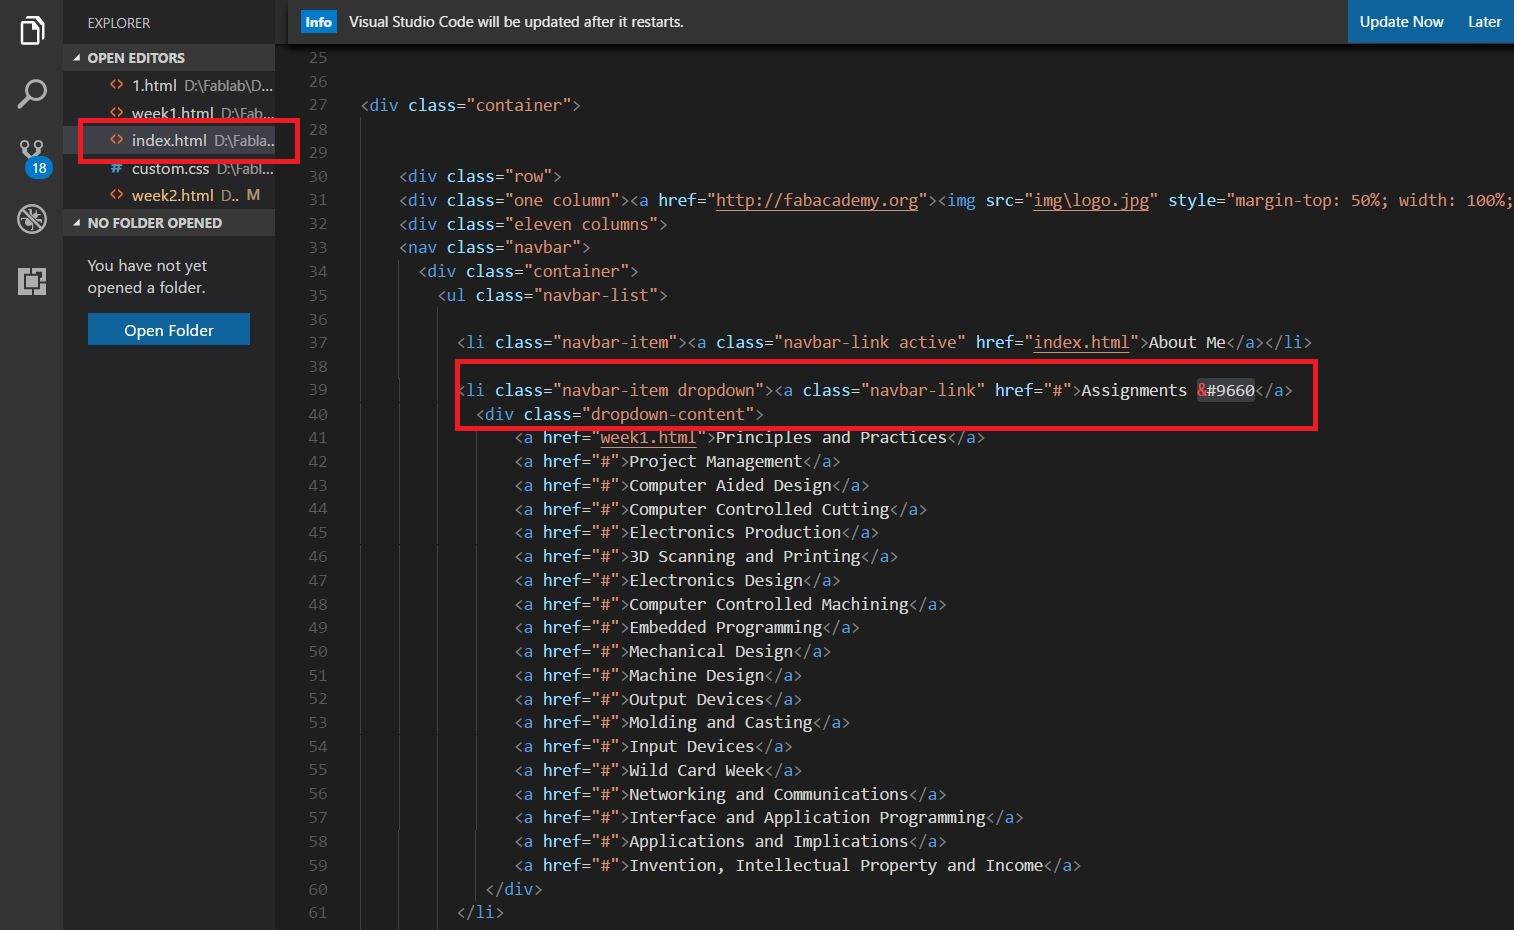
The last and final feature I needed to add to my website was to show which tab was active when we are on a particular page. This was solved by adding an active class in my CSS code and by making necessary changes in my index file.And this is how I made my website :)
Git
The next step was to set up my git account to upload my files. Git is basically a version control system and I am given a repository in the fab cloud where I can upload my data. Git is really helpful while doing projects as it keeps every version of the files uploaded and it's easy to find and edit them.
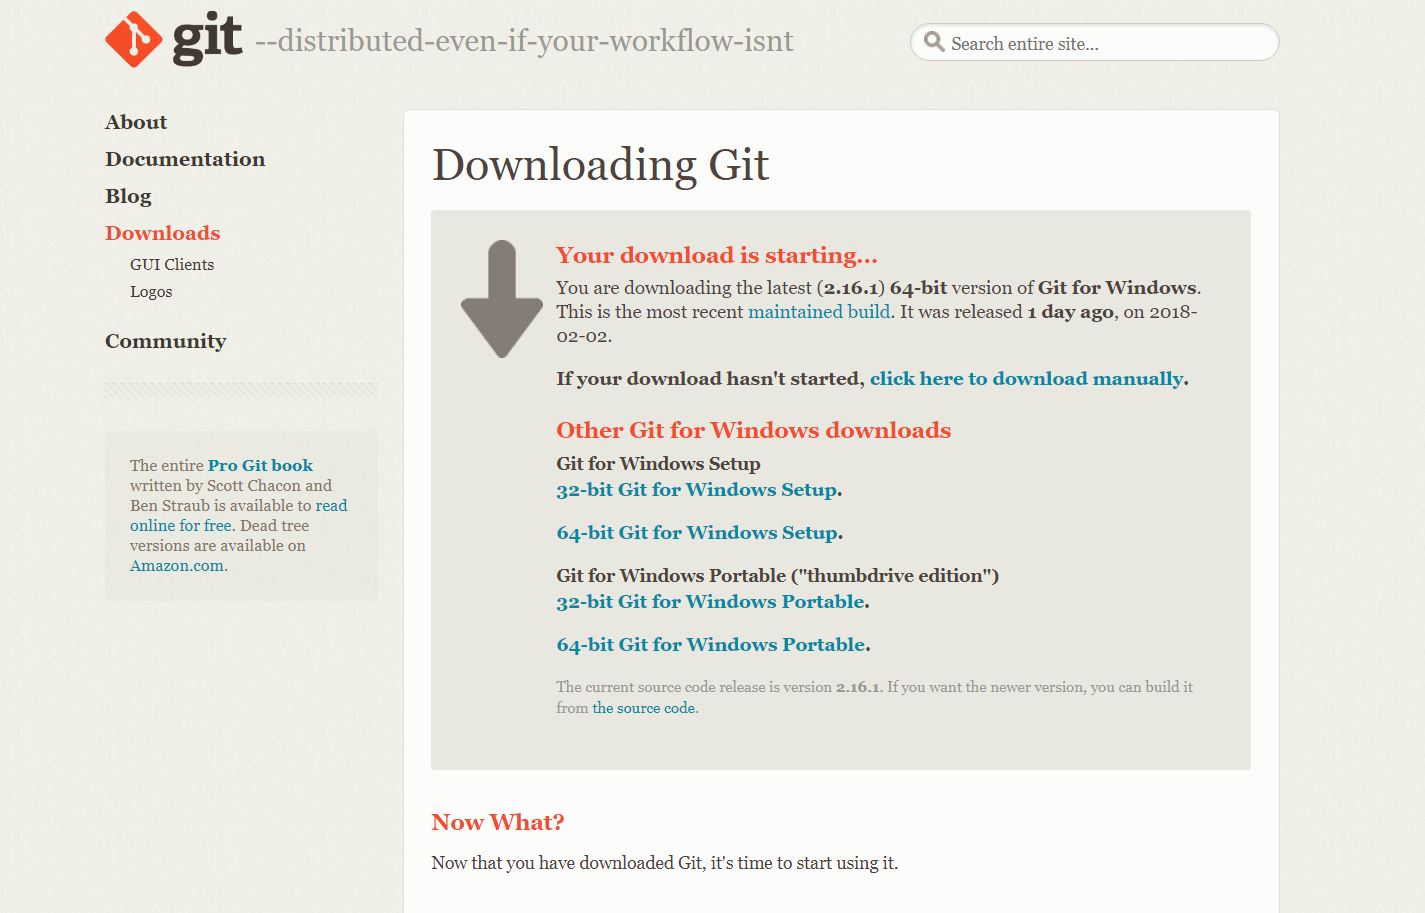
The first step was to download and install git for windows.Setting up a git account was pretty easy as our instructor gave us a doc file with step by step instructions. I followed the same to set up my git account and generating the ssh keys.
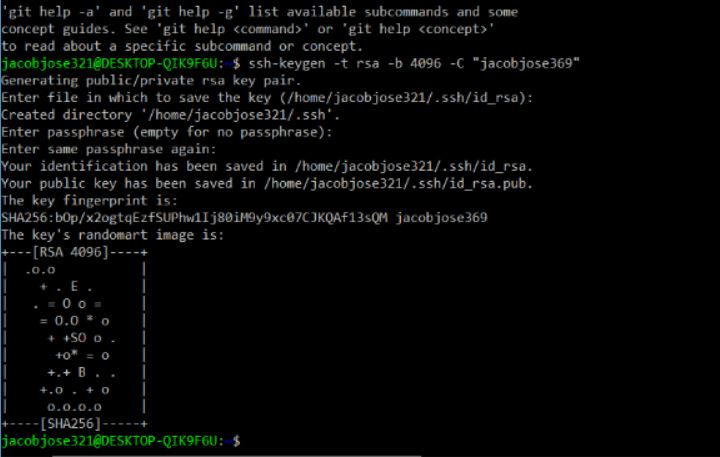
I've generated two ssh keys one for my windows other one using the Ubuntu that I've installed previously inside my windows. The next step was learning how to clone your repository, pushing and pulling, and all other basic stuff. My friend Salman helped me with it during my first attempt. And we managed to push a test webpage in a few tries.
Adding and Pushing files
These were the steps that I followed while pushing my files.First, I went to the folder where my git files were located and then right click on the window and select 'Git bash here' option. This will open a terminal window.
Use "git add --all" command to add all the files

The next step is to commit the files which can be done using the command 'git commit -m "description" '

Before pushing the files we have to pull the files first in order to avoid the clashes when a group is working on a single repository.But since each student was having a single repository for themselves this wasn't necessary.I pushed my files using the command 'git push'. Sadly I couldn't take any screenshots of the same.
After pushing my files I noticed that the images on my webpage were not shown. Later I found that it was a problem caused by the image location in the HTML files, as the git only considers the location from the git folder and we need not specify the entire location. So, by making these changes in my image locations my website was good to go.
