Week Ten
Assignment
Introduction
This week Neil gave us an introduction to casting and molding. He taught us various designing techniques and materials for molding and casting. Molding is a manufacturing process in which a liquid or pliable material is shaped around a rigid material called mold. It can be made using a pattern itself or machining process such as milling. Casting is the process of making objects by pouring liquid materials into the mold.
What I did this week
3D Modelling
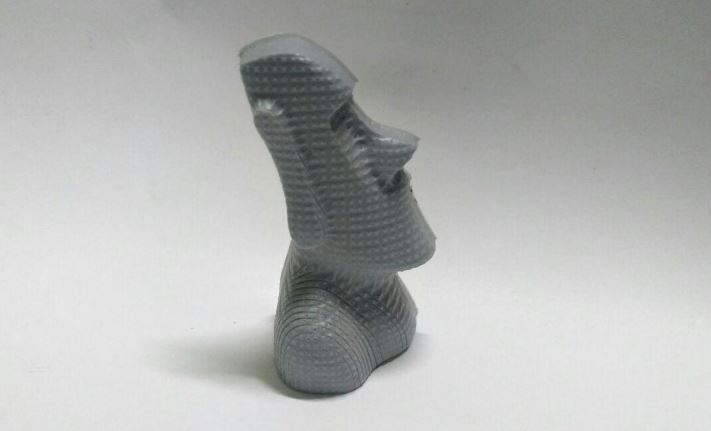
I wanted to make the 3d model of a moai statue for a very long time.I initially planned to make it in 3d printing week. But since we had to make something non-subtractive that week I thought to do this in the molding and casting week.
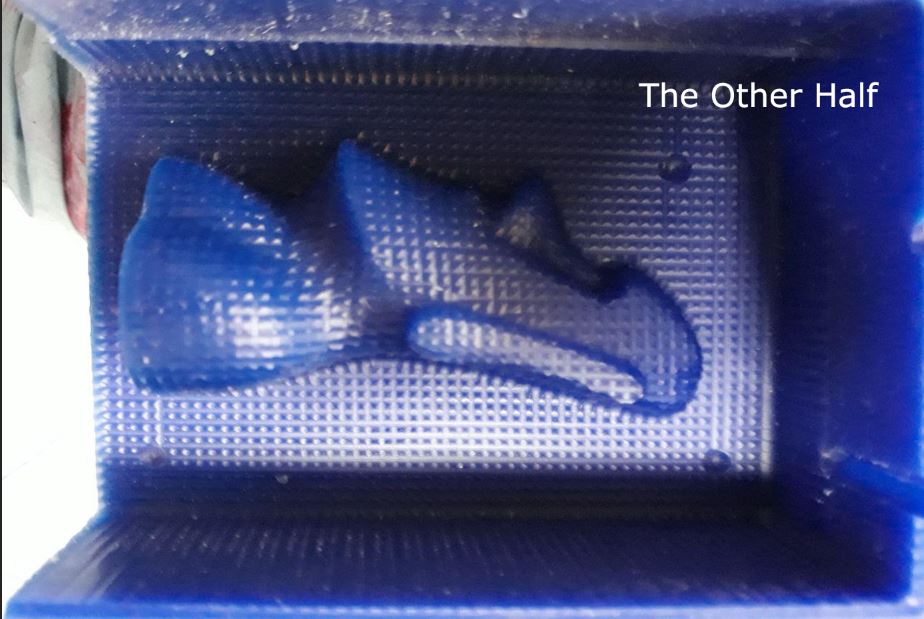
I started with a 3D moai figure downloaded from Thingiverse . The idea was to make a positive mold design that can be milled in wax and then a negative mold can be made out of it. Since the downloaded file is an STL file and it is very difficult to edit STL files in Solidworks I thought to use Blender this time.I watched a few tutorials to get familiarised with the software first.The idea was to split the object into half and to create two separate molds and to create the final mold joining these two.I first took one half of the object and created four walls around it. This was then mirrored to get the other half. I also added 3 registers on each mold to securely hold the two halves.
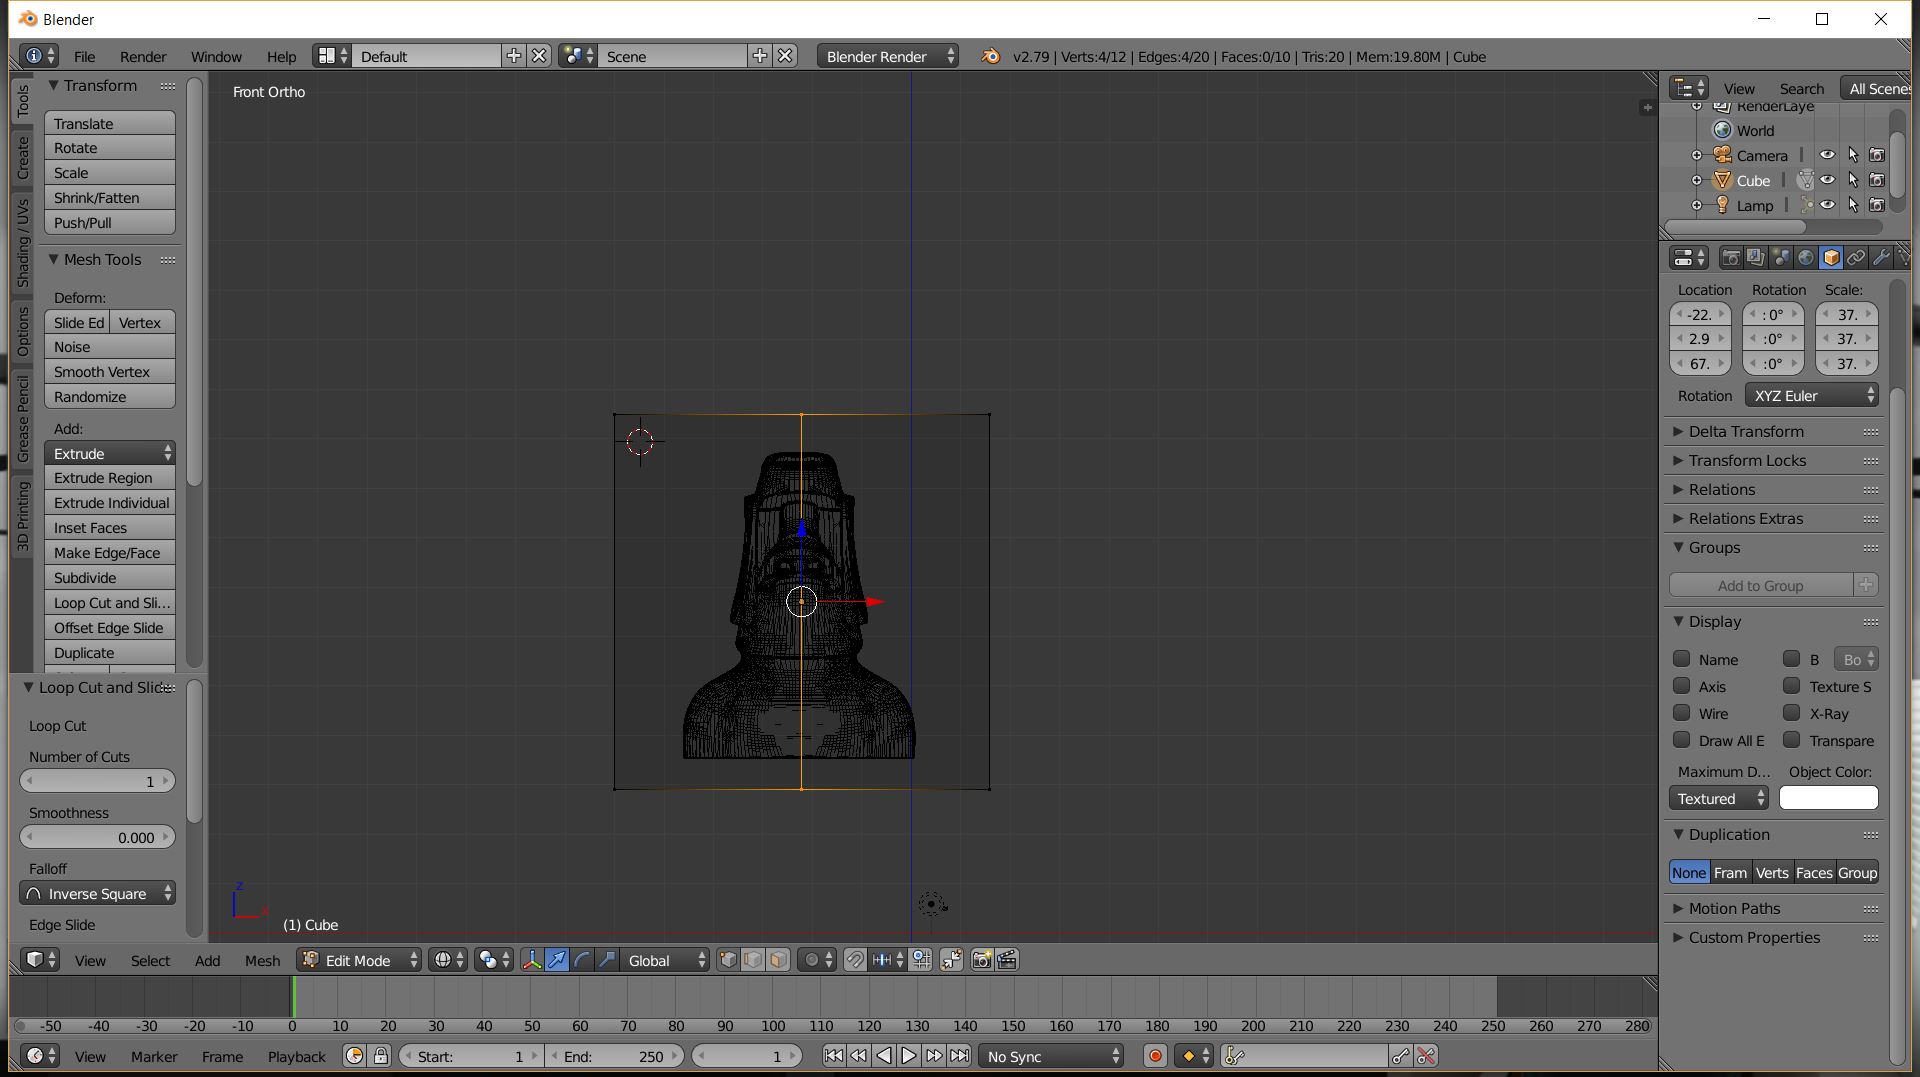
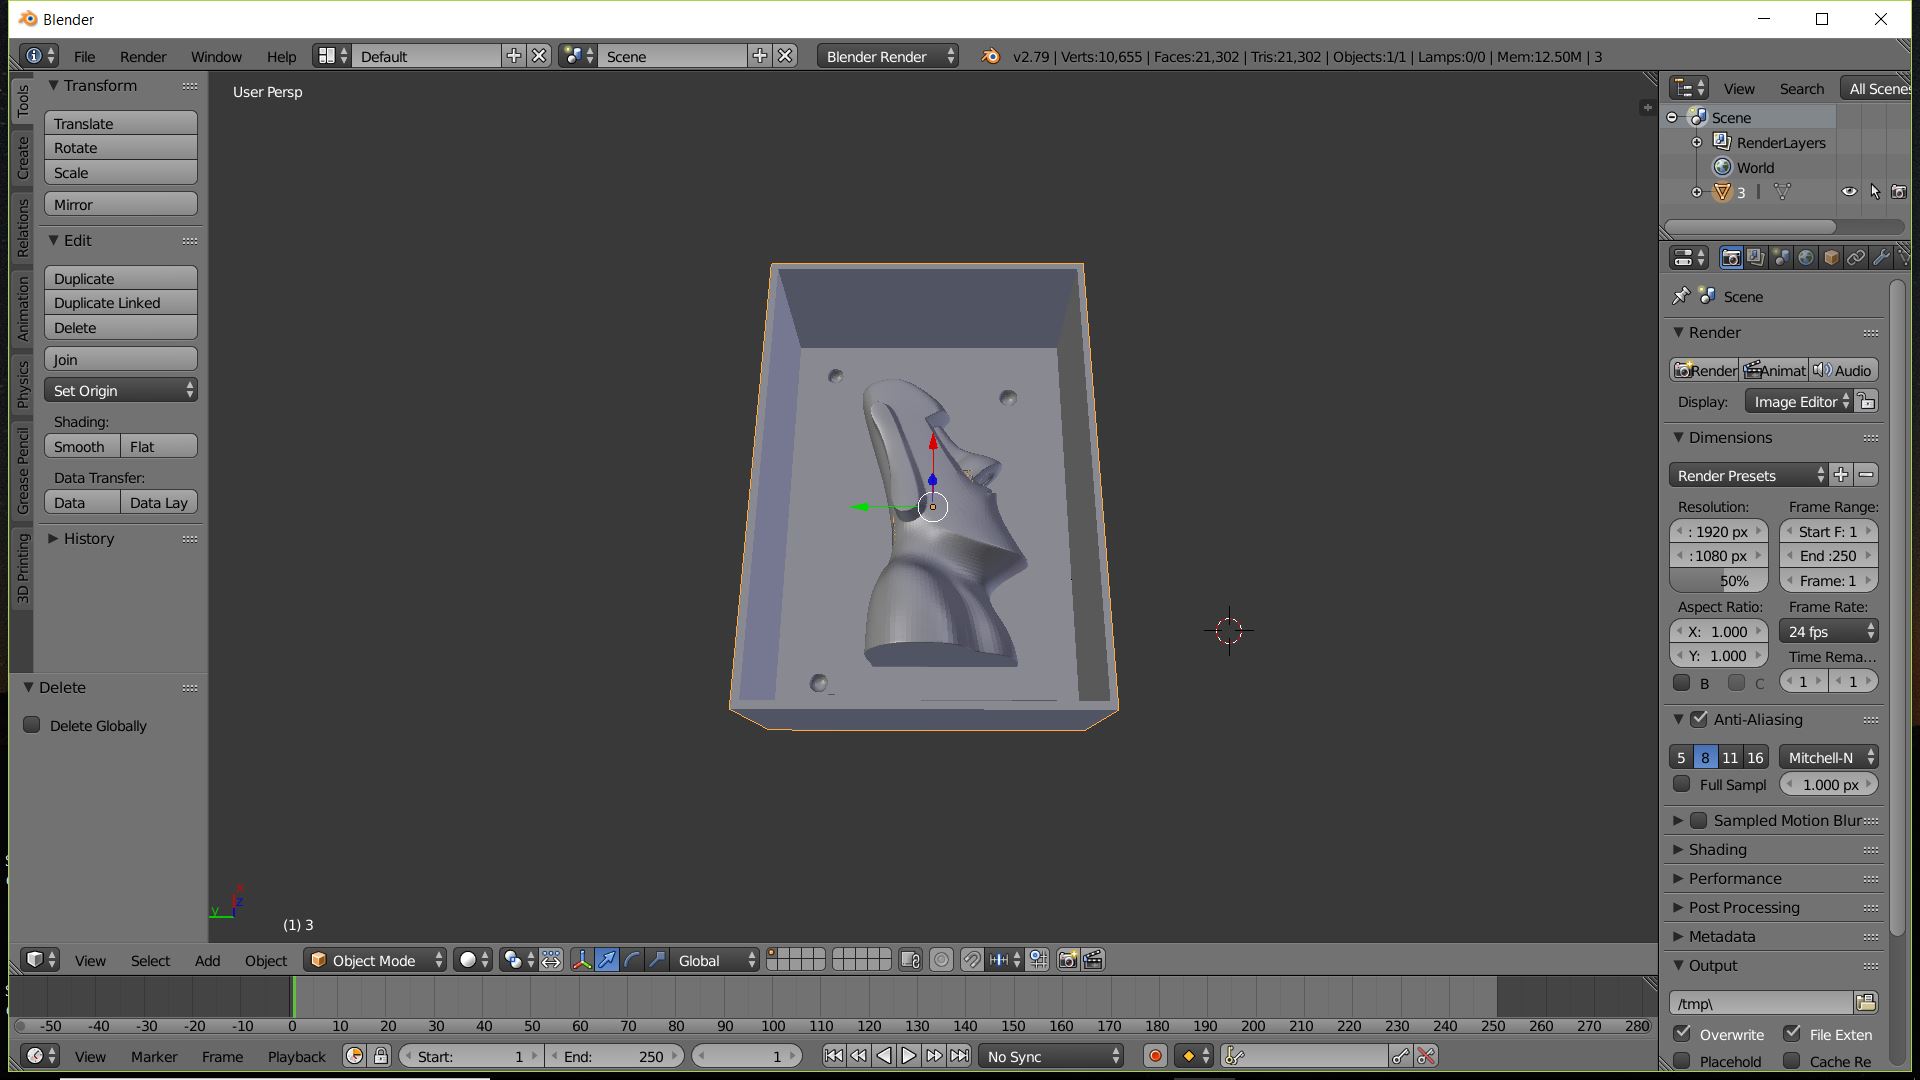
Download the design files here.
Machining
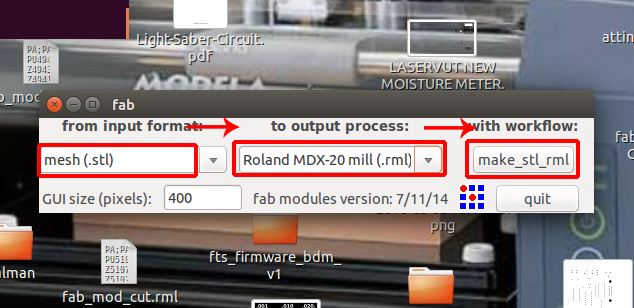
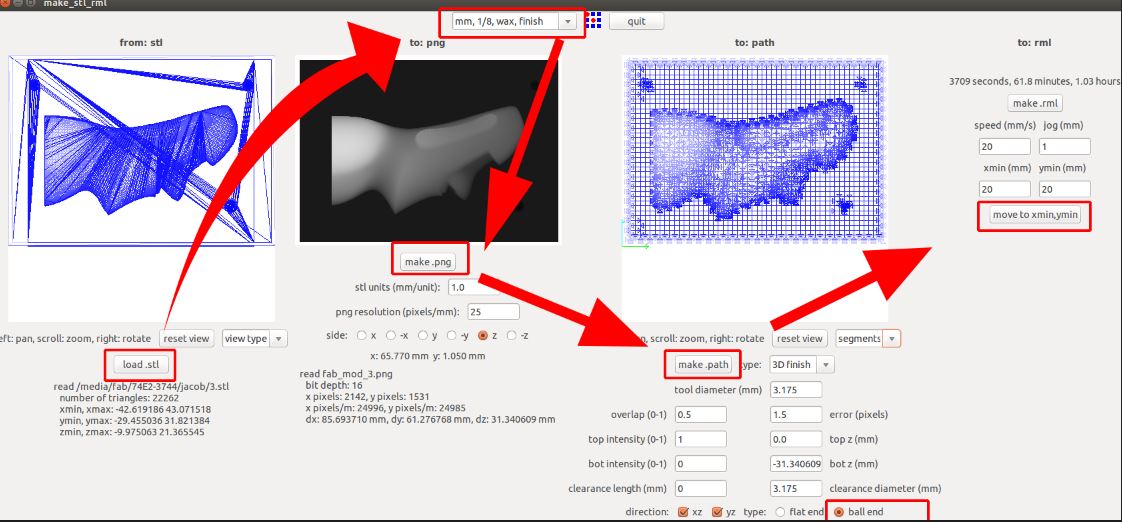
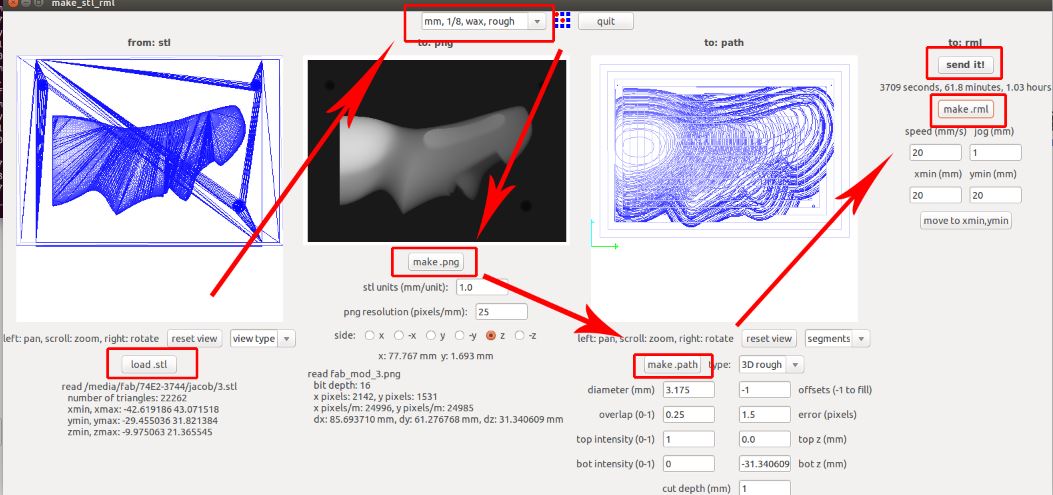
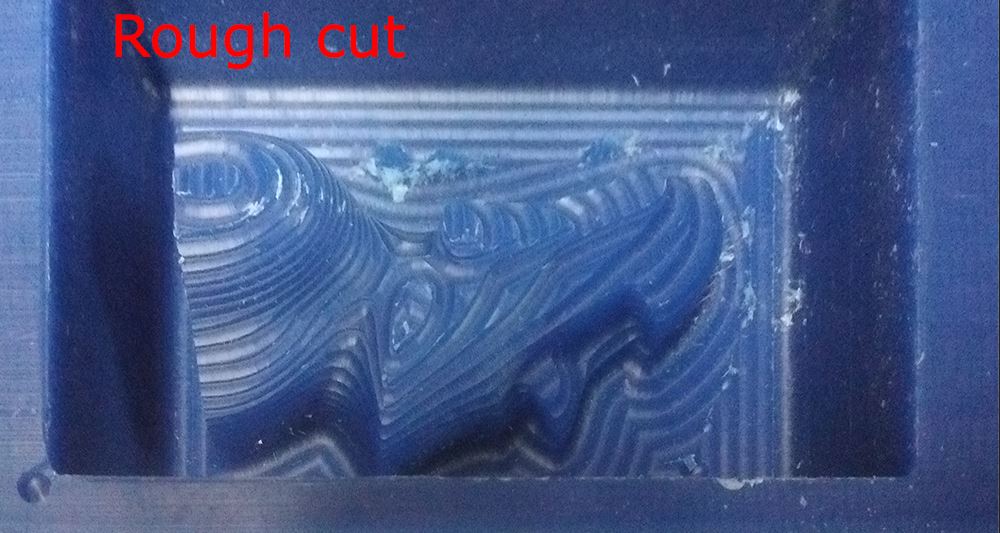
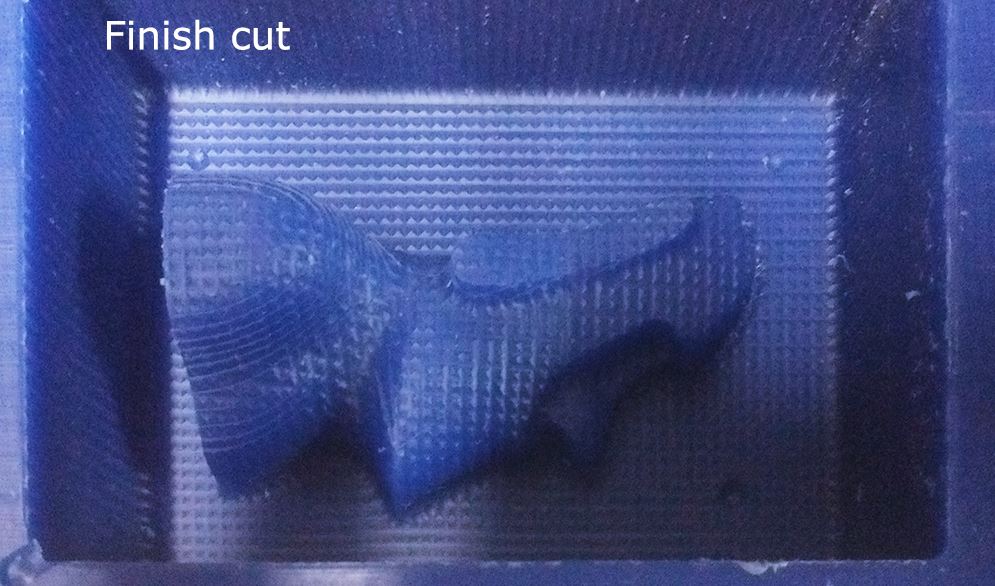
I used Modella MDX20 machine for the machining purpose. The milling process can be done in two steps. First a rough cut and then a finishing cut.I did my rough cut using 1/8" 2 flute flat end bit.And I choose a 1/8" 4 flute ball end for finishing cut.
Problems and Troubleshooting
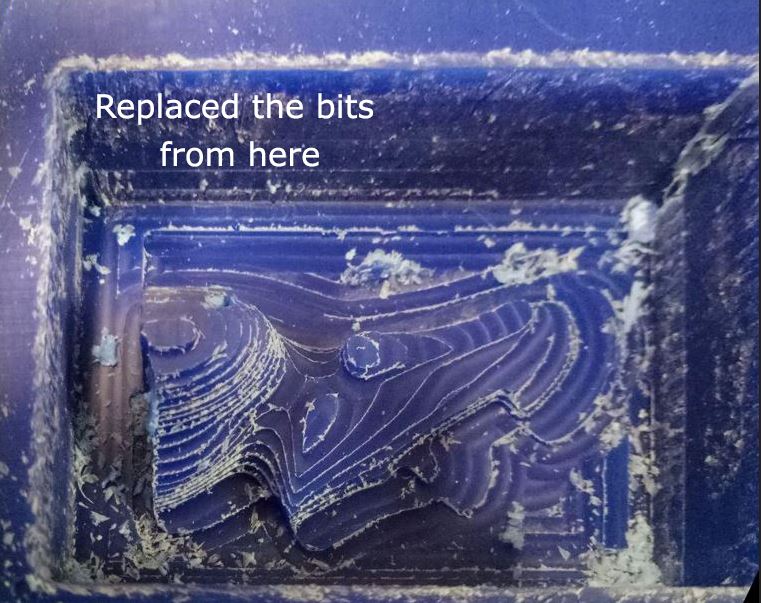
Halfway through the cut, I realized that the depth of my cut was more than the length of the flat end bit. SO while making the outer wall cut the milling head was hitting on the outer wall of the mold. So I had to abort the milling process. Checking for a bit with more length I realized that we didn't have any lengthier flat end bits and all we had was 4 Flute ball end bits. So I replaced the flat end with a long ball end and did both the rough cut and finish cut using this.
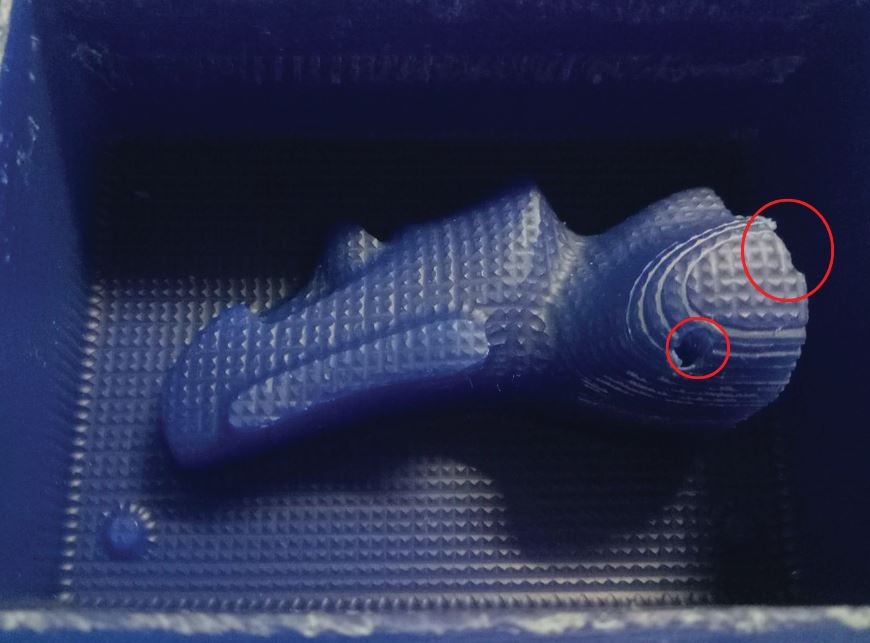
Even after changing bits I had some issues with Modella.I noticed sudden changes in the sound and Modella tends to get stuck at times. I immediately clicked the view button when this happened so that machine won't get stuck completely and I can resume the ongoing tool path.I noticed several lumps of wax sticking on to the bit and I removed it using a knife and this fixed the issue.
The other Problem I faced was when Modella started taking entirely different tool path and made holes in my mold and got stuck. I really have no idea why this happened.I had to redo the entire process.
Molding
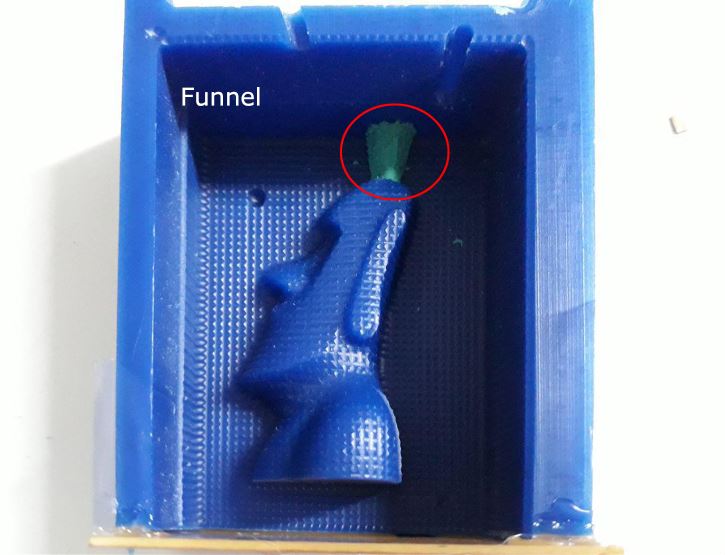
Before molding, I need to add a funnel in one of the halves so that I can pour the casting liquid through it joining the two halves.I used clay to make some kind of a funnel on the top portion of the object.
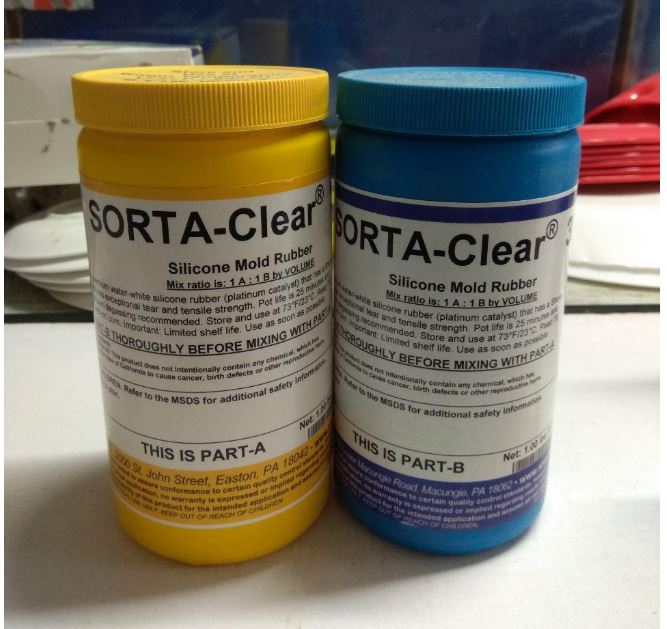
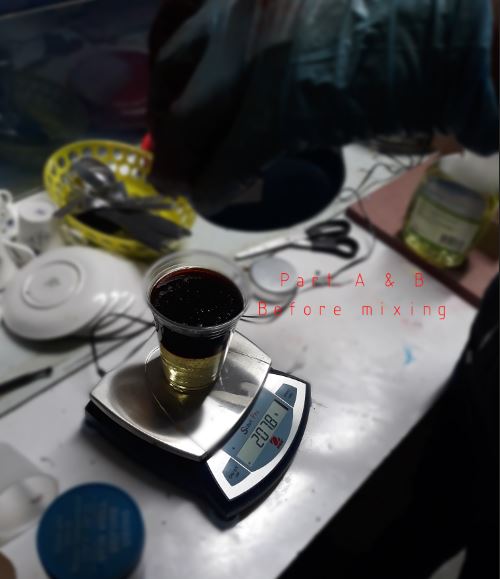
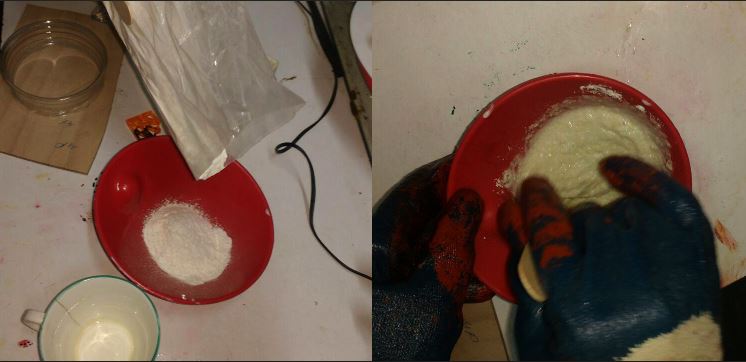
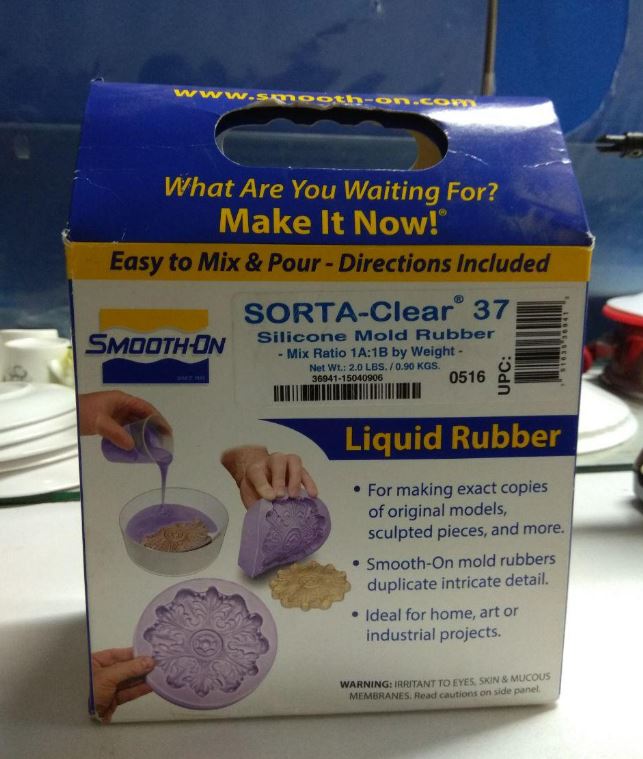
I made my mold using Smooth-ON SORTA-clear 37 SIlicone Rubber.It has a mixing ratio of 1A:1B by volume.
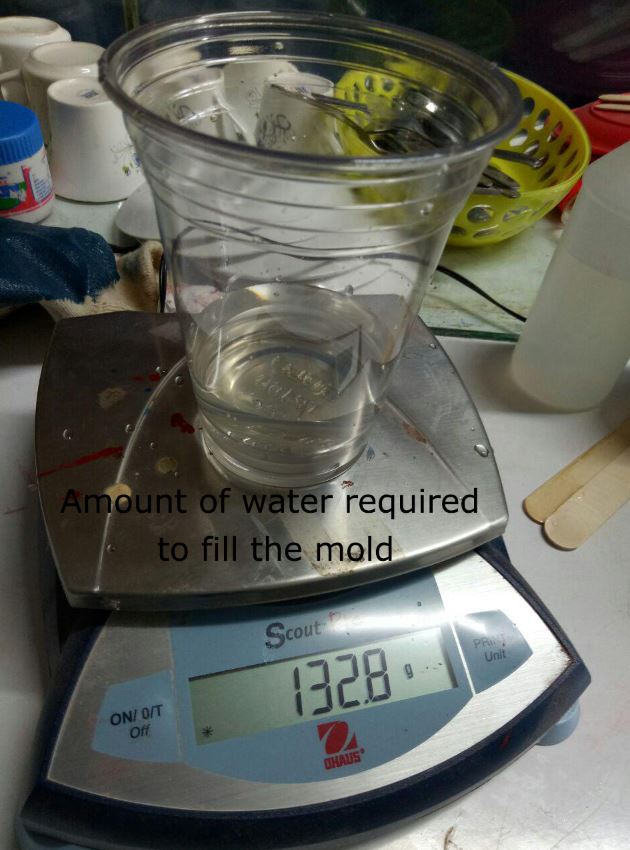
All we have to do is to mix equal amount of Part A and Part B in a container and pour it into our mold. Before mixing I poured water into the wax container to get the exact amount of material required to make the mold and mark the level of water and mix the compound slightly above this level.
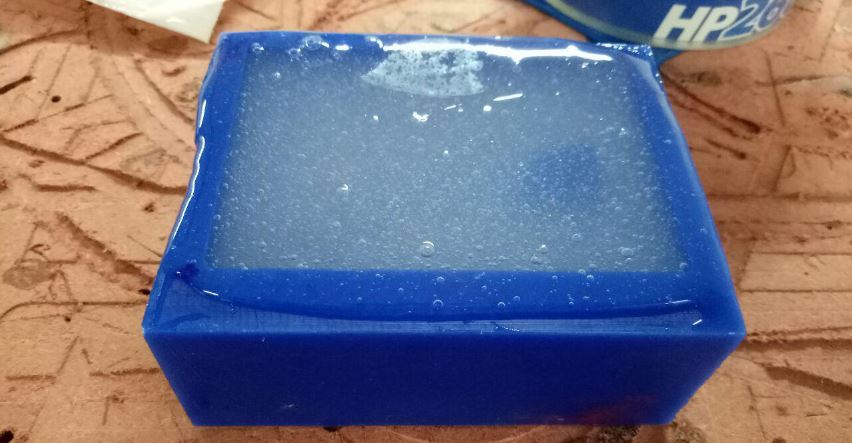
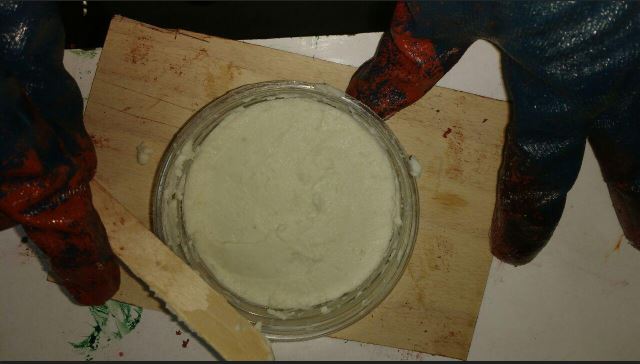
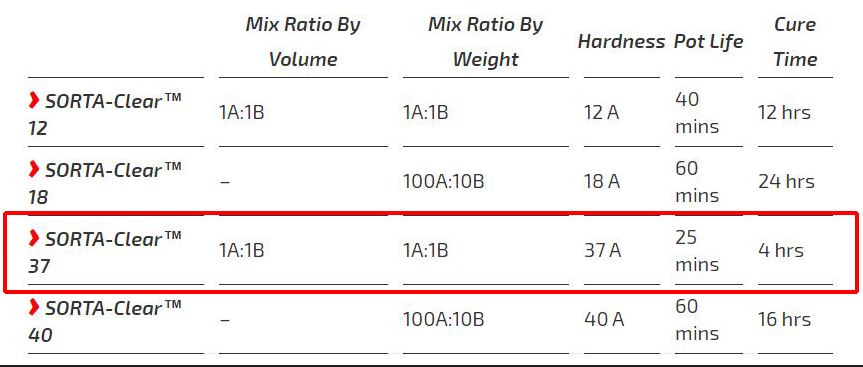
Curing Time for SORTA-CLEAR 37 is 4 hrs and PotLife is 25 Min.I left it overnight and came back the next day to collect my mold.
Casting
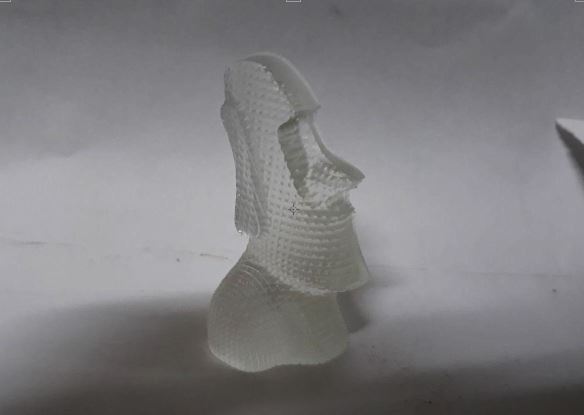
For casting I first used Smooth-On Smooth-Cast 305 Liquid Plastic
.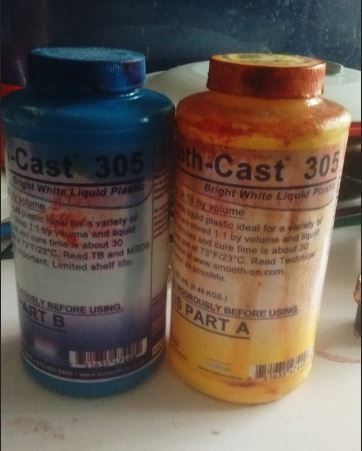
It is easy to use and have a setting time of about 30 minutes. So I thought to check the first half of my mold using this and then to continue with the complete molding.
Even though it says that it does not need a releasing agent I used some talcum powder over the mold as the releasing agent.
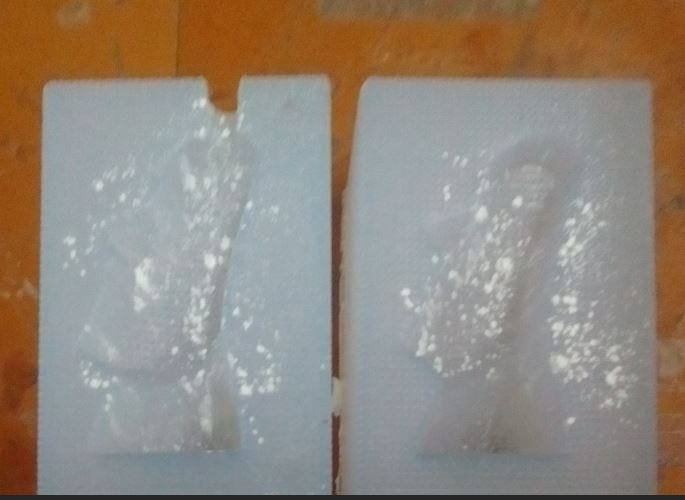
The colour of the mixture is white so I used a drop of black dye to get an ash color
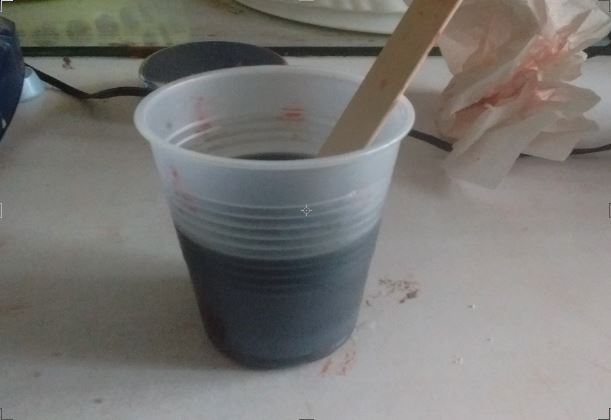
Casting with resin
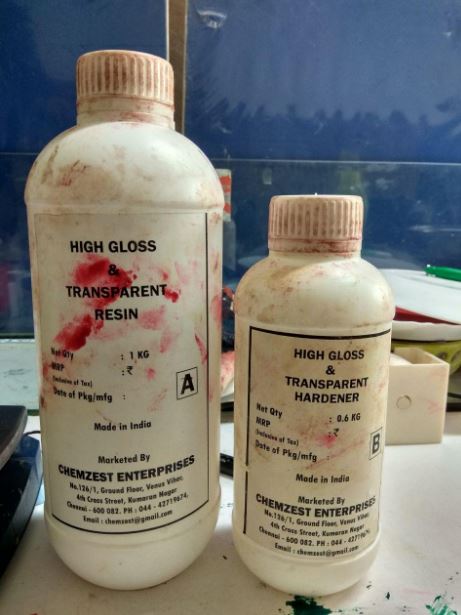
Next, I used High gloss transparent resin for casting. We have a locally bought one here.
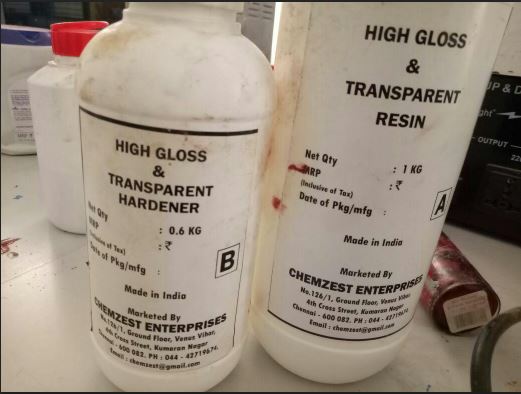
This one has a mixing ratio of 100A:60B by weight.And the setting time is around 24 hrs. So I left the resin to cure overnight and took it the next day.
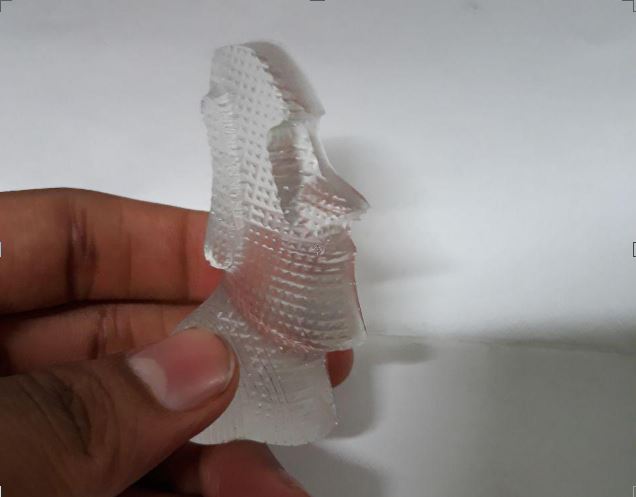
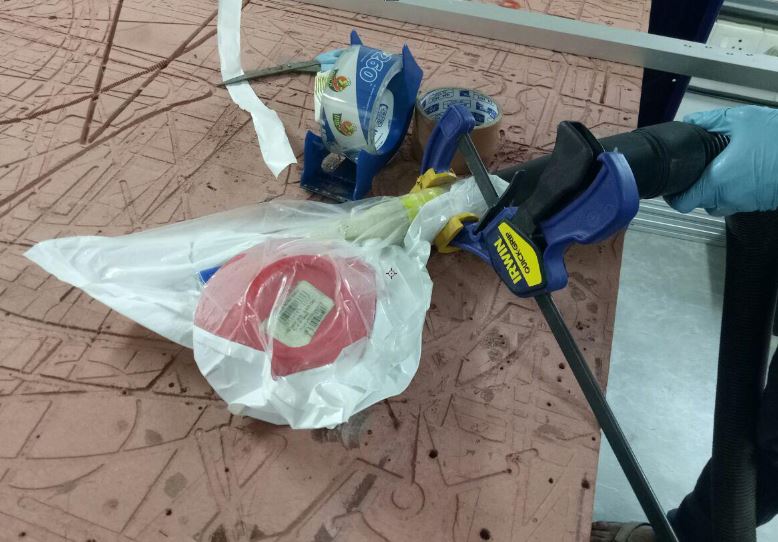
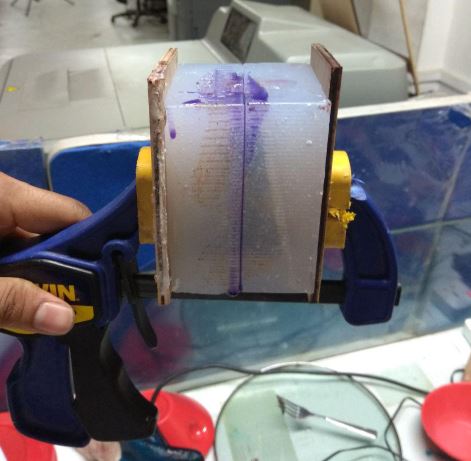
After this, I made the complete casting by joining the two molds.
I joined the two molds by placing it between two plywood sheets and tightened it using the vice.I used the same transparent resin and added a violet color to it.But the color came out to be much darker than I anticipated.

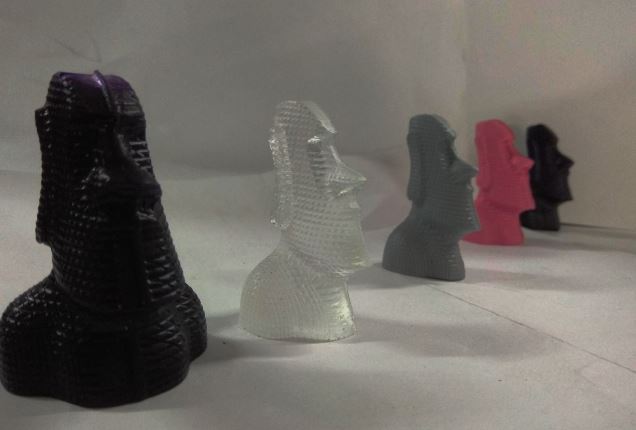
After this I tried different colors and dyes with the previous materials to come with different objects.
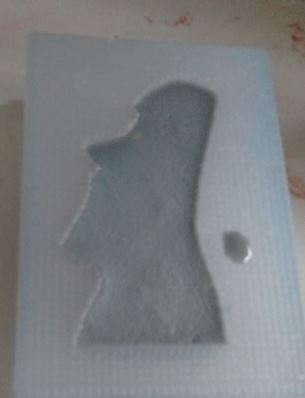
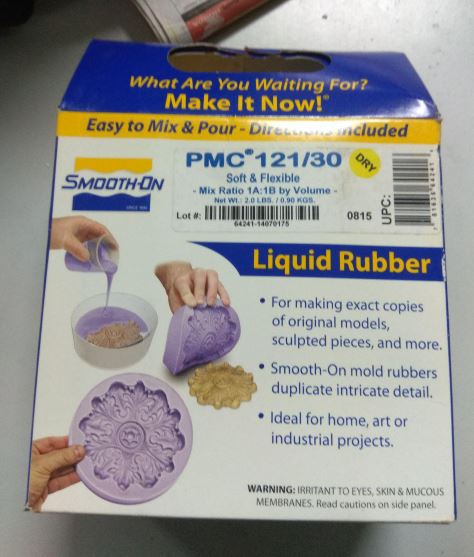
Molding with PMC 121/30
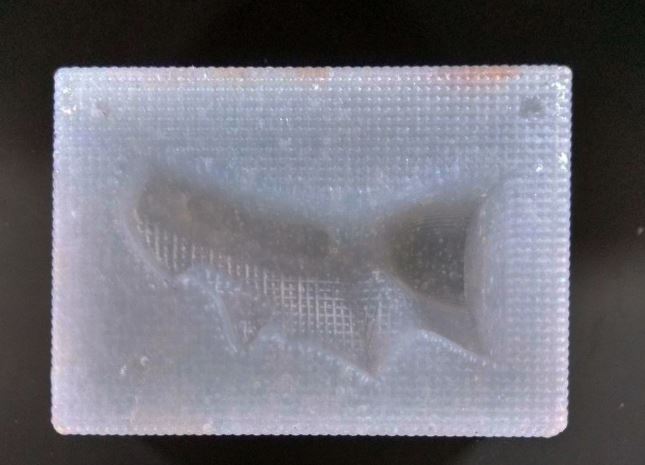
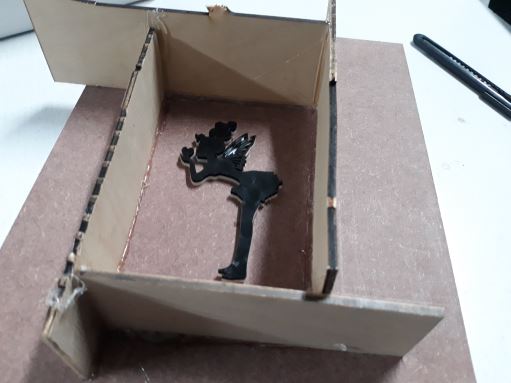
I tried another molding material by Smooth-On called Smooth-On PMC 121/30 liquid rubber.This time I didn't mill the design. Instead, the idea was to use some kind of a pattern already available in the lab for making the mold. I took an old laser cut figure and stuck it on to an MDF board. Later I built 4 walls around this using thin sheets of plywood and hot glue.
I left it to cure for 16hrs.But I found it really difficult to remove the mold walls made of plywood. I haven't used any releasing agent before pouring the mold compound. So I went to the Smooth-On website and referred thedatasheet of this product and guess what I found.
It was really difficult to remove the mold from the MDF board. I used a chisel and forced it from sides to open it.I then pulled it from sided giving it enough time to come off from the surface.


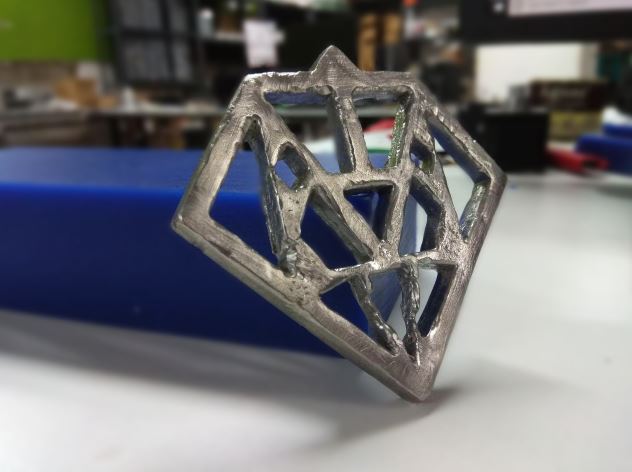
Metal casting
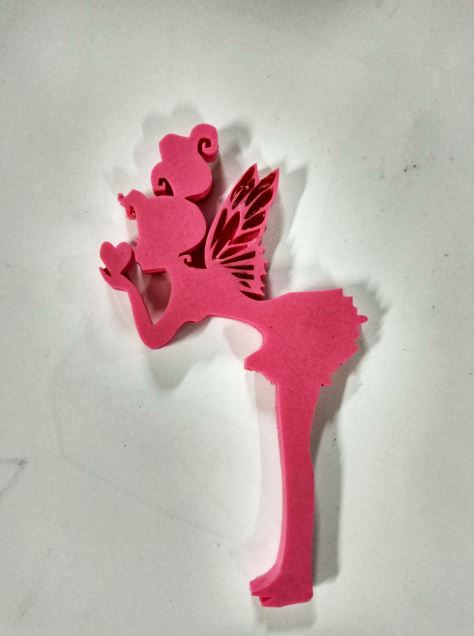
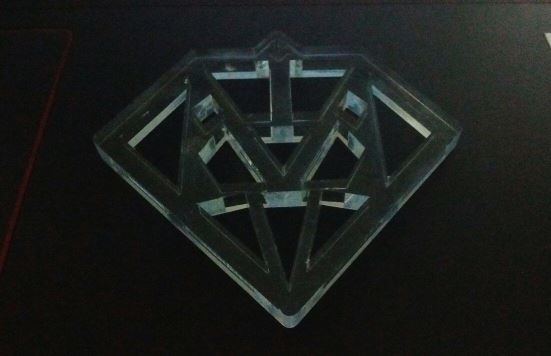
The next thing I wanted to try was metal casting. We had a low melting point metal Bismuth in our lab. So I thought to use it this time.I planned to cast a metallic pendant. I designed it in SolidWorks.The idea was to laser cut this in a 6mm acrylic and then use the InstaMold to make the mold for casting.

Download the design files here.
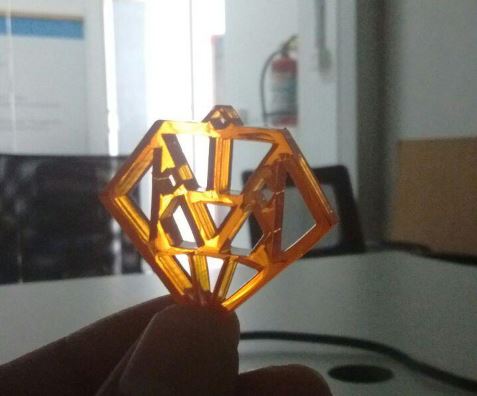
It seemed a bit smaller for metal casting so scaled it up to a factor 2
For making the mold mix Instamold with required amount of warm water then let it set for 10 min and insert the pattern to it to make its impression.I used a cut out section of glass container to make the mold container and glues it to a thin plywood sheet.

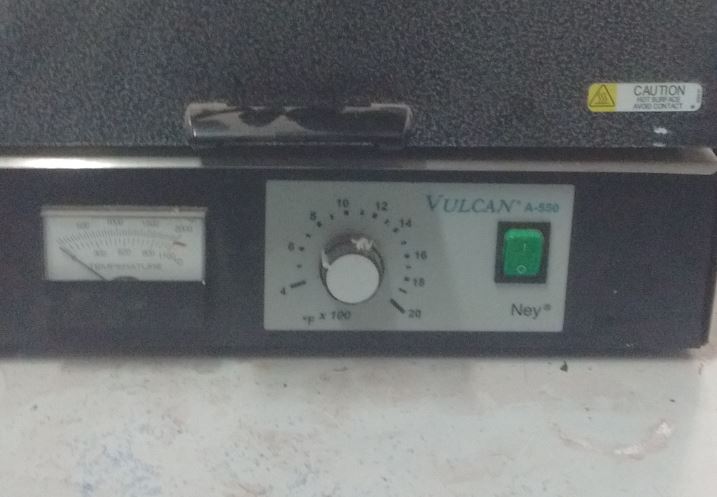
Casting Bismuth
We use a Bismuth alloy in our lab which has a very low melting point.
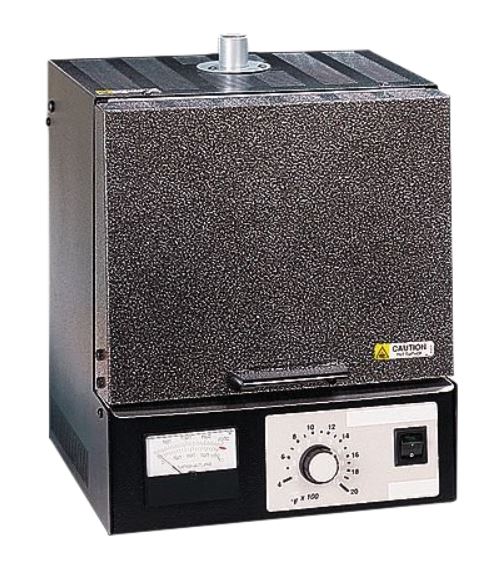
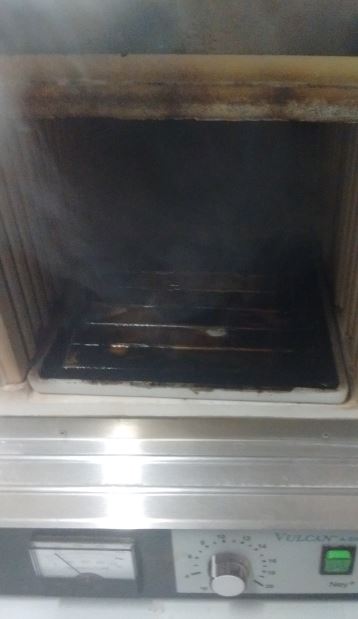
It was heated upto 400 degree celcius in our vulcan furnace
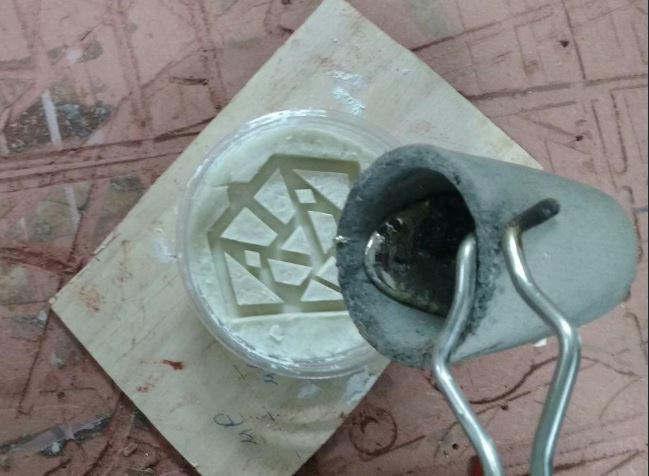
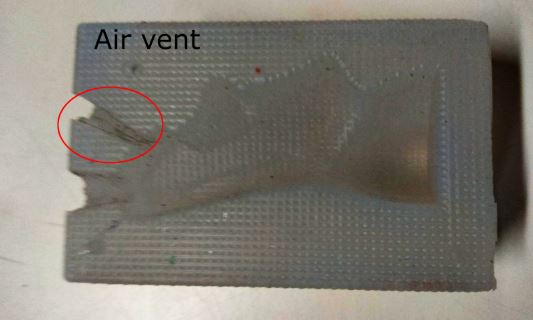
Pouring molten metal into the mold was not very easy compared to the previous process.The molten metal won't flow easily to the small gaps and metal solidify very fast compared to the plastic compounds.It seems like Instamold is not suitable for metal casting since they have some amount of water content in it and the molten metal release vapors and this may cause more hole in your cast.
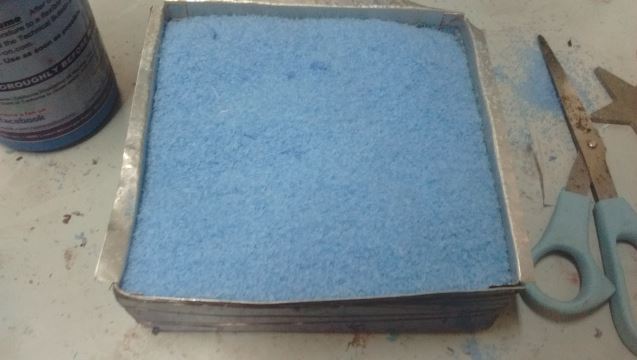
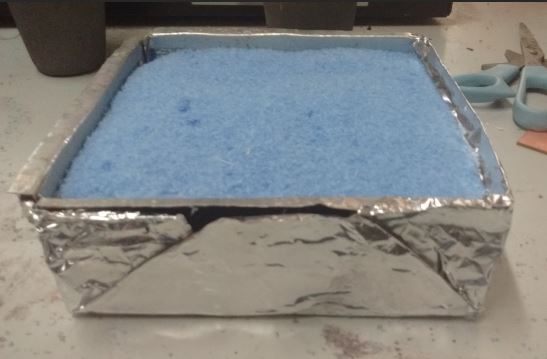
Recycling
We had many wax waste in our lab after all those millings. I thought to recycle them and to form a wax block out of it. I referred this documentation for the same.
After about 1hr dark fumes started coming out from the furnace and I had to open it. When I opened the furnace I saw the wax burned and it turned to a black color and it flowed outside the box. It smoked the entire lab and I had to stop the entire process.
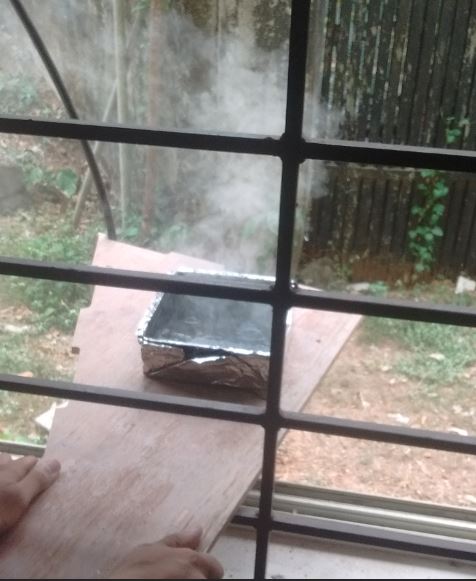
I guess I should have used much lesser temperature and time . It seemed like the whole wax burned and caused the trouble.
Group Assignment
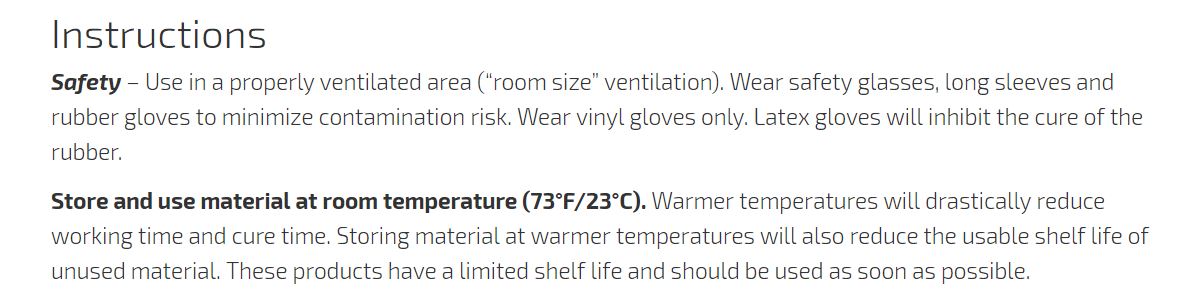
This weeks group assignment was to review the safety data sheet of each of the components that we are using this week.
SORTA-Clear
I started with Smooth-On SORTA-clear Silicone rubber. SORTA-Clear™ Series rubbers are premium water white translucent silicone rubbers (platinum catalyst) which cure at room temperature with negligible shrinkage.Here is the safety data sheet from the company website
It has a mixing ratio of 1A:1B by volume .
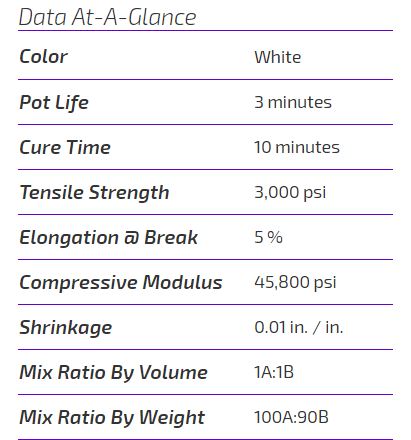
Smooth Cast
The Smooth-Cast® 300 Series of liquid plastics are ultra-low viscosity casting resins that yield castings that are bright white and virtually bubble free. Vacuum degassing is not necessary. They offer the convenience of a 1A:1B by volume or 100A:90B by weight mix ratio.
Download its safety data sheet from here.

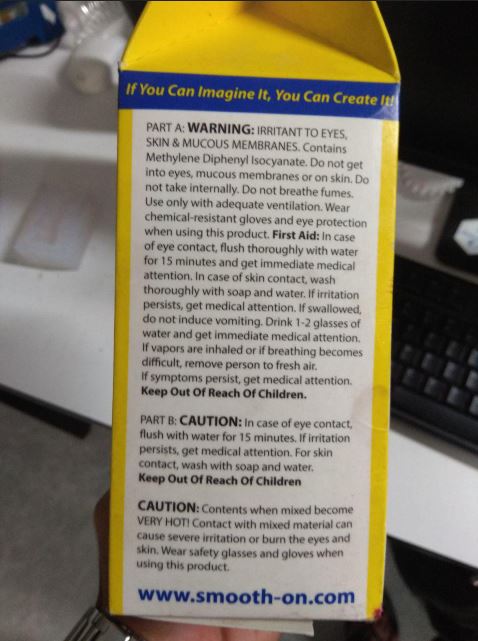
Epoxy resin
Epoxy Resins are thermosetting resins, which cure by internally generated heat. Epoxy systemsconsist of two parts, resin and hardener. When mixed together, the resin and hardener activate,causing a chemical reaction, which cures (hardens) the material.(source :- https://www.chemzest.com/high-gloss-and-transparent-epoxy-resin/)
In our lab we use a locally baught resin it has a mixing ratio of 100A:60B and setting time is about 2hrs
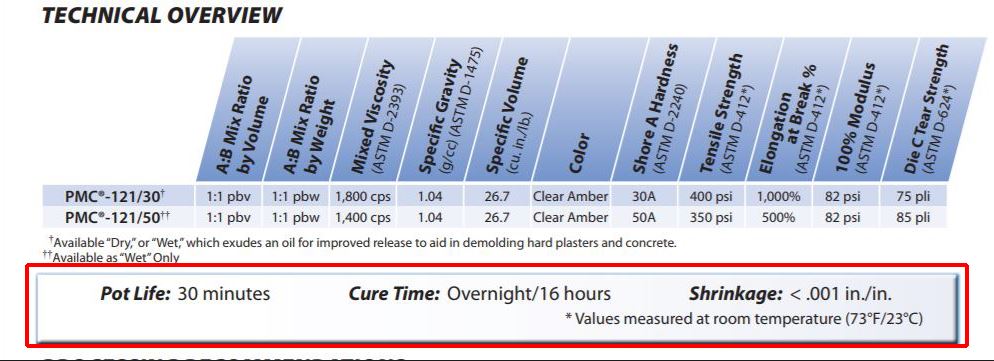
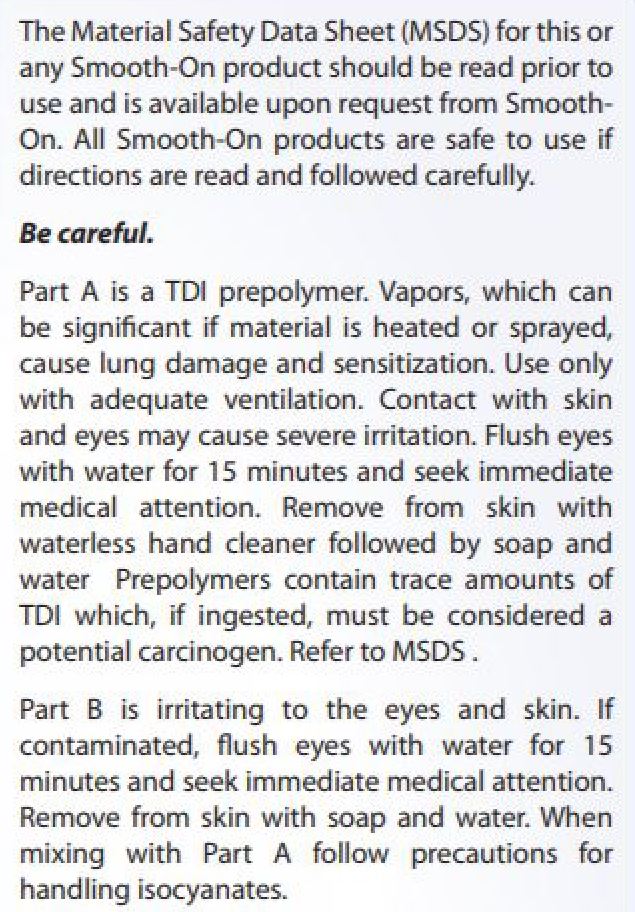
PMC 121/30 Liquid Rubber
The PMC®-121 Series urethane rubbers feature convenient one-to-one by volume mix ratios. PMC®-121/30 Wet is exceptionally strong and abrasion resistant for soft urethane mold rubbers.
You can download the Safety data sheet here.