
Week Seventeen
Assignment
What I did
Introduction
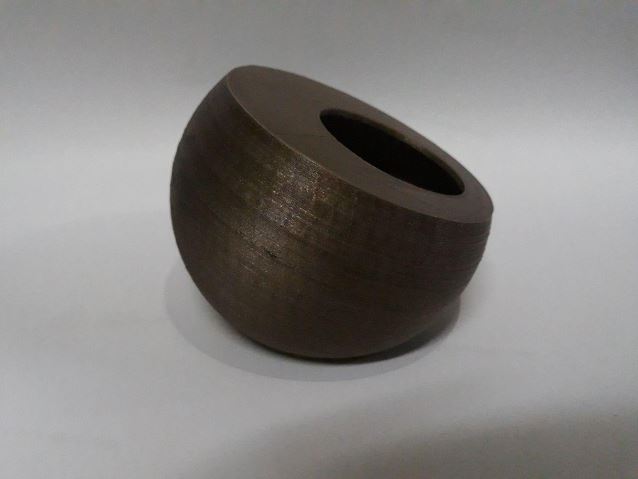
This week I'll be trying composites. I am already making a speaker for my final project and I've bought a a few speakers for the same. So I'll be making a simple speaker this time and check its audio quality . I'll be using an amplifier that is already lying around in our lab. The case of the speaker will be made out from the composites. As I am going for a pebble like design I'll be using 3D printing to make the case first and then reproducing them using layers of linen and fibreglass.
Basics
Composites are made by layering up different materials which in turn will produce a much stronger material than the original material.
I'll be using epoxy resin to combine the layers to form a stronger but lighter composite shell for my speaker.
Design
I started designing in solidworks. I really liked the design of creative pebble speaker. So I thought to design something like it.
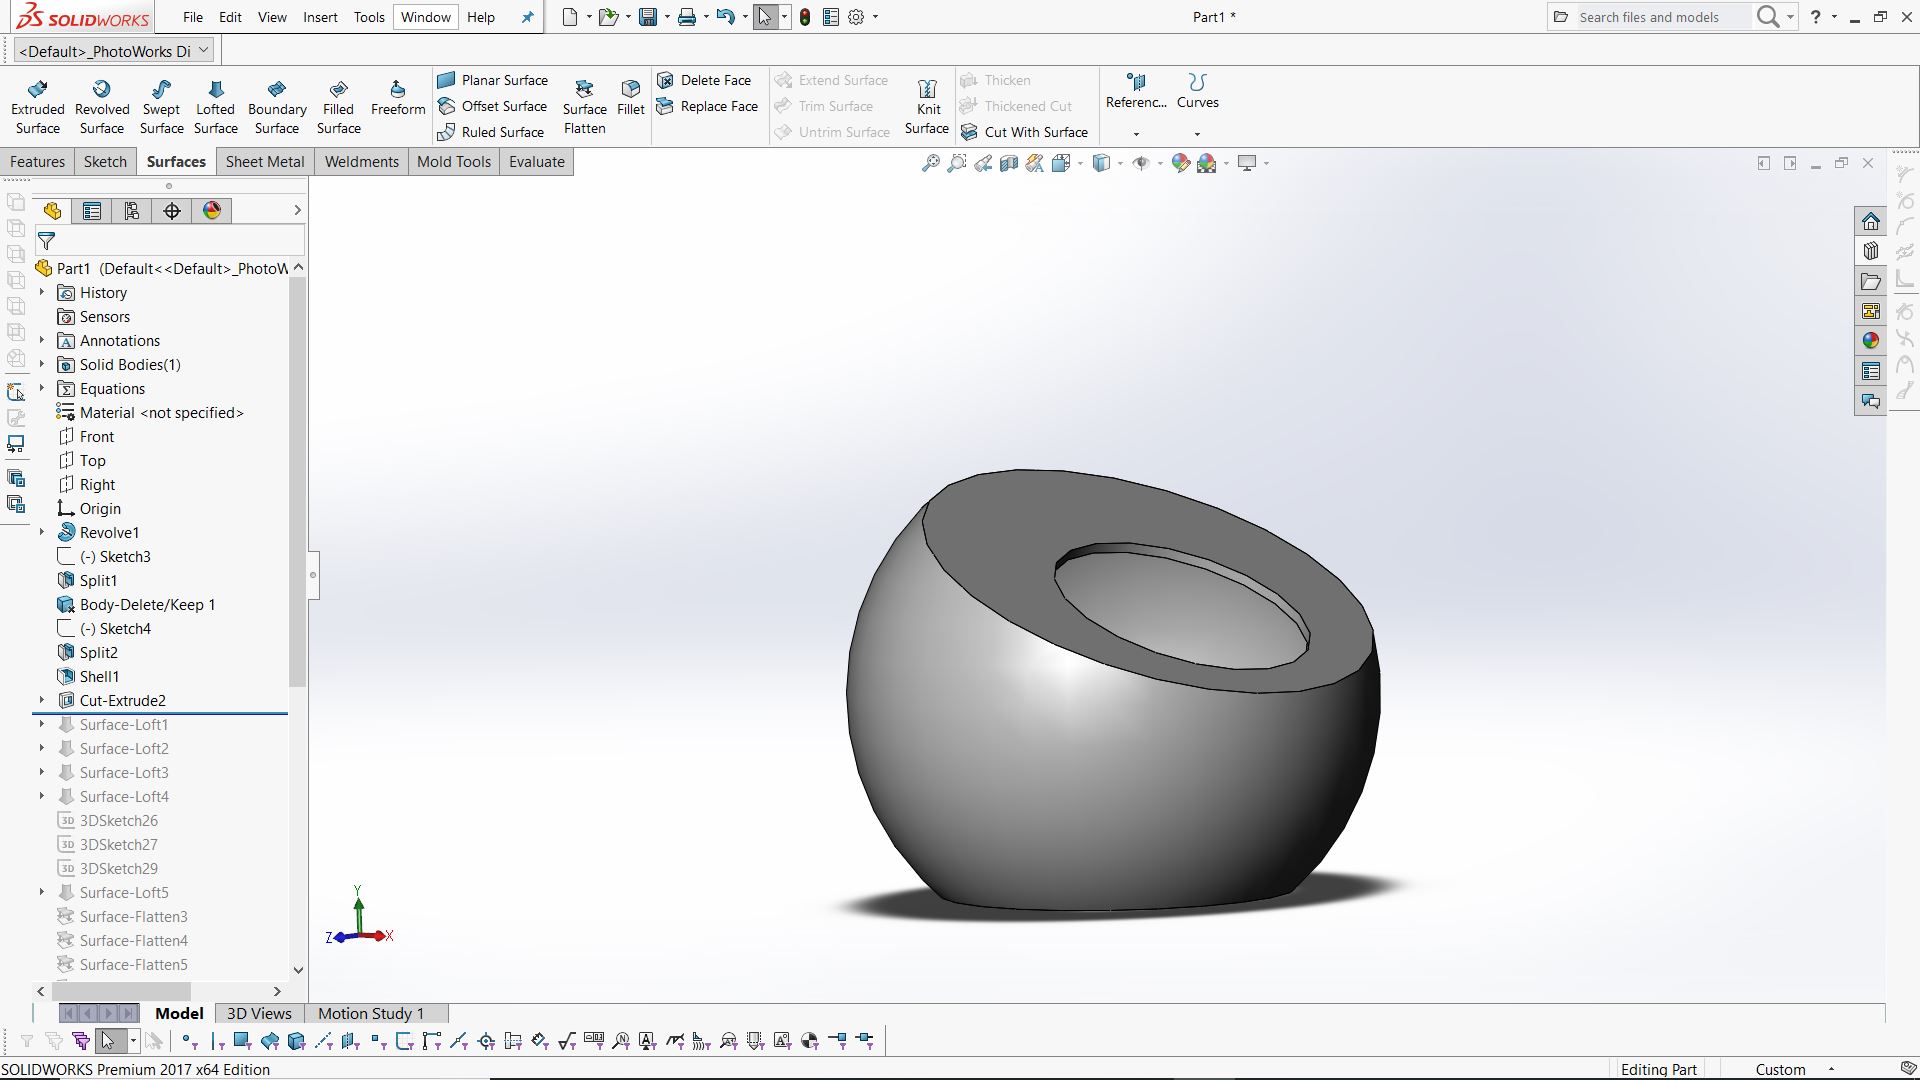
Download the design files from here.
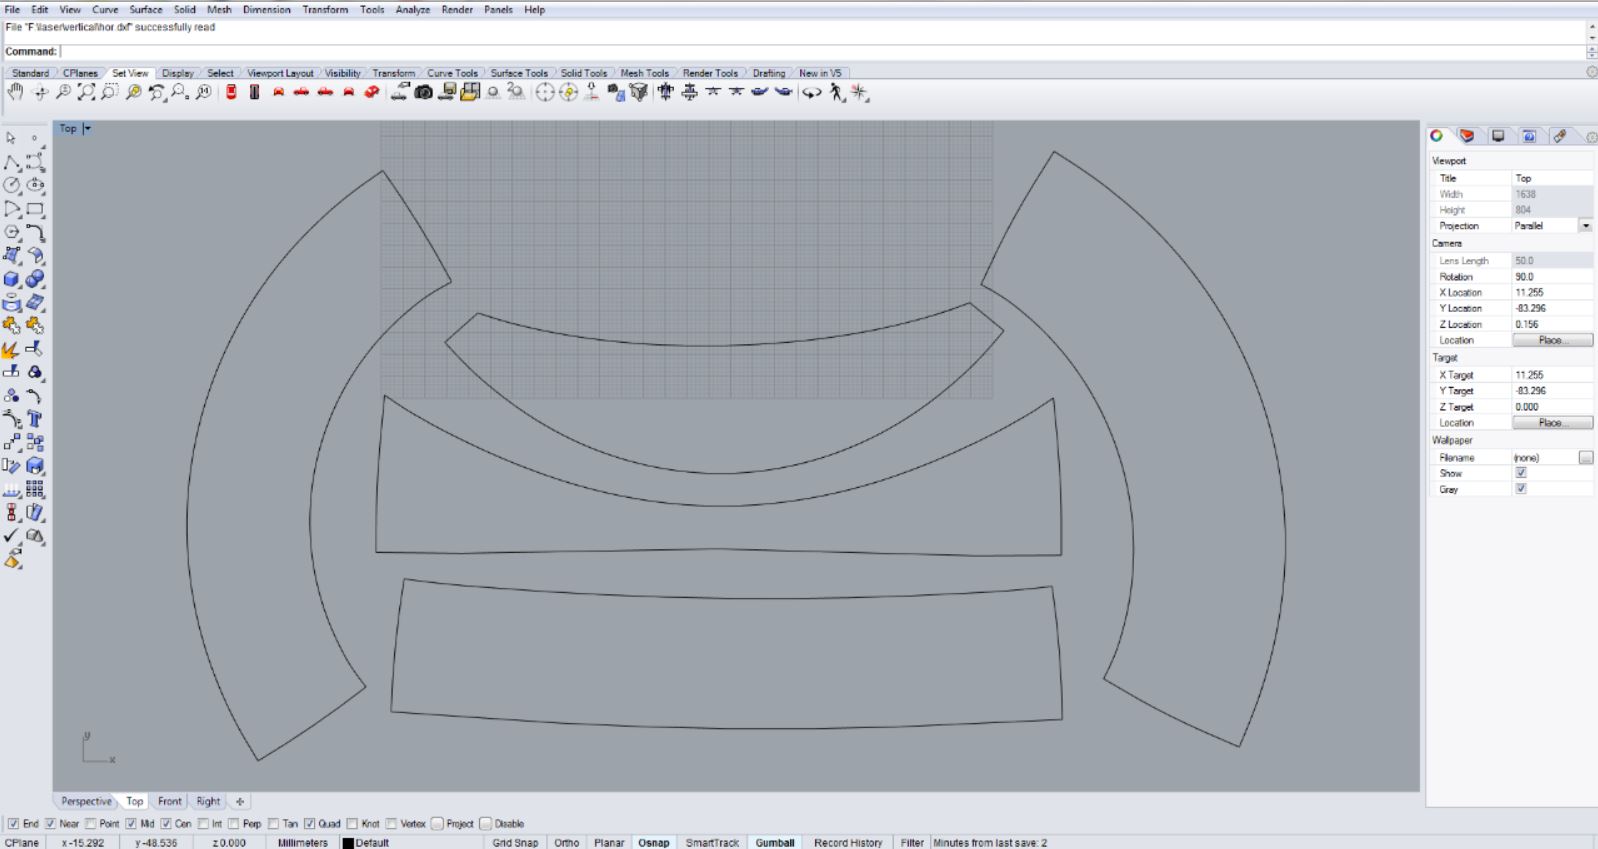
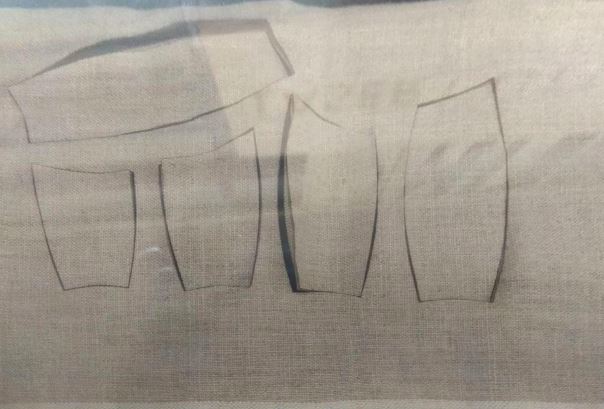
I then divided the curved body into different horizontal and vertical strips. I then flattened this surface and exported it as a dxf file so that I can laser cut them. Doing so I can get a much cleaner and better finish for my layers.Each individual files were arranged in rhino to a single file for laser cutting.
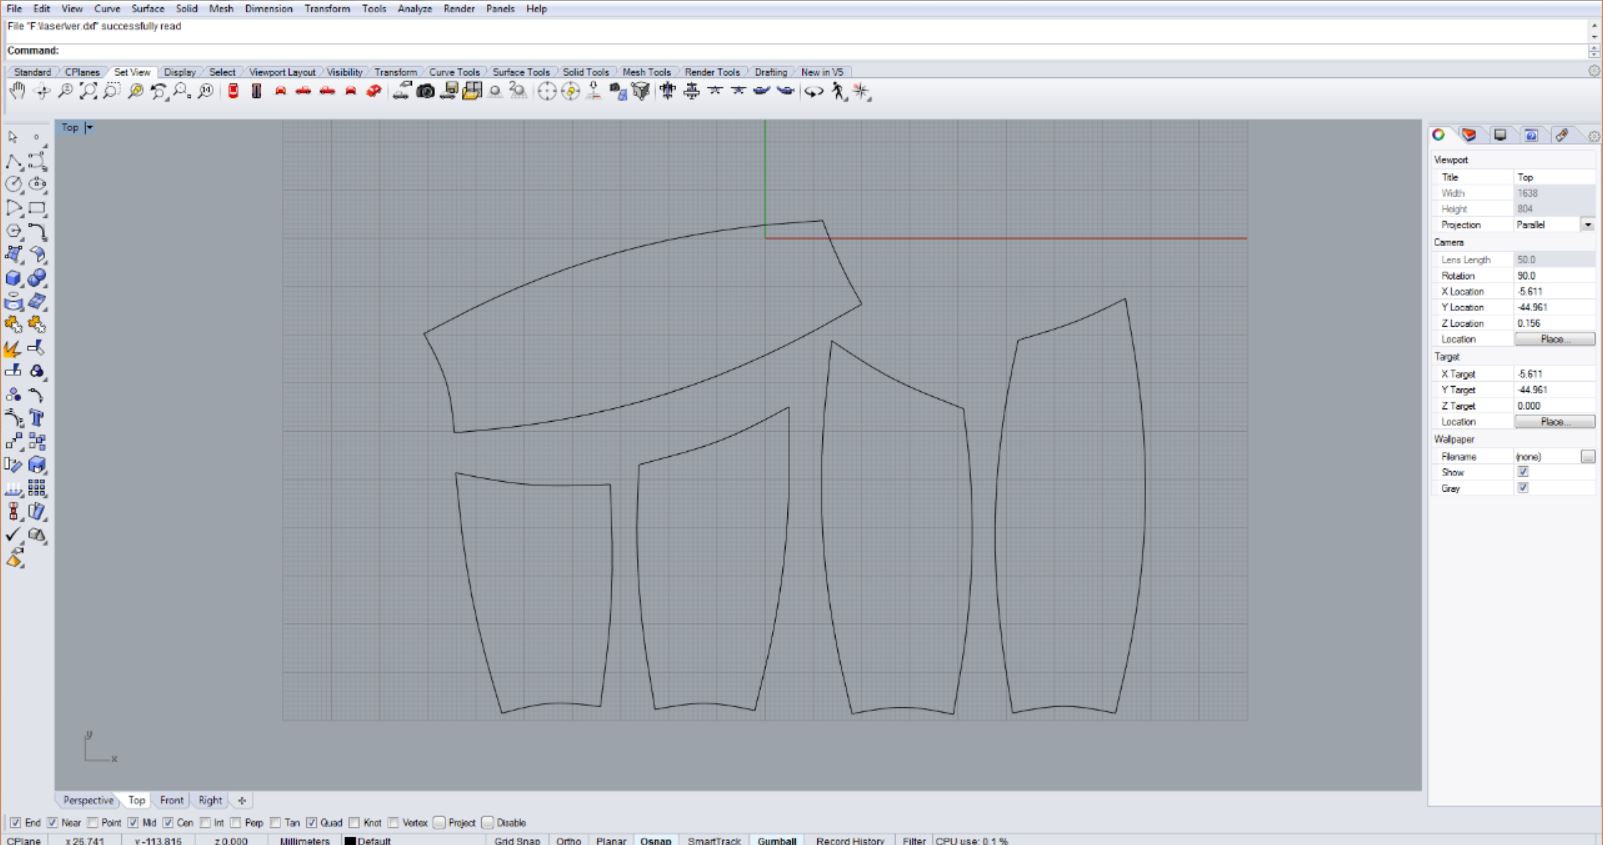
Download the design files for vertical strips here.
Download the design files for horizontal strips here.
Fabricating components
I 3d printed the designed shell in ultimaker 2 with a very low shell thickness since it's used as a pattern for laying the composite layers.
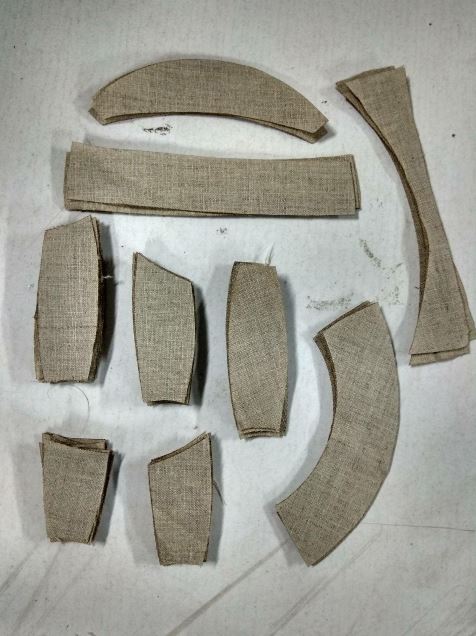
The composite layers were laser cut. I used very default settings for cutting paper it came out pretty good. The power was 80, velocity 1.8 and frequency 6000 was the settings I used.
Preparing resin
In our lab we have Easy Cast epoxy-33 resin which have a mixing ratio of 1A:.5B and the curing time is about 24 hrs.
Making the composites
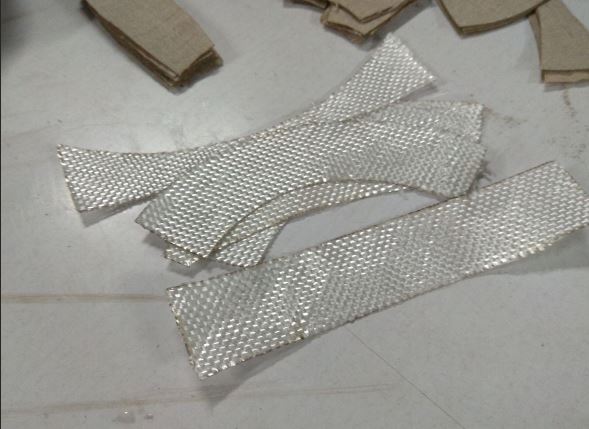
I'll be using 3 layers of linen followed by a layer of horizontal fibreglass strip and then finish it off with a layer of vertical linen strip.
Mixed epoxy resin is applied carefully while placing each strips using hand and foam brushes.
I haven't used any releasing agent since I am not removing the pattern after the composites are made.
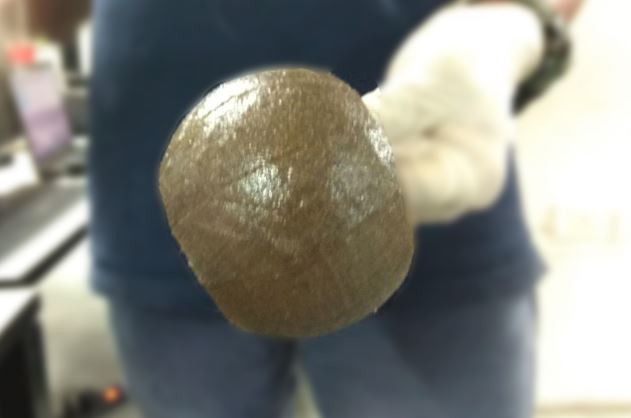
I layered up all the strips in the similar way and now it was time to leave the resin to harden and form the composite.A vaccuming process it done to remove the excess resin and form a better shaped composite.
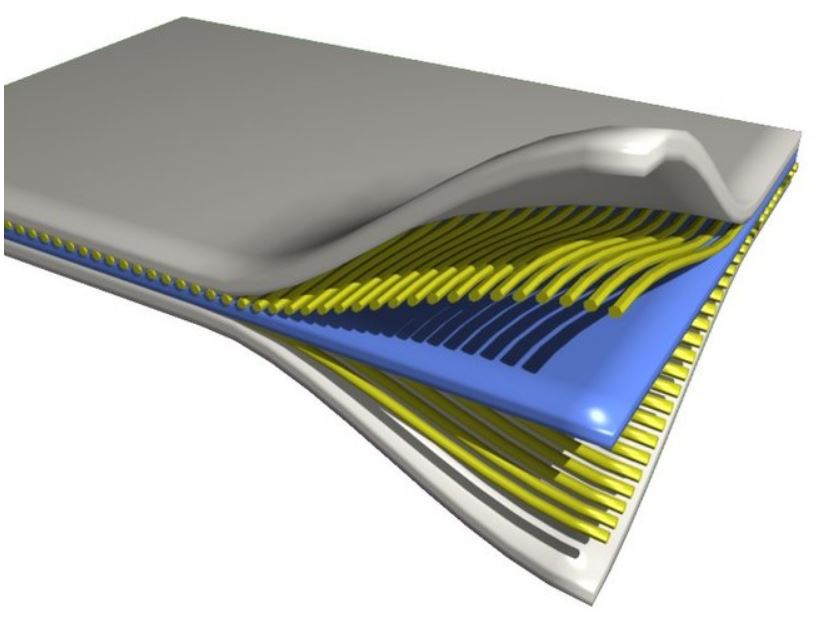
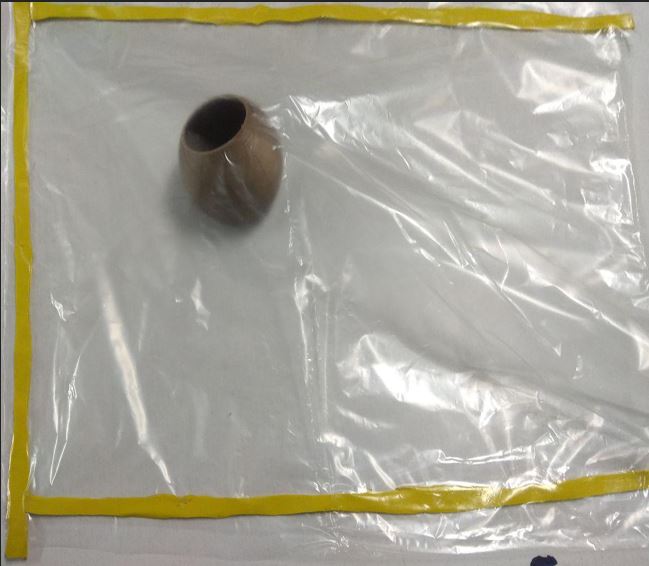
Preparing the vacuum bag and vacuuming.
The figure below gives an idea about vaccum bagging. Bagging filim and sealent tape is used to create the vaccum bag. A preforated releasing filim is placed above the composite layer and then a breathing layer is placed above it which will absorb the excess resin during the vacuuming process.
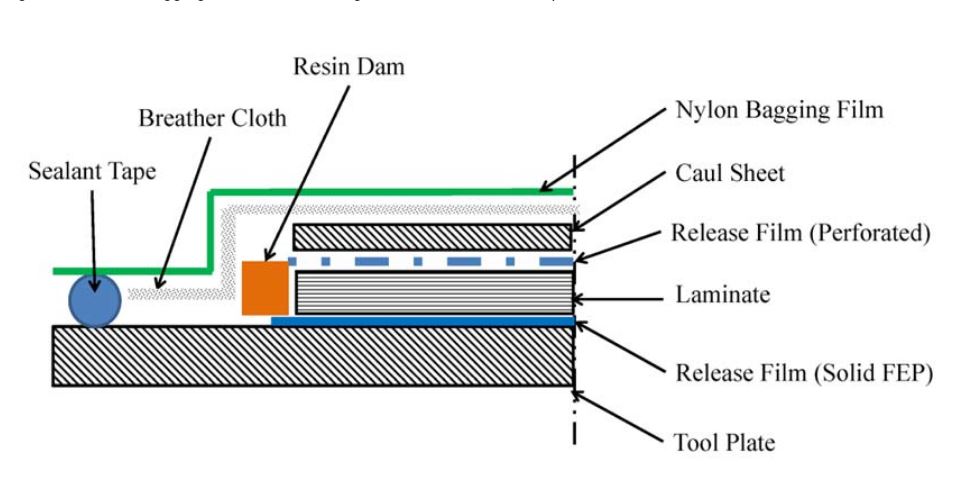
Make sure your breathing cloth reaches the tip of your vaccum nozzle to ensure perfect vaccuming.
Finishing the product
As a finishing touch I added a laser cut acryllic sheet on to the top and added the speakers and other components.
Download the laser cut files here.

Problems and Troubleshooting
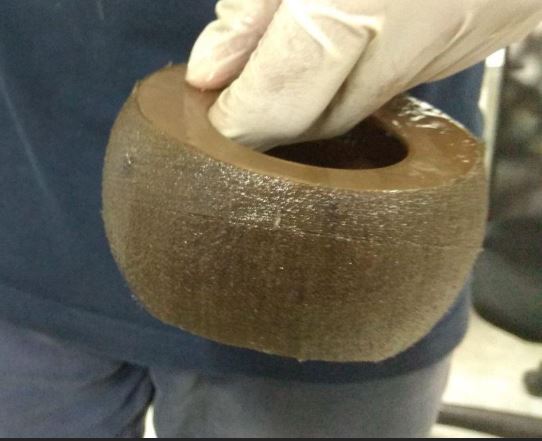
The main problem I faced while making the composites are perfectly laying the fabric strips in layers.Since I have used the exact dimension of the surface all the strips fixed perfectly in the first layer. But as the no.of layers gradually increased the surface area also increased there by casing small gaps between the adjacent strips. You can clearly see a huge gap occured between adjacent strips in the final vertical layers. I could've tackled this situation if I've carefully designed the strips and added an extra offset to the outer layers considering the increase in surface area.
