Week 5: 3D Scanning & printing
For scanning, we used the scanner of 3DiTALY my company, model Sense.
With Sense 3D scanner you can capture large and small objects, people and situations. Sense has the scanning beam wider in its class with auto optimization for small and large objects, from the book to the motorcycle, by a head in a whole body or environment up to 3 meters in height and width. Self-recognition of objects extrapolates the object required even more confused by the contexts, just by scanning the object of interest. The portability of Sense allowed me to do a scan in perfect freedom. The supplied software, Cubify Sculpt, joined and assembled scanning and editing of STL files. The seamless integration between Sense 3d scanner and Cubify Scuplt gives freedom to import your scan and match them with other objects. After i saved and opened the file with Netfabb. This is software to easy corrected the solid mesh. After scanning is essential to close the solid watertigh beacause frequently you don't reach to scan every point of the surface, so the scan has some holes. (file antonio ply)
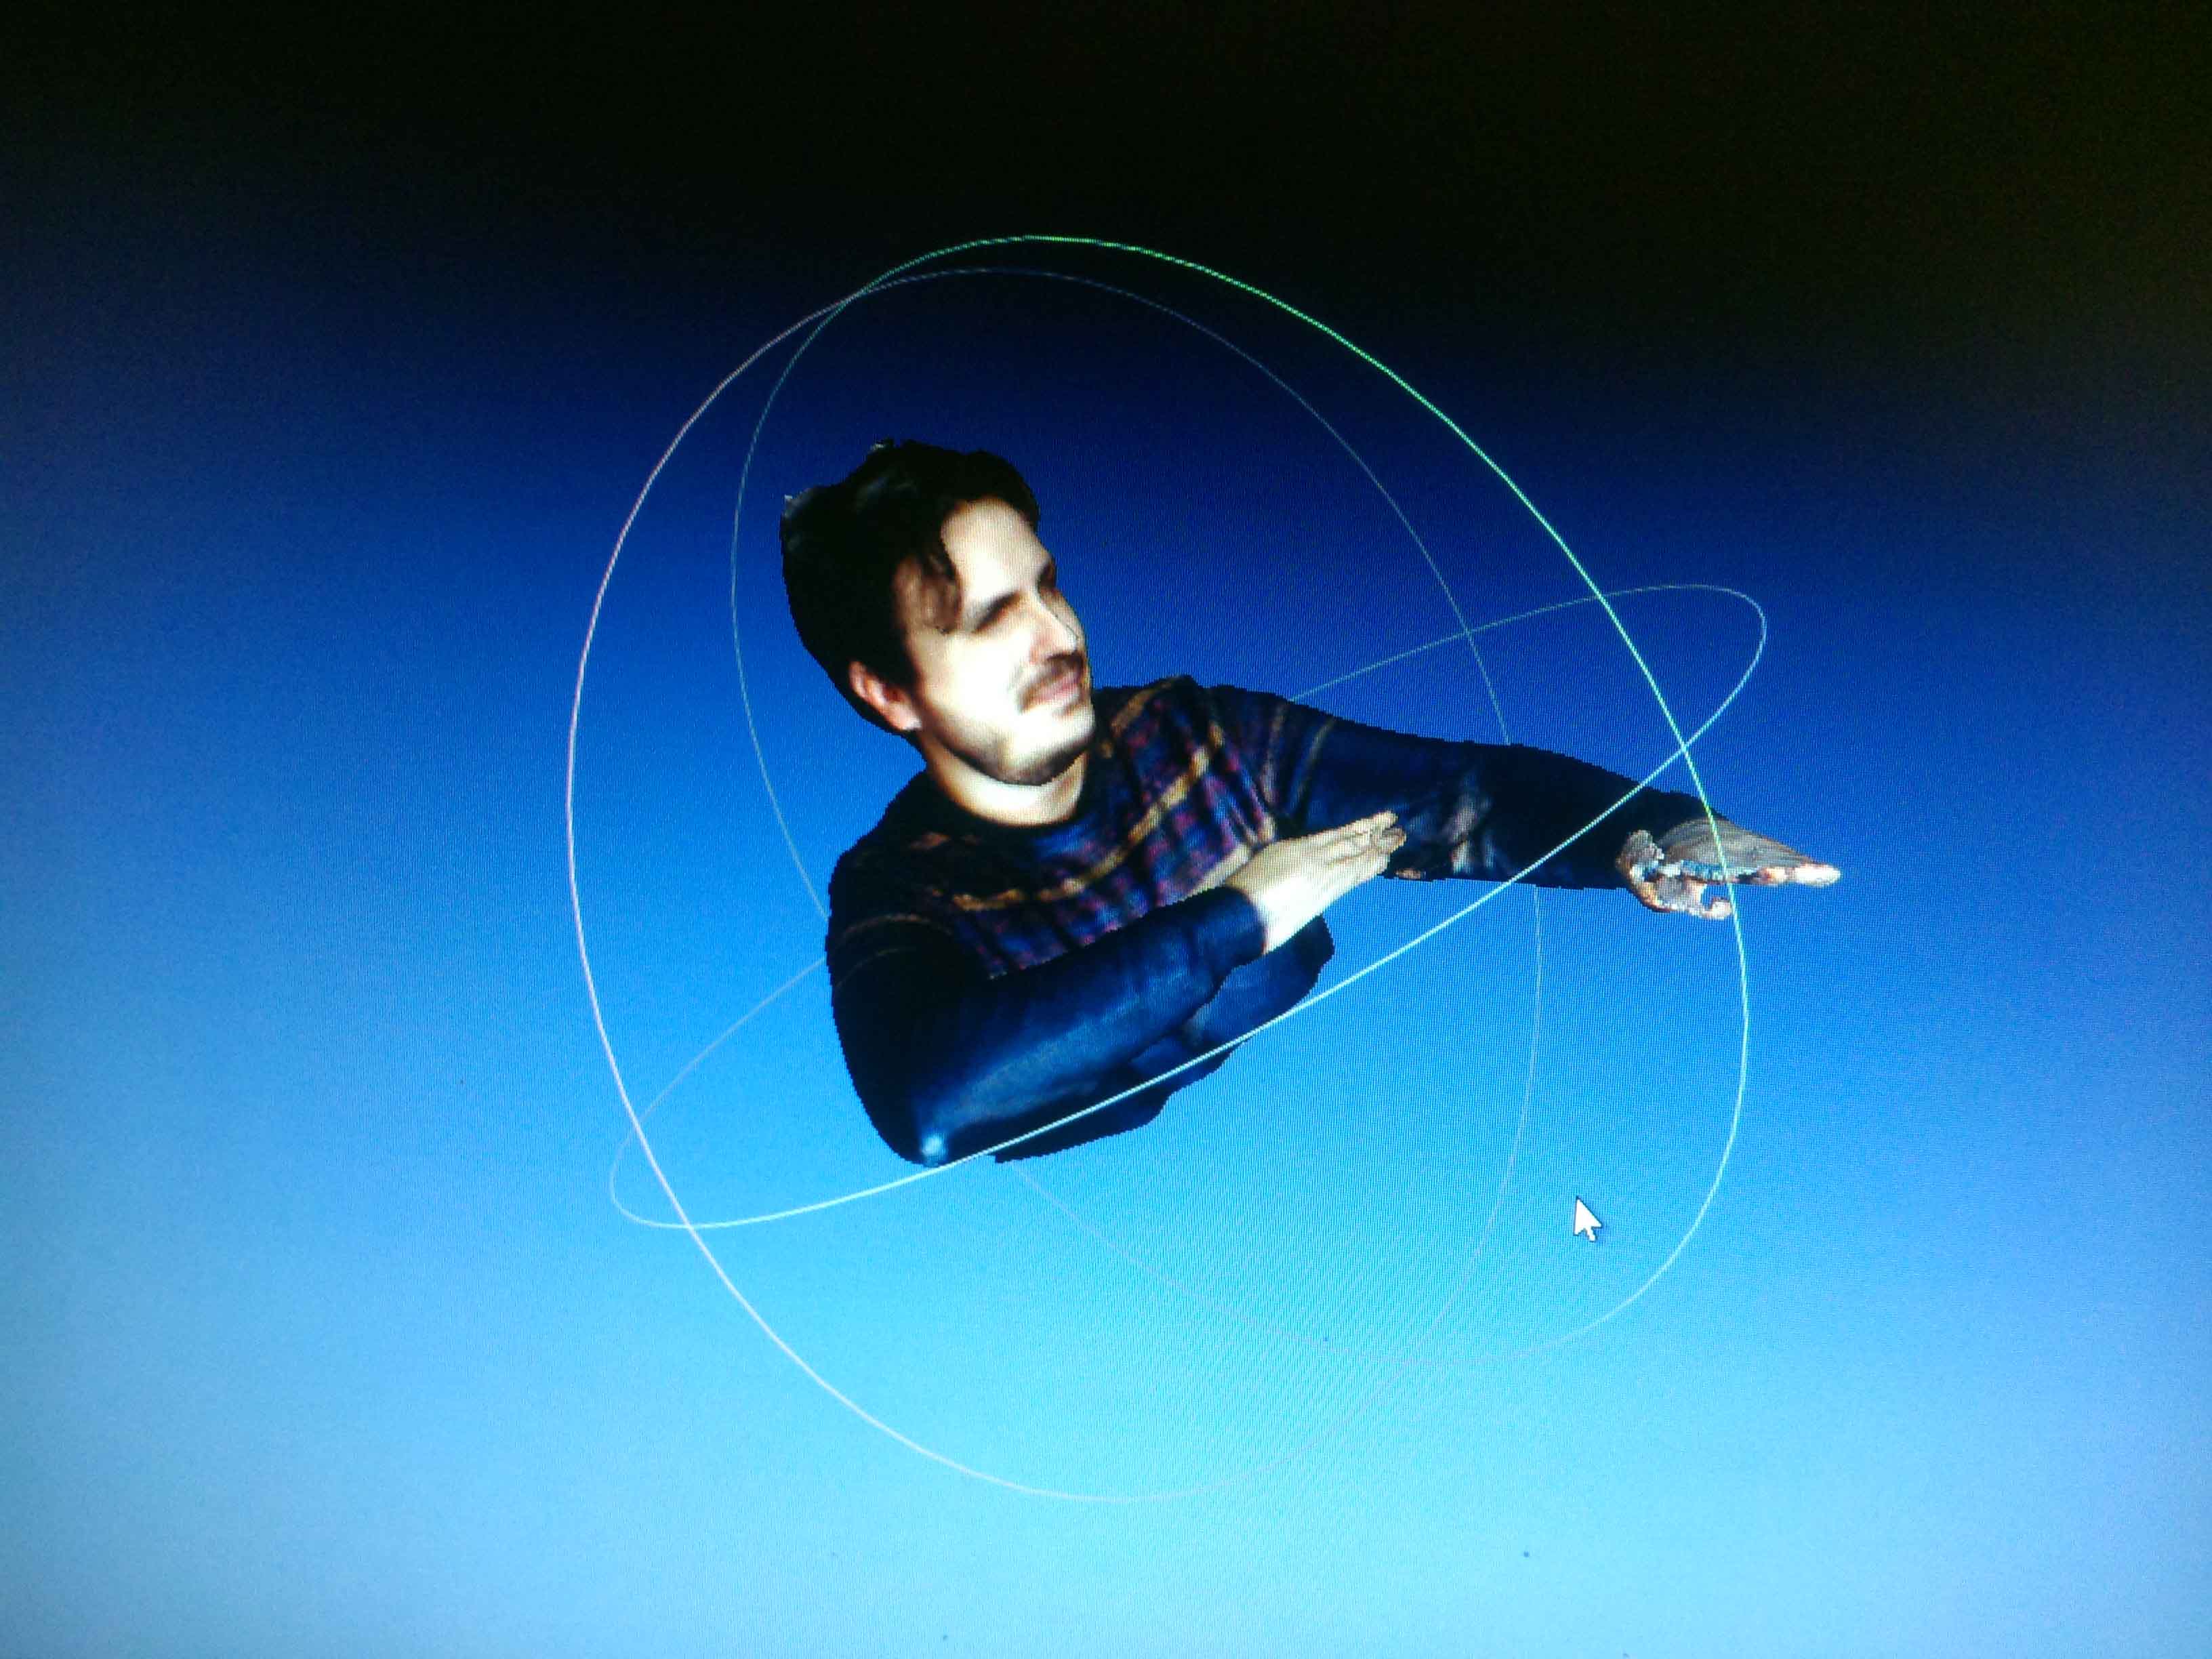
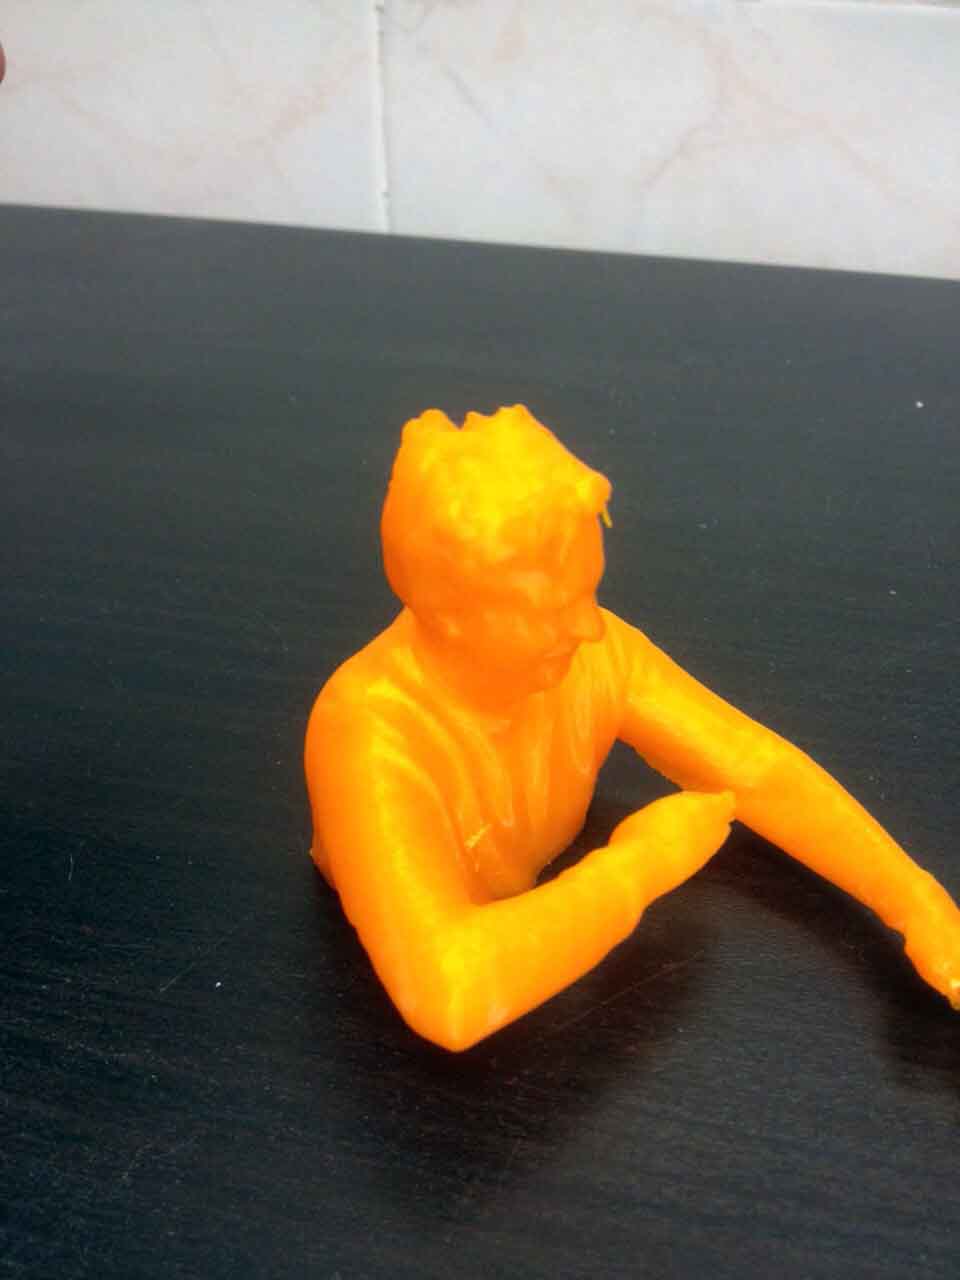
After the mesh correction i made, with the texture on it and the scan of myself.
The scans are processed in seconds and can be increased or reduced in size and made printable in a few minutes.
My pose wants to be aggressive...
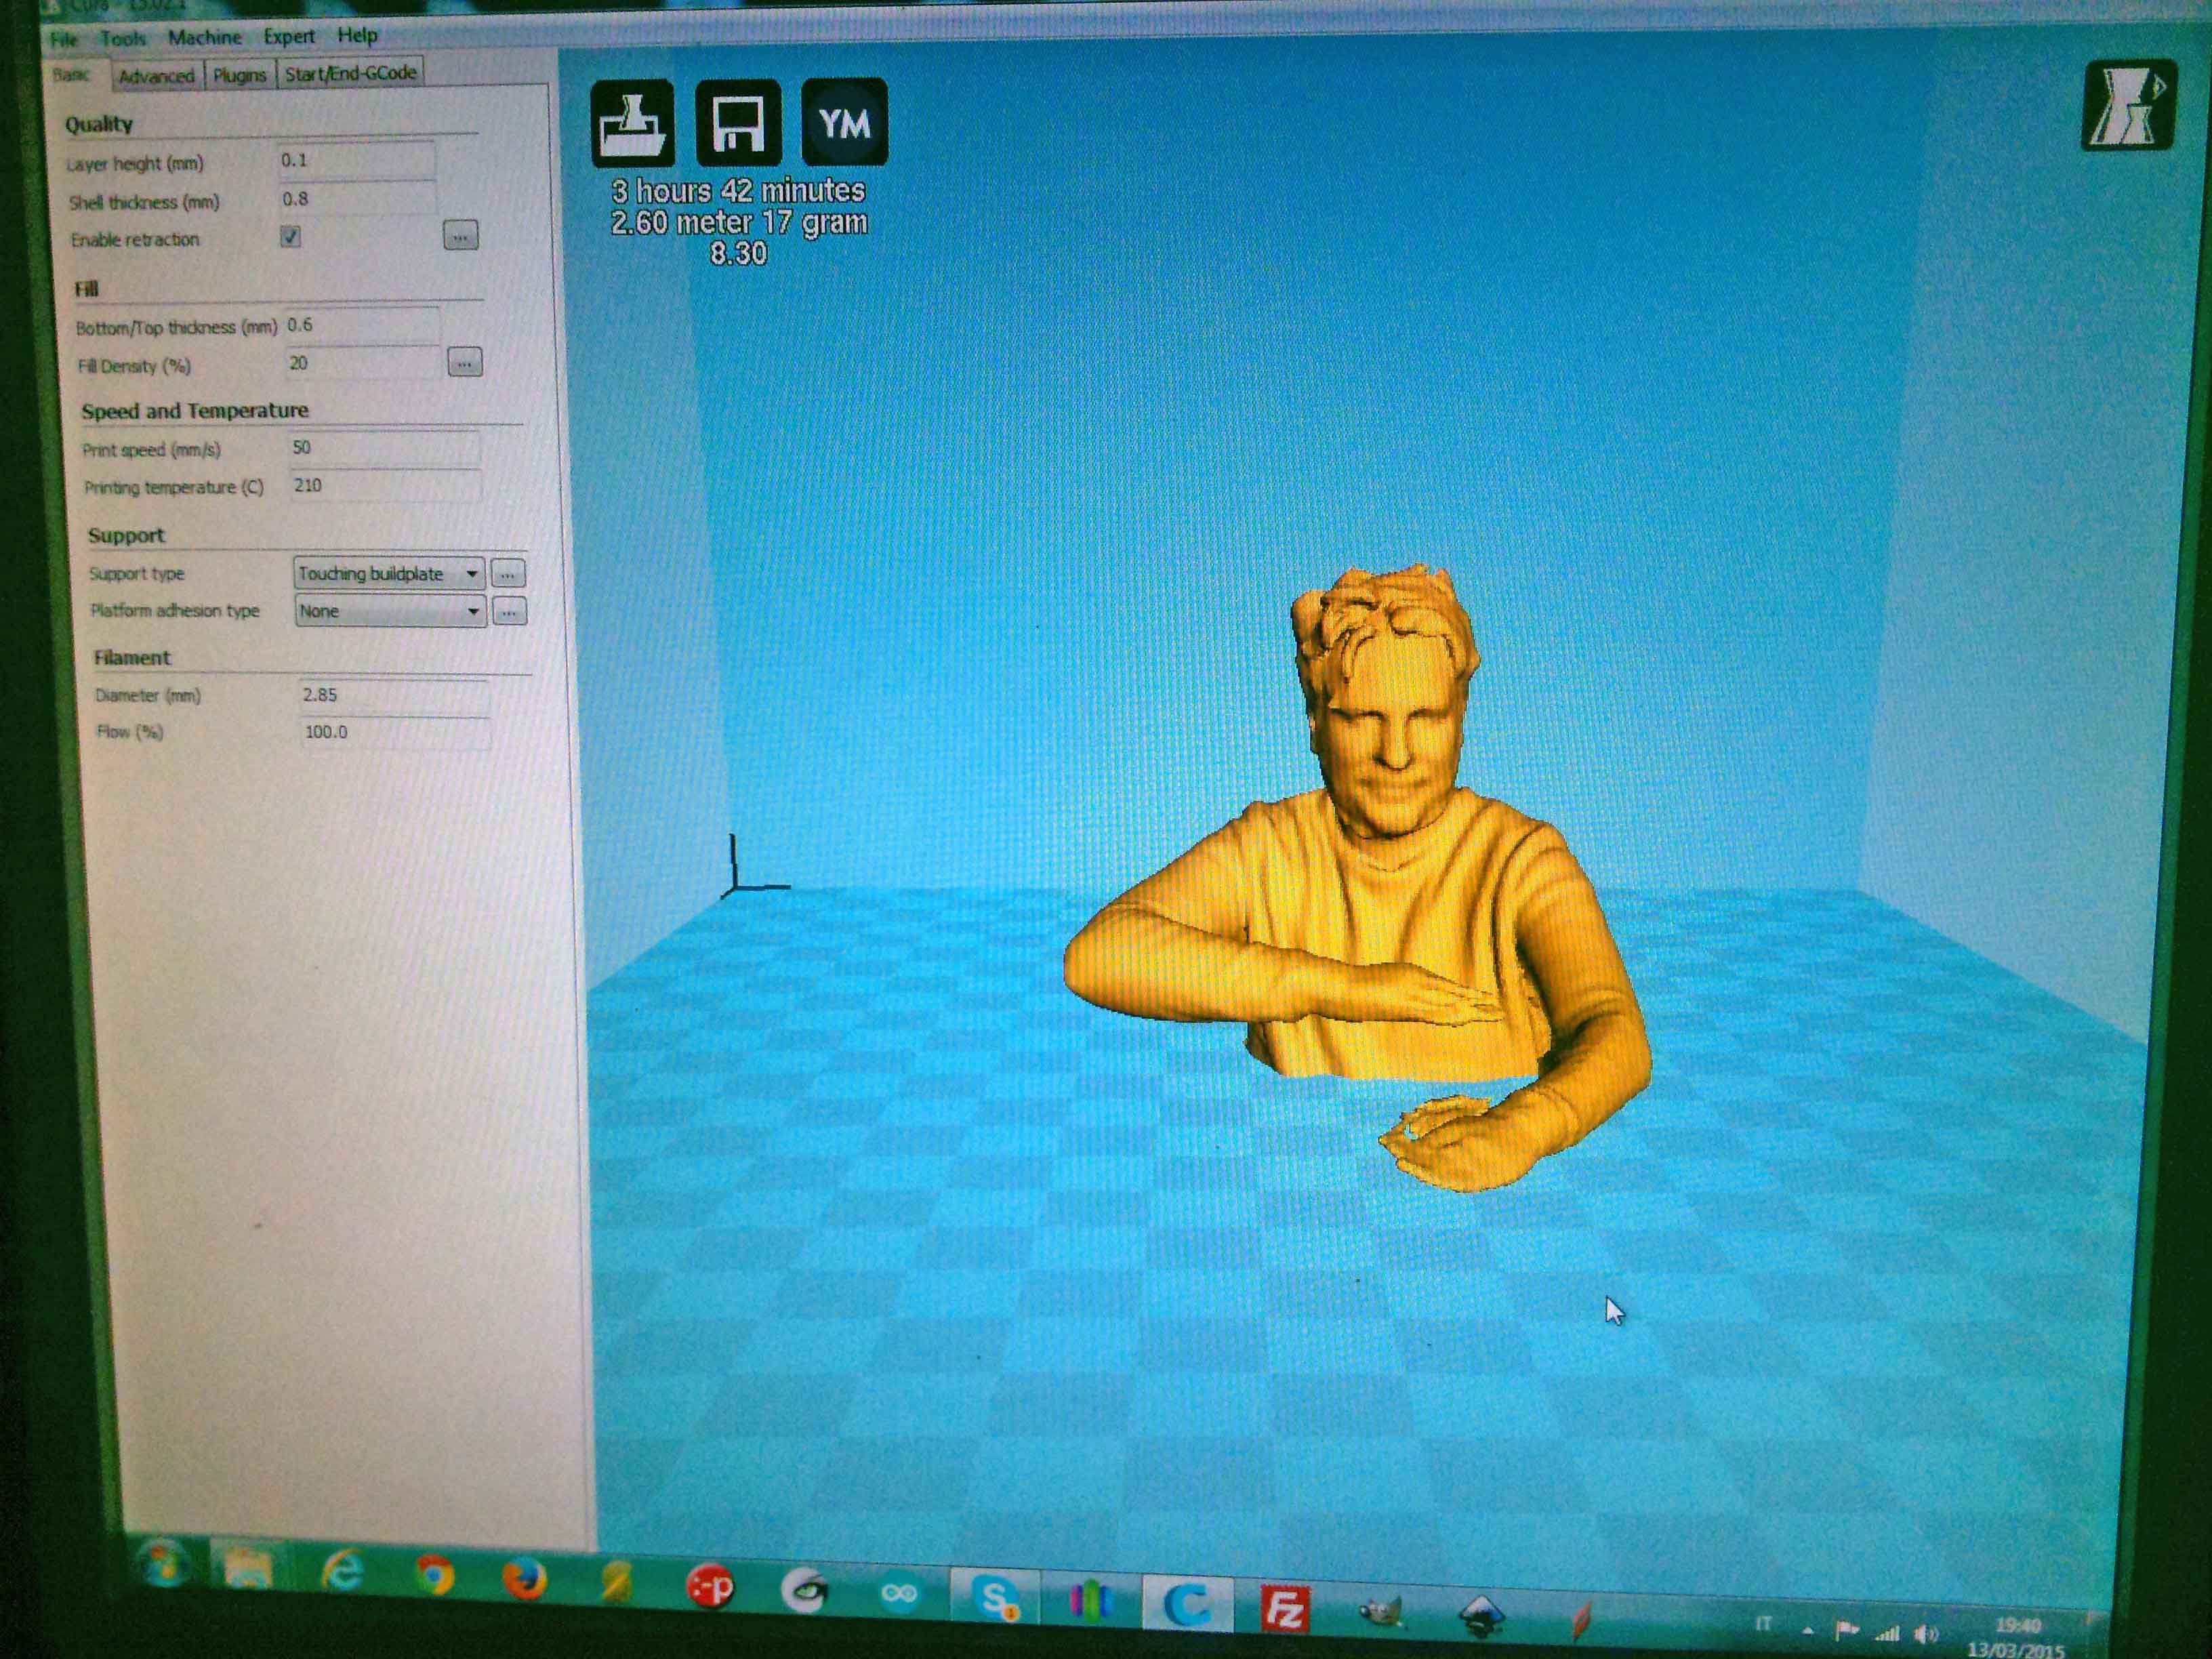
For printing of my scan i used a 3D printer model Delta Wasp print size 20x40. Imported stl files in Cura, slicer software.
It 'was hard to stay in posing with arms like that, but i did it to show how good we are and with fast scanning ;)
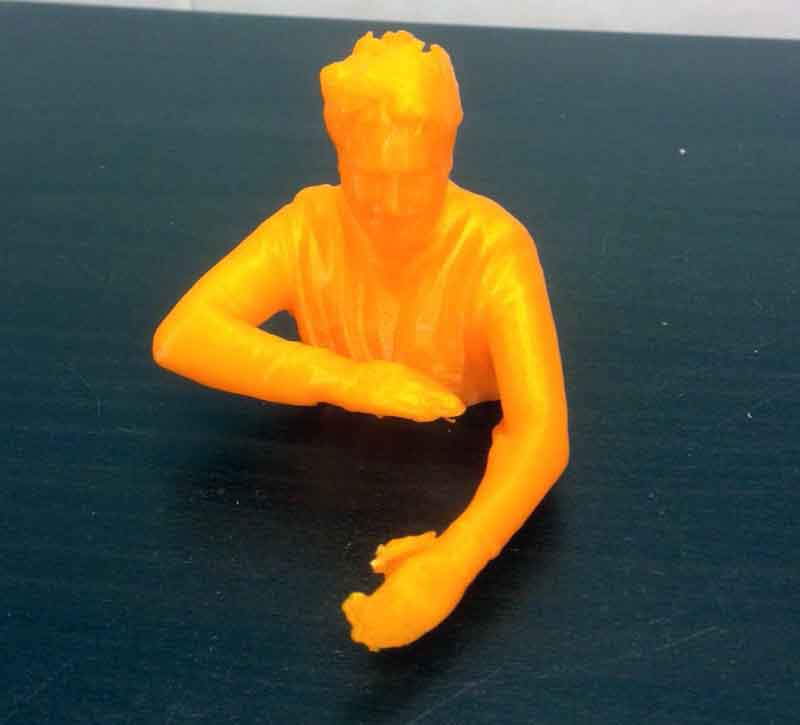
I cleaned the imperfections with the software Netfab. Finally with the software Cura i export the file gcode, inputting all parameters such as media, speed 100 mm/s and temperature 180° for printing .I used PLA orange, the thickness of 2 mm and the fill at 40%. I tried to avoid many support, i raised it at the end.
In the following weeks I've used many times the 3d printer as a tool to accomplish part of my final project. In particular, I designed the keys to join the hexagons wood of my desk. I always used to carry out the program solidworks 3D key. With vector files shared (link: http://www.flexiblestream.org/Digital-Wood-Joints-001.php) that I used to design my keys are managed through the extrusion tool with solidwors to give a thickness of 2 cm.
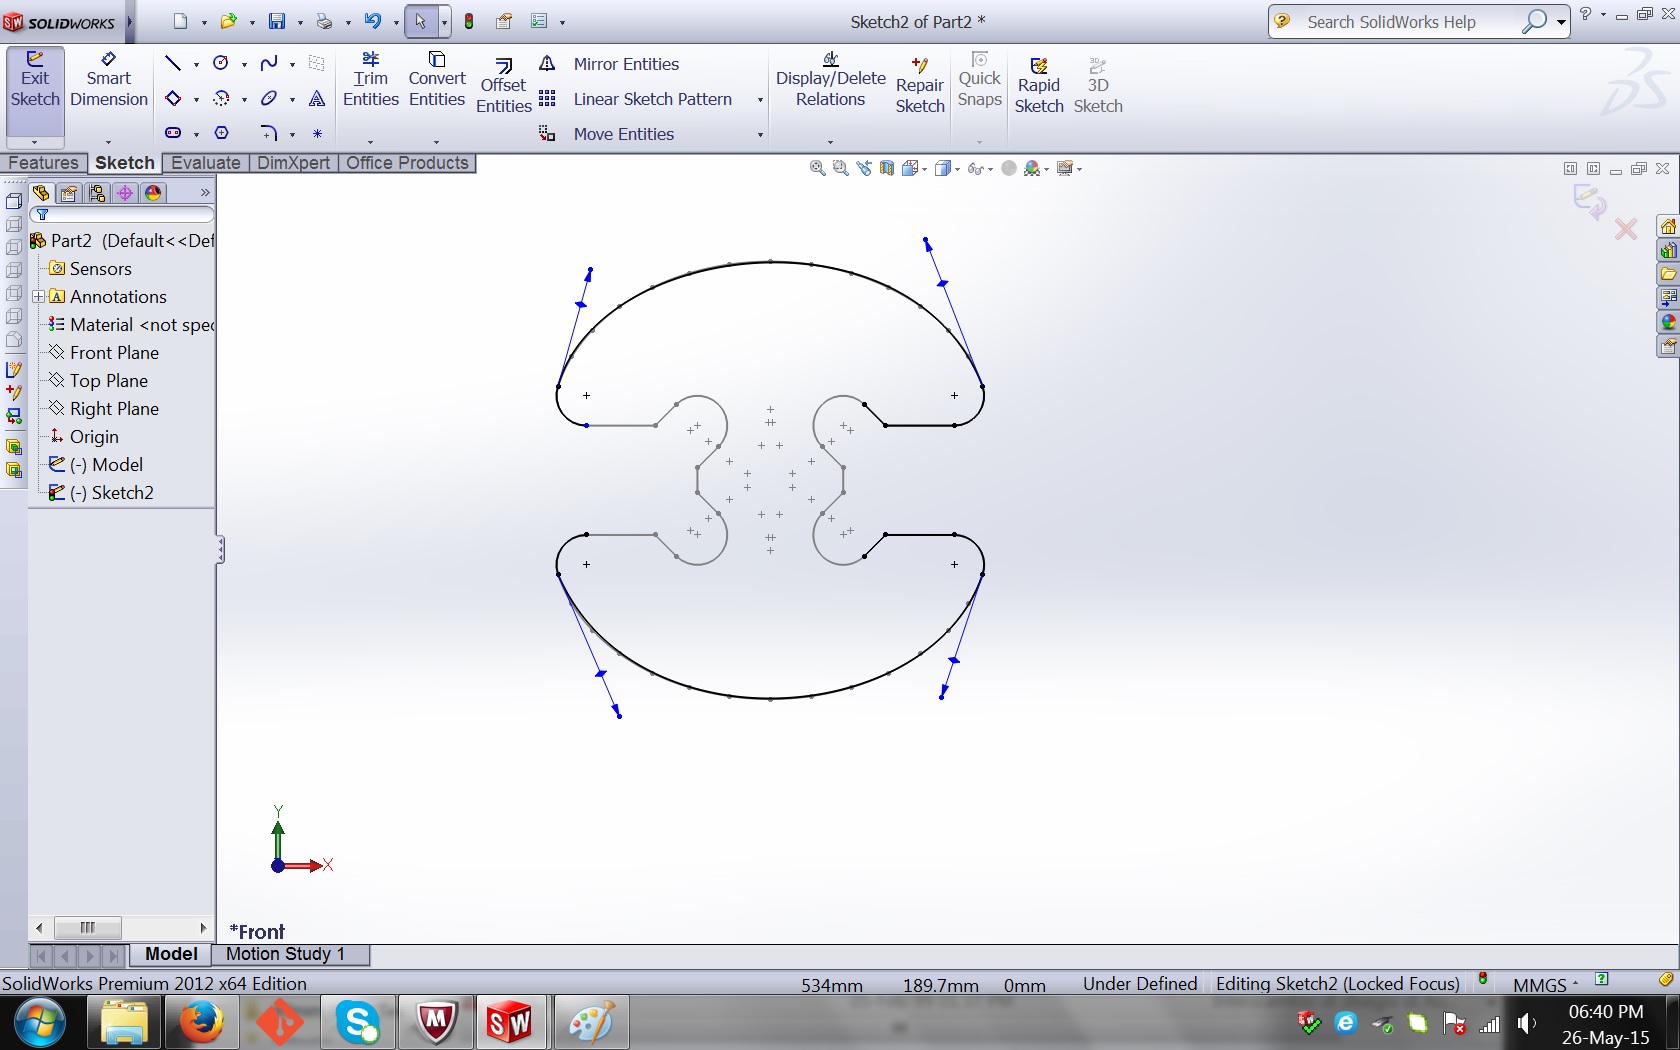
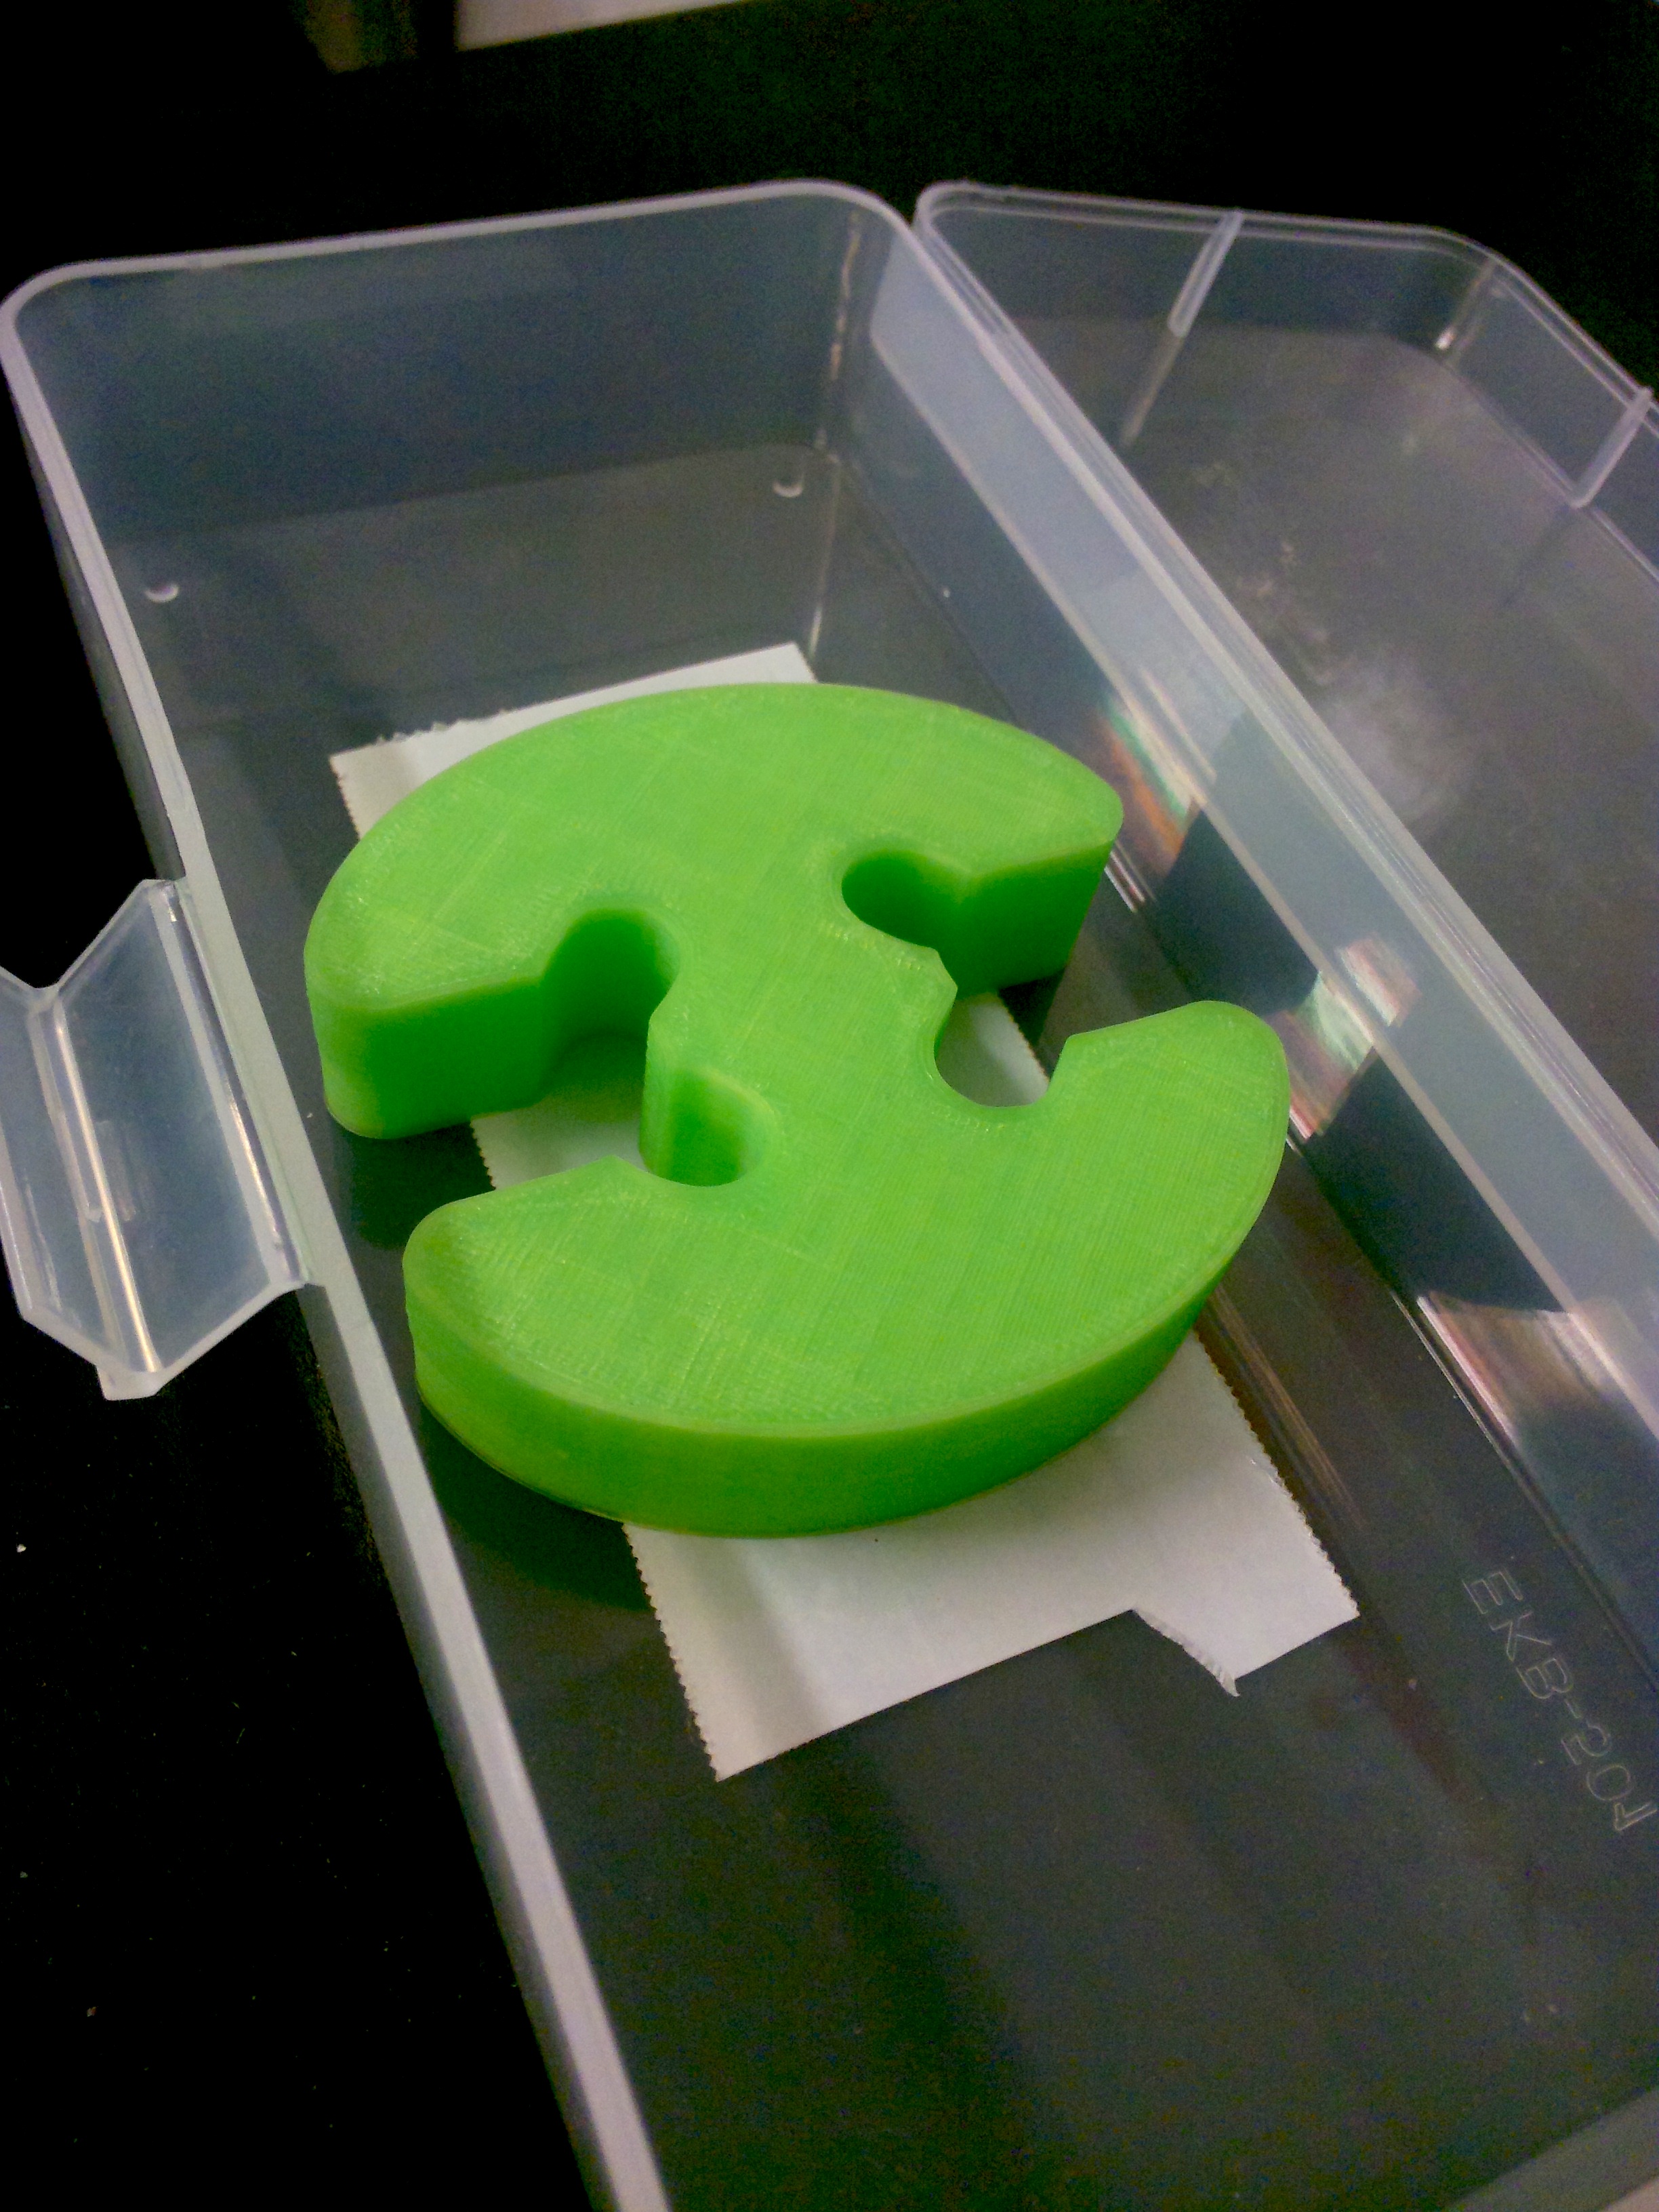
I then exported the file in STL format and through the conversion program Cura I realized Gcode print key PLA green. In this case both the walls, 2 mm thick that the filling at 70% must be robust enough to deal with the effort that the modules of the desk will impose. (File 3D my keys)
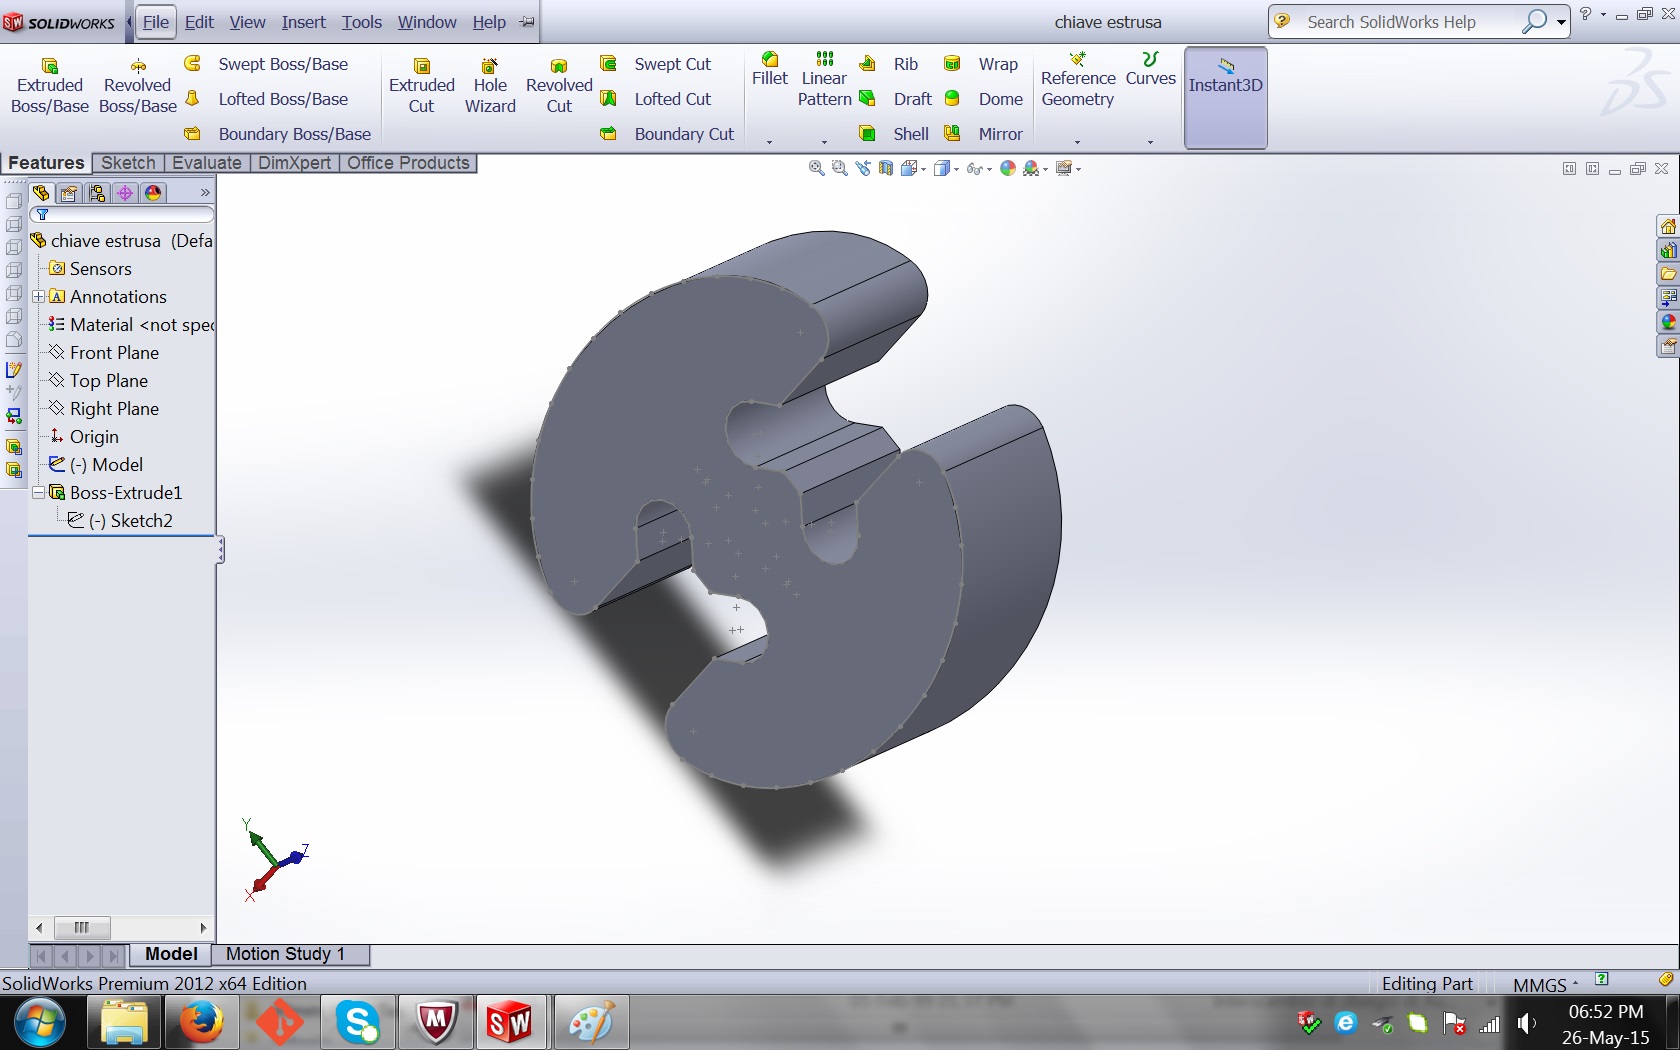
The last two steps were done with Soldworks rendering and printing 3d (3D file)
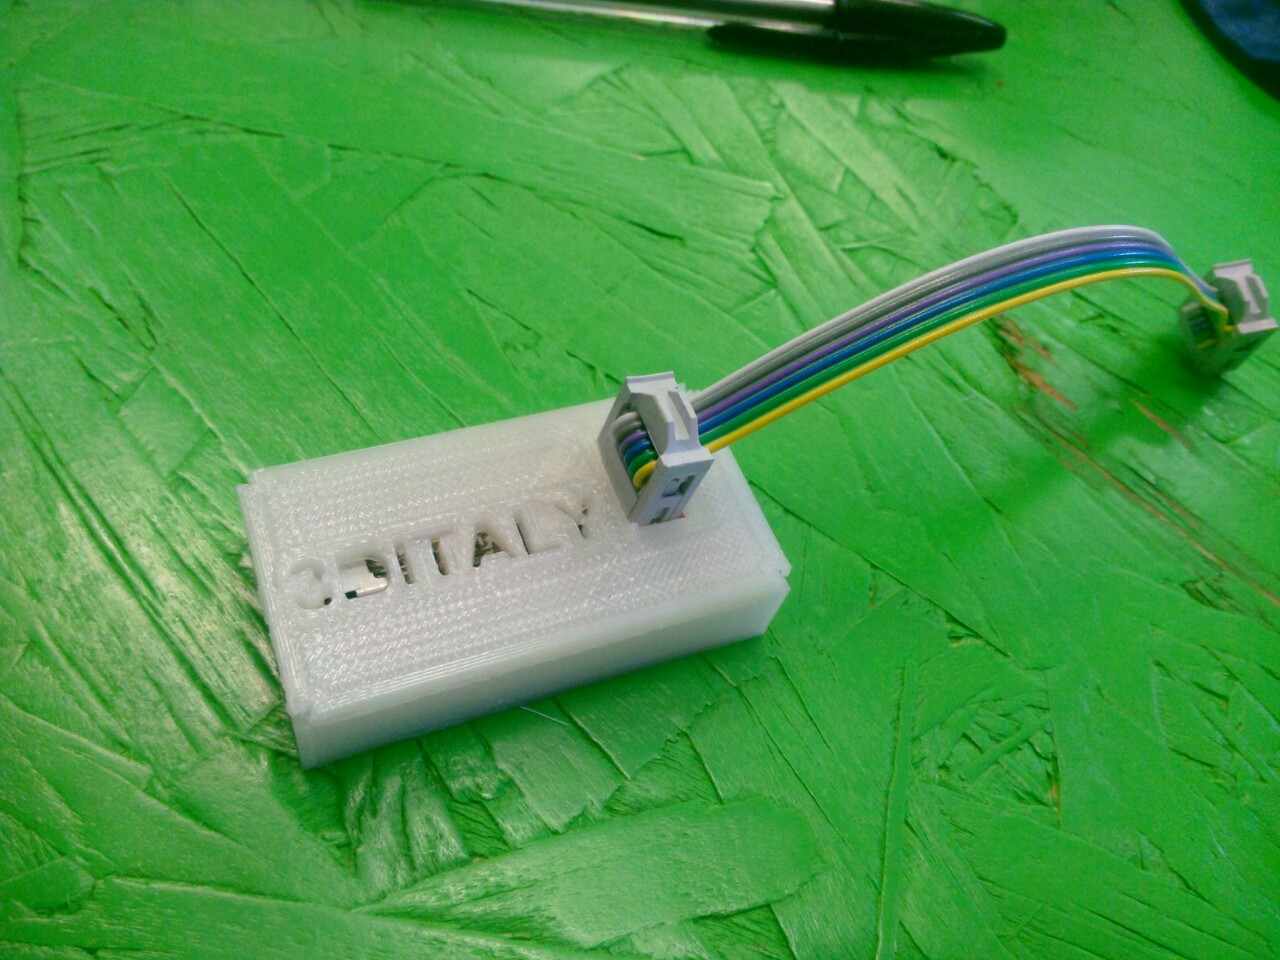
And also i made with a 3D printer my box for Fabisp, i use the software Cure to prepare the G-code and print with the machine Sharebot NG, in the 3DiTALY Lab to Rome). For me the print of the file is very easy, i used the parameters to generate the gcode very simple, printing speed 100mm / s fill 60% to make it robust and both the roof that the base with 2 mm thicknes, material Pla natural. (Stl and G-code file).