The project
HUB DESK is a project of open design. It wants to make accessible, functional and attractive from the aesthetic point of view, a design object produced entirely with digital techniques fabrication.
The HUBDESK is removable, transportable and adaptable spaces!!
The Concept
A good project design should be beautiful and functional.My objective is that to realize a desk that suits for our demands, that you turn him into base to our spaces and necessity.
The product
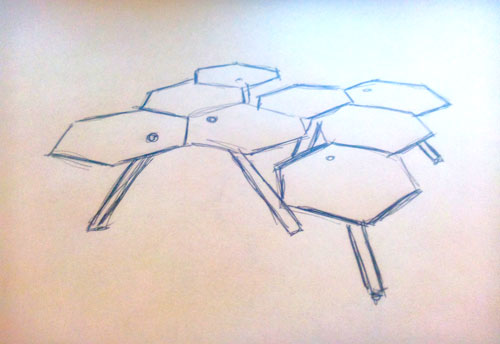
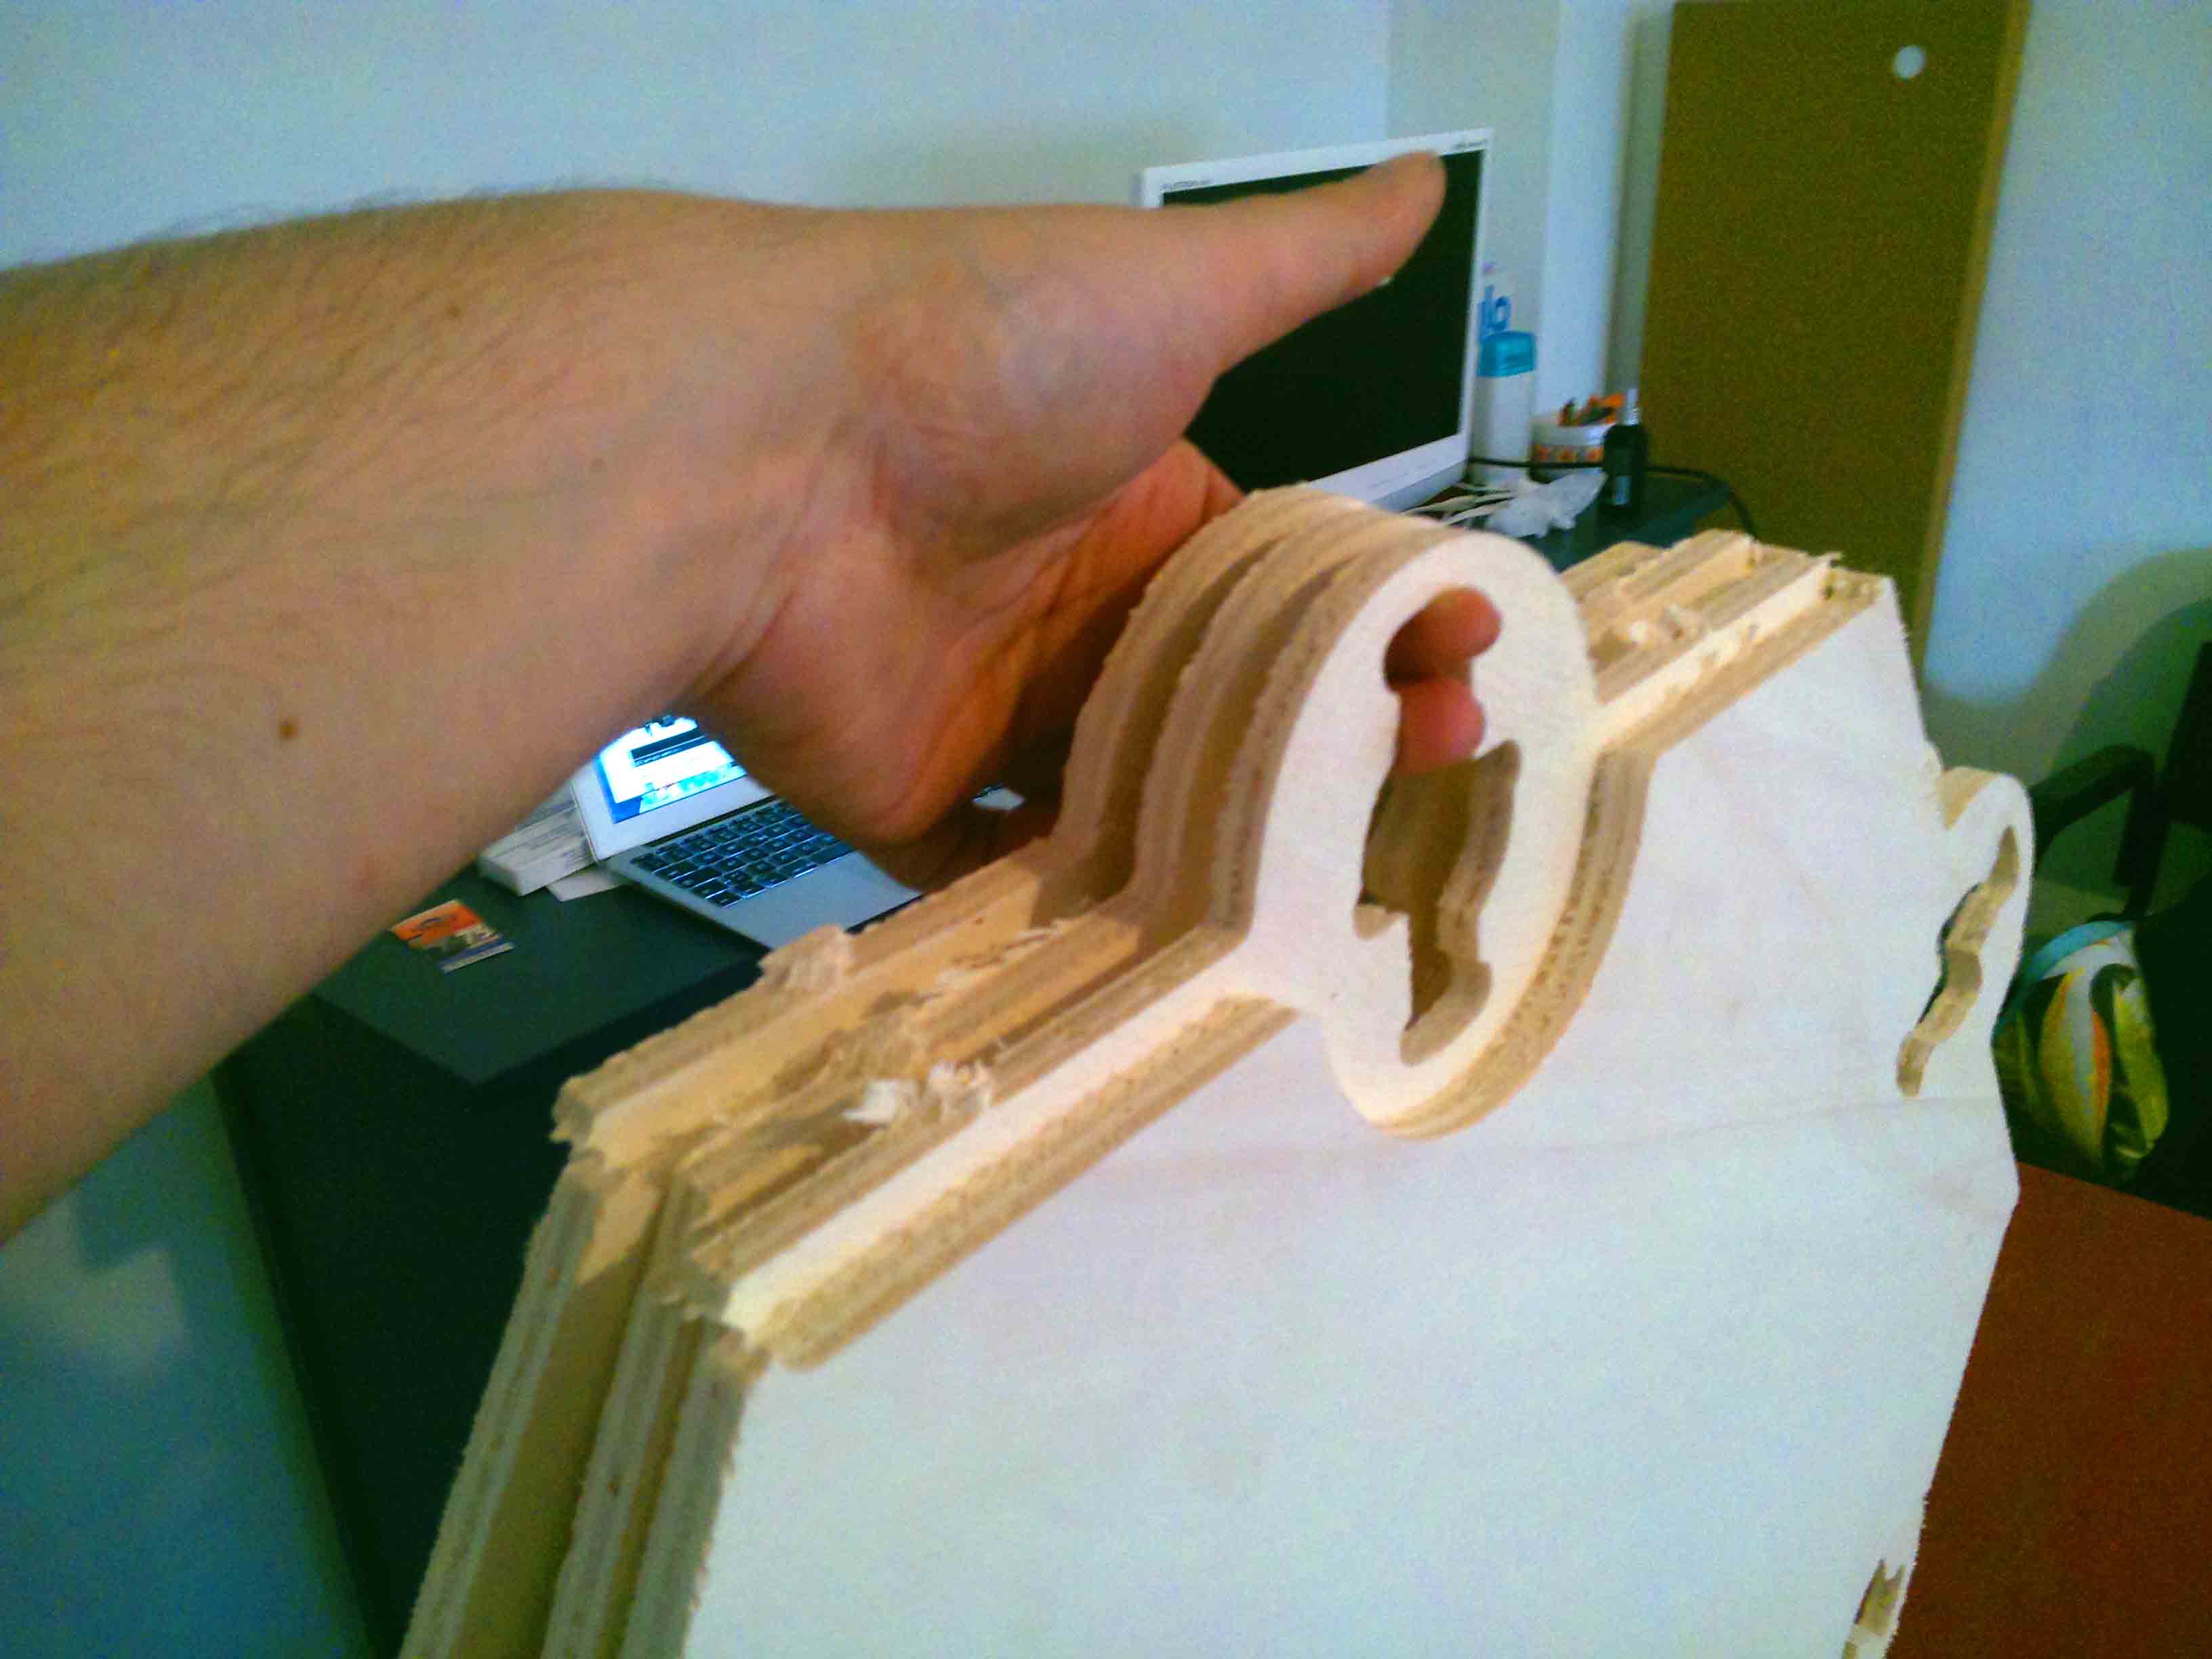
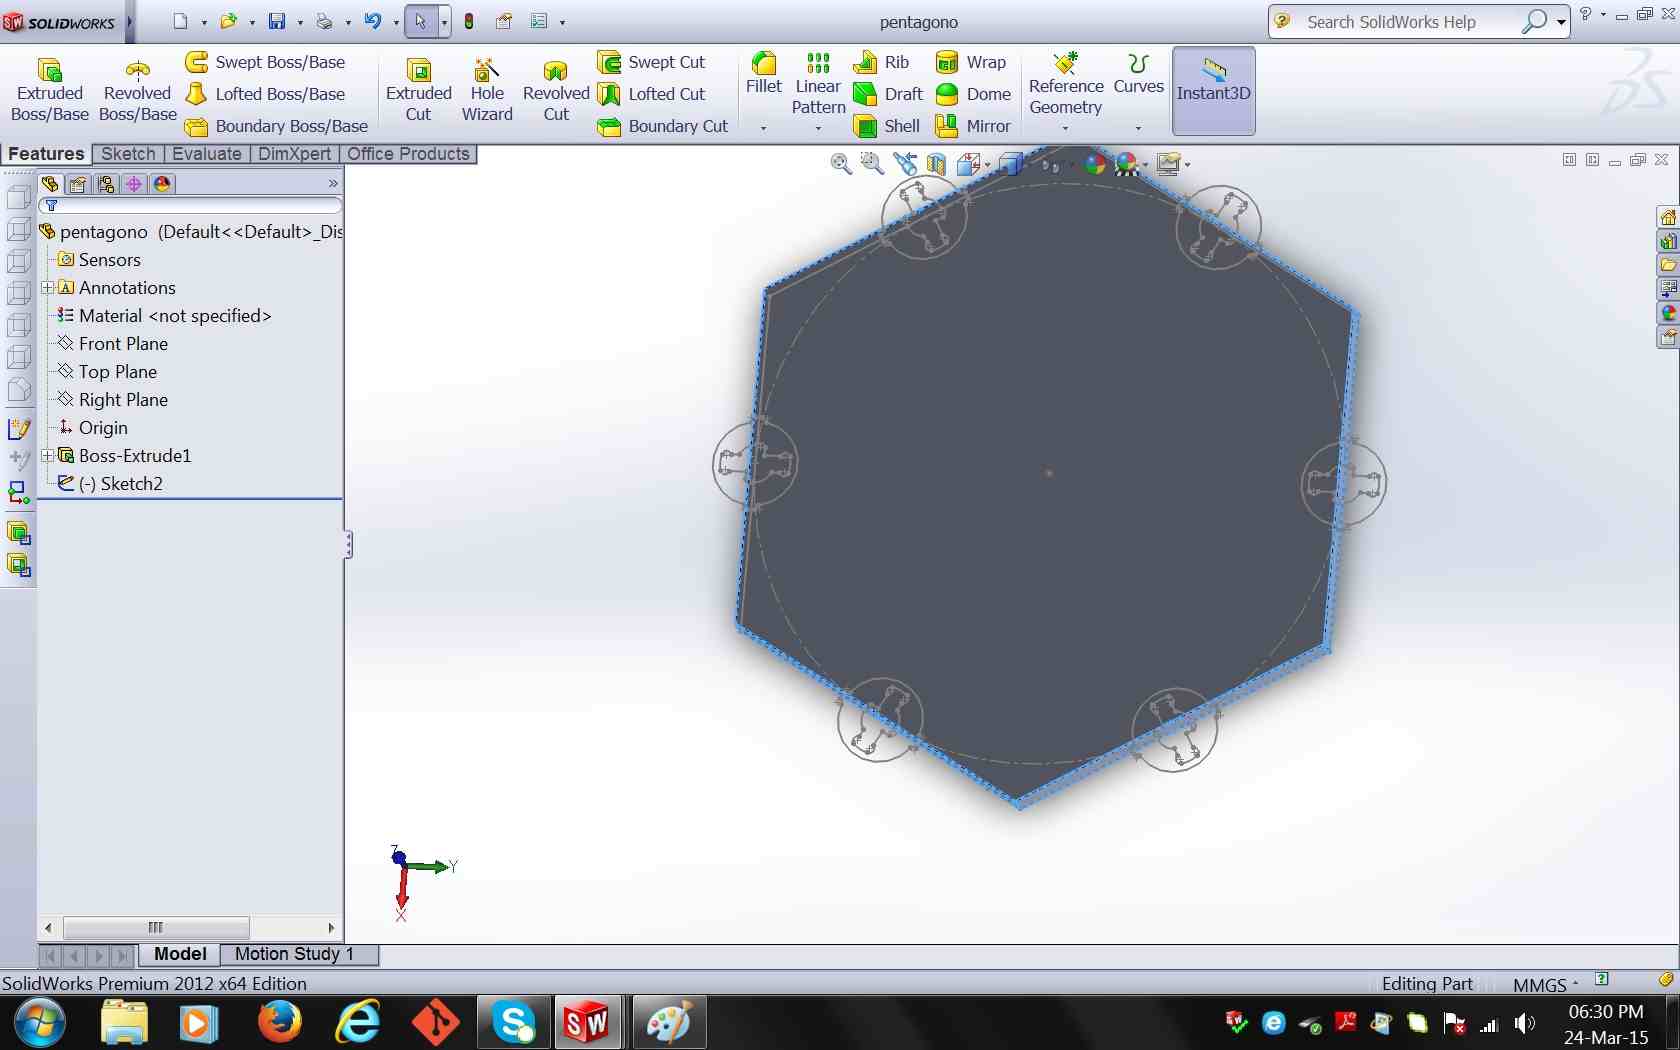
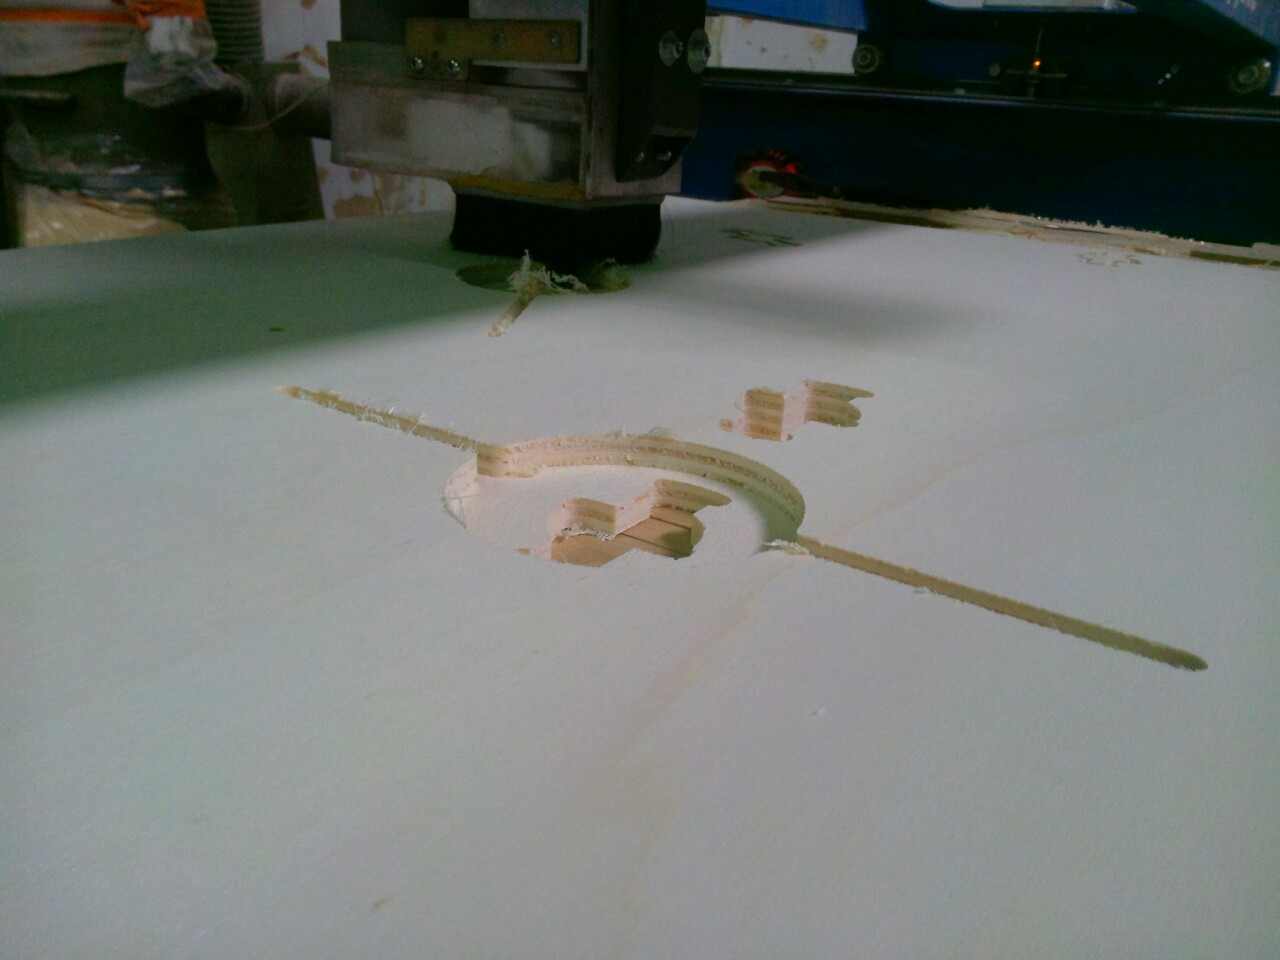
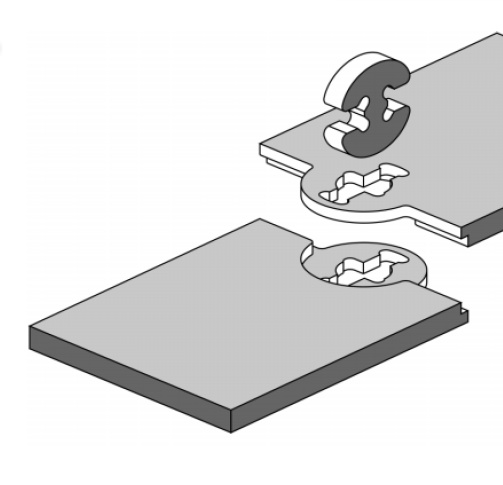
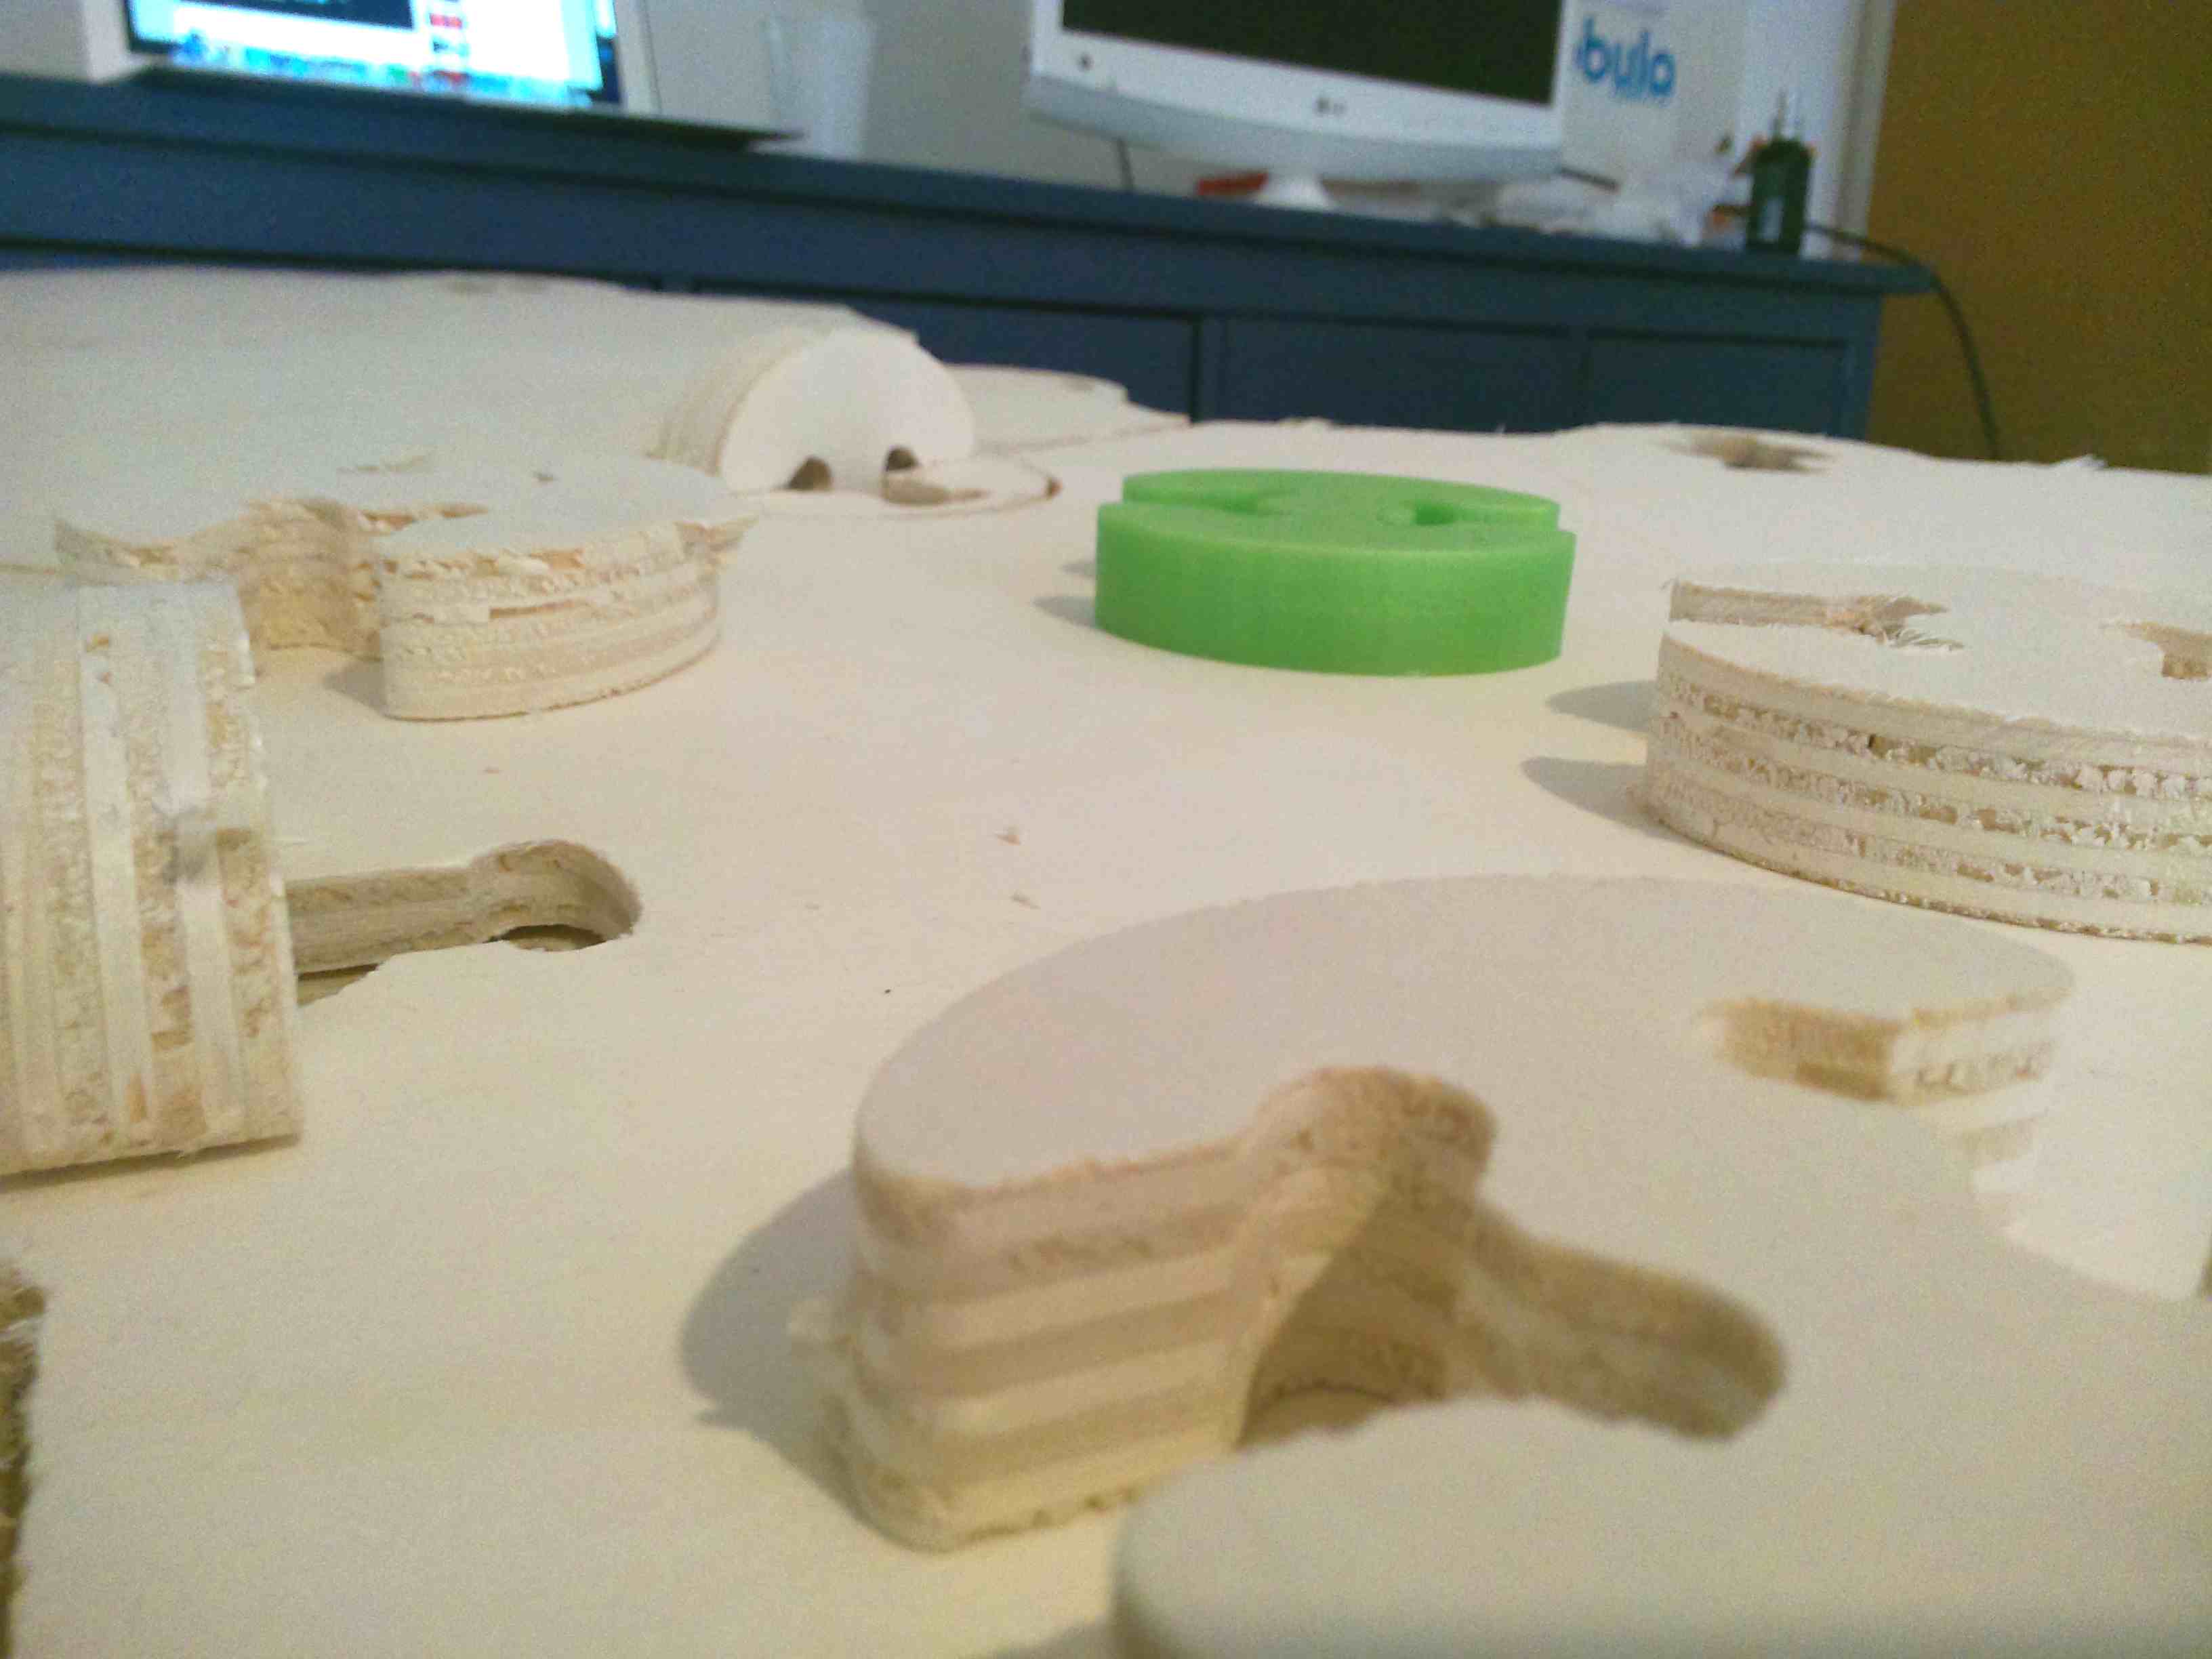
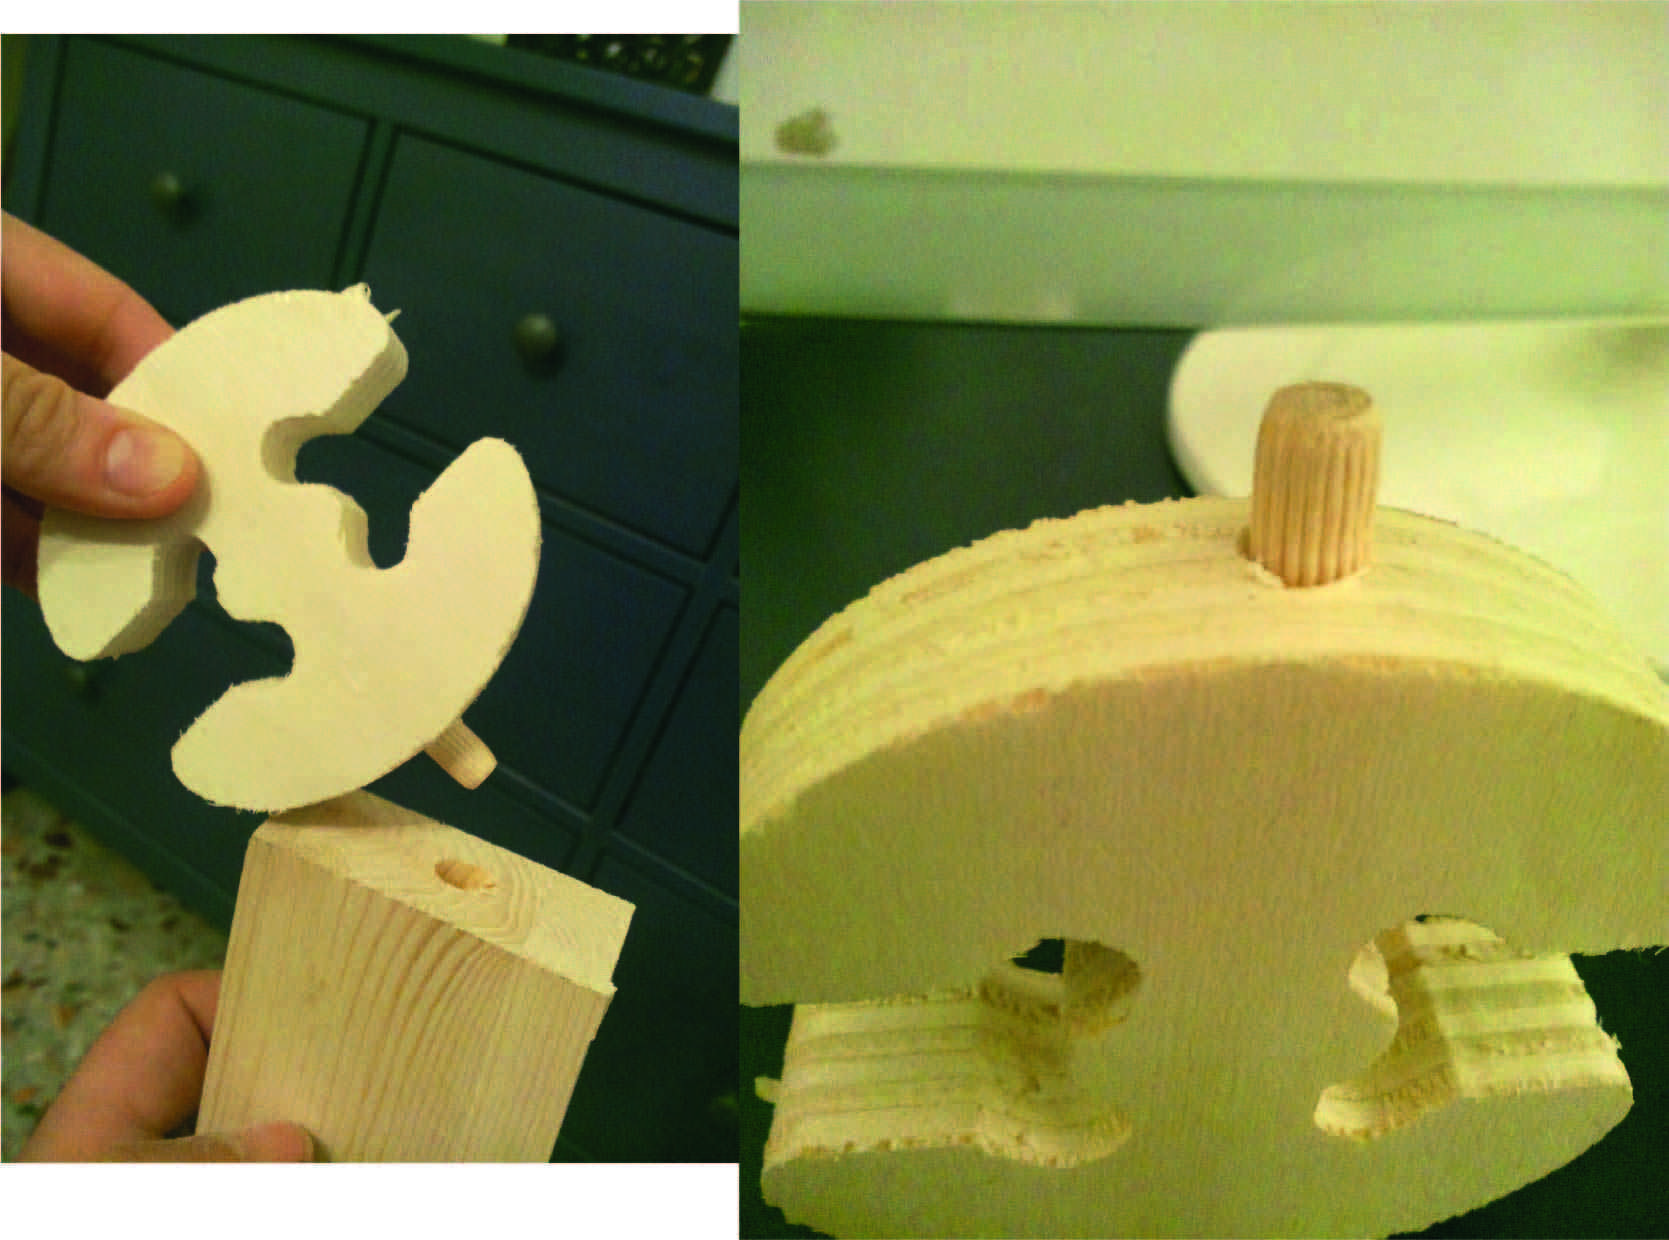
The table is composed of a series of modules of hexagonal wood milled with pantograph, these elements are bound together through the keys (digital wood jonts), which are the closing. In the assignment computer controller machine, i realized the project with the software Solidworks and made the first pieces with the milling machine. The strength of the entire structure is the system of lockable, welding all wood panels and make it such a unique piece modular. Hubdesk 3D file
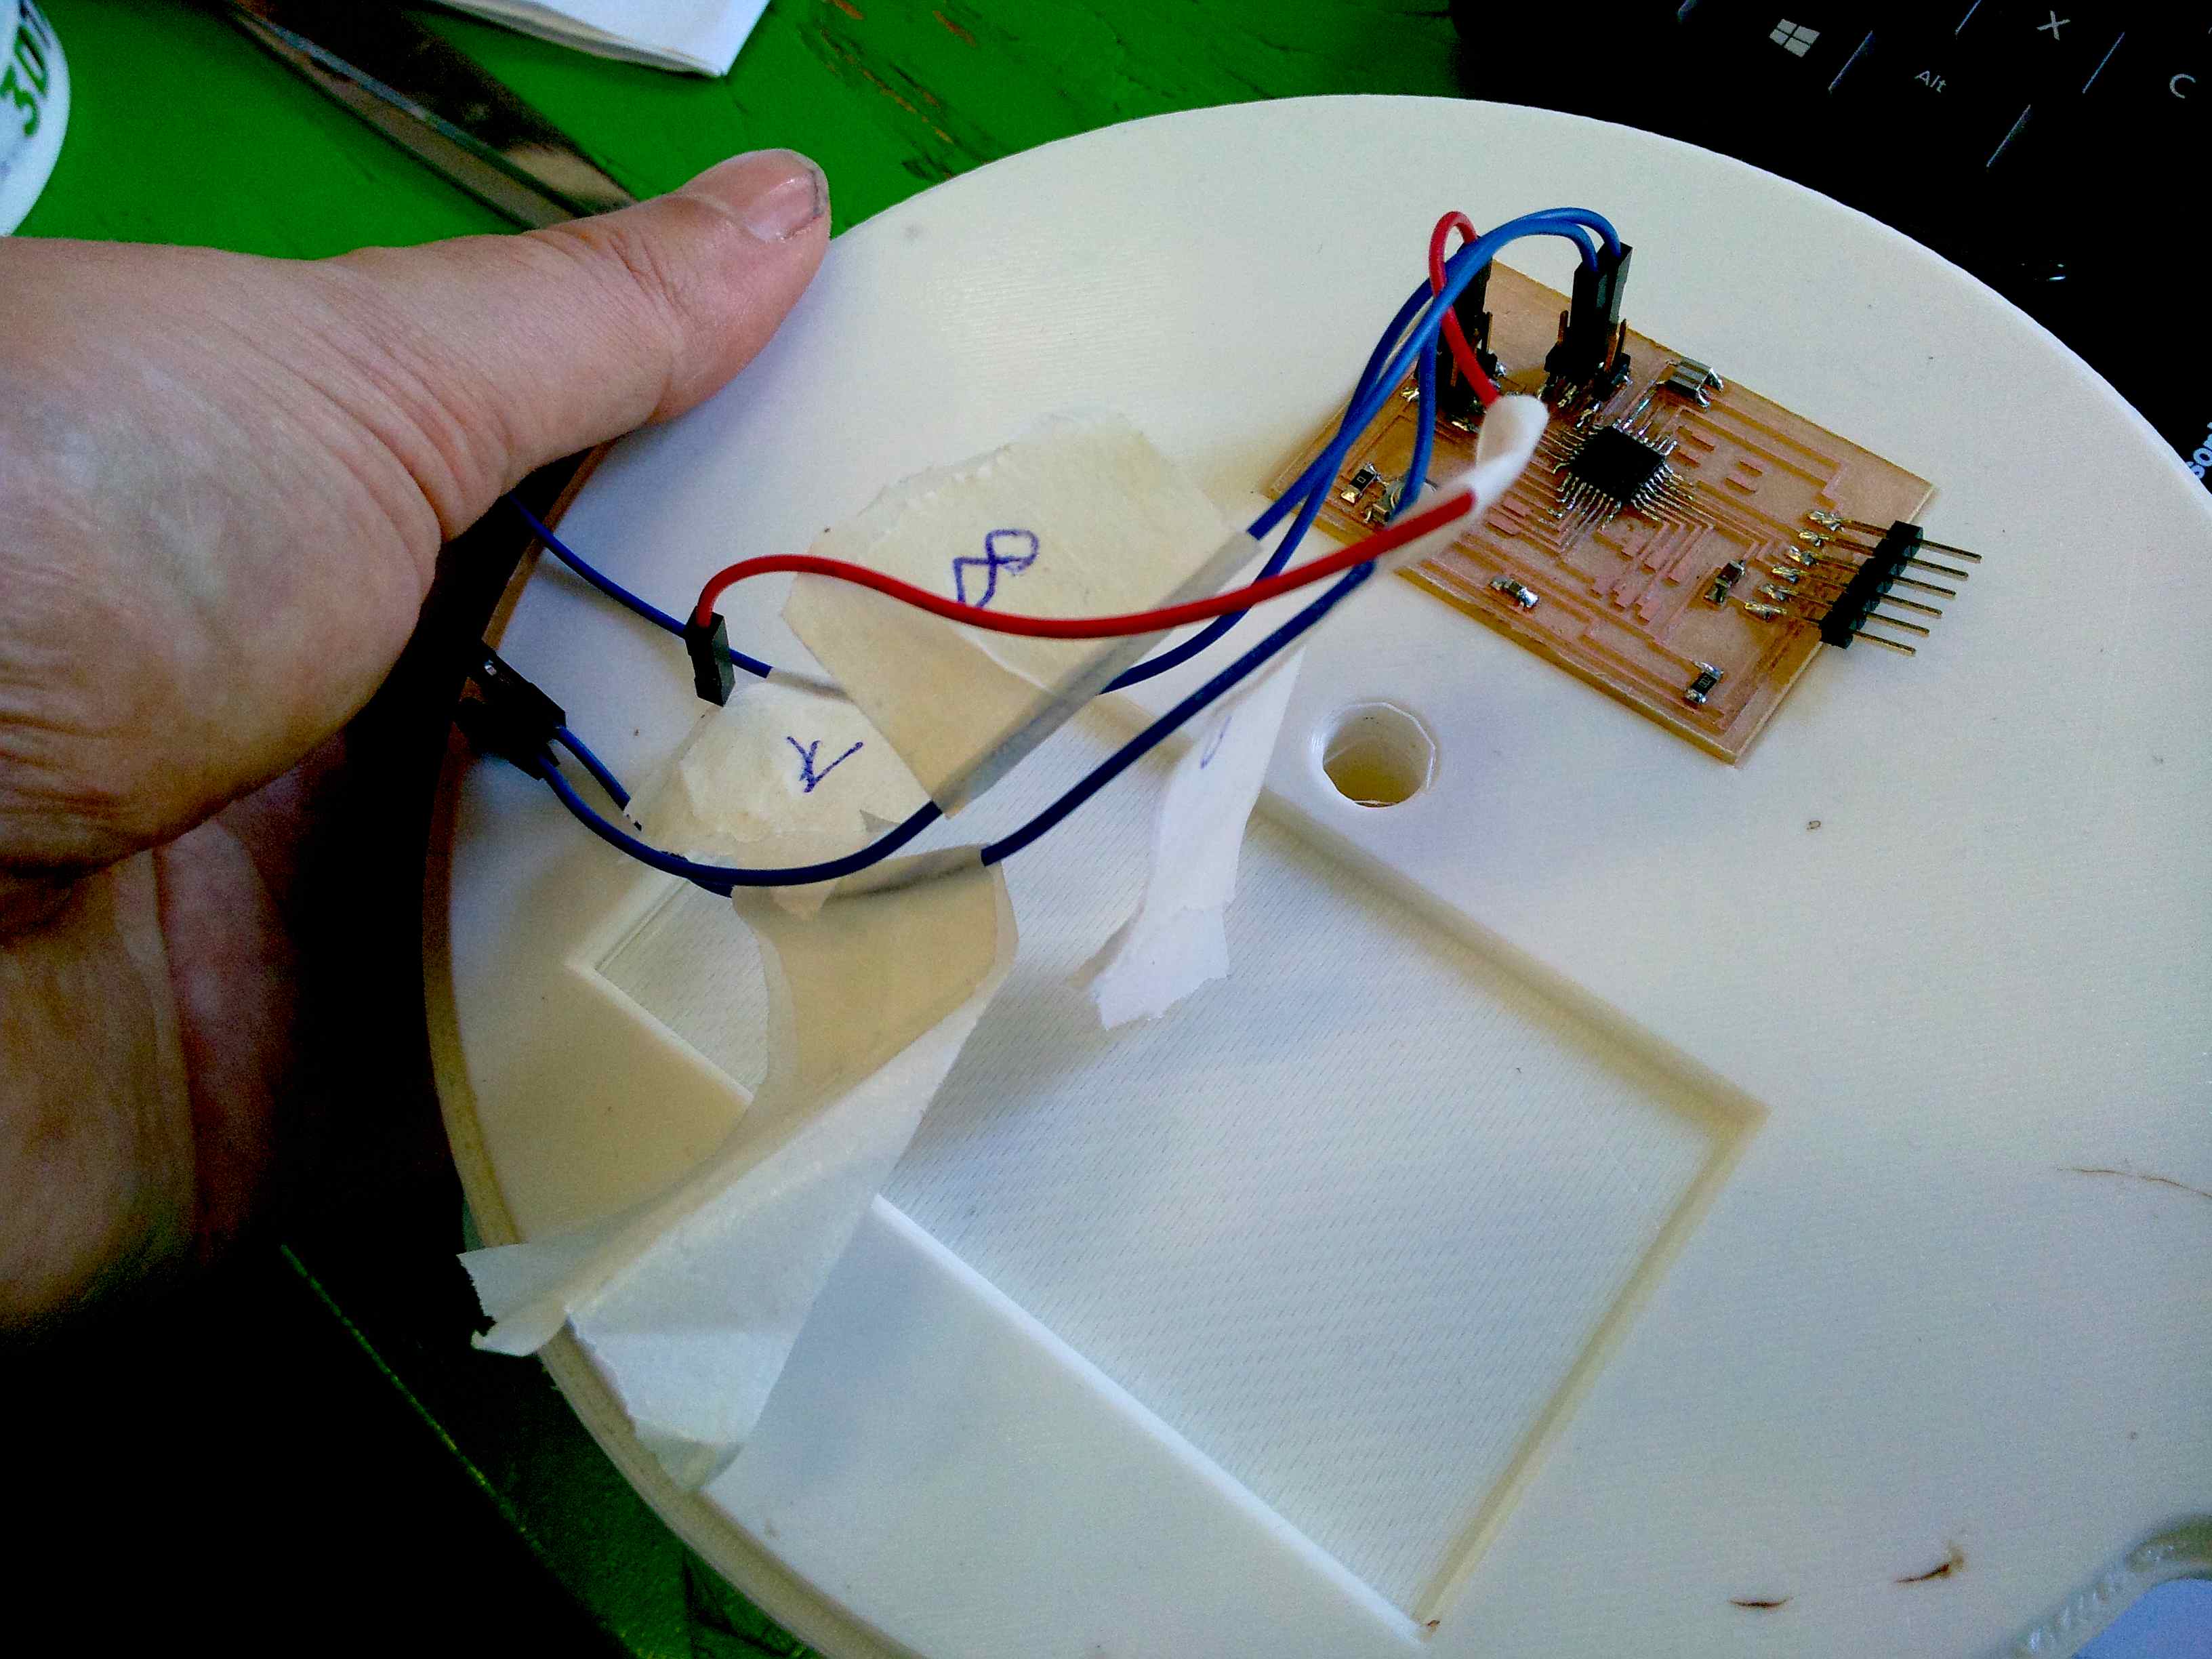
In these holes you can also be incorporated in addition to the keys also of the devices. In particular i have chosen to make a led lamp controlled by Fabduino board with ir motion sensor, that switches on and off. But accessories can be many and the community will share their projects online.
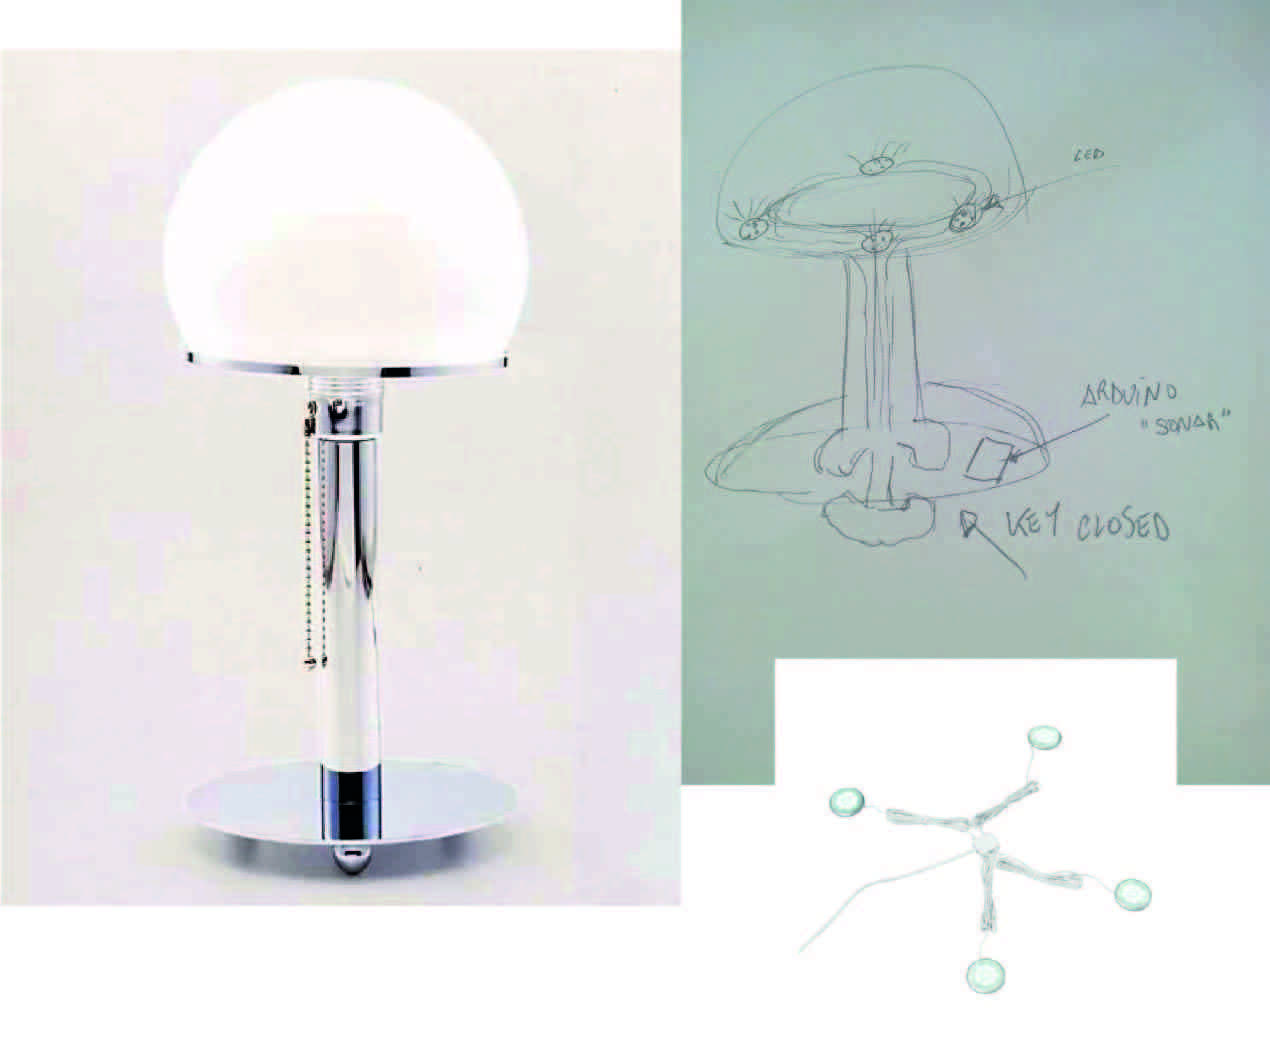
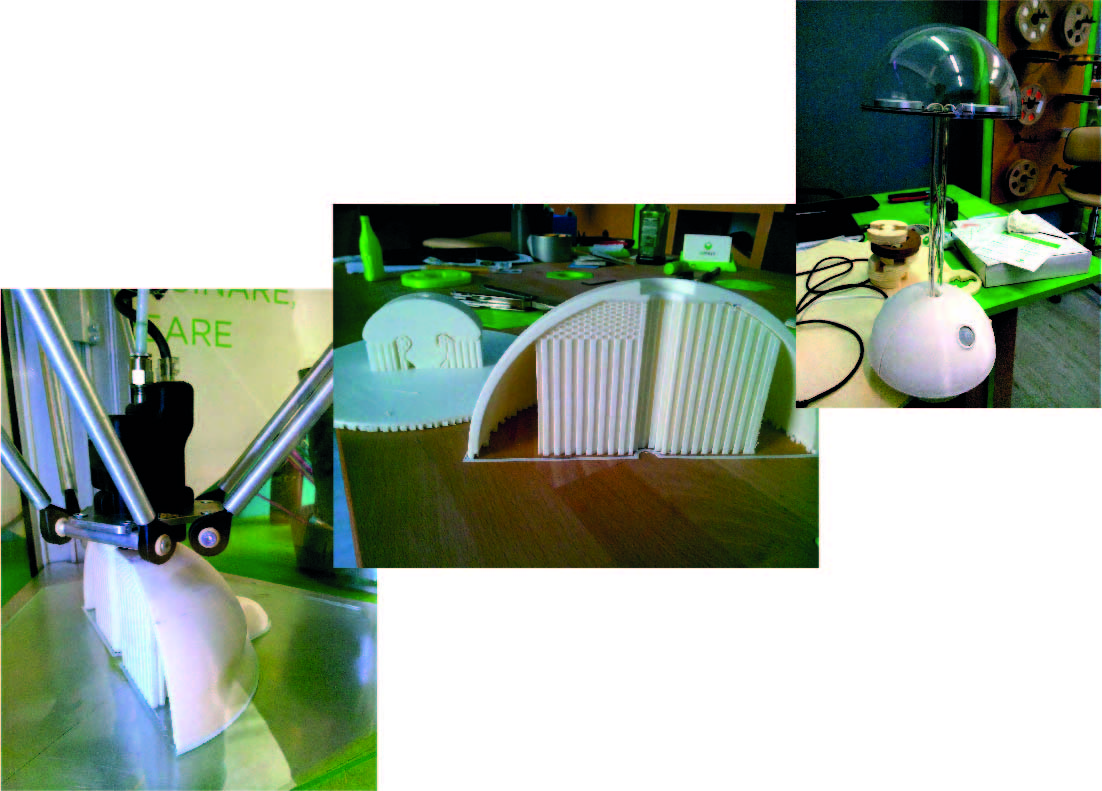
To realize my lamp i was inspired by the Bauhaus lamp design, i decided to use components that were already present in Fablab: an Fabduino, IR Motion sensor modular air and the lighting model "dioder" (ikea) i had already bought previously and had at home.
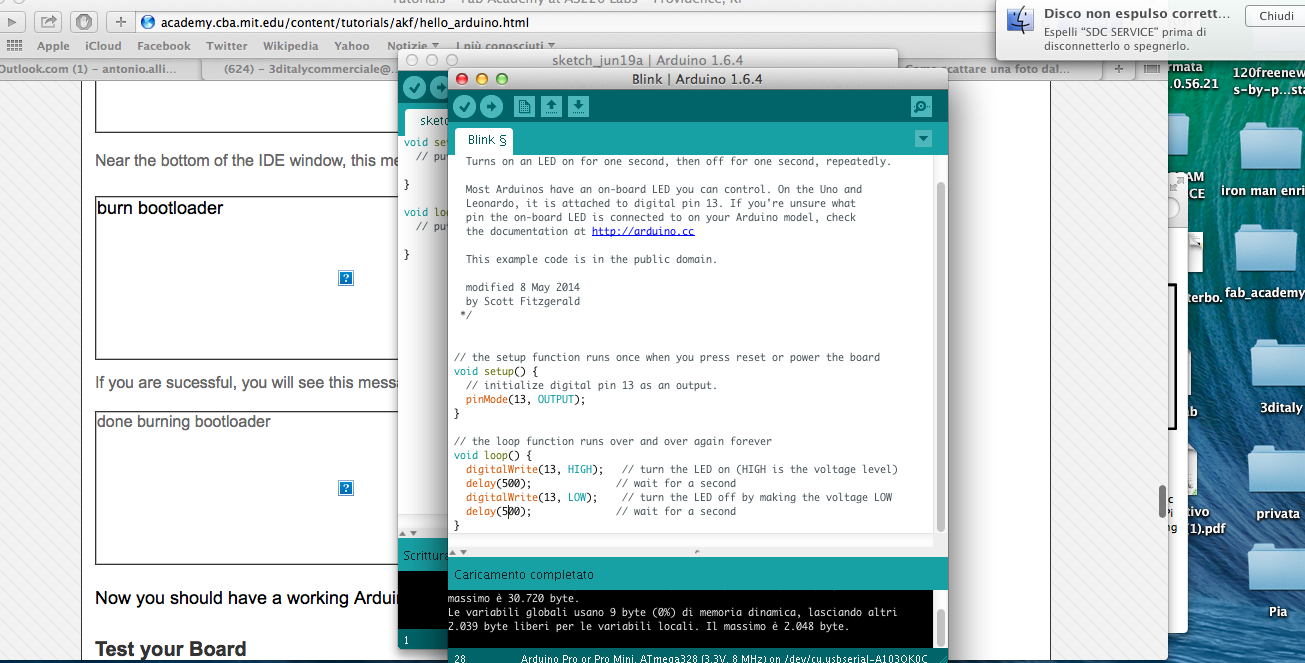
To realize my lamp with sensor i did a search online and i got the idea from many projects. The basic components were use Fabduino, relè, led, and the sensor. The most difficult part was to customize the timer of the sensor. An operation that i have performed adjusting both the manual timer on the sensor through a screw, and is adjusting the response time with the serial print Arduino file. The sensor needs 5 seconds to reaggire and find out was difficult ;)
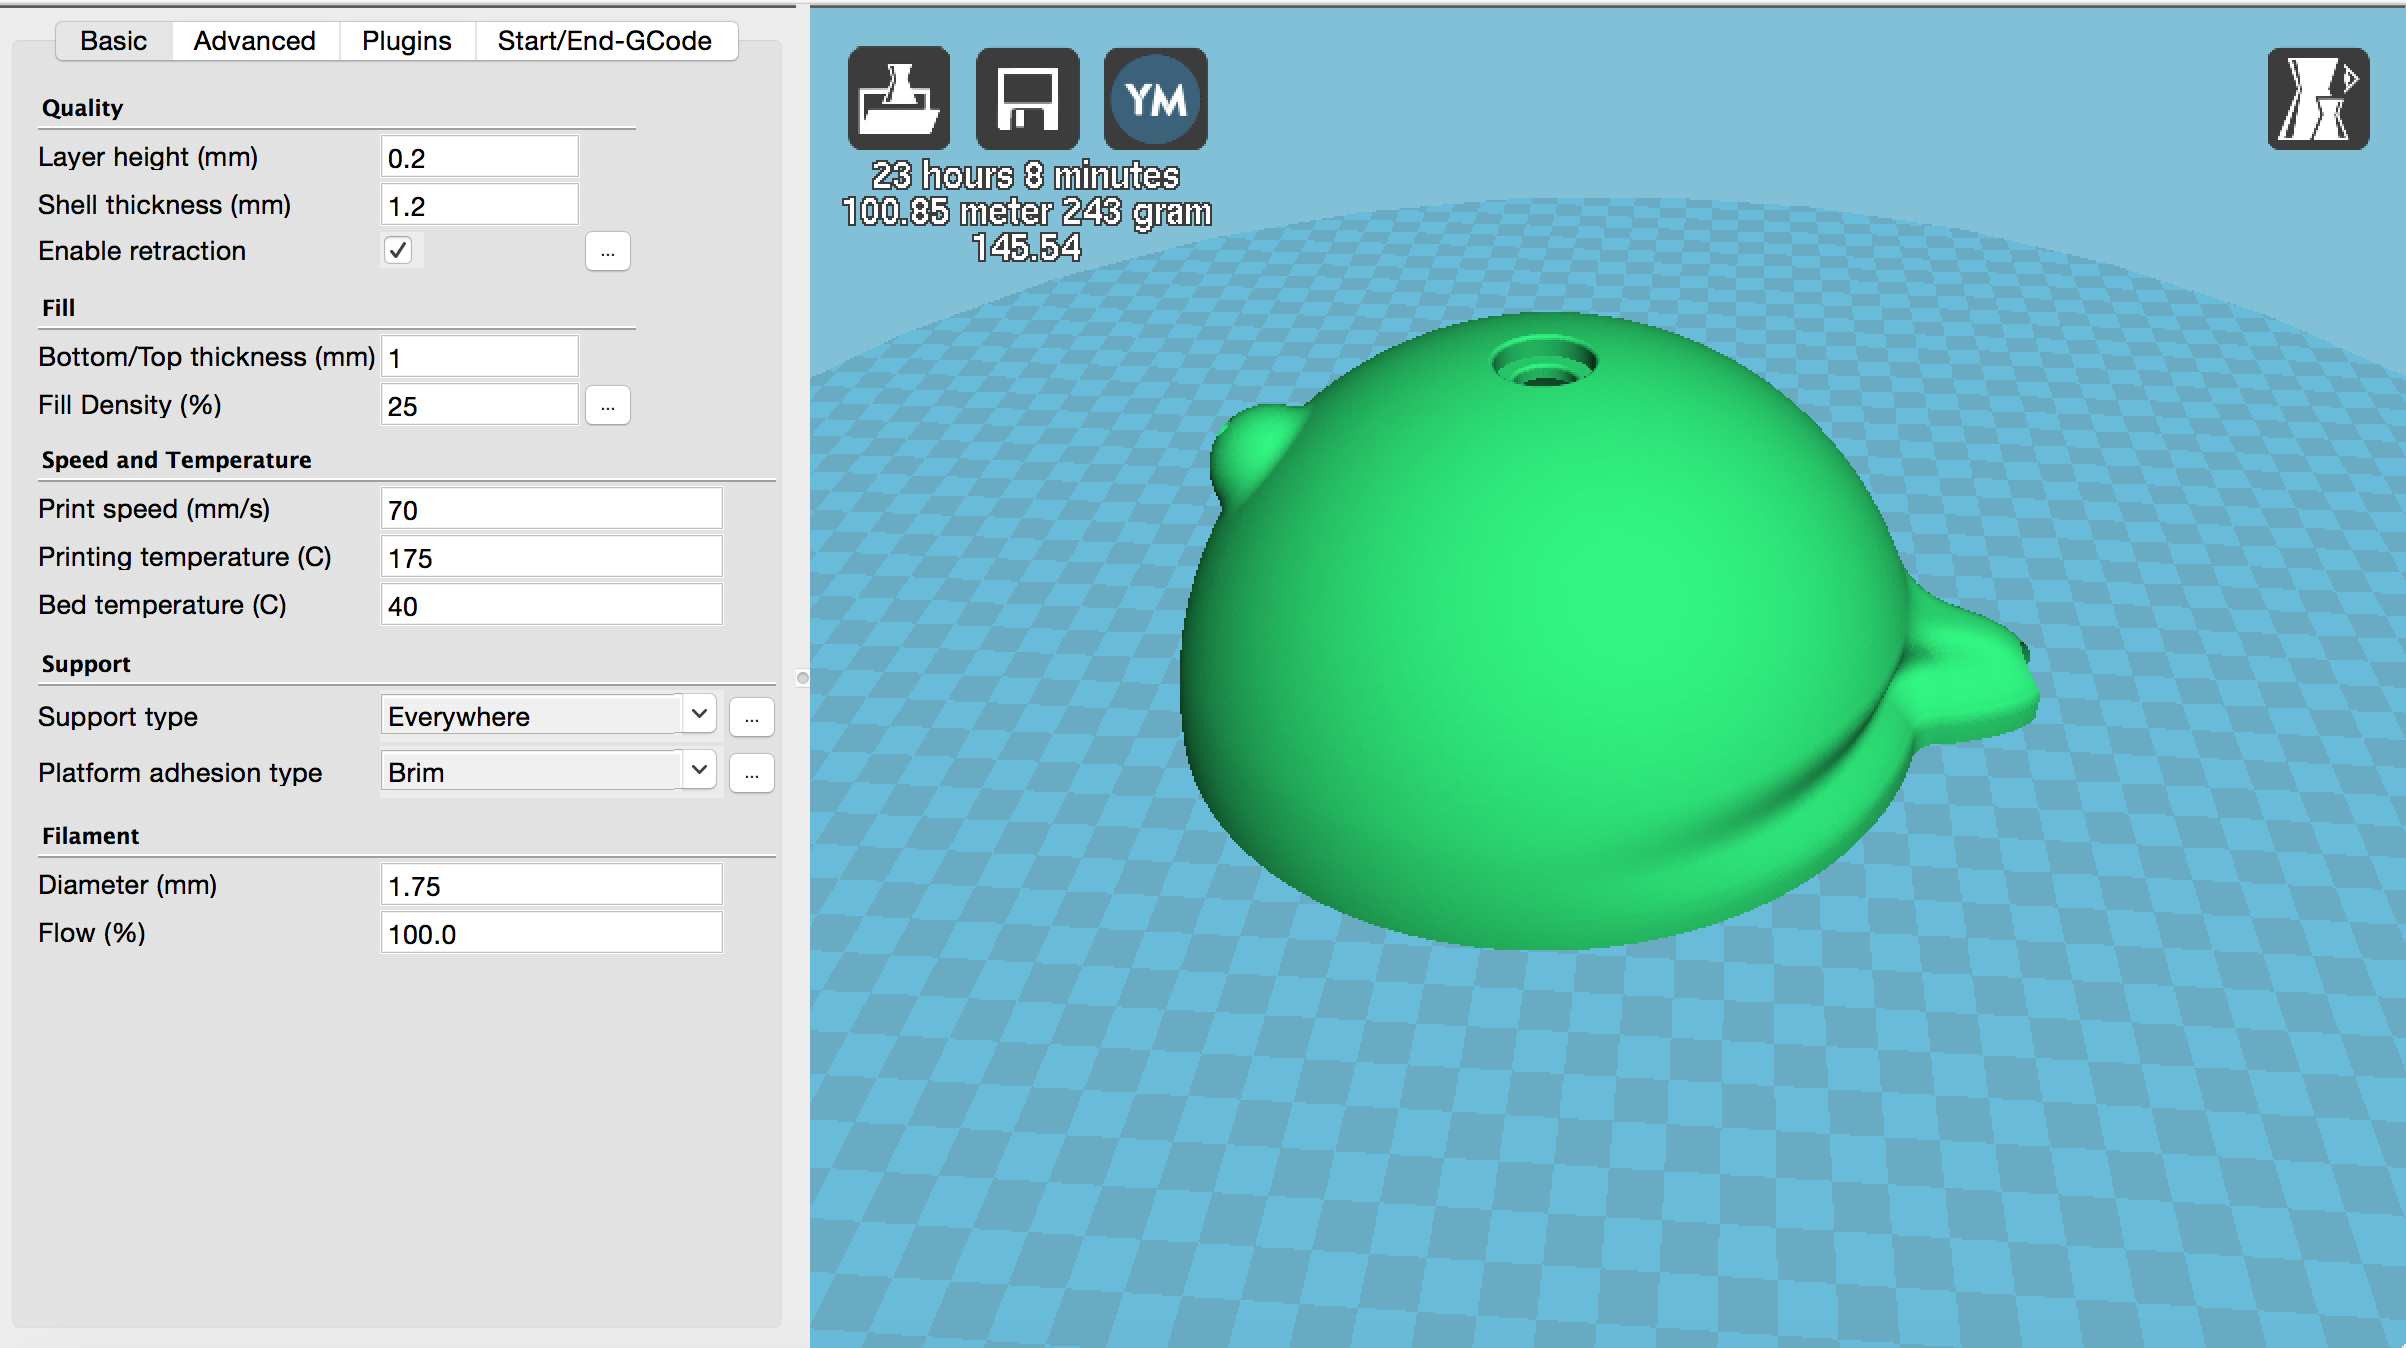
I have printing the dome lamp with the material PLA white, Plexiglass tube Ø 10 (e) / 7 (i) mm, h 25 cm. The base of dome is milled black plexiglass 10 mm.
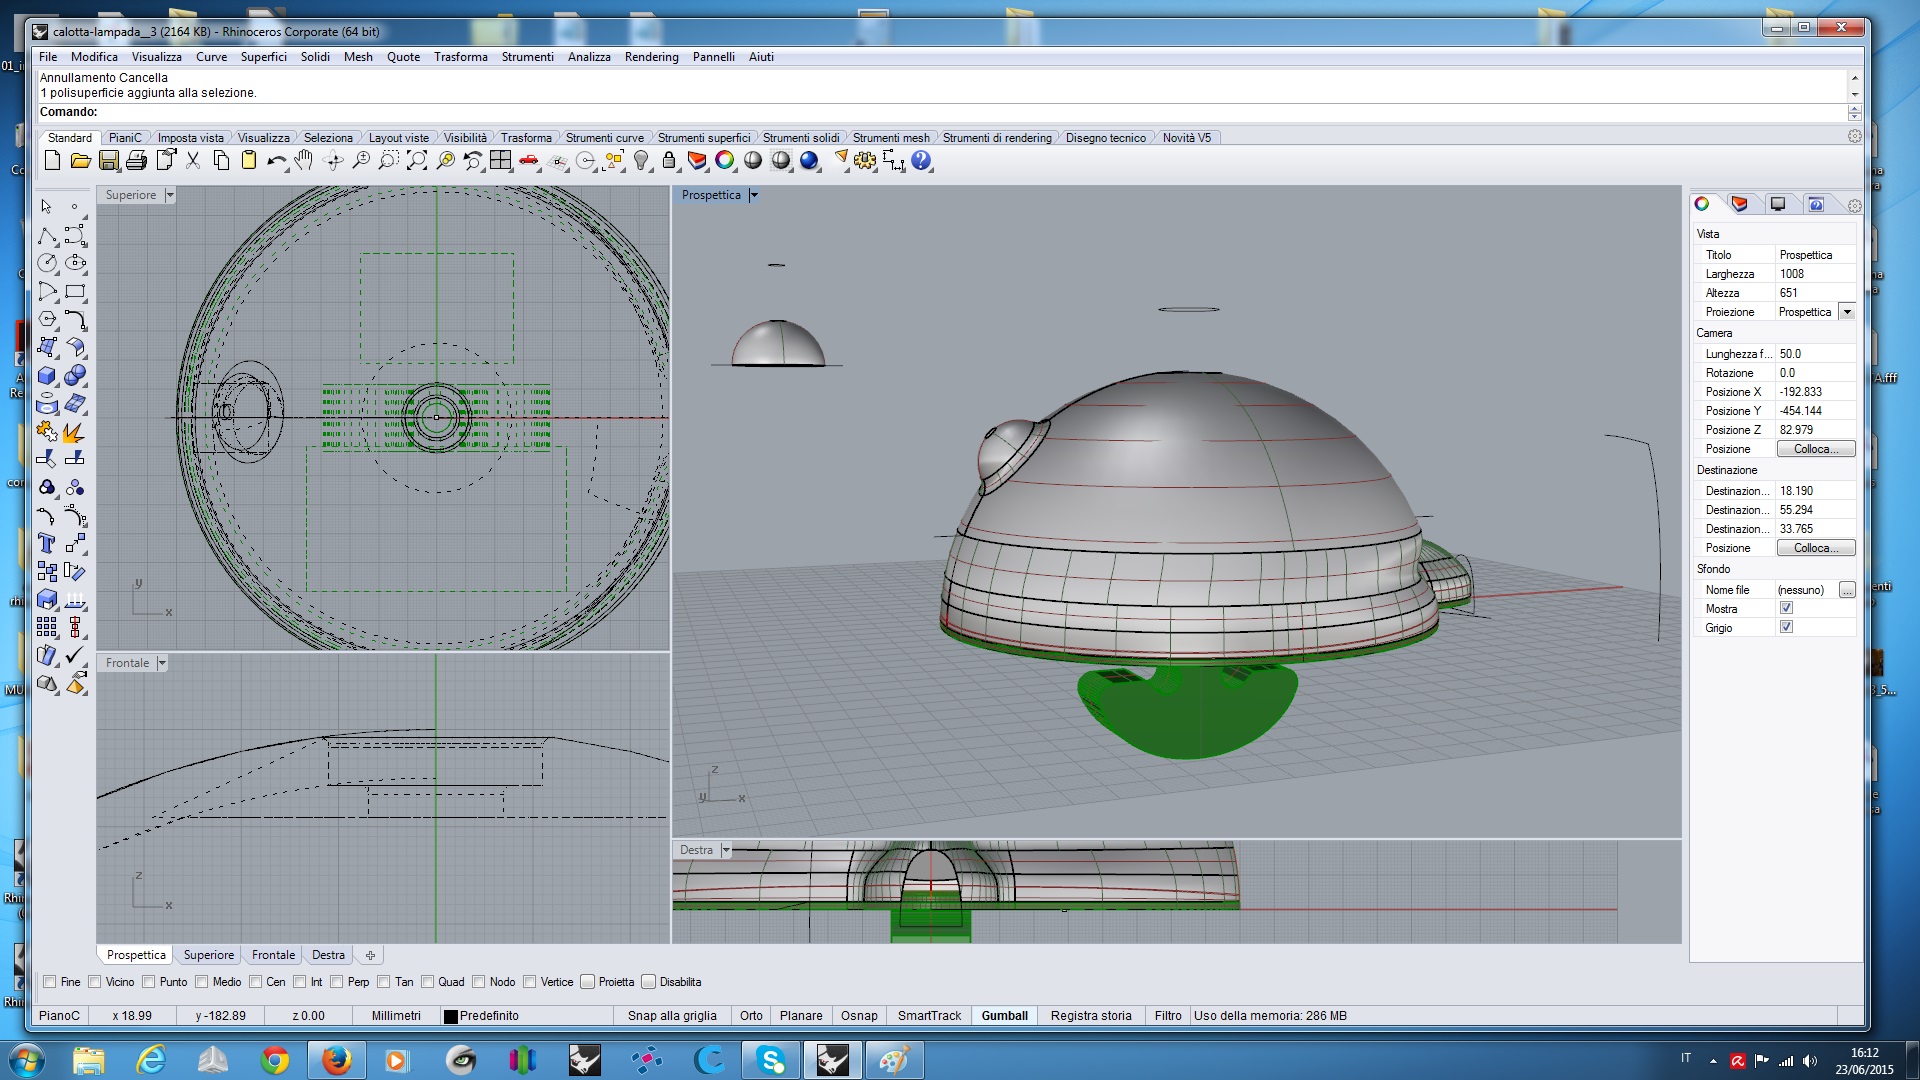
The lamp base must contain the sensors and the Fabduino will then be printed in 3D in PLA. Modeled with the Rhinoceros software is untapped in 3D (file 3d).
Only for the base of lamp printing time were 24 h . (file stl cura).
Cost and Materials
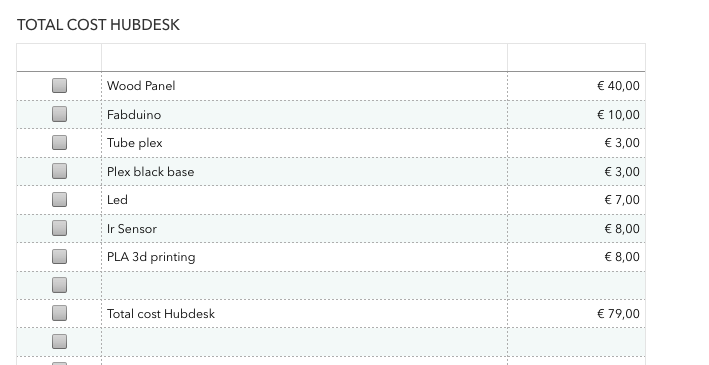
To realize the Hub Desk requires a panel of popular wood, thickness 200 mm, 250 cm for 150 cm (costing 40,00 euro). From the panel you can also have the keys and wood legs.
In addition to wood, there are parts of the printer in 3d that form fitting leg. 3D printer will also design objects, like a lamp which can be inserted in to Hub Desk.
For the project, I used various software modeling and graphic design (thinkercat, solidwork, rhinoceros and illustrator). I used cutting machines and the 3D printer. In the final phase of the project there will also be the use of a circuit board that will monitor with light sensors lamp printed in 3D. The kit will have a total cost of euro 79,00 and will consist of:
For me this project has been very important, have learned to use milling machine and the programs of design for my board, have learned to to join boards and programming them!