Week 4: Electronics production
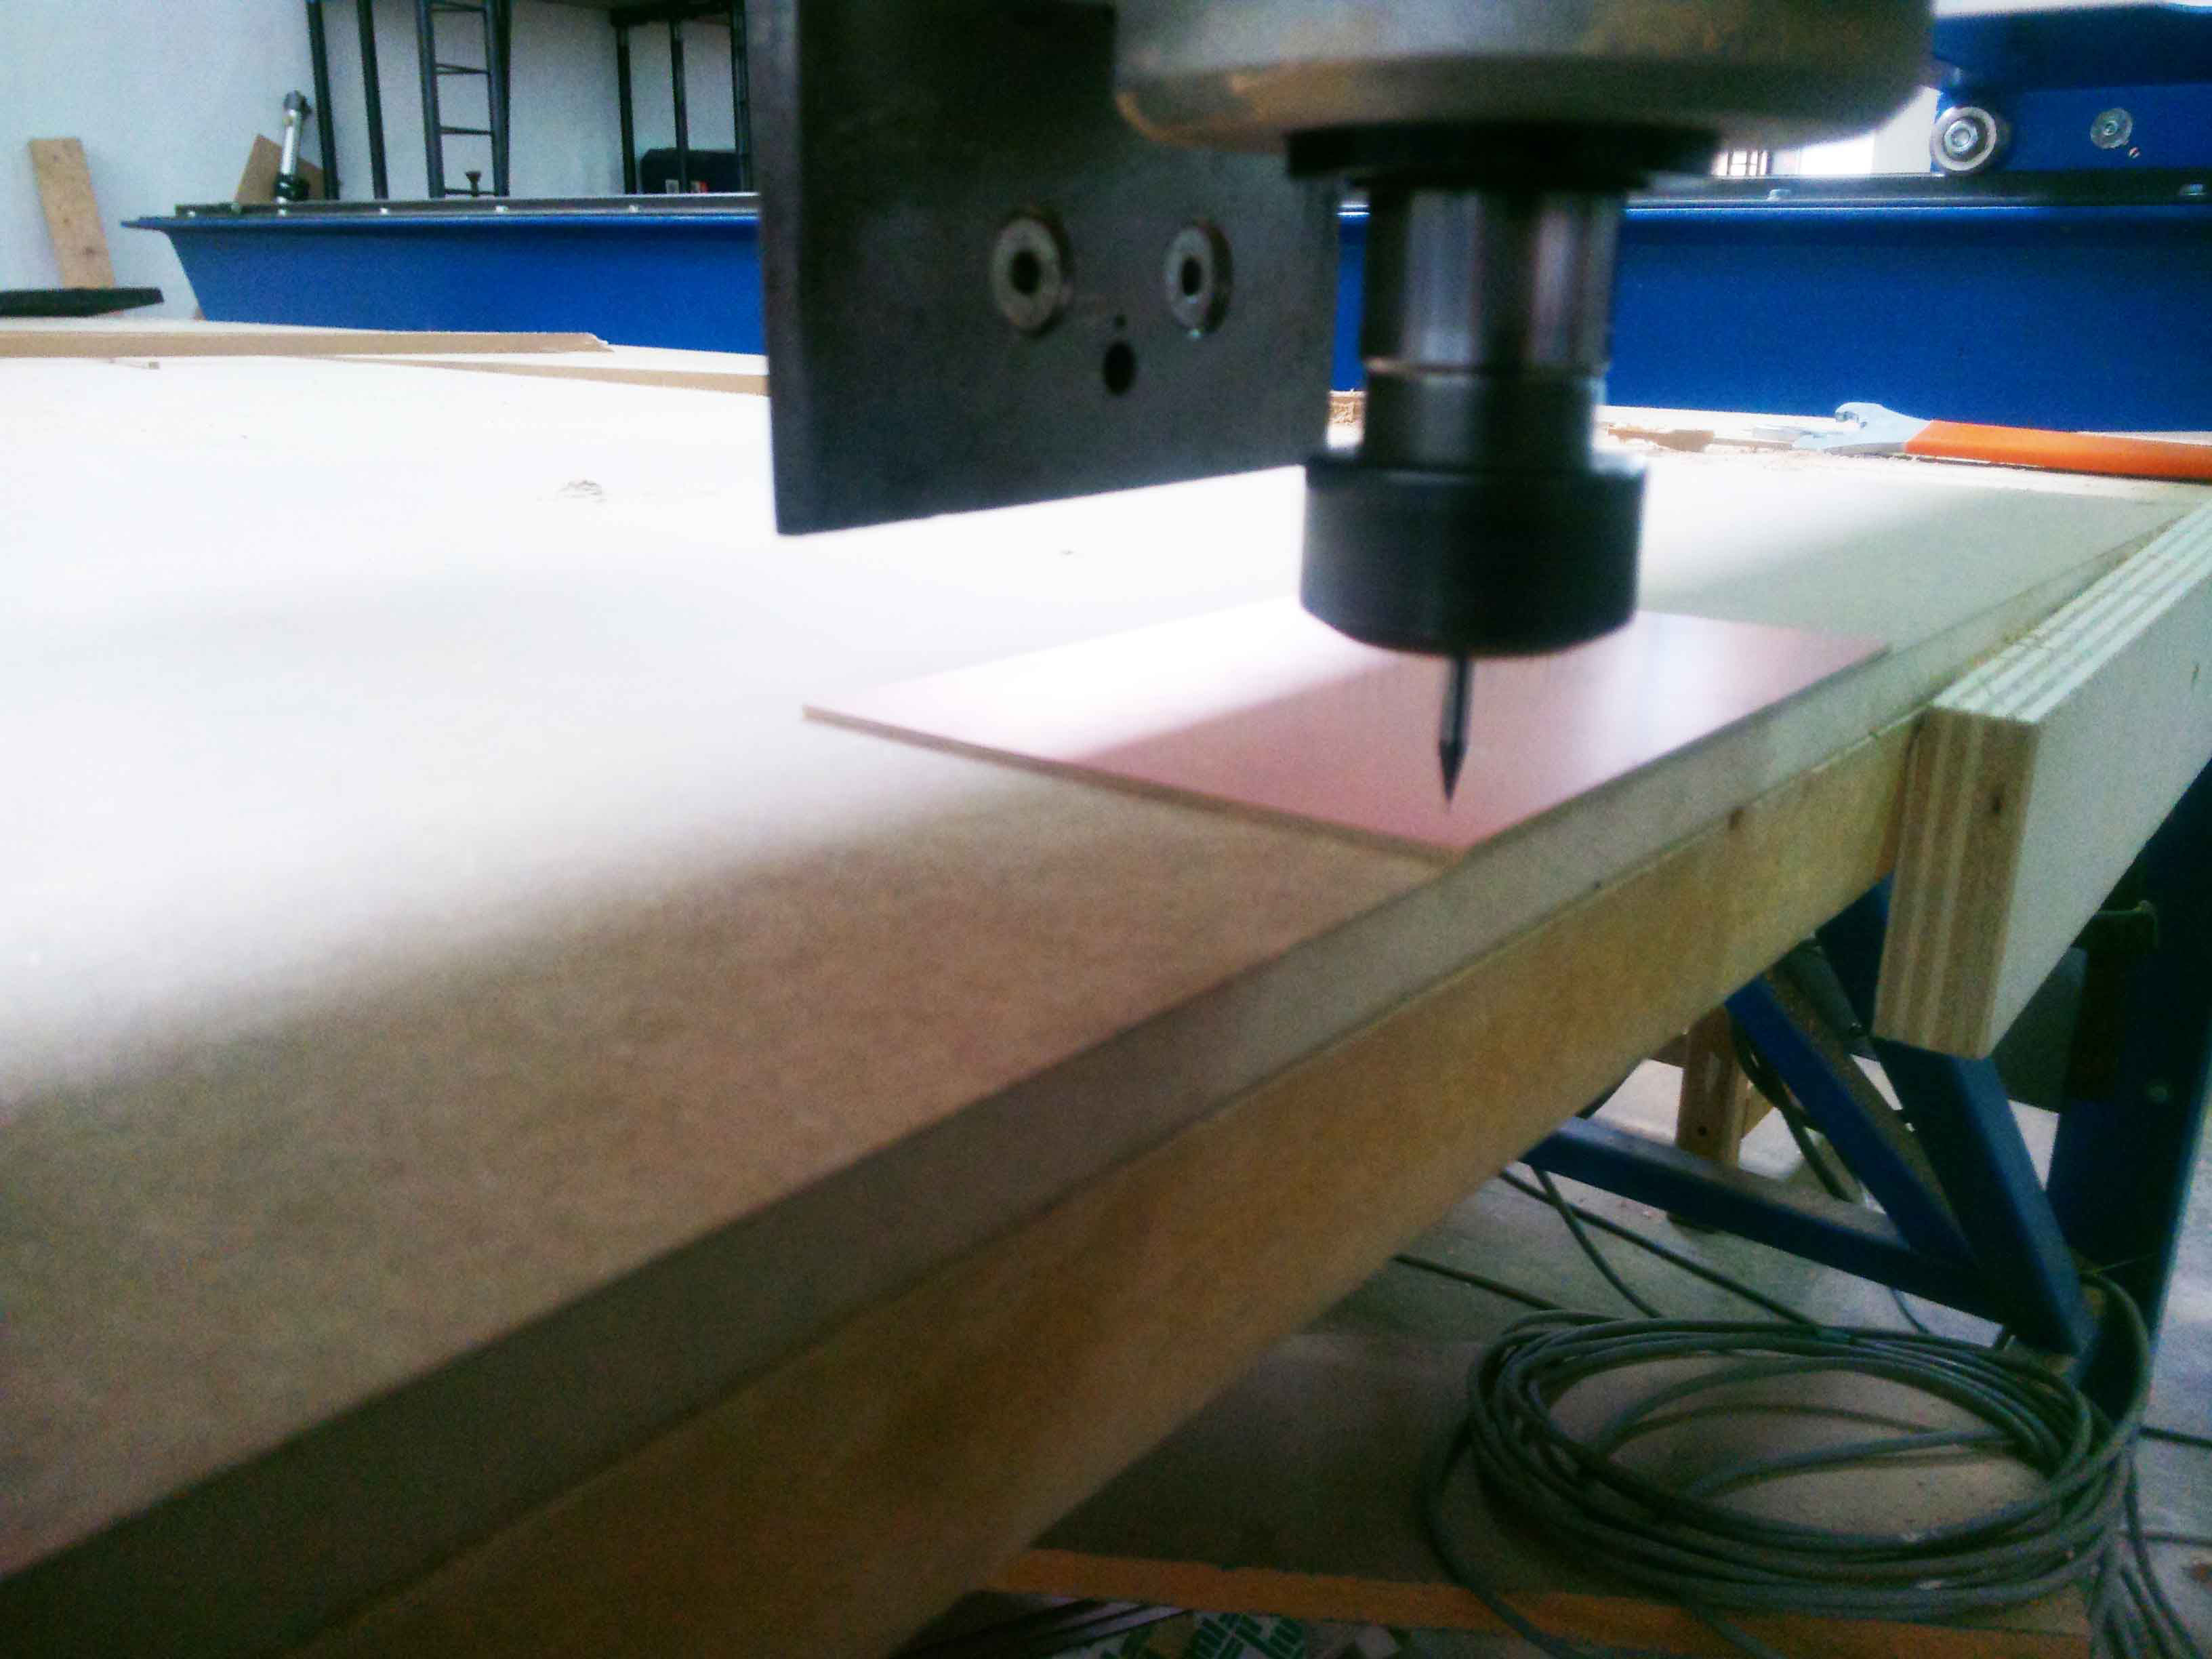
This week i built a FABISP. The first step was to download the png image and turn it into a vector, an operation that i made it through the software illustrator. Then I tried transferring the files to the program used by our cutter to transform the vector in gcode. There was a problem our mill china brand was not working and I had to use the cutter big Mech Mate of Sergio, which is not very suitable for circuits :)
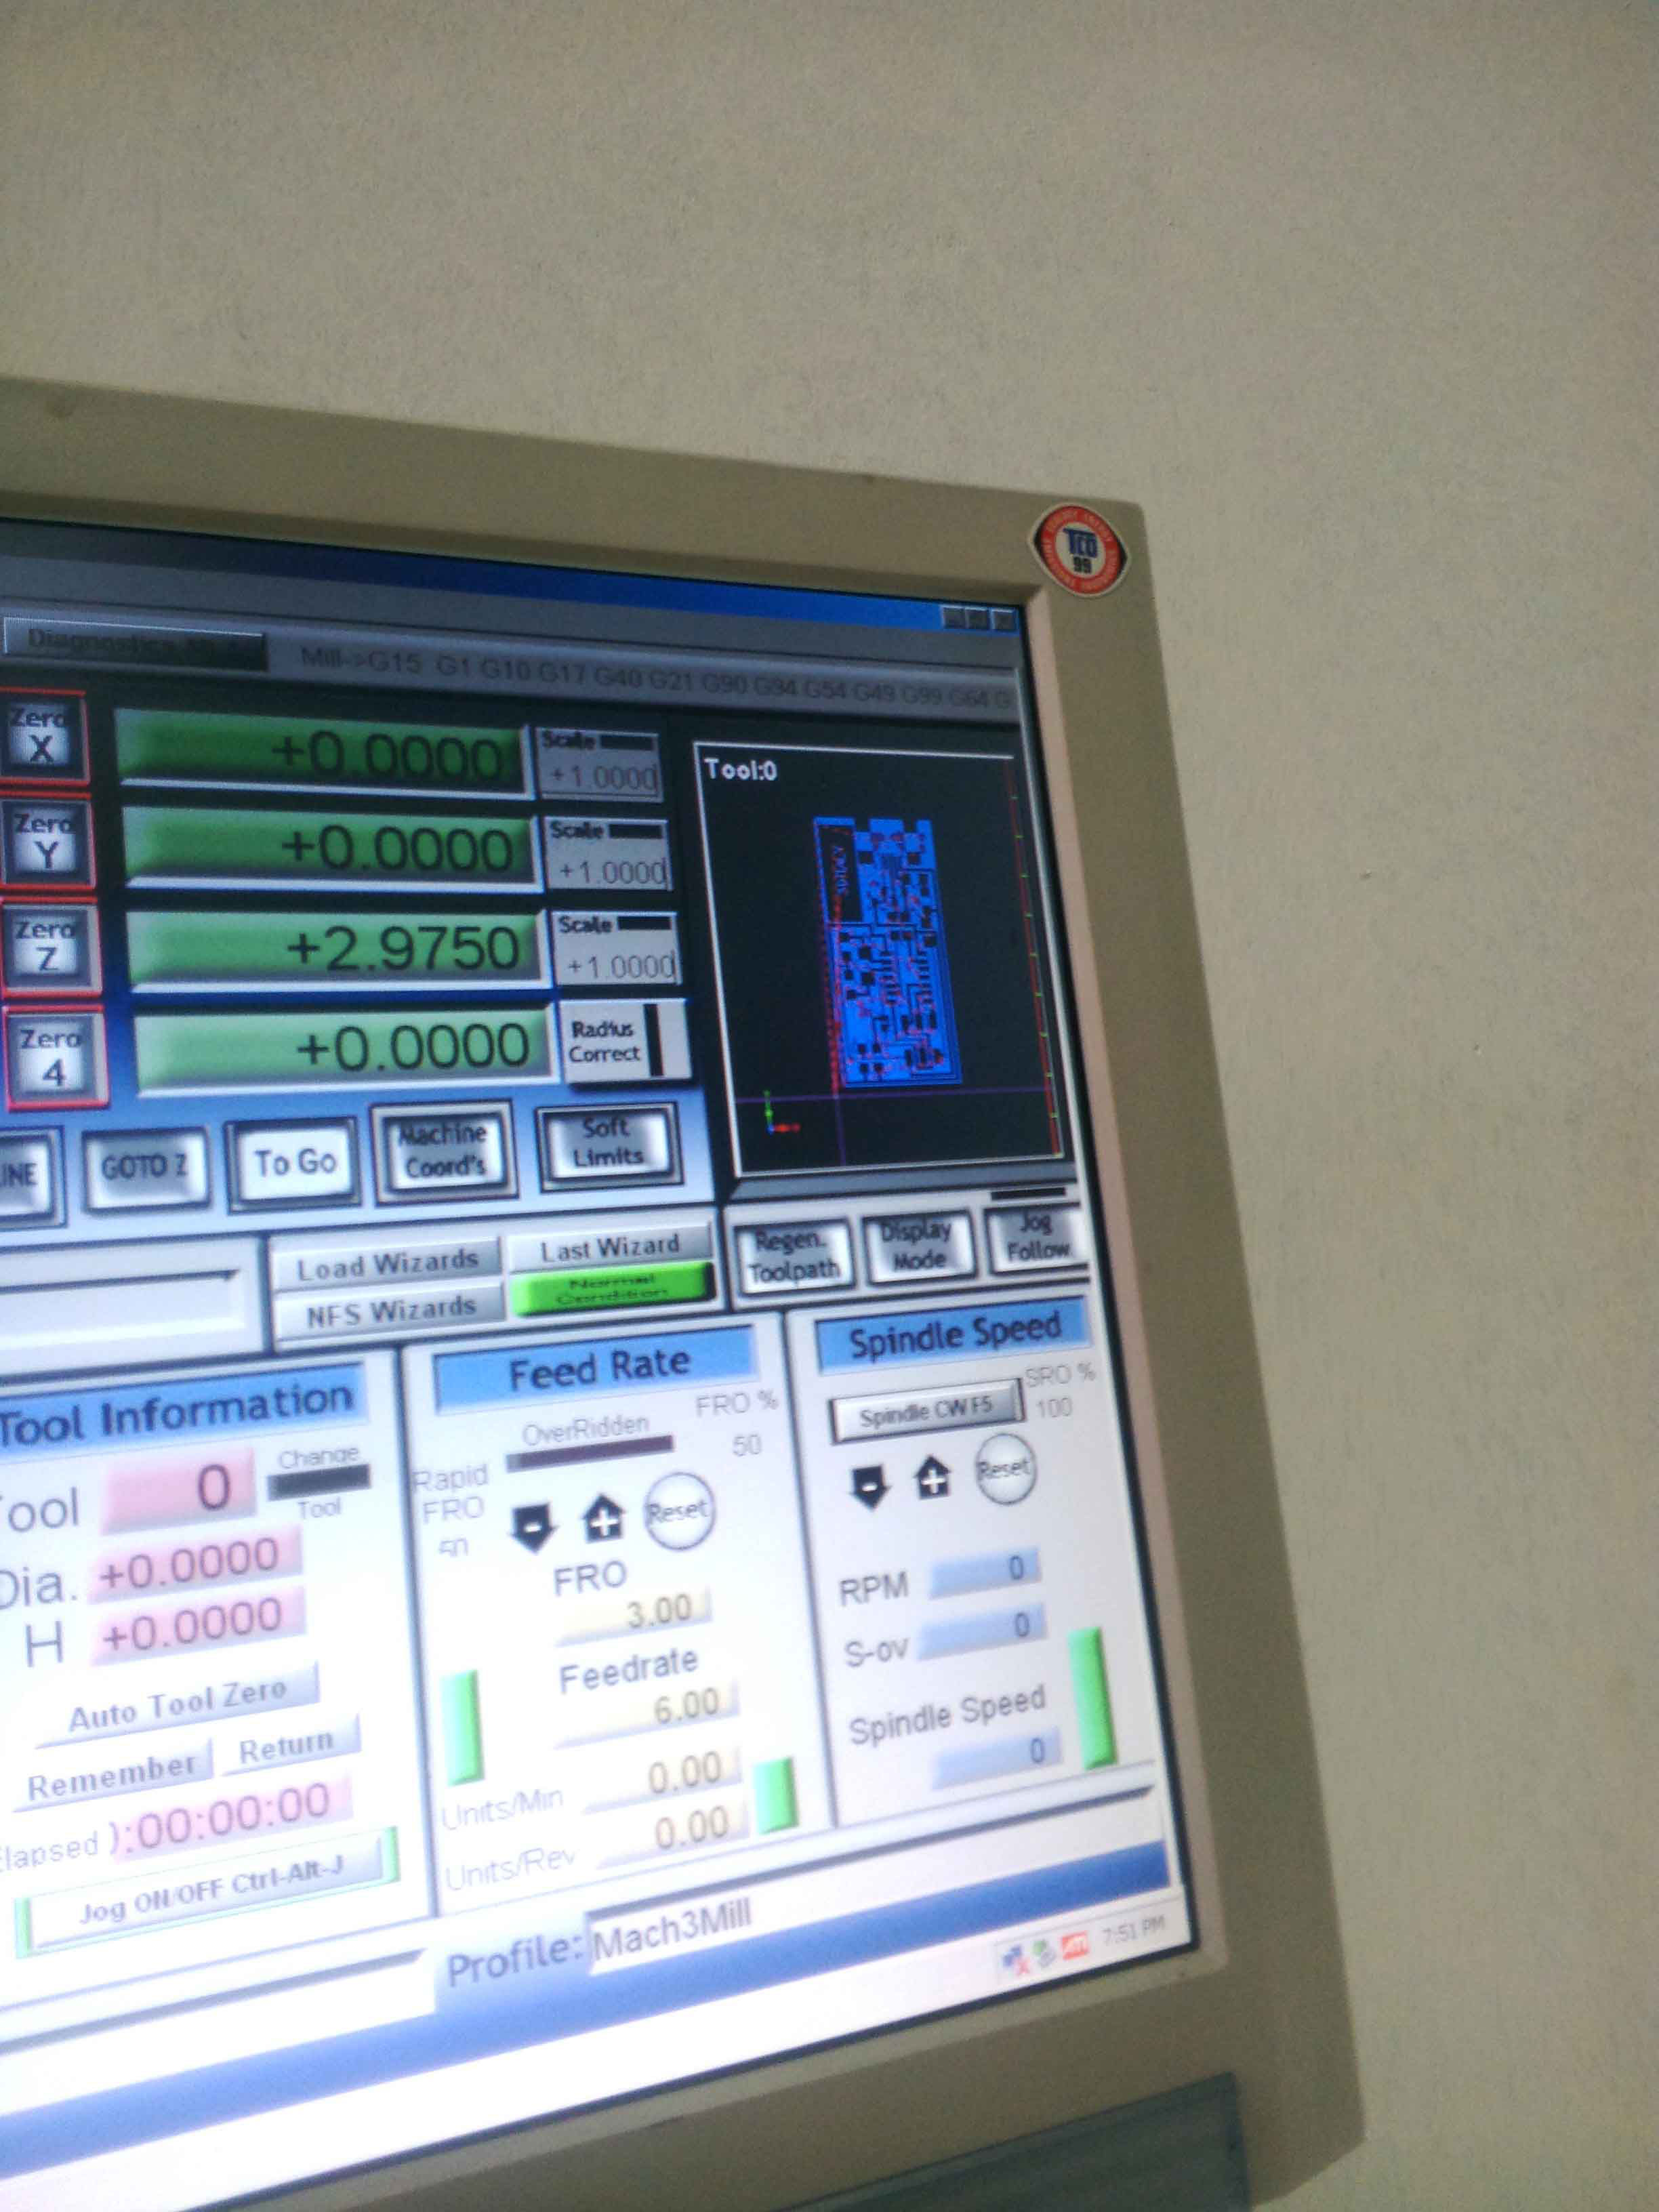
I work to milled my circuit with Mach3. Our machines are controlled by Mach3, and the file PNG is no good, i need a vector file with Illustrator i converted the PNG in vector and after i exported in DXF. I loaded in the Vectric Aspire CAM and with the pocket toolpath we had a g-code for Mach3.
We used the 1/64 inch end-mill. I used a conservative 100mm/min feed rate and 80mm/min plunge rate. For this assignment i would like to thank Sergio taught me so much and made available its large MechMate, now Sergio can tell everyone that has very definite!
This link PNG circuit: http://academy.cba.mit.edu/classes/embedded_programming/hello.ISP.44.traces.png
This link the PNG with the cut of the pcb:
http://academy.cba.mit.edu/classes/embedded_programming/hello.ISP.44.interior.png
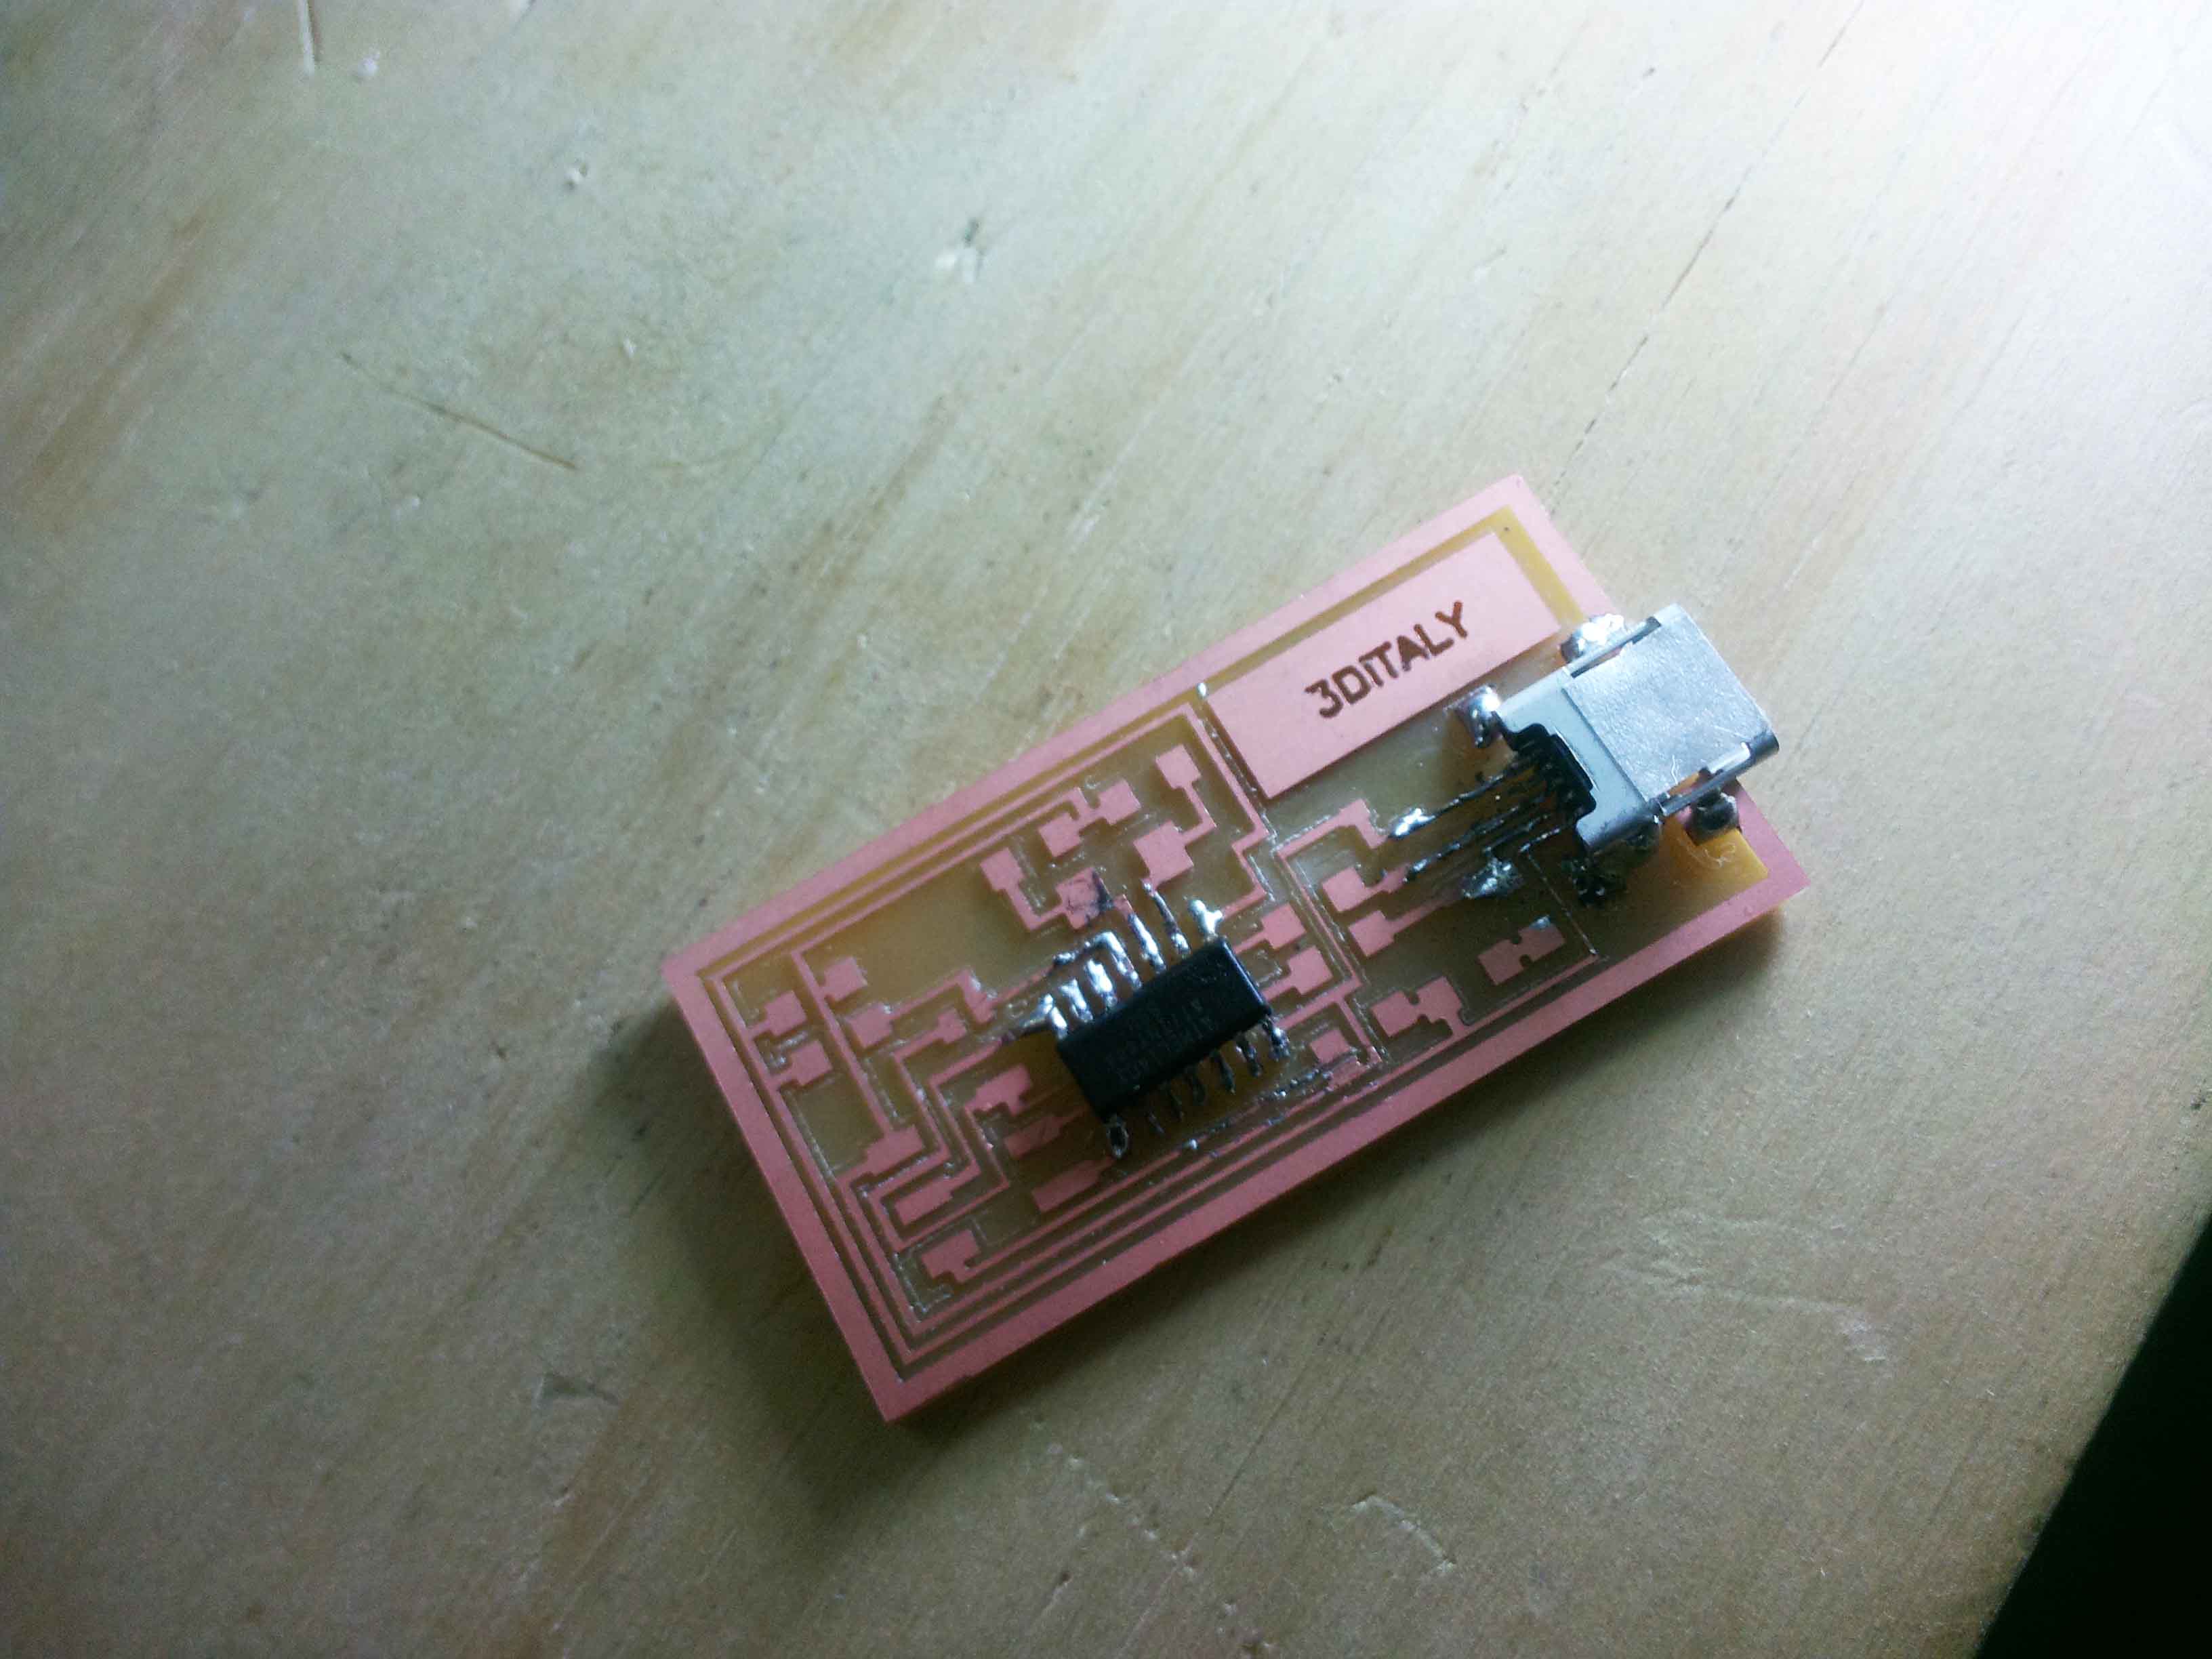
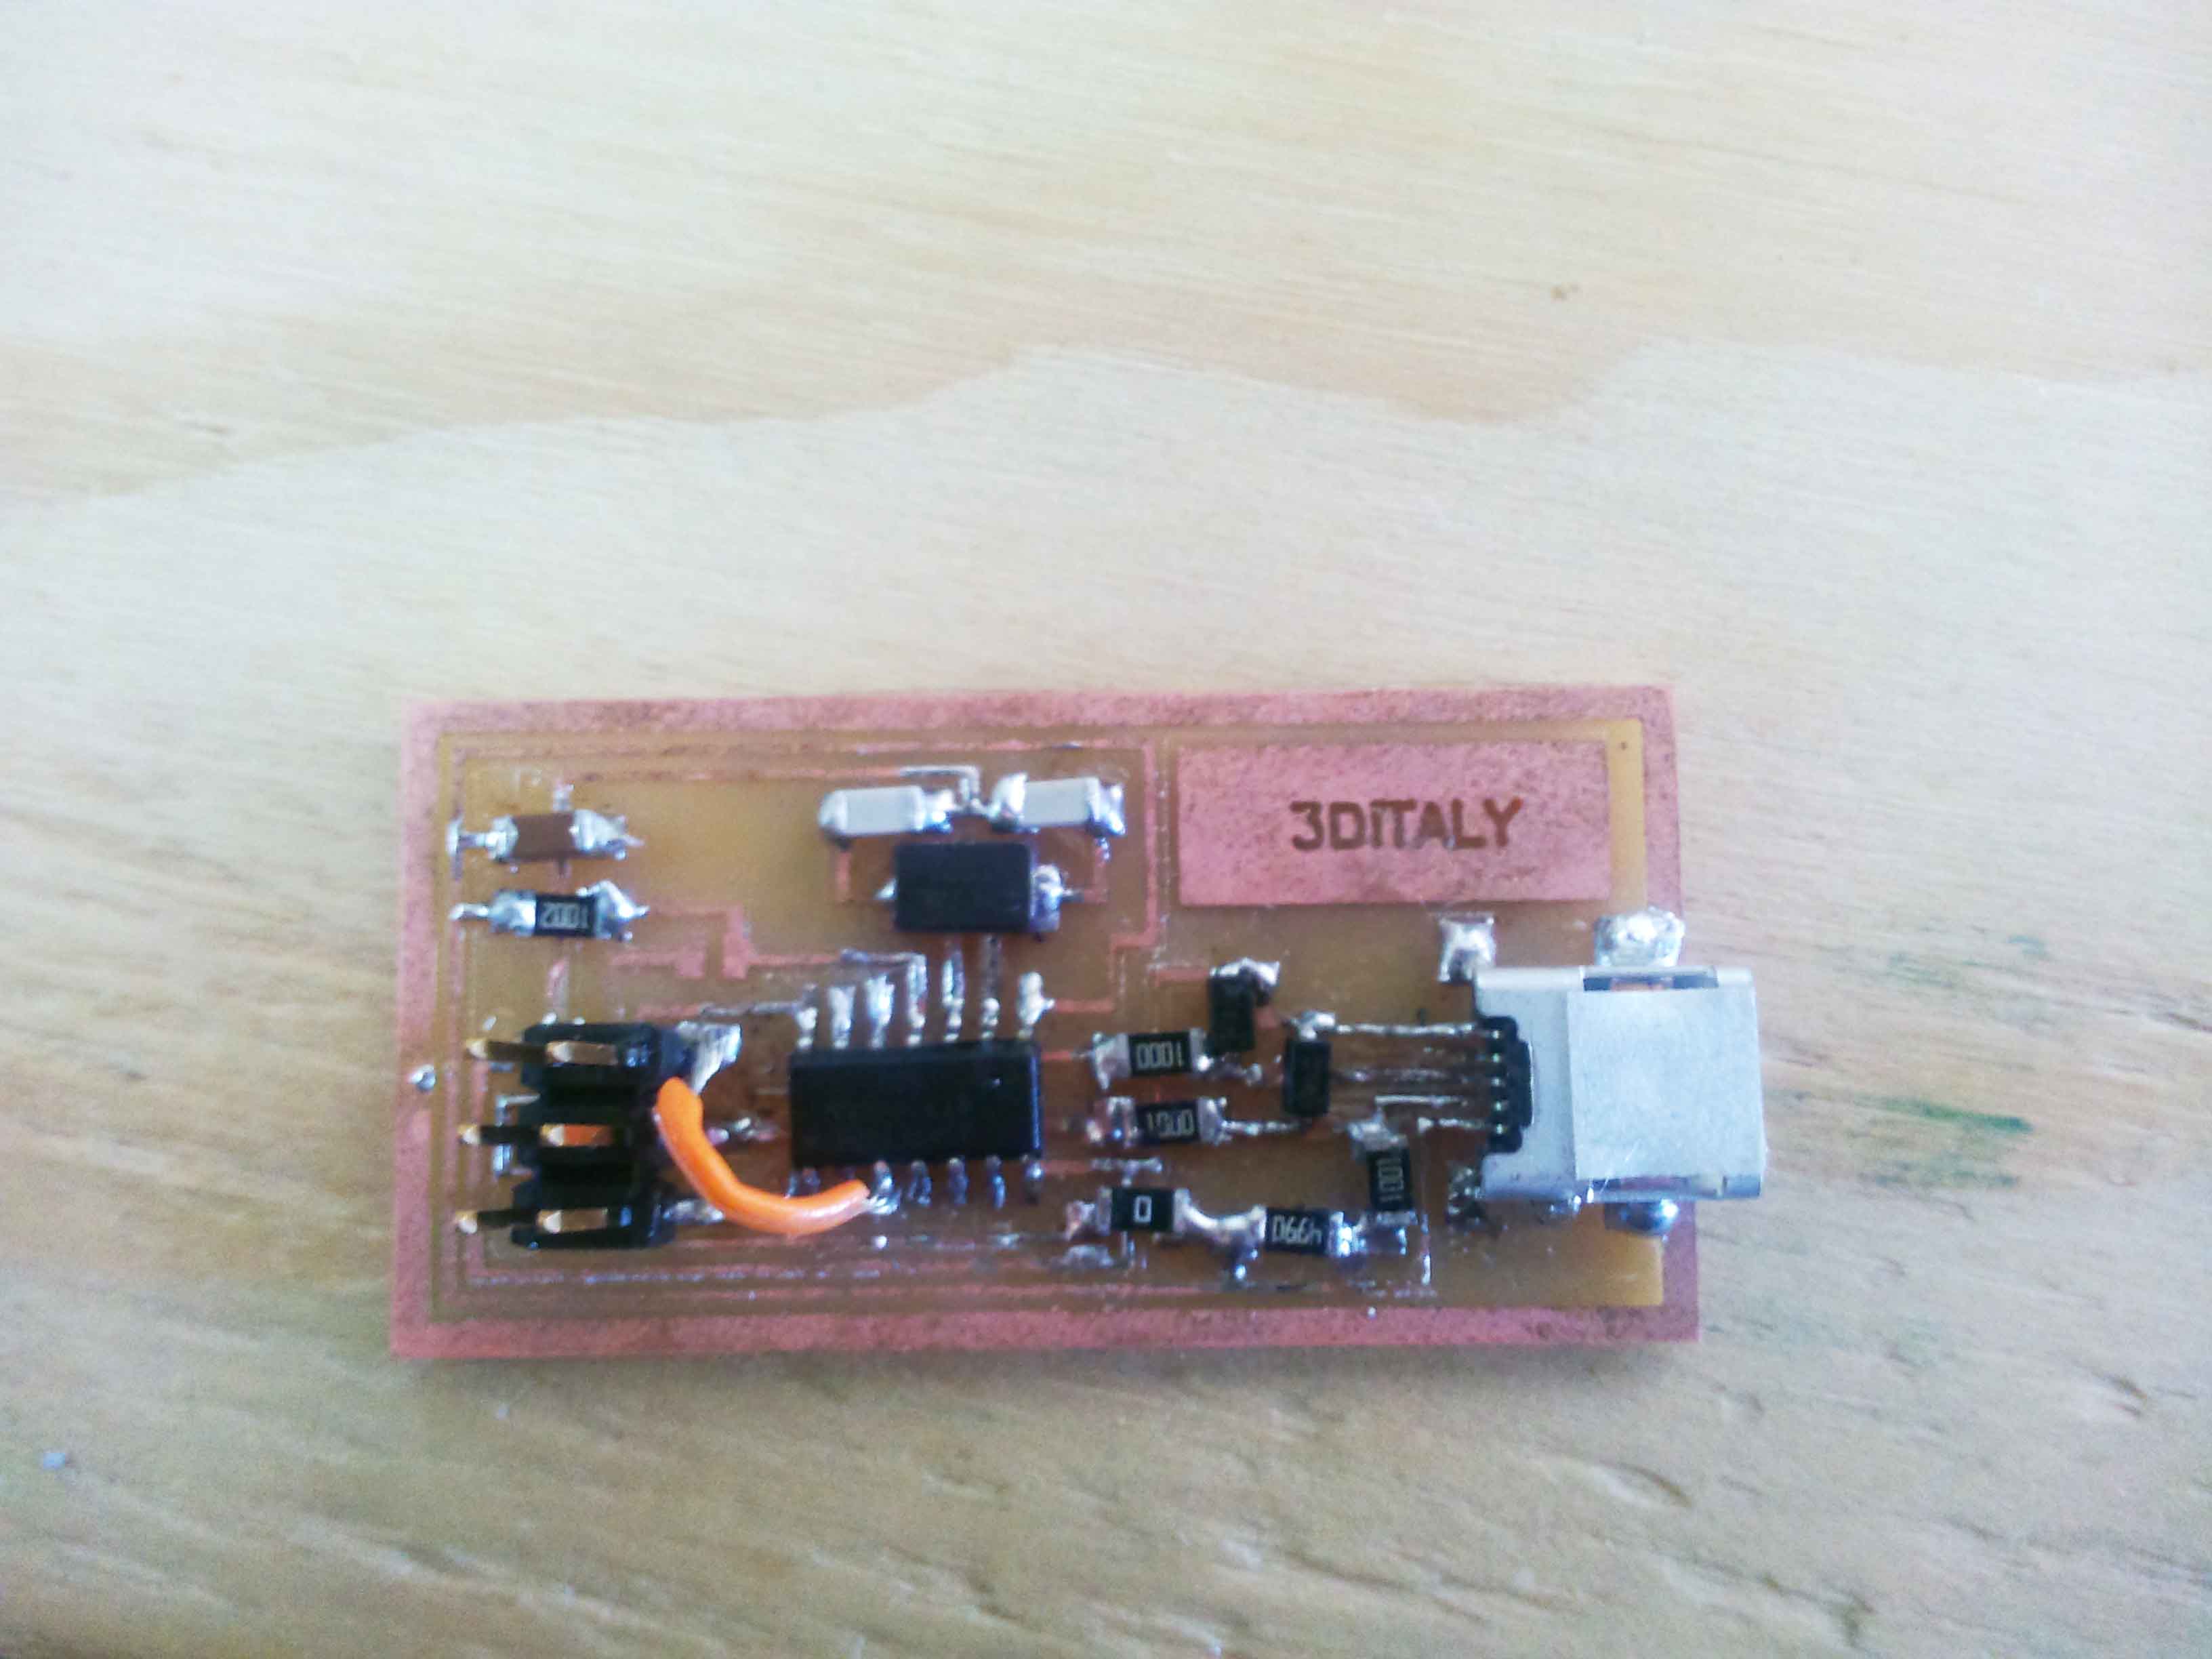
I must say that the result was excellent. Besides the circuit tracks the logo of my company is very cool, 3DiTALY :)
These are the all the parts to build the board:
1 ATTiny 44 microcontroller
1 Capacitor 1uF
2 Capacitor 10 pF
2 Resistor 100 ohm
1 Resistor 499 ohm
1 Resistor 1K ohm
1 Resistor 10K
one 6 pin header
1 USB connector
2 jumpers - 0 ohm resistors
1 Cystal 20MHz
two Zener Diode 3.3 V
one usb mini cable
one ribbon cable
two 6 pin connectors
After milled my circuit i run all welding components, almost everything went well until a track circuit is not detached, but as a good maker I proceeded to make a bridge, I am proud of my board.
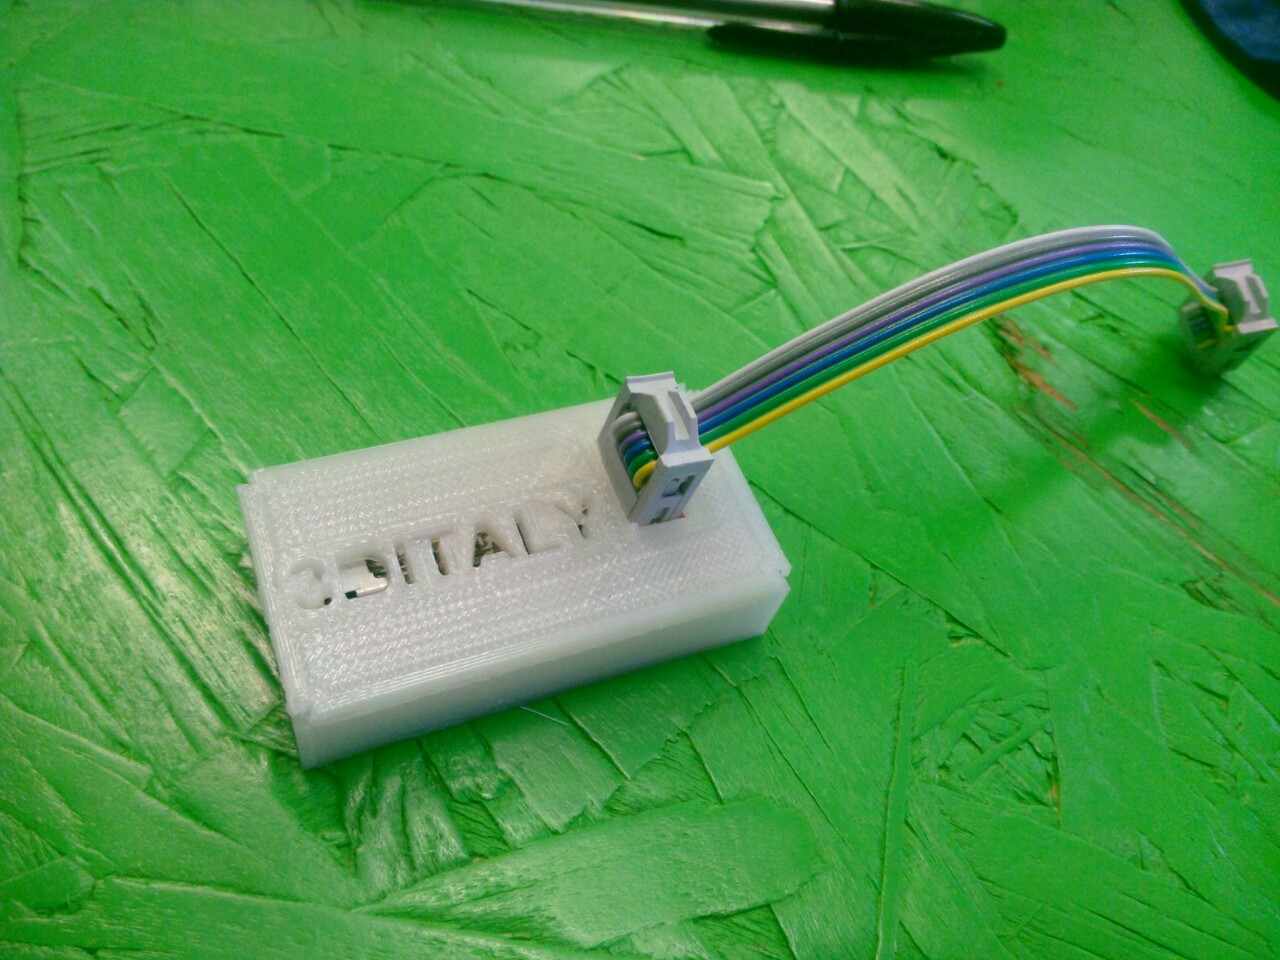
The last two steps were done with Soldworks rendering and printing 3d (3D file)
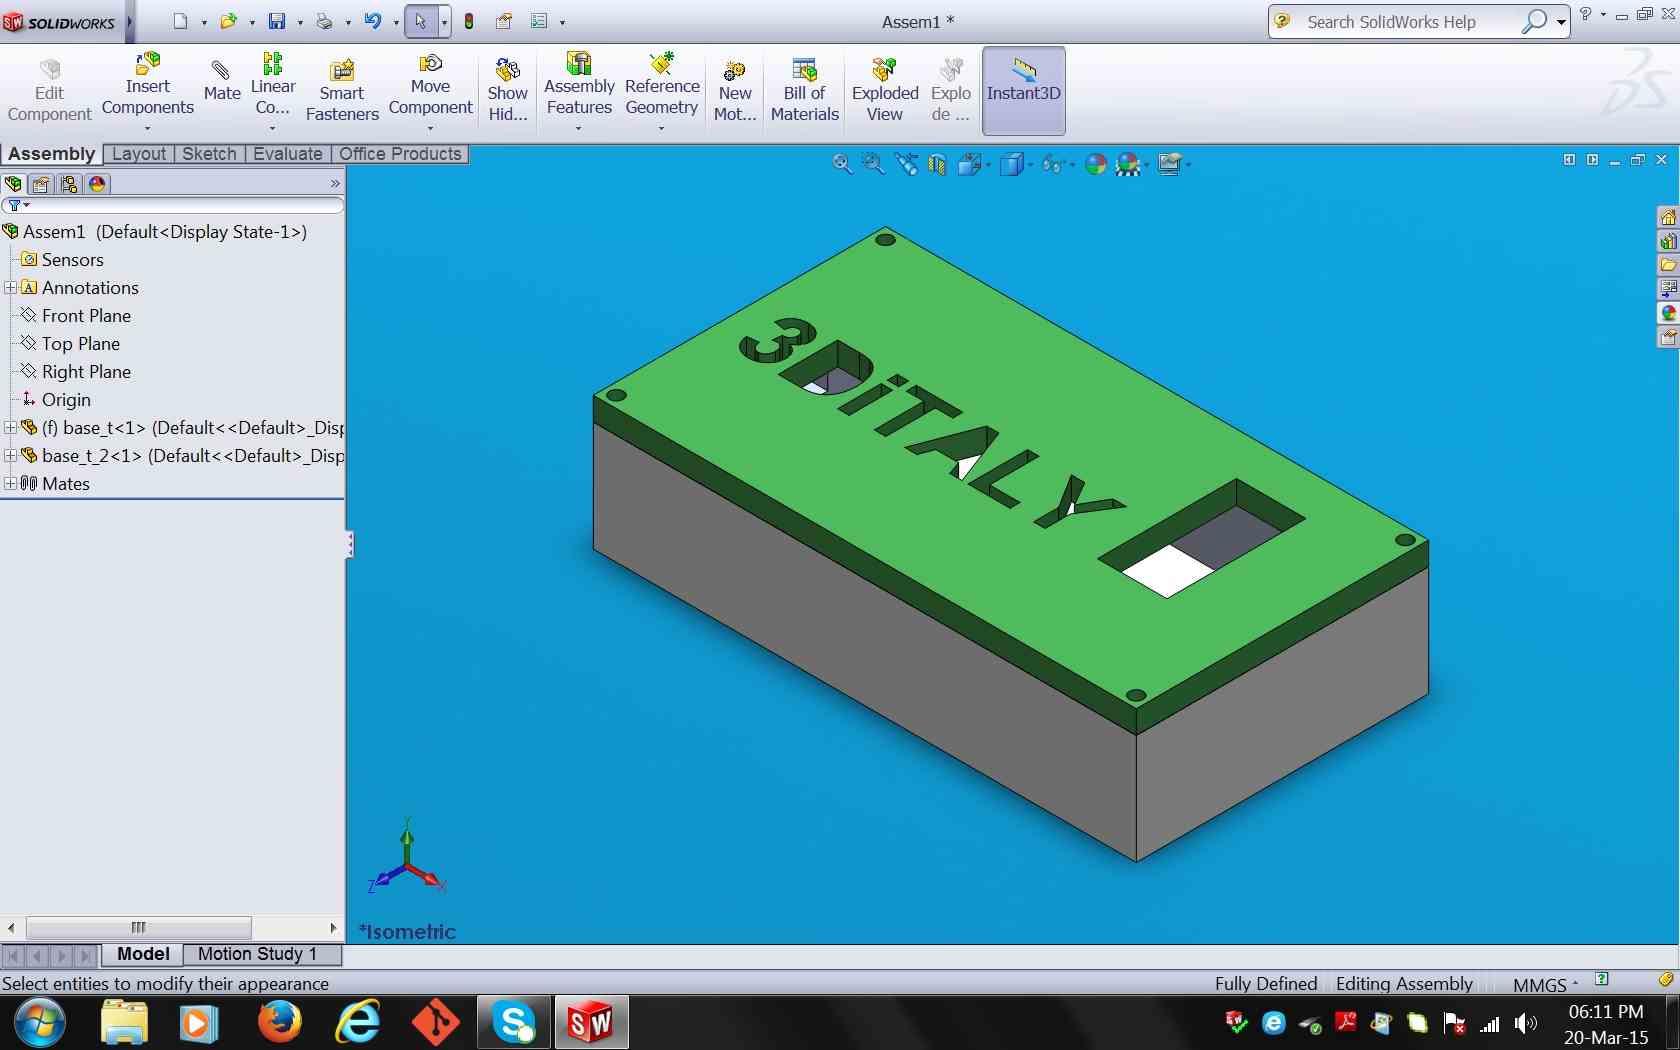
Made with a 3D printer, i use the software Cure to prepare the G-code and print with the machine Sharebot NG, in the 3DiTALY Lab to Rome. For me the print of the file is very easy, i used the parameters to generate the gcode very simple, printing speed 100mm / s fill 60% to make it robust and both the roof that the base with 2 mm thicknes, material Pla natural. (Stl and G-code file).