11 - Composites
PART 1: EPOXY AND VACUUM BAGGING
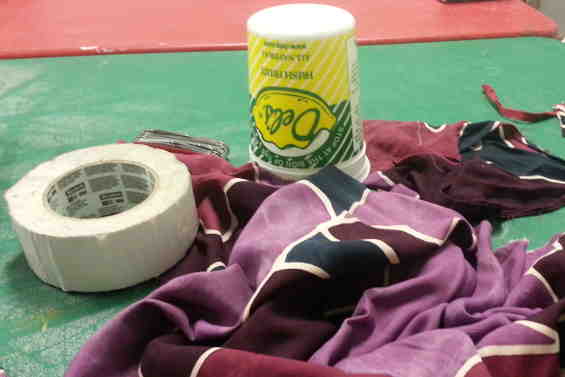
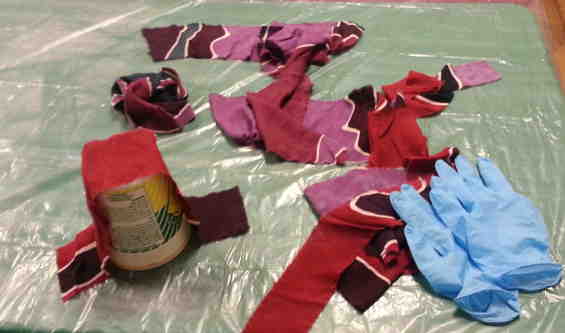
For the first part of this week, we did a trial laying up some fabric and resin on a form and vacuum bagged it. Here are my materials:
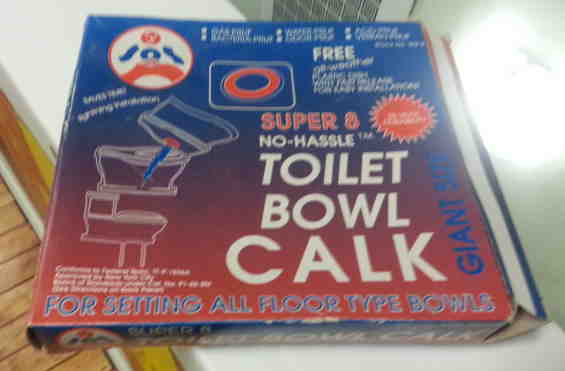
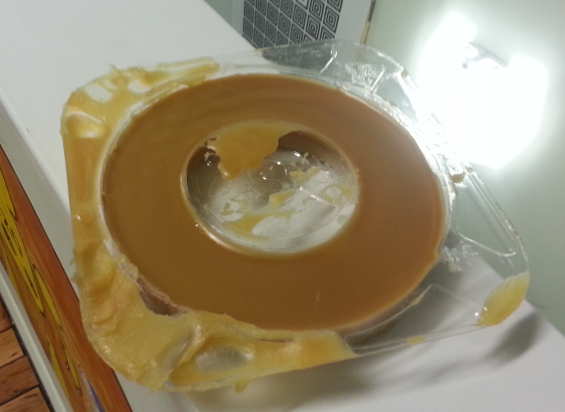
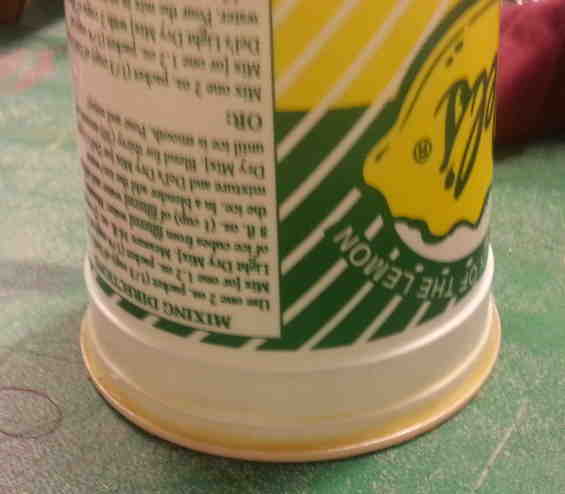
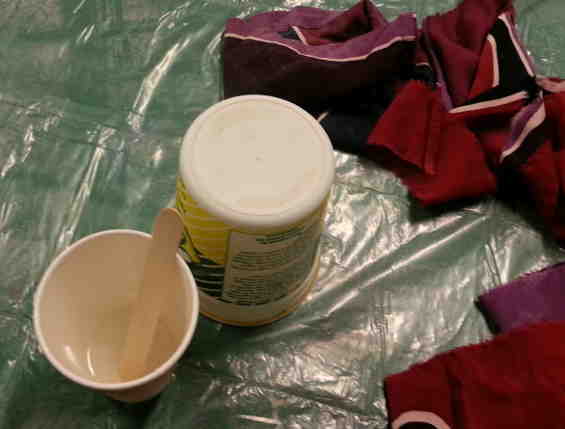
To fill in the lip at the bottom of the up I used some toild bowl calk:
Here are my materials. We used a 2-part epoxy using 2 parts resin to one part hardener.
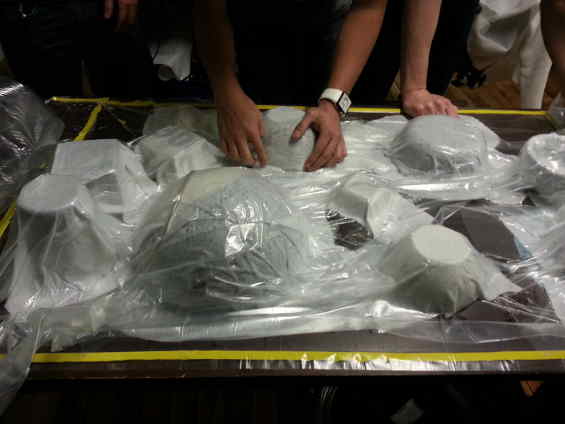
At this stage, everything was looking good. Mine is on the lower left, all covered with the perforated film and breather sheet.
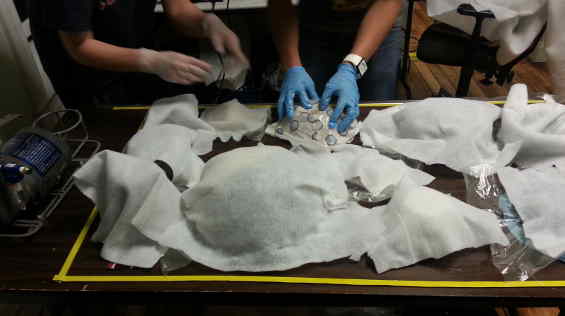
The whole table was vacuum bagged at the same time. A lot of effort was put into sealing as many air leaks as possible.
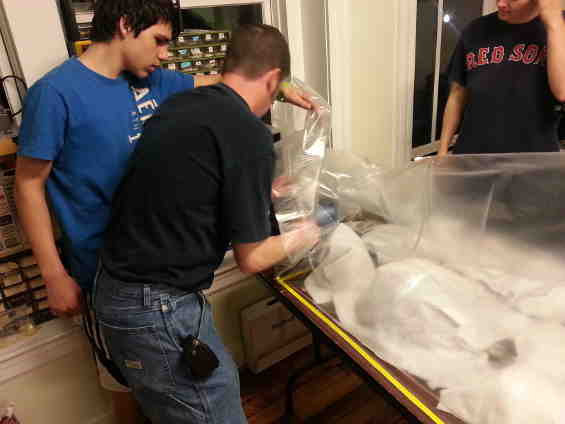

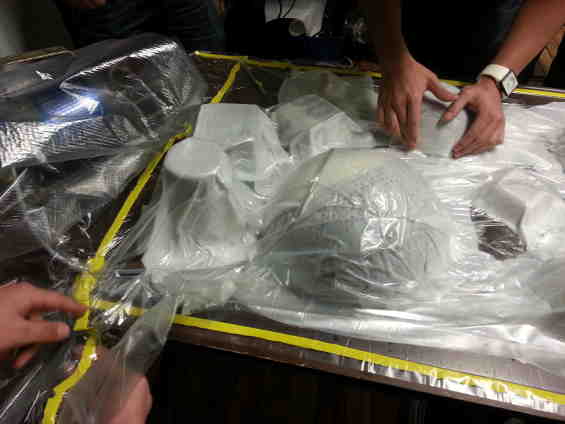
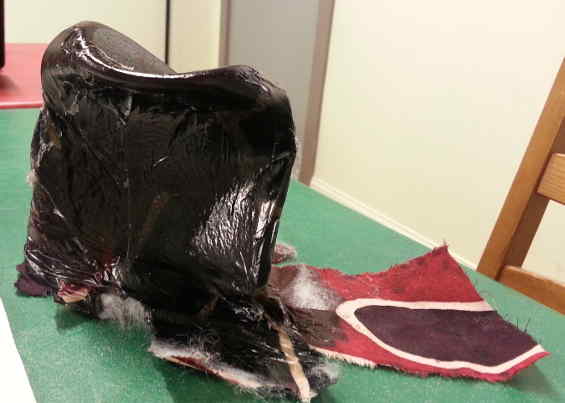
Once the vacuum started pulling, the inevitable happened..... (Pay attention to the lower left.)
FAIL! I guess it was a learning experience...
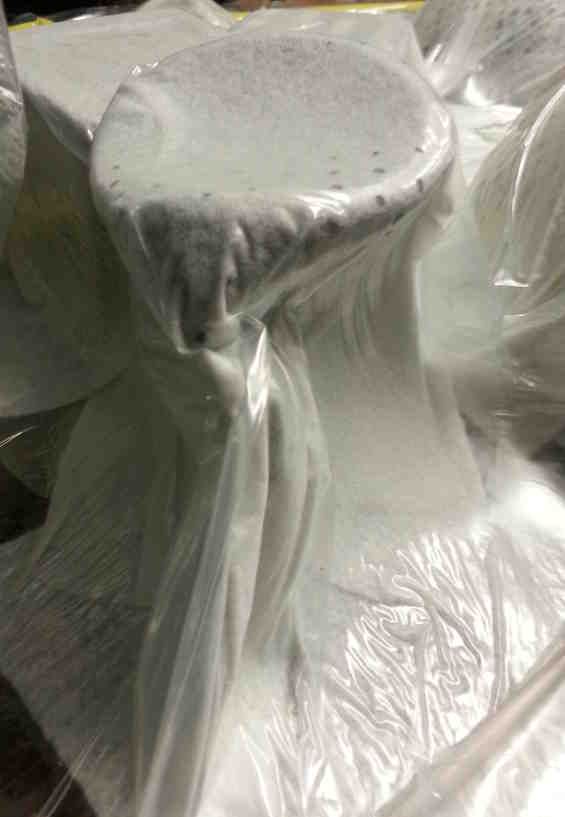
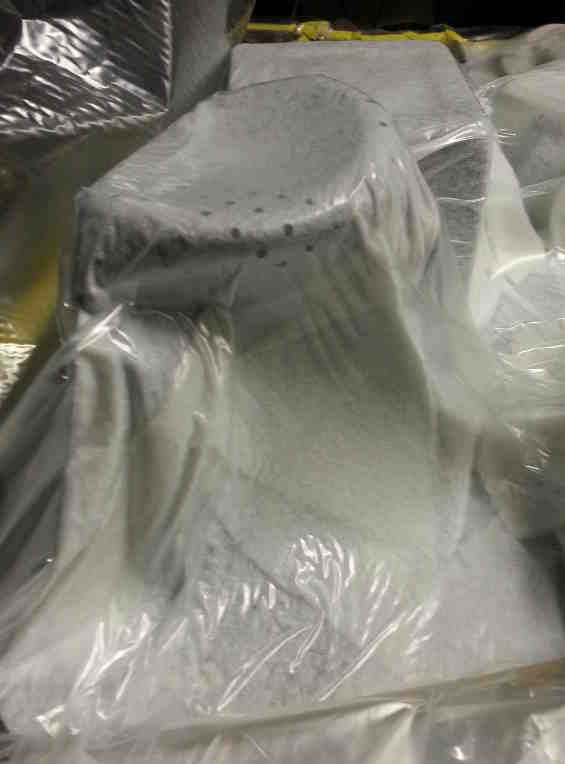
...a VERY ugly learning experience.
PART 2: PHONE STAND v2.0 - COMPOSITE
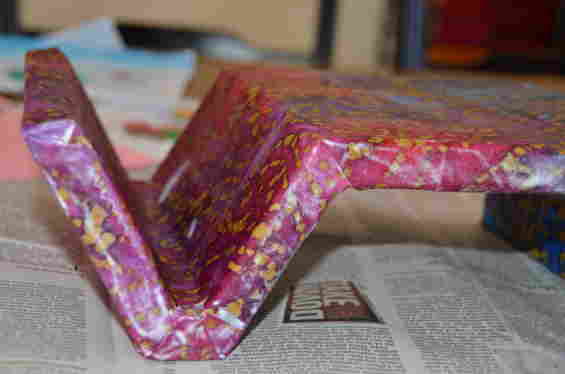
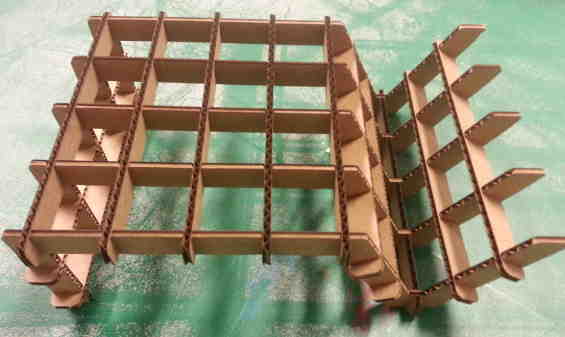
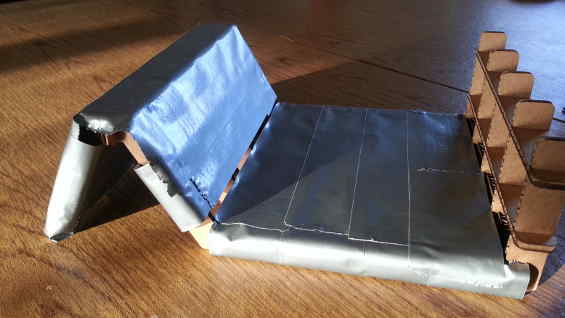
After the epic fail that was my first composite experiment, I decided to use an old favorite - my phone stand - and lay a composite over that. Here is a freshly laser-cut phone stand:
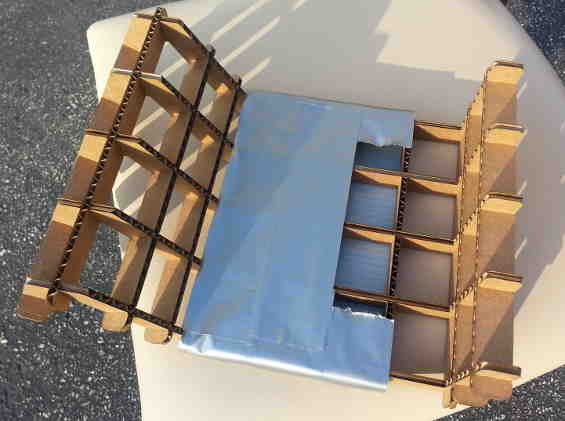
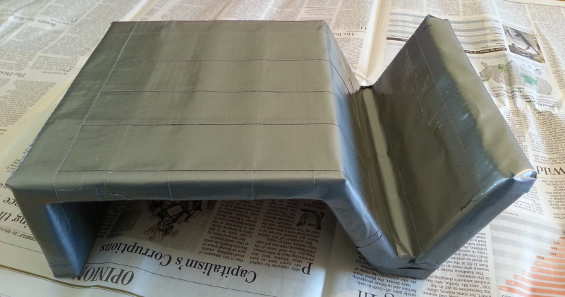
I used duct tape to create a solid and seal off the cardboard.
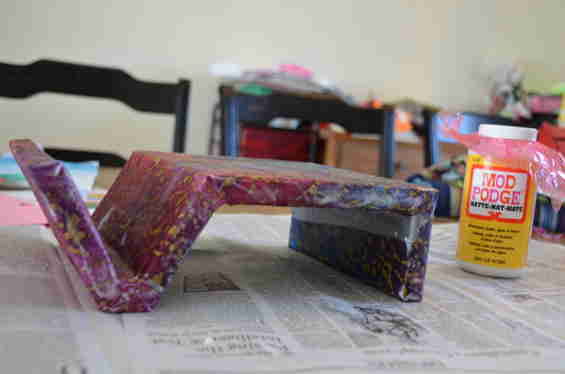
I applied a layer of Mod Podge to the top of the phone stand and placed the layer of fabric on top of it.
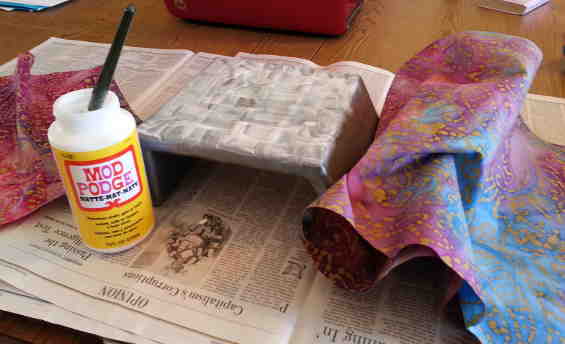
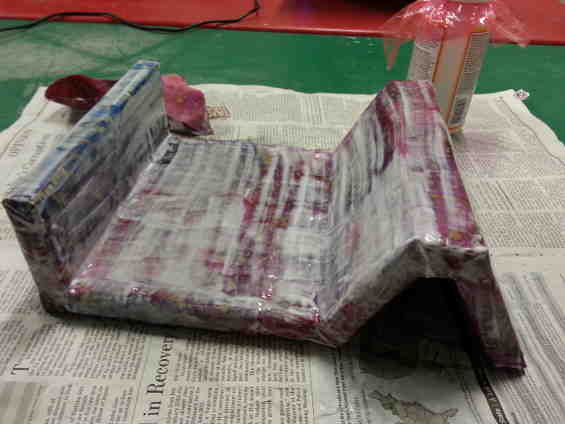
Once that layer was down, I applied a layer of Mod Podge over the top. I used a roller to remove the air bubbles from under the fabric layer.
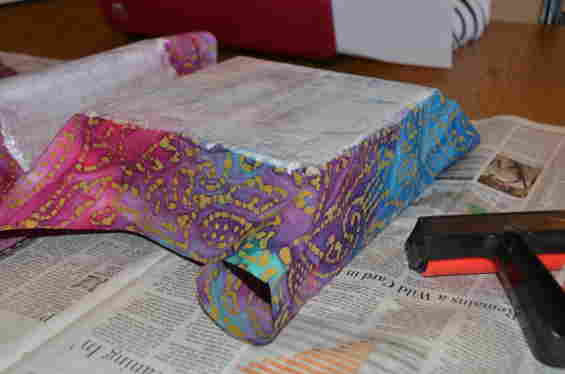

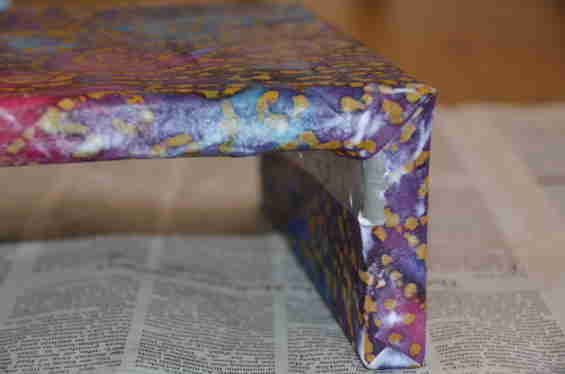
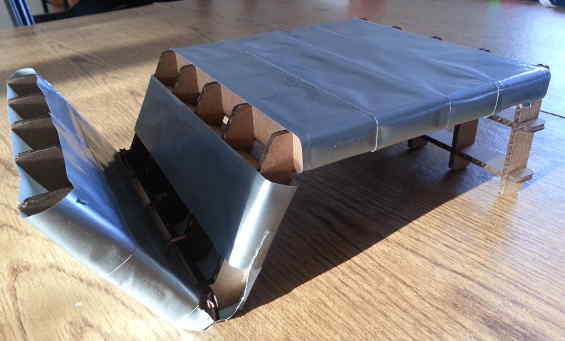
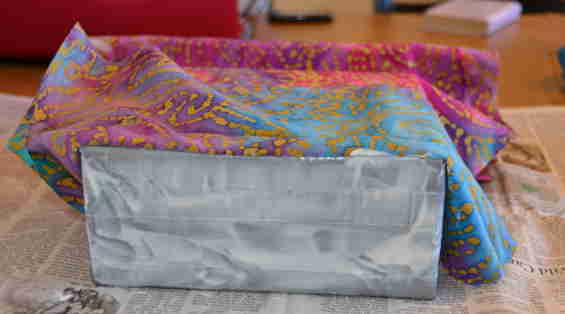
After some trimming and various layers of adhesive, the phone stand started to take shape.