07 - Molding and Casting
MAKING THE MODEL
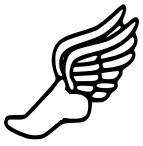
My daughter runs in high school, so I thought I'd make a chocolate mold in order to make some cool high-school-running-team-chocolates for fund raising.
I took a bitmap of the running symbol - the winged sandals of Hermes...
...and imported that into tinkercad.
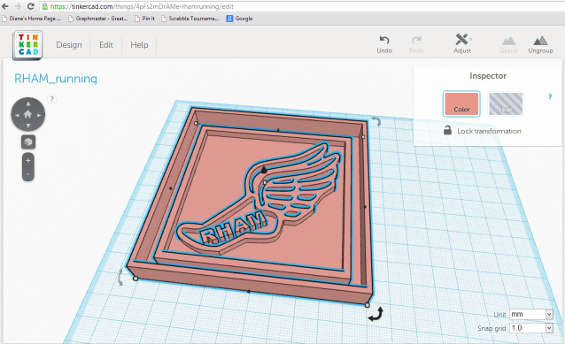
In tinkercad, I added the school name, and a couple boxes around it: the smaller one is going to be the flat piece of chocolate that the running symbol is on and the larger one is the containment tray for the mold-making compound.
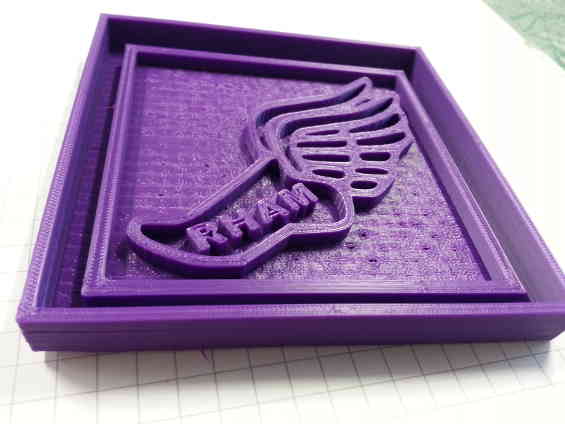
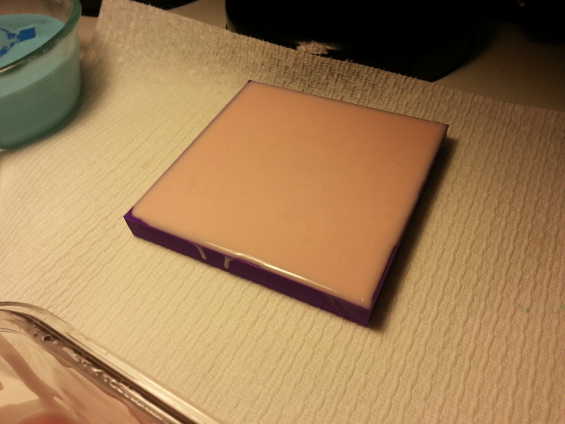
I exported the model as an stl file and 3D printed my model.
MAKING THE MOLD
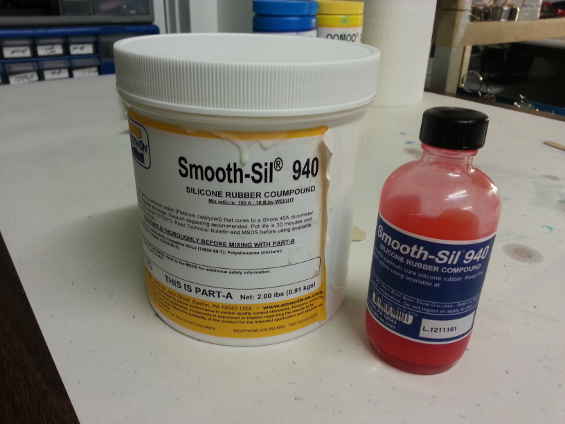
Since this is going to be a chocolate mold, I used food-grade silicone, Smooth-Sil 940.
After some vigorous stirring, I poured the extremely viscous mixture into the model. I was worried about the silicone's ability to get into the details of all of the small letters. I spent quite a bit of time gently tapping the tray to work as many bubbles to the surface as possible.
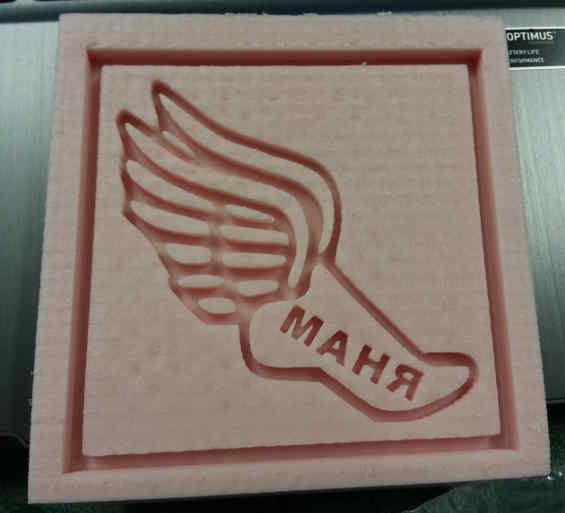
After a 24-hour cure and a 3-hour oven cure, this is what resulted. The silicone got into even the smallest space. I had to clean up a bit of extra piece in the letters that were the result of open spots from the 3D printed model. I used tweezers to remove the bits that I didn't want and a craft knife to remove bumps from the surface.
Here is the cleaned up mold, ready for chocolate-making!
MAKING THE CHOCOLATE
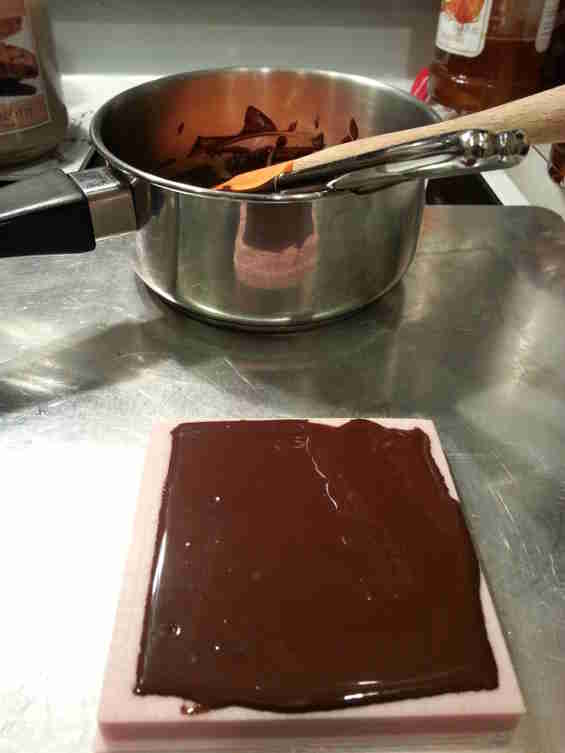
I was finally able to try out my chocolate mold, with limited success. I melted the dark chocolate with some lecithin, poured it into my mold and tapped to bring any air bubbles to the surface.
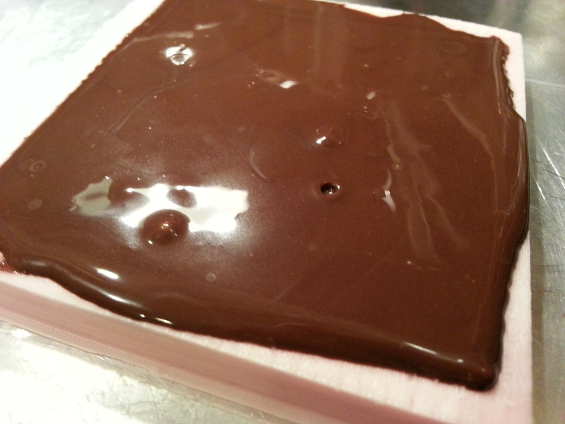
Here are the final results:


I think the raised detail is too high - I made the design 3mm higher than the surrounding area, which is apparently too high. I will make a new model and keep the design to 1mm or less, print it and try thr process again.
