
1.7 Molding and Casting
Ideas:
This week assignment, my idea is to experiment with geometry, randomness and materials.
Weaire–Phelan structure

Soap bubble

2D and 3D molds, 1 or two pieces: Breakdown decisions
One of the basic design decisions you will make is to choose the way your object will behave digitally. I mean, if it can be milled as a surface with some elevation, then it is mainly a 2D design. The things get more complicated when you try to design a complex object, the more subdivisions that the surface has, it will perform better if you subdivide that model into parts. The number of parts will depend on the complexity of your model. If you made a two part model, then in the process design it is necesary to add some
Ingredients
Physical stuff (Atoms)
Digital stuff (Bits)
Instructions
Steps
I manage to made several designs, mainly to improve my computer design skills and to test new concepts. Also you will need to take in mind the difference beetween a 2D and 3D model, of one or two pieces.


In the end, because I cannot have a new wax brick, I have design a new object, a smaller one so I can reuse the milled wax bricks.


Options: 1/16, 1/8. It depends of the spacing of the parts or the separation of the subdivisions inside the model


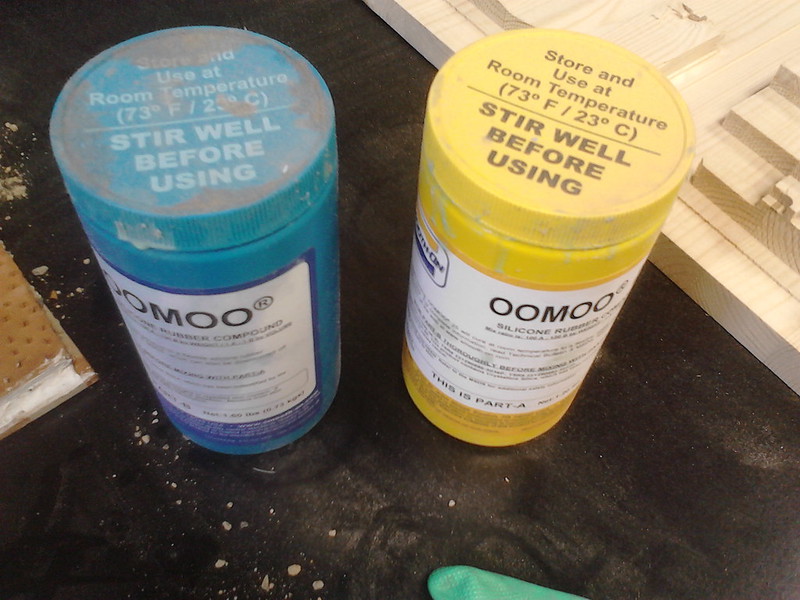
Security warning: Do not forget to wear gloves.


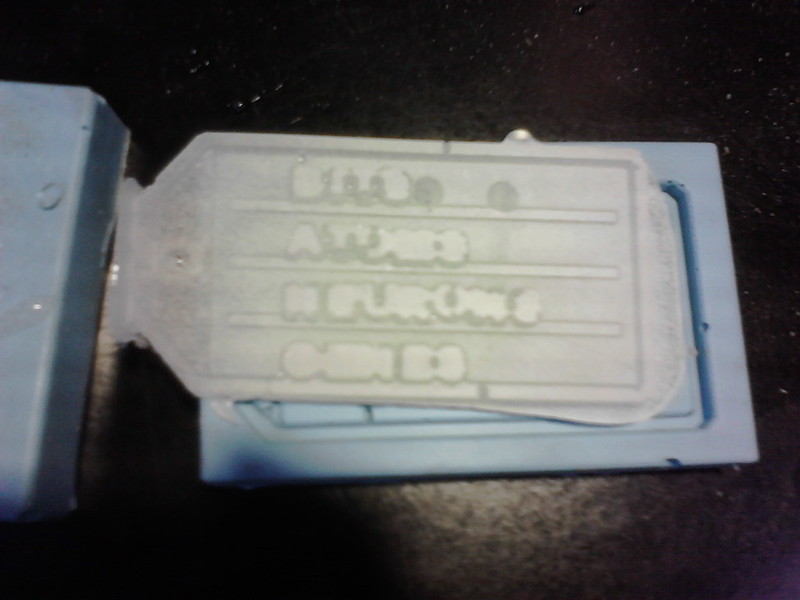
Results:
There is a relationship between the object and its representation. From code into things. Code, 3D model, pre-mold, mold and part.


Inspirations from HTMAA