
1.5 3D Scanning and Printing
Ideas:
I intend to reverse engineer a pin tumbler based only on a 3D scanned key. It is better to make inferences based on one piece and reconstruct the other part, in this case the pin tumbler lock. I think it makes 3D scanning more useful.
Keylock reverse engineering

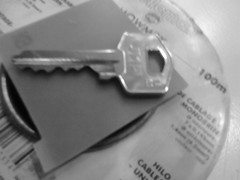
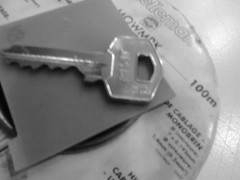
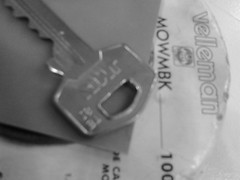

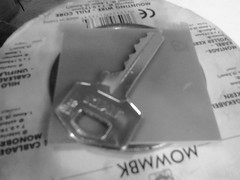
Image optimization: 3D reconstruction software
First iteration results
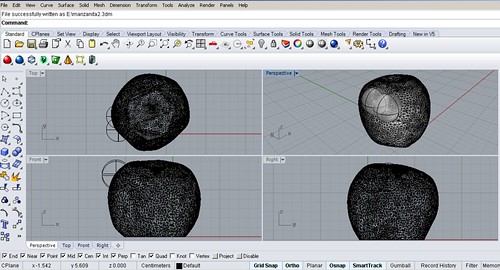
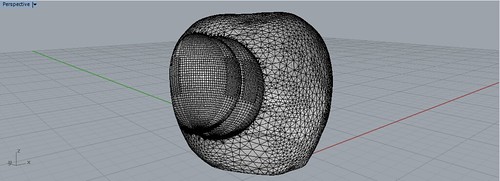
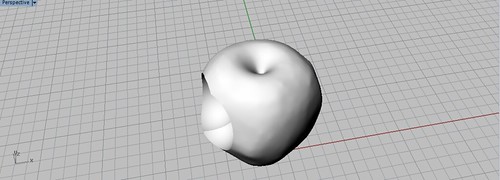
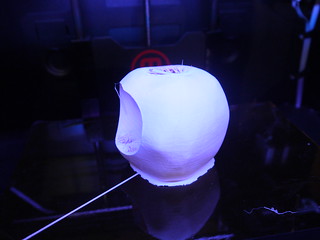
Given that I take almost 25 pictures and the result is not the one I had expected, I have decided to change the parameters. Instead of using a key, which is essentially a flat object, I will scan a volume, an apple, and will increase the numbers of photographs to 90. It means I am changing two parameters: the object geometry and the amount of information.
Ingredients
Physical stuff (Atoms)
- Object to scan (key or apple)
- Tool and process to scan: Camera / Image optimization
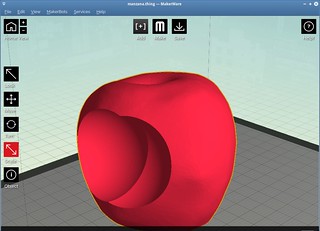
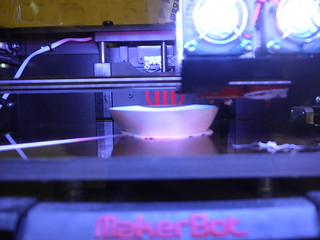
- 3D Printer and process: Z Corporation Spectrum Z510 + Ink-jet binder (3D polymer printing) or MakerBot Replicator 2X + Fused deposition modeling
Digital stuff (Bits)
- Photogrammetry software (to process the images and create the model): Autodesk 123dapp catch
- CAD Software (to edit the 3D model): Fab modules, Rhinoceros 3D
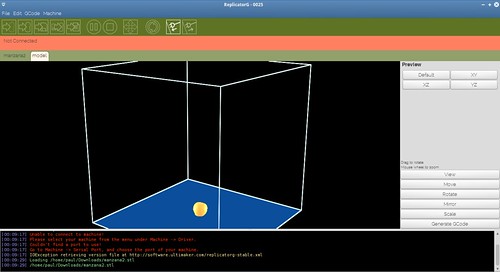
- 3D Printer software (to send the file to the 3D printer): Fab modules, ReplicatorG, MakerWare, etc
Instructions
Steps
In order to reconstruct digitally the geometry it is necesary to take as many photographs as you can. In my case I have taken 90 using a high resolution camera. The total size of the group of images was 180 Mb. It is better to review before this tutorial of 123dapp
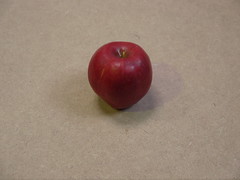

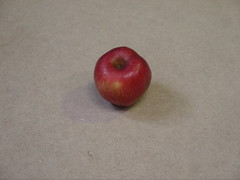
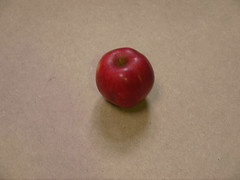
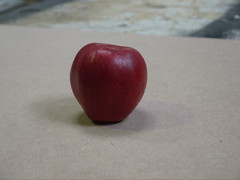
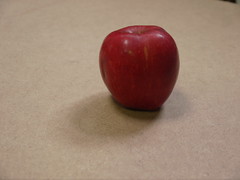
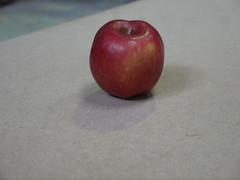
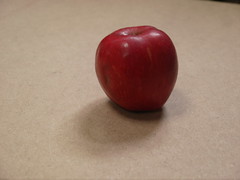

This is just a small subset of the photographs
Upload the photographs and process the images in order to create a 3D model.

Results:
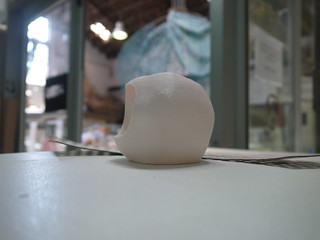
Small manzanita
The 3D scanning is a technique that permit us to capture the geometry (the surface) of an object and create a digital model of it. At this point we can not capture the materials of the object and reproduce it. Have in mind that it will model only what was previously captured. In the case of the photogrammetry it works making assumptions about the geometry and forming a digital model about it. It wont capture the molecular representation of the apple.
To make that (maybe) we will need an electronic microscope and once the molecular model will be captured and formed, it must be necesary to make assumptions based on the assembly process. In that way the 3D assembler can nanoprint the molecules following a pre-defined grammar. It is like to hack the grammar and syntax of the nature design.
