March, Monday 18th 2013
Assigment: Design a 3D mold, machine it, and cast parts from it
Molding and casting is indeed an interesting matter tu explore.
As a huge fan of Miguel Fisac, I'm interested in (concrete) casting methods. So this assigment will open new territories in my personal research.
In class we were presented with several materials for molding as for casting.
Here are some of the possibilities we have available in the FabLab.
Molding
Casting
- Hydrostone
- Drystone
- Plaster
In class we had the option to work with the Roland Modela or the Precix milling machine to do the molding.
I choose to use the Precix as to try a bigger mold and to use materials similar to cement, in this case HydroStone.
With the milling machines you have to keep in mind this three important variables:
- Bit collision
- Shaft diameter
- Flat/Round bit
1) Design a 3D Mold
I had some ideas to try the molding and casting so I made several 3d models. I had some trouble with the meshing. I started modelling in Rhino and with TopMod.
Here some images of the first tests:


Mold studies
After some studies I found that this models were had some errors, so I went to another solution.
I wanted to try a modular piece as to produce several castings that form another object.
In this case again, the dodecahedron - with penthagonal faces- could do the job.
Here some images of the final 3D model and the molds prepared to generate the G-Code. :

Mold final concept
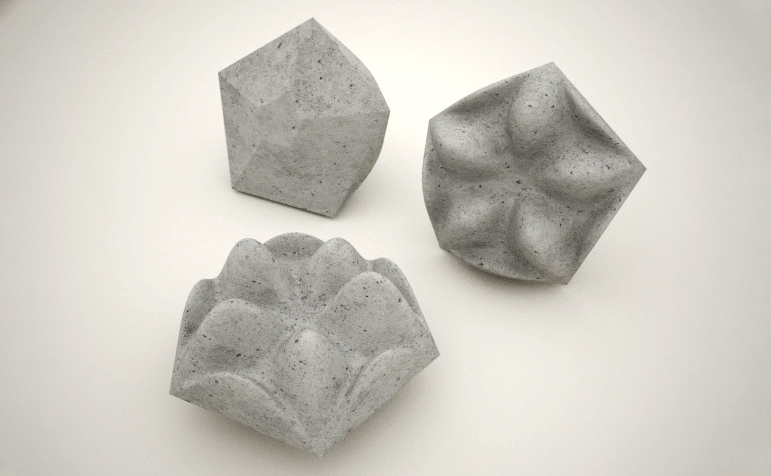
Front & Back views

Complete Dodecahedron
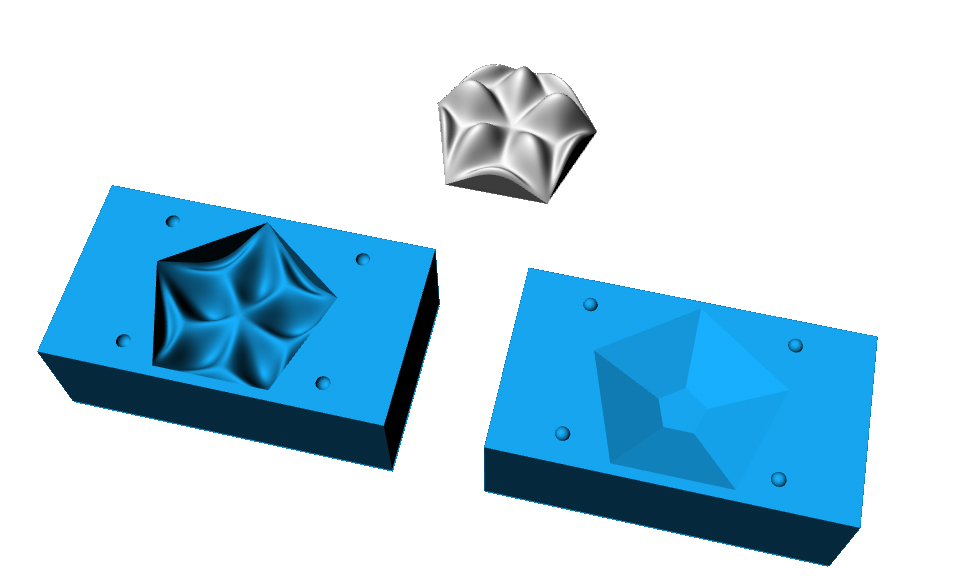
Final Piece and Molds
2) Machine the Mold
I will be milling the mold in Foam using the Precix. In this case I will use a 6mm bit. To generate the G-Code I used RhinoCAM.
There are two separate mold pieces, so I will need to generate two Gcodes as well.
The Gcode looks something like this:
%
S19000
G90 G17 G40
M3
(Setup 1)
(Horizontal Roughing)
S6000M3
G0 Z0.236
X5.527 Y2.939
G1 Z-0.24 F3.4
Z-0.265 F1.3
X5.554 Y2.856 Z-0.28
X5.75 Z-0.315
X5.811 Y3.043 F1.7
X5.652 Y3.158
X5.493 Y3.042
X5.554 Y2.856
X5.75
Y2.659
X5.411
X5.262 Y3.117
X5.652 Y3.401
X6.042 Y3.119
X5.893 Y2.659
X5.75
Y2.462
X6.037
X6.273 Y3.194
X5.652 Y3.644
X5.03 Y3.193
X5.267 Y2.462
Basically there are two strategies contained in this code:
- Horizontal Roughing
- Parallel Finishing
The horizontal roughing takes away material following a horizontal trajectory -step by step- in depth of the mold.
When the roughing is finished the parallel finishing will complete the job, but since 6mm is not that precise the finish of the mold will be a little rough.
Here are some images of the process:
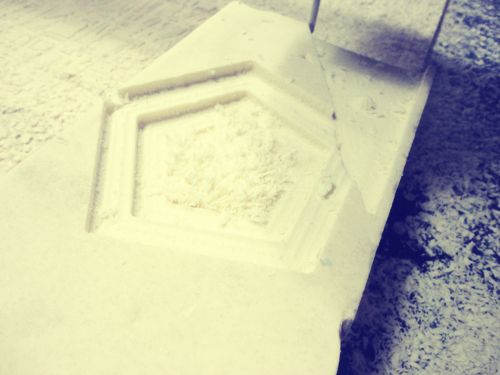


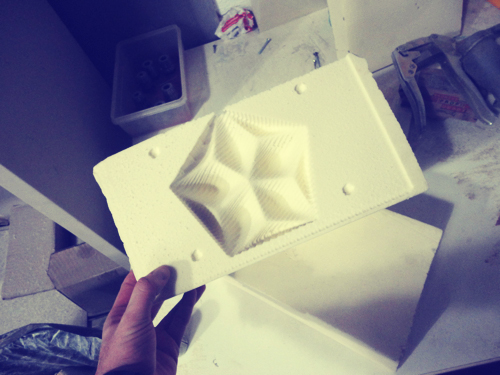
Part A & B of Mold
3) Casting & Final Piece
Since I'm using HydroCal Plaster to do the casting there are some previous steps as to prevent the piece to get sticked to the mold.
First step is to cover the mold surface with a sealing liquid. This process will take an hour to dry.
After that, it's recommended to use some kind of vaseline to make easier to take out the piece from the mold.
I used simple vaseline in paste. Maybe liquid vaseline would be better to use. I had some problems with this kind of vaseline because the final piece is all gooey and somehow not completely dry.
HydroCal is very nice, but one thing you have to keep in mind is that when the material hardens it loses water.
In the drying process, the piece volume will decrease.
In my case I didn't prepared an excess in the mold as to compensate this volume reduction, so my piece is missing a corner.
Here some images of the final result:

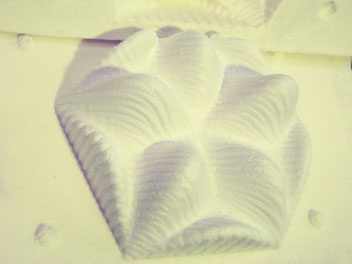
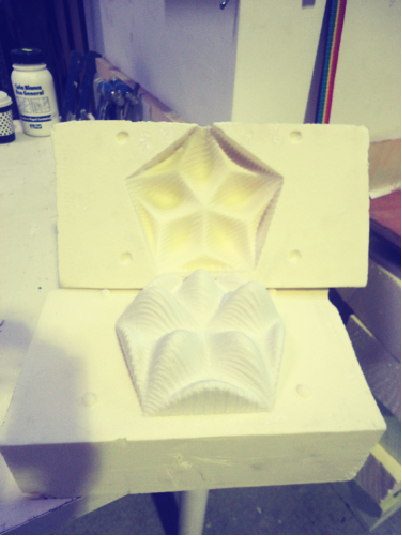
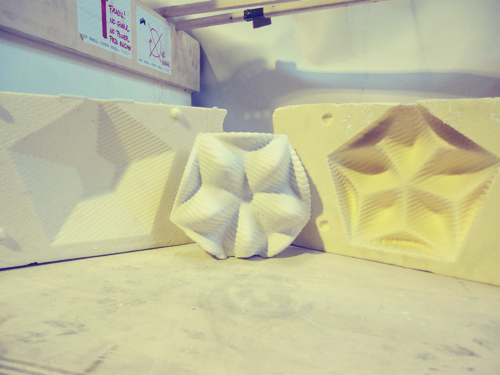
Final Piece
