February, Tuesday 26th 2013
Assigment: 3D scan an object + Design and 3D print an object
1. 3D Scan an Object
This week assigment is to 3D scan an object and 3D print another object. Much better if you manage to print the object you scanned.
As a challenge, we decided to make our own scanner.
There were several options to scan an object. This are the ones we used in FabLab Bcn to scan.
- Structured Light with a Projector or with a Kinect. We only tried the Projector option.
For this week I worked with Ramin and Sara, we decided to go with the laser scanner using David Laser Scanner.
With this software you have 2 options. Use a Laser or a Projector, both work with a webcam.
You can download David Laser Scanner Here: http://www.david-laserscanner.com/?section=Downloads
First Attempt: Laser Scan
At first we decided to use the laser. We have a Laser level we have here in the Lab. It had some issues we had to solve since its a laser made for leveling, it always has to be in horizontal position. So we attached it to a tripod. It didnt worked that good since we needed a vertical tilt movement of the laser to project it to the object. The solution was to project the laser to the opposite side and with a mirror we made the tilt movement. Easier than it sounds in reality.
David Laser scanner recieves the signal with a webcam (we used a common webcam we had here in the FabLab), we also made a background with carboards to attach a pattern the webcam needs to create a virtual grid.
You just print some PDF files inside the install folder you have to downloaded. We went for the A4 size.
Here the first attempt to set up the scanner.

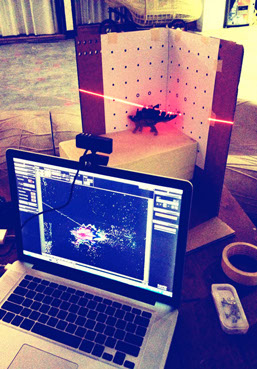
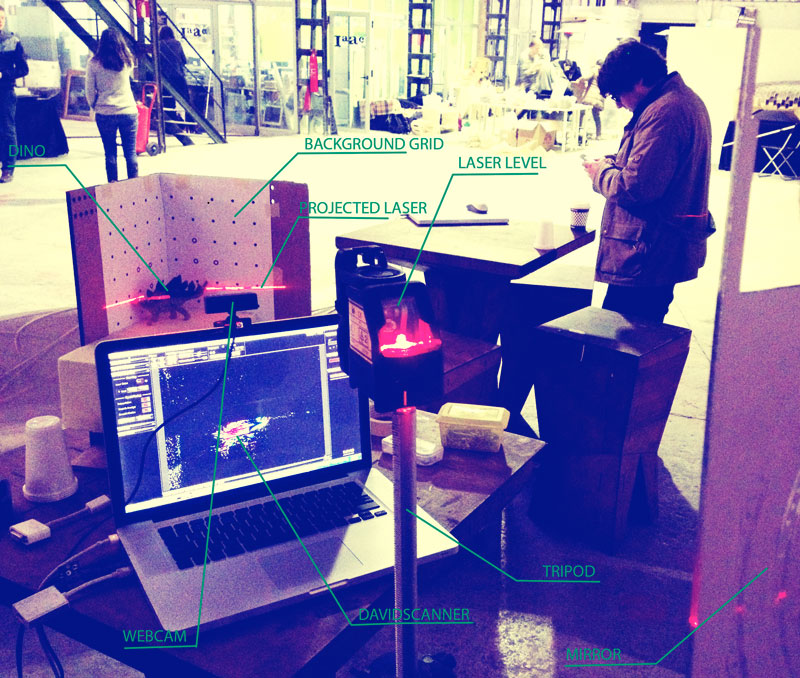
LaserScanning Setup


Webcam calibration
Laser scan point cloud results
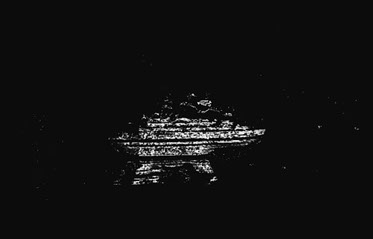

Resulting surface
Surface imported in Rhino
You are supposed to make different scans and then merge them. A complete 360 scan of the object would be necessary.
Evidently the results werent that great with the first scan, so we decided to try the Structured Light method with the projector.
Second Attempt: Structured Light Scan with Projector
Our second and final attempt was to follow the same workflow but with a projector instead of the laser.
Camera calibration step was actually the same. We had some issues calibrating the projector.
Finally we got it working and started scanning, but there was a contradiction because we needed the webcam to be far away from the scene as to be calibrated with the point grid attached to the background, the more points it detects the better, but to callibrate the projector the camera should be as closer as possible to the object you want to scan. We finally find a configuration that worked alright.
Results were way better than with the laser. The scanning software sends a series of vertical and horizontal patterns to the projector. The webcam recognizes this and compares the patterns as to create a point cloud.
Here some of the results:
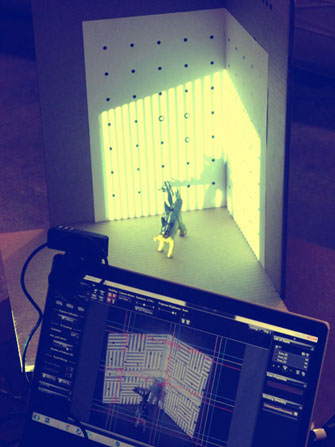


Structured Lighting Setup
Camera and Projector Calibration

Resulting point cloud
We are half way though making this work. At this moment we dont have a projector available to finish the 360 degree scanning of the whole object. We tried to do several scans of the same object but we had some issues:
- We nees a much simpler object.
- Remove the background when doing the scan after the calibration.
- Rotate the object in the same exact axis.
I hope we can finish this scan later and update this web with a successful scan.
The objective of this scan was to produce a 3D printable object, but we didnt accomplish to make a closed surface to print.
2. 3D Print and object
Since I didnt managed to have a 3D scanned object to print I decided to make a 3D model and print it.
I used TopMod to design the object. I went for a complex geometry as to try the Z-Corp Spectrum Z510 we have in the FabLab.
I modified the 3D model with Rhino and fixed any errors with MeshLab.
At this moment is still printing so I will have to update the web with the final results later on.
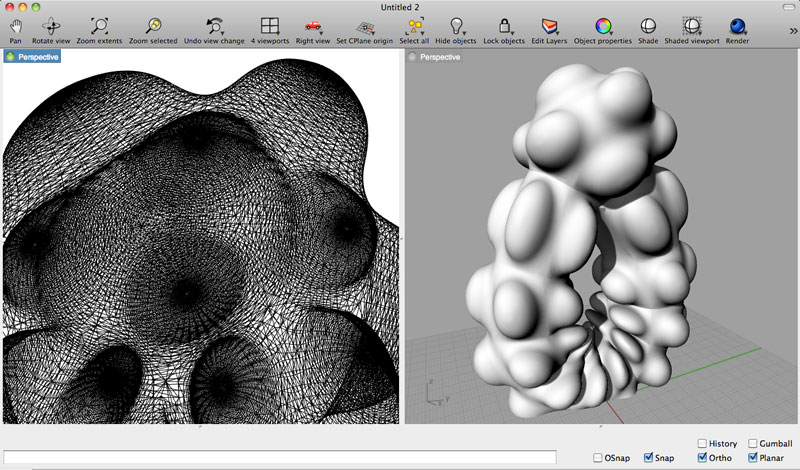
TopMod .Obj imported in Rhino

Rendering of the object with Maxwell

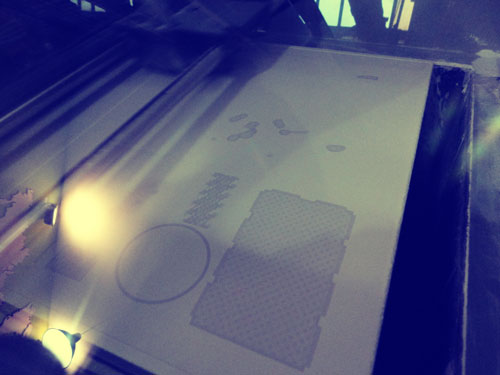
FabAcademy Class 3D models in a single printing job : 10 hours to complete
Printing with the Z-Corp
As soon I have the final object I will update this weeks assigment with pictures.
Update: March 5th, 2013
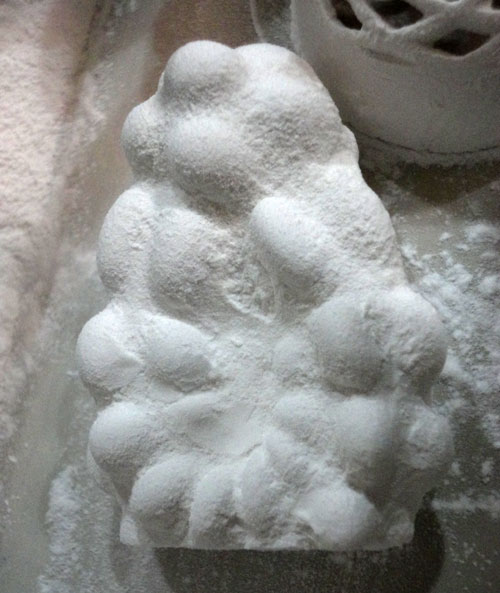
Here is the 3D printed piece:
