Molding and casting
Hero shot
Group assignment
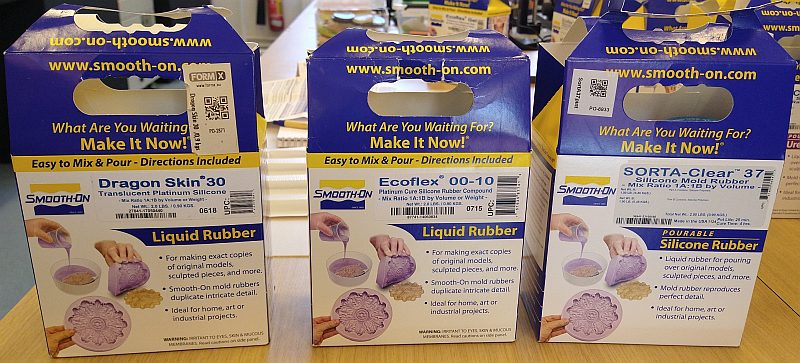
In our fab lab, we have several silicone-based molding materials.
We decided to compare 3 of them.
Mold fabrication
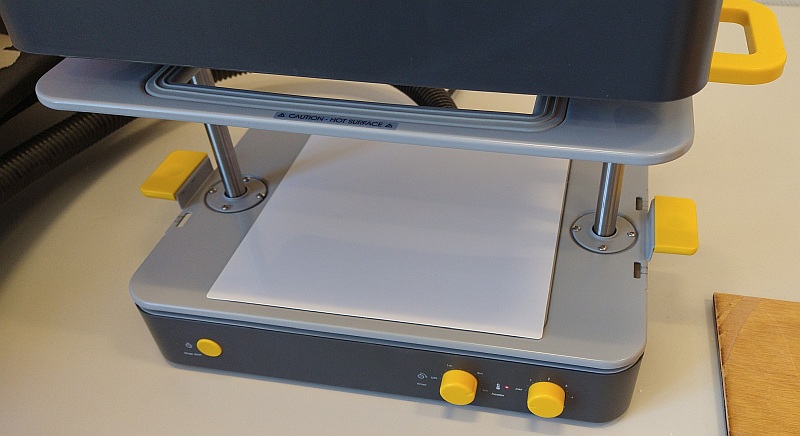
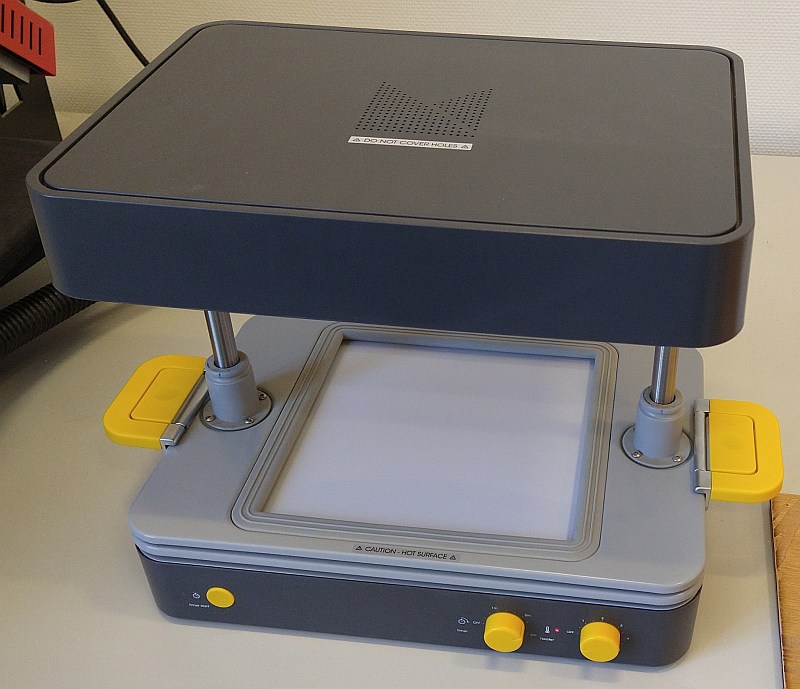
We choose to make a simple mold with the fablab's vacuum forming machine, called FormBox.
Col
The upper part of the Formbox contains a heating element to soften a plastic sheet.
The lower part is a vacuum plate (thanks to the vacuum cleaner). The piece to mold is placed on it.
The vacuum forces the plastic sheet to fit on the piece, taking its shape.
Col
Col
First step is to place a thermo-plastic sheet (the white rectangle) on the bed.
Select the right temperature, given on the plastic sheets box.
Col
Col
Next, slide down the cover to lock the plastic sheet in place.
Col
Col
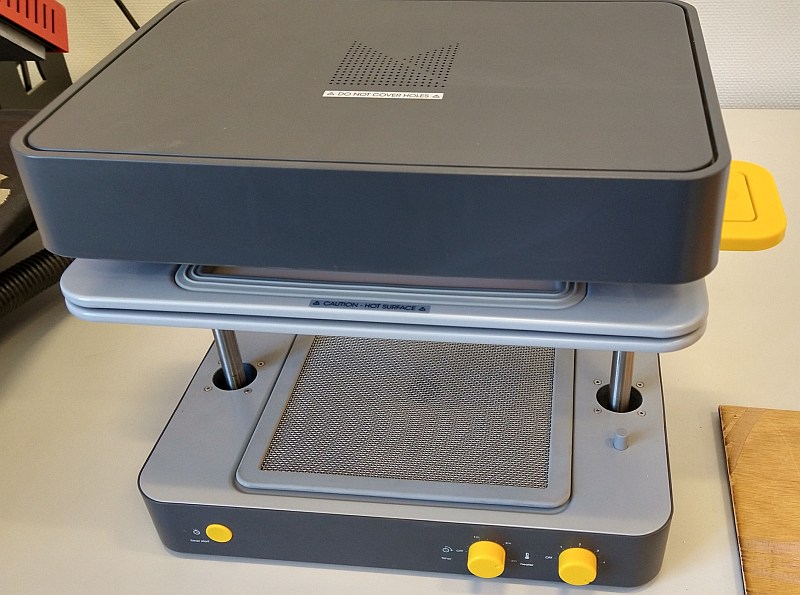
Slide the sheet holder up, with the yellow handles on the side.
Caution: the top part is (very) hot!
Col
Col
Place the piece(s) to mold on the bed. We put 3 wood rectangles.
Wait for the plastic sheet to soften. An approximate time can be written on the box;
Otherwise, wait to see it starting to hang down.
Col
Col
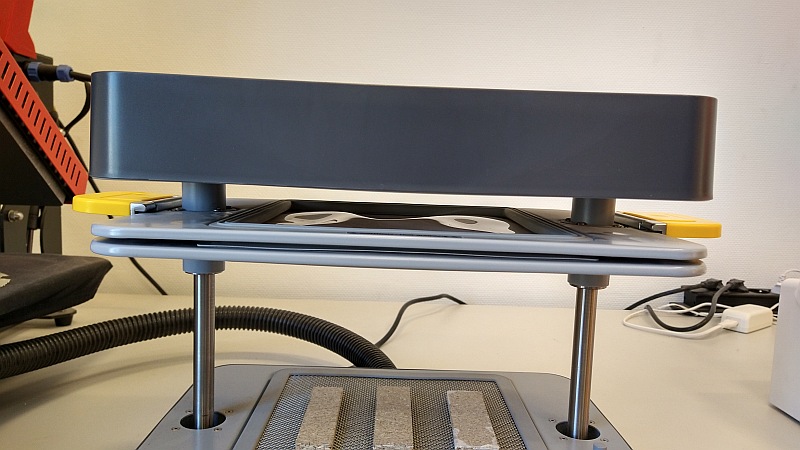
Turn the vacuum cleaner on and slide the sheet holder all the way down.
The plastic sheet will take the pieces.
You should hear the vacuum cleaner "struggle", as it sucks the air out of under the plastic sheet.
Col
Col
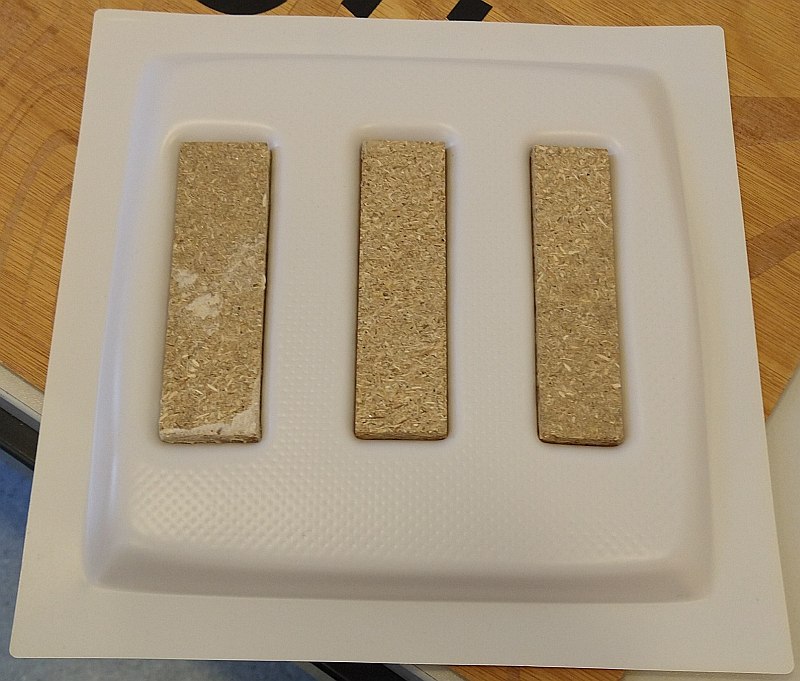
The plastic cools down quickly.
Time to unmold.
Col
Col
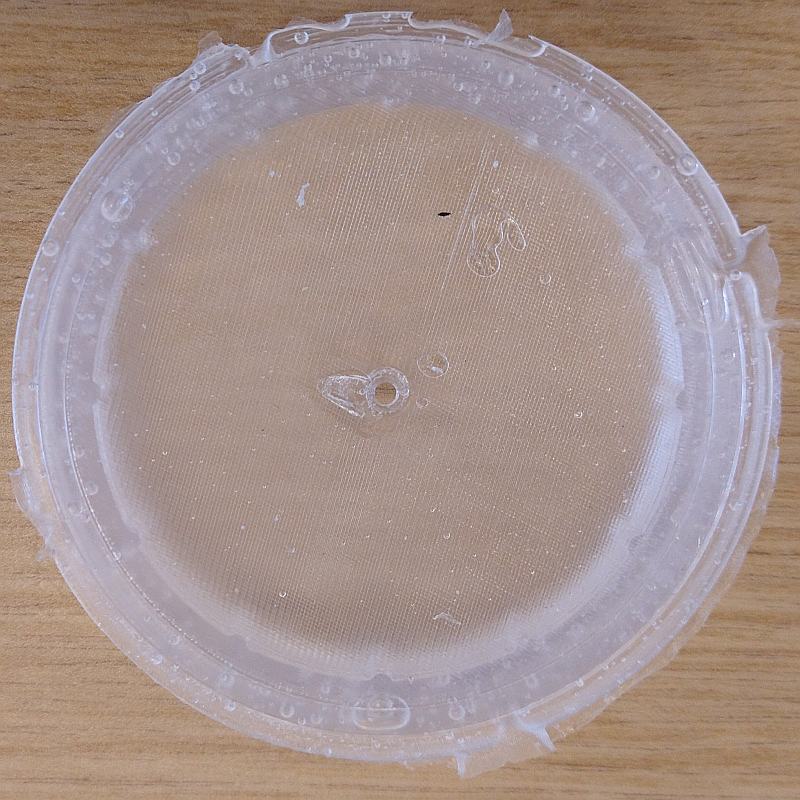
Our rectangle popped out of the mold easily.
Col

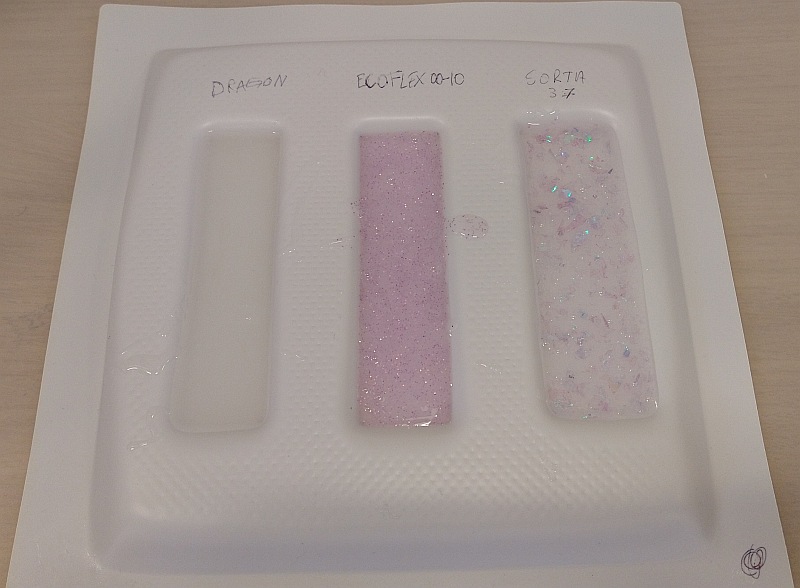
Casting silicons
Materials choice
Col
We decided to cast 3 different silicons, available in our fab lab:
They differ mainly by their shore index.
We read the Security Data Sheet (SDS) and started to compare them.
It quickly appears that their SDS are identical!
It makes sense as they are all silicon-based compounds.
Col
Security Data Sheet information
The SDS stated that our casting silicons is not a hazardous material:
SDS statement
This product is not considered hazardous by the US OSHA Hazard Communication Standard 2024 (29 CFR 1910.1200).
However, the SDS gives some first aid advices:
- In case of inhalation, go out to breath air
- In case of skin contact, simply wash the skin with soap and water
- In case of ingestion, rinse the mouth with water.
- In case of eye contact, Rinse thoroughly with water fro at least 15 minutes. Don't forget to lift the eyelids.
Consult a medical doctor afterwards.
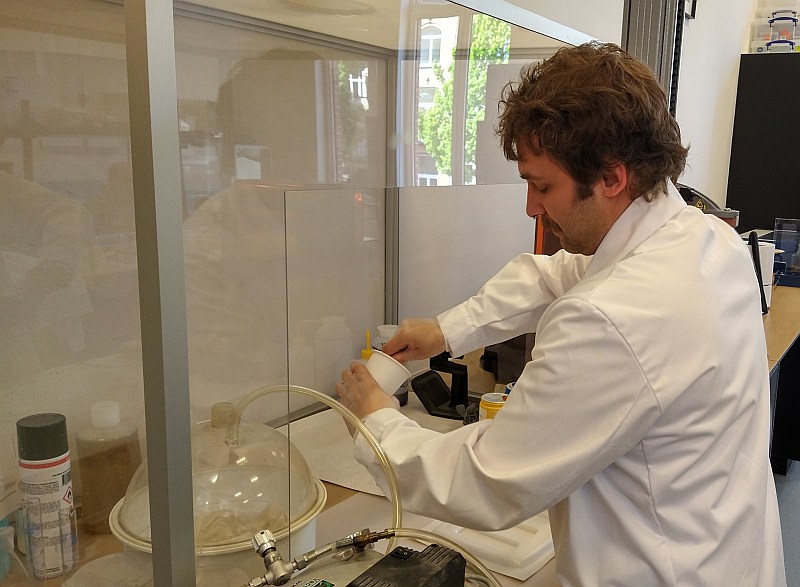
The SDS advices to use "Appropriate protections" according "to the chemical nature, hazards and use of this product and safety requirements of the local jurisdiction".
It also advices to "ensure an adequate ventilation" in case of "accidental release".
Hence, We'll use the fab lab's ventilation hood, protective gloves and lab coats:
| Properties | Dragon Skin™ 30 | Ecoflex™ 00-10 | Sorta-Clear™ 37 |
|---|---|---|---|
| Pot Life | 45 min | 30 min | 25 min |
| Shore hardness | 30A | 00-10 | 37A |
| Mixed viscosity | 30,000 cps | 14,000 cps | 35,000 cps |
| Mix ratio | 1A:1B (volume/weight) | 1A:1B (volume/weight) | 1A:1B (volume) |
| Description | Superior physical properties, flexibility | Very soft, very strong, very stretchy | High tensile and tear strength, food safe |
Casting procedure
Col
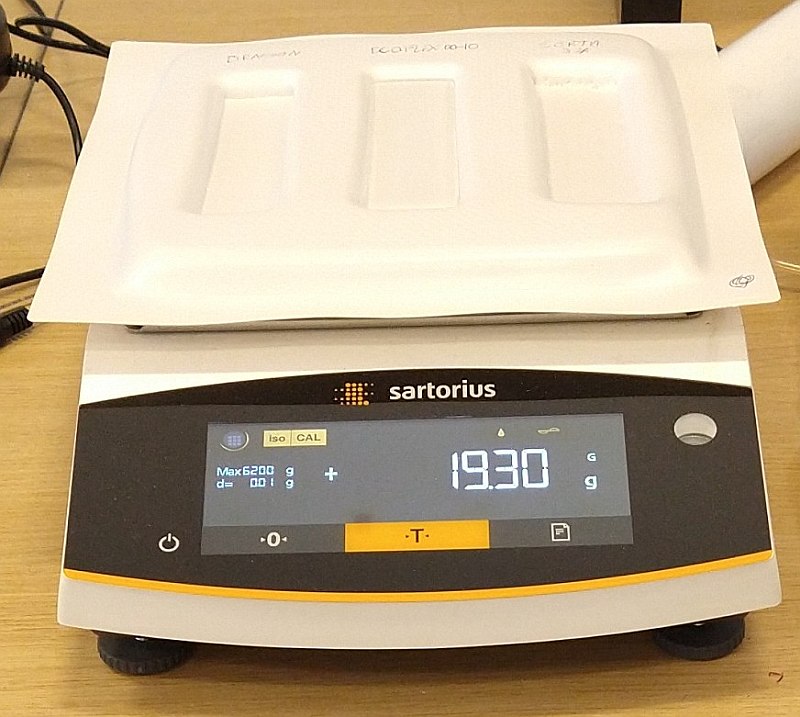
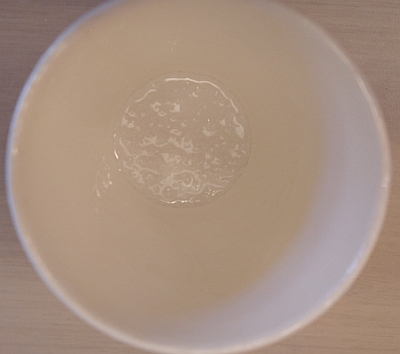
First, we need to estimate the mold volume.
We filled the central cavity with water and weighted it.
20 g means 20 mL.
As our silicons have a density close to 1, we need 20 g of silicon for each cavity.
Col
Col
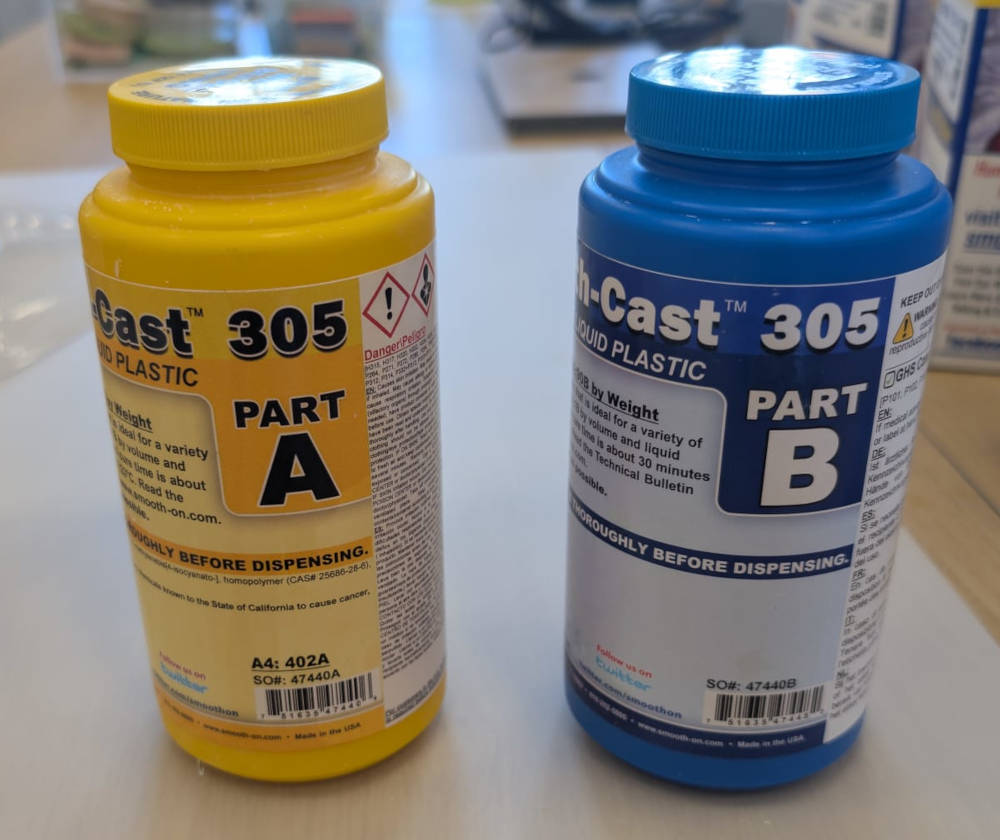
The silicons are obtained by mixing 2 components together, in a 1:1 proportion.
Hence, we poured 10 g of each components in a cup and carefully mixed them, while trying to avoid pouring air in it.
As it was a first test, we decided not to degaze them.
Col
Col
Finally, we casted the silicons in the mold.
We added glitters in 2 of them, to be able to easily differentiate them afterwards (and because it's shiny).
Col
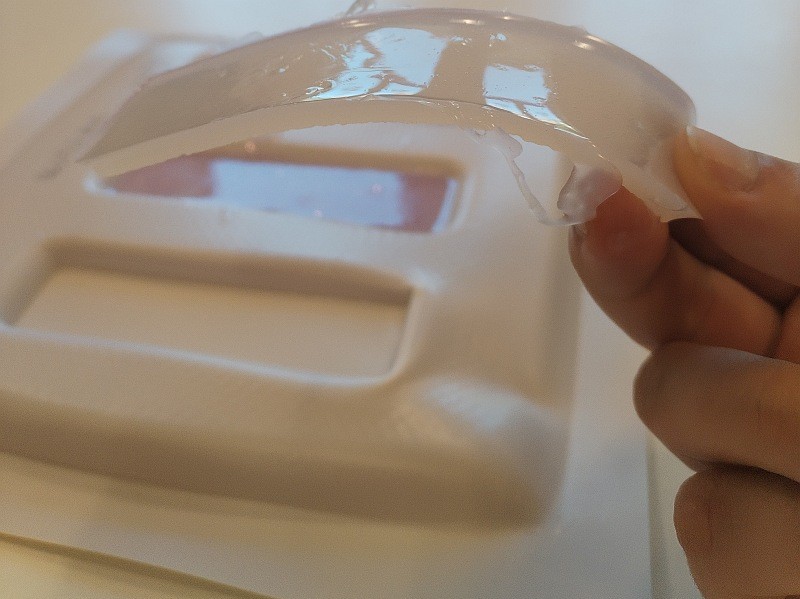
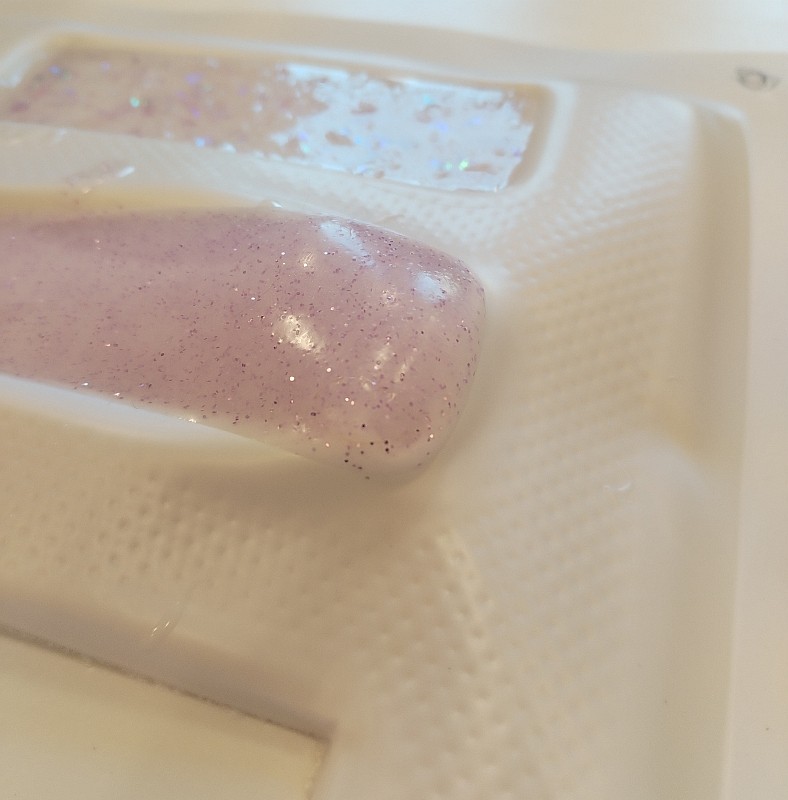
Unmolding
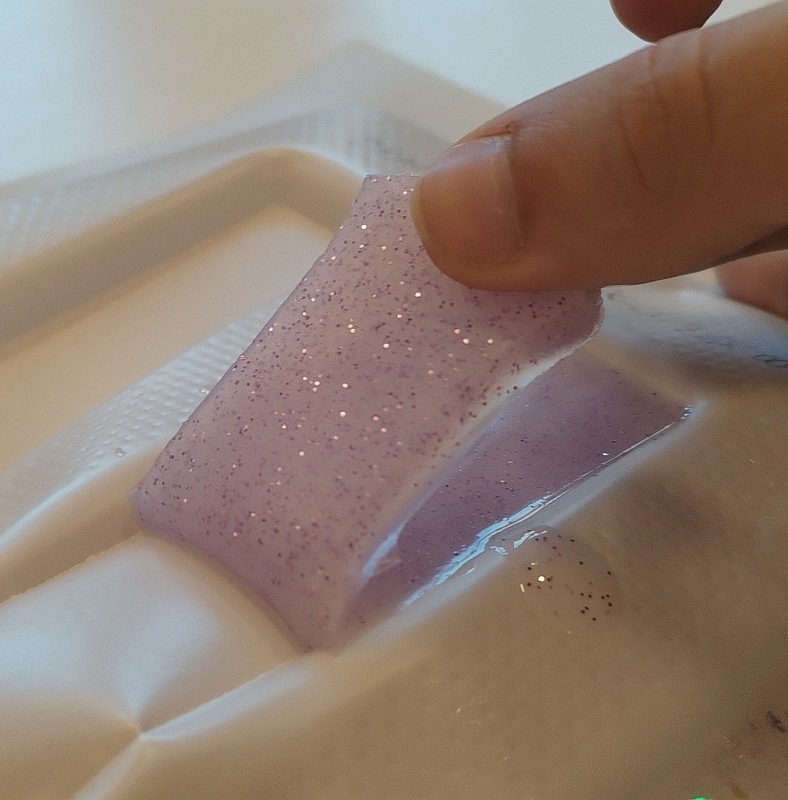
The next day, we unmolded our test pieces:
The Dragon Skin™ 30 and the Sorta-Clear™ 37 easily came out of the mold:
Col
Col
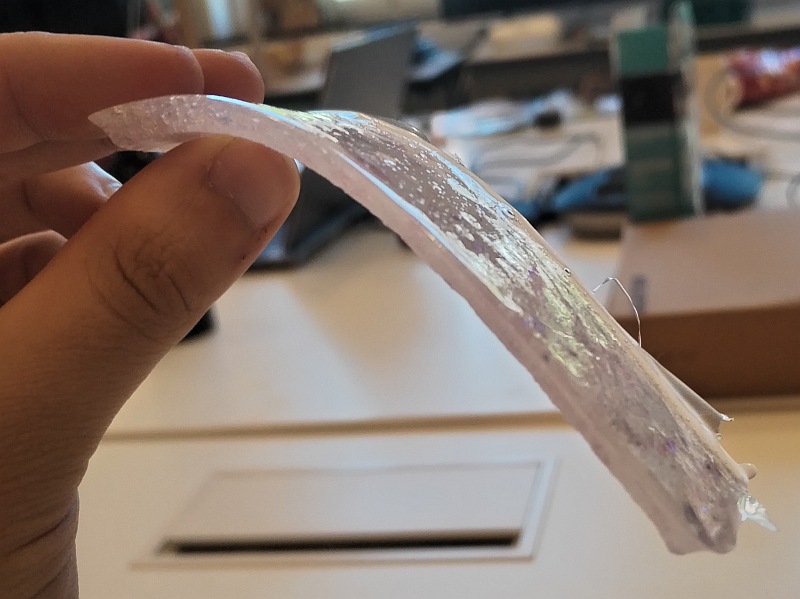
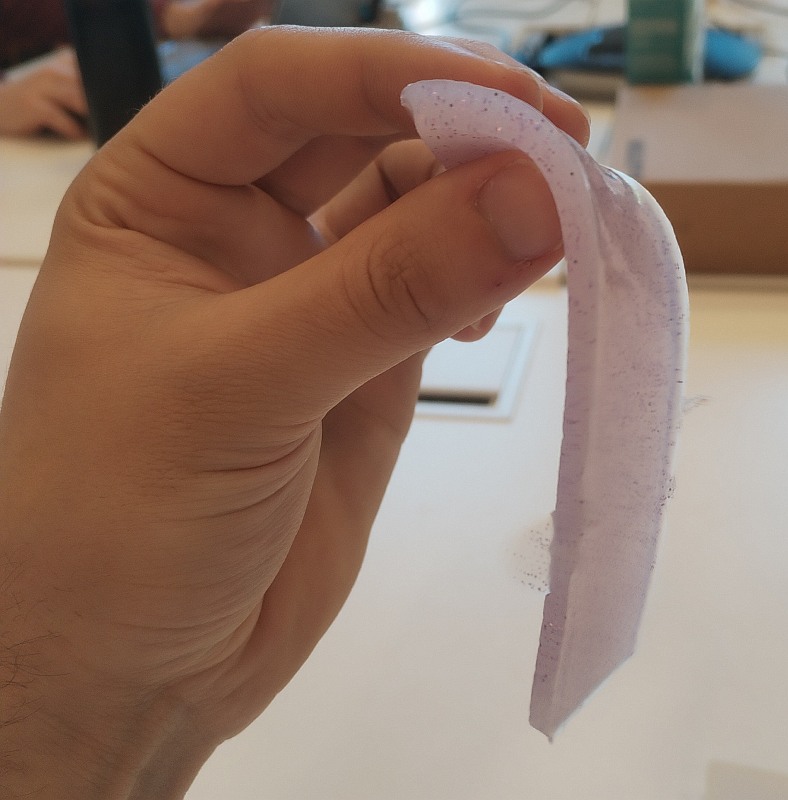
The Ecoflex™ 00-10 was more challenging. It's probably due to its softness. Also, its surface is "sticky".
Col
Col
Col
Individual assignment
Col
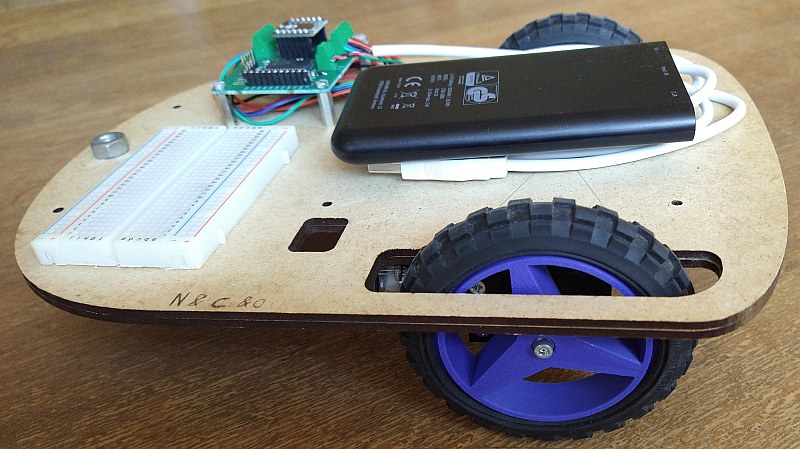
For my personal assignment, I decided to cast tires for a mobile base.
I used this base in a student project to teach microcontroller programming.
For now, Their wheels are equipped with Lego tires that are getting old.
Some of them became sticky.
Hence, I designed a new wheel and a mold to cast a tire.
Col
Wheel design
Col
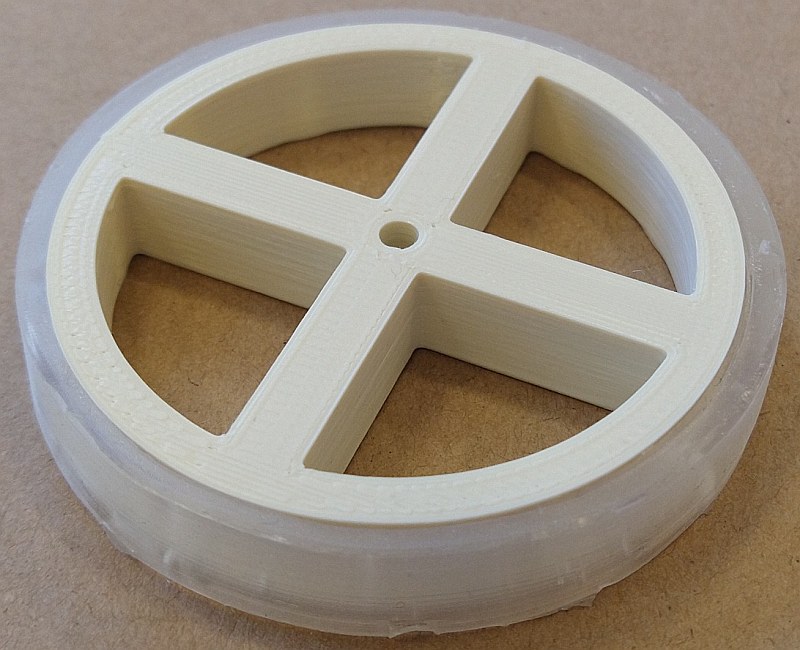
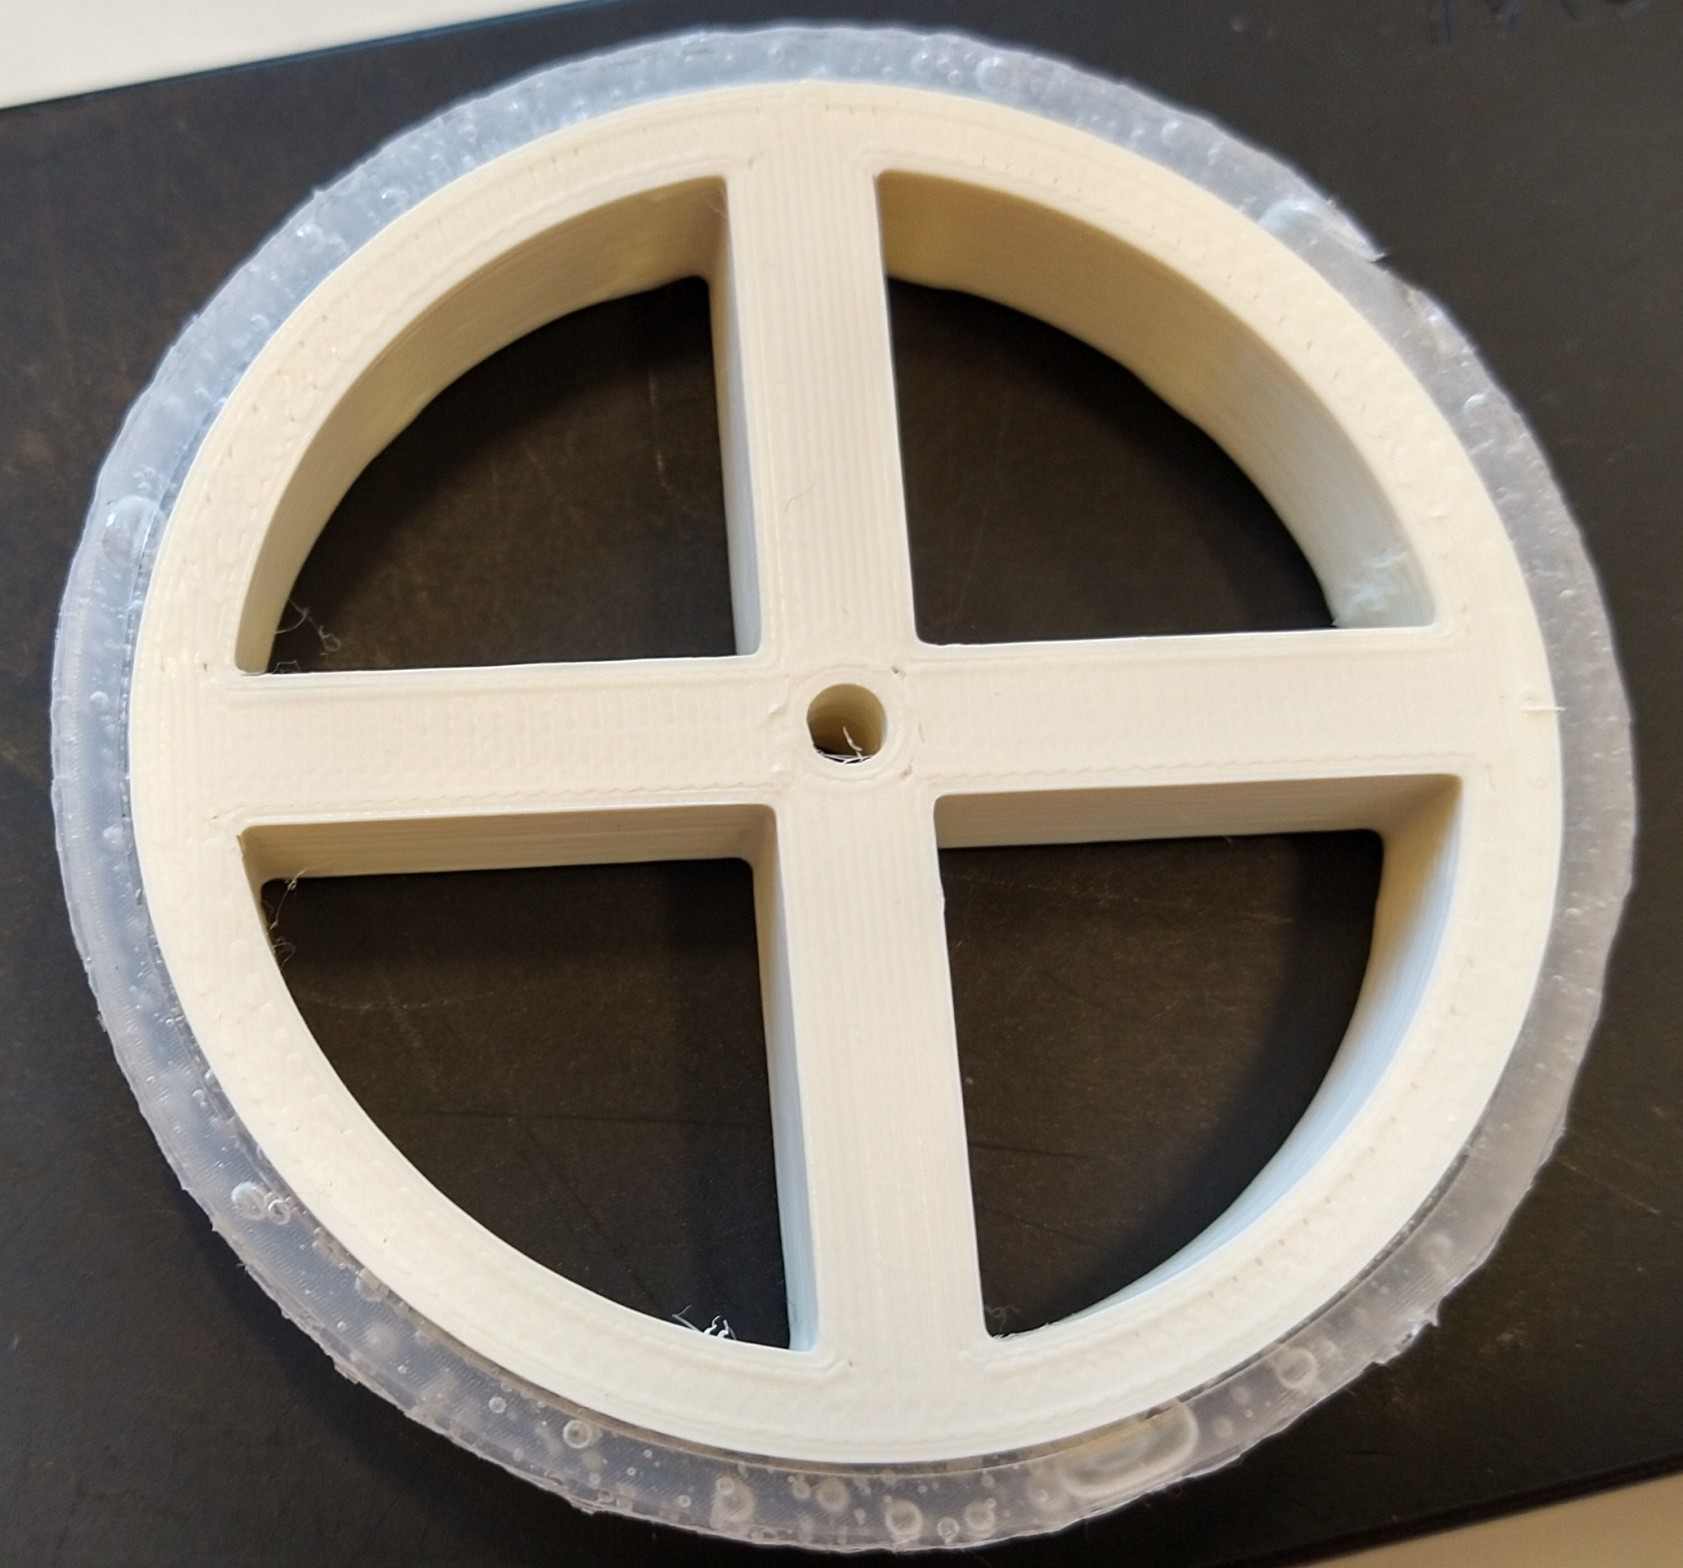
As I wanted to focus to the mold design for the tire, I draw a simple model for the wheel.
It's a disk, with a gorge in which the tire will be placed.
On the inner face of the gorge, I add indentations that will prevent the tire to slip on the wheel.
I added 4 spokes to the tire, to make it look better and save some PLA.
Col

Mold design
I decided to make the mold with a 3D printer.
Col
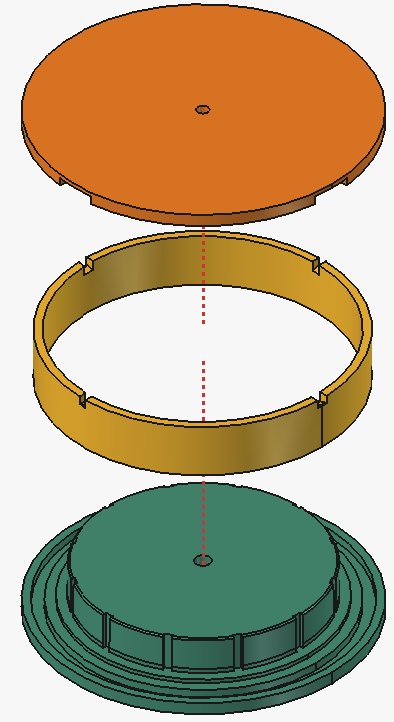
After some reflexions, I ended up with a 3 piece mold:
- The base, in green, is basically the wheel (without its upper flange), placed on a baseplate.
This baseplate contains a gorge for the ring.
- The ring, in yellow, is the outer part of the mold. It defines the tire thickness.
- The cover, in orange, closes the mold and contains the upper flange of the wheel.
It also contains a gorge for the top of the ring, ensuring the correct alignment of the mold pieces.
This baseplate contains a gorge for the ring.
It also contains a gorge for the top of the ring, ensuring the correct alignment of the mold pieces.
The hole in the base is for a threaded insert. It'll allow to lock the mold with a screw through the cover.
There are holes at the top of the ring to allow excess material to overflow.
I also added matching holes in the cover.
Col
Mold printing
Prusaslicer has some features to avoid "manufacturing marks":
first, I used Ironing.
It smooths flat, horizontal surfaces, by running a second pass at the top layer of these surfaces.
It's a slow process. The table below shows the printing time for the mold's base, with different parameters (with a Prusa Mini).
| Ironing parameter | Print duration |
|---|---|
| no ironing | 1h 11m |
| full ironing | 2h 4m |
| ironing on the first 5 mm | 1h 34m |
The added time for the full ironing is mainly due to the top face of the inner disk.
As these face won't be in contact with the casted material, It doesn't need to be smoothed.
Fortunately, Prusaslicer allows to limit the ironing to a limited range of layers.
By limiting to the first 5 mm, the bottom of the mold will be ironed, with a reasonable time penalty.
I used the same trick for the cover.
The outer face of the tire is the most visible one. I have to pay particular attention to its surface finish.
I tried two method:
- First, I used another feature of Prusaslicer called fuzzy skin.
It creates a "rough fiber-like texture" on the sides of the printed part.
I liked the idea of a textured finish on the tires.
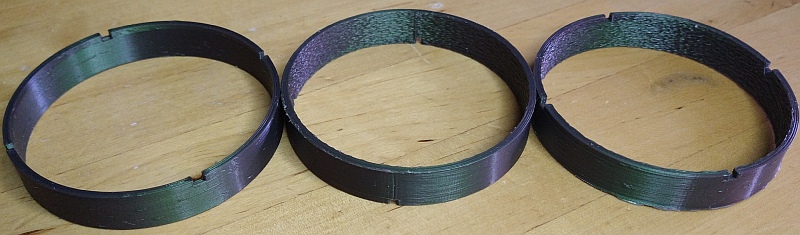
I had to print it twice: by default, Prusaslicer aligns the seams vertically. It created a visible straight line on the inner face of the first ring I printed.
Hence, I print it again with randomly placed seams.
- I also printed a ring without fuzzy skin. I checked that the seams are randomly placed.
I post-processed this ring by sanding its inner face.
Tire casting
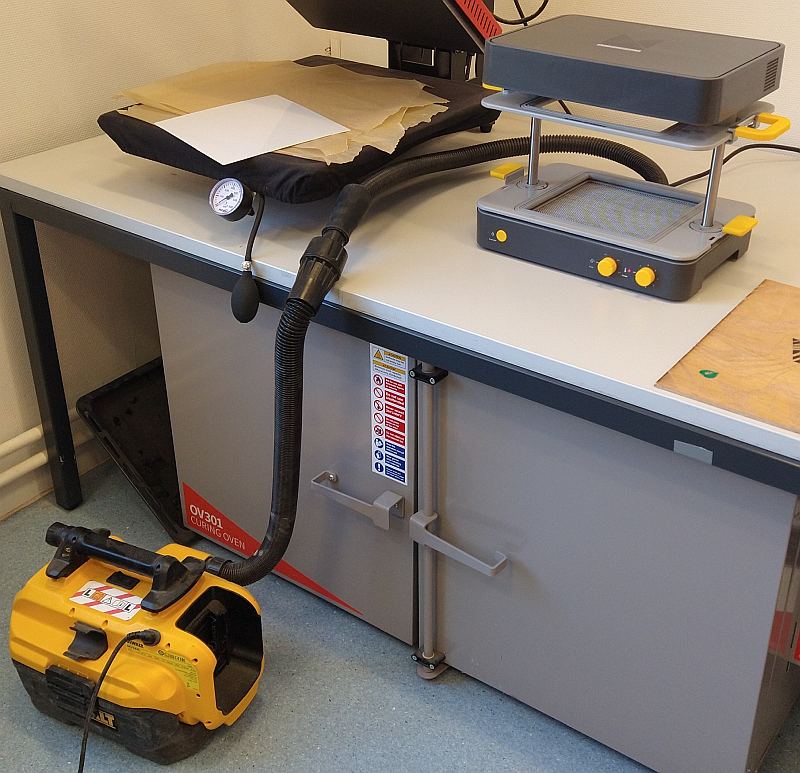
I used the Sorta-Clear™ 37 to cast my first tire. This time, I used a vacuum chamber to degas the silicon.
Col
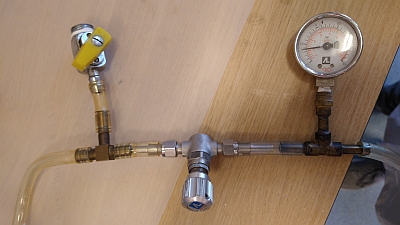
The procedure for degassing is:
- put the mixed silicon inside the vacuum chamber
- close the out valve (the yellow one)
- open the vacuum chamber valve (the round one)
- start the vacuum pump
- when the air pressure in the vacuum chamber stabilized (read on the manometer), slightly open the out valve to allow air in for the pump
- close the vacuum chamber valve
- stop the pump
- wait the given time for degassing to complete
- carefully open the vacuum chamber valve to allow the air to slowly enter the chamber
- wait the pressure stabilization
- open the chamber to get the silicon
The degassed silicon still shows some bubbles.
Col
Col
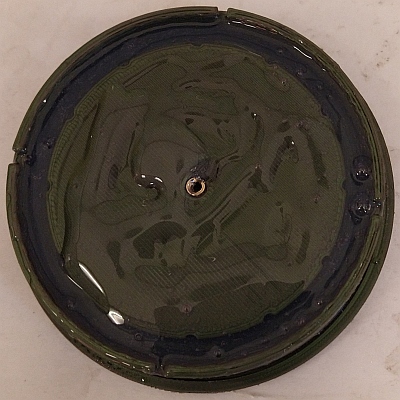
I assemble the base and the ring of the mold and cast the silicon in it.
I ended up with silicon on the base top.
It seems impossible to avoid with my mold design.
Let's hope it'll be pushed out by the cover (I strongly doubt it).
Col
Col
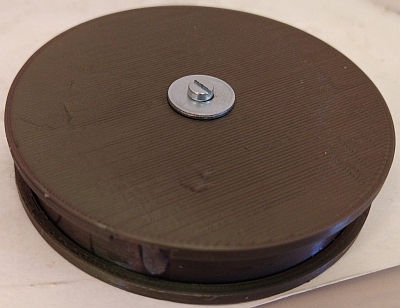
Finally, I closed the mold with the cover and a screw.
Col
Unmolding the tire
Col
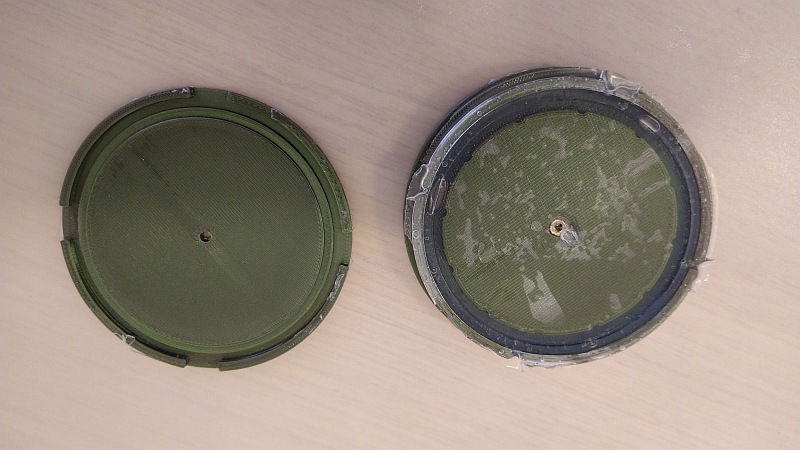
The next day, I started to unmold the tire by removing the cover. I have to exerce some force to remove it, but not that much.
As I feared, a thin layer of silicon covers the base top.
Col
Col
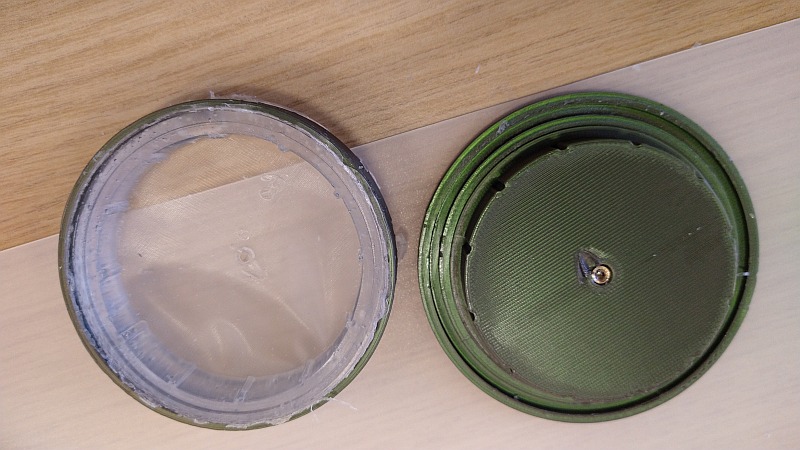
I have to struggle to remove the ring from the base.
At the end, it's the base that comes out of the tire instead.
A useful improvement would be to add some "handles" to the ring to apply force on it more easily.
The tire easily came out of the ring afterwards.
Col
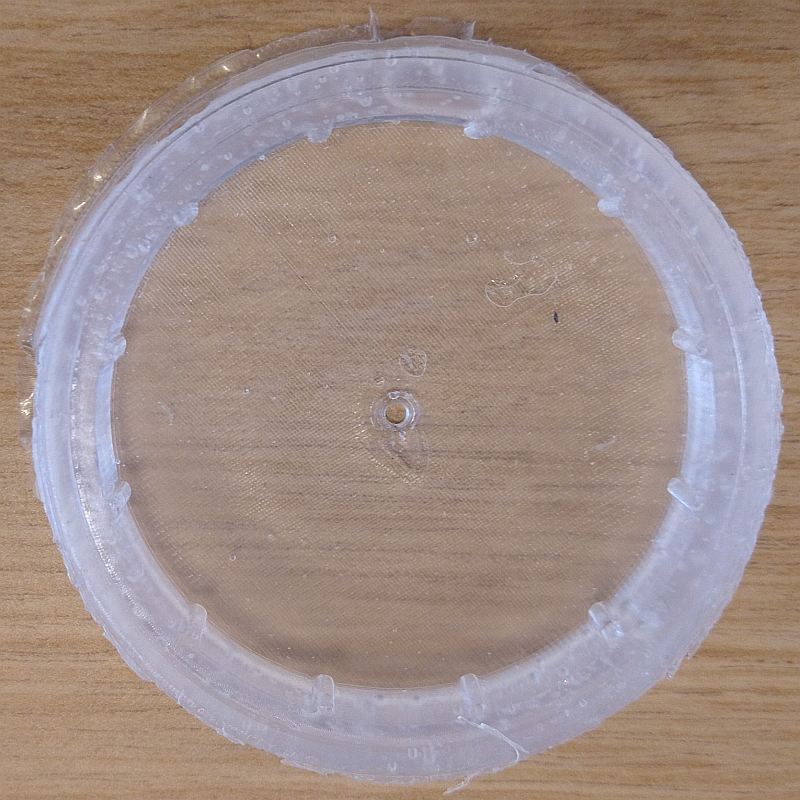
We can see that part of the excess of silicon filled gaps between the mold pieces.
There also are air bubbles.
Col
Col
Col
I was able to remove the silicon in excess easily with a cutter.
I checked the dimensions and found that the thickness of the inner part of the wheel is 9 mm instead of 8 mm.
I printed a wheel taking into account this thickness.
The tires fits on it, though I had to push the tire in each indentation.
Col
Further experiments
Col
Next, I cast a tire with the "smooth" ring.
I wait longer for degassing (5 min instead of 2 min). The casting went well, there are way less bubbles.
However, some parts of the mold didn't fill completely.
I definitely need a new design for the mold, with a bottom entry for silicon.
However, the surface finish is quite good.
Col