Wildcard week: embroidery
Hero shot
Inkscape extension: ink/stitch
Installation
-
Download the installer on Ink/Stitch website.
-
Run the installer. It has no options, except for the installation path.
-
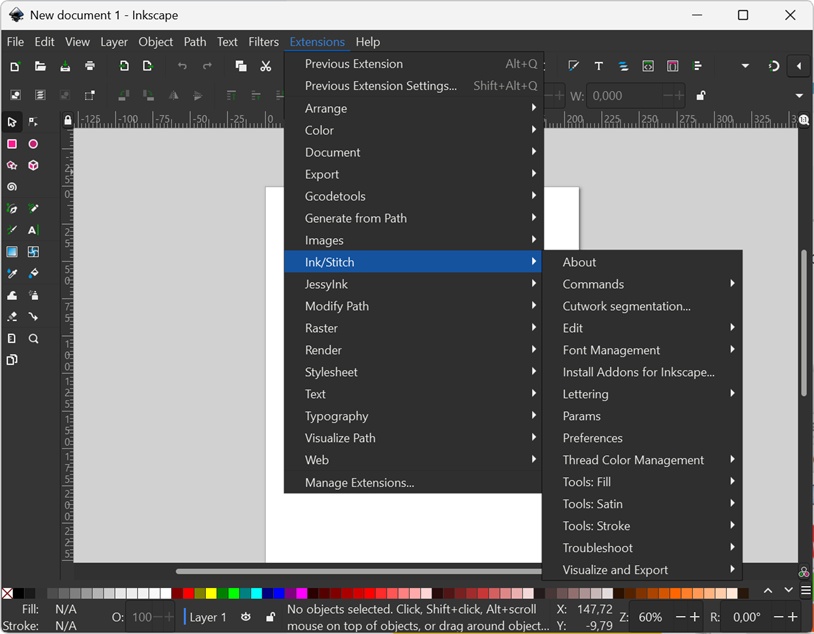
Launch Inkscape
-
Verify that the Ink/Stitch sub-menu was added in the Extensions menu
Picture preparations
Starting from a svg file
I downloaded SVG images of vegetables on https://www.svgrepo.com/, an open-licensed images library.
I combined a broccoli and a carrot:

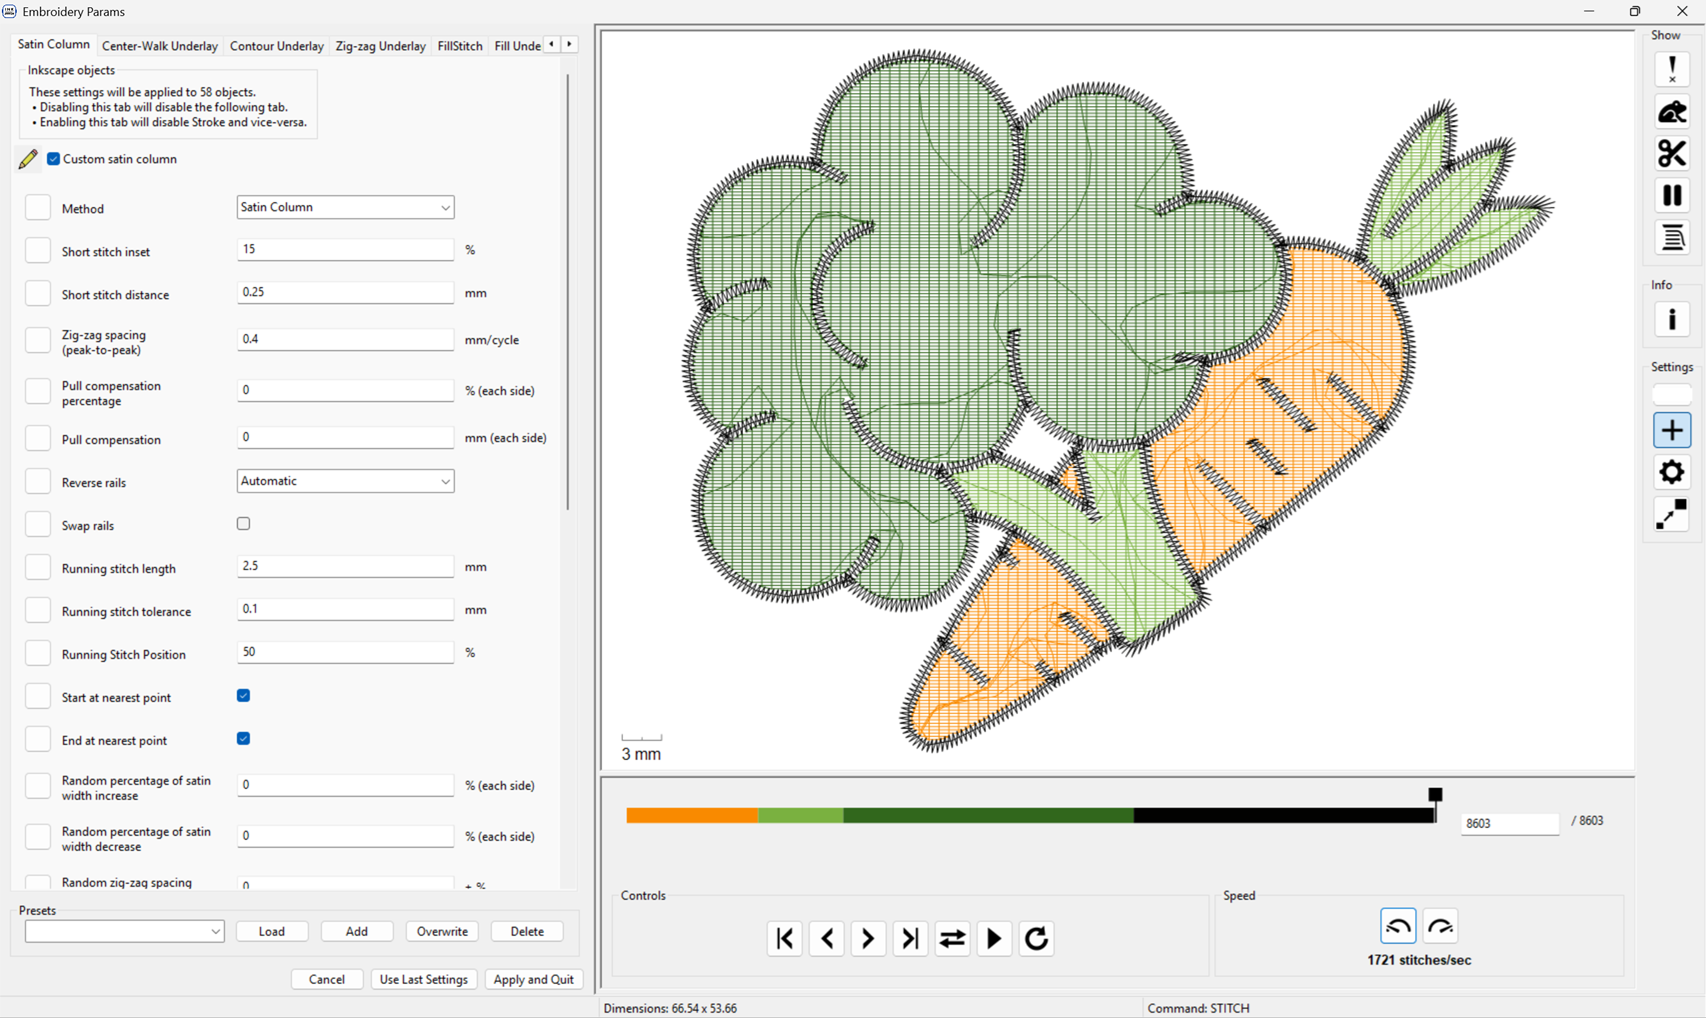
I launch Ink/Stitch by clicking on Extensions/Ink/Stitch/Params
I see 2 problems with the suggested solution:
- Areas where colors overlap will be stitched multiple times. This'll lead to uneven thickness
- The colored timeline shows the order in which the colors will be stitched. One can see that there are many color changes.
Col
The operation order can "easily" be solved by changing the order of the paths in Inkscape, regrouping them by colors.
It makes the svg looks odd, but it works.
Col

I tried to modify the svg file to remove the overlaps, but it appears to be a time consuming operation.
Hence, I decided to transform my svg file in a bitmap and find a procedure to vectorize it with Inkscape.
Anyway, it's a common case to want to stitch from a raster image.
In my opinion, starting from an svg file only makes sense if you create your design from scratch and make your svg with the stitching operations in mind.
Otherwise, starting from a raster image allows to follow a more straightforward procedure.
I exported my svg image to png with Inkscape. I found that it's a good idea to use at least 300 dpi to have a good resolution.
Starting from a raster image
Col
First step is to vectorize the image:
- in Inkscape, create a new file
- import the png/bmp file (Files/import)
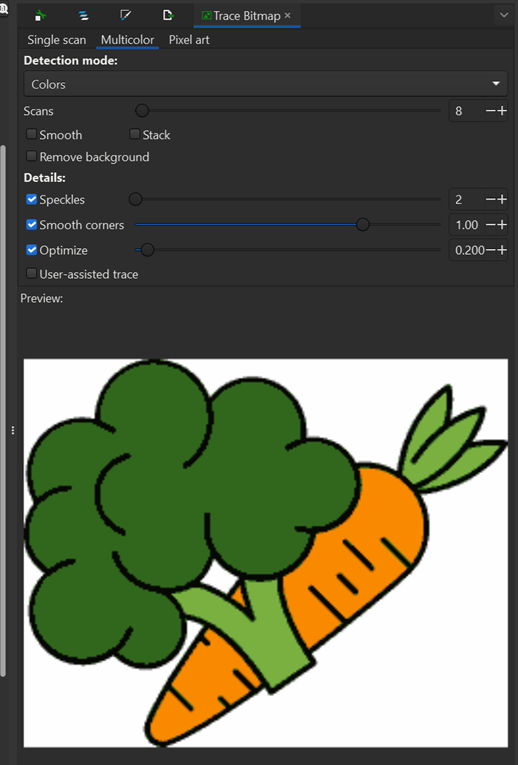
- select path/trace bitmap to open the panel shown in the picture on the right
- select the multicolor tab
- change Detection mode ot Colors
- set Scans to the number of colors you want. Here it's 5: the 2 greens, the orange, the black lines and white for the background
Col
Col
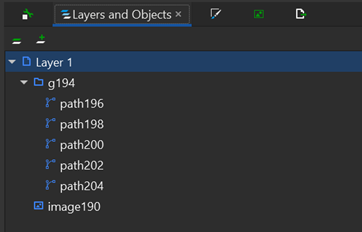
In the Object/layers and objects panel, there are 5 paths, one per color and an image (the imported bitmap)
- delete the bitmap object
- ungroup the paths and identify the white one. My method is to select one and drag it in the main window then undo the move
- delete the white one, as it's the background and we don't want to stitch it
Note: I found an alternative. In the trace bitmap panel, there is a remove background checkbox that will prevent the white path to be created.
Col
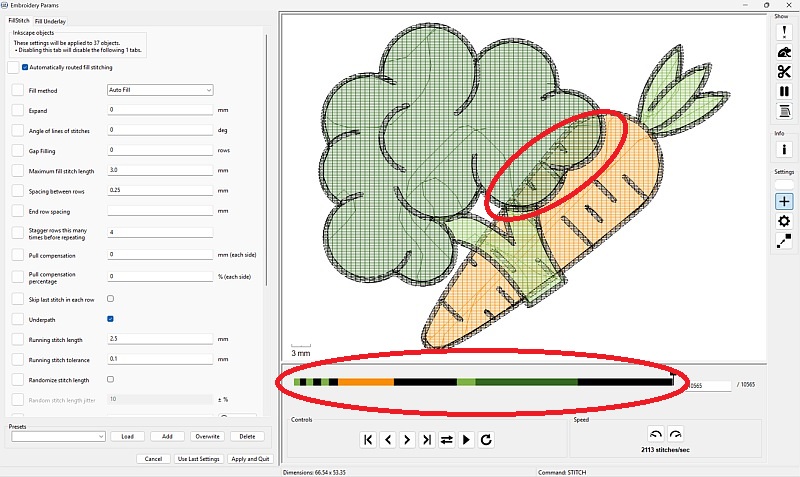
Next step is to start Ink/Stitch (Extensions/Ink/Stitch/Params)
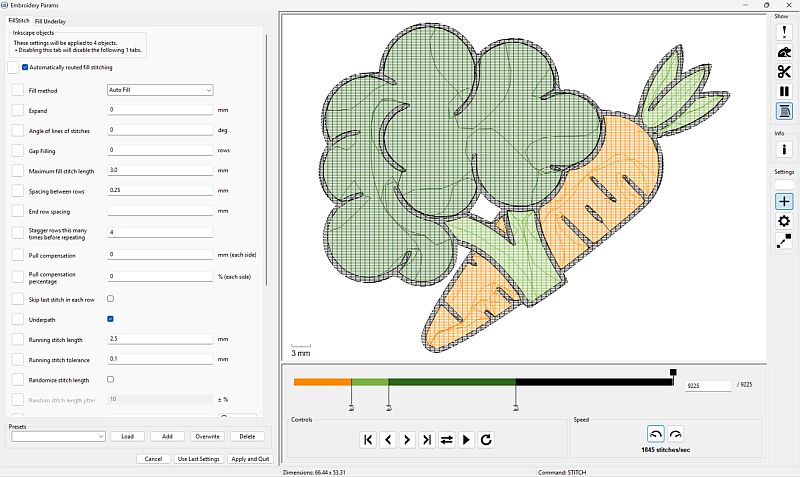
This time, everything seems right: no color overlap and only 3 color changes.
Stitching
First attempt
Col
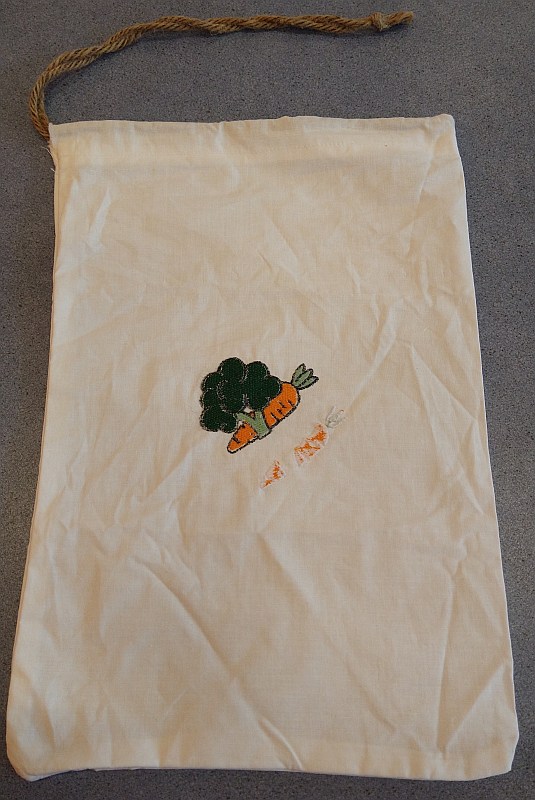
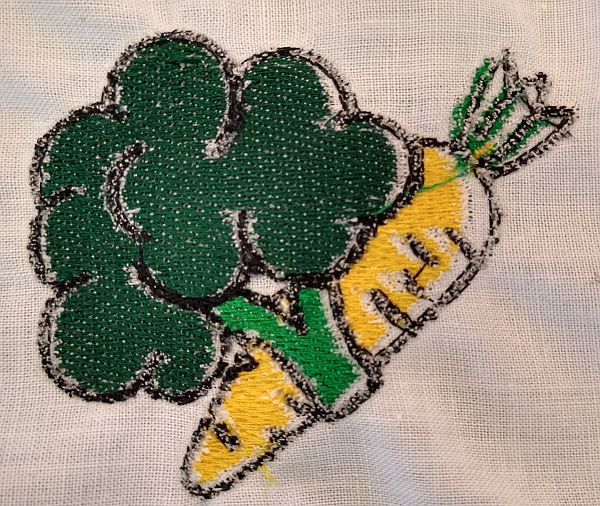
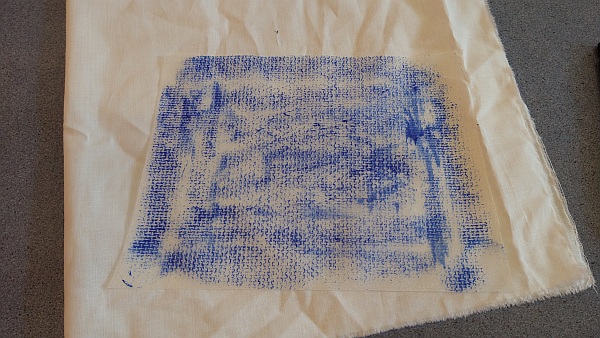
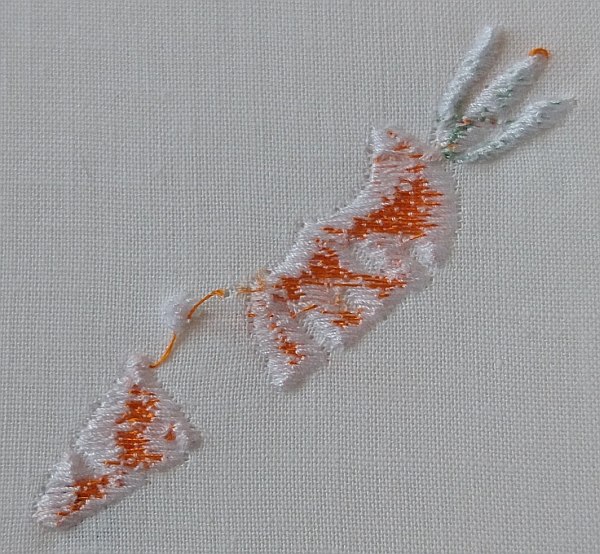
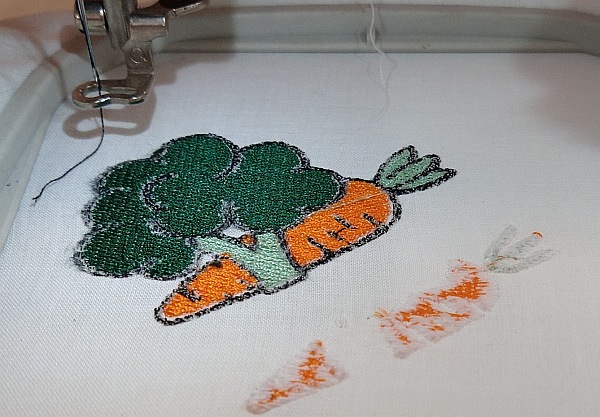
Here is the result of my first attempt.
I explain the stitching process with my second attempt.
The result is encouraging, but we can see gaps between the colors.
I showed it the a expert (that happens to also be my mother). She tells me that it was caused by the fabric deformation.
The deformation is caused by the stitching.
To avoid that, a "stabilizer material" is usually used to reinforced the fabric.
This material can be water soluble.
Another possible cause could be the thread tension, but I checked them before stitching.
Col
Second attempt
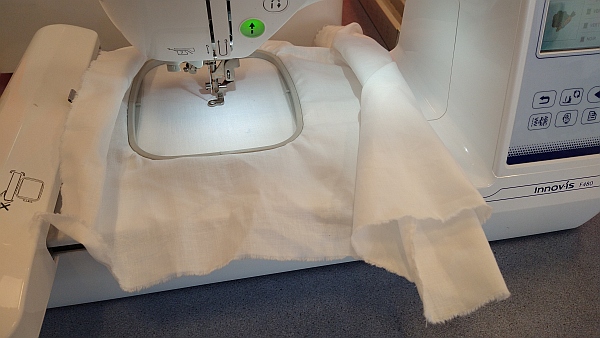
The sewing machine we use to stitch is a Brother Innovis F480
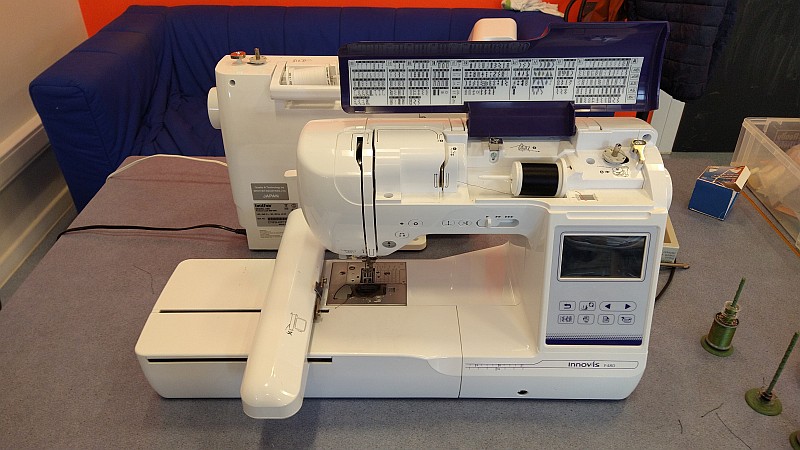
It has a special accessory to enable the embroidery.
It's a moving arm to which a frame will be attached.
Here is the step-by-step procedure I followed
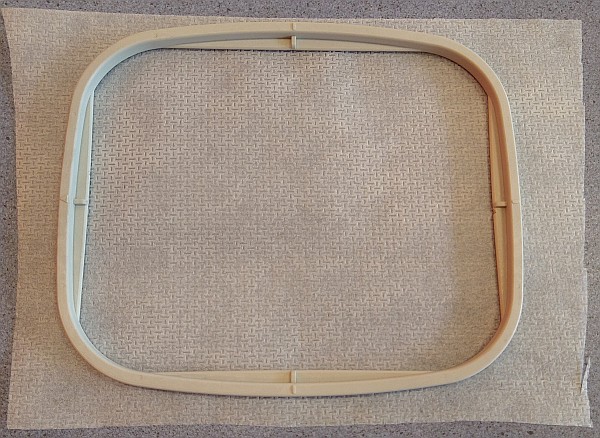
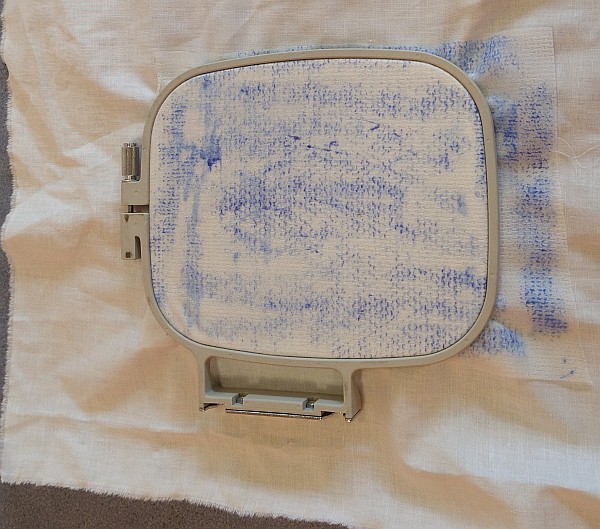
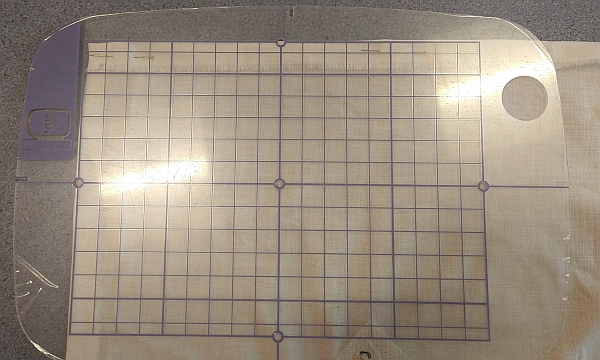
This picture shows the frame that will held the fabric.
I used it to cut a stabilizer material piece big enough.
The stabilizer can be glued to the fabric to have the best performance.
Temporary adhesive exists as spray or glue stick, as shown here.
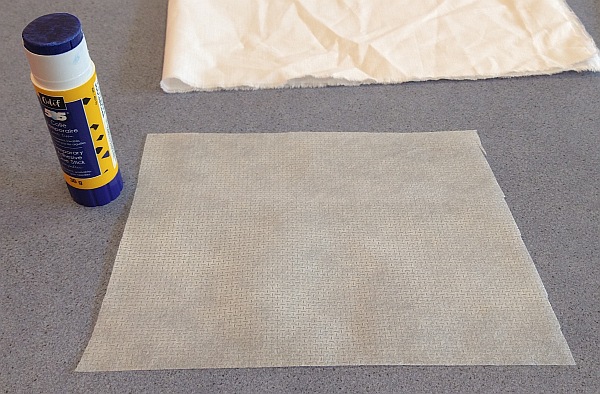
I applied the glue on the stabilizer. Its color makes it easy to see that all surface is covered.
It becomes transparent after some times (see next pictures)
I marked the desired position of the embroidery on the fabric and applied the stabilizer on it.
Next, I put it in the frame.
The frame is in two pieces that press the fabric in place. A screw locks it in place.
I paid attention to tauten the fabric, by gently stretching it while tightening the screw.
I also pay attention to put the frame so that most of the fabric will be on the right during stitching.
It minimize the risk of the fabric to get caught in the moving arm.
Here is a video where I install the thread on the machine:
Jonas made a nice tutorial with images on its webpage
Here is a video where I install the bobbin on the machine:
Once again, Jonas made a tremendous job documenting this procedure here
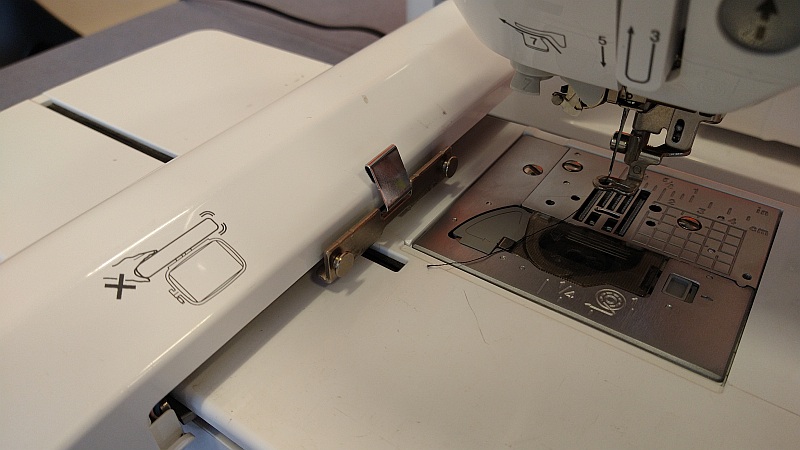
Now, I can place the frame on the moving arm.
I paid attention to neatly fold the fabric on the right so that it's not in the way.
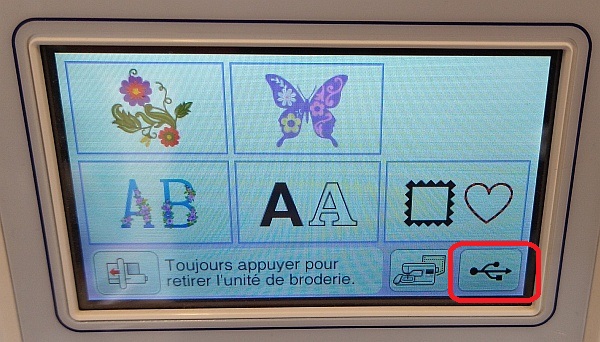
Time to start the sewing machine. it has a touchscreen as main user interface.
Col
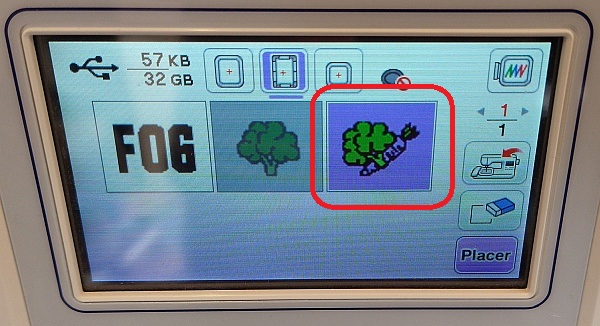
Here is the start screen of the machine.
My design is on a USB key.
Hence, I press the USB button
Col
Col
The next screen shows the files on the USB key.
I selected mine by pressing it.
Col
Col
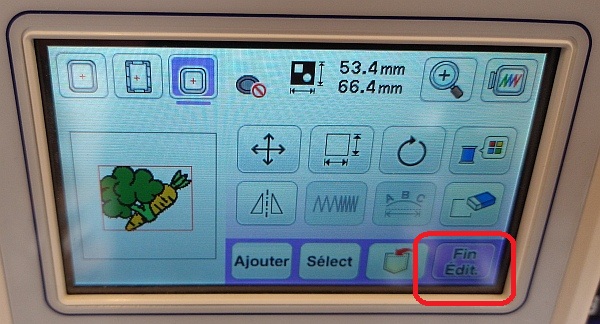
Next screen allows to edit the design: resize, rotate, change colors...
I didn't use it and directly goes to next screen.
Col
Col
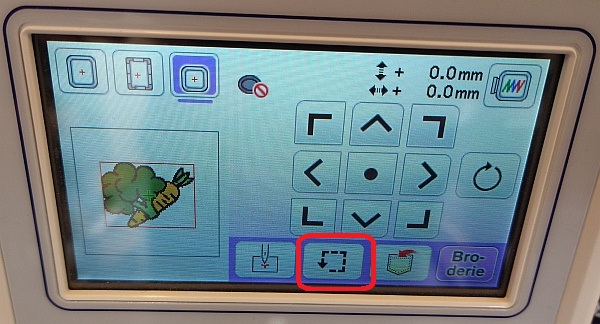
This screen allows to position the design on the frame.
When done, I press the surrounded button to make a "framing", as on a laser cutter.
Col
Col
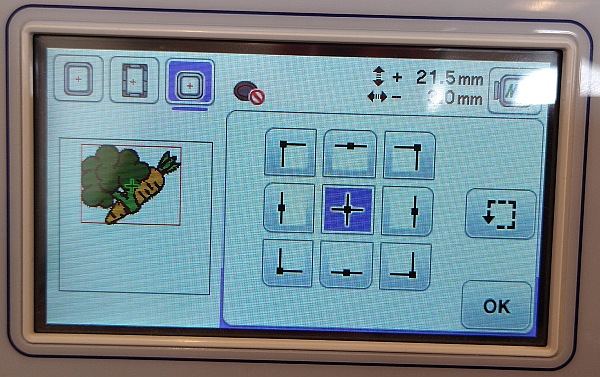
This screen allows to position the machine needle on the four corners of the design.
I used it to check where my design will be stitched.
Col
Col
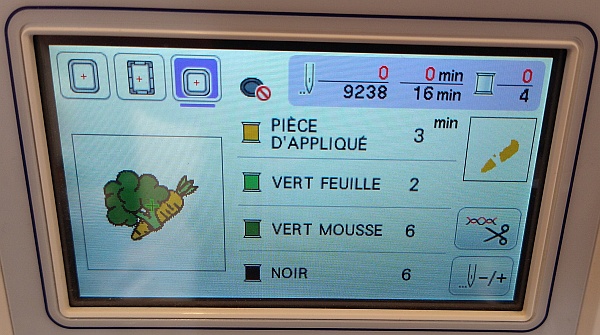
The last screen shows a recap of the stitching operation.
We can see that it'll start with the orange color.
Col
Col
Everything is OK now, we can start the stitching.
First, put the press foot down, then press on the start button.
When the first color is stitched, the machine stops, the screen is updated to show only the remaining colors.
Col

Col
To change the color:
- cut the thread
- remove it from the machine
- instal the thread for the next color
Col
Col
After stitching the second color, I realized that there is a problem with the bobbin tension.
It is shown by the fact that the (white) bobbin thread is visible on the fabric top.
I remove the frame (had to cut the top thread).
The bobbin thread did not follow the right path. I remove the bobbin and put it back in place.
Col
Col
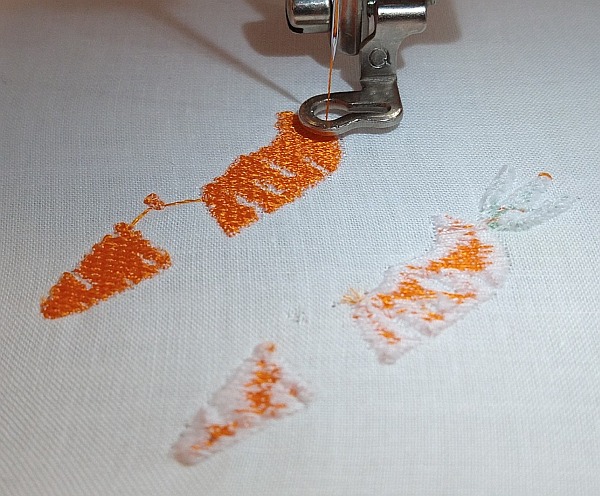
I restarted the stitching besides the first one.
after the first color stitching, the result is much more satisfying!
Col
Col
The other colors stitching went without problem.
Here is the final result.
Col
Col
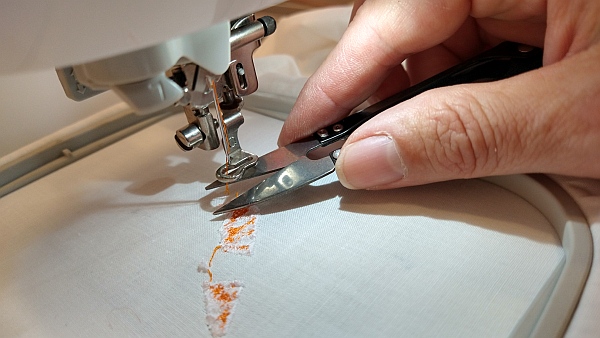
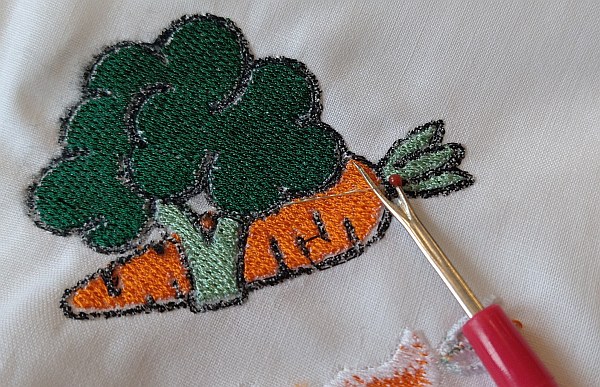
Next, I unframed the fabric.
I had to post-process the stitching by removing the "wire jumps" between color patches.
I used a dedicated cutting tool.
Col
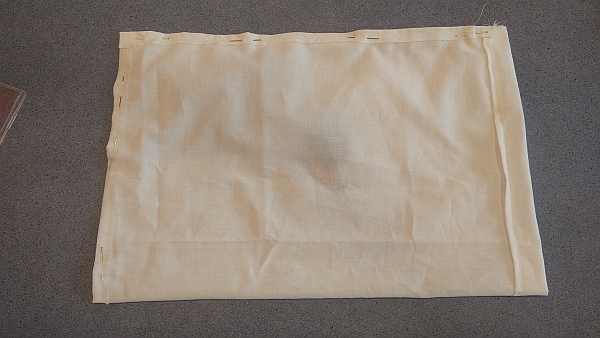
Now, I have to sew the fabric to make a bag.
I used a guiding tool to fold the edges of the fabric at right angle.
The folds are hold in place by needles (They are barely visible on the picture)
I used a measuring tape to mark where to fold. The embroidery center is at 12 cm from the left edge.
Hence the right edge should be at 24 cm.
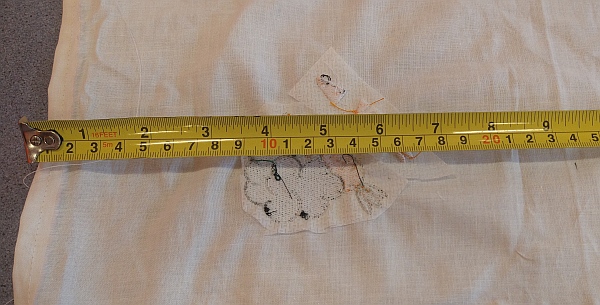
When the fabric is fold as desired, it's ready to be sewed.
I sewed it inside out.
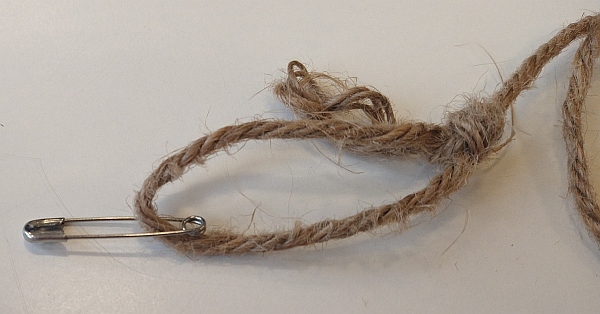
Final step is to add the cord. For that, I used a safety pin to ease its insertion.
Useful files
Further updates
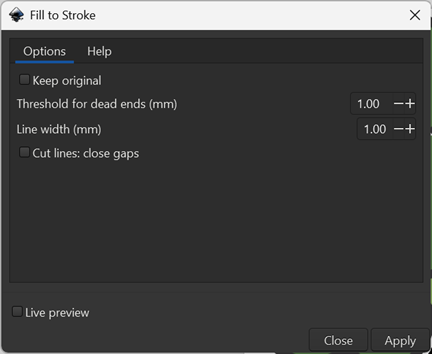
make the black surroundings, use satin
- Extensions/ink/stitch/Tools: Stroke/Fill to stroke...
- Play with both value to obtain nice result. Use live preview
- click apply when satisfied
- Extensions/ink/stitch/Tools: Satin/Stroke to satin

in Ink/Stitch, it gives: