Networking and communications
Hero shot
LoRa meshtastic discovery
Our fab lab has 3 XIAO ESP32-S3&Wio SX1262 Kit.
I decided to create a small network with 3 nodes.
Kit description
TODO: describe the kit
Meshtastic network
TODO: explain meshtastic concepts
Firmware flashing
First step is to flash the meshtastic firmware in the XIAO-ESP32 board.
I followed the tutorial from the Seeed wiki dedicated page.
there is a web-app to flash the firmware: https://flasher.meshtastic.org/.
Warning
This web-app needs Webserial API. Firefox doesn't support it.
Chrome or Edge does support it.
I usually use Firefox as web-browser. I changed to Microsoft Edge to flash the firmware.
The app interface is pretty simple:
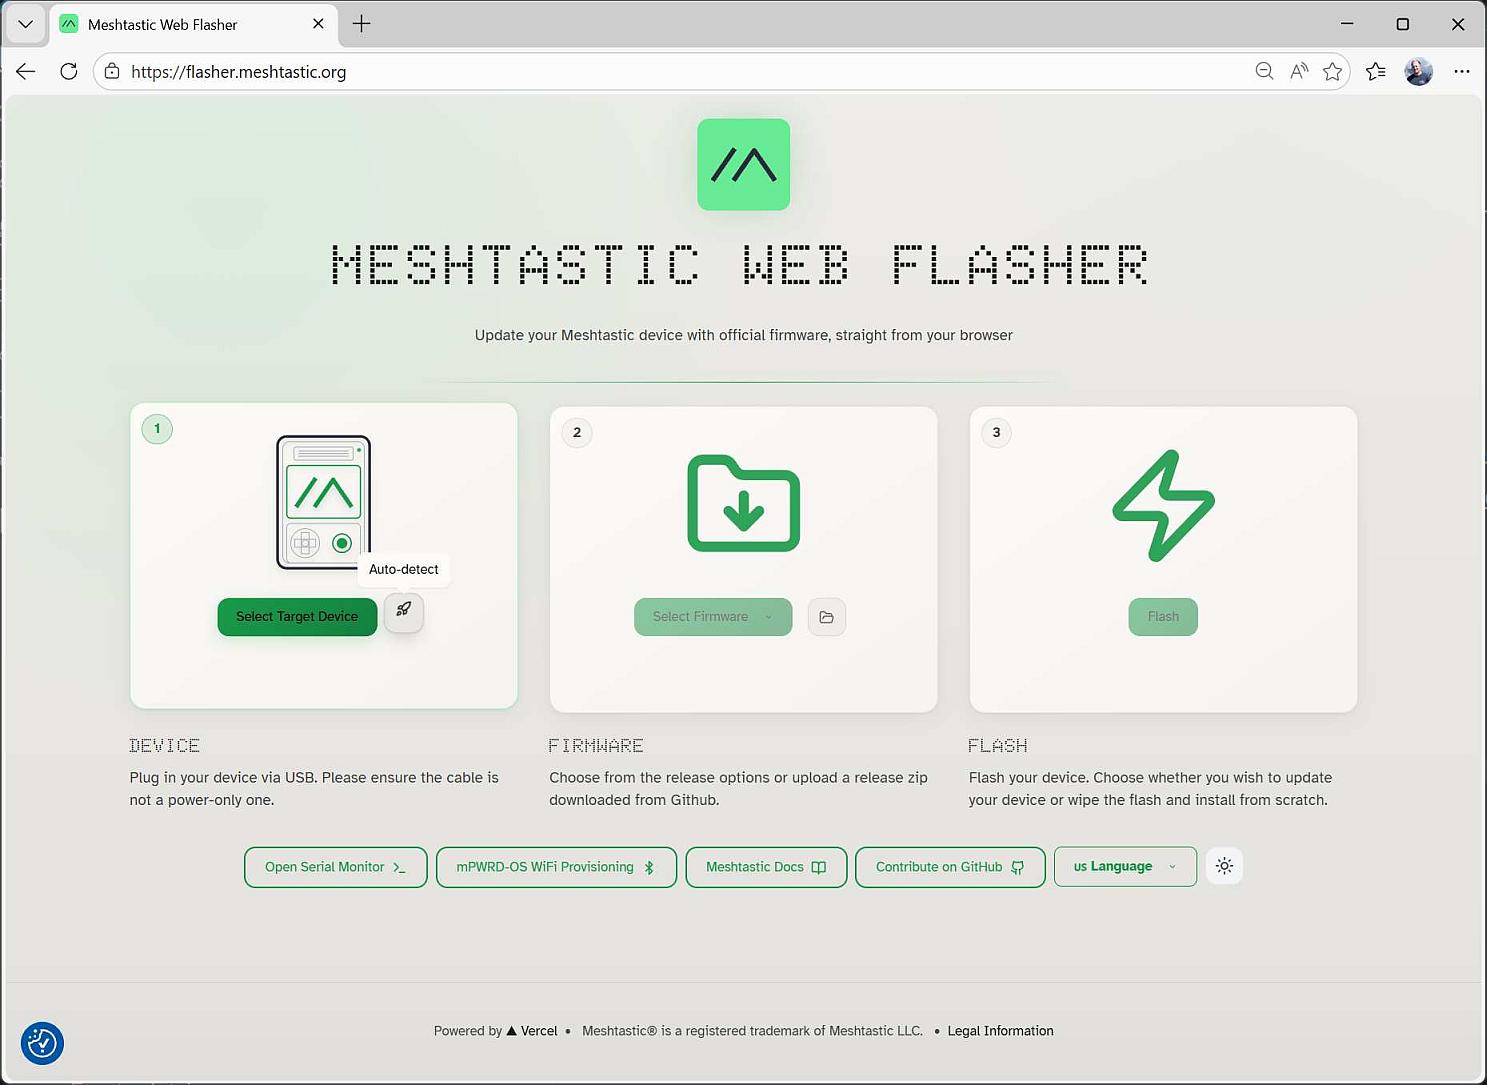
First step is to select the target device.
I tried to use the auto-detect button, but I had an error message telling me that the device couldn't be found.
I used the Select Target Device button to open the board selection window:
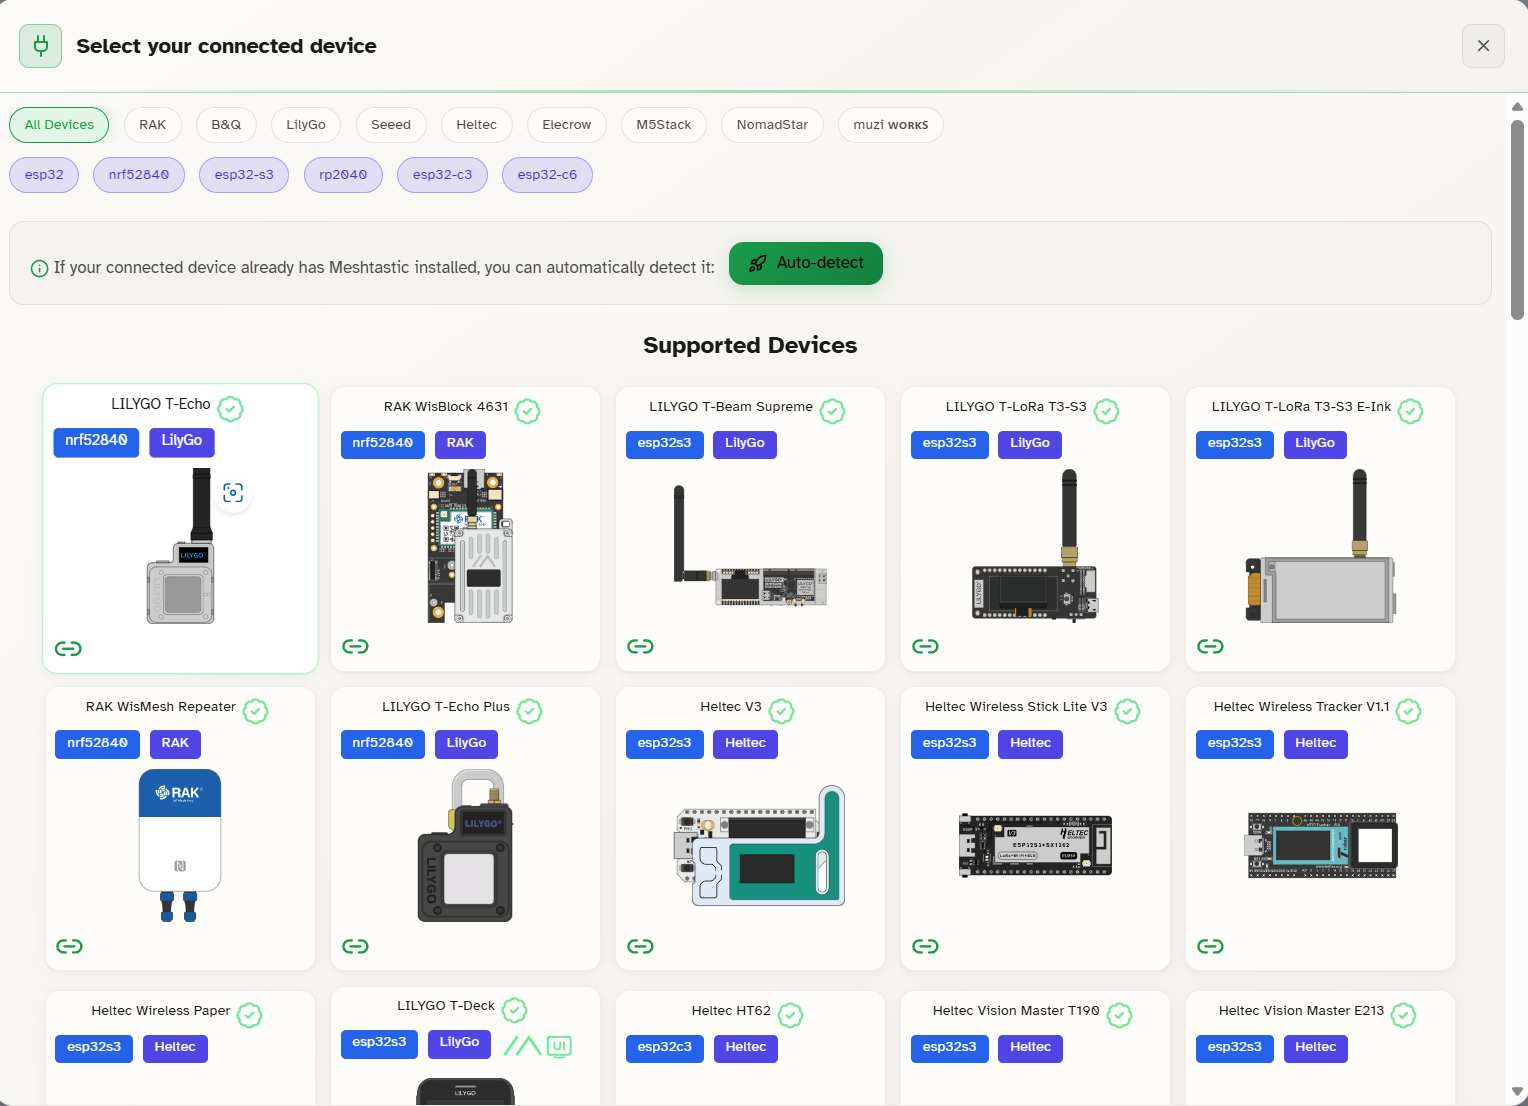
The board list can be filtered using the button at the top. I select Seeed and esp32-s3.
Our kit is at the end of the list:
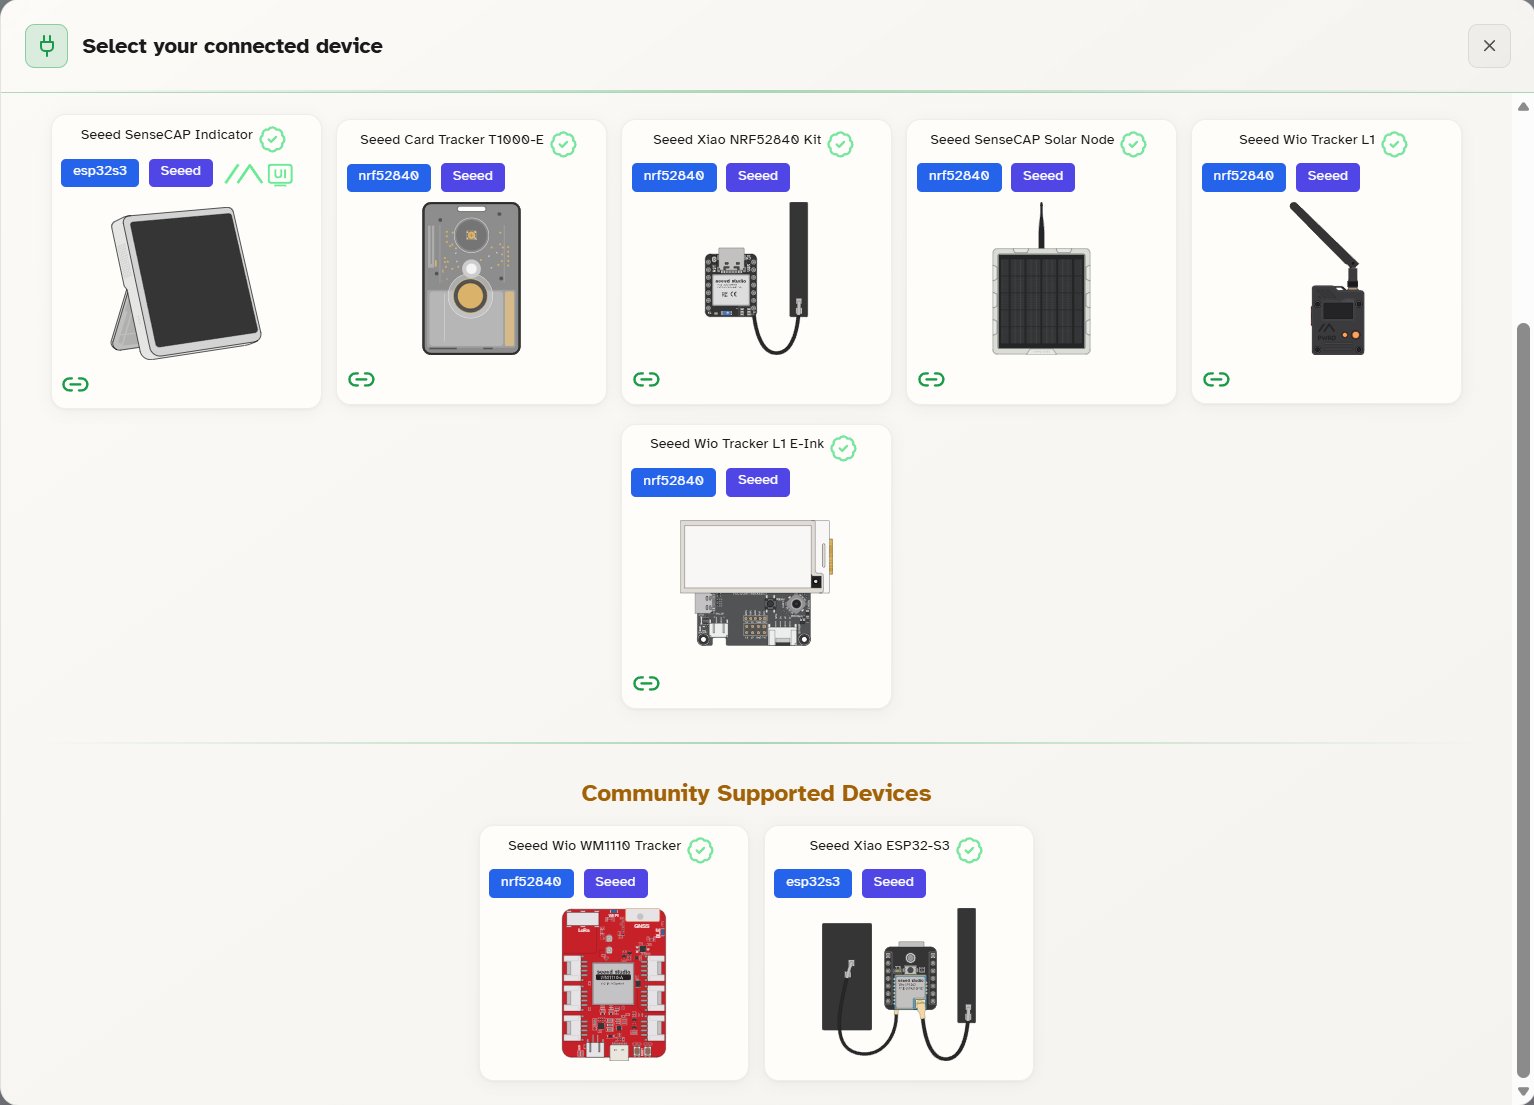
After clicking on the seeed Xiao ESP32-S3tile, the first screen reappears with the board selected:
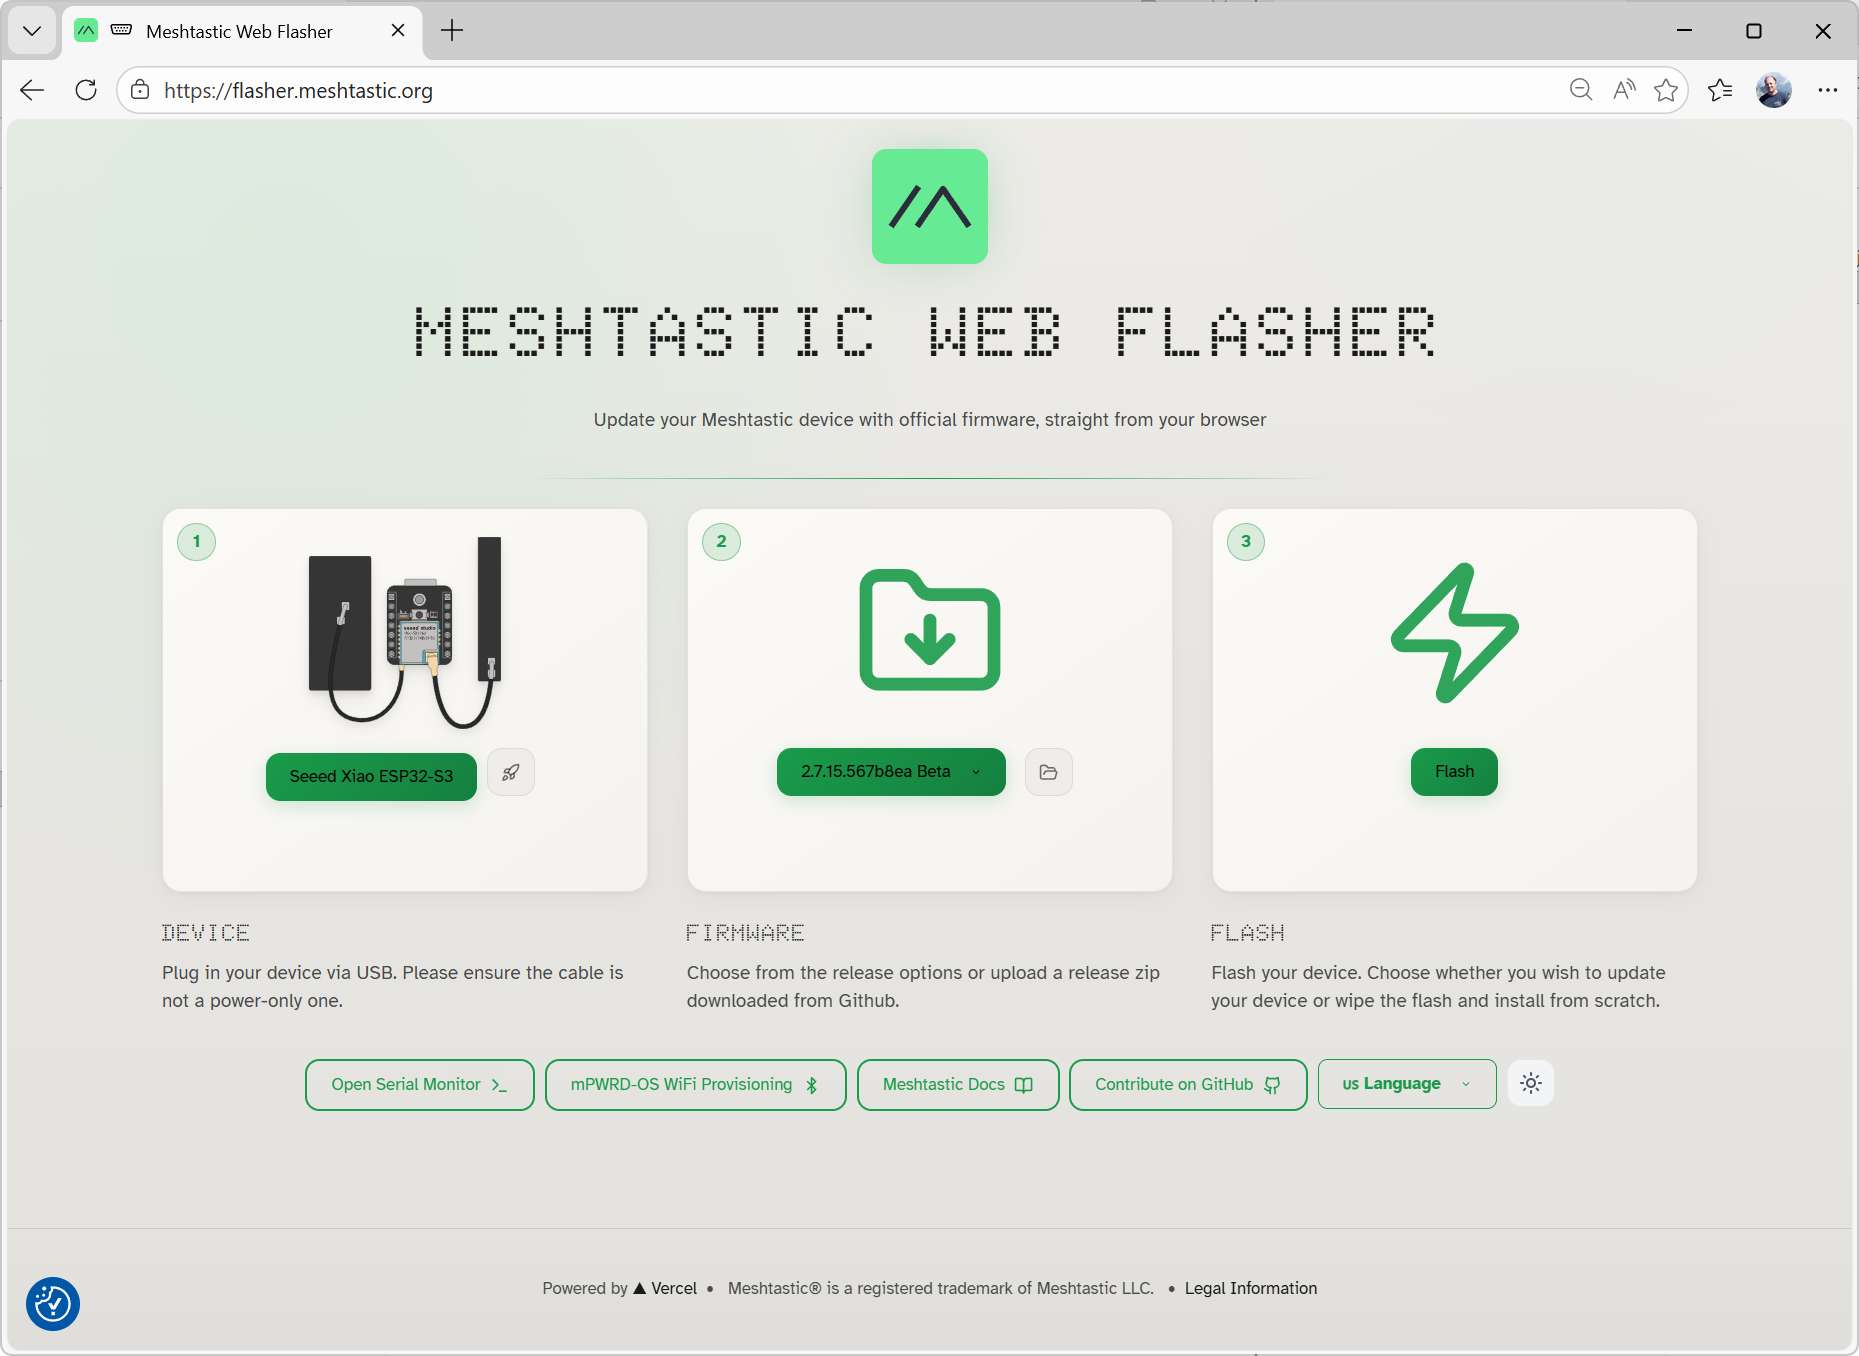
It has also automatically selected the latest stable firmware, as the second step.
Nothing more to do here except clicking on Flash.
A pop-up window appears with the release notes:
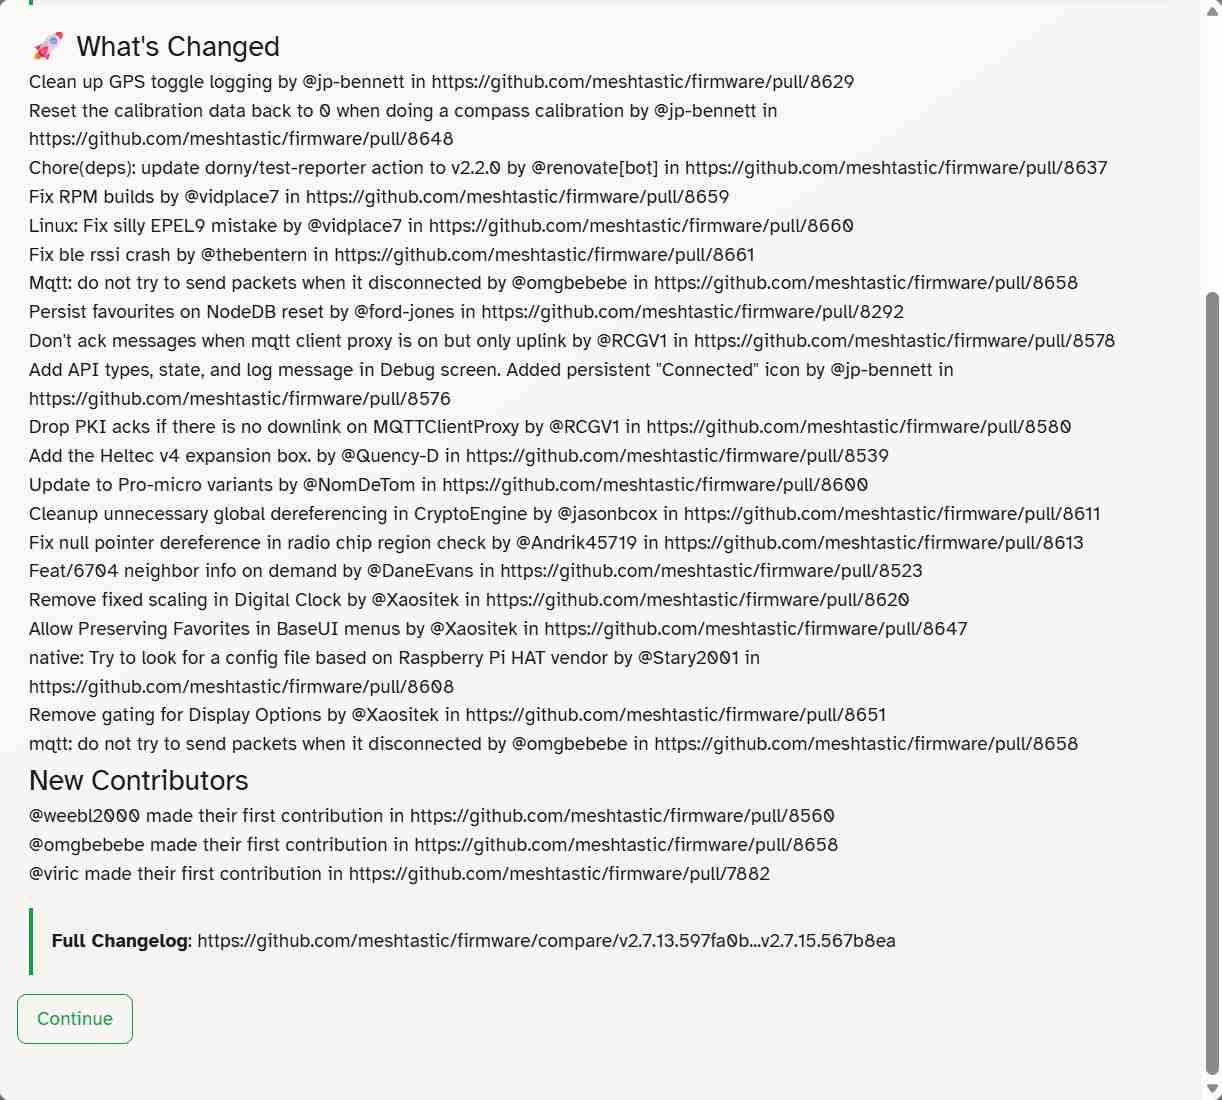
After clicking on Continue, the Flash window appears:

Step 1 asks us to connect the ESP32 board to the PC while pressing the BOOT button.
I had to disconnect the SX1262 board from the ESP32S3 one to be able to access the button.
I kept the default baud rate (115200) and didn't check the Full erase and Intsall option.
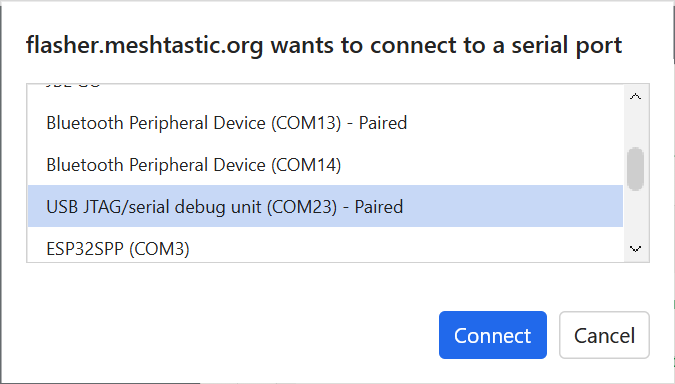
After clicking Update, a pop-up window appears to select the COM port associated with the board:
Col
Col
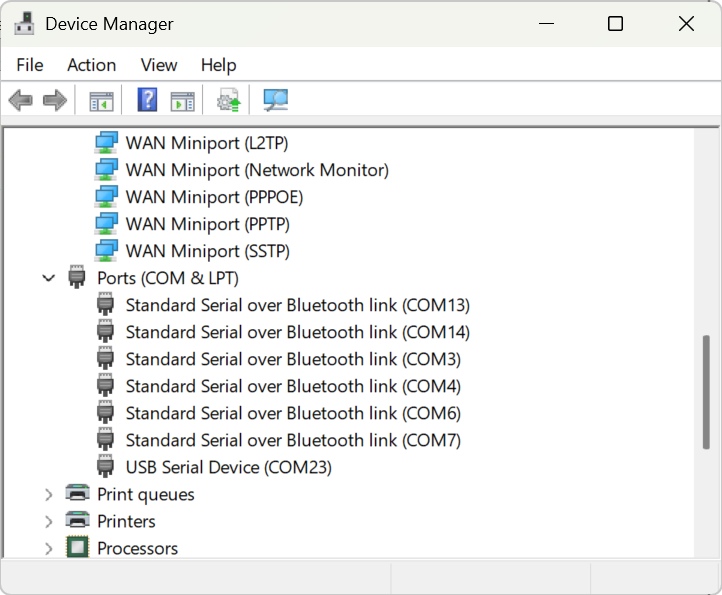
As no description were explicite, I checked in the windows' Device manager to find the COM port list. COM23 is the only port associated with a USB device, it must be the XIAO.
The COM port selection starts the firmware upload.
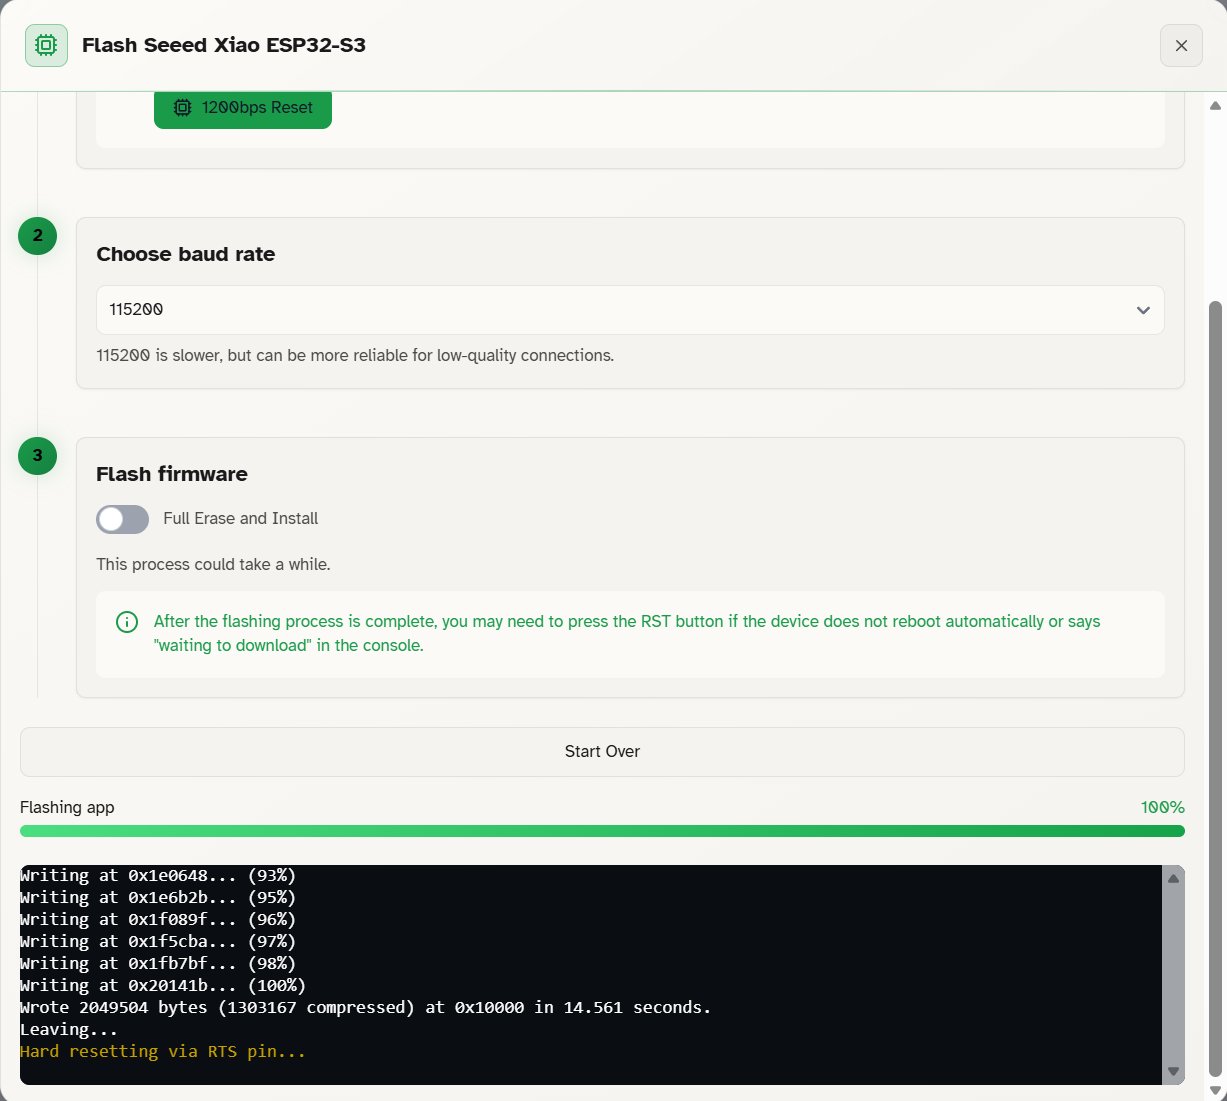
The progress bar fills up in less than 10 seconds and the terminal messages indicates that the flashing finished without error.
Finally, I disconnected it from the PC to reconnect the SX1262 board.
Device connection
tehre are multiple ways to connect to the nodes. They are described in the Meshtastic documentation.
I tried to connect with the Web client.
I still used Microsoft edge to have Webserial API.
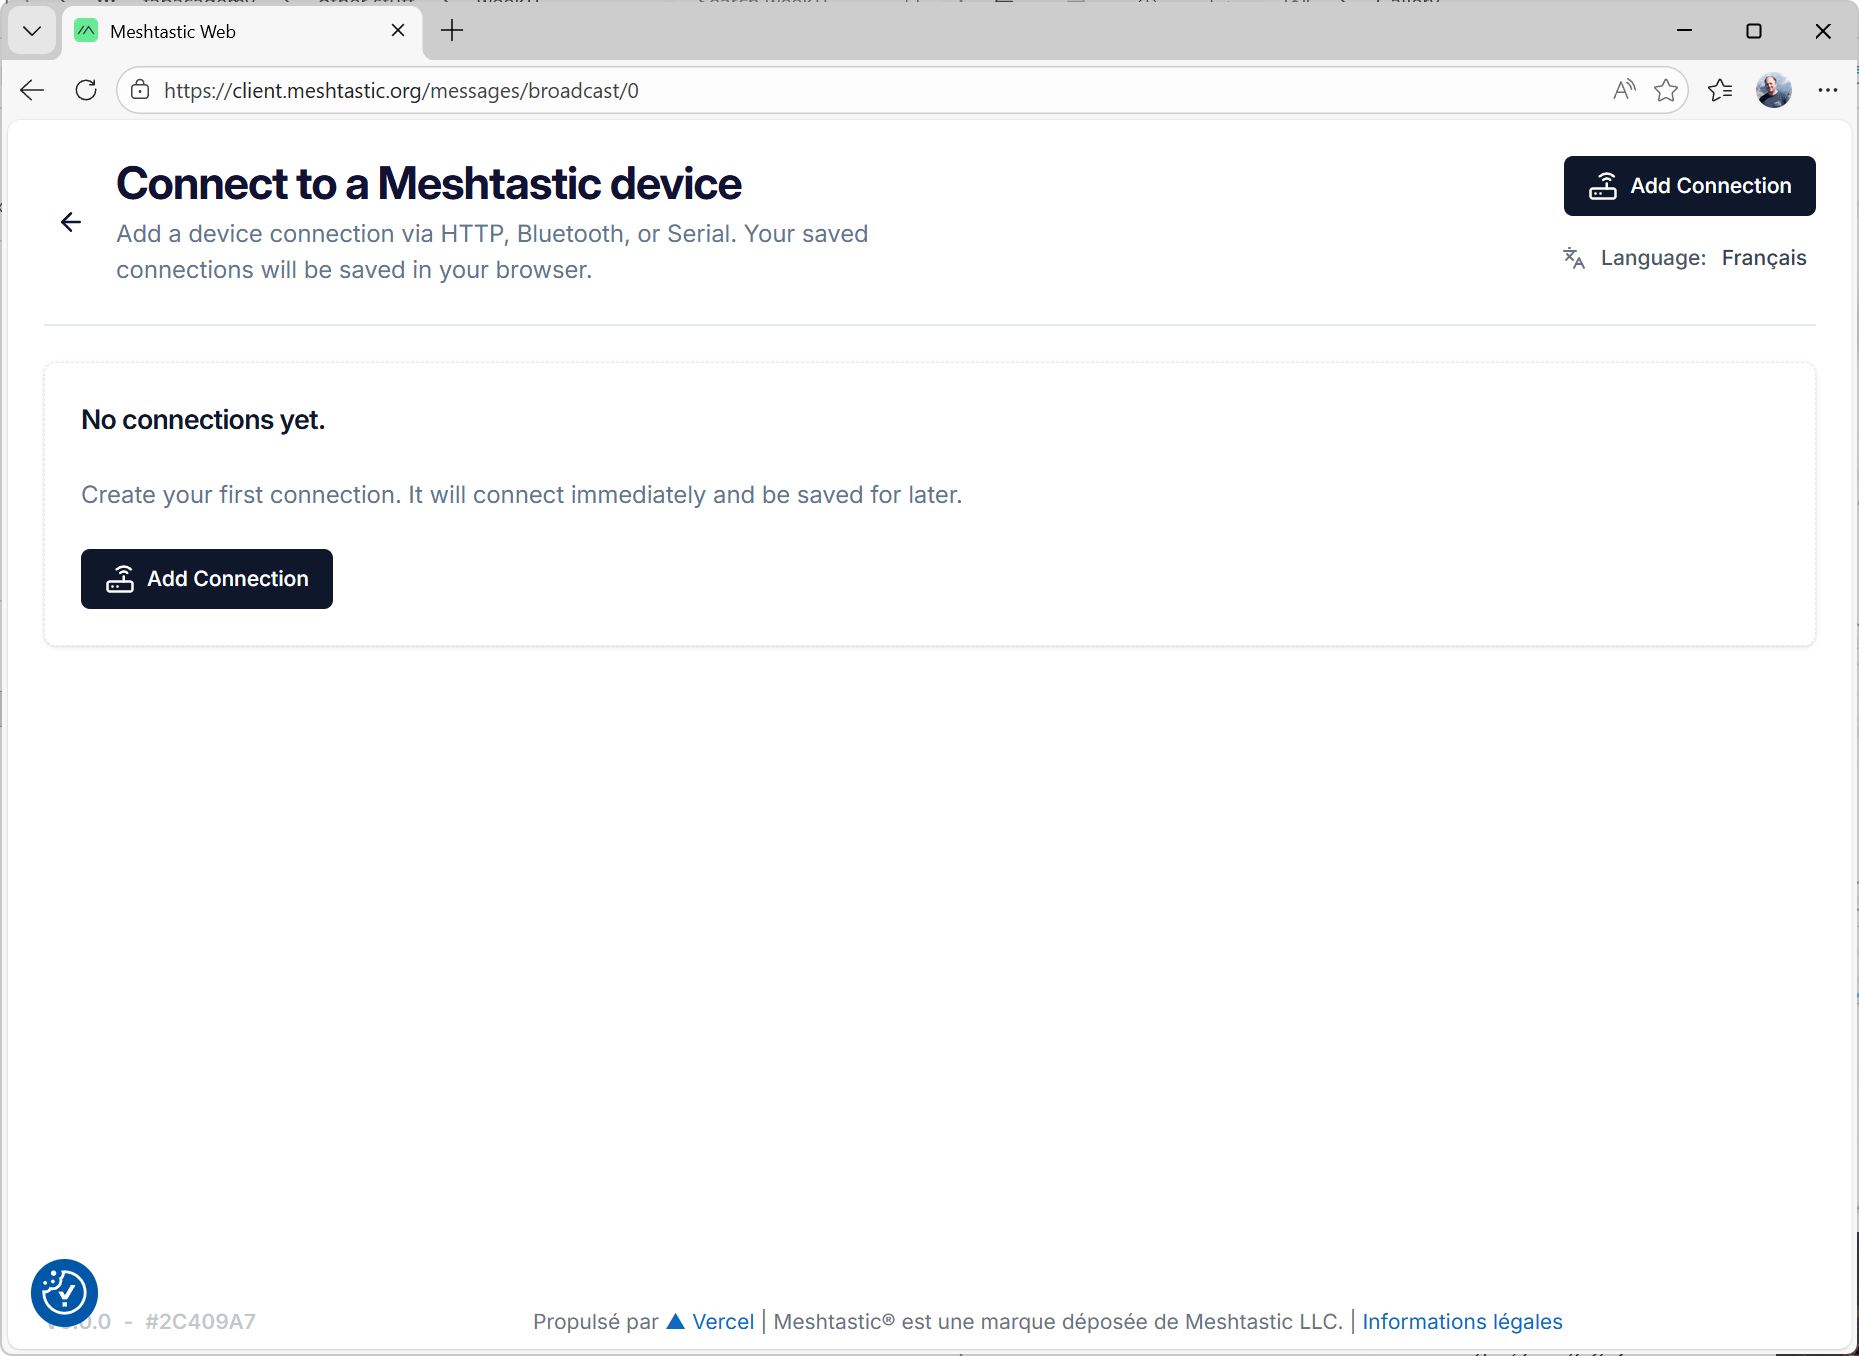
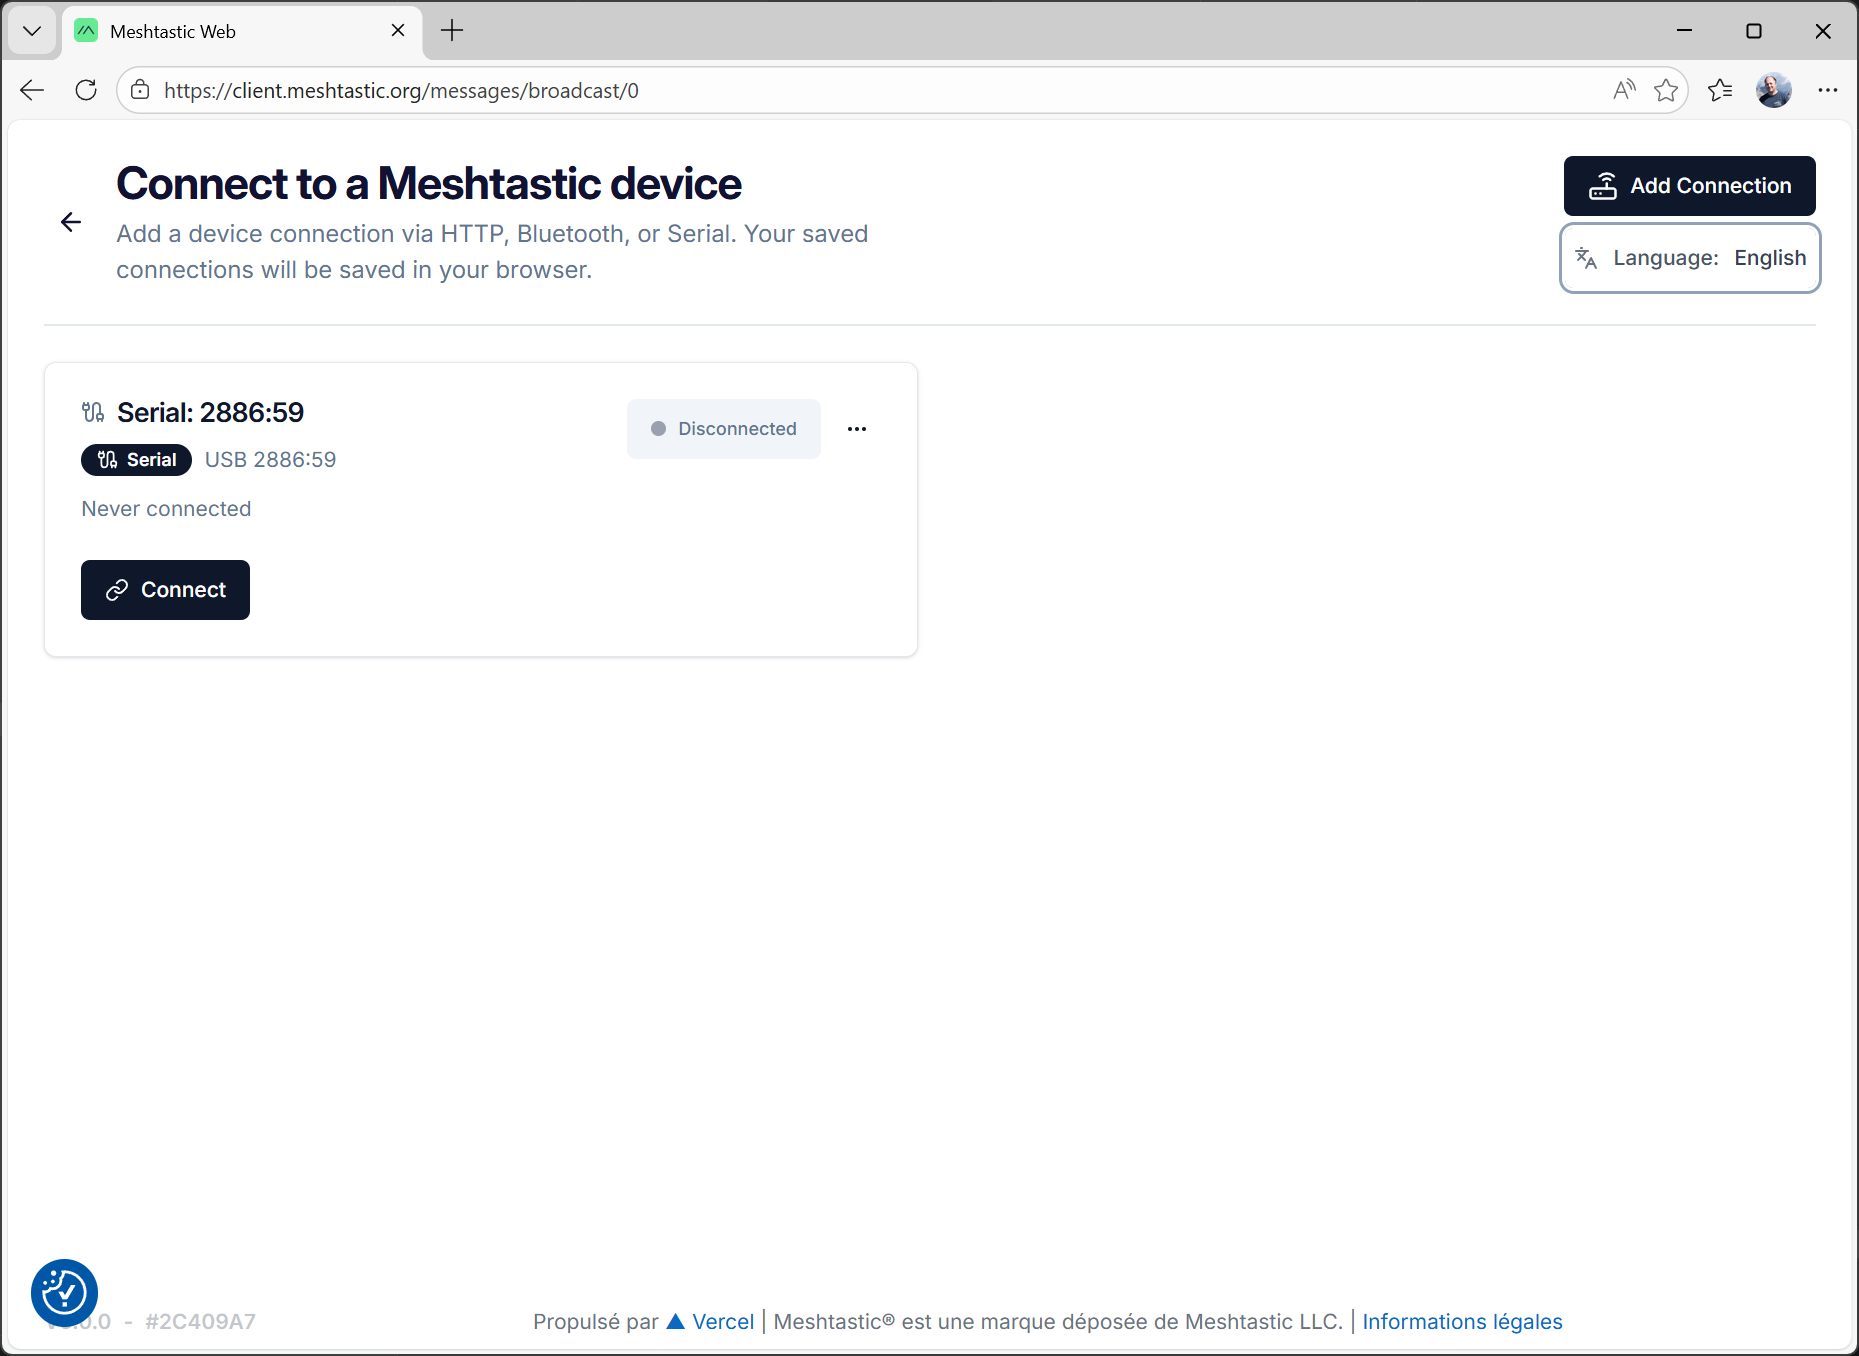
The cient is available at client.meshtastic.org:
Col
To add a new node:
- Click on Add Connection
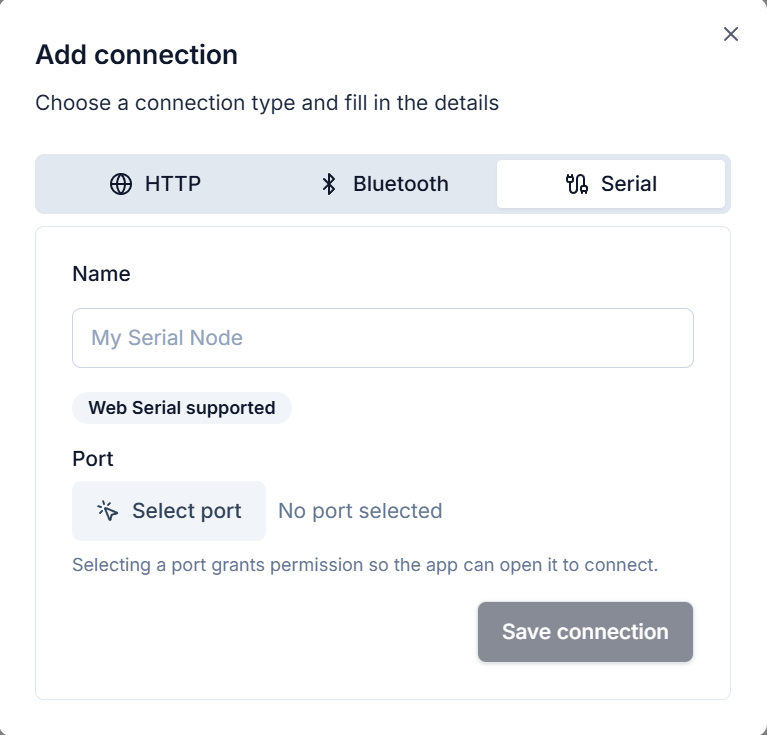
- Go to the serial tab
- Click on select port
Col
Col
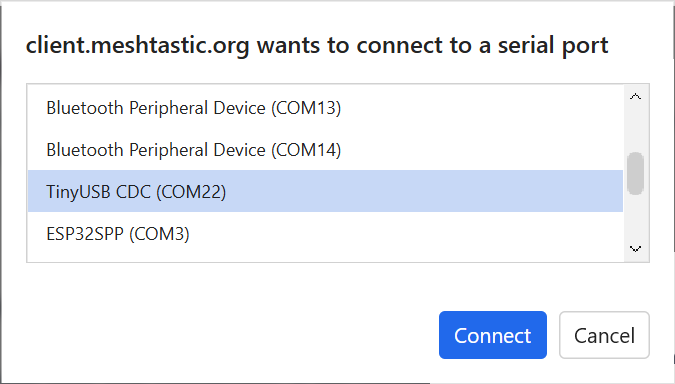
The pop-up window for the port selection appears.
The port associated to my board changed from COM23 to COM22.
I had to check in the device manager again.
The nodes are described as TinyUSB CDC.
Col
Col
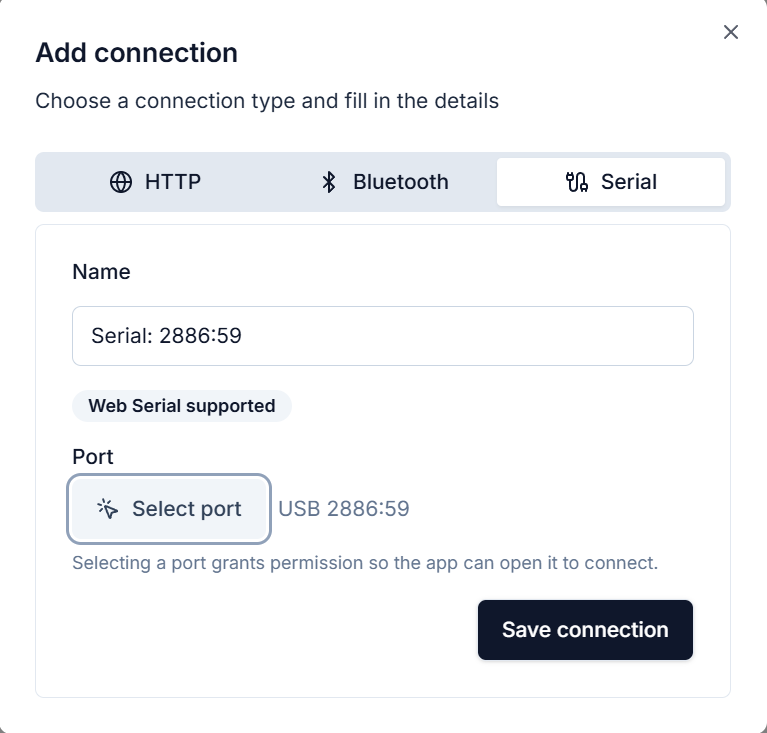
- Click on connect
A name is automatically generated for the node.
I decided to keep it.
- Click on Save connection
Col
The node is now added to the list:
Device configuration with the web client
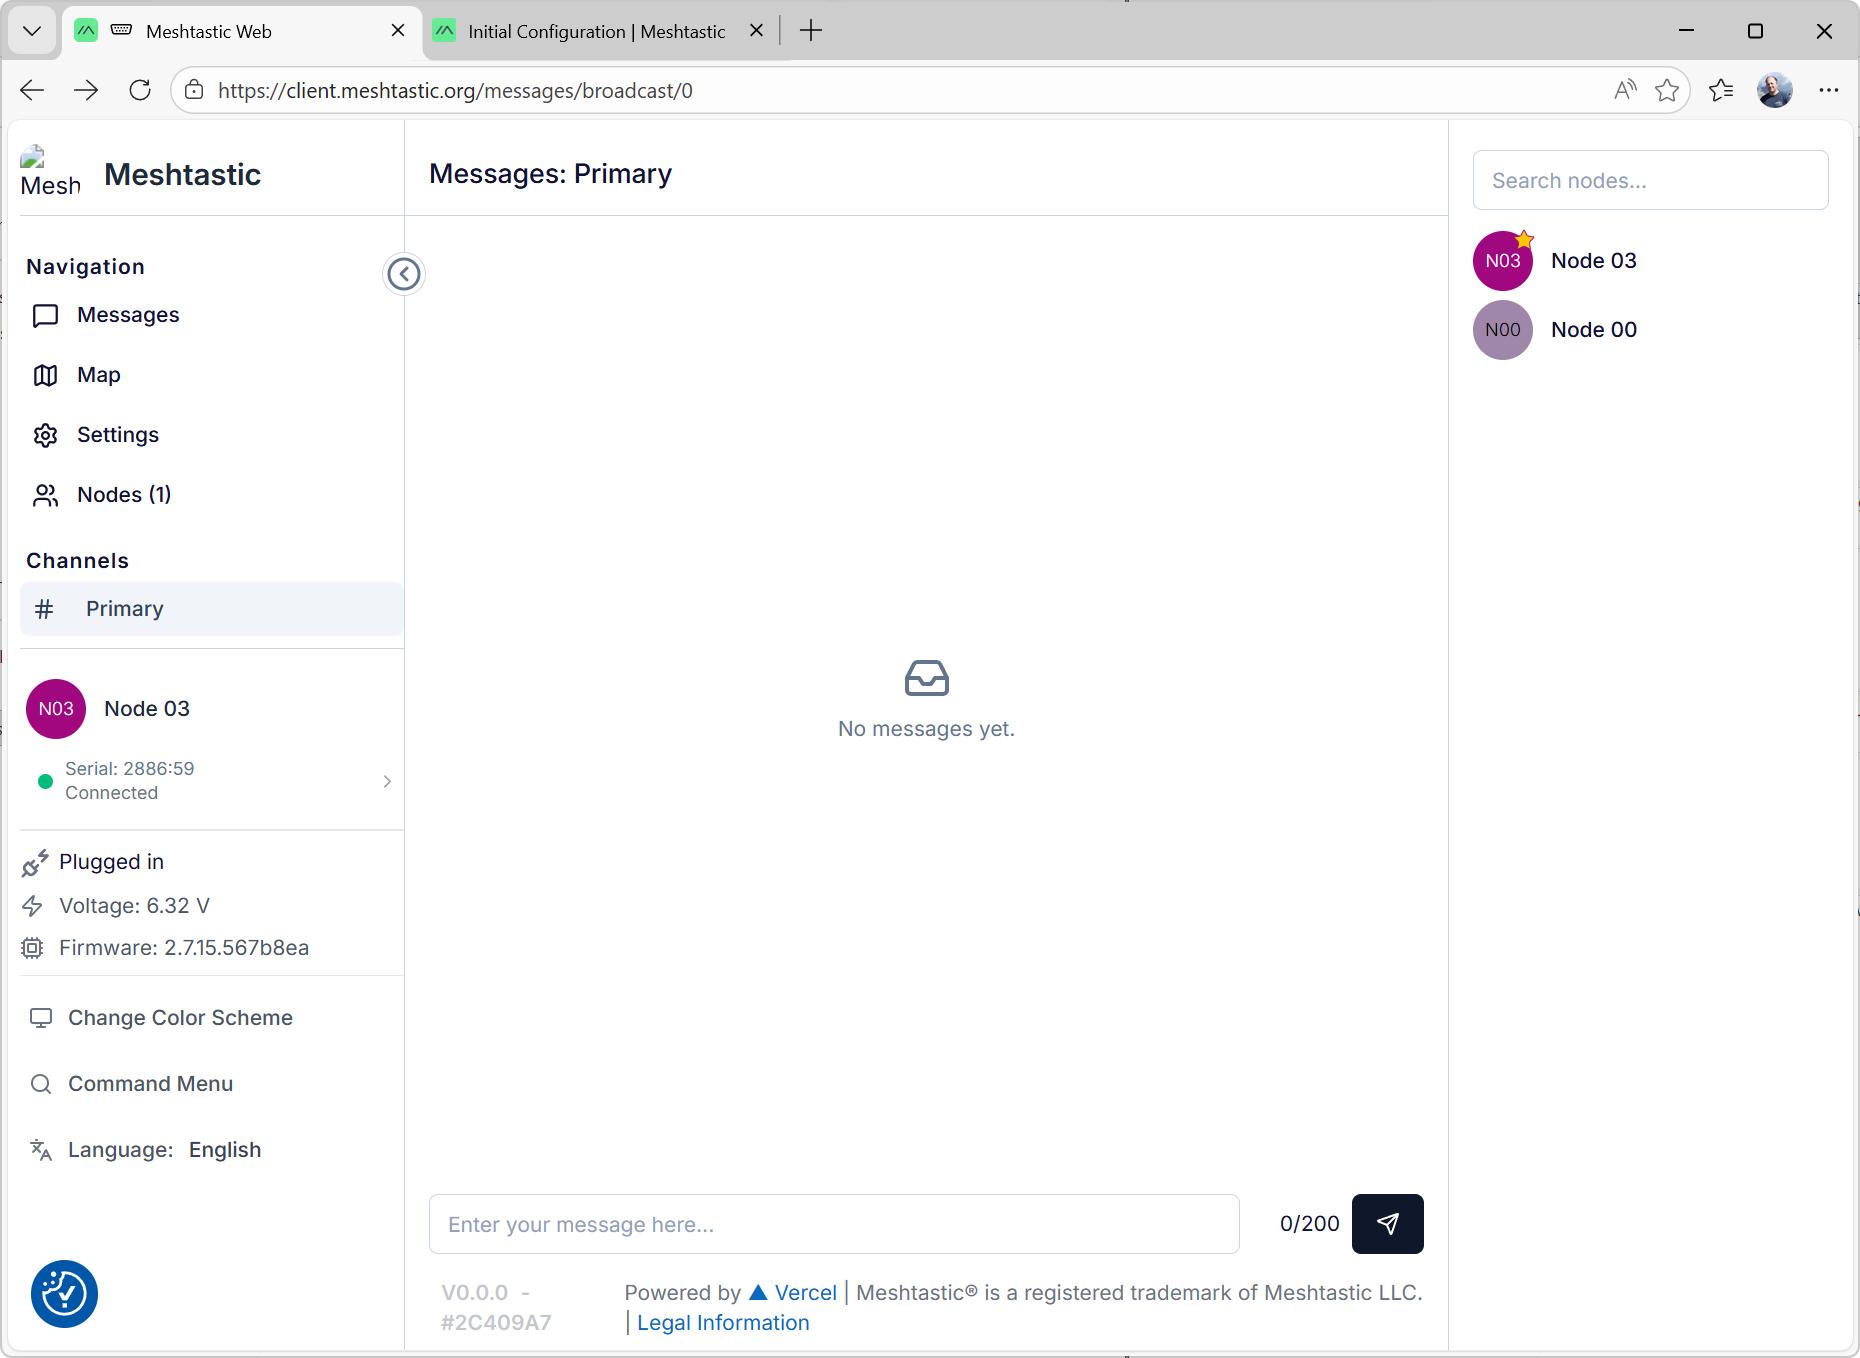
Click on Connect to open the main interface
In the left menu, select settings to configure the node
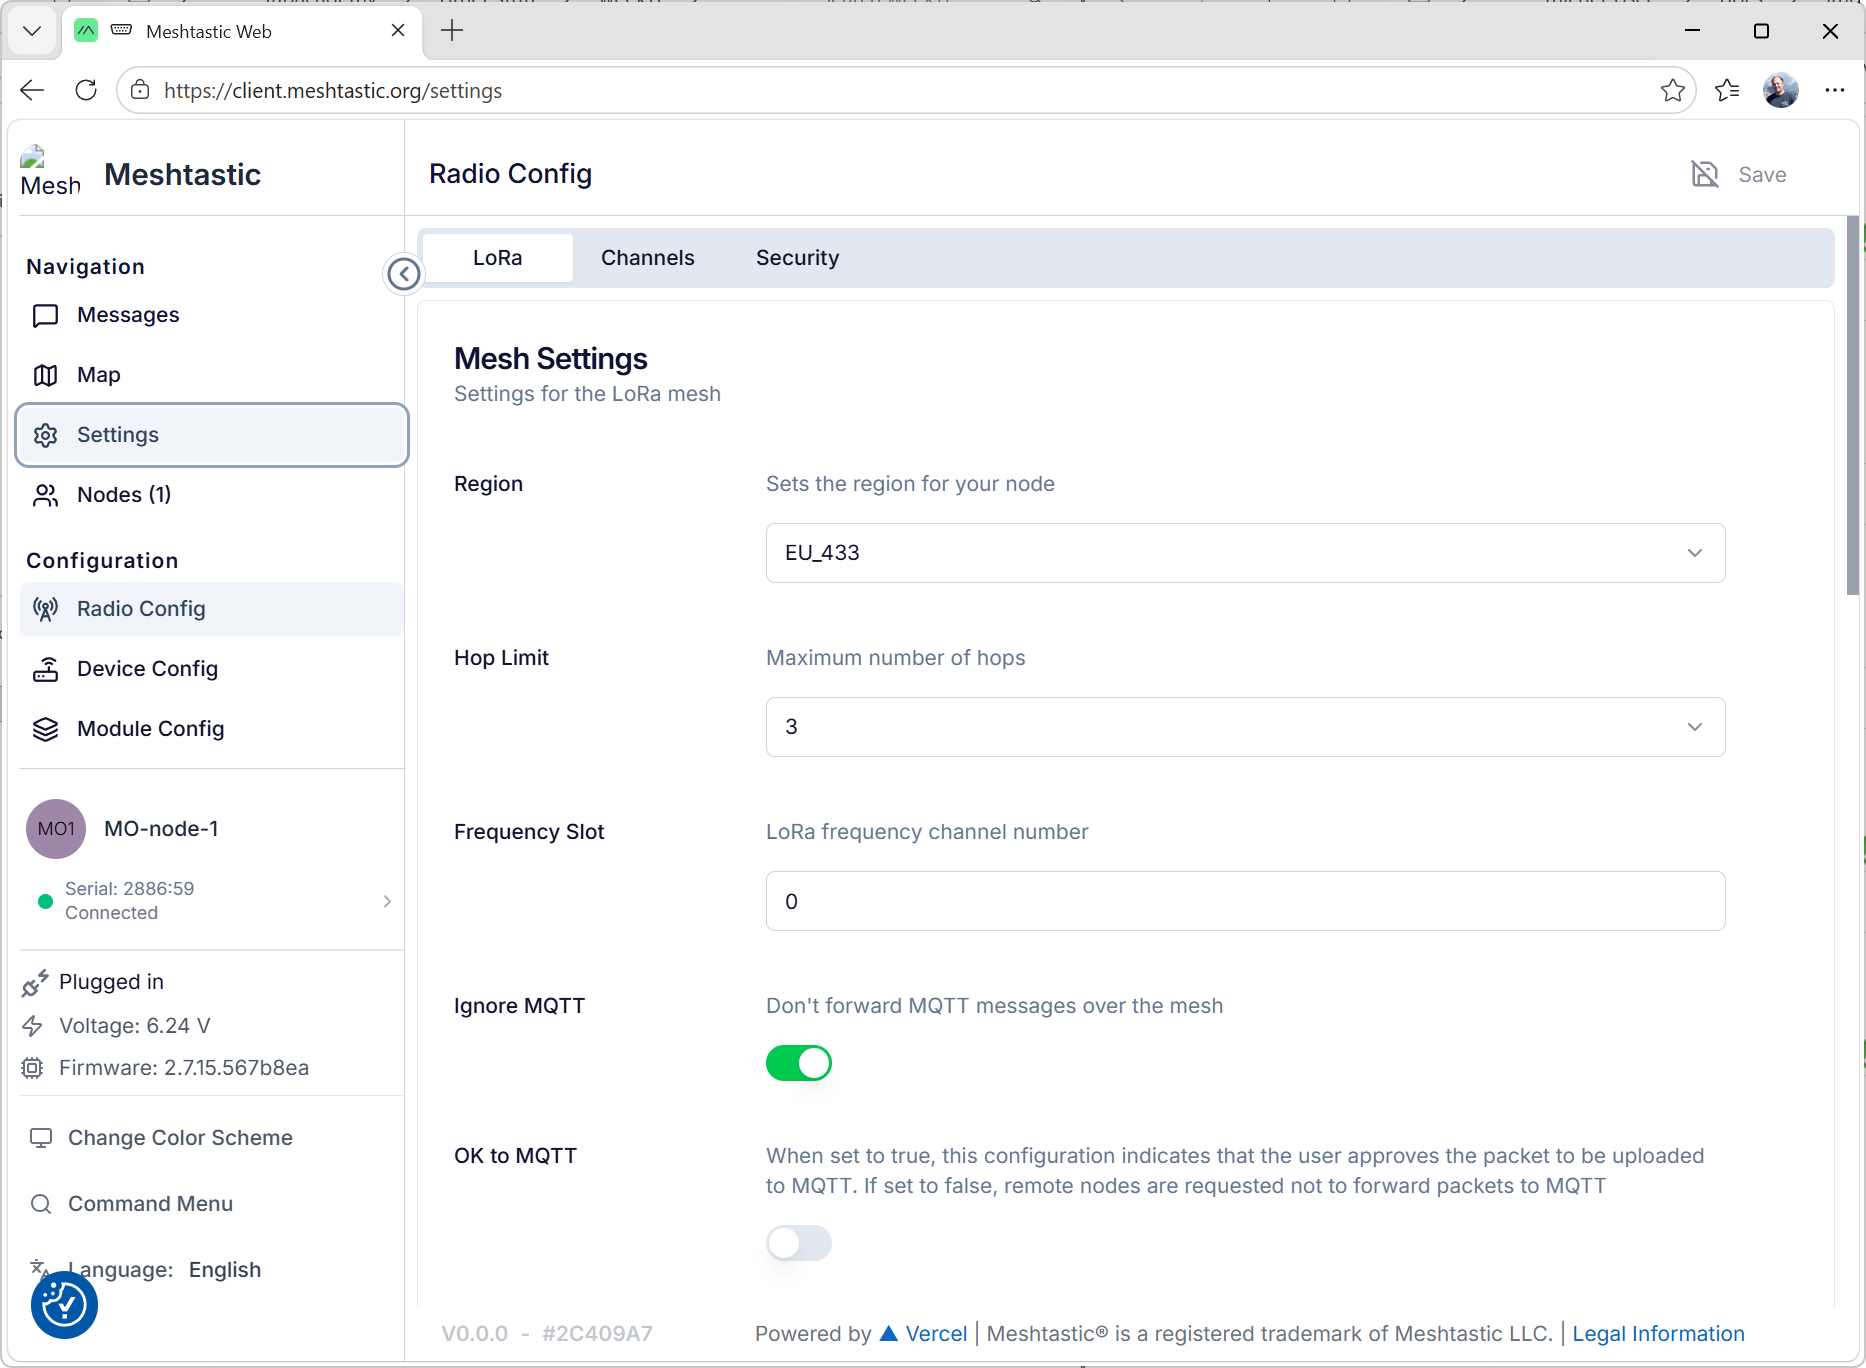
I only change the region settings to EU_433: I'm in Europe and the Xiao LoRa module uses the 433MHz band.
Press Save.
Notes
The save operation can take same time, as the node will reboot.
Be patient.
I also had to restart Microsoft Edge after the node rebooted (you can tell as windows will play the disconnection sound).
It seems that webserial doesn't properly free the COM port and is unable to reopen it.
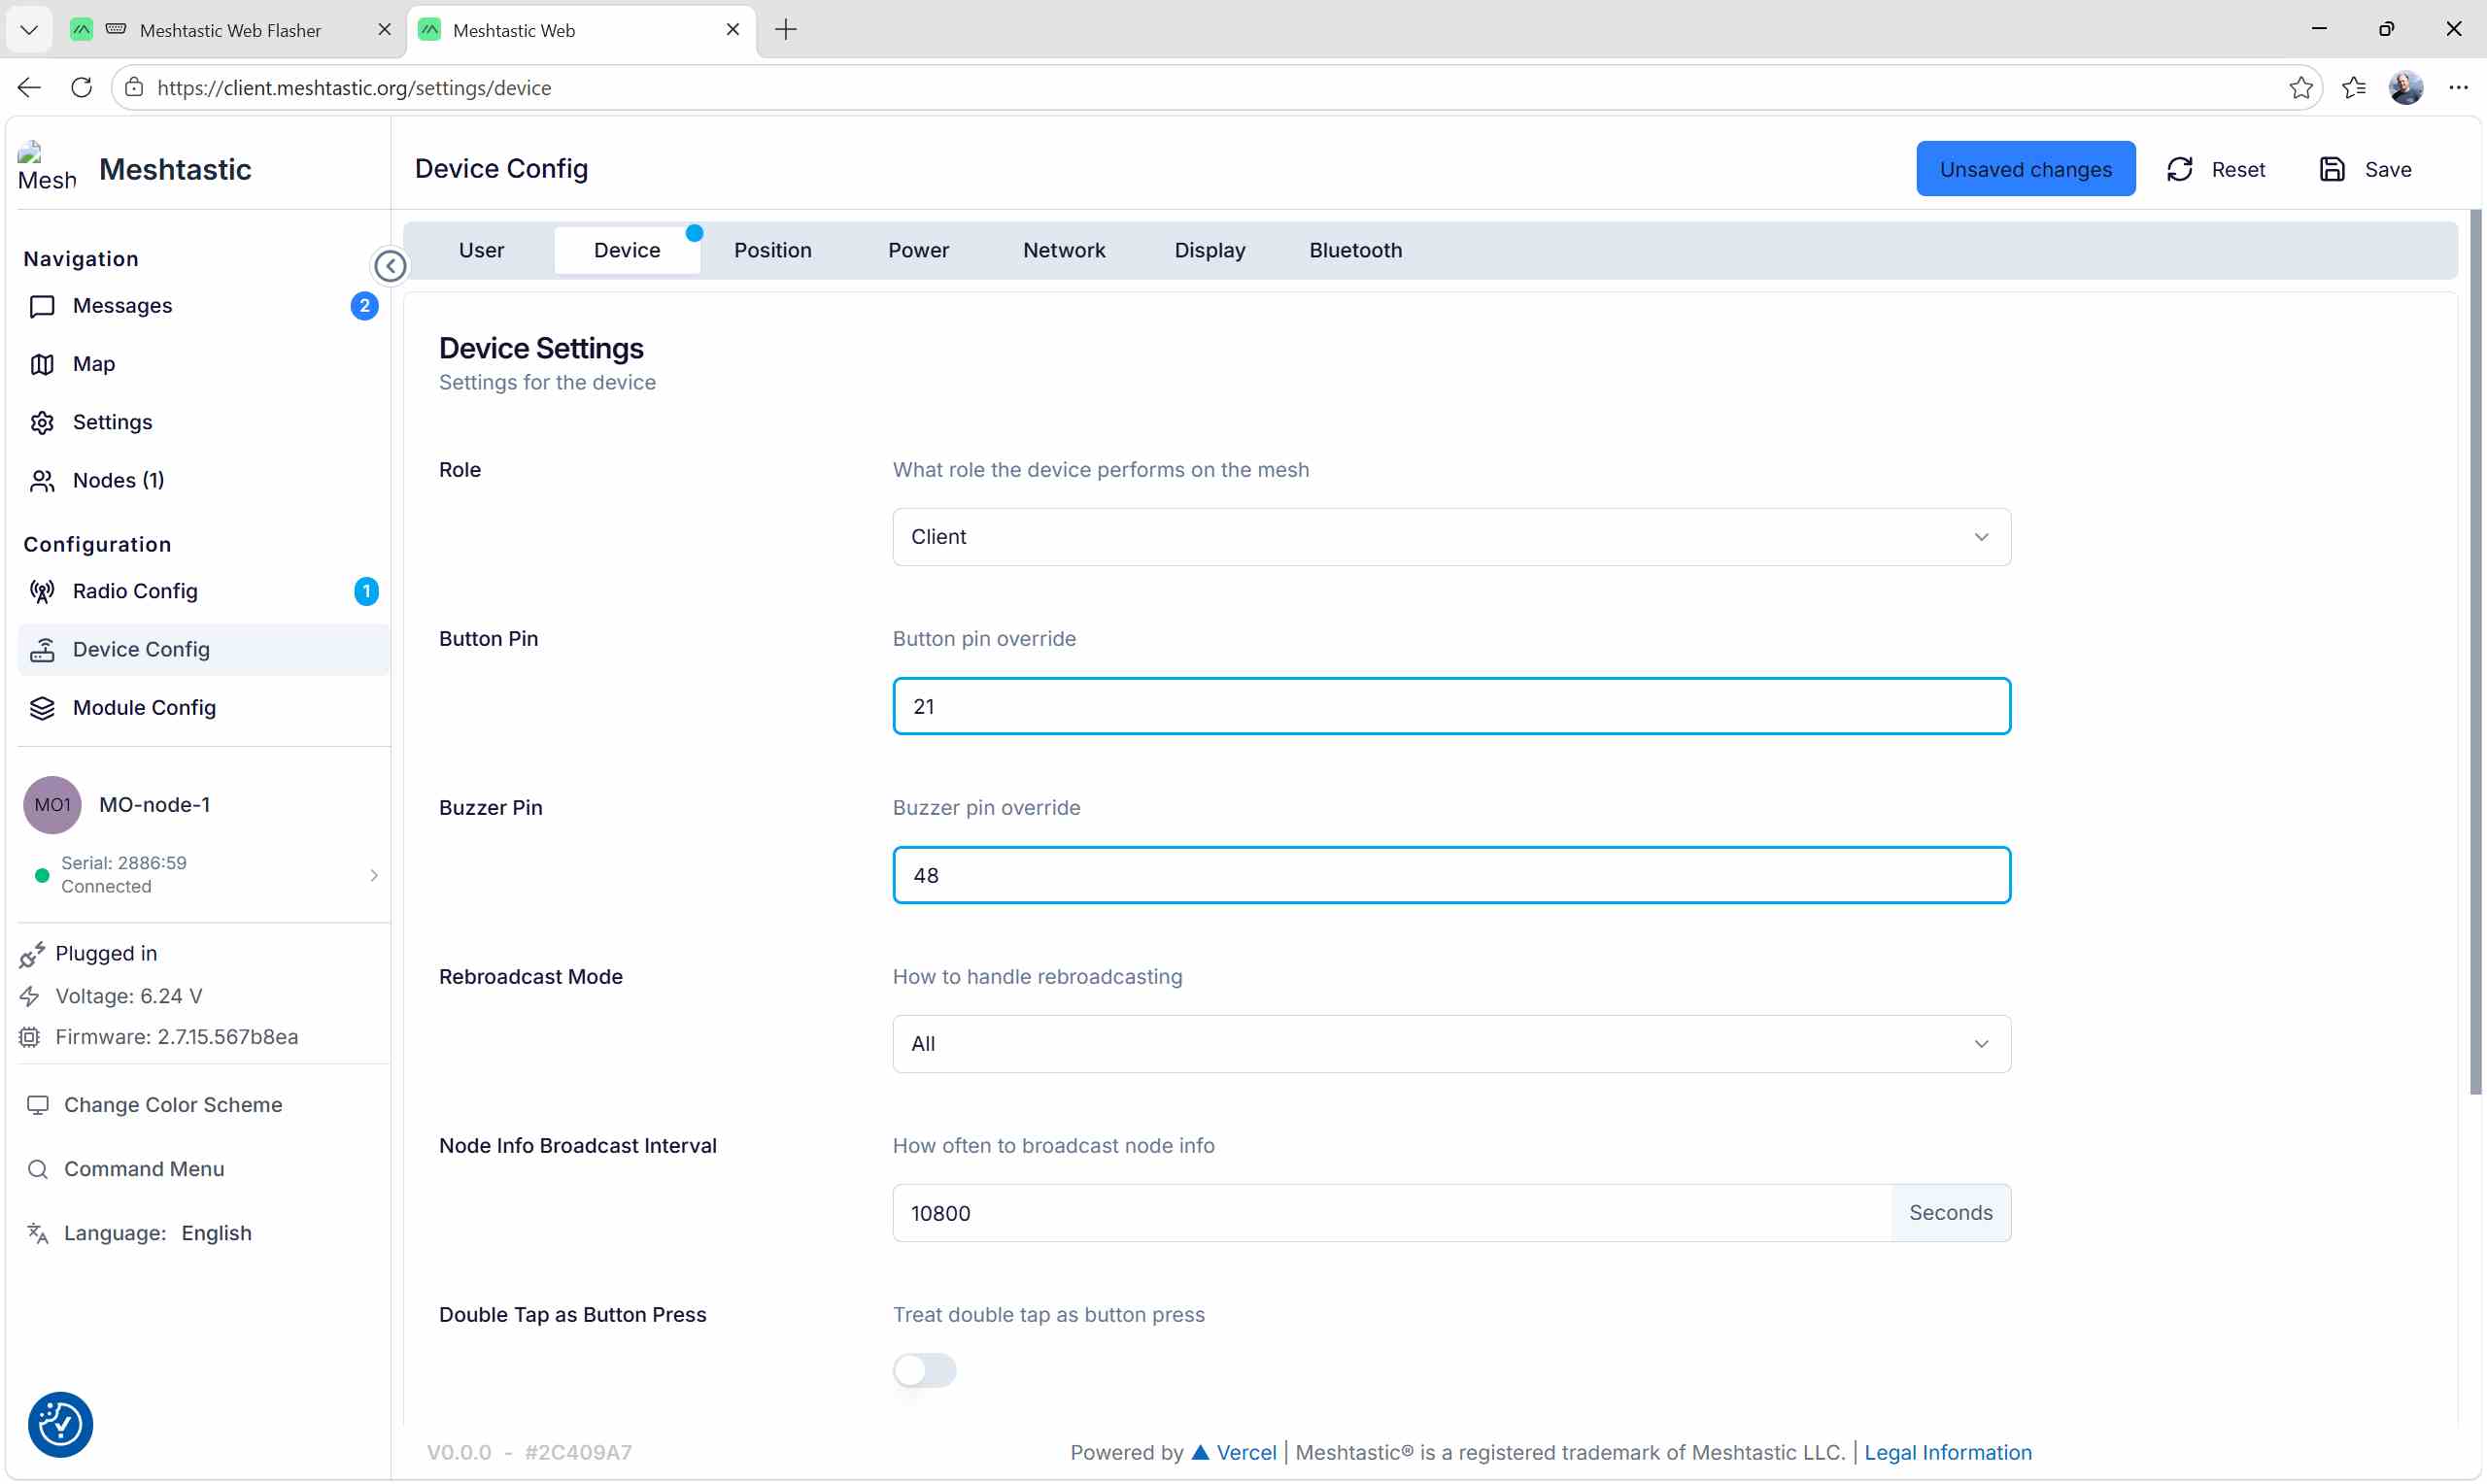
Next, go to Device config.
In the User tab, I change the long and short names of my node:

In the Device tab, I set the button and buzzer pins to match with the Wio-SX1262 module schematics:
Device connexion and configuration with the android app
I used the android app on my phone to do the same operations with a second node.
pin code 123456 TODO: add the screenshots
Channel sharing
In the web client, a Primary channel is already created.
It can be shared with the other node:
In the web client:
- Select Settings
- Select the Channels tab:
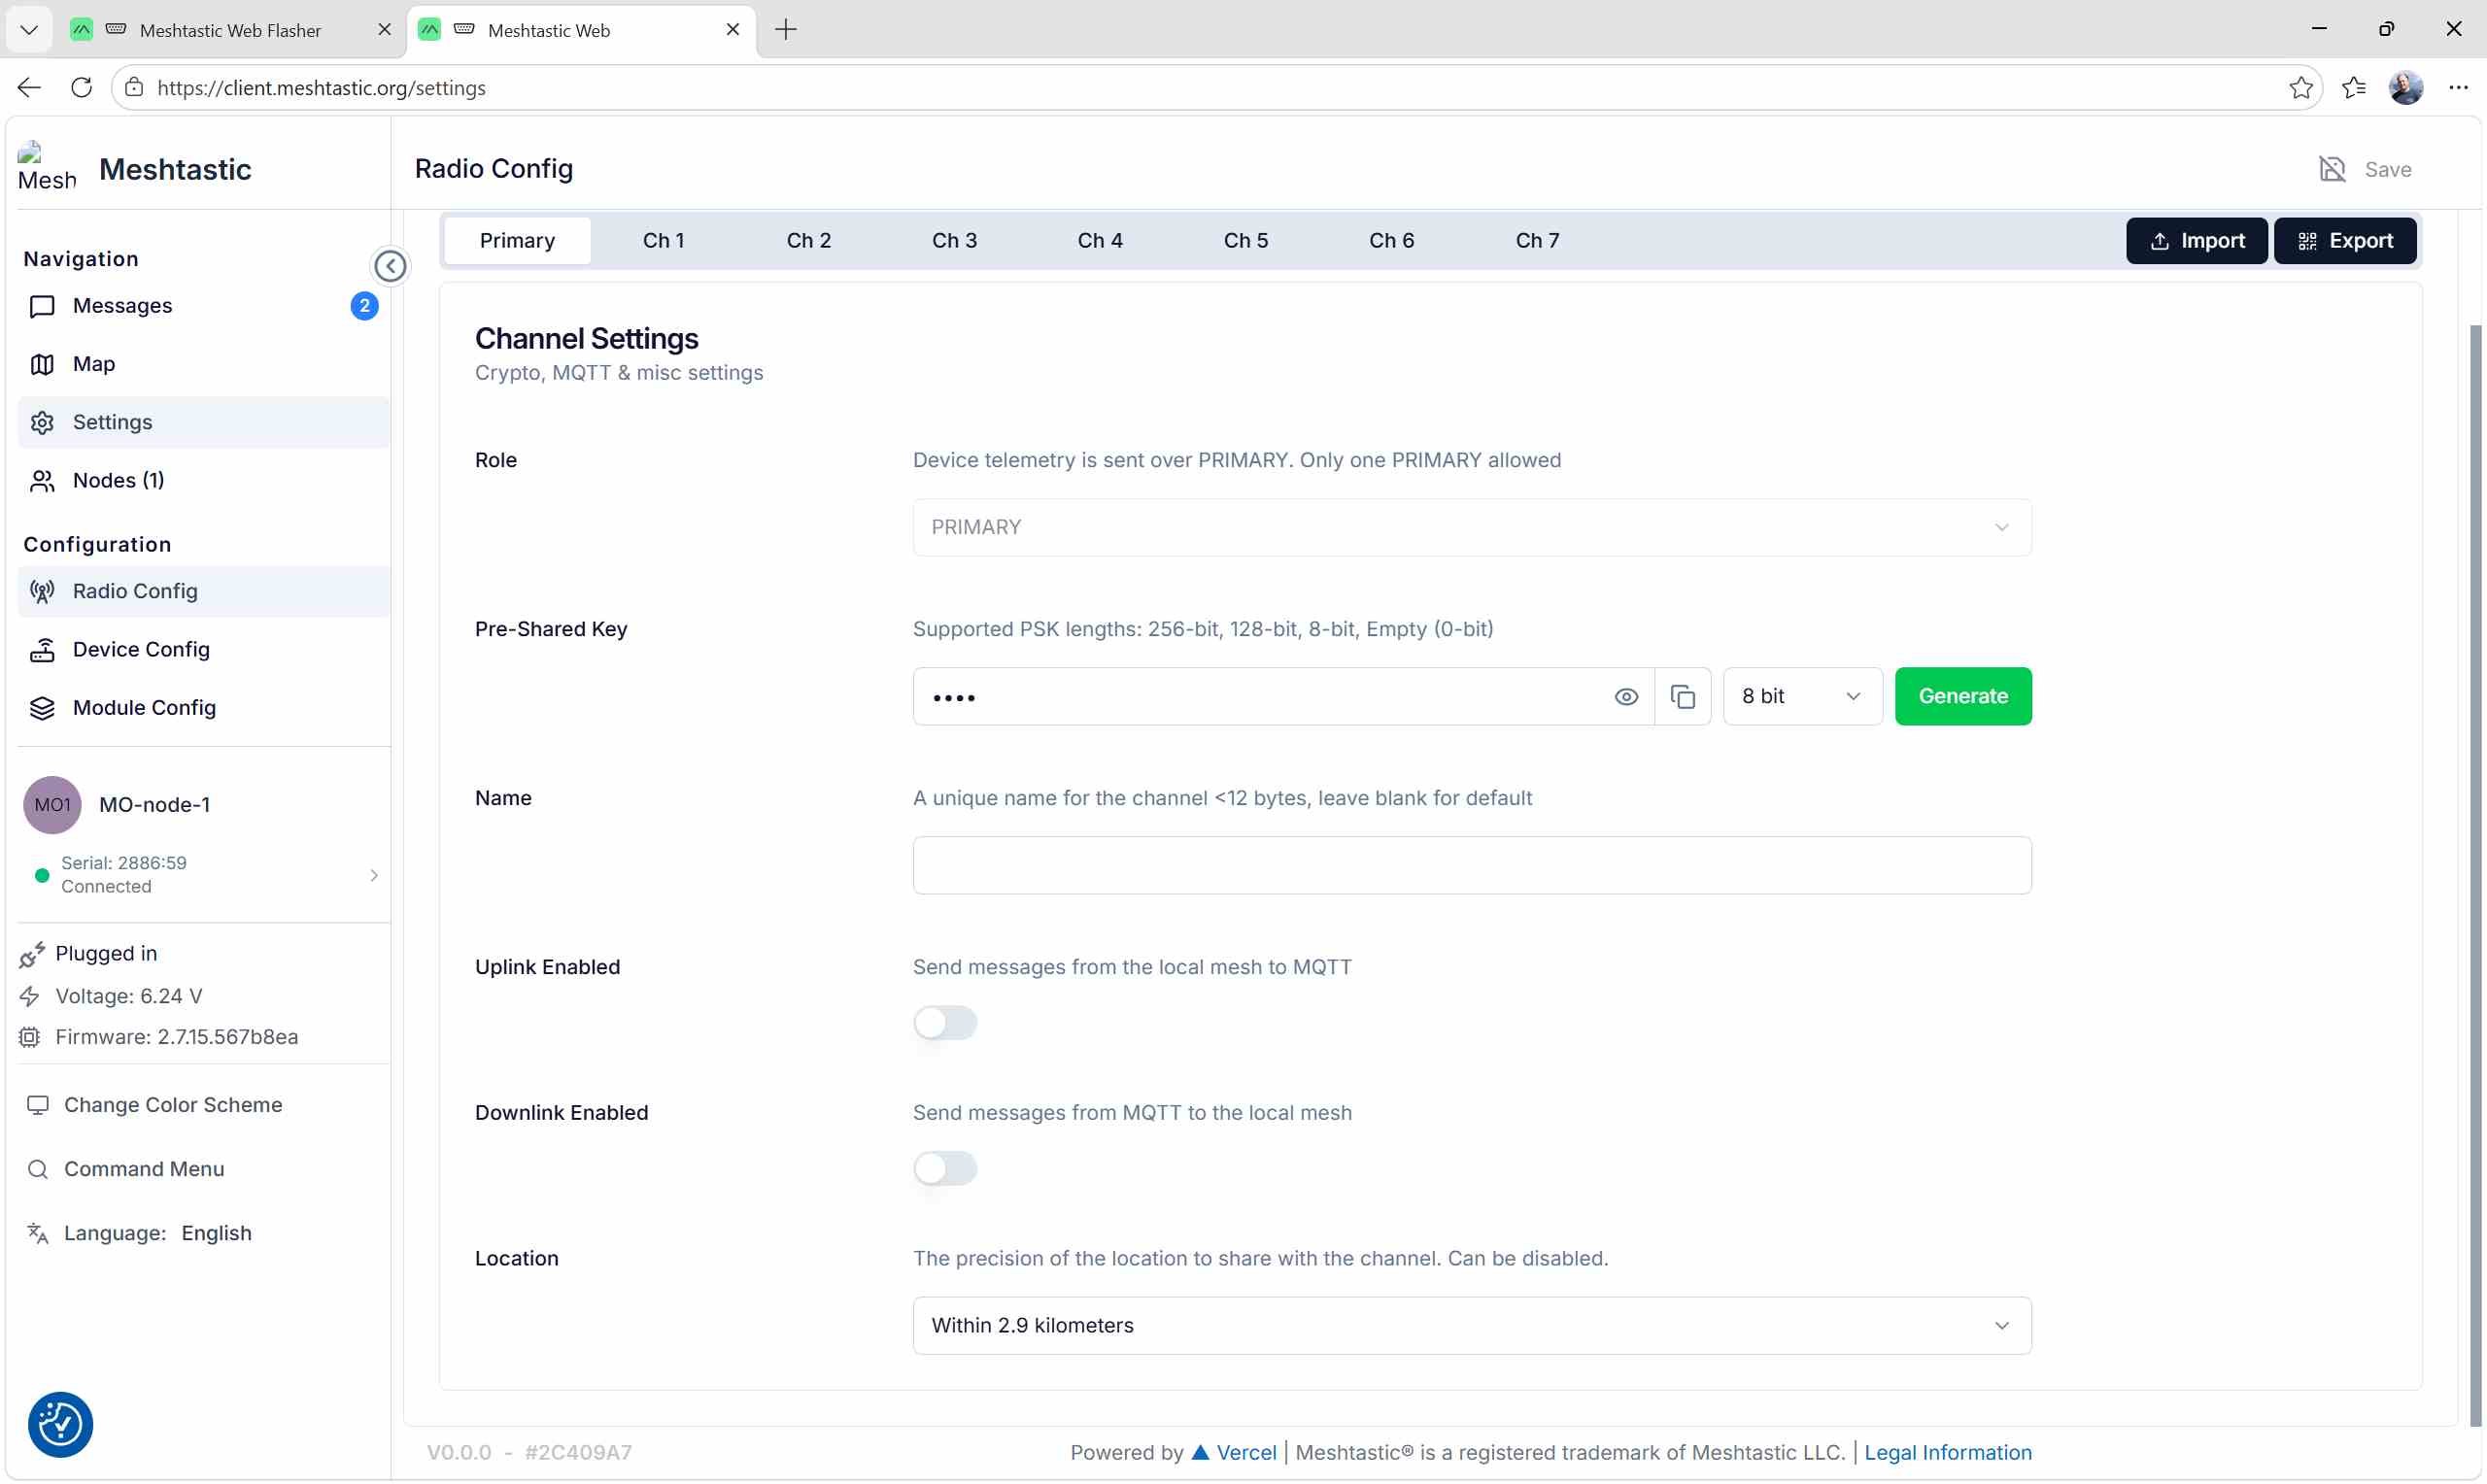
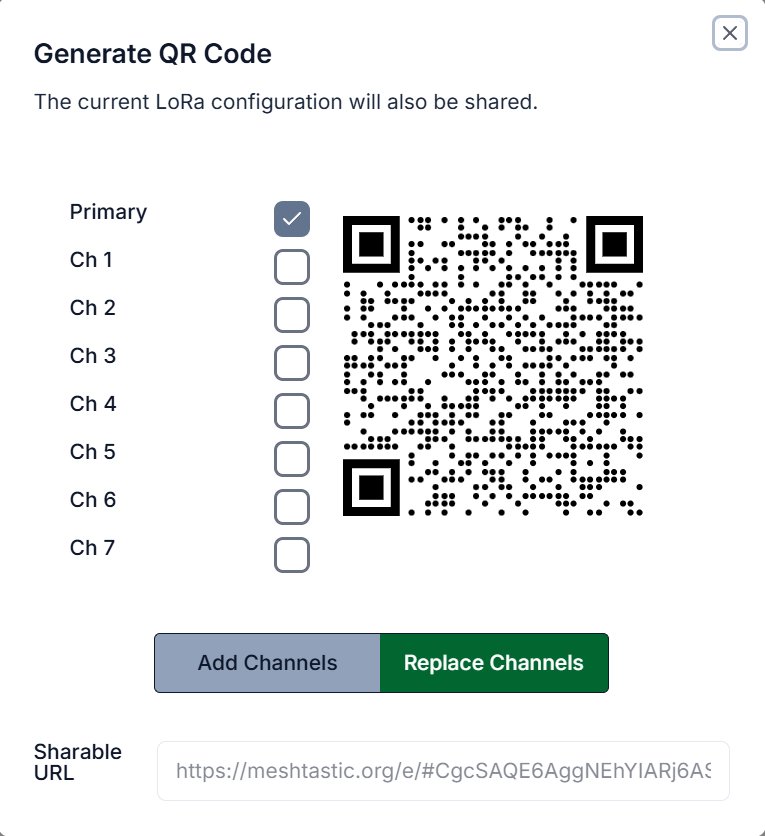
In the top-right corner, there is a Export button.
When clicked, a QR code appears:
Col
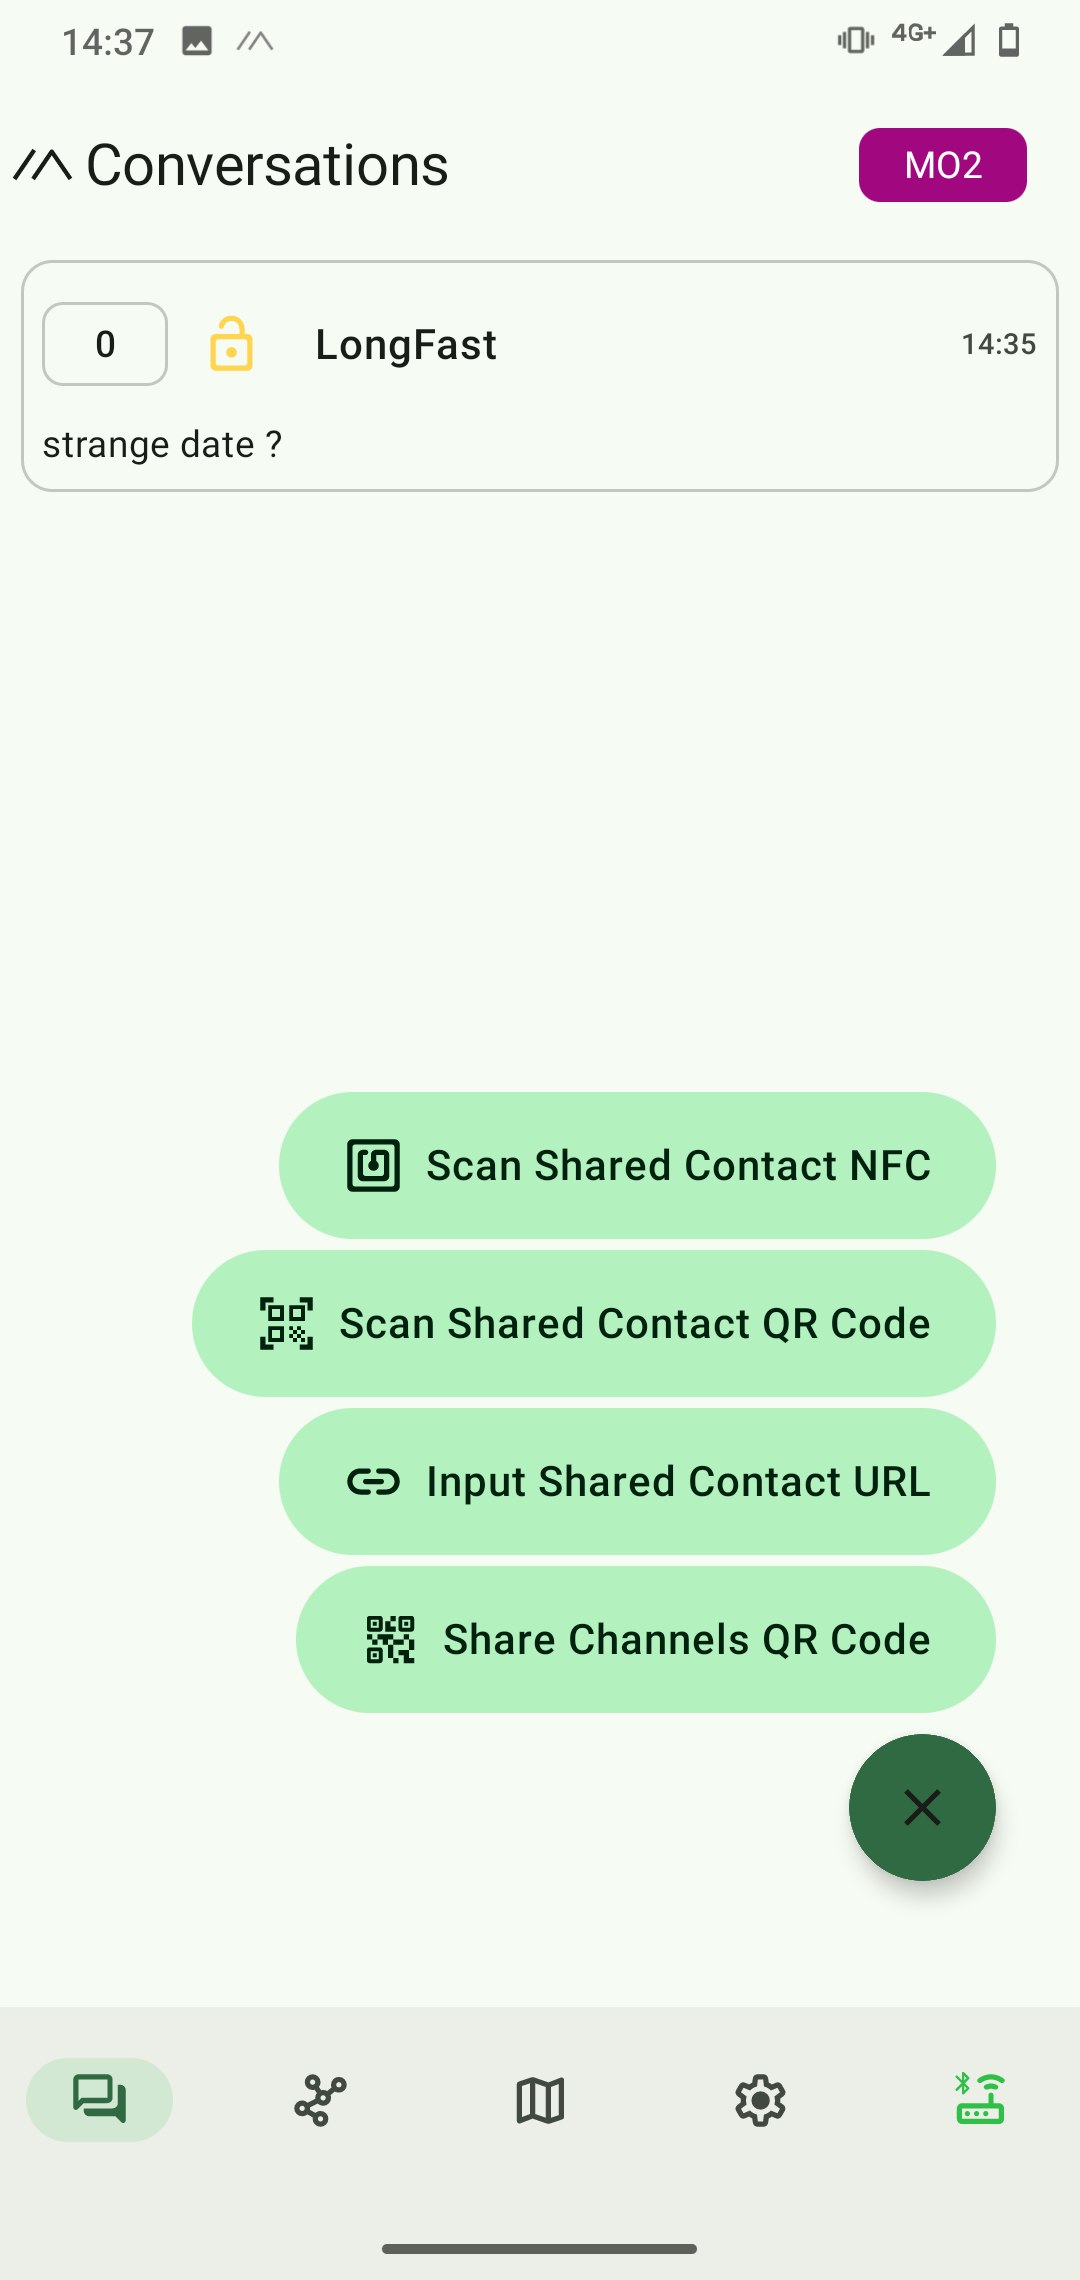
In the Android app:
- Select the conversations tab
- Click on the green button in the bottom-right corner
- Select Scan Shared Contact QR Code
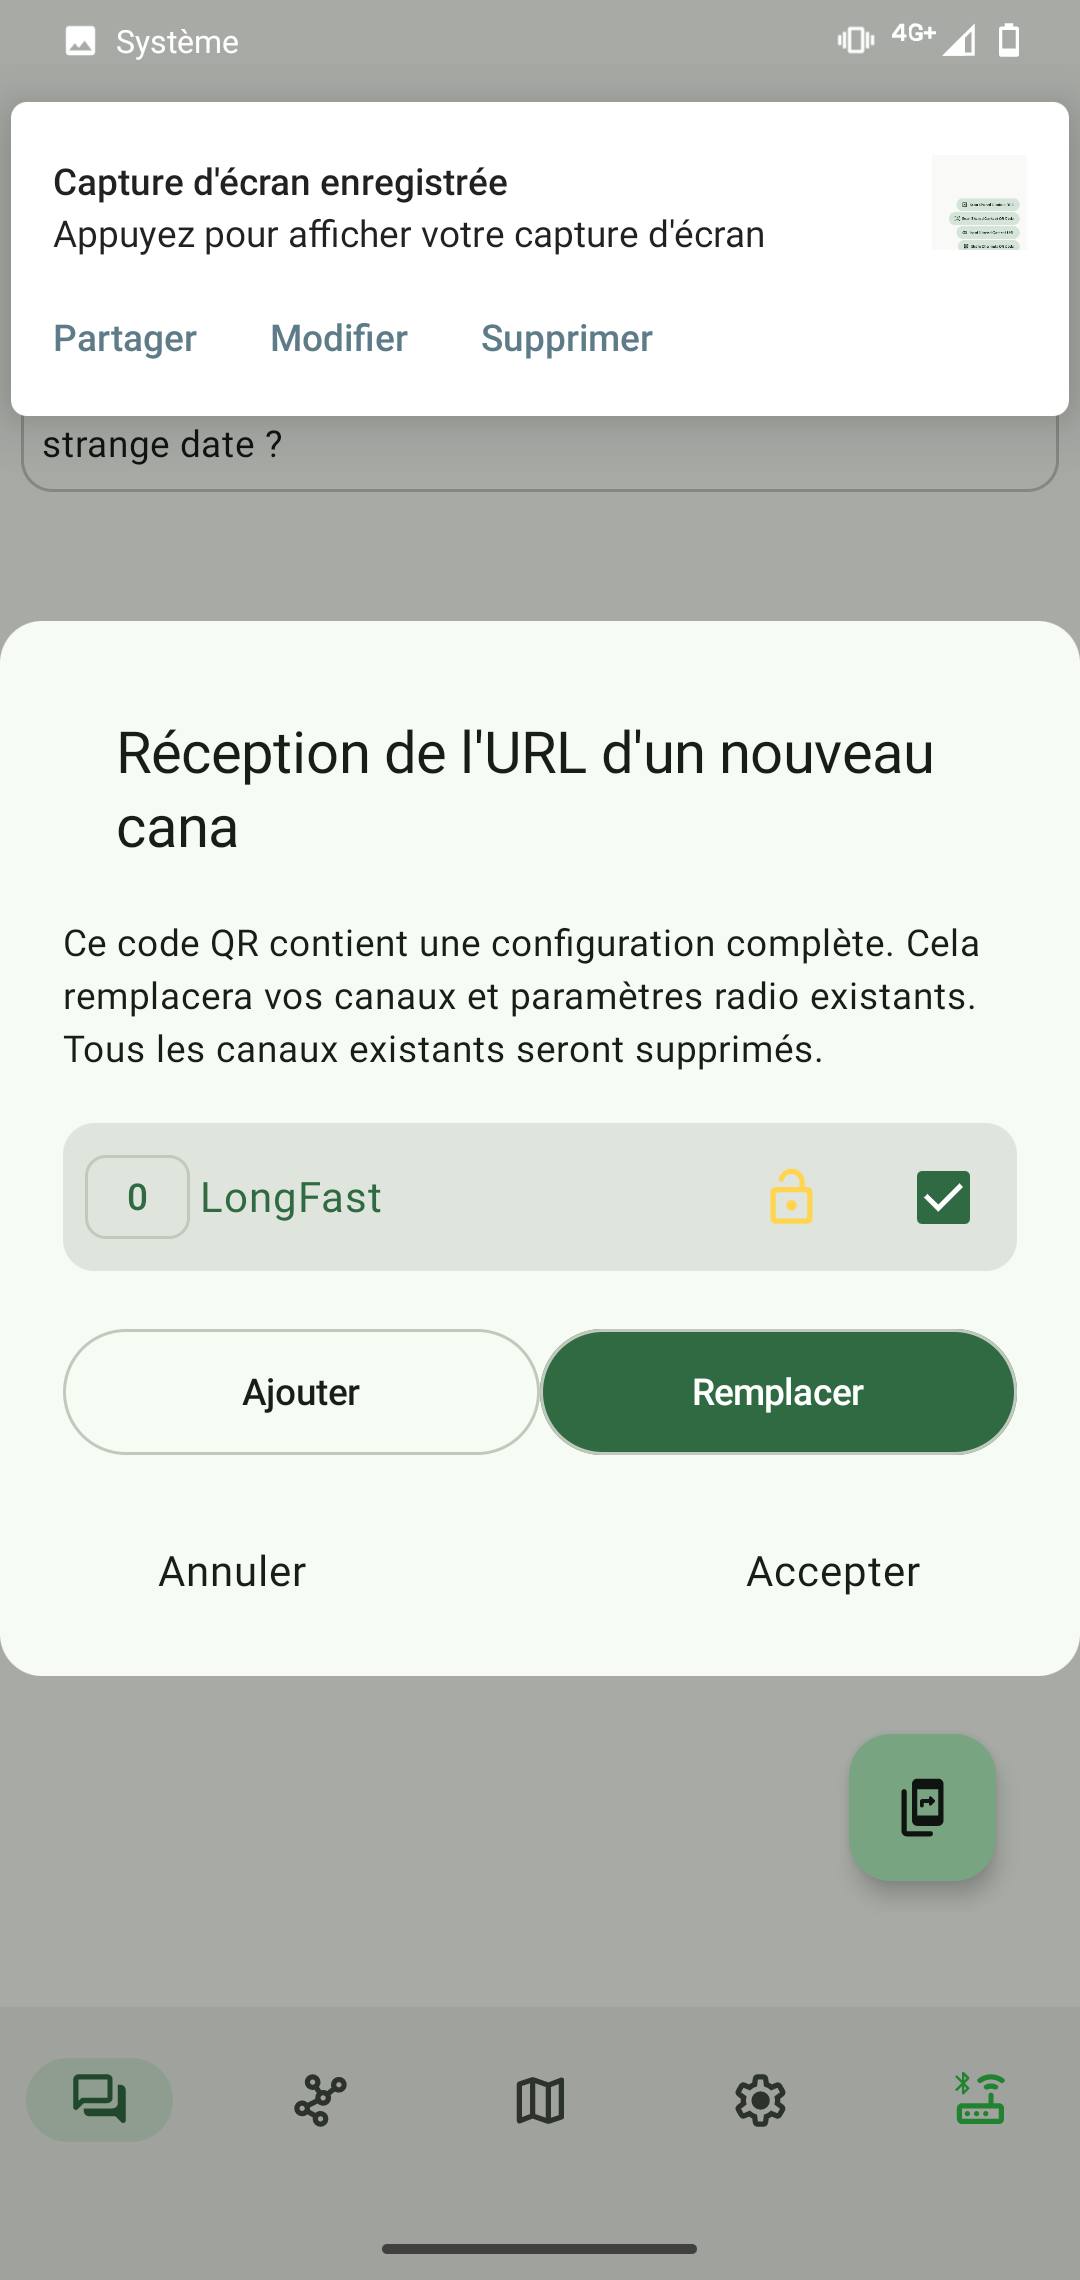
A pop-up window appears, inviting to replace the default channel with the shared one.
- Click on accept
Col
Col
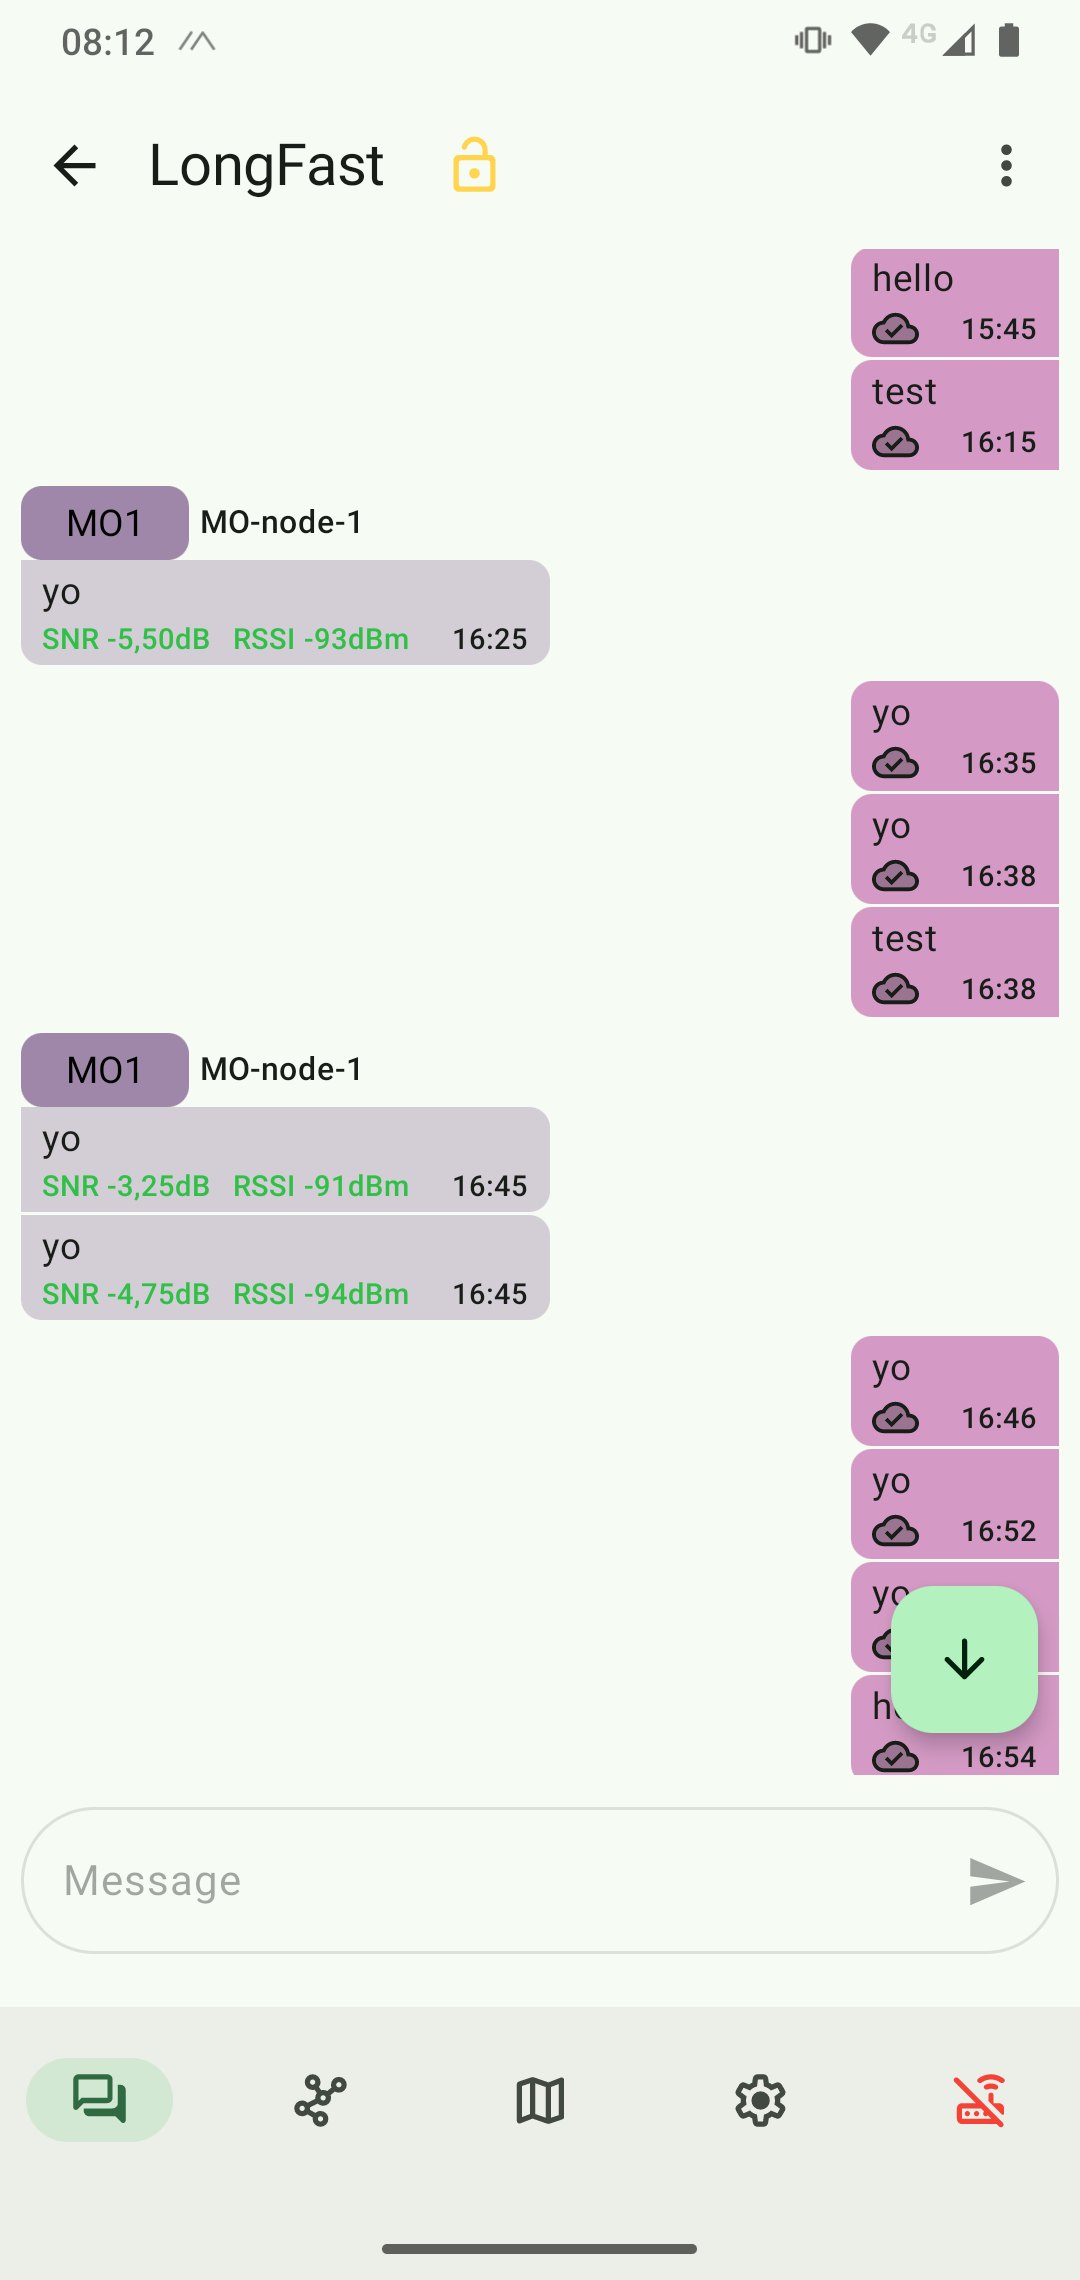
I was now able to send messages between the two nodes:
Connexion to a microcontroller
Serial configuration
I want to send messages between two microcontrollers, not between two computers/smartphones.
The Meshtastic firmware allows to create a UART connexion with the ESP32:
In the web client, the serial setting are in the Serial tab of Radio config:

- Enable the module
- Enable the echo. I started with the echo enabled to test the serial interface.
- Select the ESP32 GPIO pins to use
- Select the desired baudrate
In my experiences, this node is called node 1 and is connected to my PC via USB.
Node 2 is connected to my phone via Bluetooth.
first failures
I connected node1 Tx and Rx pins to a USB-UART converter that I connected to my PC. I paid attention to cross Tx pins to the corresponding Rx pins and to connect their ground pins.
I sent a message to node 1 with a serial monitor, with no effect.
I expected to receive the message on my node2.
From my comprehension, Node 1 should also send an echo to the serial monitor.
I also tried to send a message from the android node.
It was received by the other node (it appears in the web client), but nothing on the serial port.
Finally, I tried to send a message from node 1 using the web client.
Node 2 received the message, but nothing on the serial monitor
I connected a logic analyzer to the (supposed) Tx and Rx pins of the ESP32. They are no activity on them, whatever I do (see above).
A new hope ?
During the regional meeting, Henk advices me to try using the EU_868 regional settings instead of EU_433.
I changed this settings on both nodes.
To be sure, I disconnected the USB-UART converter and connected a logic analyzer on the Tx and Rx pins
I did the following tests:
- Send a message from the web client on node 1: it was received by node 2, but nothing on the serial port
- Send a message from node 2: it was received by node 1 AND the serial monitor!

I then reconnected the serial monitor.
- I sent the message from node2 to verify that my serial monitor was correctly configured
- I sent a message from the serial monitor to node 1: nothing happens...
At that point, I realized that I connected the Tx pin from the USB-UART converter to the wrong pin of the ESP32. I fixed my mistake and retried to send a message from the serial monitor and it finally worked!
Test PCB
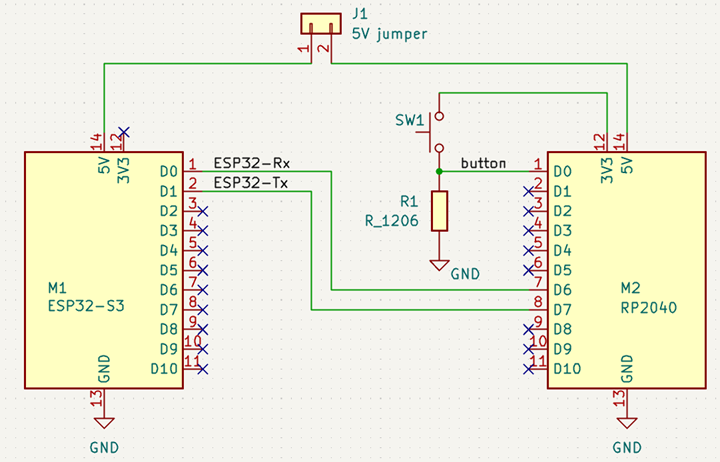
I then designed a PCB, connecting a meshtastic node and a Xiao RP2040.
Both are connected via UART.
The RP2040 also has a button connected to one pin.
Col
Col
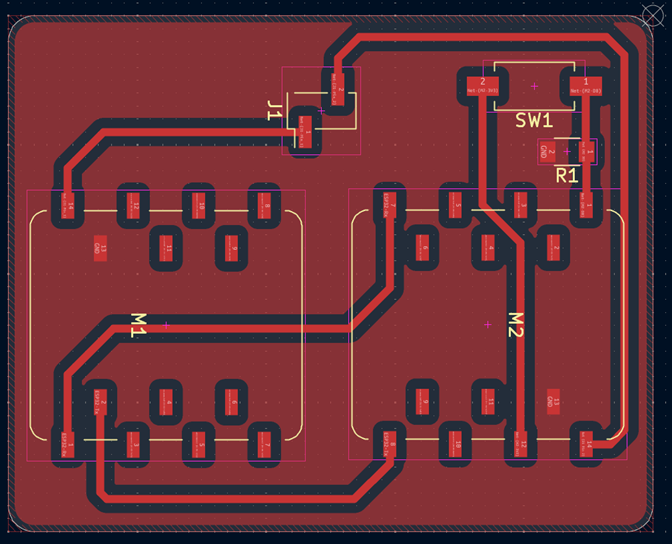
I milled and soldered one PCB.
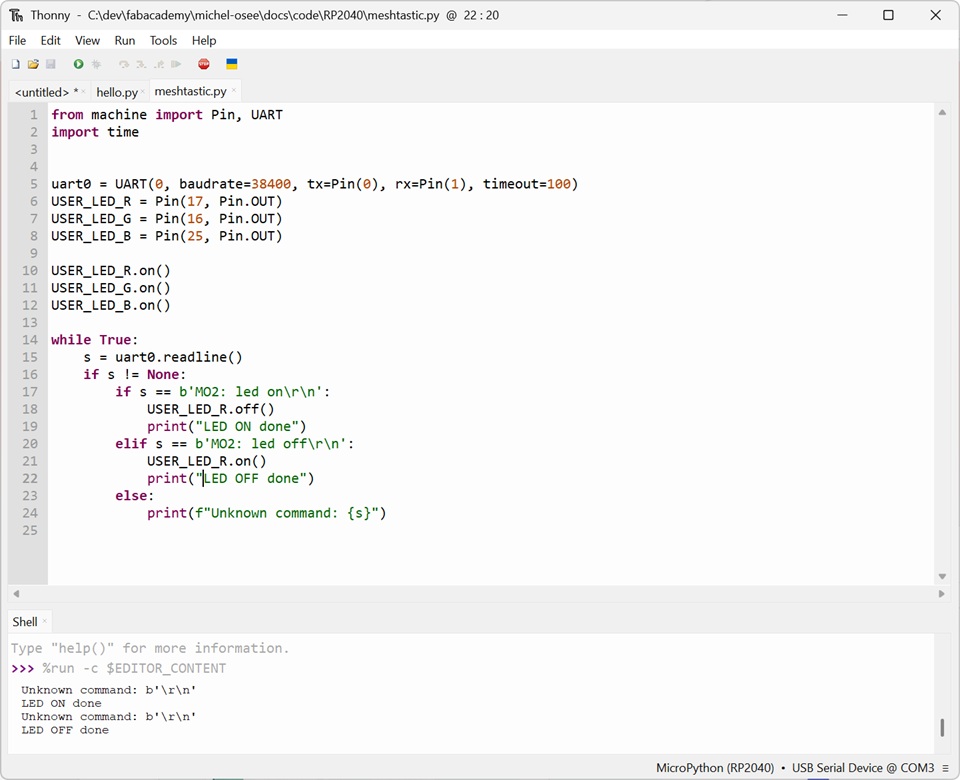
I wrote this test code for the RP2040:
uart0 = UART(0, baudrate=38400, tx=Pin(0), rx=Pin(1), timeout=100)
USER_LED_R = Pin(17, Pin.OUT)
USER_LED_G = Pin(16, Pin.OUT)
USER_LED_B = Pin(25, Pin.OUT)
BUTTON = Pin(26, Pin.IN)

USER_LED_R.on()
USER_LED_G.on()
USER_LED_B.on()

while True:
    s = uart0.readline()
    if s != None:
        if s == b'MO2: led on\r\n':
            USER_LED_R.off()
            print("LED ON done")
        elif s == b'MO2: led off\r\n':
            USER_LED_R.on()
            print("LED OFF done")
        else:
            print(f"Unknown command: {s}")
- I put Node1 on my PCB, programmed the RP2040.
- Then, I sent the message "led on" with Node2, using its connection to my smartphone.
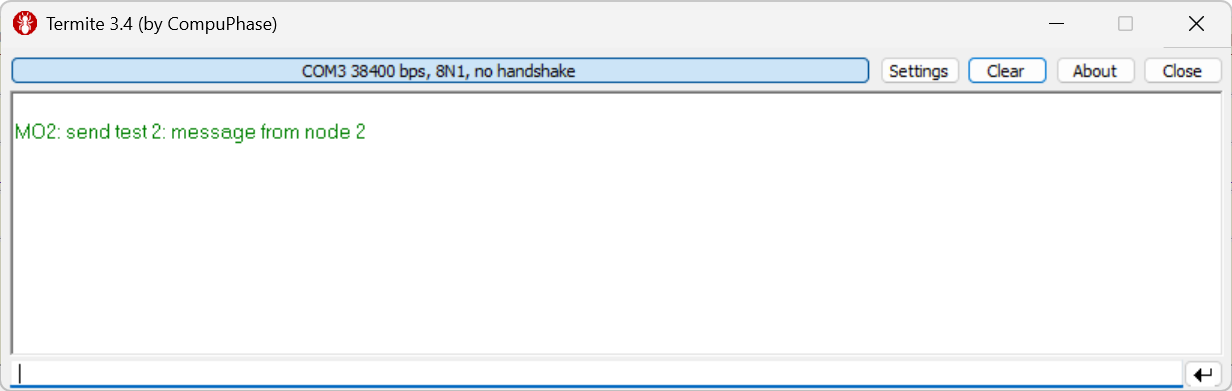
- Node1 received the message, sent it to the RP2040 that recognized it correctly:
Final test
I made a second identical PCB and put my Node2 ESP32 on it.
I modified my code so that when one node's button is pressed, the RGB LED's color changes.
Lines 19 and 42 have to be have to be adapted to each node. This is Node1's code.
My first test works OK from Node1 to Node2, but not in the other direction.
I tried to send the message from Node2 with the android app (still connected to Node2) on my phone and it works.
Next, I used the app to check Node2's configuration, to be sure the UART is correctly set up.
Finally, I checked my code and spotted an error in line 42: I forgot to change the node ID in the message:
instead of
Once this error was fixed, everything works fine: