Week 14: Molding and Casting
Our assignment:
Group Assignment:
1. review the safety data sheets for each of your molding and casting materials, then make and compare test casts with each of them 2. compare mold making processes
Individual Assignment: 1. design a mold around the process you'll be using, produce it with a smooth surface finish that does not show the production process toolpath, and use it to cast parts
Group Assignment
Find our group assignment documented here with pictures included and my documented contributions and learnings below.
For molding and casting materials, our lab has:
-
Smooth On's Free Form Habitat Flex (data sheet here)
-
Smooth On's Ecoflex Series & Gel (data sheet here)
-
LifeMOLD Silica Free Alginate (website here). The safety data sheet doesn't appear to be linked correctly on their site but here is sheet linked on their website but it's a product that doesn't have the exact same name
Safety Precautions and Usage Info
Free-Form Habitat Flex
Safety:
- Health hazards: causes skin and eye irritation and is toxic to aquatic life
- Prevention: avoid breathing it in, wash with soap and water after use, properly contain contaminated clothing, wear protective gloves/clothing/eye + face protection
- If skin irritation occurs or it gets in your eyes call poison control/doctor
- First aid measures: fresh air, soap and water!! Until you can get to a doctor
- In case of fire: use water fog, dry chemical, or carbon dioxide foam to extinguish fire
- make sure to store safely in tightly closed and properly labeled containers, in cool/dry/well ventilated areas
- with adequate exhaust ventilation you don't typically need respiratory protection
Info: Product Webpage
- mix-and-apply-by-hand putty
- creates semi-rigid and extremely tough display elements
- takes 90 minutes to work and get the form you want and 24 hours to form and cure
- when using as adhesive do not use the folding powder
- good for painting with acrylic paints/stains
- bonds to a variety of surfaces (foam, steel, wood, PVC, ABS plastic, concrete, etc.)
- Mix ratio: mix equal parts A + B
- Process:
-
- Optional: apply Folding Powder to work surface in 1/4'' layer and powder gloves too to prevent sticking (we didn't have folding powder in the lab). Apply a release agent if and where desired.
-
- Grab out equal amounts of Part A and Part B
-
- Mix product by hands while wearing vinyl or nitrile gloves until all colors streaks disappear. If using folding powder you'll need to powder up gloves and knead the putty together while folding the powder in
-
- Cure: After 24 hours at room temperature you can handle material.
-
- Clean uncured material with soap and water
-
EcoFlex (For Casting and Molding)
Safety:
- Wear vinyl or nitrile gloves (NOT latex gloves) and eye protection
- Avoid contact with eyes. Flush with water for 15 minutes if irritation occurs and get to doctor
- Remove from skin with waterless hand cleaner then use soap and water
- Use in properly ventilated area
Info: Product Webpage
- pourable silicone rubber that allows for fine detail
- Mix ratio: 1A:1B by weight or volume
- cured at room temperature with negligible shrinkage. Once cured its soft, strong, and stretchy
- Process:
-
- Optional: Before process, do a small scale test for to ensure cure is not inhibited (latex, tin-cure silicone, sulfur clays, and certain wood surfaces for example may cause inhibition). Do this by applying a small amount of rubber onto non-critical area. Also, one or more coatings of clear acrylic lacquer applied to model surface helps prevent inhibition. Also optional apply a release agent. It's kinda like cooking spray.
-
- pre-mix Part B thoroughly
-
- Dispense required amounts of Parts A and B into mixing container
-
- Mix thoroughly for 3 minutes. Scrape the sides and bottom several times
-
- Vacuum degassing for eliminating entrapped air
-
- Pour mixture into a single spot at lowest point of containment field and allow a uniform flow to prevent air bubbles
-
- Allow rubber to cure at room temperature. Post-curing at high temperature for 1-2 hours will maximize performance
-
LifeMOLD Alginate (For Molding)
Safety:
- Safe for direct skin application for mosts
- If you have severe allergies to crystalline silica, calcium sulfate, or potassium titanium fluoride should avoid use
Info: Product Webpage
- This is an impression material
- Alginate is a polysaccharide derived from brown seaweed and forms a gel when mixed with water. It is biodegradable and non-toxic
- captures fine details, easy to mix, flexible, and pliable
- will not work after most use. can get delicate impression that you can then cast into something more durable
- Mix ratio: 2.5 parts room temperature water by volume to 1 part LIFEMOLD (distilled water recommended)
- Correct mix will be smooth and creamy like thick yogurt
- Working time up to 4-5 minutes and set time 2-3 minutes with 80 degree
- Process:
-
- Gather materials
-
- Mix the Alginate with proper ratios. Stir quickly to avoid lumps
-
- Apply alginate to the skin ensuring even coverage
-
- Wait for mold to set (sets on 2-10 minutes)
-
- Pour the casting material
-
Comparing Test Casts
See group page for images + how we walked through the process of LifeMOLD Alginate, Ecoflex, and FreeForm Habit Flex. We found that the alginate did well to capture details and since its made from seaweed its a great biomaterial that can be used on skin. However, it's really only made for one use so its durability is not strong. The Ecoflex silicone made a much more durable mold and it notably doesn't stick easily to other materials which makes for a good mold. The FreeForm habit flex was extremely messy and challenging to use - it's more for things like sculpting faux tree branches. We also didn't have any folding powder which probably would've helped.
Comparing Mold Making Processes
To compare printing vs milling, we referred to Fab Academy documentation and to instruction from our lab's instructor, Will. Sources:
Printing Molds
Printing a mold uses the additive manufacturing process of the 3D printer. The accuracy is only as good as the tolerance of the 3D printer. However, as the design becomes more geometrically complex, this doesn't make the process more difficult.
Materials-wise, 3D printing can use the typical filaments of thermoplastics or resin 3D printers can make molds out of many different types of resin. The FFF 3D prints will have the expected finish on the surface and will require special techniques to smooth it out (for example, baby powder and UV resin). Resin molds can produce a smoother surface.
Milling Molds
Milling a mold uses the subtractive manufacturing process of the CNC Milling machine (we used Other Mill Pro). The CNC mill cuts with a high degree of precision, so it is good for preserving more detail. However, as the design gets more complicated it becomes harder to execute using the milling machine because you have to figure out toolpaths based on the shape. You also need to consider draft angle -- this slight angle allows for easier removal of the mold.
For materials, in our lab we had solid blocks of polyethylene plastic. We also had machinable wax Will made from old melted down plastic bags and wax.
Individual Assignment
3D Mold Design
Fusion 360
I made my design using Fusion 360. I decided to make a clock with an engraved quote from Grace Lee Boggs. I planned for it to be a mold for making a negative mold that could then be used to make the final object. So no need to reverse the lettering.
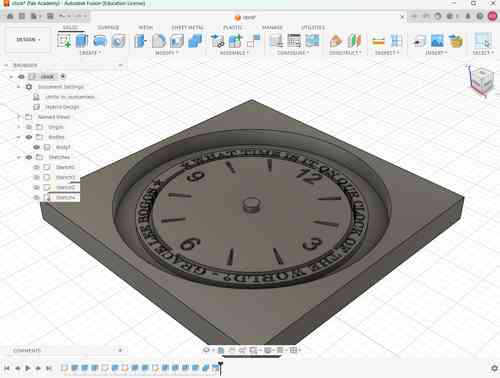
My design in Fusion 360
VCarve
To generate toolpaths, I imported an STL file into VCarve using its import 3D model feature.
I went through the process with Will of setting up the job, the material, aligning the material, setting up the toolpaths, and selecting tools. For this milling job, I used 1/8'' end mill and a 15.0° 0.01" Engraving V-bit.
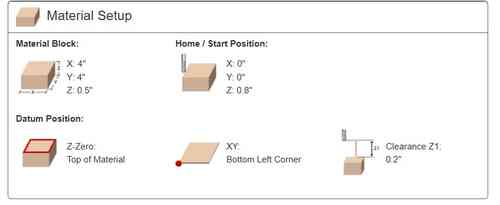
Settings for material set up. I used a 4''x 4'' x 0.5'' block of solid polyethylene plastic as the material and set the start position to be in the upper righthand corner.
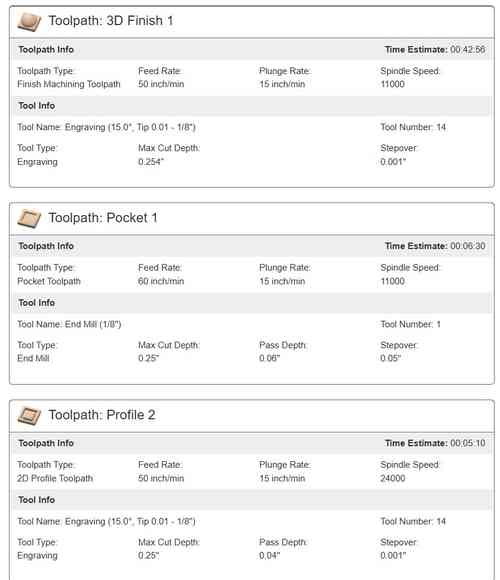
Settings for each toolpath used for milling.
The Pocket 1 cleaned up the interior side walls that was looking messy and jagged. This would use the 1/8'' end mill.
The 3D Finish 1 toolpath covered the details on the clock with the engraving v-bit which can do more fine details than the end mill. The v-bit draft angle was also steep allowing for more precision and relief.
The Profile 2 toolpath covered the clock outline.
To import into Bantam Tools, I set post processor as Othermill TinyG (mm) and exported two .tap files, one for each tool used. It took about 45 minutes to mill.
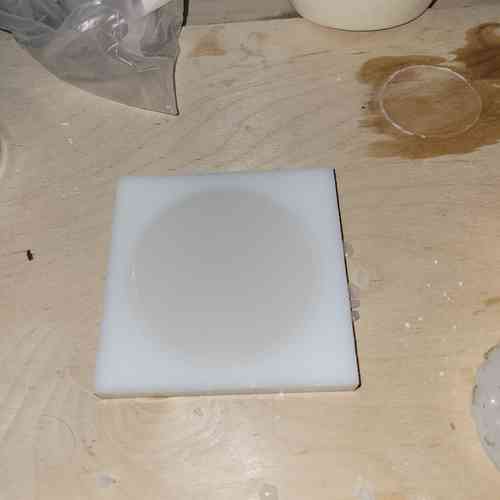
Making the Mold
Once everything was ready to go, I could now use our lab's Other Mill Pro to mill out the mold. I made sure to create a tap file for each tool used -- I used a 15 degree 1/8'' engraving v-bit for the fine details and an 1/8'' end mill for the pocket.
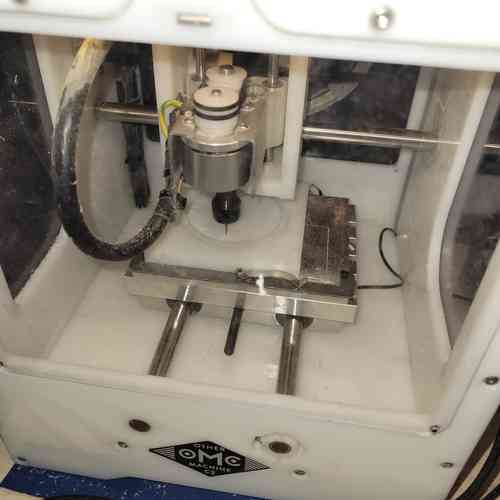
Milling out the mold design
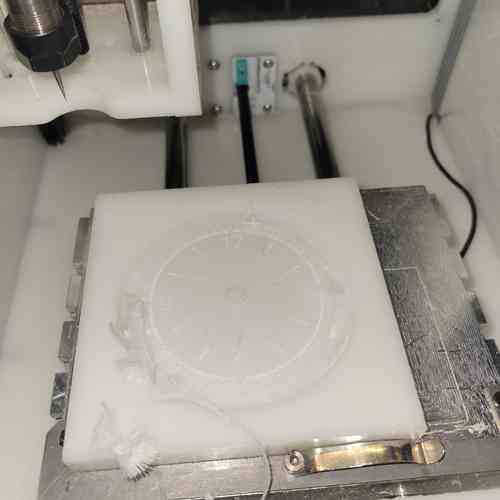
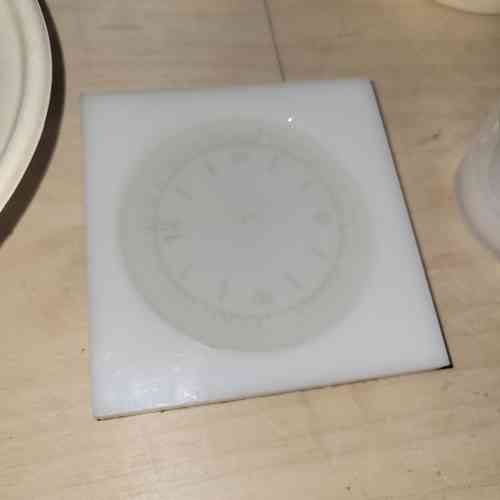
Mold after milling. This is after a lot of vacuuming!
One problem I noticed was that even with the thoughtfulness behind generating toolpaths, there was still some ragged edges along the clock outline and also some small pieces of plastic caught up in the engraved parts. To fix this, I needed to do post-processing to give the mold a smooth surface finish. I used sand paper, tweezers, and a toothbrush to help with the finish.
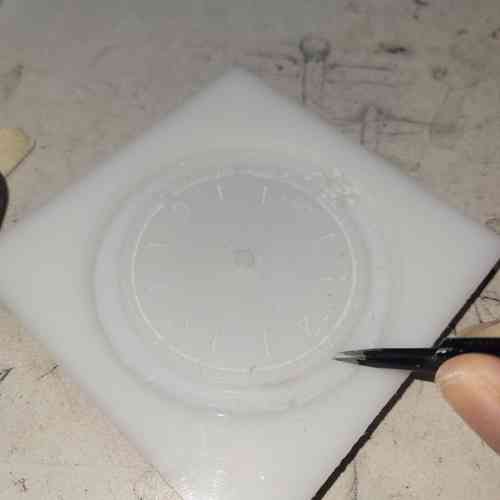
Using tweezers to pull out a lingering strip around the edge
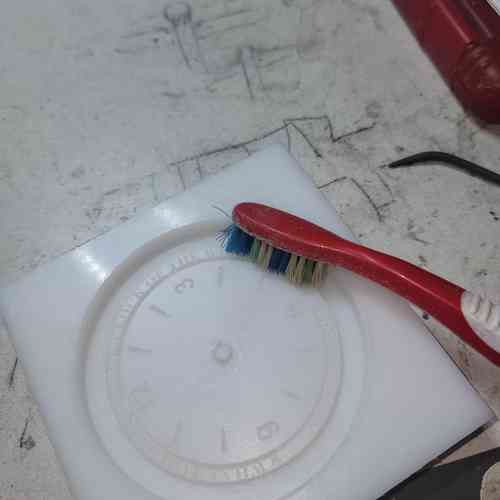
Using toothbrush to get out as much as the tiny plastic bits as I can
Now I was ready to create the negative mold. To start I tried using the LifeMold Alginate we have in the lab. Following the instructions I learned during the group assignment, I worked through the process.
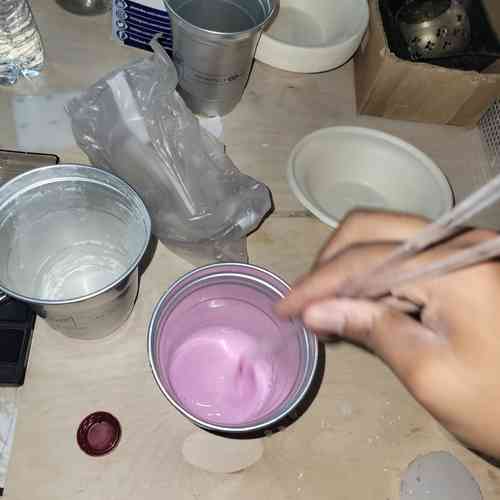
Mixing the alginate at 2.5 parts water to 1 part alginate mold mix by volume. I made sure to maintain a fast pace with mixing to prevent air bubbles. It turns kinda pinkish purple at first then it goes back to a pasty greyish color
Waiting for mold to set.
After 10 minutes I pulled out the mold.
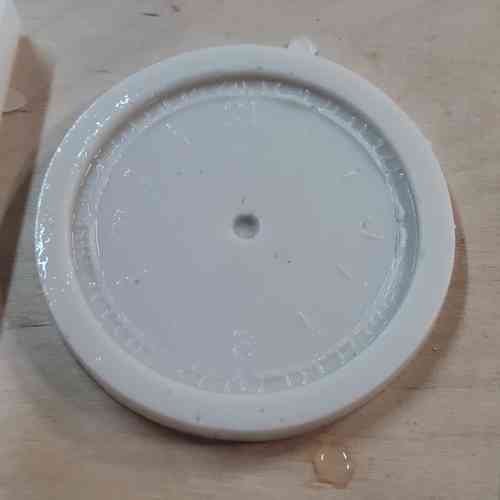
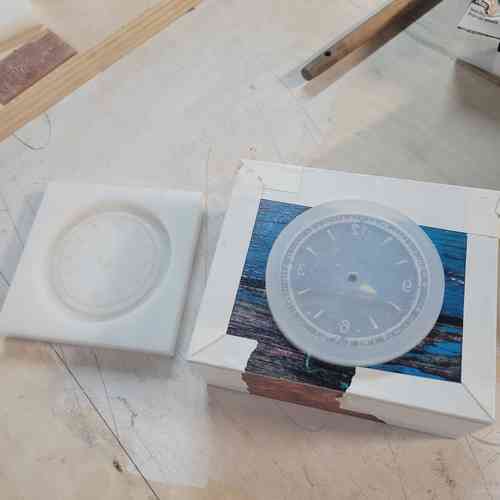
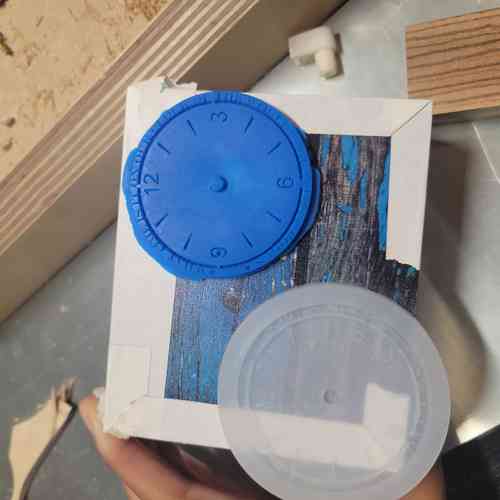
My alginate mold for the clock design! It is now the negative mold which can be used for casting another material into to get the final clock design
Since the alginate mold can be kinda wet and slimy, I left it out in the sun for about 30 minutes to dry.
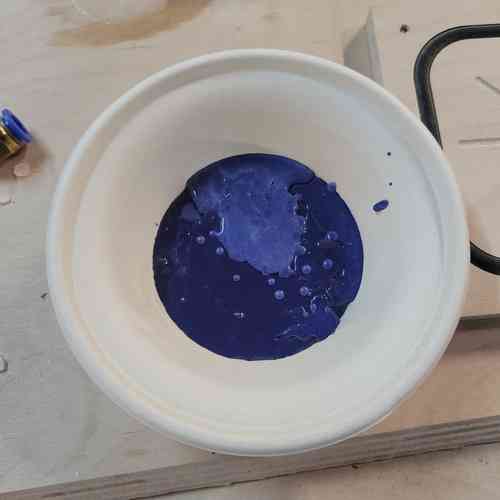
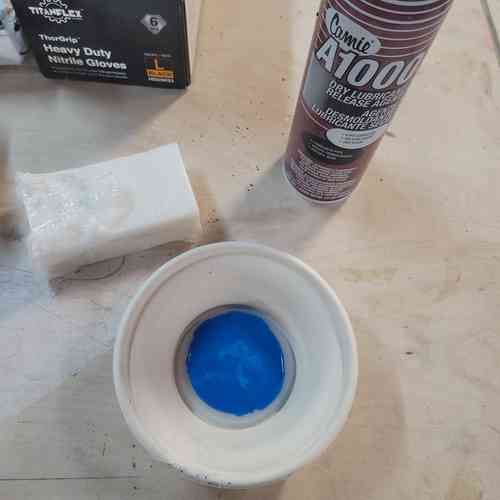
For casting, I'll melt and pour soap into the mold. I used some essential oils from Castor and some food coloring to see if the color contrast would help to see some of the finer details.
Melted soap with essential oil + color added
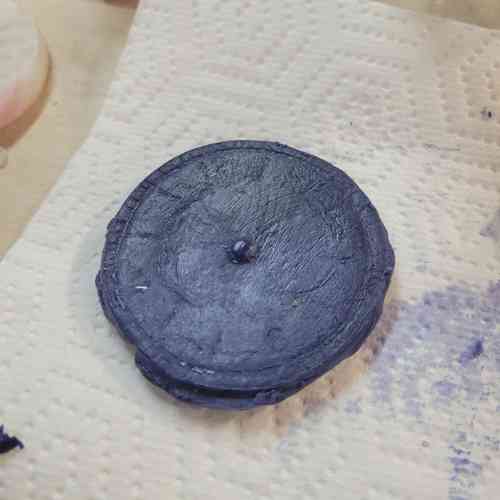
Poured soap into mold and letting it harden
A couple hours later...
And here it is! It came out okay. The details are hard to show on camera but it did capture the lettering and numbers. I'll dig out the shape once it dries more overnight
Here's the final soap. My handling of it actually rubbed out a lot of the details but you can faintly see some.
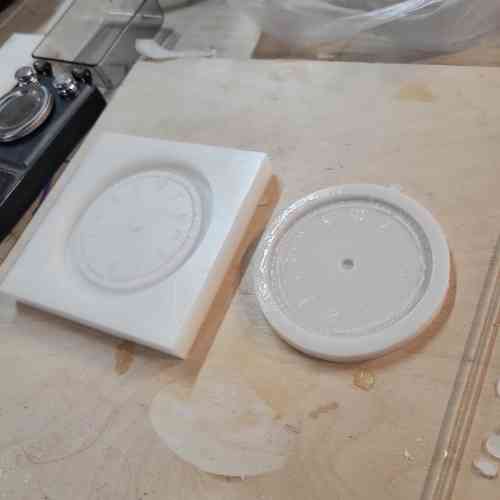
The alginate molds is not made for multiple uses and isn't as durable. It didn't make the best mold for casting soap into. To solve this problem, I decided to make a more durable, lasting negative mold for my clock design using the EcoFlex silicone mix.
Since there are fine details, Will advised that we do use a degassing technique within the process to minimize air bubbles. To do this, we placed our mix into a pot, covered it and used a vacuum device that sucks air out. See below for that set-up.
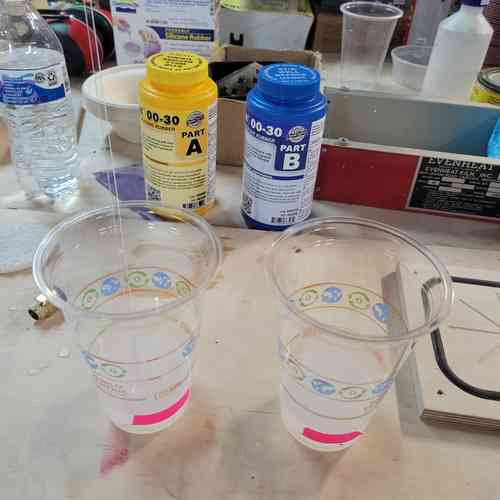
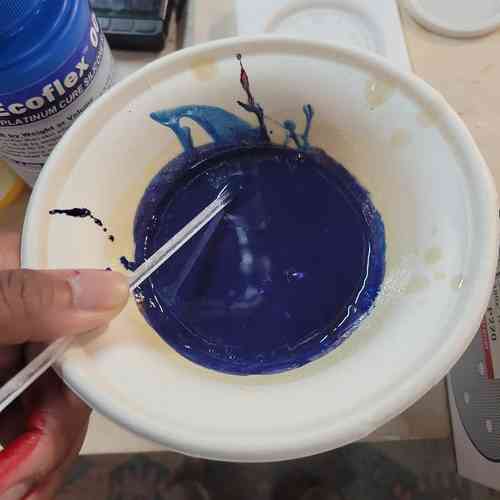
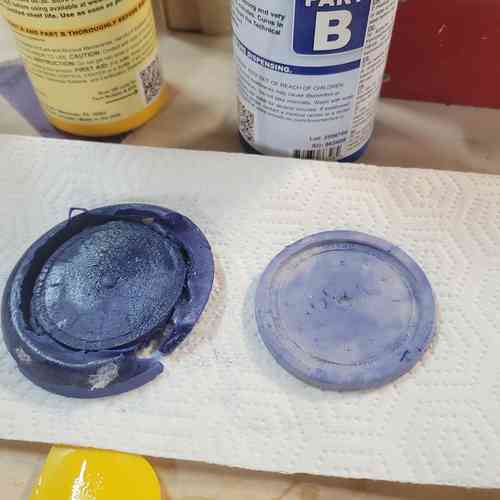
Mixing Ecoflex equal parts A and B. We mixed enough for both Castor and I to use them
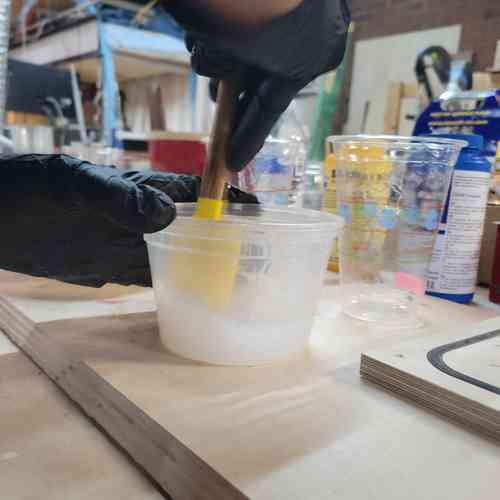
Mixing away
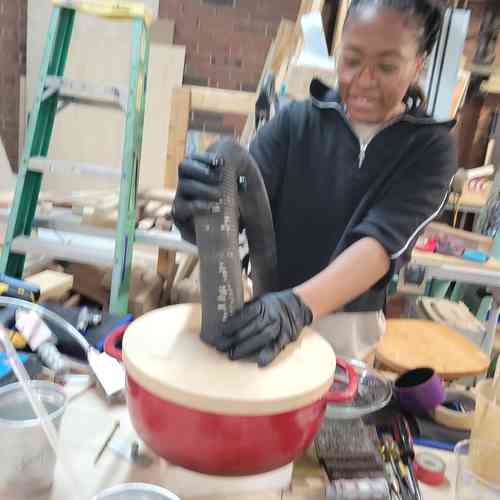
Degassing the mixture to suck away air bubbles. We left it in there for about 30 ish minutes being mindful that the pot life for Ecoflex is 45 minutes
Pouring Ecoflex over clock mold
After carefully pouring the mixture into the mold, I let it cure overnight. The cure time is 4 hours.
My silicone mold is ready to use. I was happy with the level of detail
Next I prepared the soap for casting into the mold. I added in blue color, lavender, and cedarwood. I also sprayed a release agent on the silicone mold before pouring
Ready to let it sit for a few hours
After a few hours, I retrieved my soap
My final soap!
Design Files
Here are my design files for this week.