Week 16: Wildcard Week
Assignment
Design and produce something using a digital process (incorporating computer-aided design and manufacturing) that is not covered in another assignment. Document the requirements that your assignment meets, and include everything necessary to reproduce it.
As usual here is my plan for the week.
For this week's assignment, we decided to use the heat press machine in our lab to print designs onto t-shirts.
Final Design

Steps Followed
I first started off by putting the Heat Transfer Vinyl piece on the Roland Vinyl Cutter and got the dimensions. For more information about the Vinyl Cutter, visit my week 3 documentation.
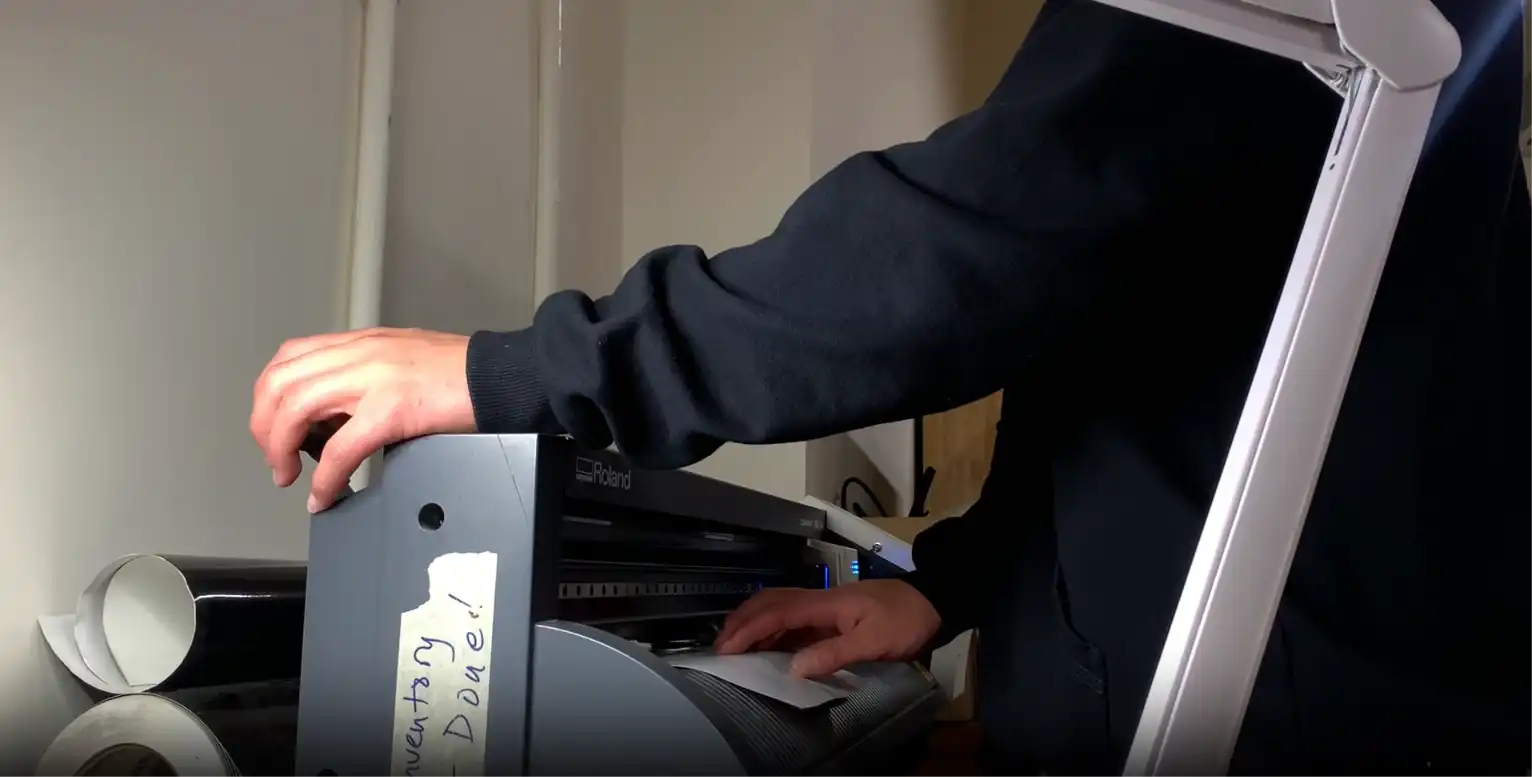
For this activity, we didn't use the normal vinyl that we used for stickers last time. Instead we used the Heat Transfer Vinyl from XSEINO.
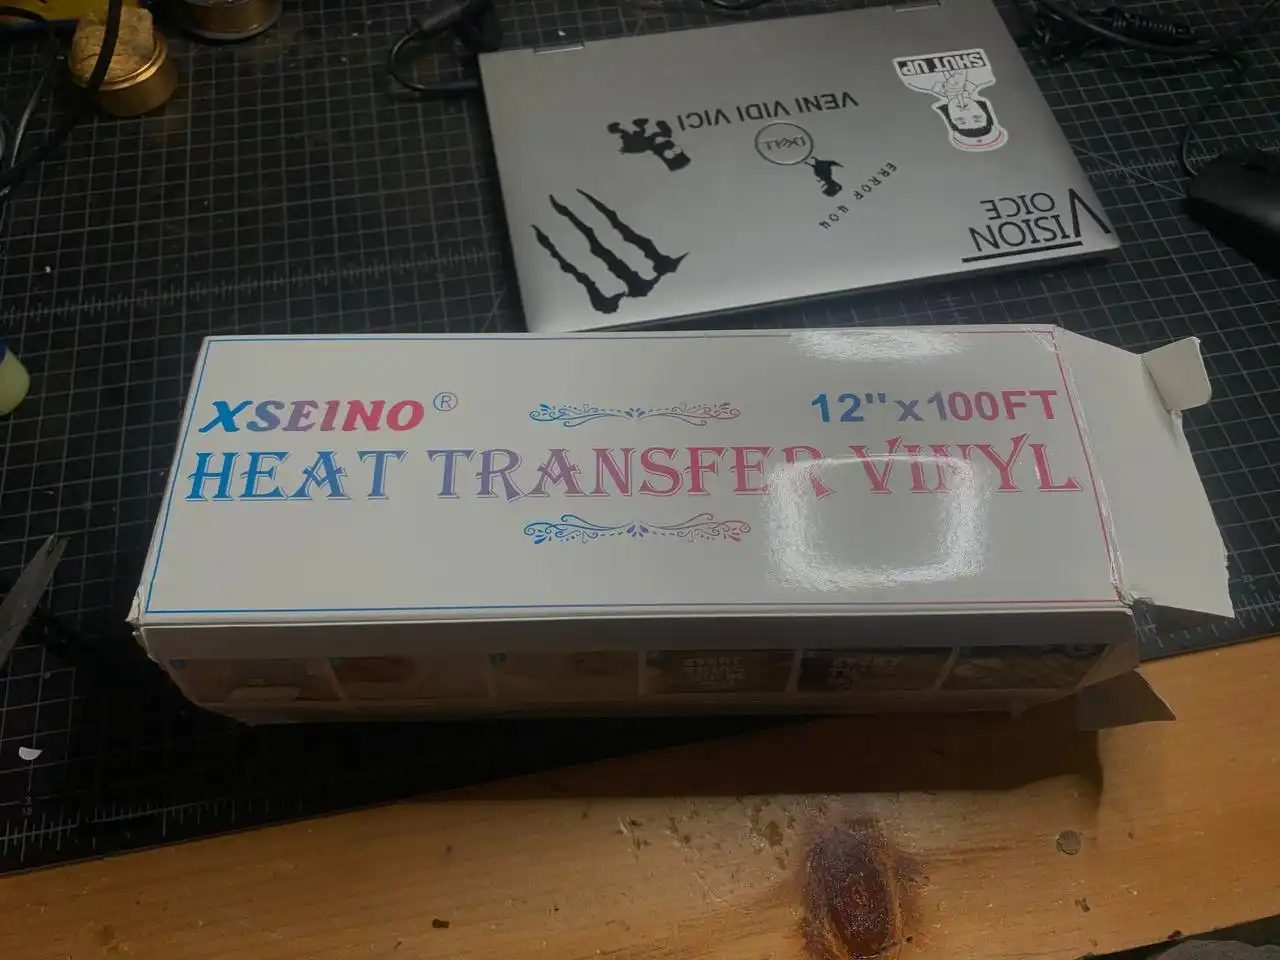
These are the instructions for the vinyl. 🤗
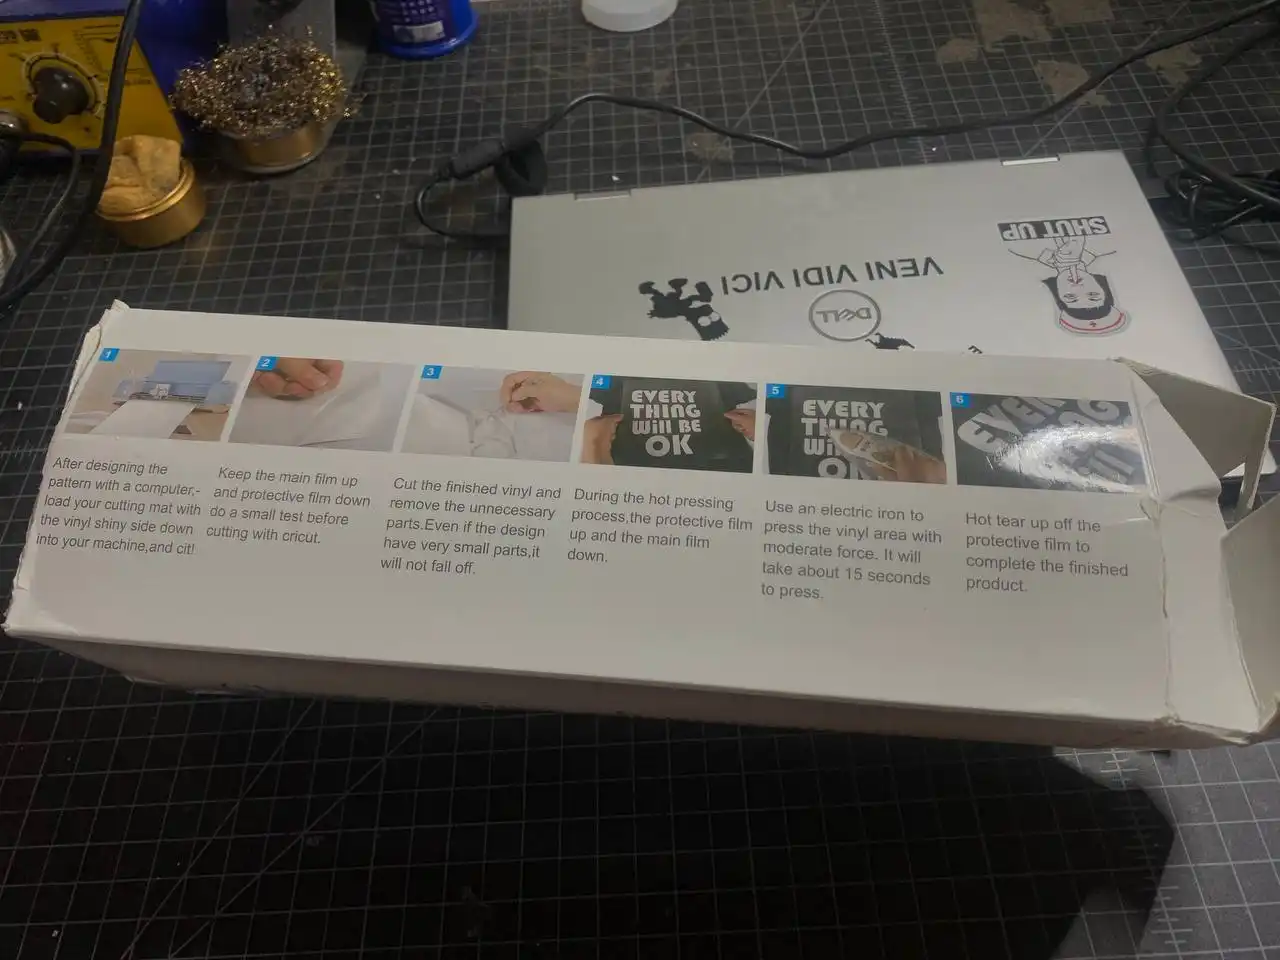
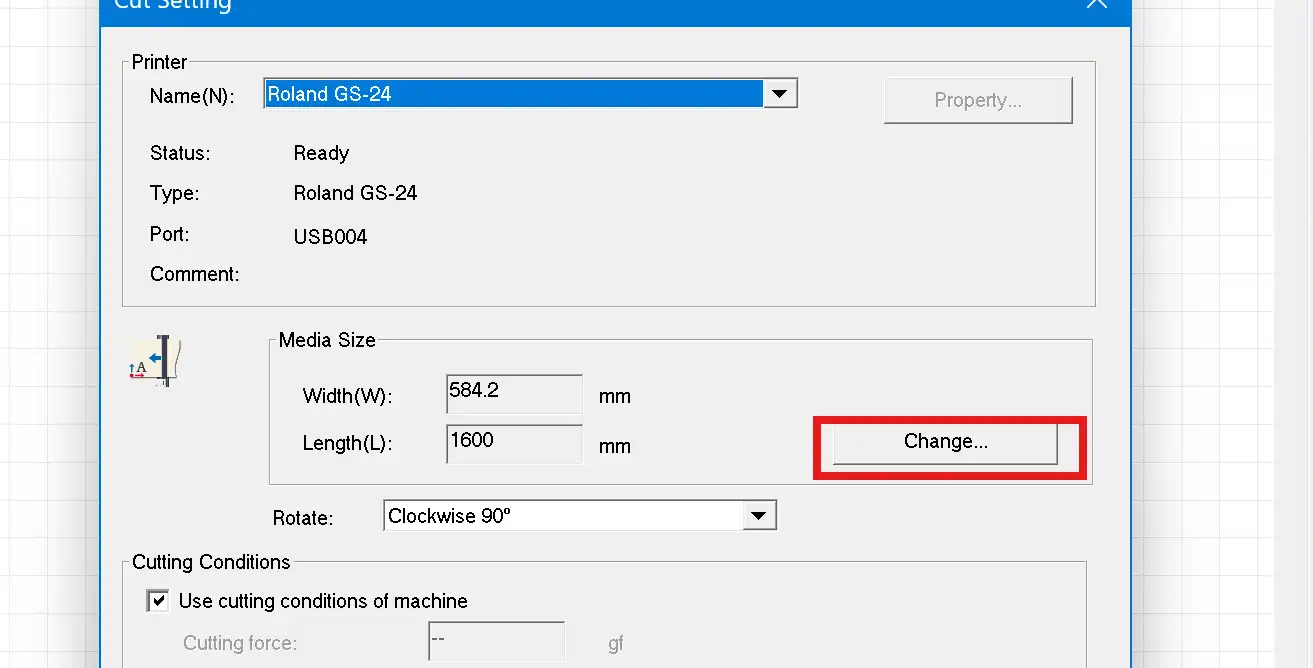
Then I opened the Roland CutStudio Software and clicked the cutting setup feature to set the dimensions.
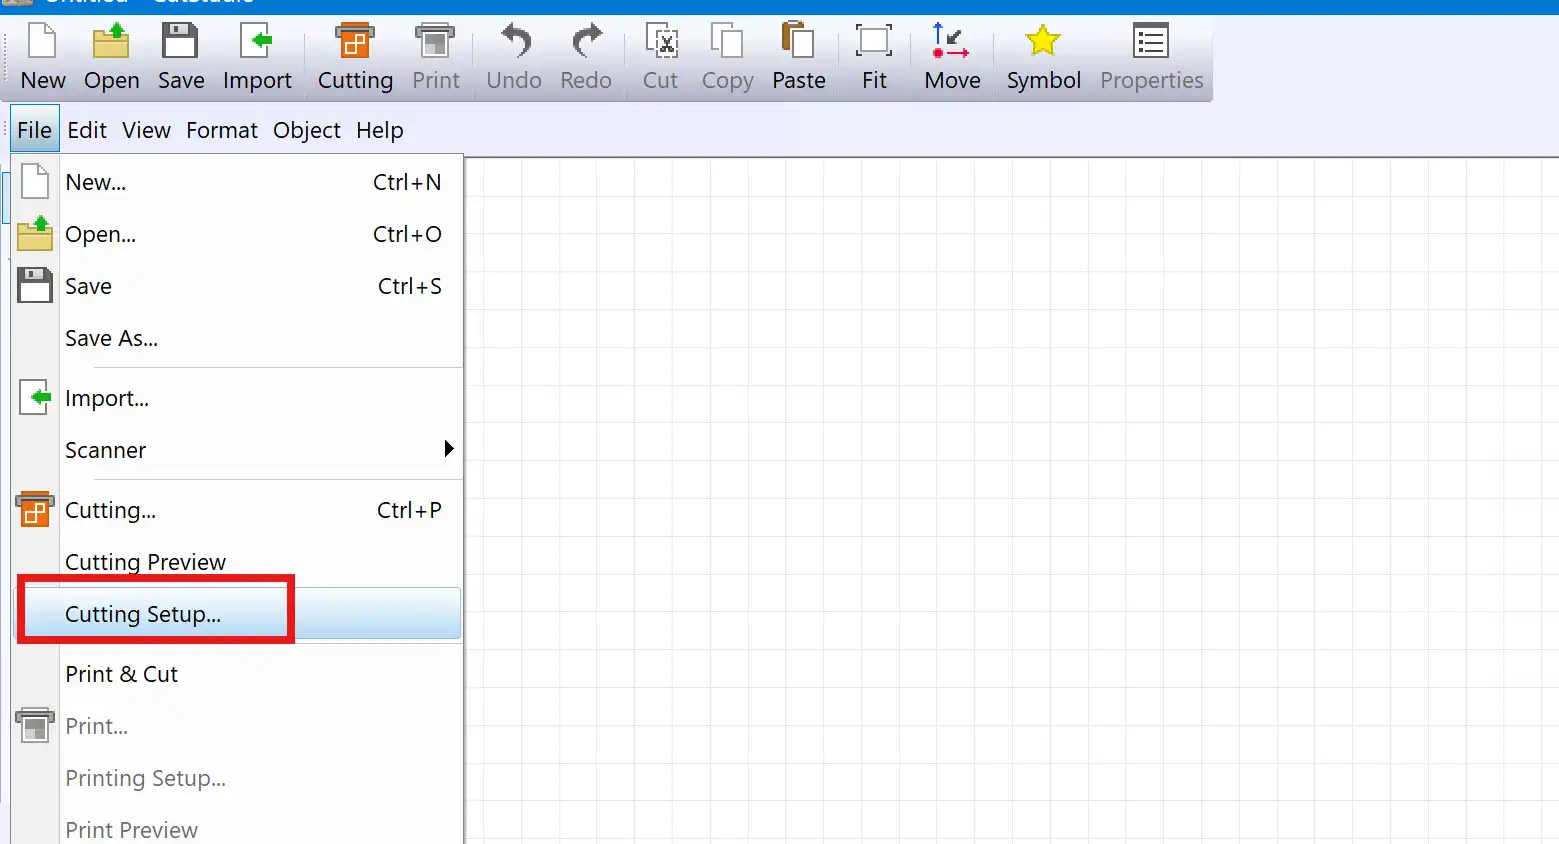
After that I clicked the change button like this:
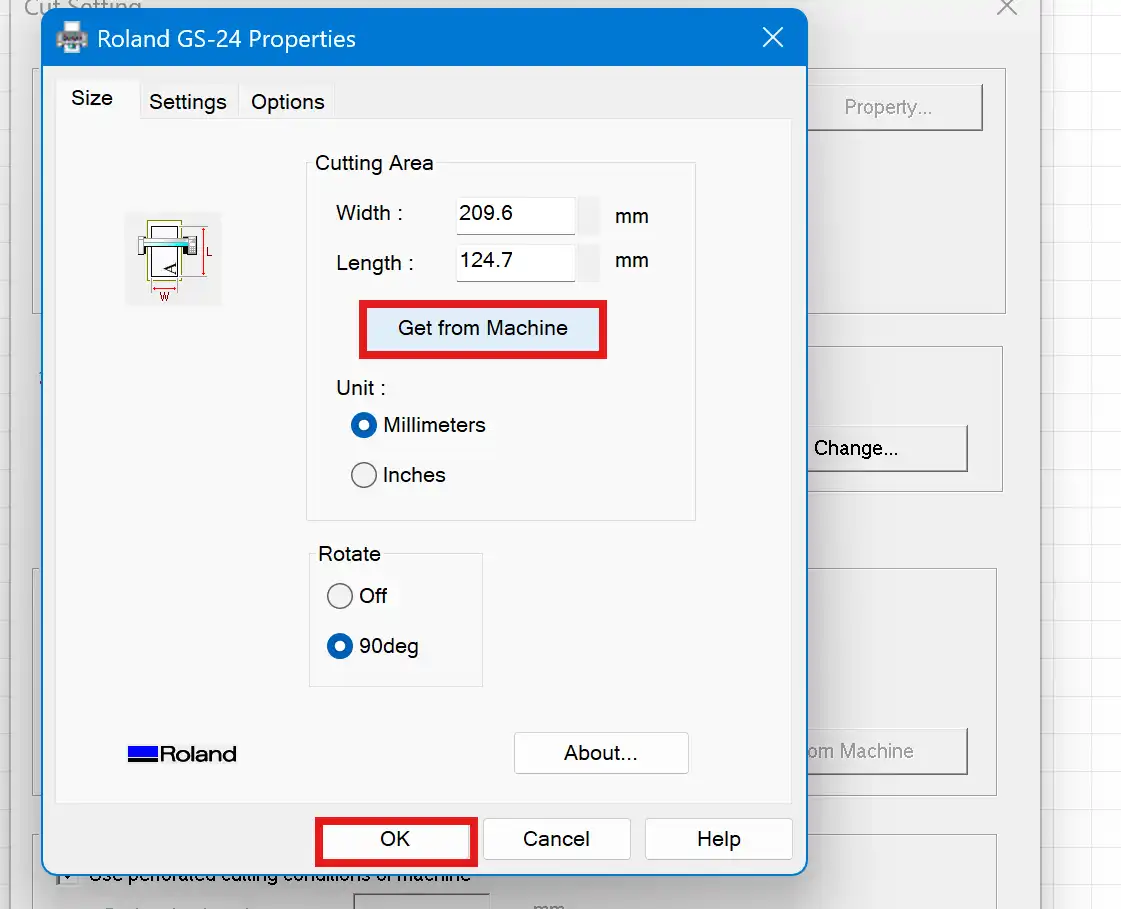
Press the Get From Machine button to get the dimensions from the machine.
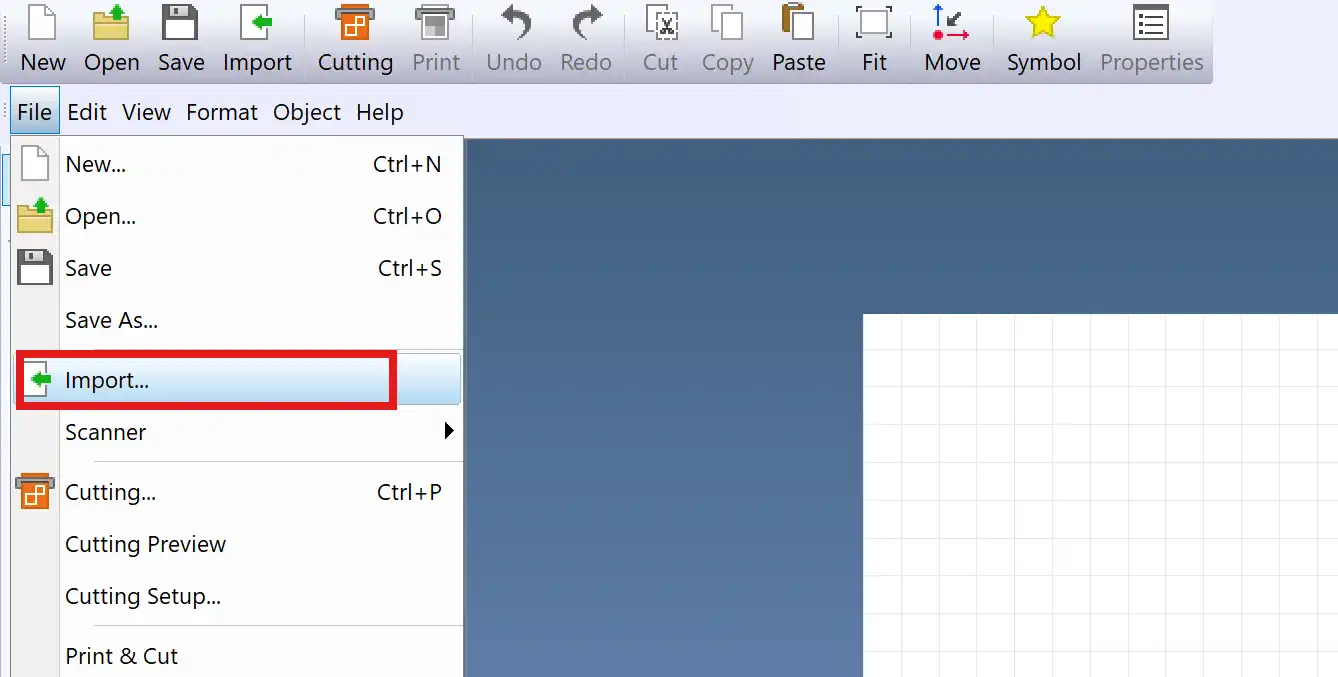
After setting the dimensions I imported my design that I made in Inkscape.
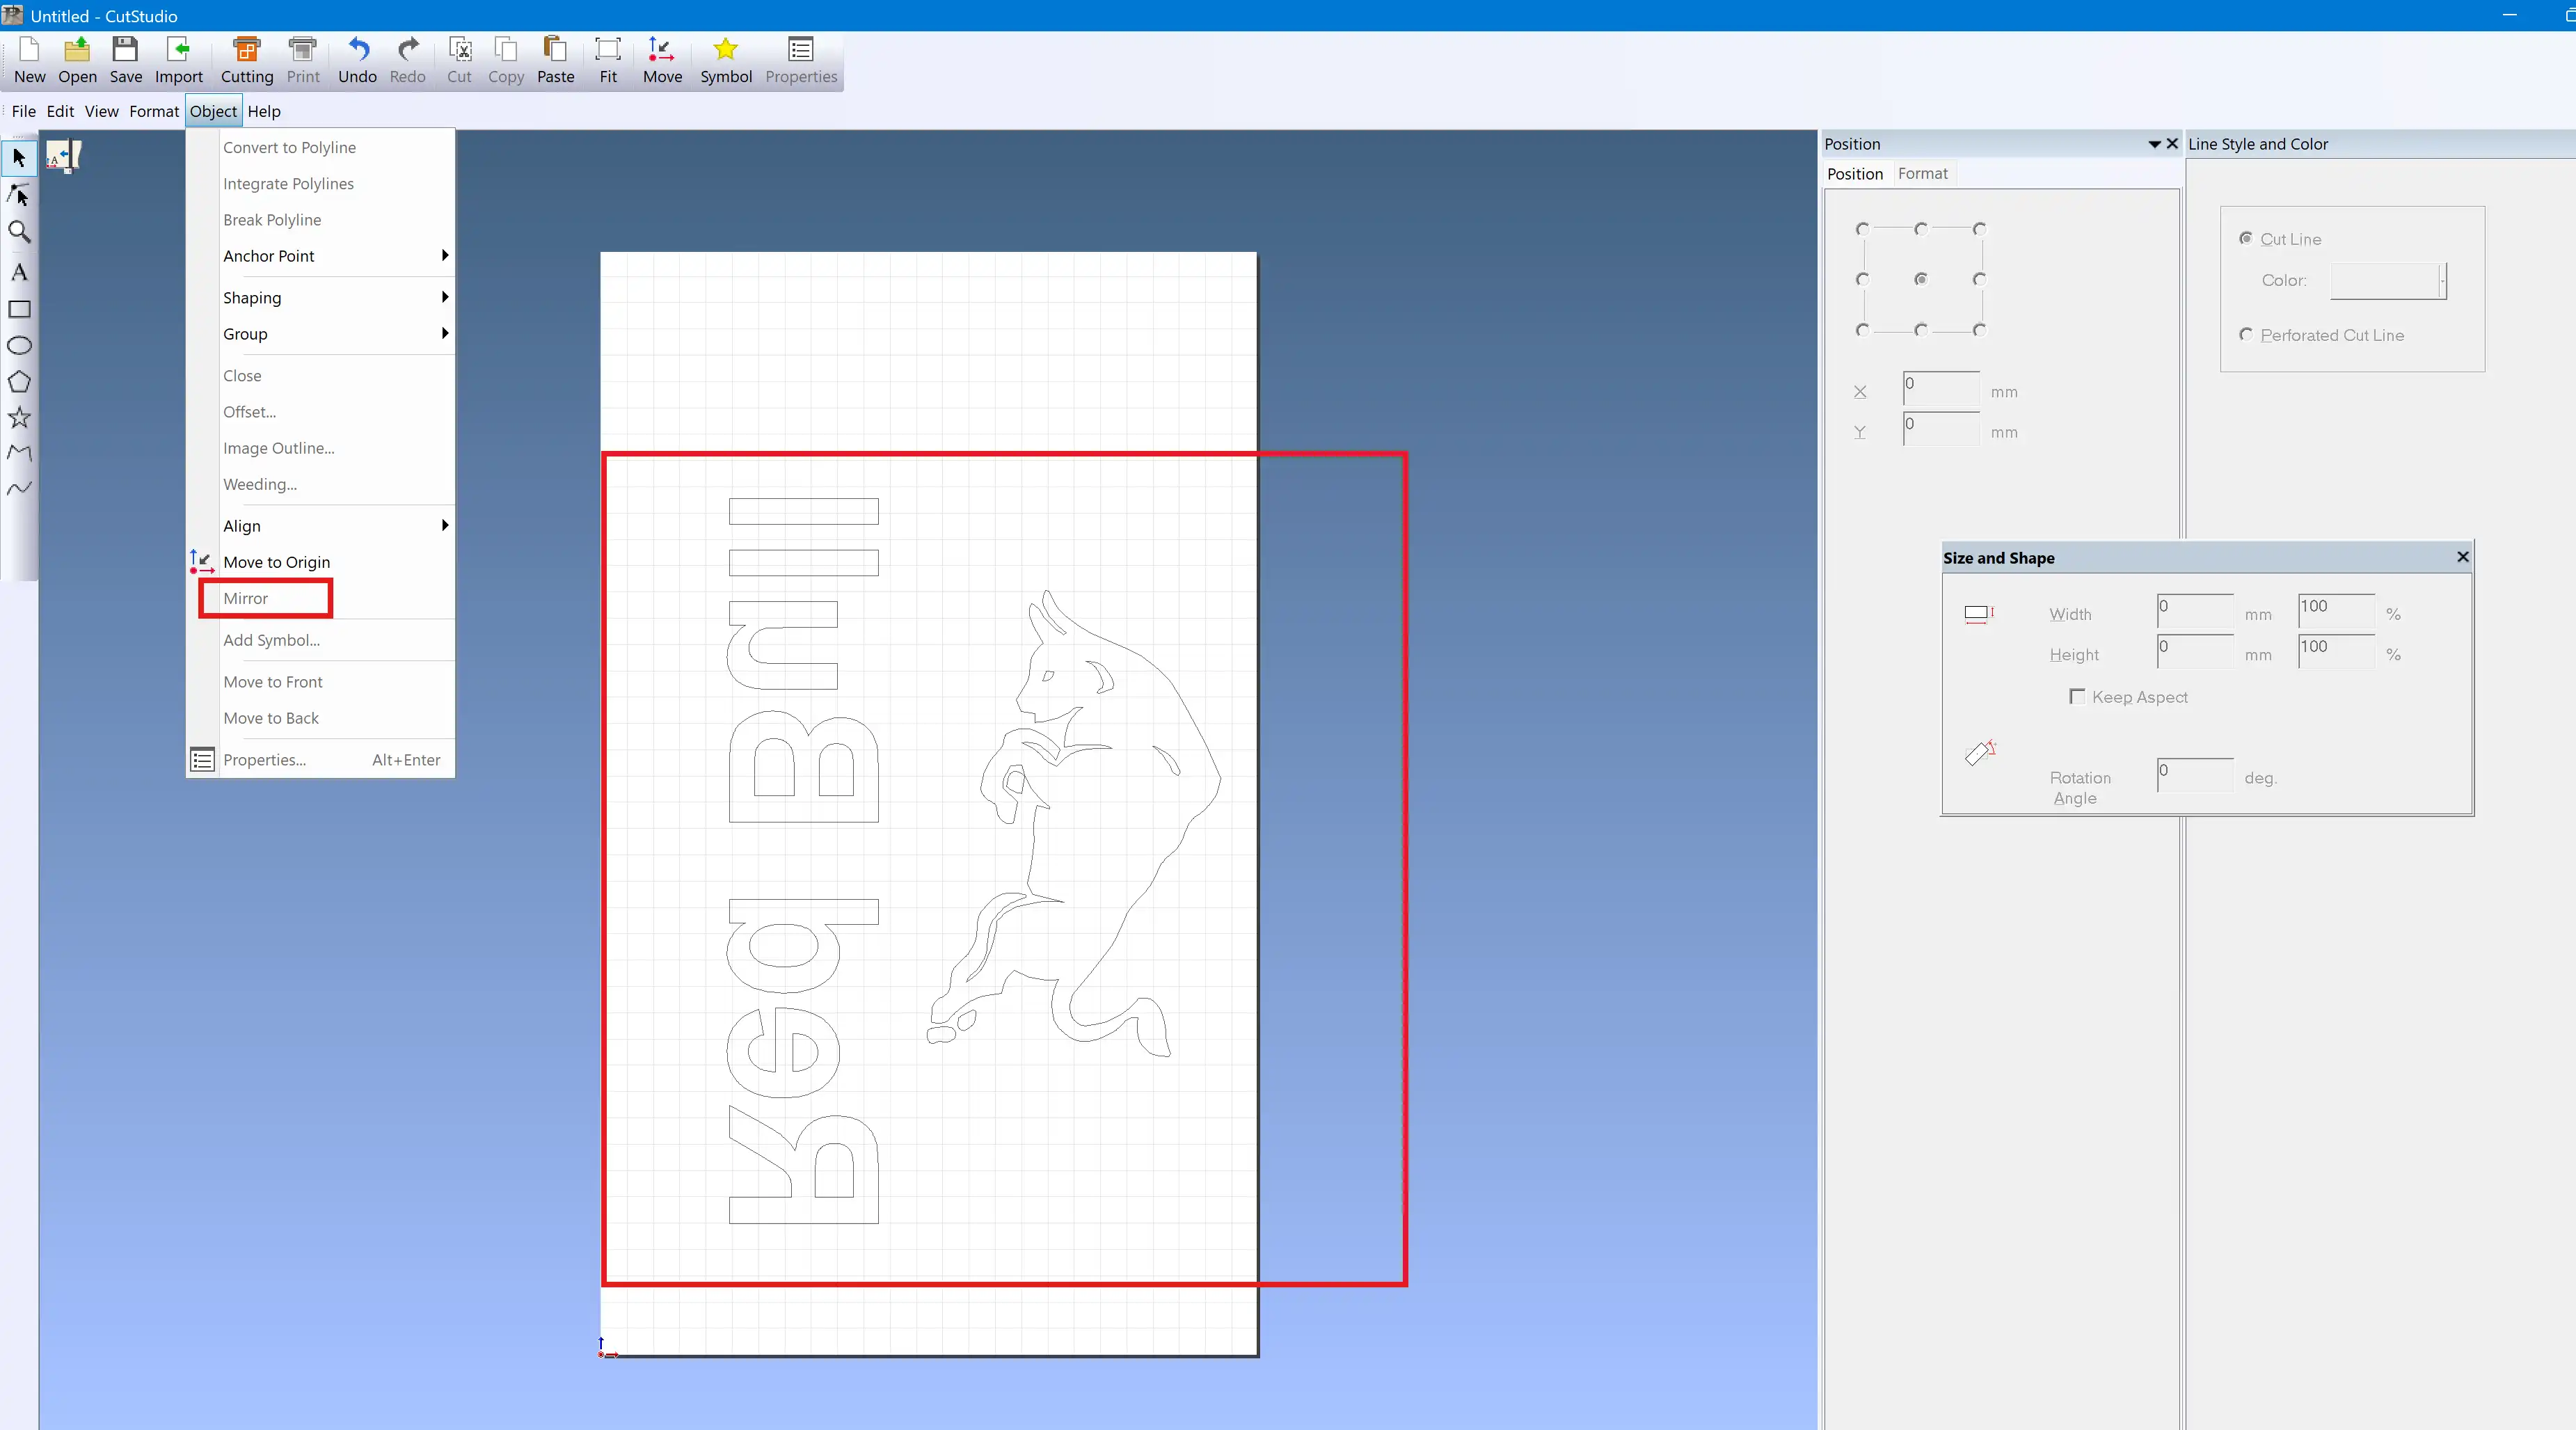
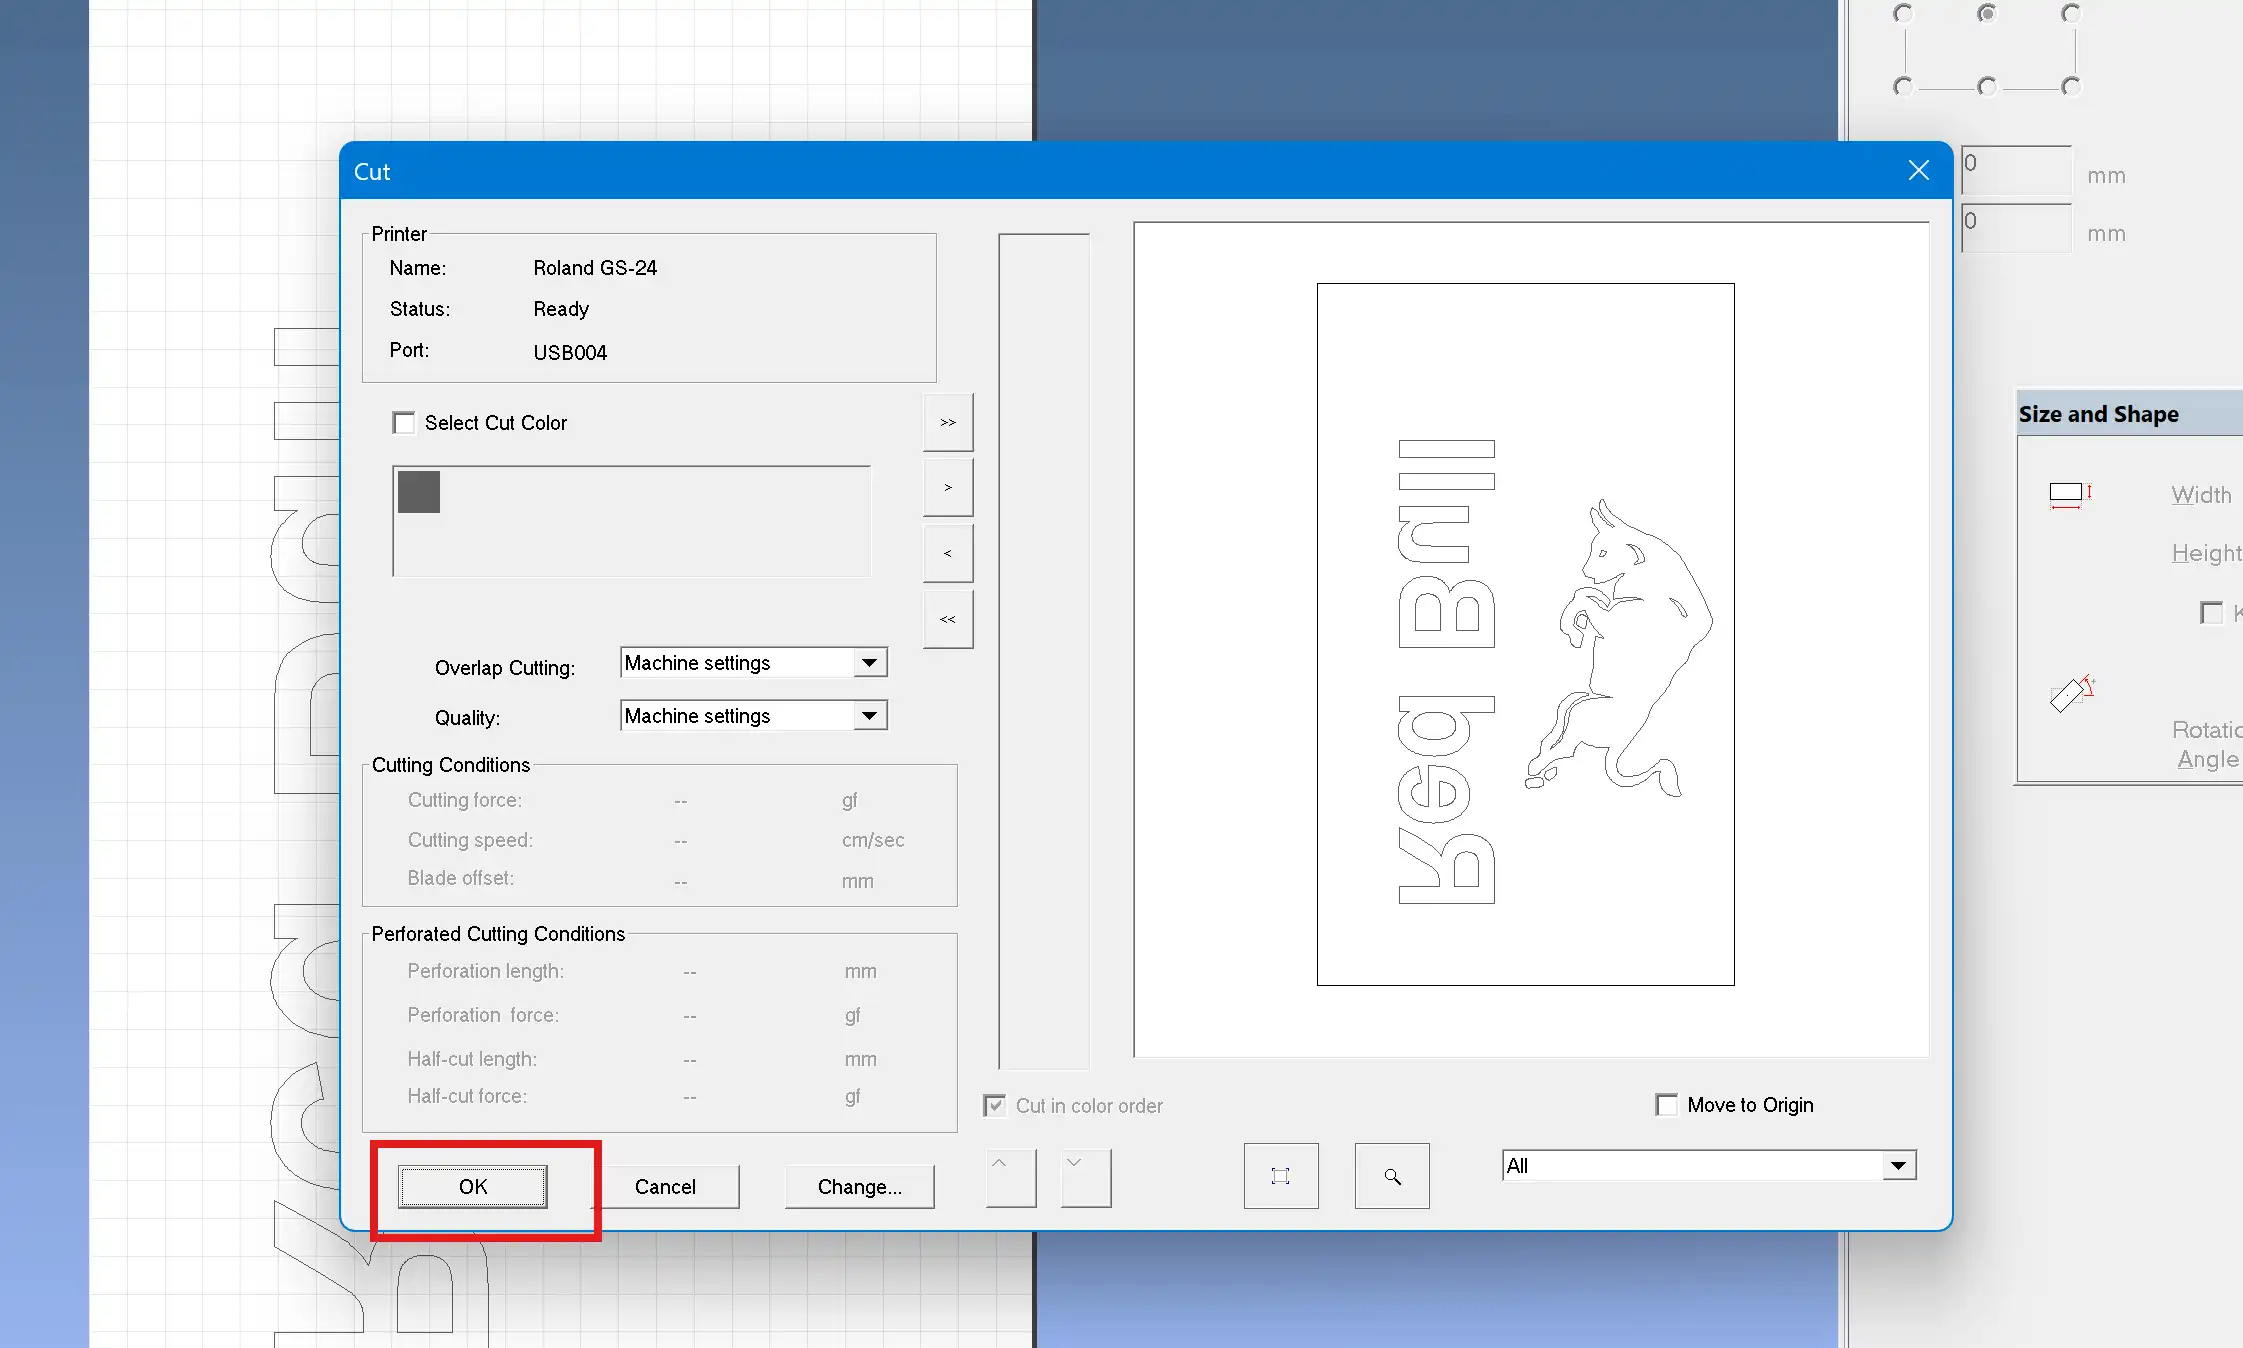
IMPORTANT: Make sure to use the Mirror feature to flip the design so that when you heat press it onto the t-shirt, it prints out correctly.
Click the Cutting button and click OK.
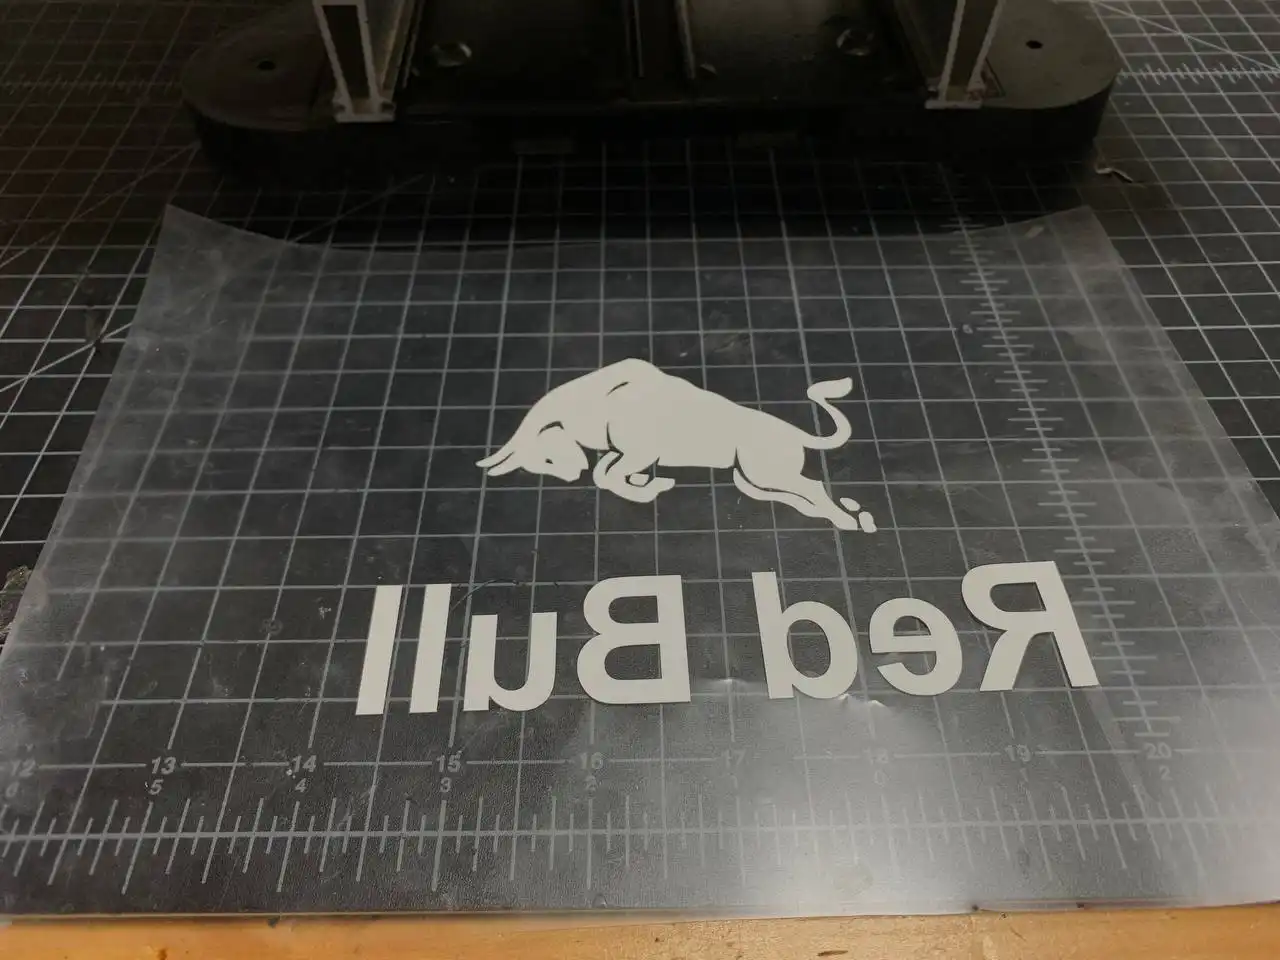
After cutting the design, I weeded the vinyl by removing the unwanted parts using tweezers. Since my Red Bull logo was simple, this process was straightforward.
I carefully removed the excess vinyl while keeping the design intact. This ensured that only the intended design remained on the carrier sheet, ready for transfer onto the fabric.
Here is the design after weeding:
Heat Press
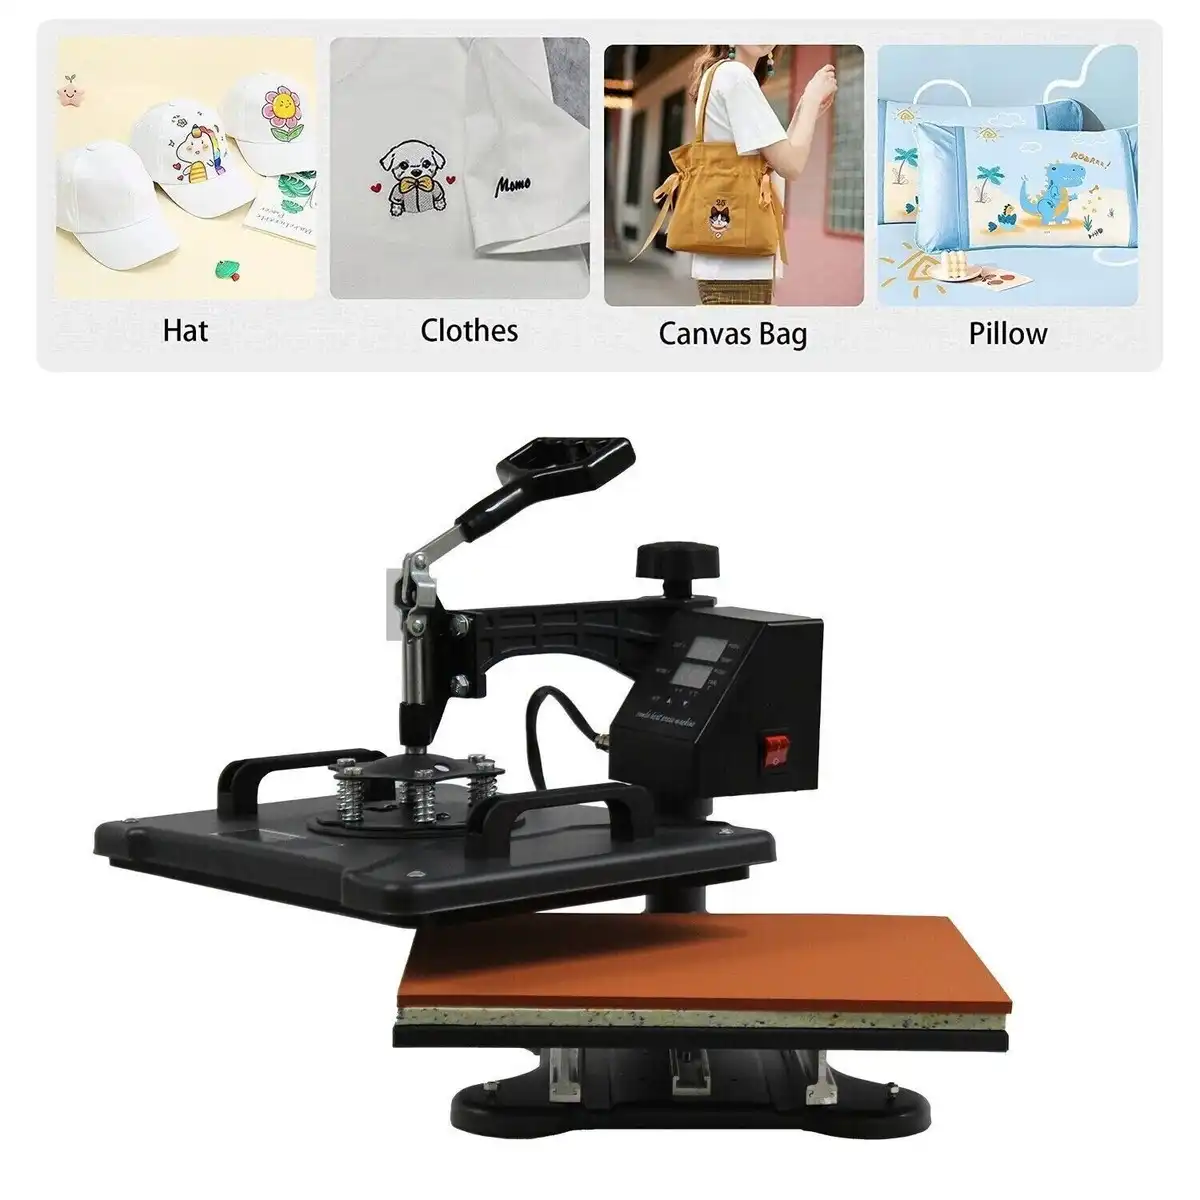
The heat press machine we have in our lab is the UKPress Bluewave HP230B Swing Away Heat Press Machine.
I first carefully placed the t-shirt on the heat press machine.
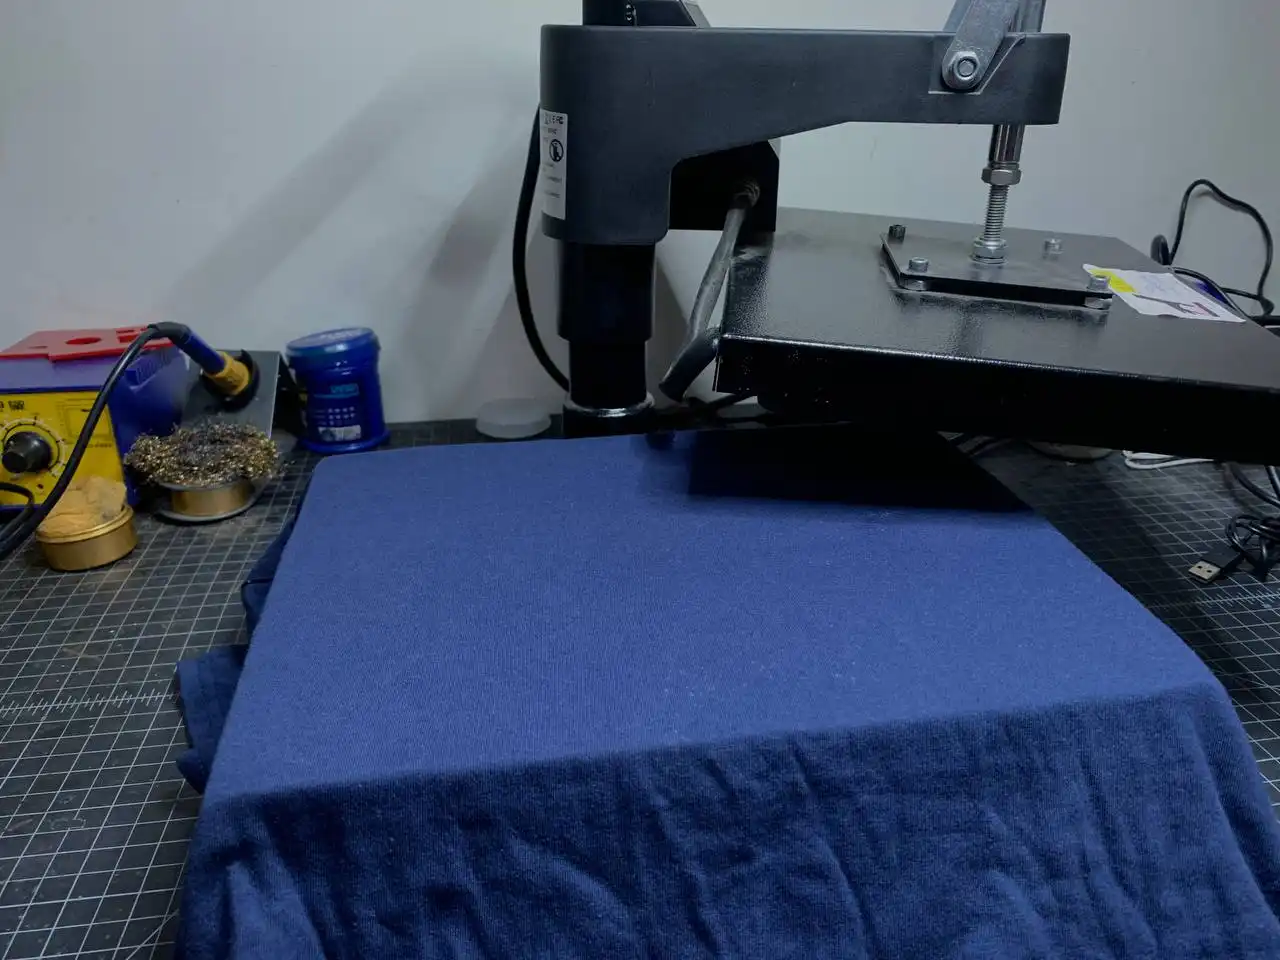
Then I placed the design on the t-shirt.
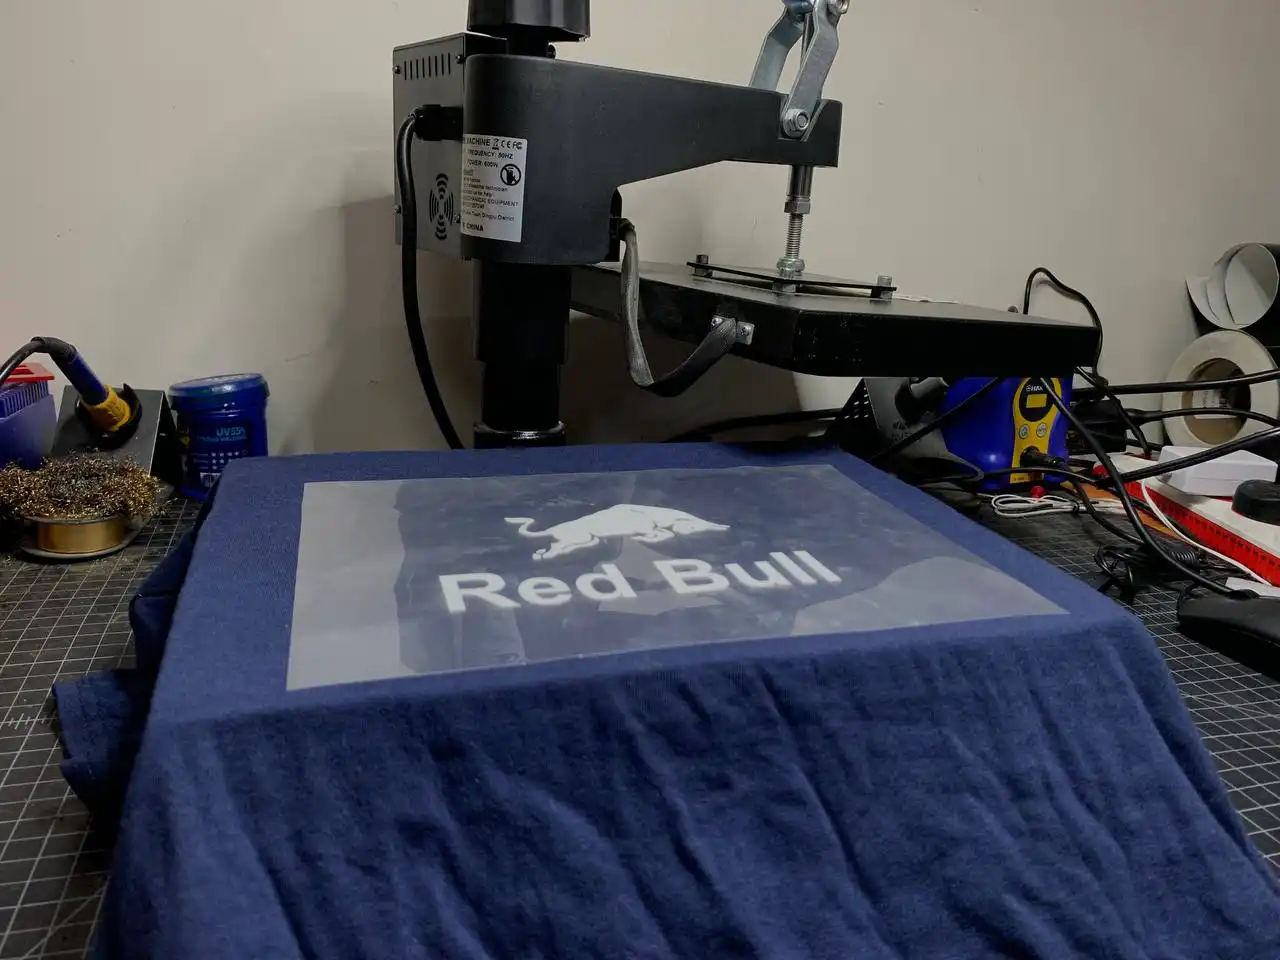
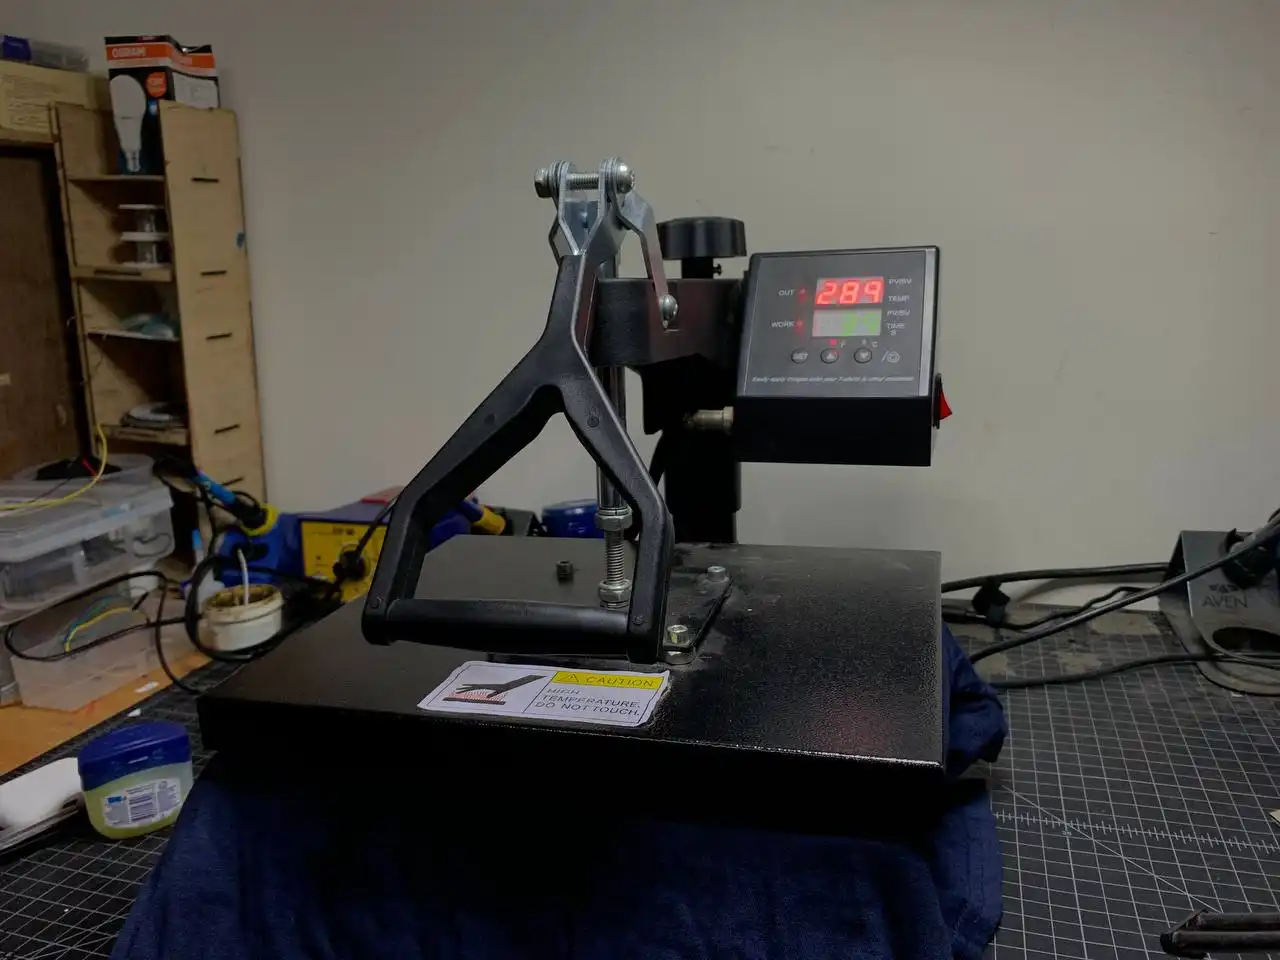
I set the heat press to 300°F (149°C) for 45 seconds and then pressed the t-shirt. These settings allowed the vinyl adhesive to bond properly with the cotton fabric without damaging the shirt.
I chose these settings because the XSEINO Heat Transfer Vinyl requires around 150°C to activate its adhesive, and 100% cotton can handle this heat without scorching
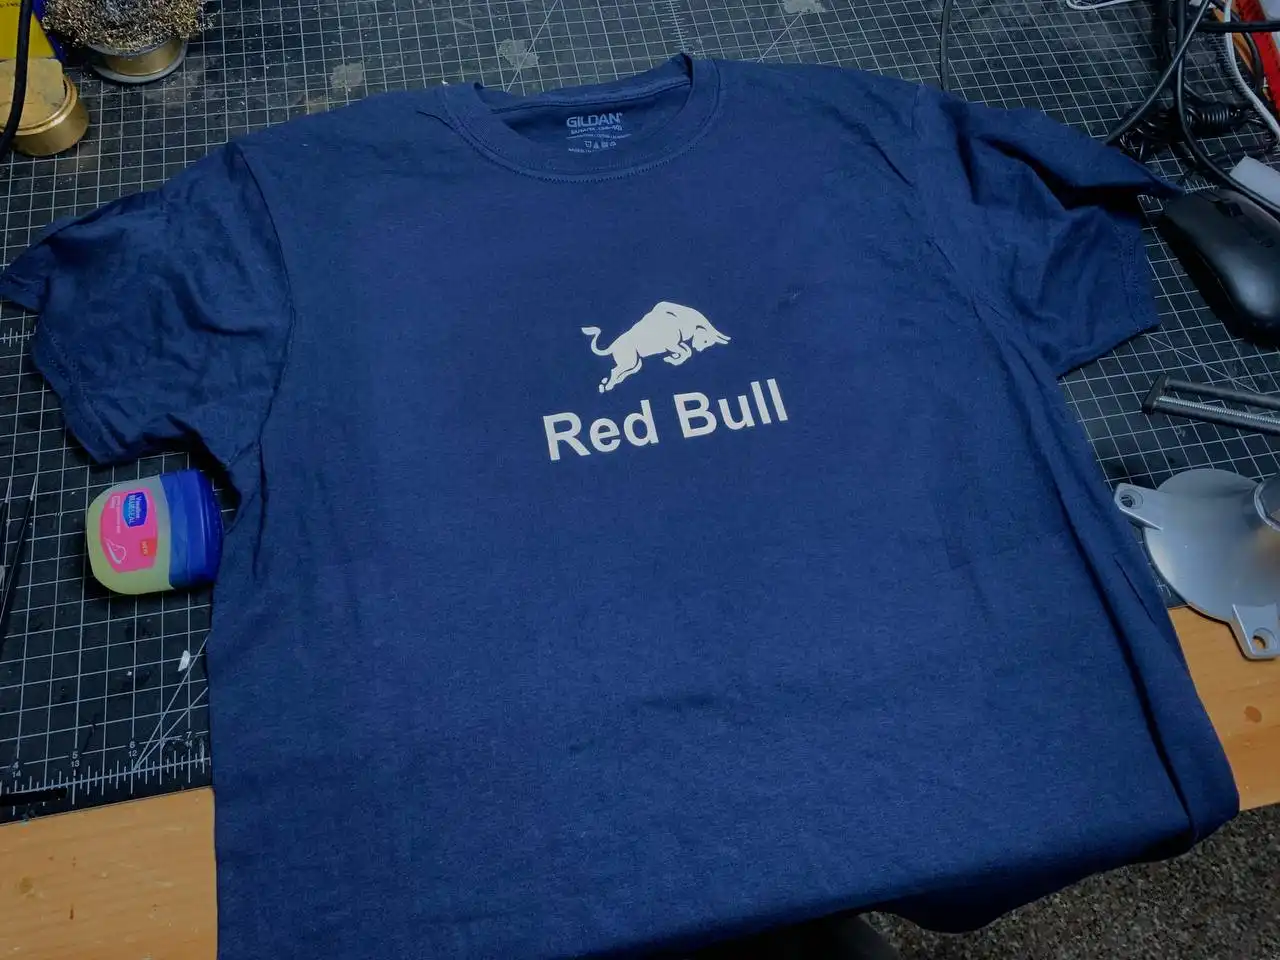
After heat pressing the t-shirt I removed the heat transfer sheet.

Final Result
Reflection
This week I had a lot of fun. I was able to successfully heat press a design on my t-shirt and the results came out very well. I love the outcome and the quality of the print.
Click here to access my design
Thank you for reading! See you next week!