Universal G-Code Sender — Machine Week
This is a transcript of my conversation with Claude while setting up Universal G-Code Sender (UGS) to run our cookie decorator pen plotter for machine week.
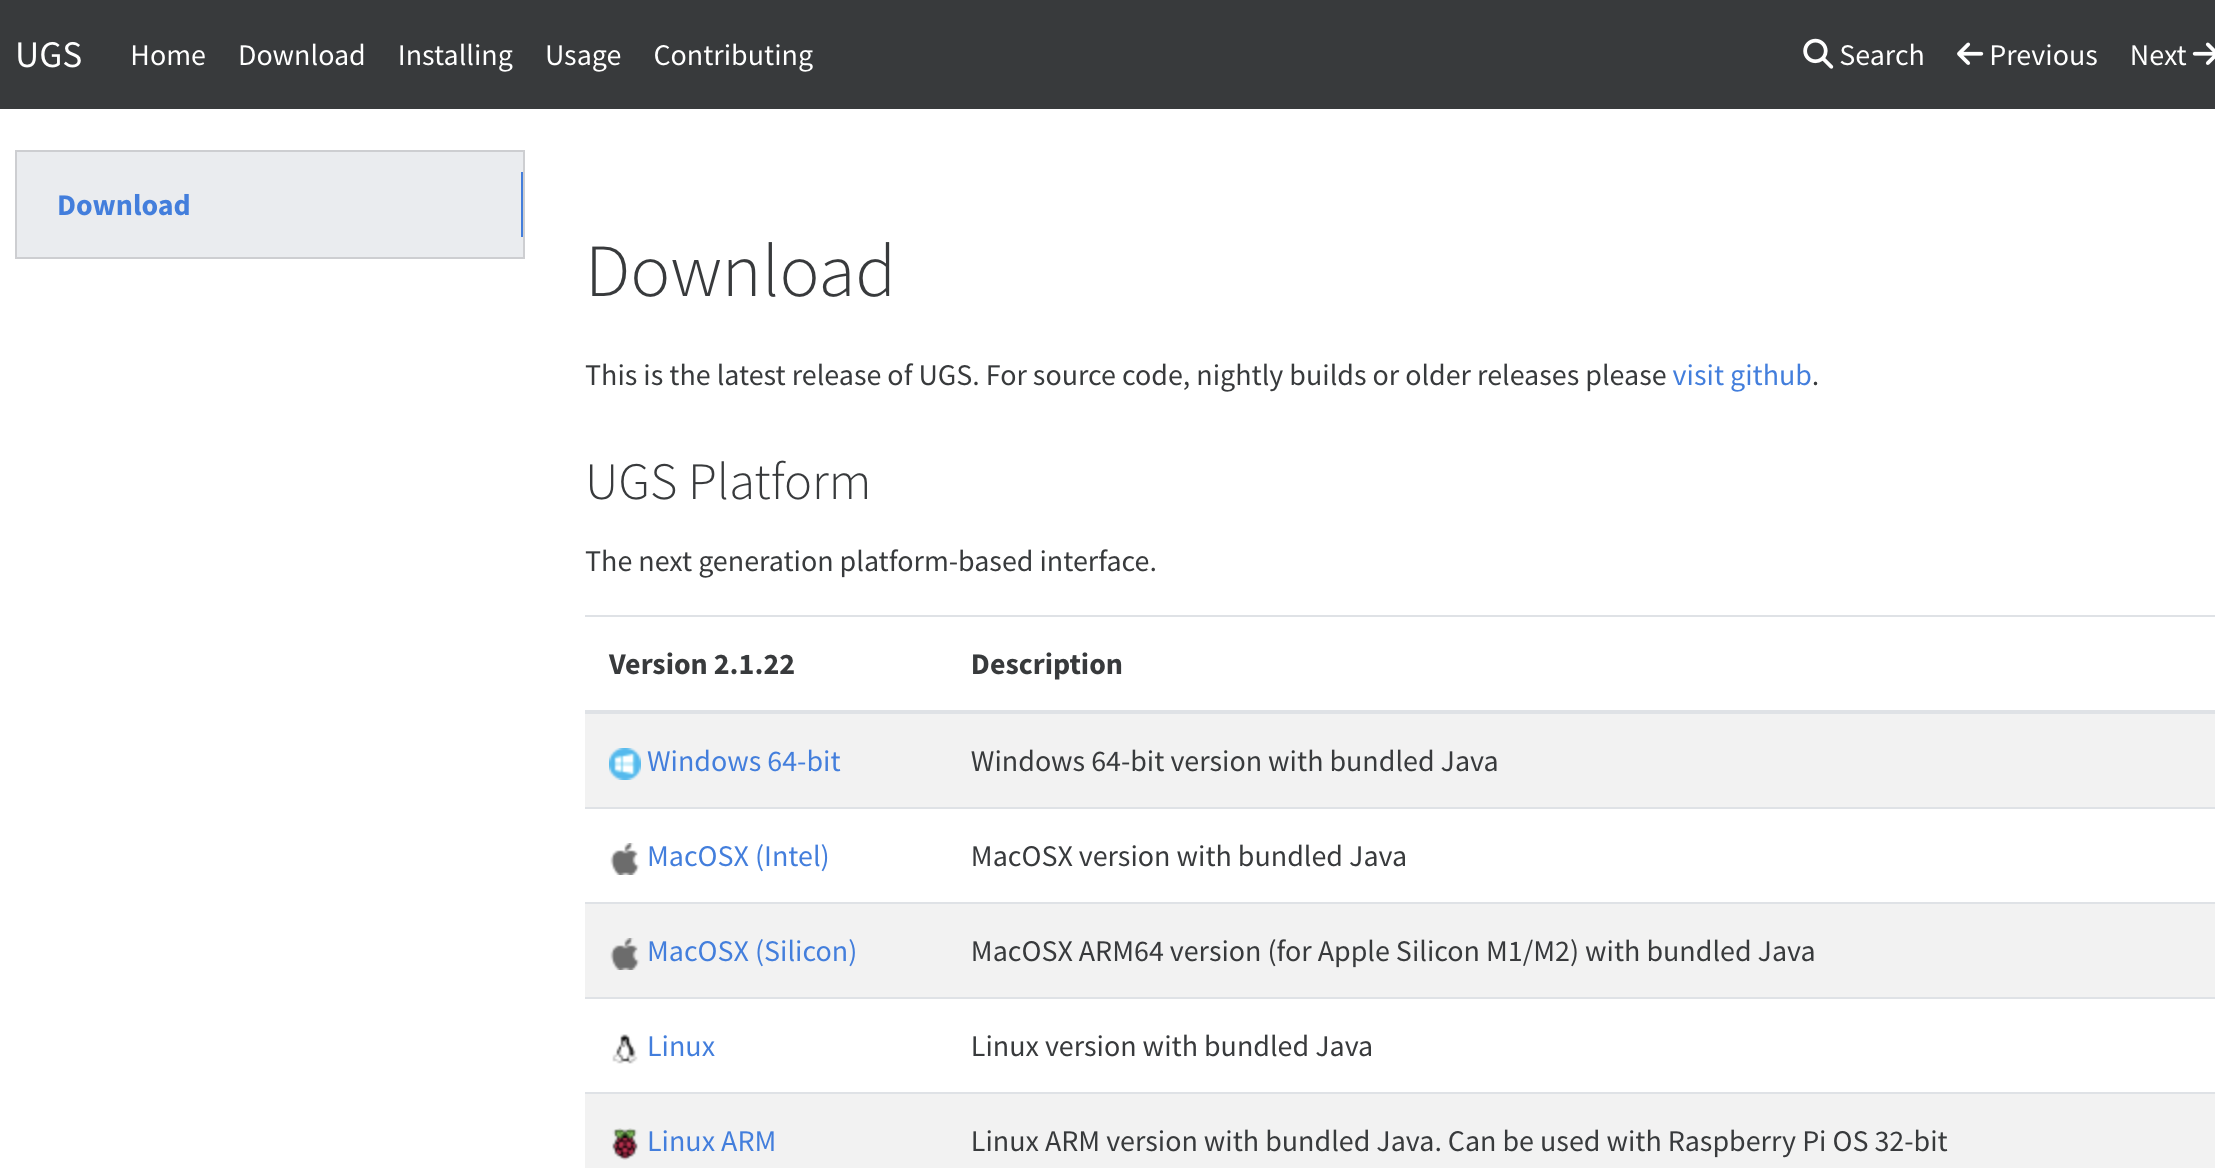
Installing UGS on Mac
I downloaded UGS version 2.1.22 (MacOSX x64 with bundled Java) from the UGS website.
To open the .dmg:
- Double-click the .dmg to mount it
- Drag Universal Gcode Sender into the Applications alias
- On first launch, Mac blocked it: "can't be opened because Apple cannot check it for malicious software"
- Fix: System Settings → Privacy & Security → Open Anyway
- A second prompt appeared asking Java to control the computer via accessibility — clicked Deny (not needed for G-code)
How UGS Works With the Machine
The flow:
1. Arduino Uno — has the xycore_grbl firmware uploaded (stays there permanently)
2. UGS — connects to the Arduino via USB and streams G-code commands in real time
3. UGS does not create Arduino code — it sends G-code line by line to the firmware already on the board
To send a G-code file in UGS:
1. Connect UGS to the Arduino (select port + baud 115200 + Connect)
2. Confirm Grbl 1.1h ['$' for help] appears in the console
3. Click the folder icon to load your .gcode file
4. Click Play to start sending it to the machine
Our Machine Hardware
Our machine is a CoreXY pen plotter (cookie decorator) built with: - Arduino Uno - CNC Shield v3 - A4988 stepper motor drivers
Note: DRV8825 and A4988 drivers look interchangeable but should not be mixed — their pinout diagrams are reversed. We burned out a DRV8825 finding this out. We switched to all A4988 drivers on the advice of Global Open Time instructors.

Firmware: xycore_grbl
The firmware (xycore_grbl) is a GRBL-compatible G-code interpreter written for our machine. It was originally written by the team and used on a PC. It works on Mac via UGS with no changes.
Pin definitions (CNC Shield layout):
X_STEP_PIN   2
X_DIR_PIN    5
Y_STEP_PIN   3
Y_DIR_PIN    6
ENABLE_PIN   8
Default config:
stepsPerMmX = 80.0   // tune with $100=value
stepsPerMmY = 80.0   // tune with $101=value
feedRate    = 1000.0 // mm/min
rapidRate   = 3000.0 // mm/min for G0
Problem: Servo Pen Lift Not Working With G-Code Files
Our machine uses a servo to lift the pen instead of a Z-axis stepper. This worked when manually typing commands (servo 90, servo 0), but when sending a G-code file, Z commands were ignored because the firmware didn't handle them.
Solution: Modify the firmware to intercept Z moves and translate them to servo angles:
- G0 Z1 (any Z > 0) → servo 90° → pen up
- G0 Z0 (any Z ≤ 0) → servo 0° → pen down
Additions to the firmware (marked with Dorian addition comments):
At the top (includes and pin definition):
// start Dorian addition
#include <Servo.h>
#define SERVO_PIN 11
Servo penServo;
// end Dorian addition
In setup():
// start Dorian addition
penServo.attach(SERVO_PIN);
penServo.write(90);  // start with pen up
// end Dorian addition
In handleLine(), after extracting X, Y, F word values:
// start Dorian addition
float zVal = extractWord(line, 'Z', 999);
if (zVal != 999) {
  penServo.write(zVal > 0 ? 90 : 0);
  delayMicroseconds(300000);  // give servo time to move
}
// end Dorian addition
Important: declare
zValonly once, after the other word extractions. Declaring it twice in the same function scope causes a compile error.
Servo Wiring on CNC Shield
On the CNC Shield v3: - SpnDir = pin 11 - SpnEn = pin 12
Either pin works for a servo since both output PWM. Our servo is wired to pin 11 (SpnDir), so #define SERVO_PIN 11 is correct.
Connect the servo signal wire to the SpnDir pin. Power the servo separately using the shield's 5V and GND pins — do not power it from the signal pin.
Do not plug the servo into the Z motor driver area — that is designed for a stepper motor, not a servo.
SVG to G-Code
Design: Fab Academy Logo
We are plotting the Fab Academy logo, which has 3 colors (red, green, blue). Each color was exported from CorelDraw 2026 as a separate SVG file:
- logo-red.svg
- logo-green.svg
- logo-blue.svg
Each SVG is converted to its own G-code file and run separately with a pen swap between runs.
Converting SVG to G-Code with jscut.org
- Go to jscut.org
- Click Open SVG and load the SVG file
- Click the shape in the preview to select it
- Click Create Operation → set type to Pocket (fills the shape with parallel lines)
- Settings for a 1mm pen:
- Tool Units: mm
- Diameter: 1
- Step Over: 0.9 (90% overlap = full coverage with no gaps)
- Rapid: 1000 mm/min
- Cut: 500 mm/min
- Pass Depth: 1
- Material Clearance: 5 (pen up height)
- Plunge: same as Cut speed (servo moves pen, not a motor — not critical)
- Click Simulate GCODE to preview
- Click Save GCODE to download
Running the Files
Run one G-code file at a time in UGS, swapping pens between colors:
1. Load and run logo-red.gcode → draw all red
2. Swap to green pen → load and run logo-green.gcode
3. Swap to blue pen → load and run logo-blue.gcode
Important: do not move the cookie/paper between runs — the colors will only line up if the surface stays in place.
G-Code vs 3D Printer Files
G-code is the same language used by 3D printers, which is why Bambu Studio opened the .gcode file. However the commands are different:
- 3D printer G-code — includes temperature, extrusion, layer height
- CNC/pen plotter G-code — only XY moves, Z up/down, feed rates
STL, OBJ, and 3MF are 3D geometry files, not G-code. Bambu converts those to G-code internally when slicing. UGS only accepts plain G-code files.
Previewing G-Code Before Running
To simulate the toolpath before sending to the machine, upload the .gcode file to ncviewer.com — it shows a visual preview of every move the machine will make.
See full word-for-word transcript: universal-G-Code-transcript.md
This document will be updated as work continues.