Week 1: Project Management
This week was about three things: getting myself organized, recalling the use of git and terminal, and making the website. I already had VS Code installed and had some experience in web development, in this case HTML and CSS, as well as the use of git in a small software development project.
Project Management
I found the Fab Academy 2026 - website rather difficult to navigate: where was everything and where to find what I was looking for. I had trouble finding again the assignments for week. I had already many tabs open in the browser and everything started to become a mess, mostly in my head.
Then I systemically went through all the important websites in my notes related to the academy and the website itself and made a loosely structured list to organize them in my head. (Only later I watched the student bootcamp recording, and it had the guidance I had needed.) It took me an hour to get (more) organized and get a sense of all the websites and where is everything. I also wrote down a lot of my feelings and ideas to ease out the activity in my mind.
Few words about documentation this documentation process. I learned right away that I should have written down everything I did yesterday (relative to the day of writing this note). I had forgotten whether I had done a new github account yesterday and where to access it, or was it the gitlab account (I wasn’t sure of their difference at that point). I found continuous documentation difficult also in the following day while working on the website and it’s something I should focus on more. Still, it happened also on a subsequent day as I worked with image compression etc. I had only written a line or two about most of the activities but took the screenshots and did the actual writing in the last day.
Anyway, below is what I documented for this week.
Gitlab and git-commands in terminal
After the Wednesday lecture I hadn’t really figured out the github/gitlab difference and where I should commit. And I had forgotten also how. In friday I met with Kris (Aalto FabLab instructor) and he showed how it’s done and it was easy to remember the basics again.
I simulated the SSH key generation as I already had it. I used it to connect to my gitlab repository: Profile -> Preferences -> SSH Keys -> Add new key.
We began working with gitlab with modifying README.md -file with markdown language:
- Headings: # - ###
- Link: [text](url)
- List: 1. 2. 3.
- Image: !(text)[src]
I added a link to the website in README.md and wrote some notes in it.
Previous week I had made a basic html website with some placeholder information, which I pushed in gitlab in the following steps:
- Added all the files from my local directory using command
- Checked the status (between every step) using
- Then committed the whole thing with
git add .
git status
git commit -m “replace website”
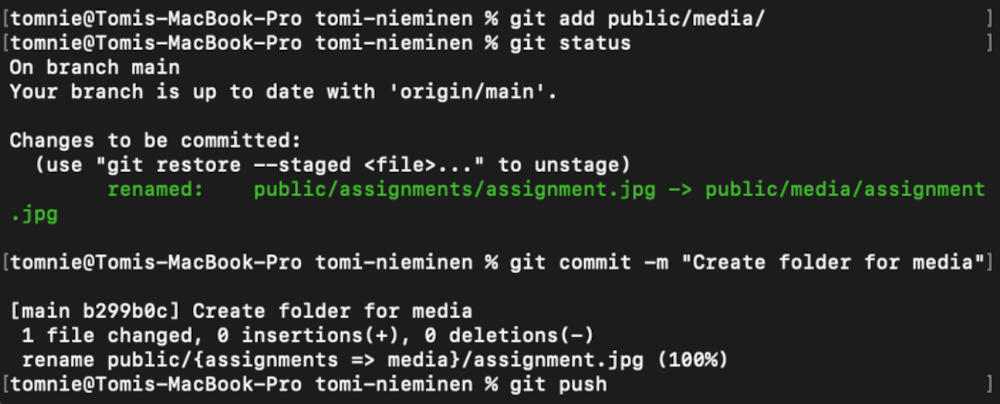
Above are my most used git commands for this week.
Web development
I had done my website skeleton already in the previous week. I checked quick keys in VSCode for creating simple html template !+Enter and auto-formatting Option+Shift+F (I’m using macOS).
This week I began creating content for the site and styling it with CSS. HTML was easy to recall but but CSS was a headache and was frequently working in mysterious ways. First I did a lot of internet searches on specific problems but finally ended up watching a short CSS tutorial on youtube and searched a couple of cheat sheets (especially flexbox layout).
Soon things started to become easier. My main problem was the visual design which led me to explore what past students had done. I used coolors.co to explore different options for colors. I found this website visually pleasing and used it as a loose reference point for part of my design.
Most of my time this week went on working with CSS, which even wasn’t the most important thing to do. It took a lot of time to make simple things and as I fixed one thing, another thing went wrong. At this point the website seems to behave differently on different browsers, which is a weird thing to try and fix. I decided to optimize it on chrome. But how can a website this simple have so many mysterious bugs in it!?
Image optimization
GIMP
For image editing I downloaded GIMP and used it also to compress images
using
following steps:
1. I began by viewing the image metadata at Image -> Metadata -> View metadata
2. I cropped the image to make it wider than higher the website better so it doesn’t fill the whole
page.
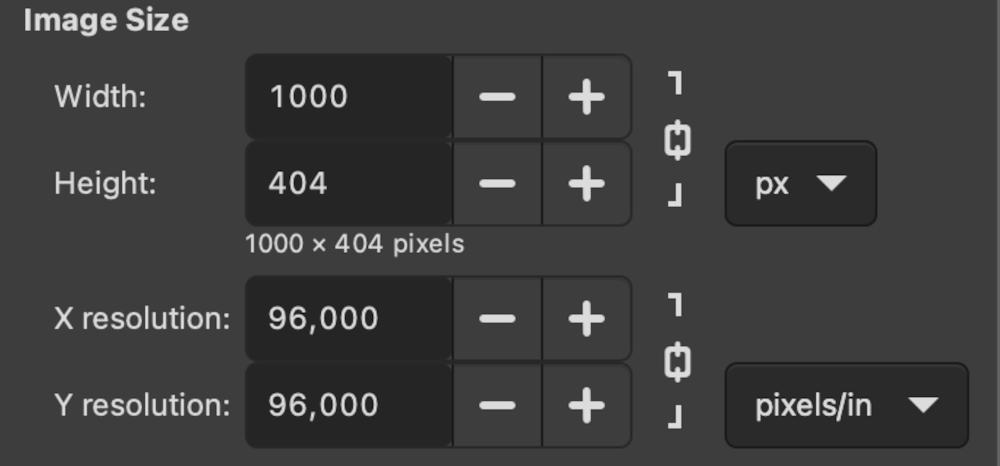
3. Then I did image compression, for which I used the values given in our local lecture: image width
1000px and resolution 96 x 96 px/in
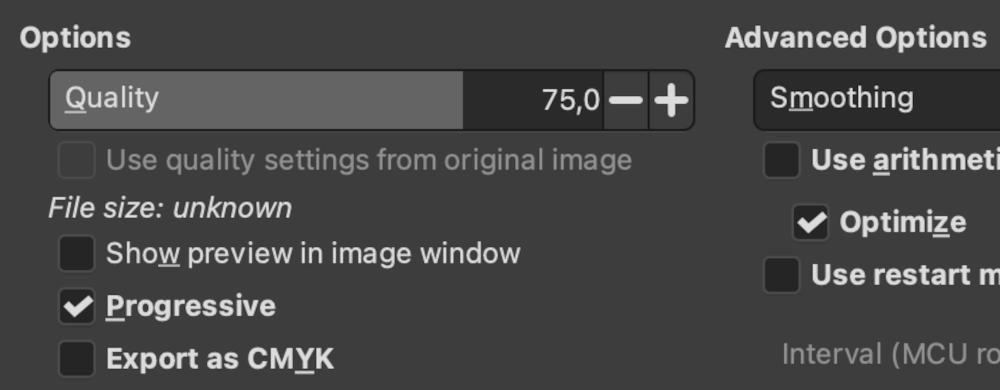
4. Then I changed the file extensions File -> Export as… and typed .jpg instead of .png.
5. After clicking Export I chose 75% quality.
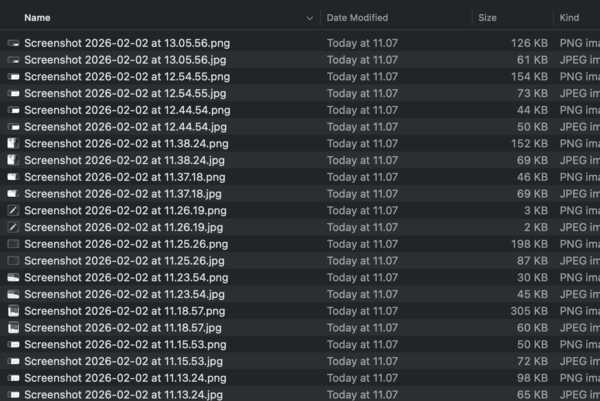
In the image source folder I was able the check that the file sizes had changed, for example the size of the earlier image of git commands from 171kb to 52kb.
Imagemagick
For compressing multiple images at once I used Imagemagick:
In the terminal, the path set to the folder where my to-be-compressed images are located, the command
magick mogrify -quality 50 *.png -format jpg *.*
resulted in file size decrease as shown in the image below, i.e. about half the size.
For the single image above I used the command
magick imagemagick-result.png -resize 600 -quality 50 imagemagick-result.jpg
resulted in file size decrease as shown in the image below
Aiming for further automation...
For streamlining the documentation process, I asked Gemini to help me automate the process of
compressing the images everytime they are added to the folder.
For that purpose I installed fswatch (brew install fswatch) and created a bash-script
watch_images.sh and after a couple hours of debugging, I copy-pasted in it the following:
#!/bin/bash
SOURCE="/path/raw-images/"
DEST="/path/raw-images-short/"
ARCHIVE="/path/images/"
#!/bin/bash
# Create the Archive folder if it doesn't exist
mkdir -p "$ARCHIVE"
echo "System started. Looking for new images in: $SOURCE"
while true; do
# Check if there are any jpg or png files in Source
if ls "$SOURCE"/*.{jpg,png} 1> /dev/null 2>&1; then
echo "New files detected. Processing..."
# 1. Compress and send to Destination
magick mogrify -path "$DEST" -format jpg -resize 1000 -quality 75 "$SOURCE"/*.{jpg,png}
# 2. Move the originals to the 'done' folder so they aren't processed again
mv "$SOURCE"/*.{jpg,png} "$ARCHIVE/"
echo "Success! Originals moved to $ARCHIVE"
fi
sleep 10
done
I also switched the screenshot destination folder into the raw-image folder (the source folder for
the script). Although it doesn't always recognize new files in the folder, creating a new
"test.jpg"-file in the folder starts the process. So for now I go with that as this already speed up
my documentation. This also began an optimization process for my documentation.
Video optimization
For video compressing I installed ffmpeg with brew install ffmpeg
Then I copy-pasted this command from the slides of our local lecture (except replaced it with my own filenames):
ffmpeg -i video-freecad.mov \
-vf "scale=1280:720" -r 25 \
-c:v libx264 -profile:v high -level 4.1 -pix_fmt yuv420p \
-preset medium -crf 25 \
-movflags +faststart \
-c:a aac -b:a 192k \
video-freecad.mp4
The compressed video can be seen on Week 2: under Freecad.
Here's the difference in sizes between the original screen captured video and it's compressed version: ≈15 times smaller filesize.

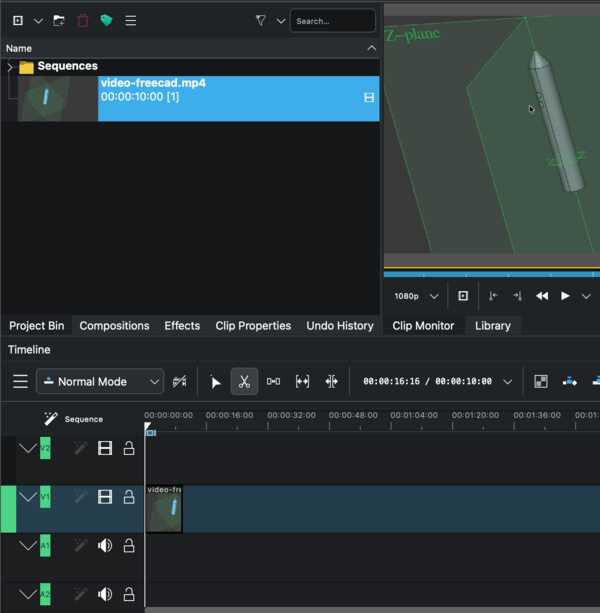
For video editing I installed Kdenlive.
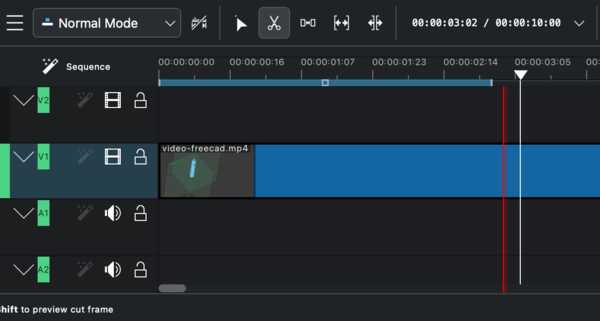
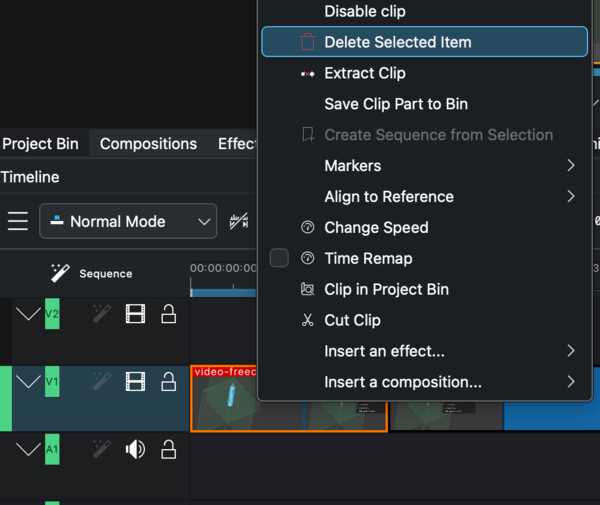
I cropped the video that I compressed above along the steps below:
1. Dragged the opened video down to the edit section.
2. Moved the line to the spot I wanted the video to begin and clicked it with Razor-tool (the scissors), and then did the same where I wanted the video to end.
3. Removed the not needed sections and moved to middle part to the beginning of the edit-area.
4. Then File -> Render where I chose the location and file type to .mp4
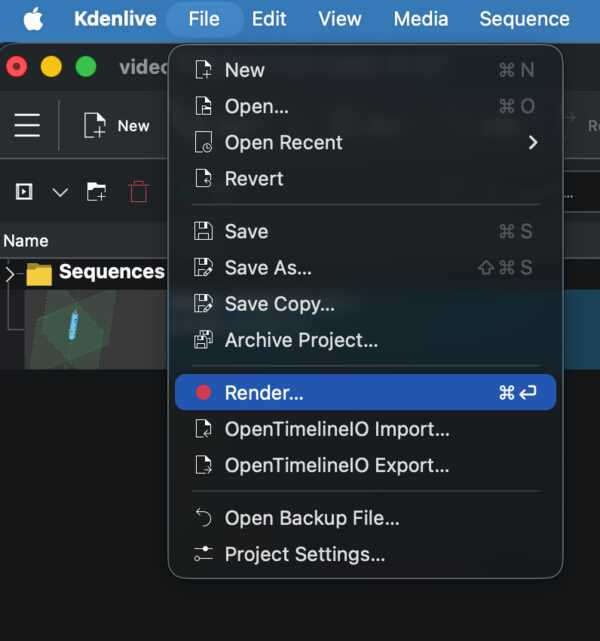
It appears that I should first do editing and then the compressing as the file size is know slightly larger than before the cropping (654kb vs 471kb).