0. Group Assignment
This week, we will test the design rules and performance limitations of the Bambu Lab A1 mini 3D printer. By printing three test files (angle.stl, thickness.stl), we will analyze the following key features:
- Overhang: Maximum overhang angle and bridge distance without support.
- Tolerance: Minimum gap for moving parts.
- Wall Thickness: Minimum thickness for structural integrity.
- Hole Accuracy: Accuracy of the printed aperture compared to design dimensions.
- First Layer Adhesion: Platform leveling and material compatibility with the print bed.
0.1 3D Printer & Filament
0.1.1 Bambu Lab A1 Mini
- Print Volume: 180 x 180 x 180 mm
- Print Precision: 0.4 mm
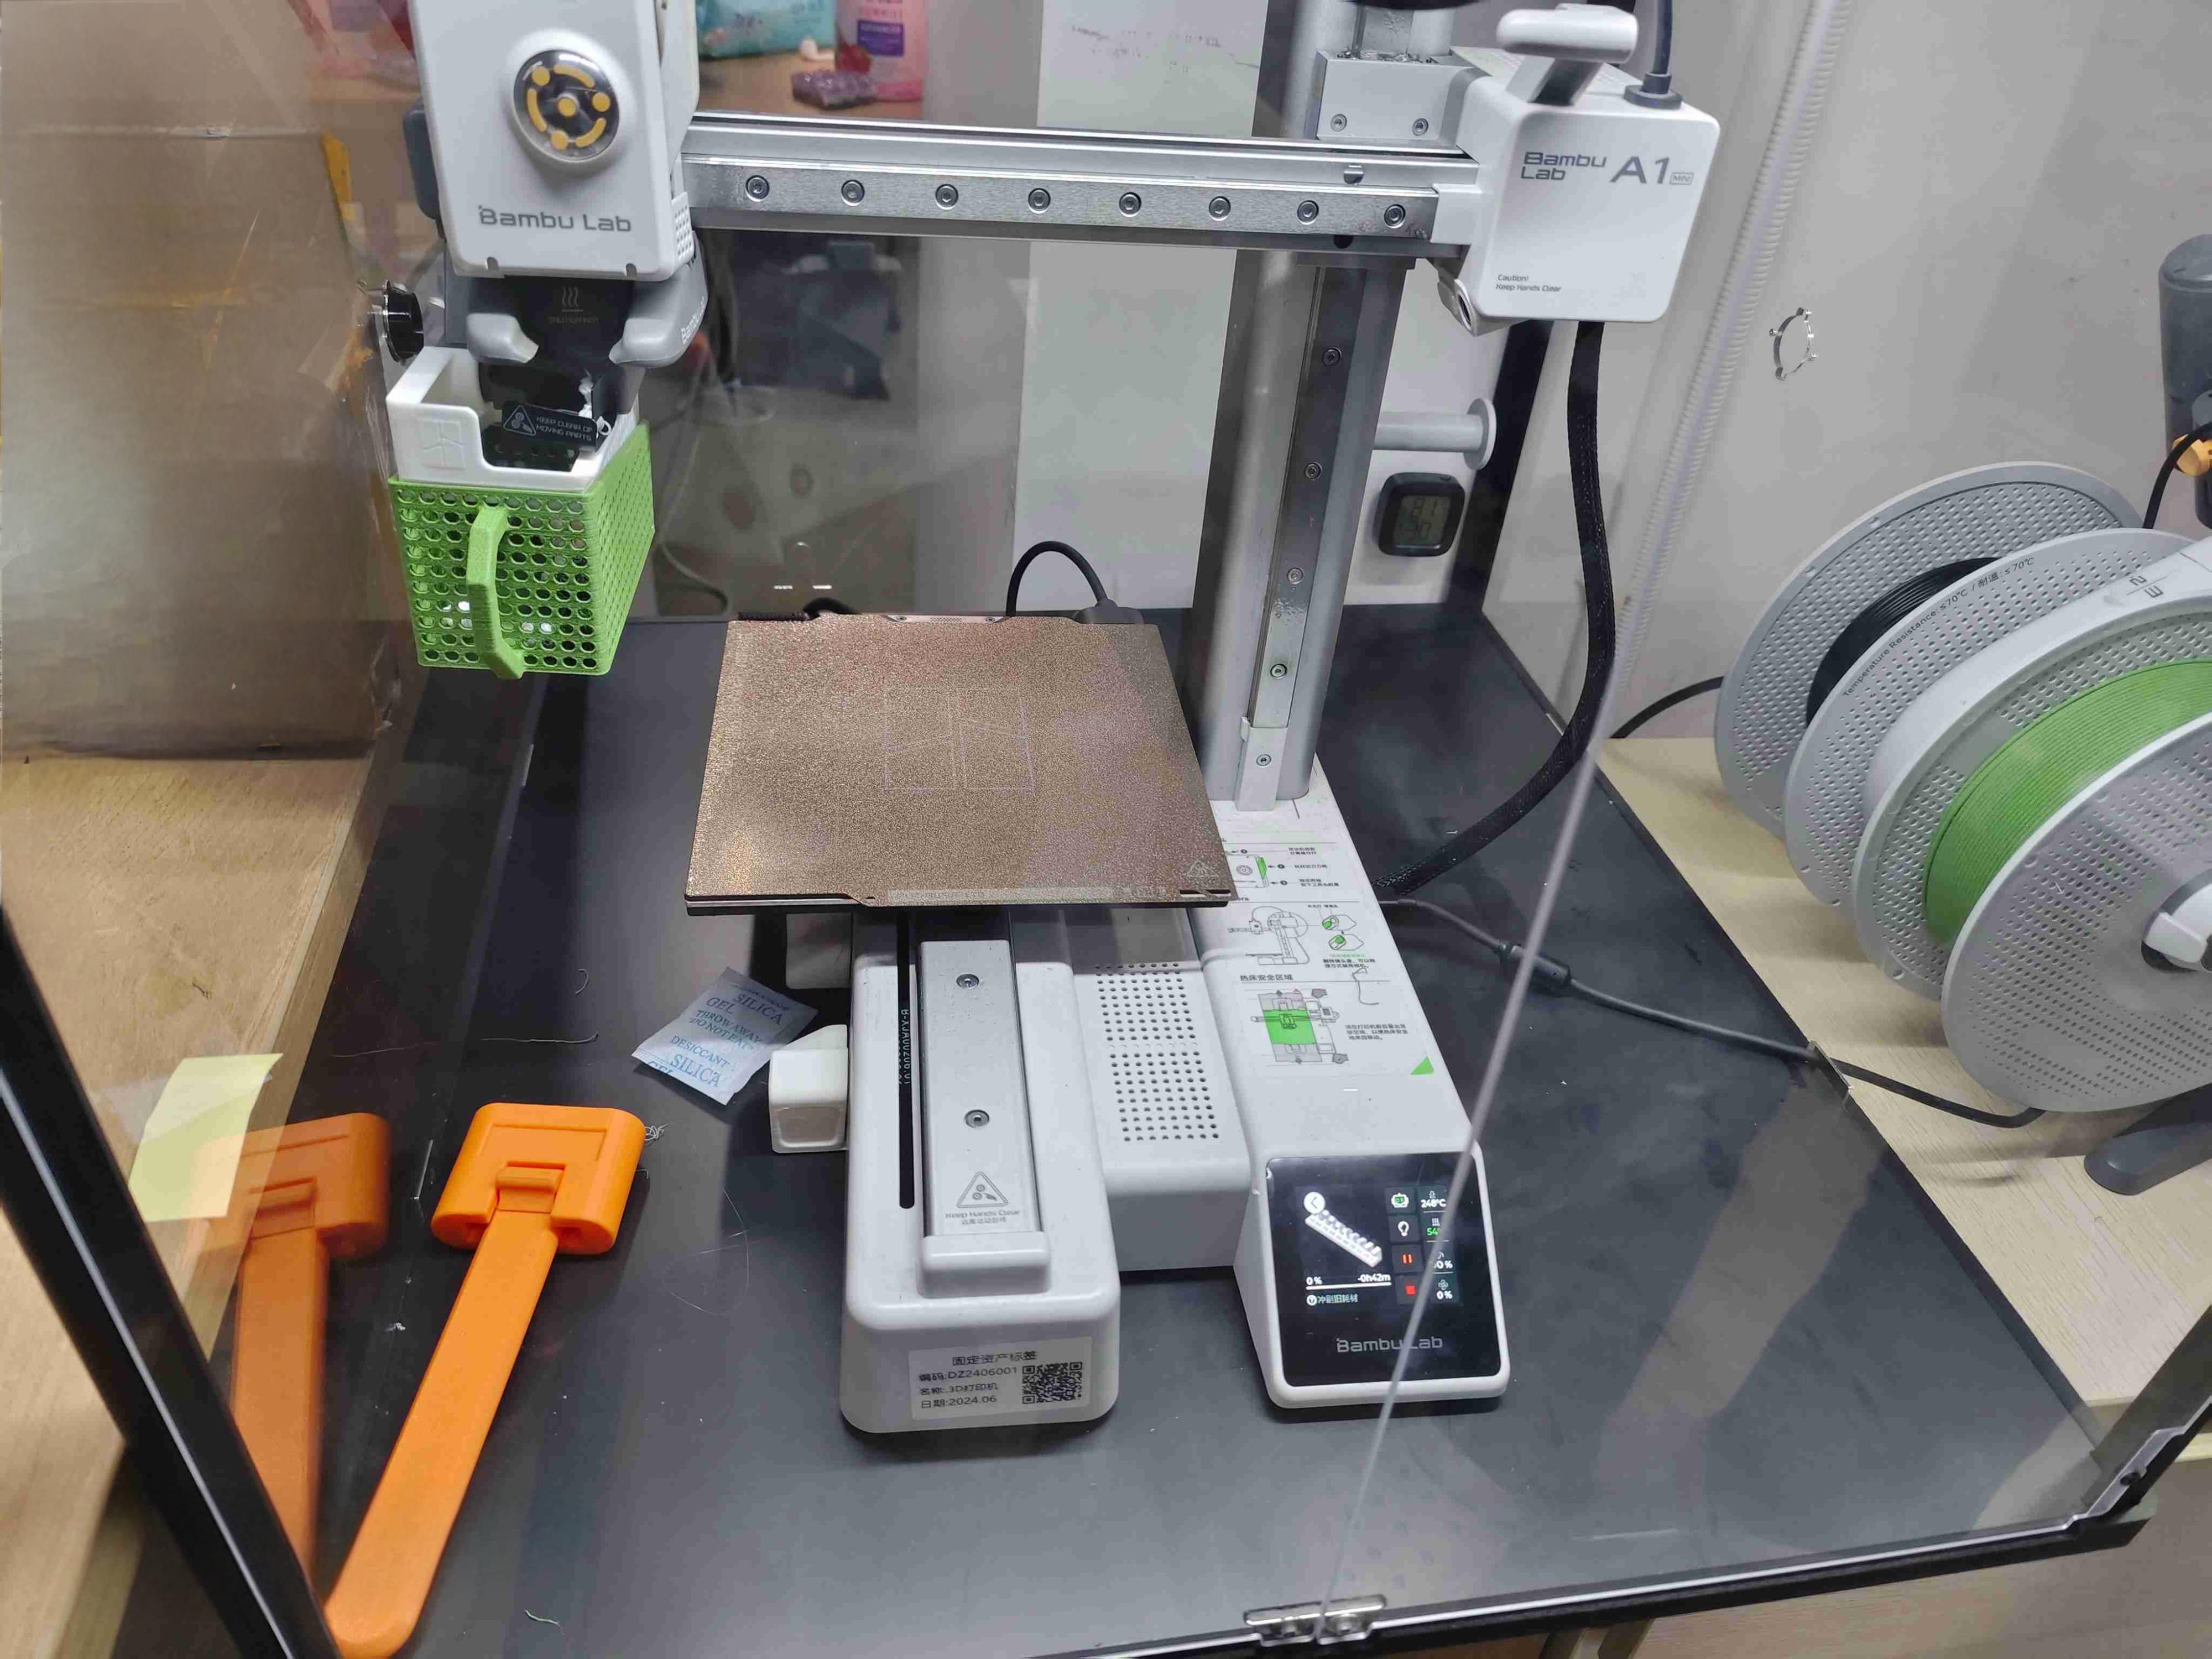
0.1.2 Filament
- Bambu PLA Basic: Stiff and reliable – ideal for precision tests.
- Bambu TPU95A: Flexible and soft – suitable for testing flexibility.
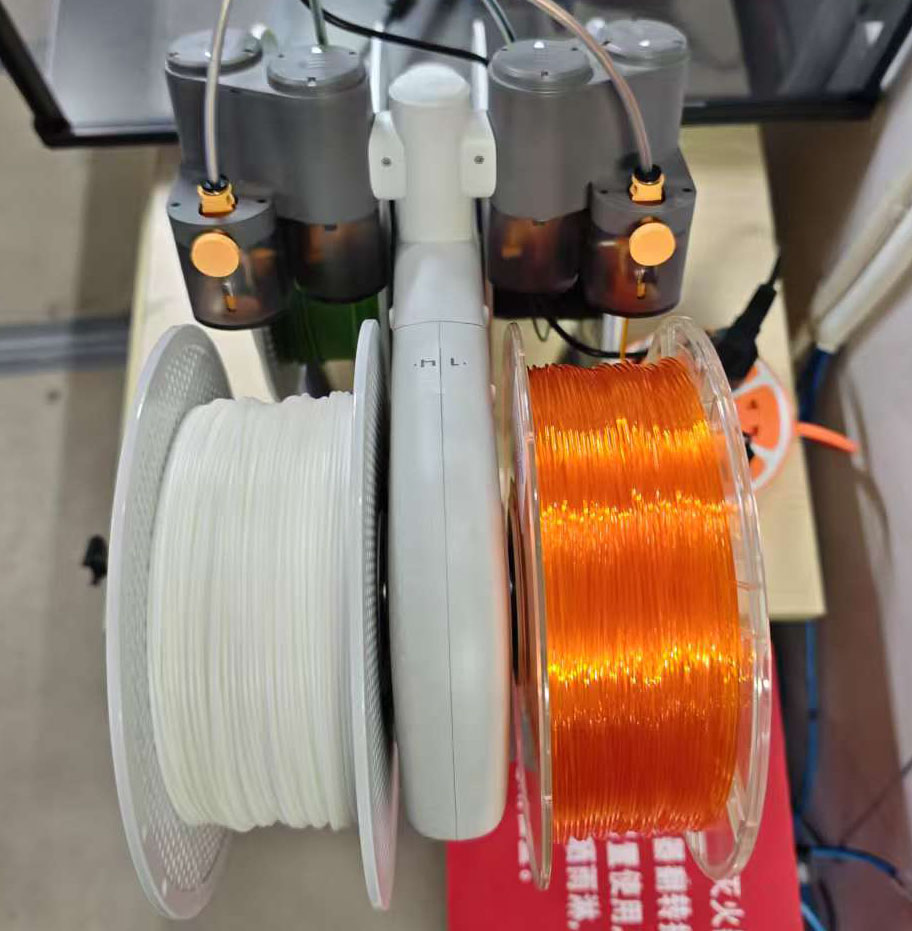
0.1.3 Software Prerequisites
We use Bambu Studio to print 3D files, as the software is optimized for the Bambu Lab A1 mini.
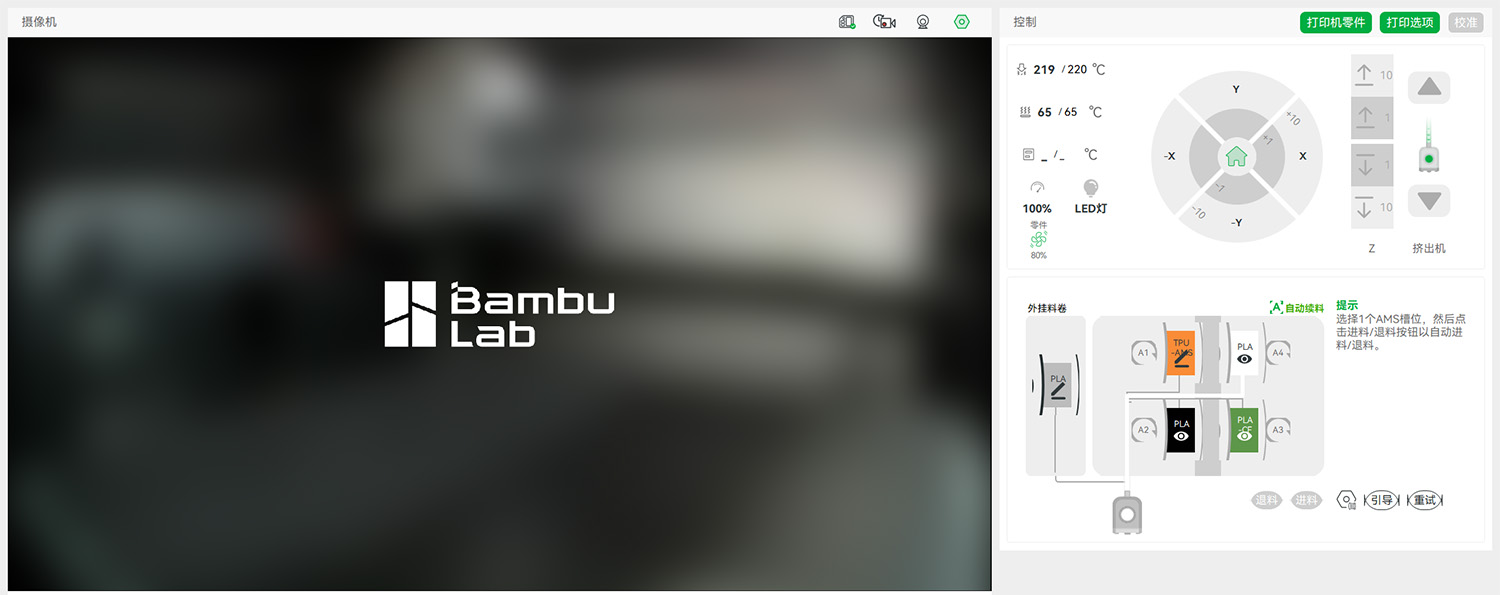
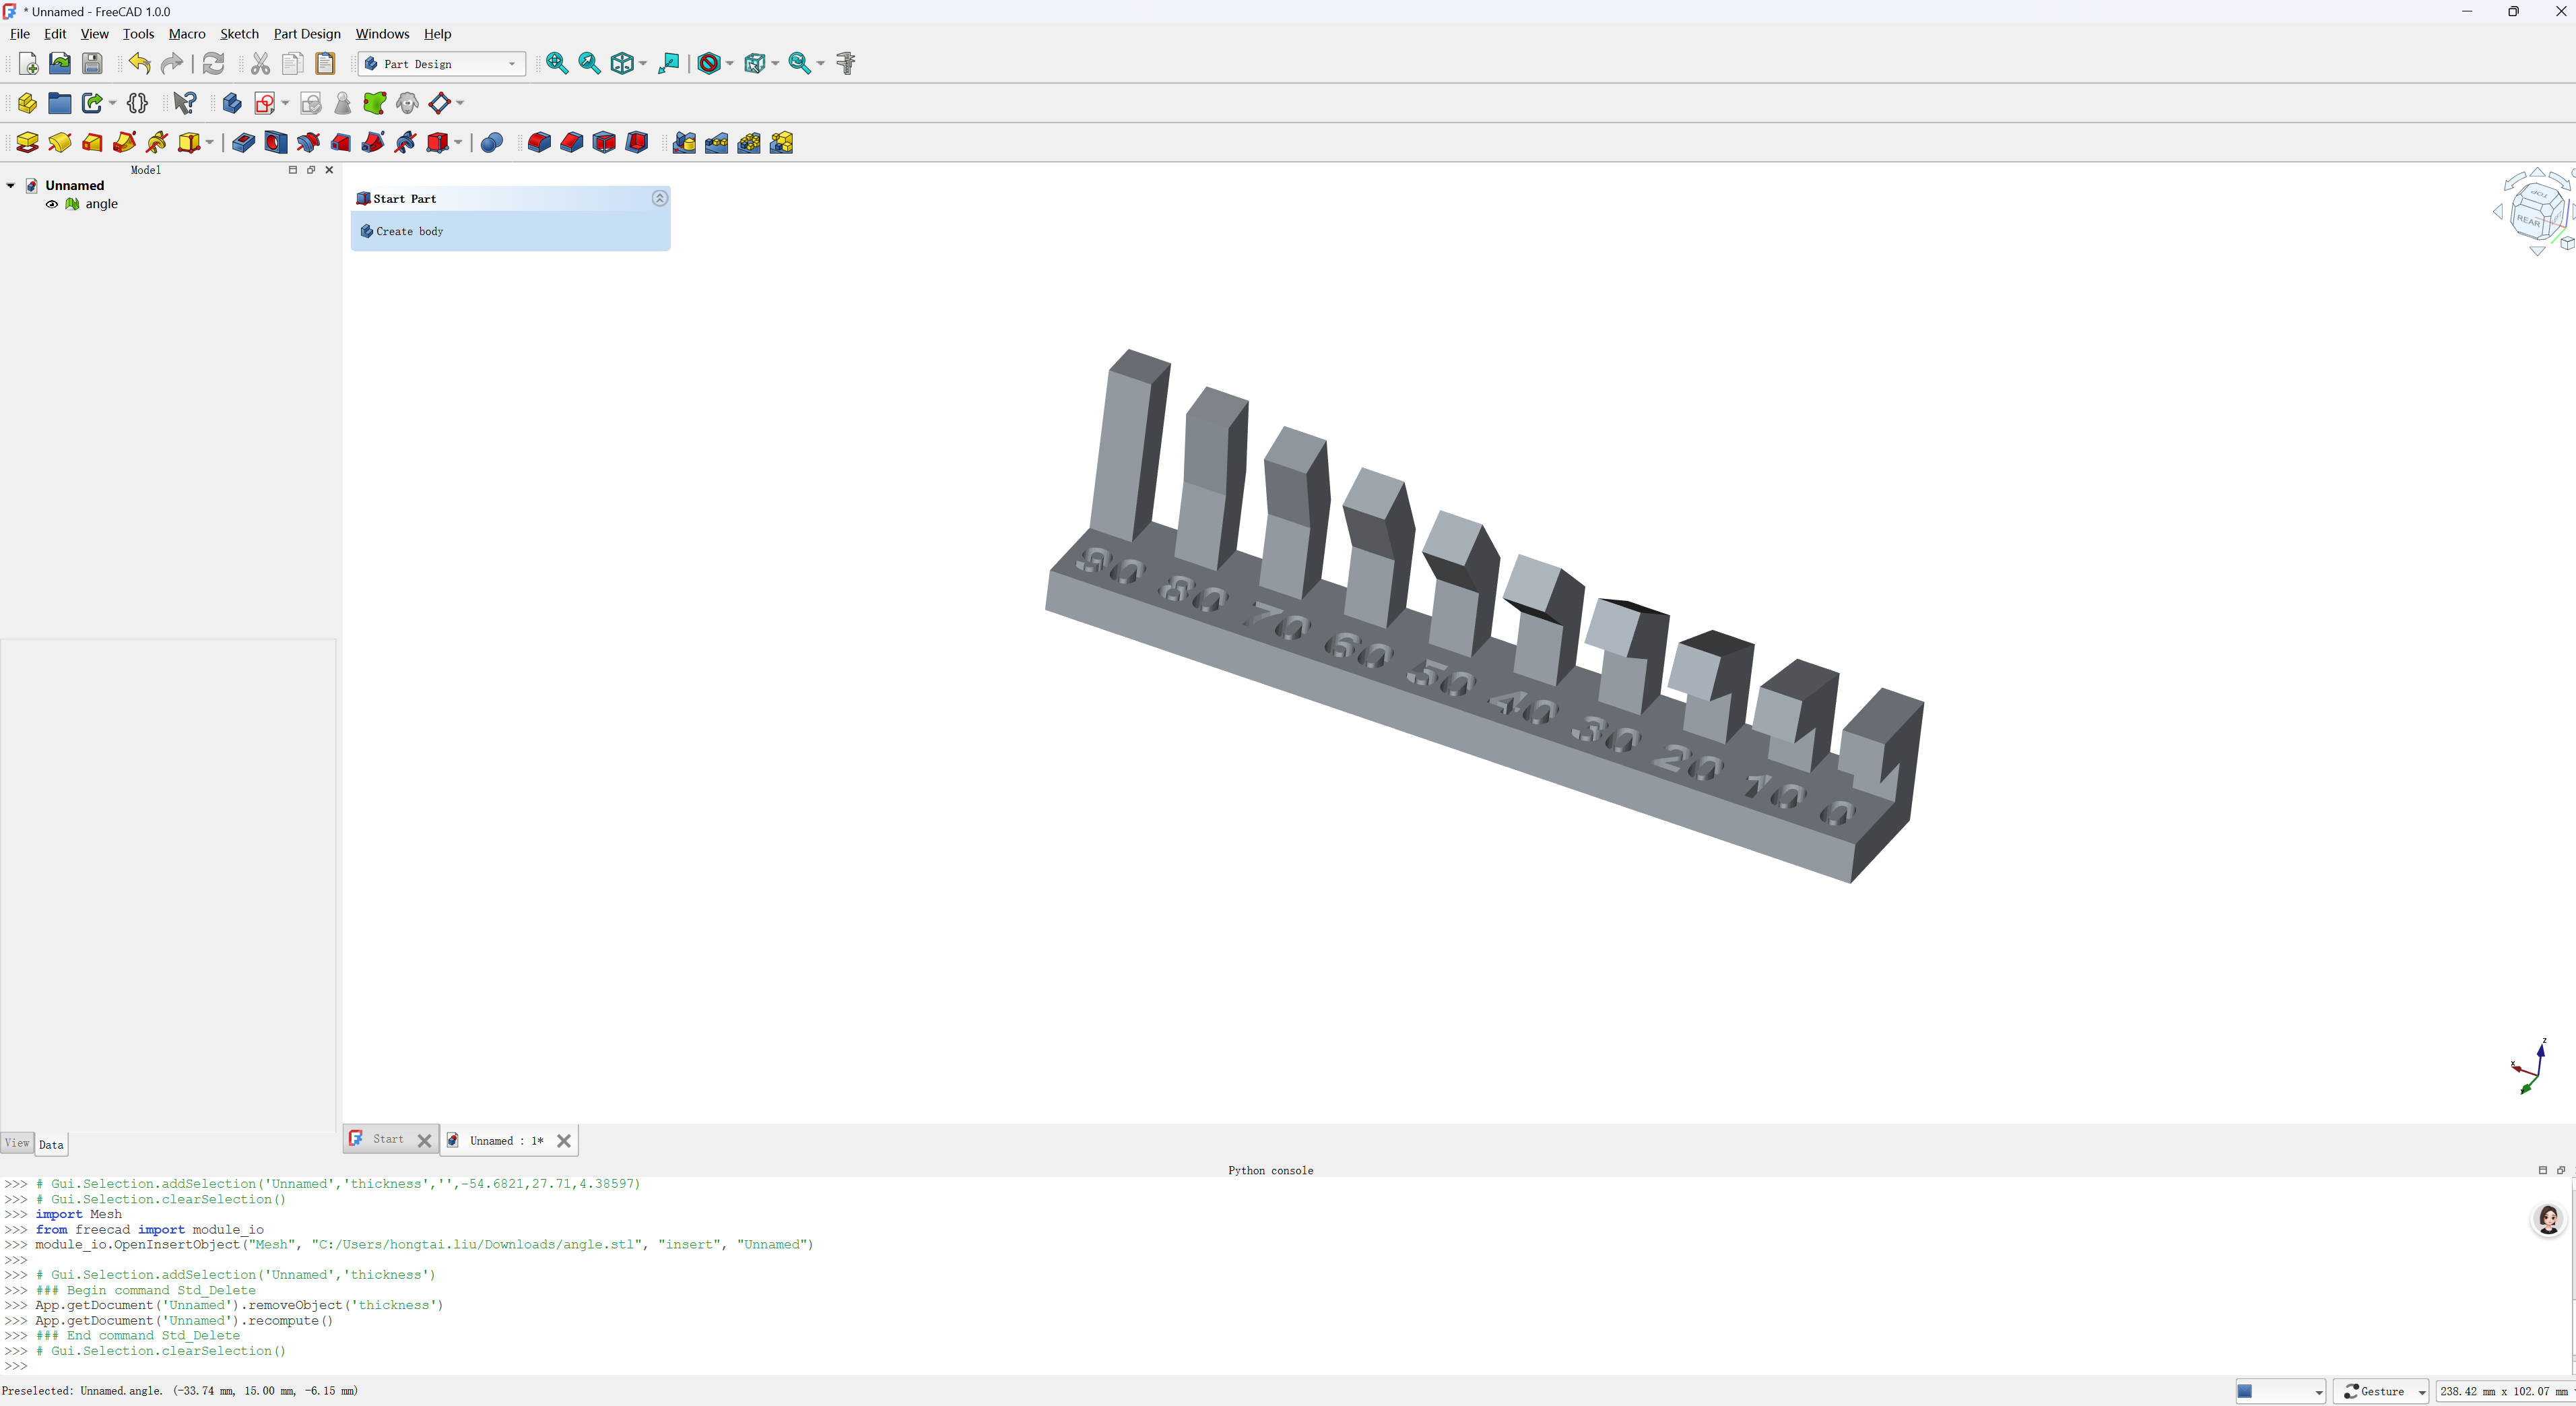
0.2 3D Design
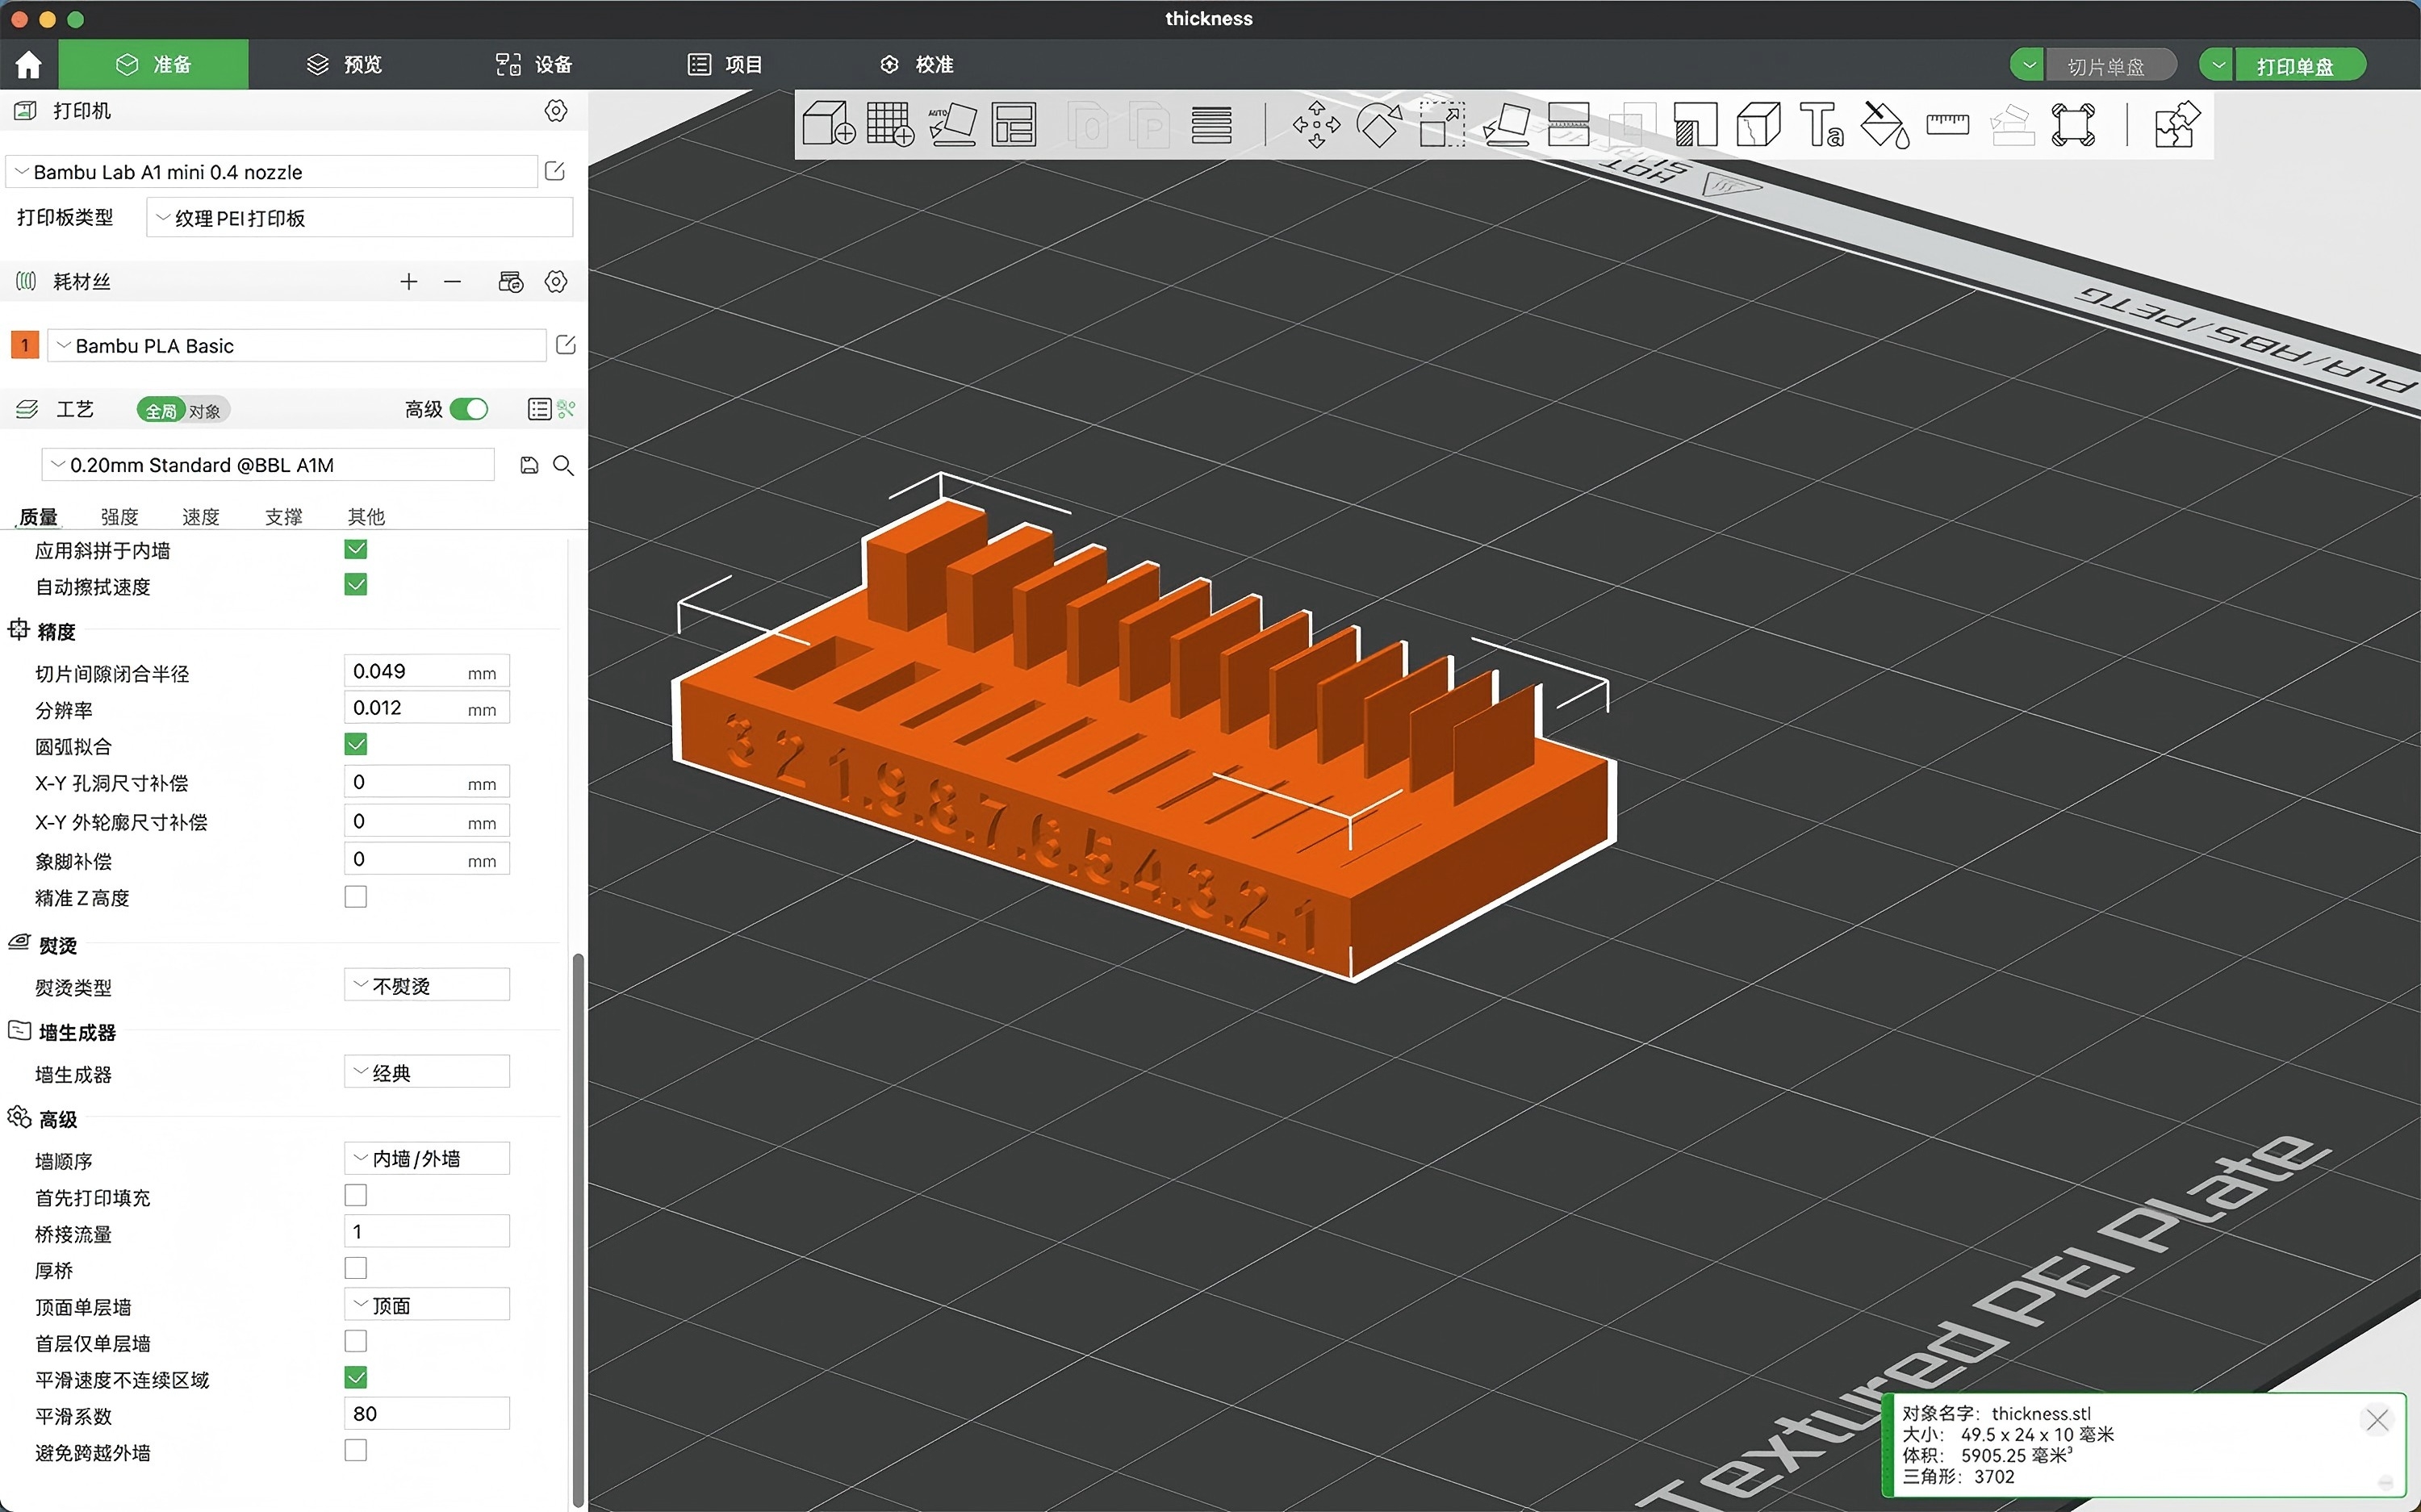
- Angle Test
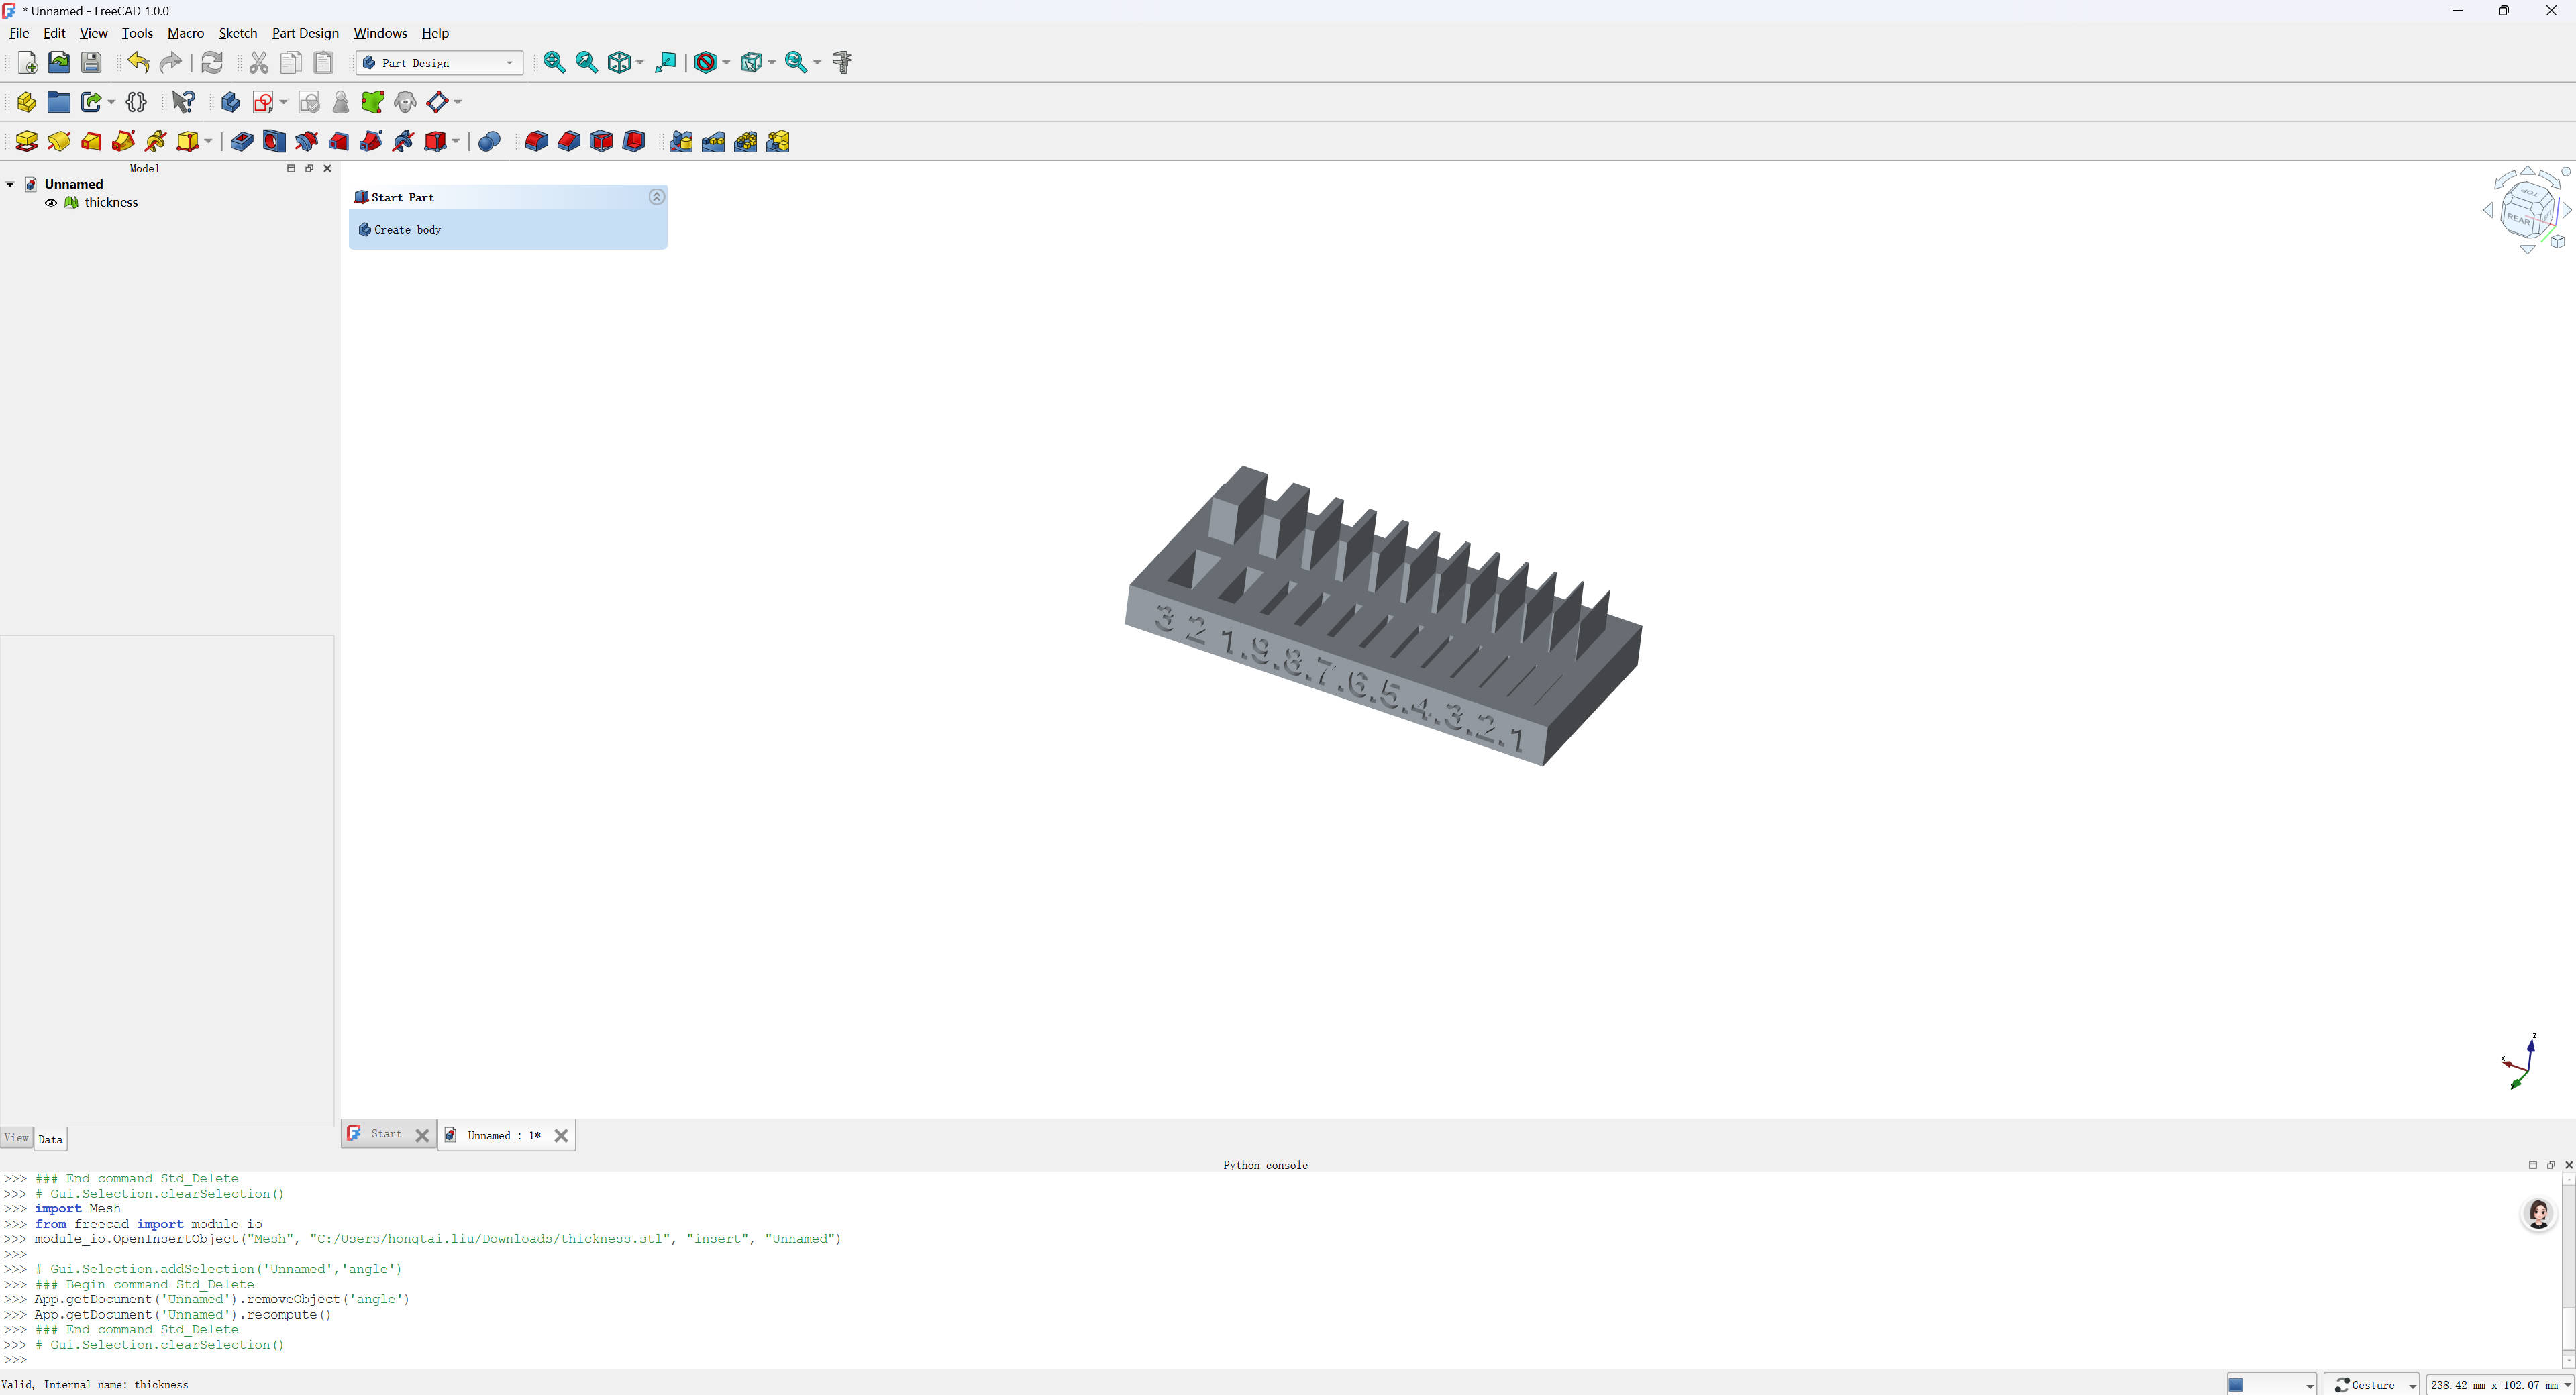
- Thickness Test
0.3 3D Printing
0.3.1 Preparation
- Ensure the Bambu Lab A1 mini is ready for printing:
- Check installation.
- Calibrate the bed.
- Clean the print sheet.
- Load the filament.
- Download the 3D test files.
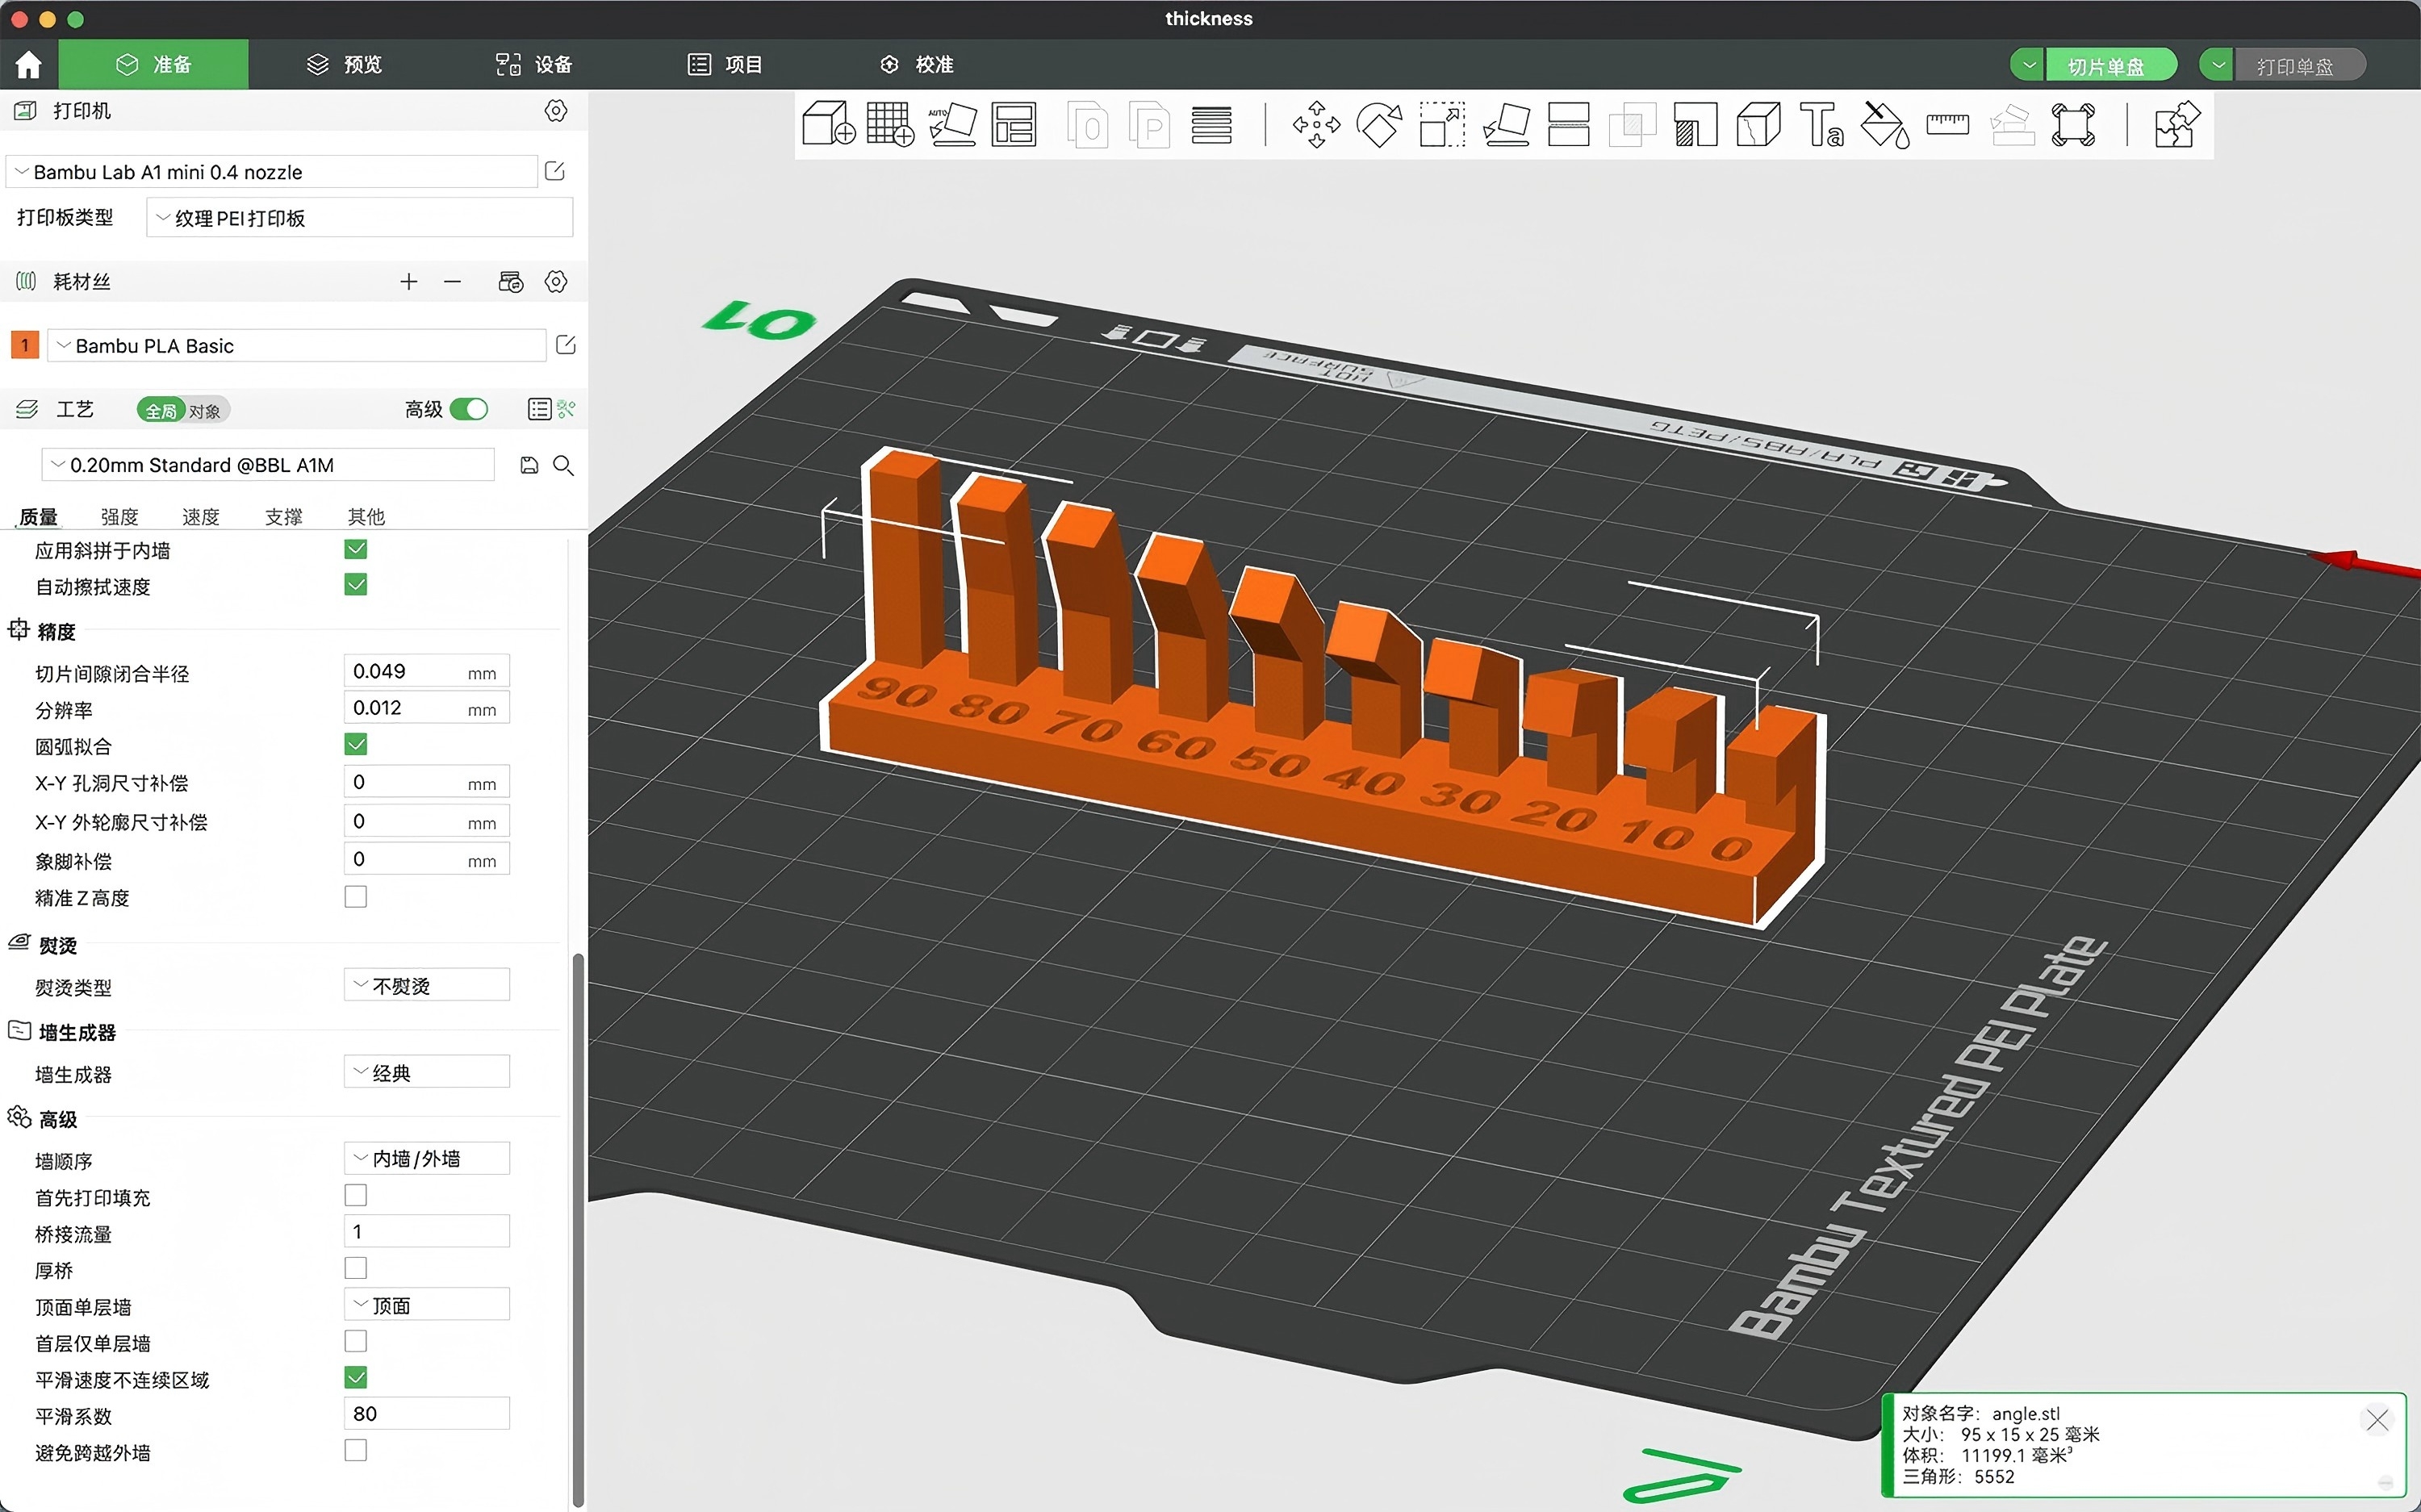
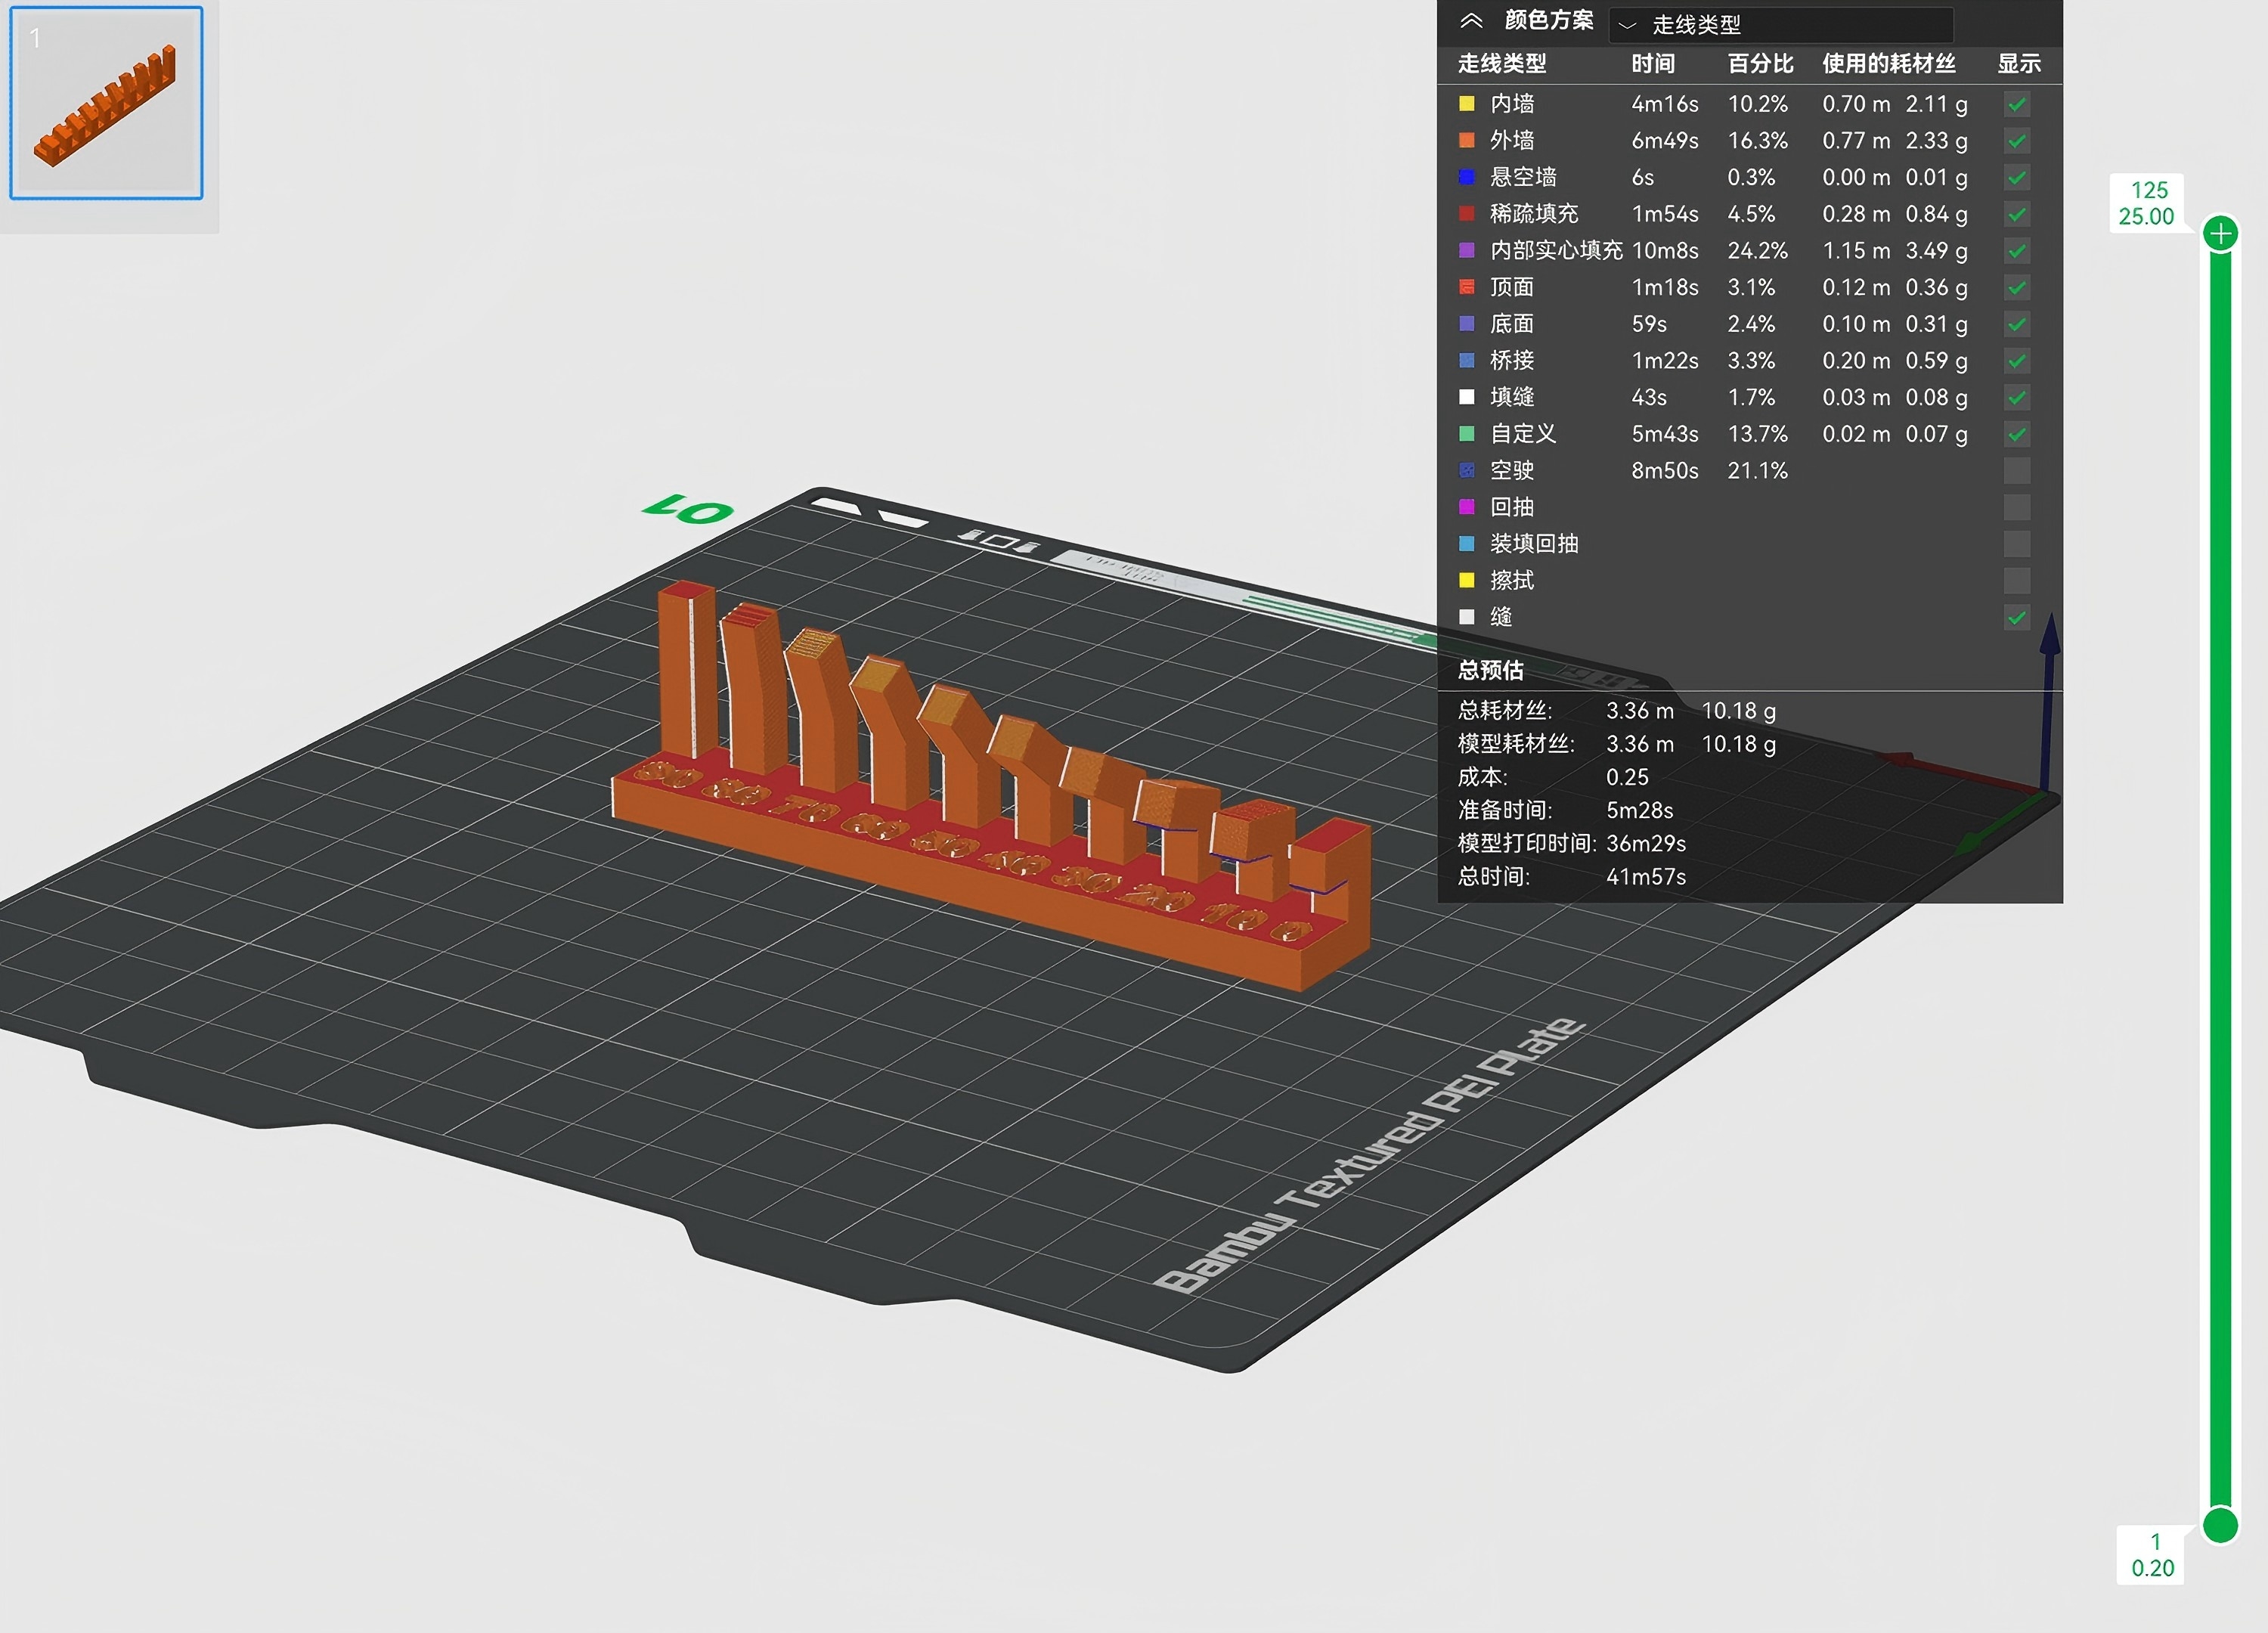
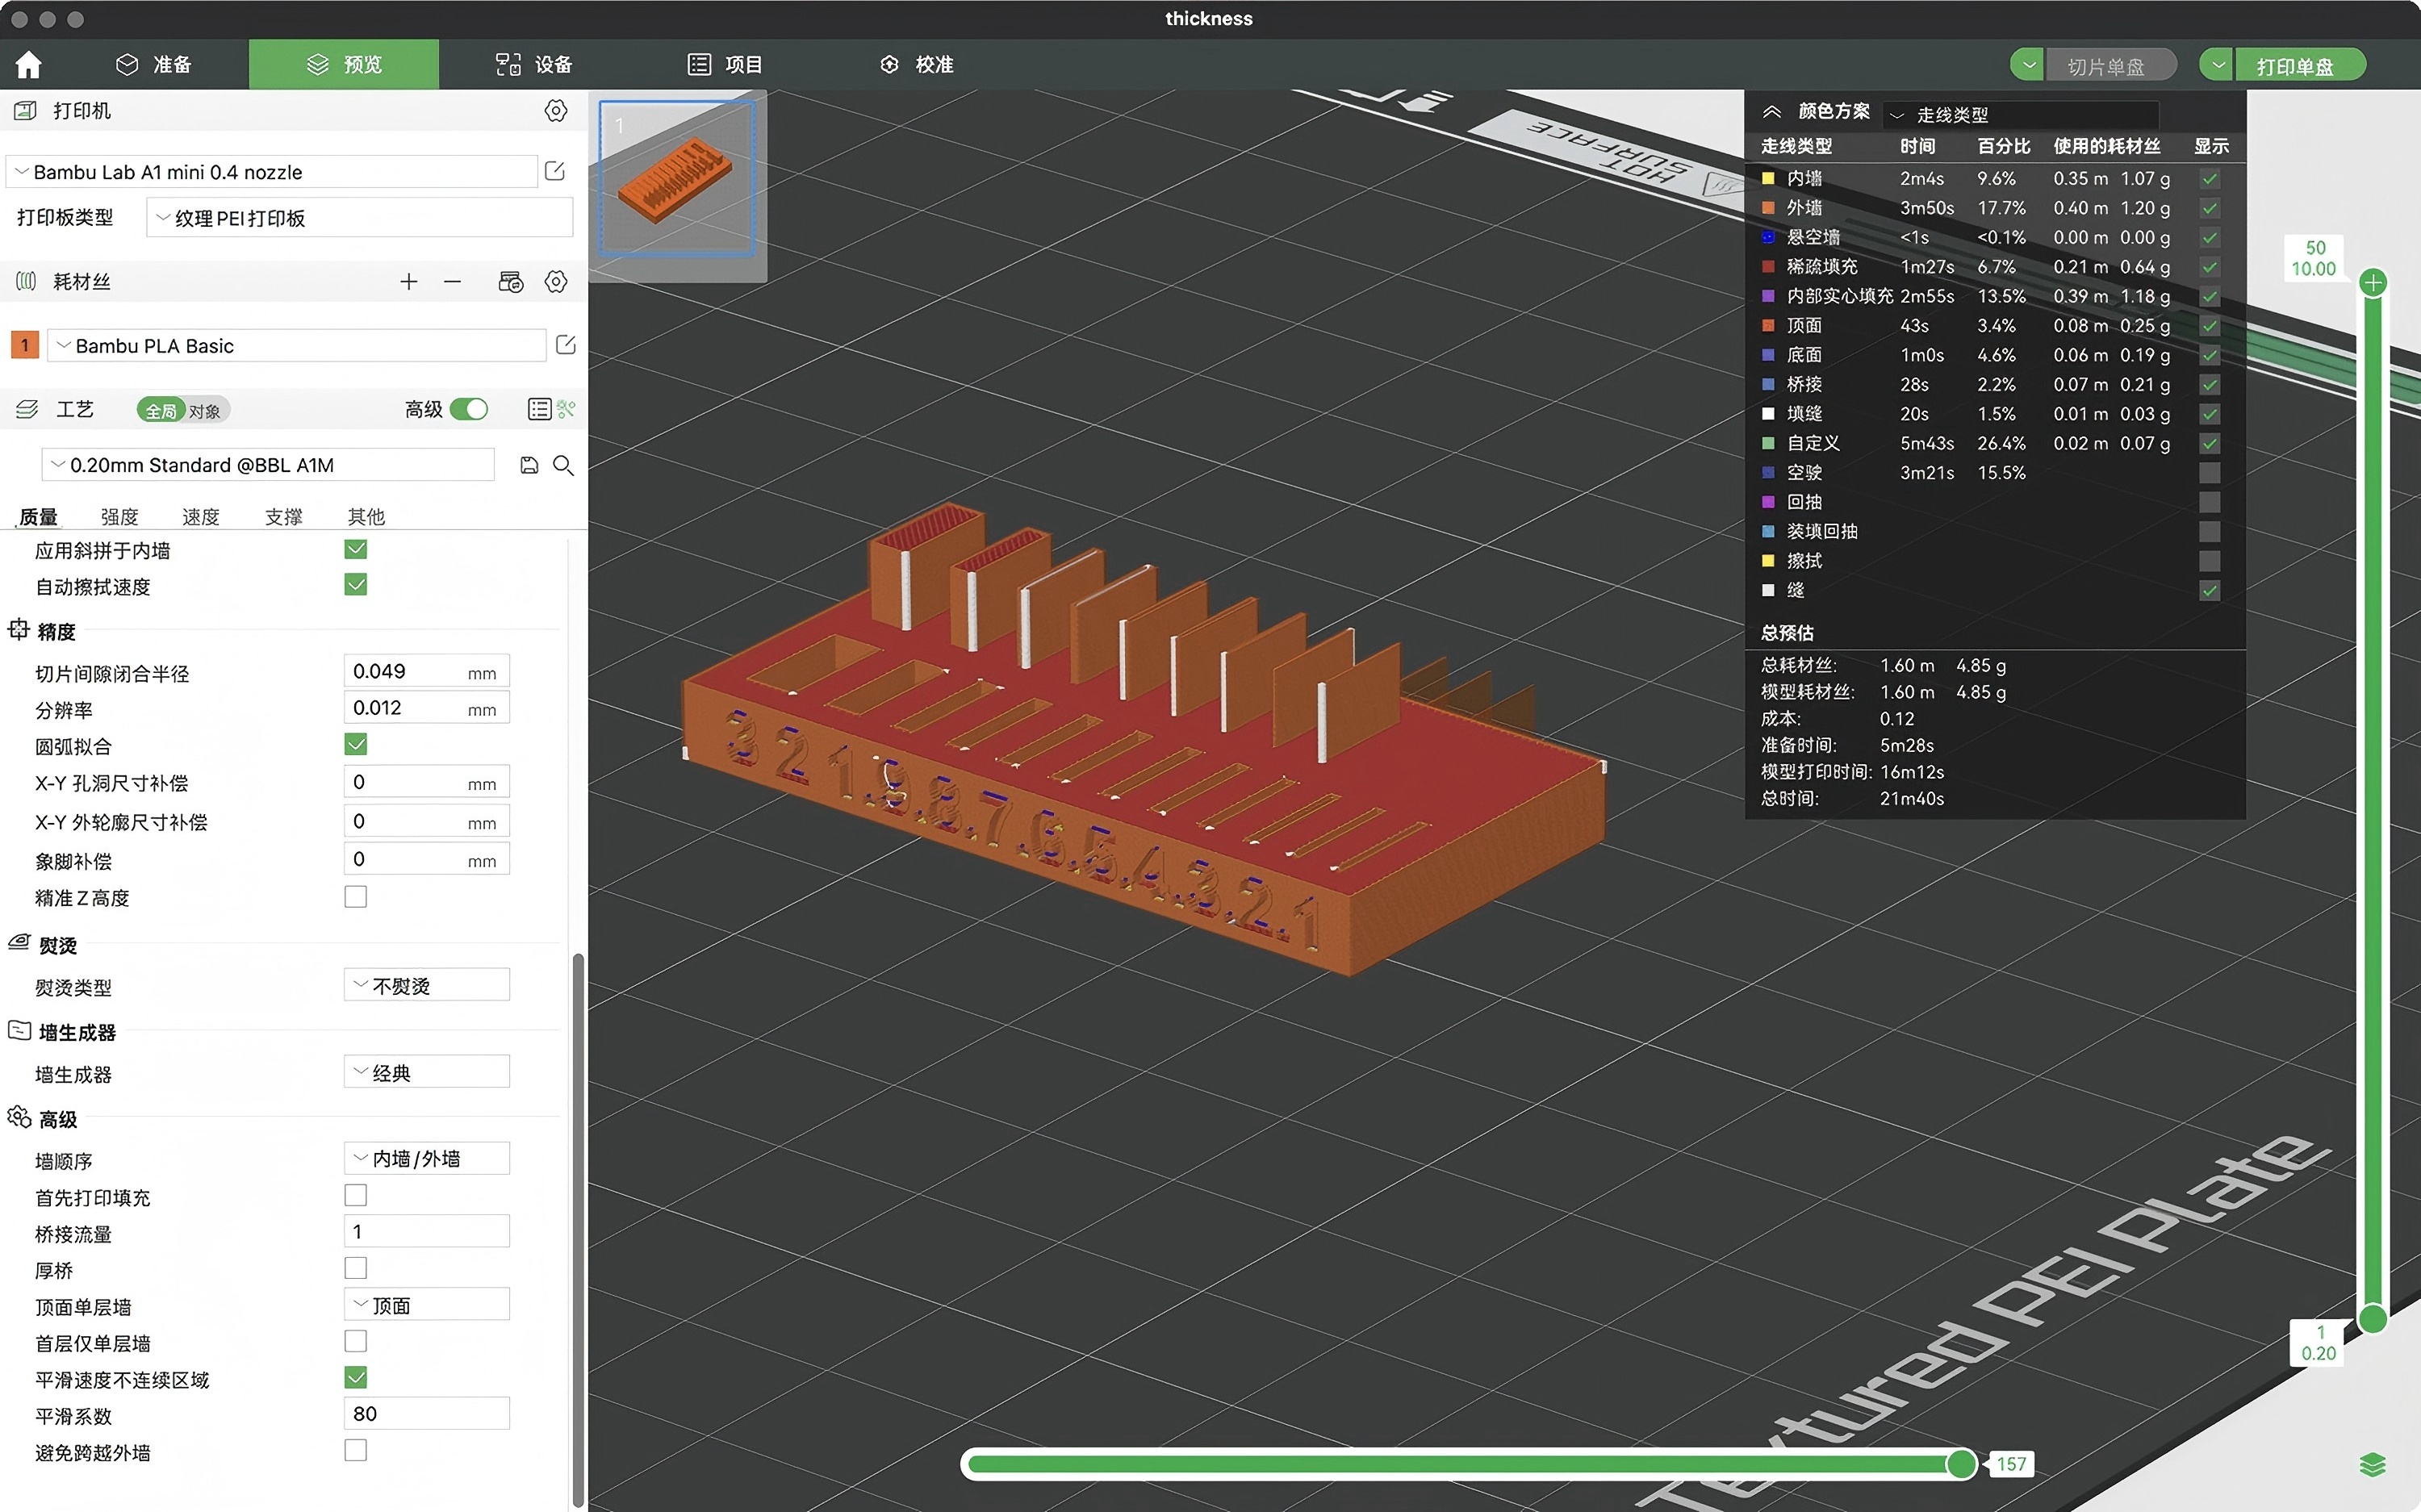
0.3.2 Printer Settings
0.3.2.1 PLA Basic Settings
- Layer Height: 0.2 mm
- Fill Density: 20%
- Print Speed: 50 mm/s
- Nozzle Temperature: 200°C (recommended for Bambu PLA)
- Bed Temperature: 60°C
- Supports: Disabled (Test for No Support Performance)
- First Layer Settings:
- Speed: 20 mm/s
- Height: 0.25 mm
0.3.2.2 TPU95A Settings
- Layer Height: 0.2 mm
- Fill Density: 15% (Flexible material reduces fill)
- Print Speed: 30 mm/s (TPU requires slower speeds)
- Nozzle Temperature: 220°C (recommended for Bambu TPU95A)
- Bed Temperature: 40°C (no need for high-temperature bed for TPU)
- Supports: Disabled
- First Layer Settings:
- Speed: 15 mm/s
- Height: 0.3 mm (for better adhesion)
0.3.3 Print
- Load the 3D file into the printer.
- Start the print.
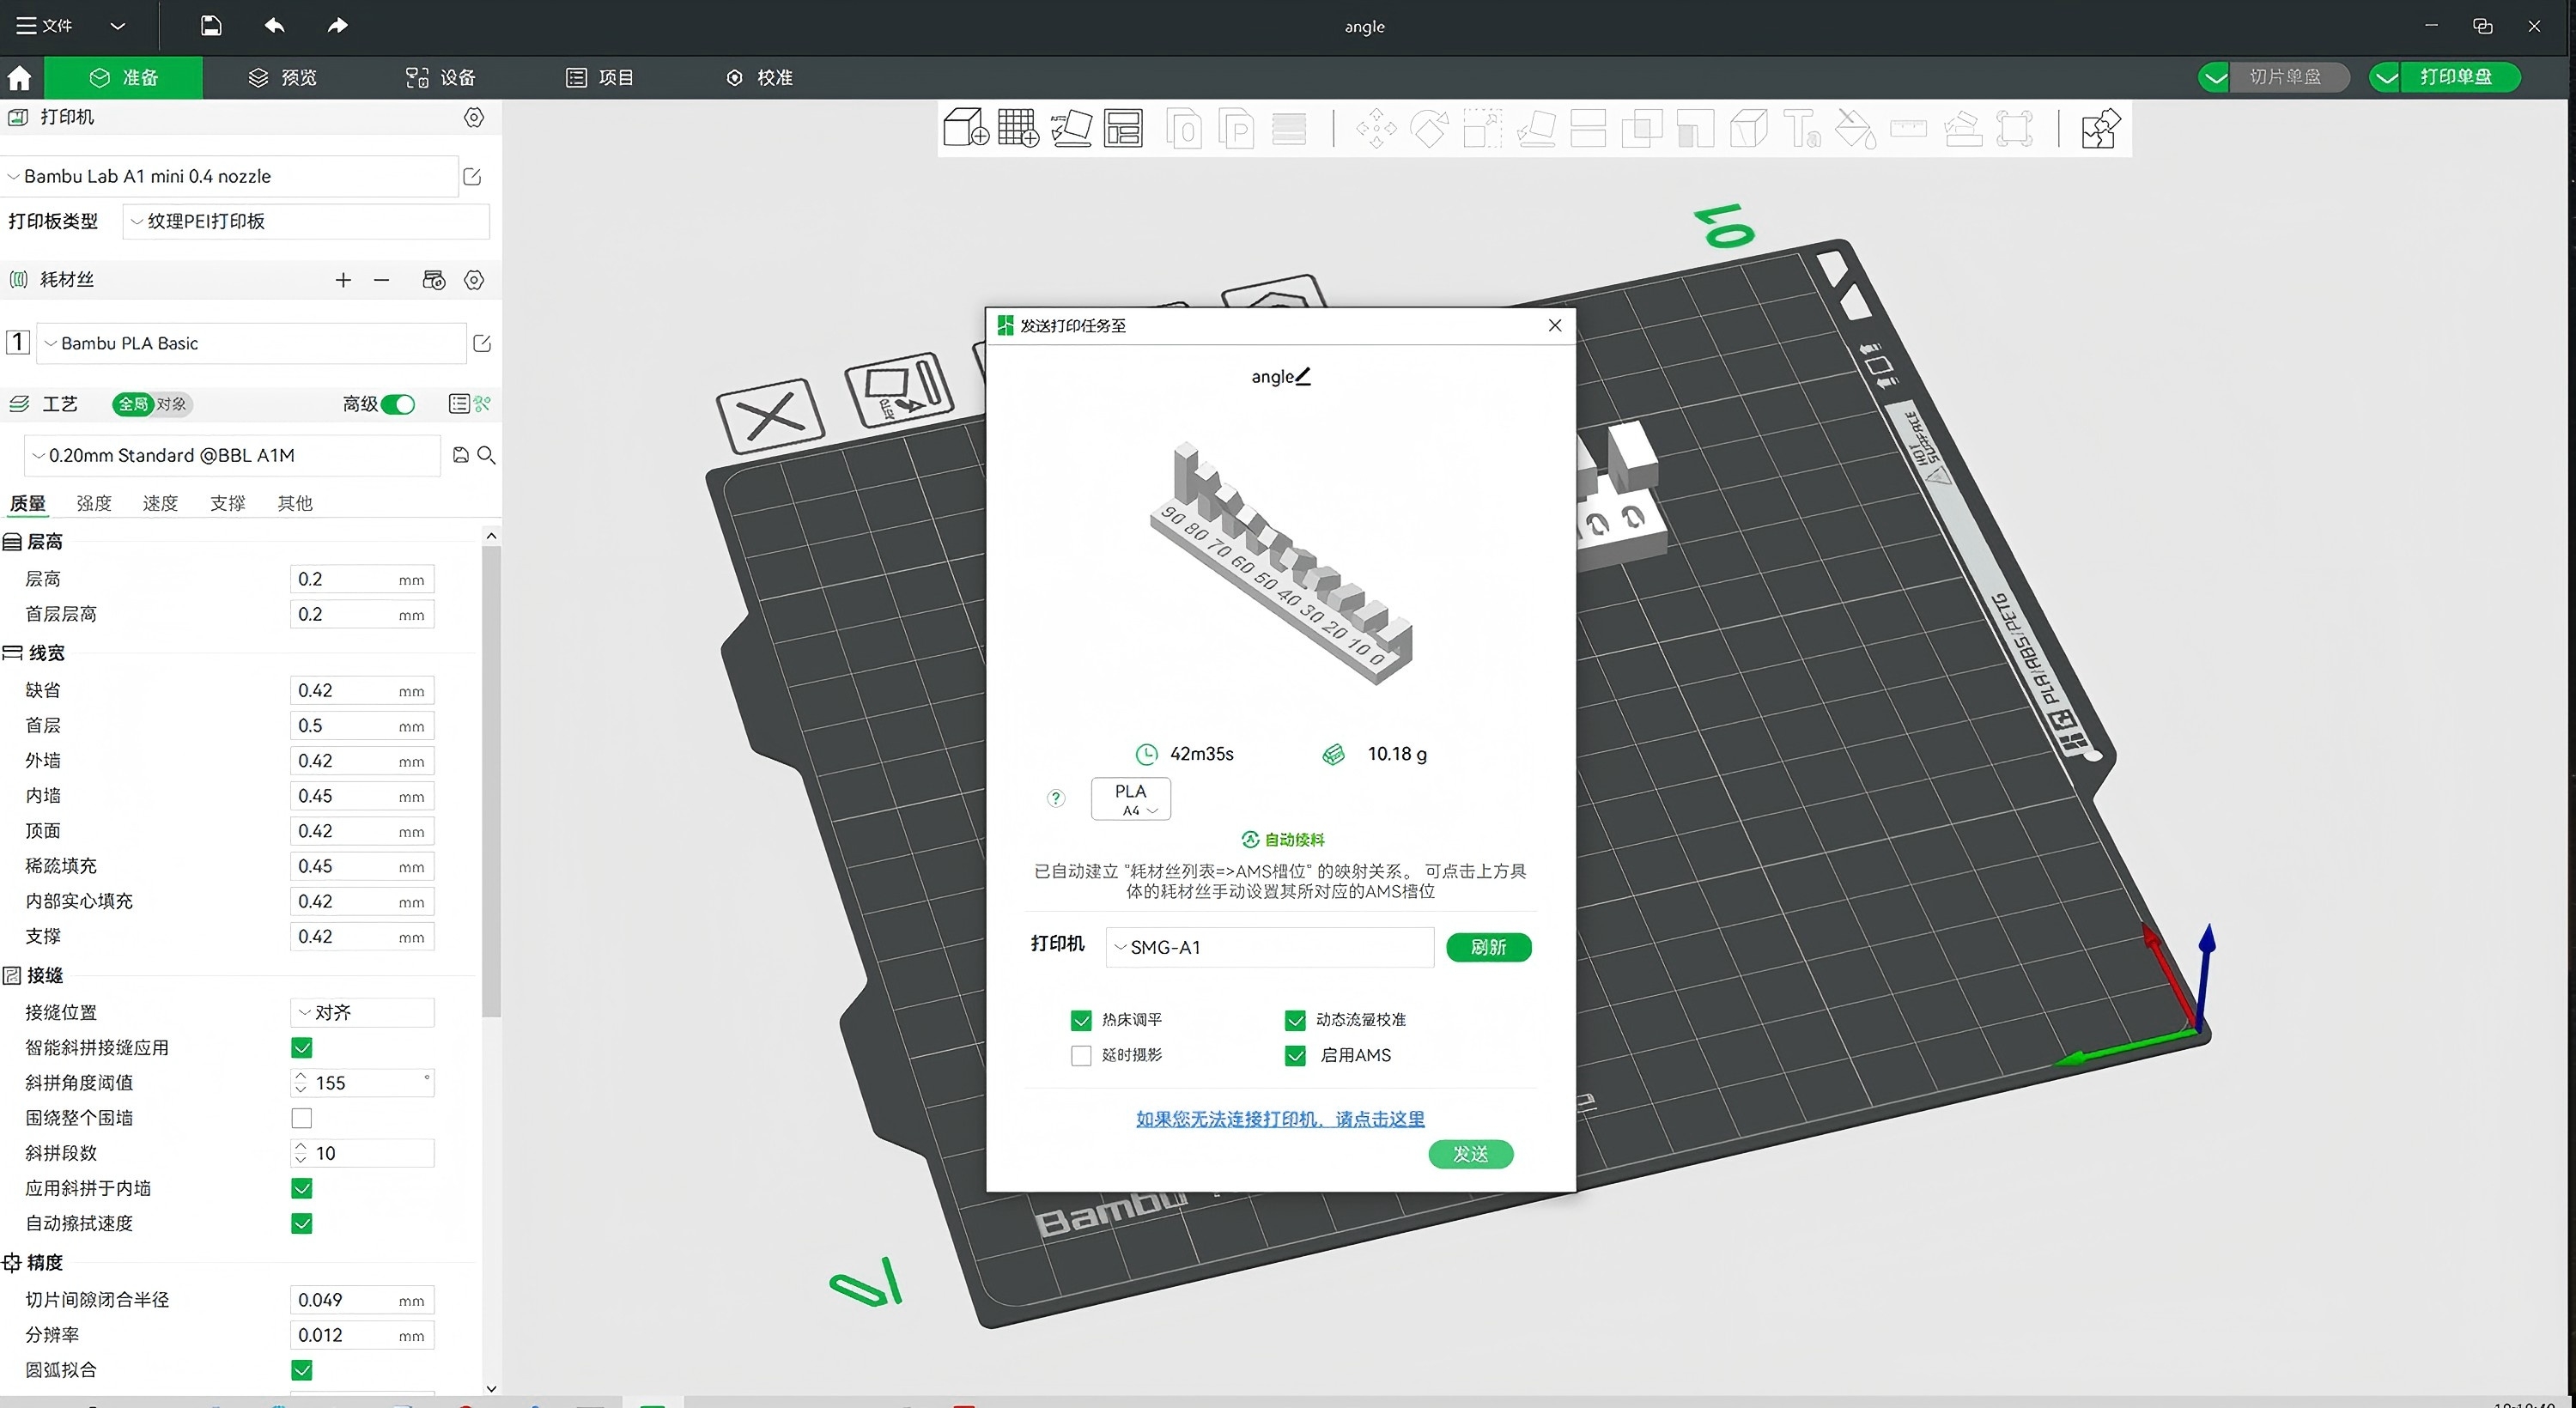
0.3.3.1 Angle Test
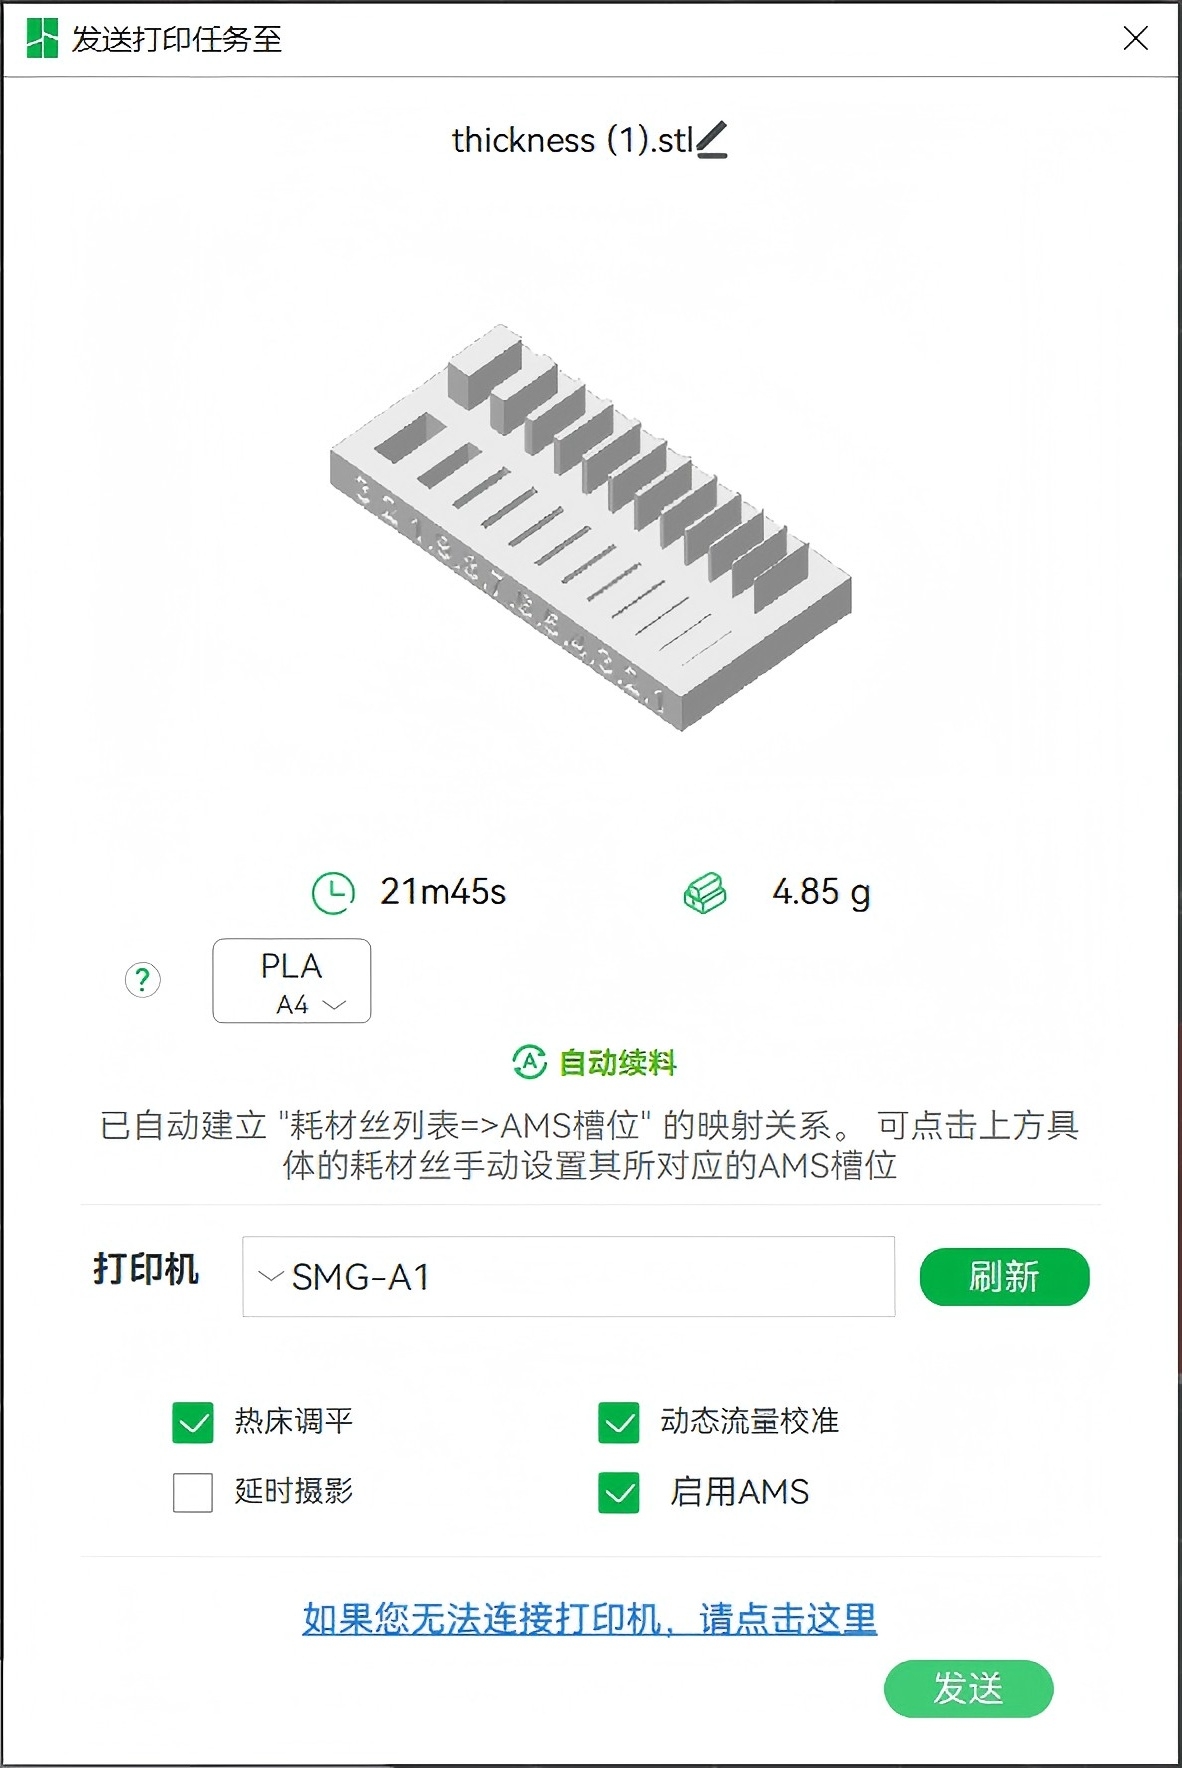
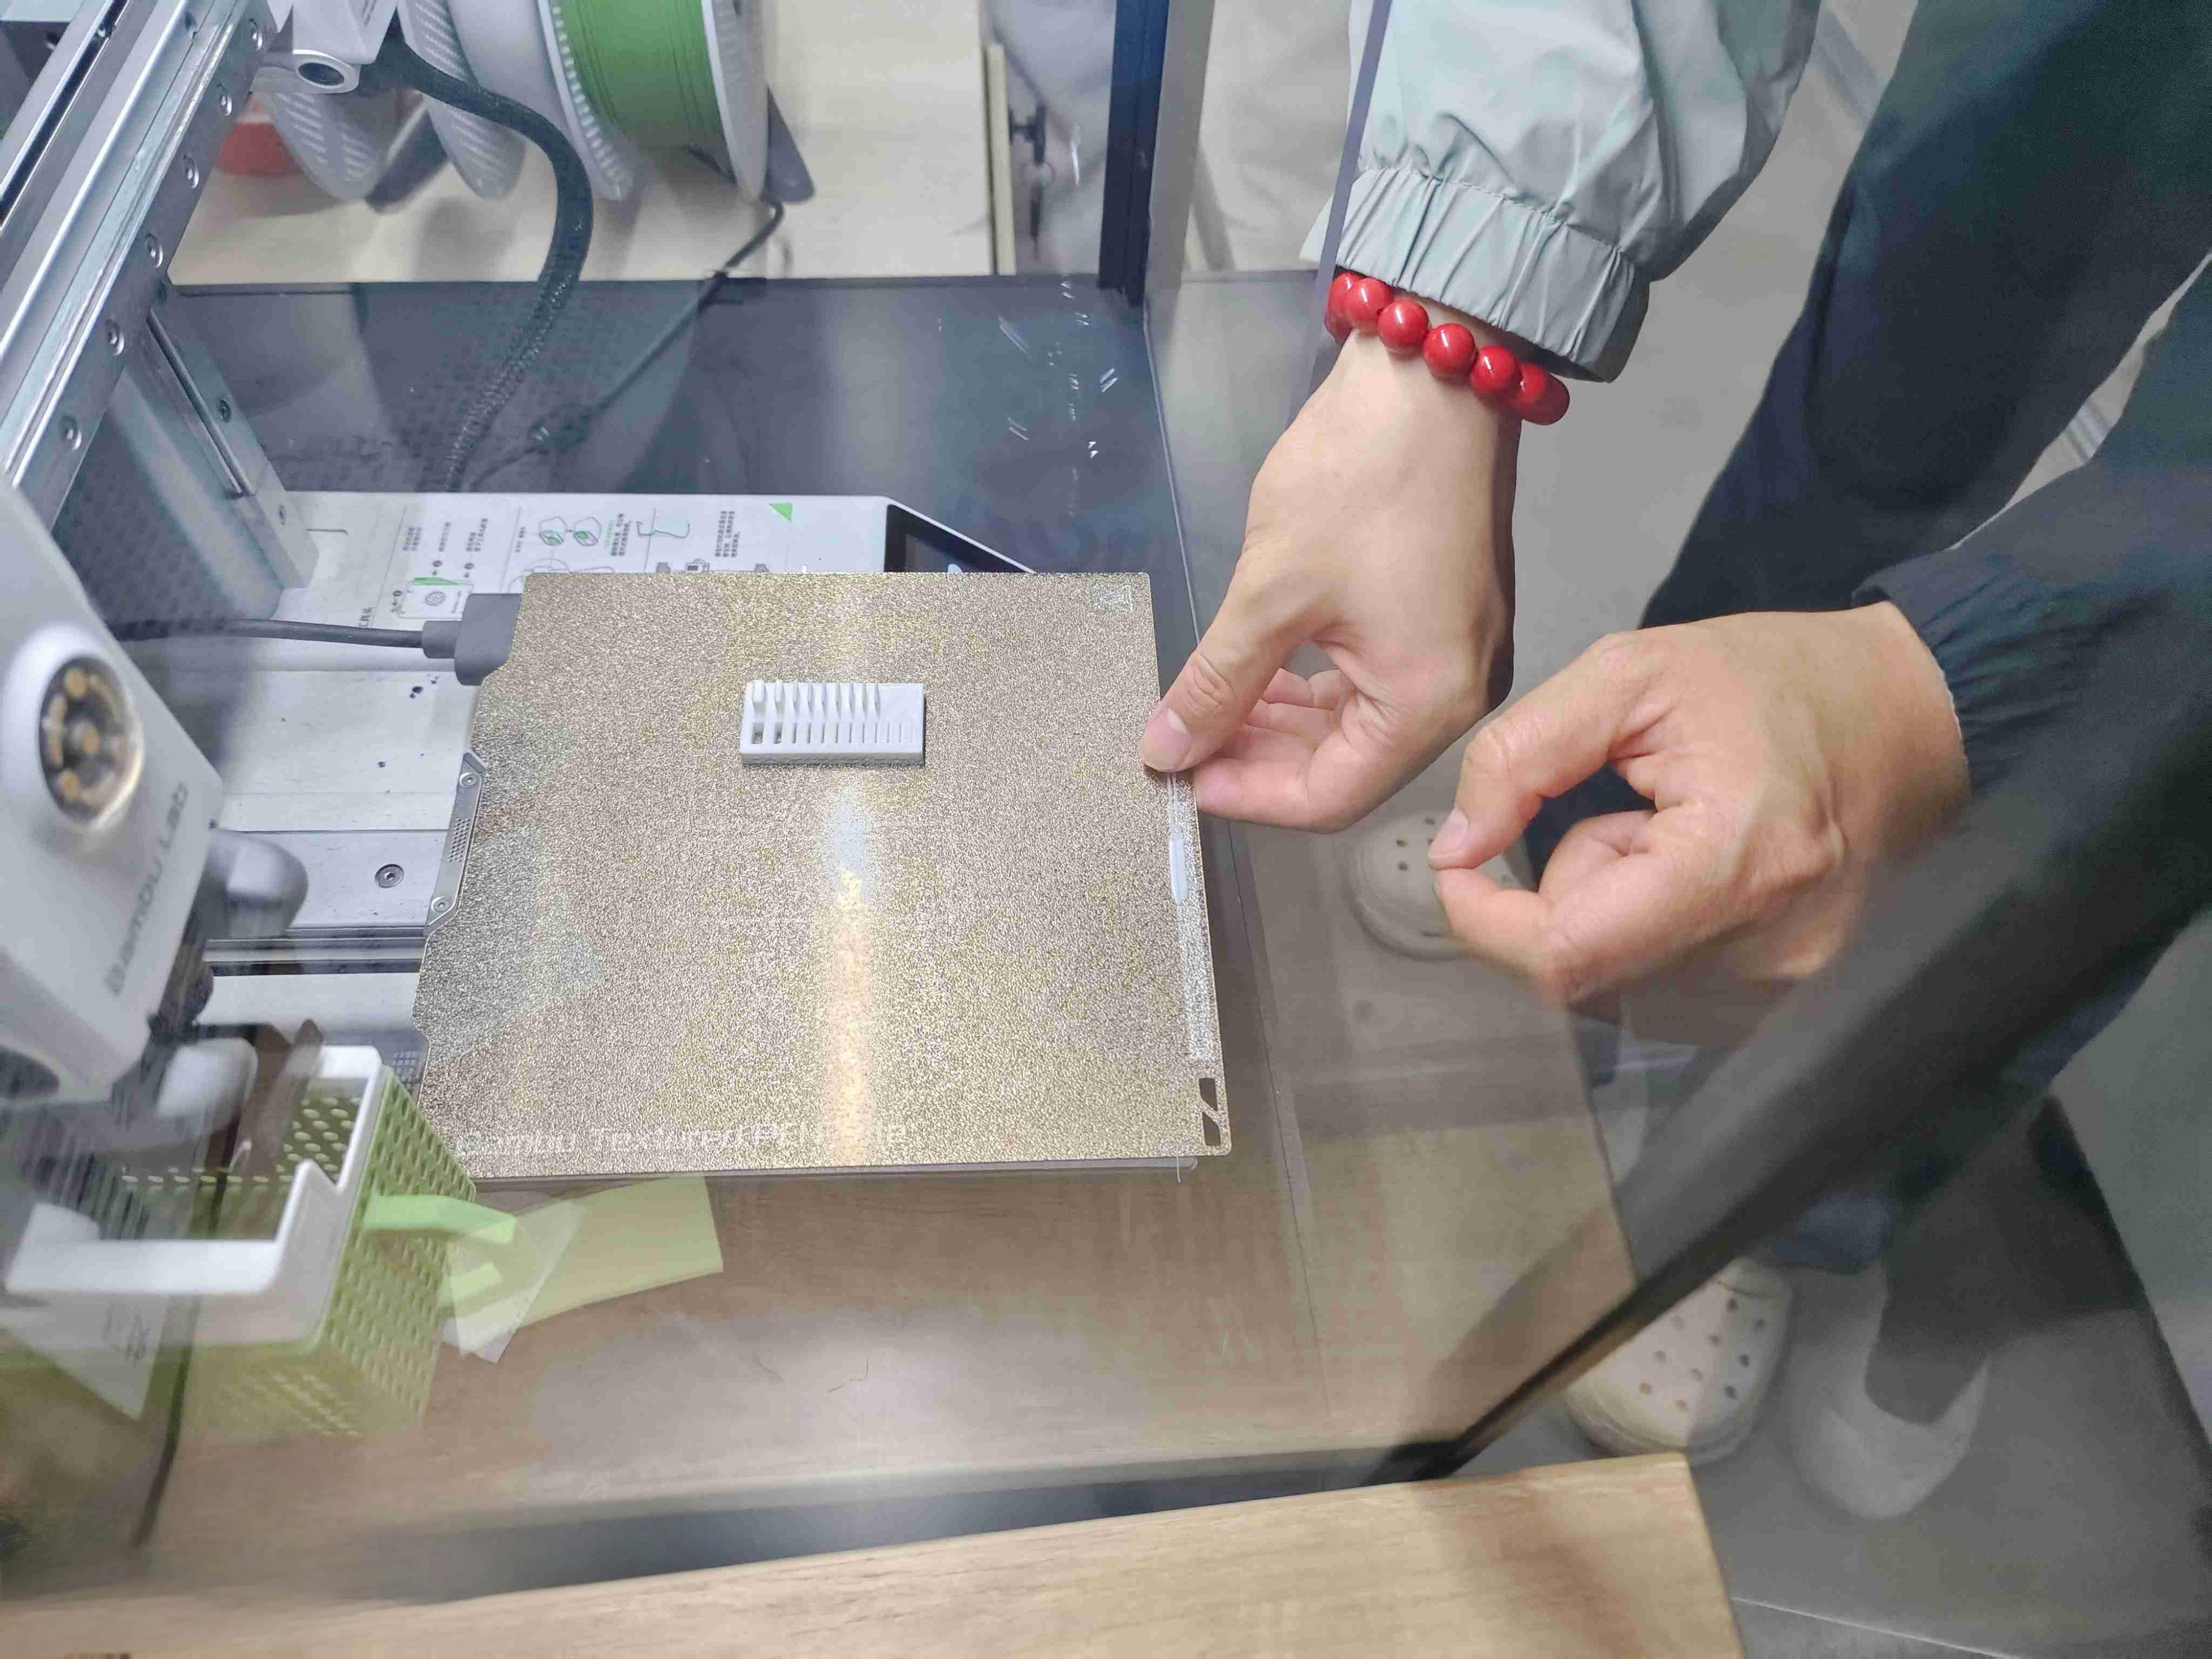
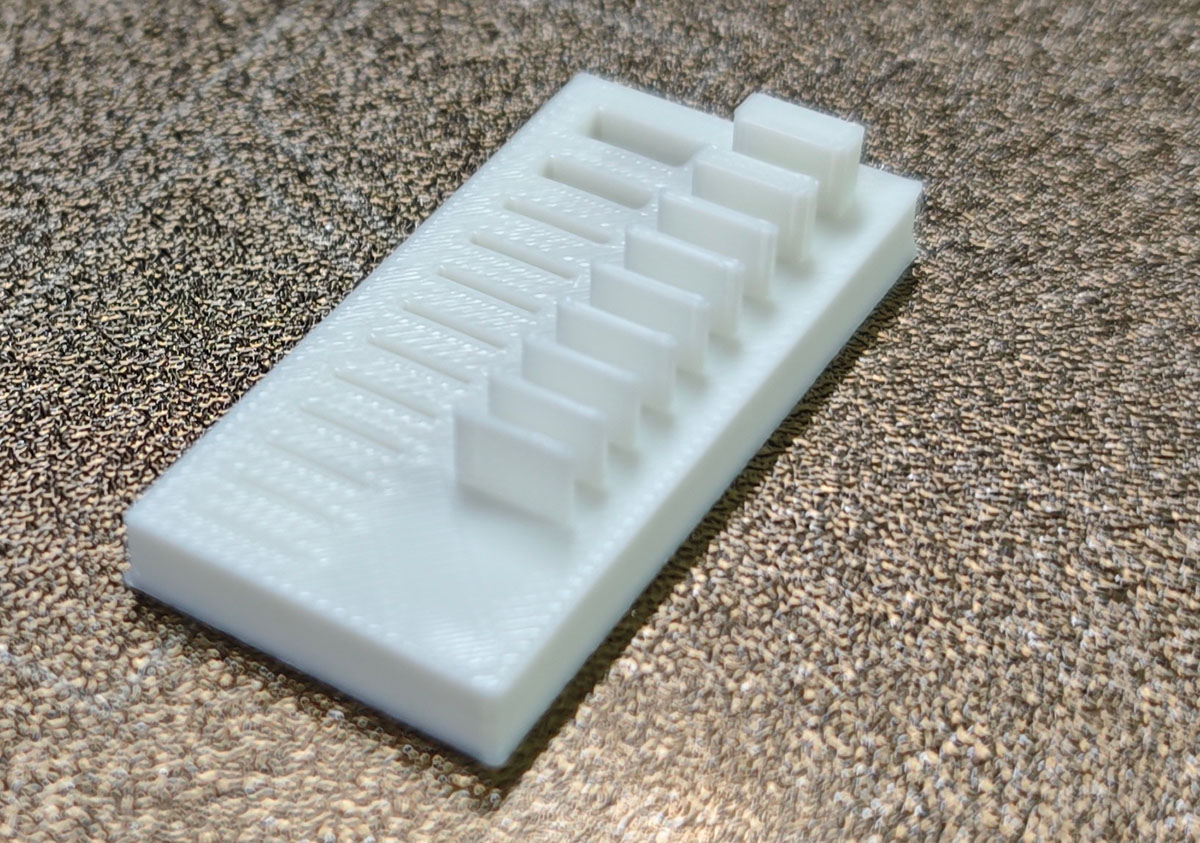
0.3.3.2 Thickness Test
0.4 Conclusion
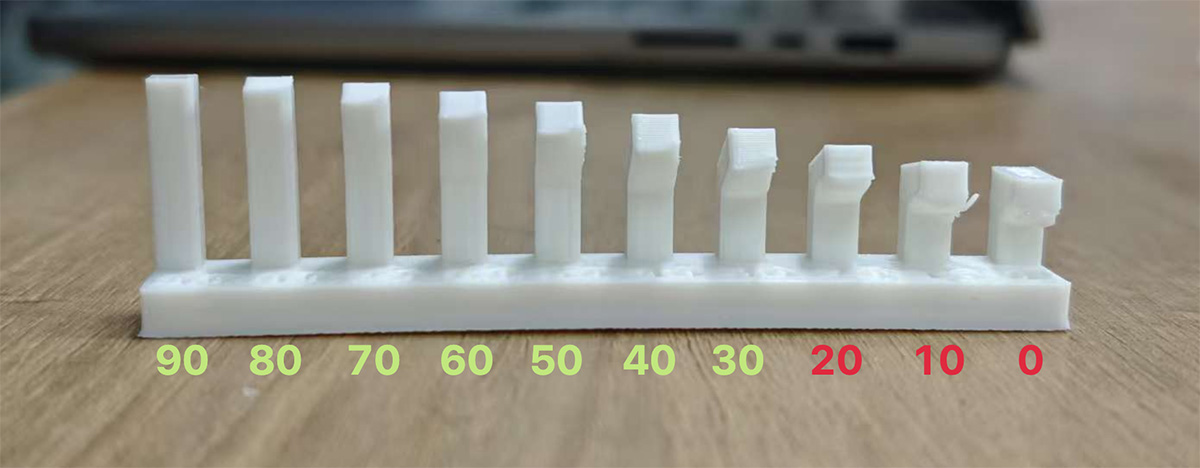
0.4.1 Angle Test
| Overhang Angle (°) | Surface Quality |
|---|---|
| 90 | Perfect |
| 80 | Perfect |
| 70 | Perfect |
| 60 | Perfect |
| 50 | Perfect |
| 30 | Good, slight protrusion at edges |
| 20 | Good, slight protrusion at edges |
| 10 | Noticeable stringing |
| 0 | Accumulation and uneven surface |
When the overhang angle is below 30°, the printed model cannot be fully supported.
0.4.2 Thickness Test
Wall Thickness
| Design Thickness (mm) | Actual Thickness (mm) | Deviation (mm) |
|---|---|---|
| 0.1 | Not printed | |
| 0.2 | Not printed | |
| 0.3 | Not printed | |
| 0.4 | 0.5 | +0.1 |
| 0.5 | 0.5 | 0 |
| 0.6 | 0.6 | 0 |
| 0.7 | 0.7 | 0 |
| 0.8 | 0.8 | 0 |
| 0.9 | 0.9 | 0 |
| 1 | 1 | 0 |
| 2 | 2 | 0 |
| 3 | 3 | 0 |
Slot Width
| Design Slot Width (mm) | Actual Slot Width (mm) | Deviation (mm) |
|---|---|---|
| 0.1 | Shallow surface marks | 0.1 |
| 0.2 | ~0.1 | 0.1 |
| 0.3 | ~0.2 | 0.1 |
| 0.4 | ~0.3 | 0.1 |
| 0.5 | 0.4 | 0.1 |
| 0.6 | 0.6 | 0 |
| 0.7 | 0.7 | 0 |
| 0.8 | 0.8 | 0 |
| 0.9 | 0.9 | 0 |
| 1 | 1 | 0 |
| 2 | 2 | 0 |
| 3 | 3 | 0 |
Parts thinner than 0.2 mm were not printed.
Unfortunately, we encountered an issue while printing a TPU material model. The extruder became blocked. This appears to have been caused by printing a material that requires a high temperature immediately followed by printing a material that requires a lower temperature. As a result, the temperature settings likely caused an obstruction in the nozzle.