2. Vinyl Cutting
Vinyl cutting is a versatile and precise method for creating custom designs on adhesive vinyl sheets. It is commonly used for making stickers, decals, signage, labels, and other decorative elements. Vinyl cutting machines use a small blade to cut designs into the vinyl without cutting through the backing material, allowing for easy application of the final design.
In Chaihuo x.factory, we have a vinyl cutter machine called Cricut X1, which enables us to create intricate vinyl designs with high precision.
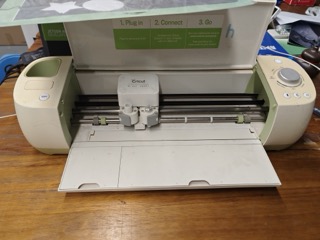
2.1 Setting Up the Machine
To begin vinyl cutting, follow these steps to prepare the machine:
-
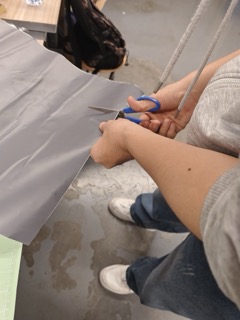
Prepare the Vinyl Sheet
- Cut a vinyl sheet to the desired size based on your design requirements.
- Ensure the sheet is clean and free of dust or wrinkles.
-
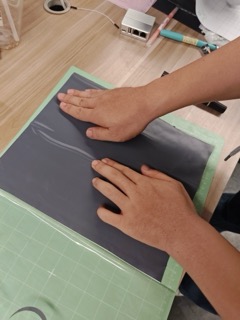
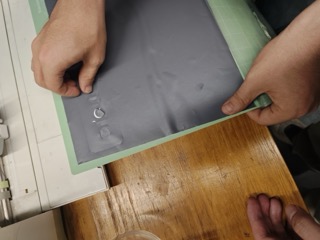
Load the Vinyl Sheet onto the Cutting Mat
- Align the vinyl sheet with the grid on the cutting mat.
- Smooth it down to ensure it adheres well and prevents shifting during cutting.
- Insert the Mat into the Machine
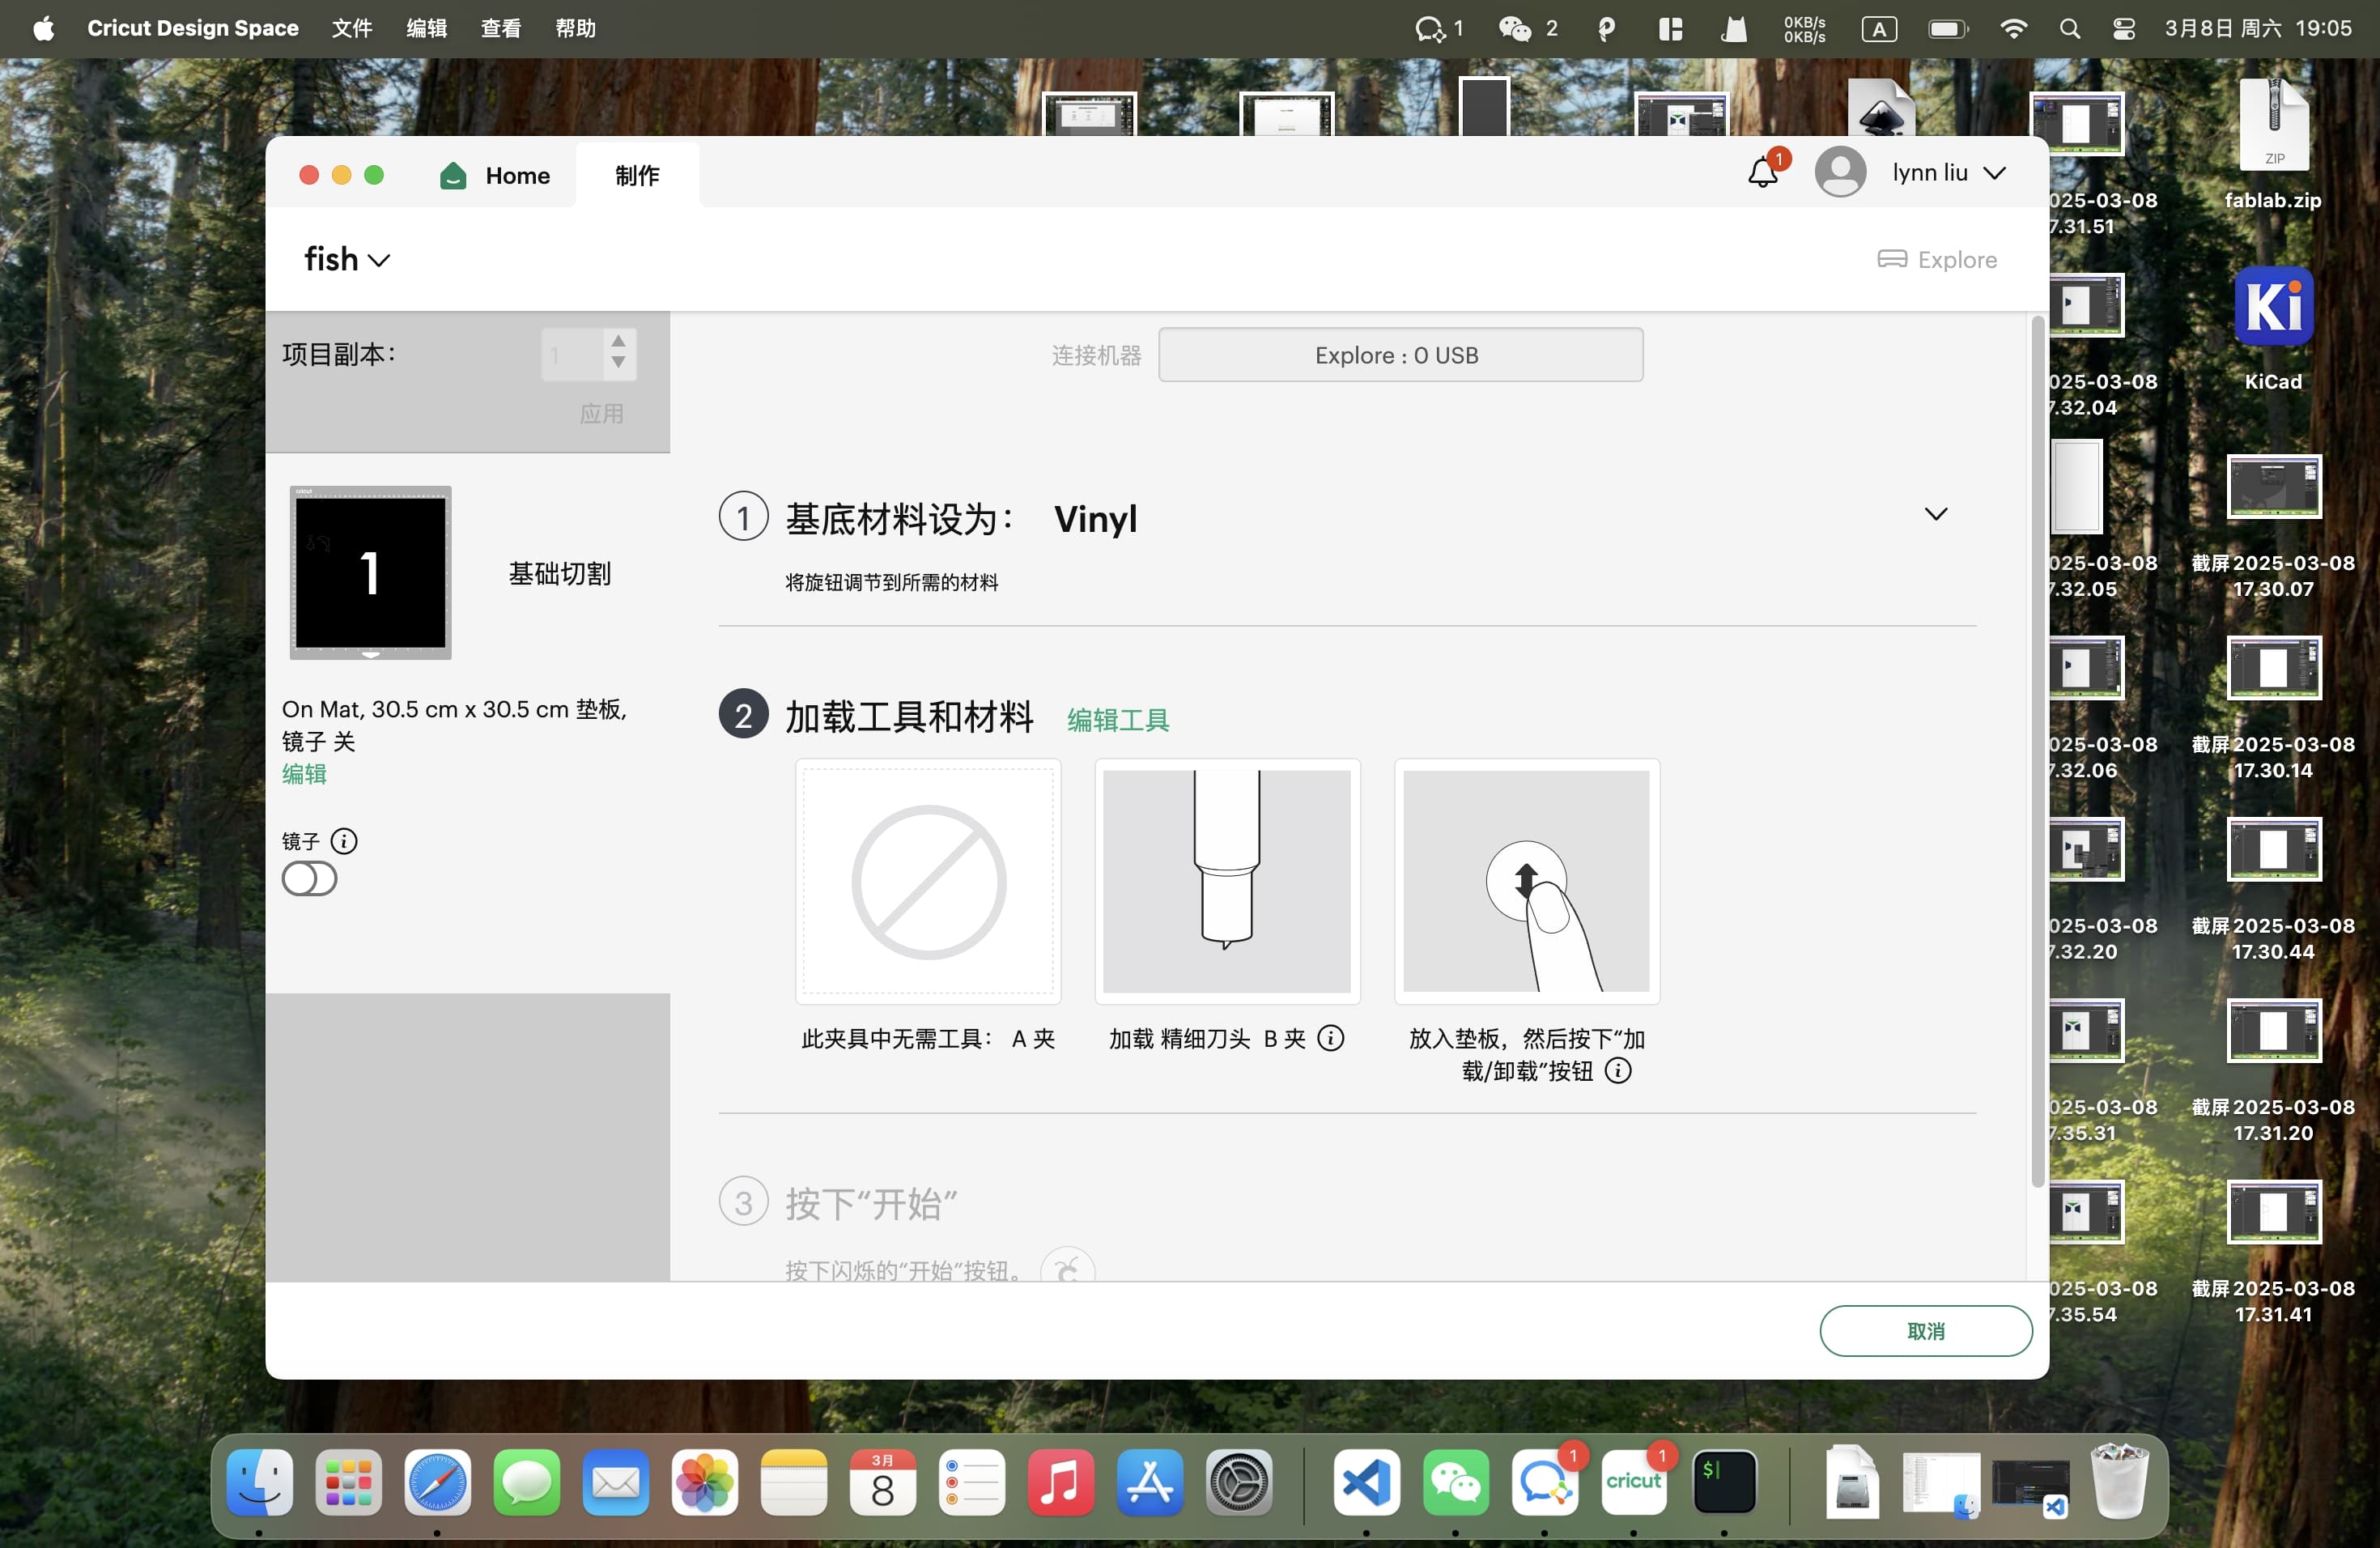
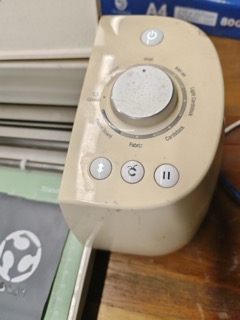
- Load the cutting mat into the Cricut X1 machine, ensuring it is properly positioned.
- Follow the machine’s on-screen prompts to secure the material.
2.2 Installing the Software
Before cutting, you need to install and configure the design software:
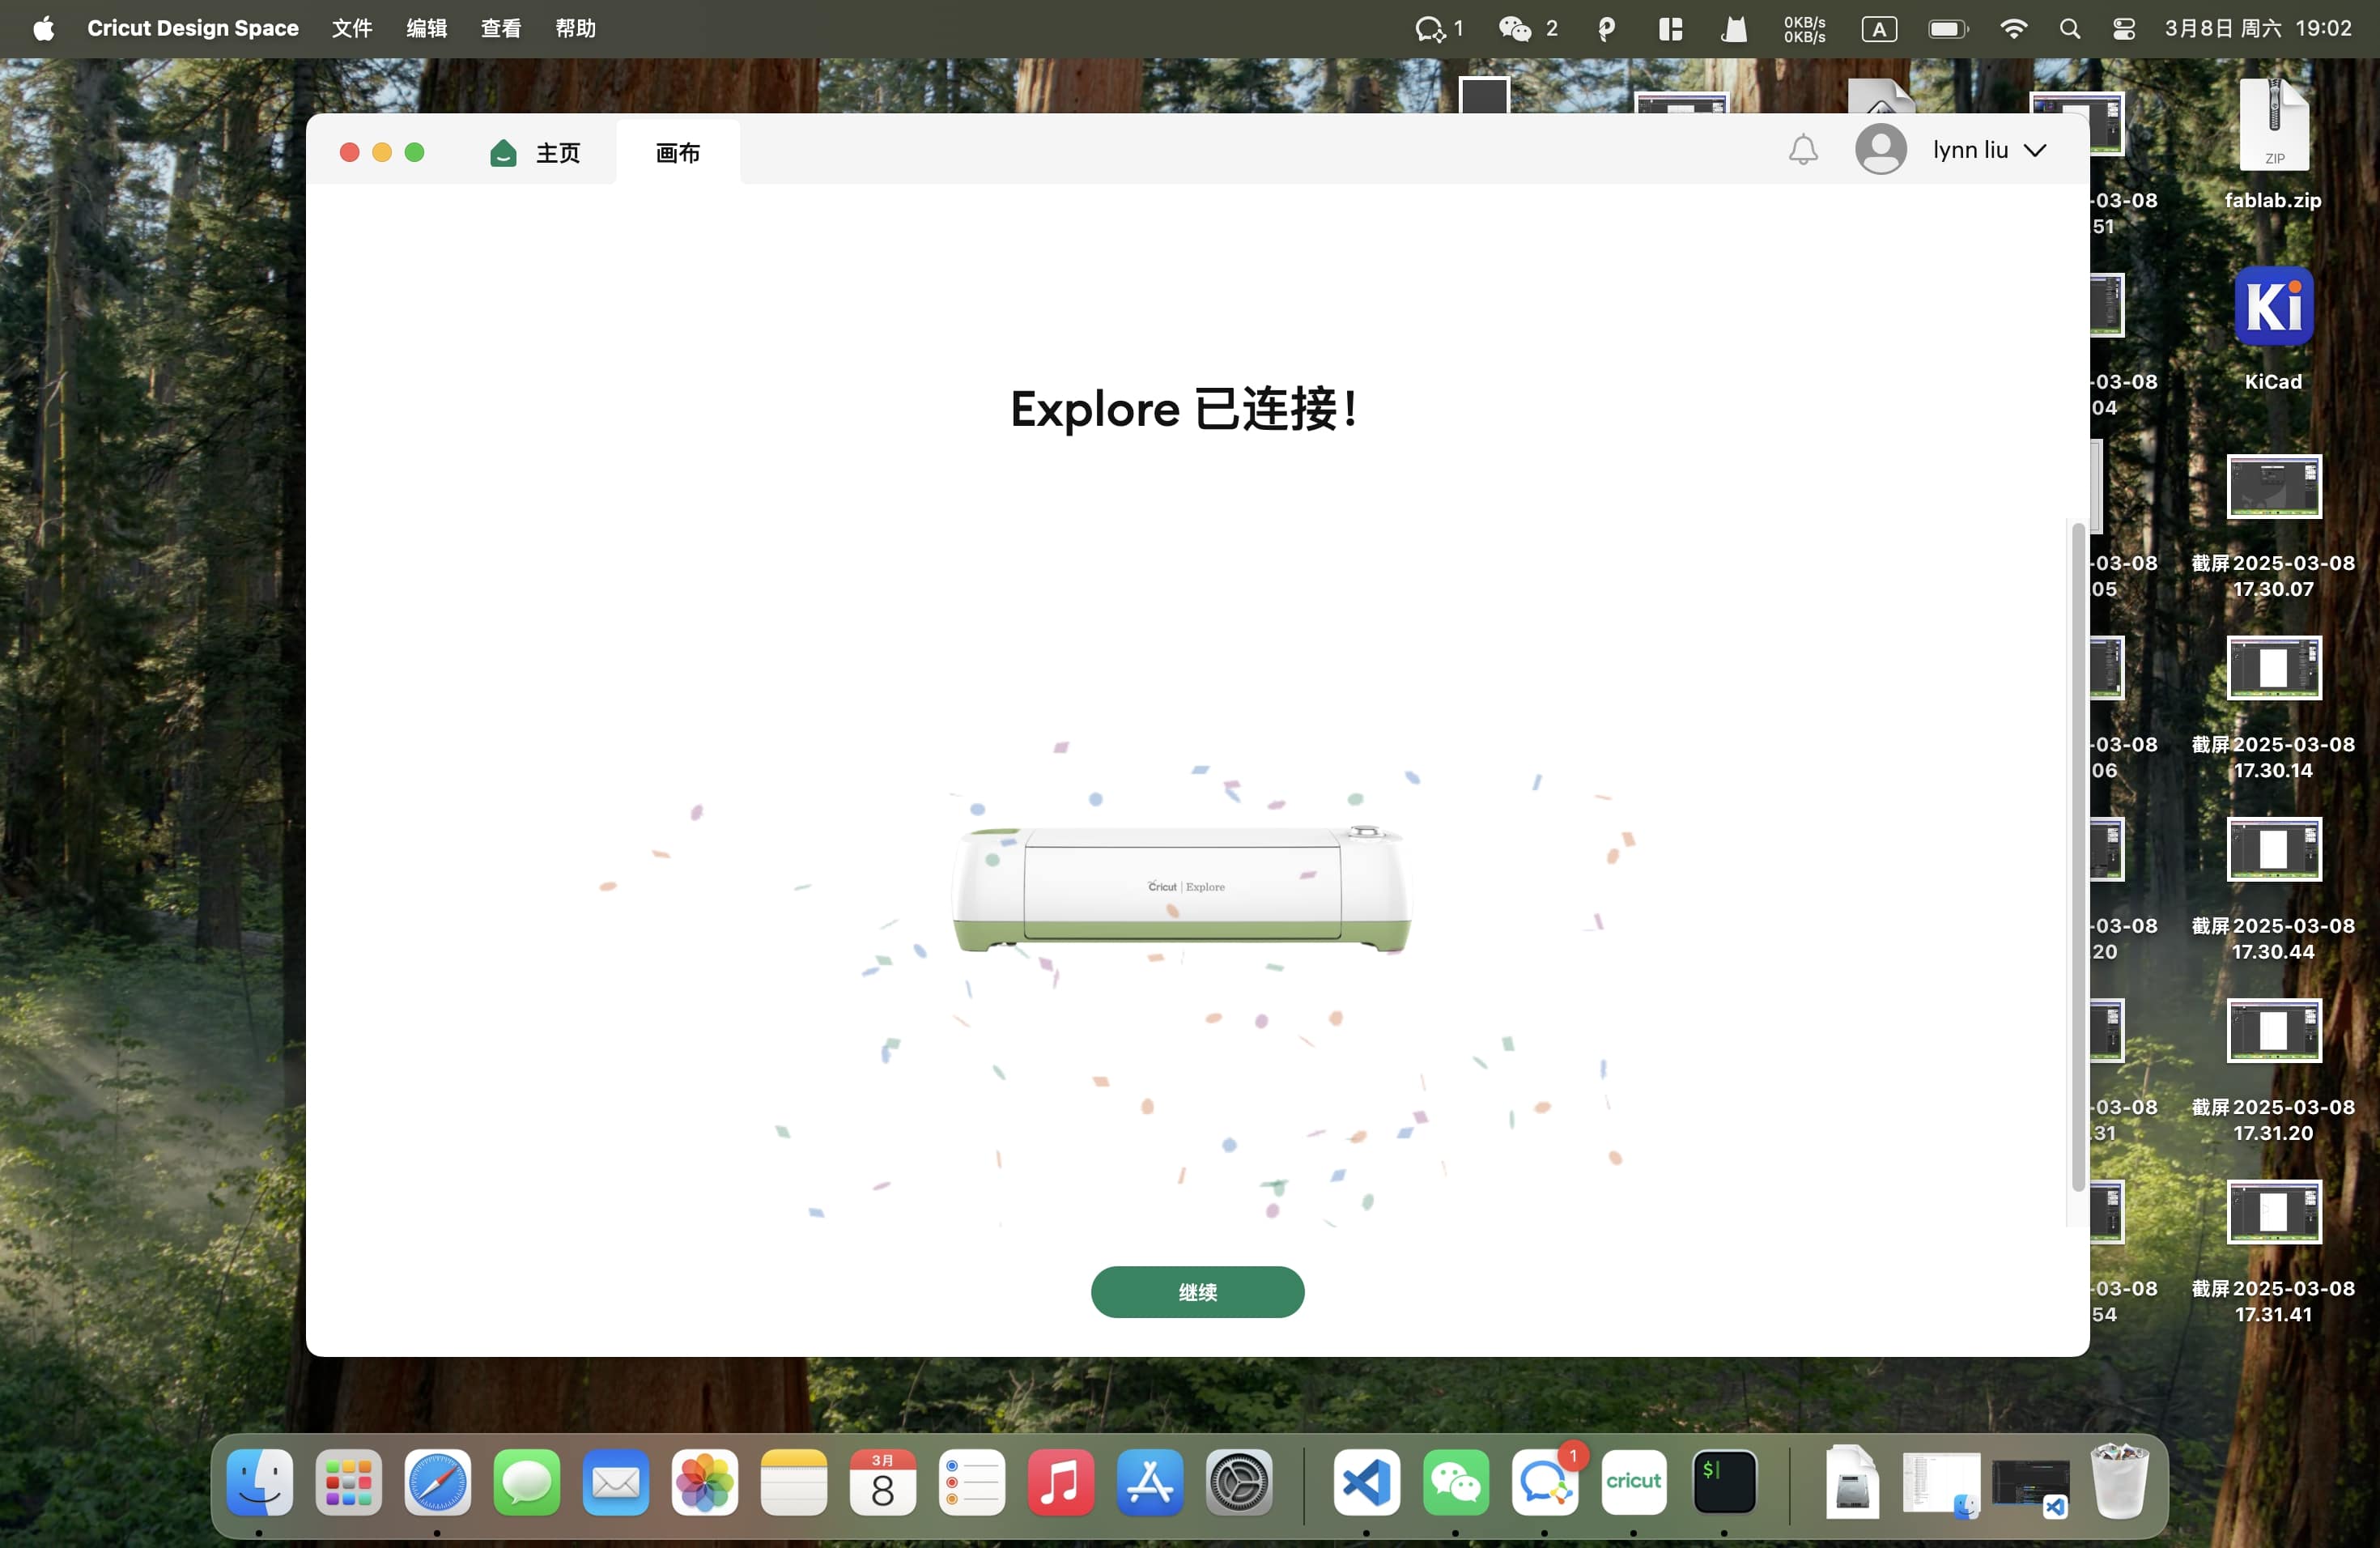
- Download & Install Cricut Design Space
- This software allows you to create, edit, and prepare designs for vinyl cutting.
- Download it from the official Cricut website and install it on your computer.
- Test the Machine
- Perform a test cut using a simple design to ensure that the blade is properly aligned and cutting at the correct depth.
- Adjust settings if necessary for cleaner cuts.
2.3 Designing the Vinyl Cut
Once the software is set up, you can create and import your design:
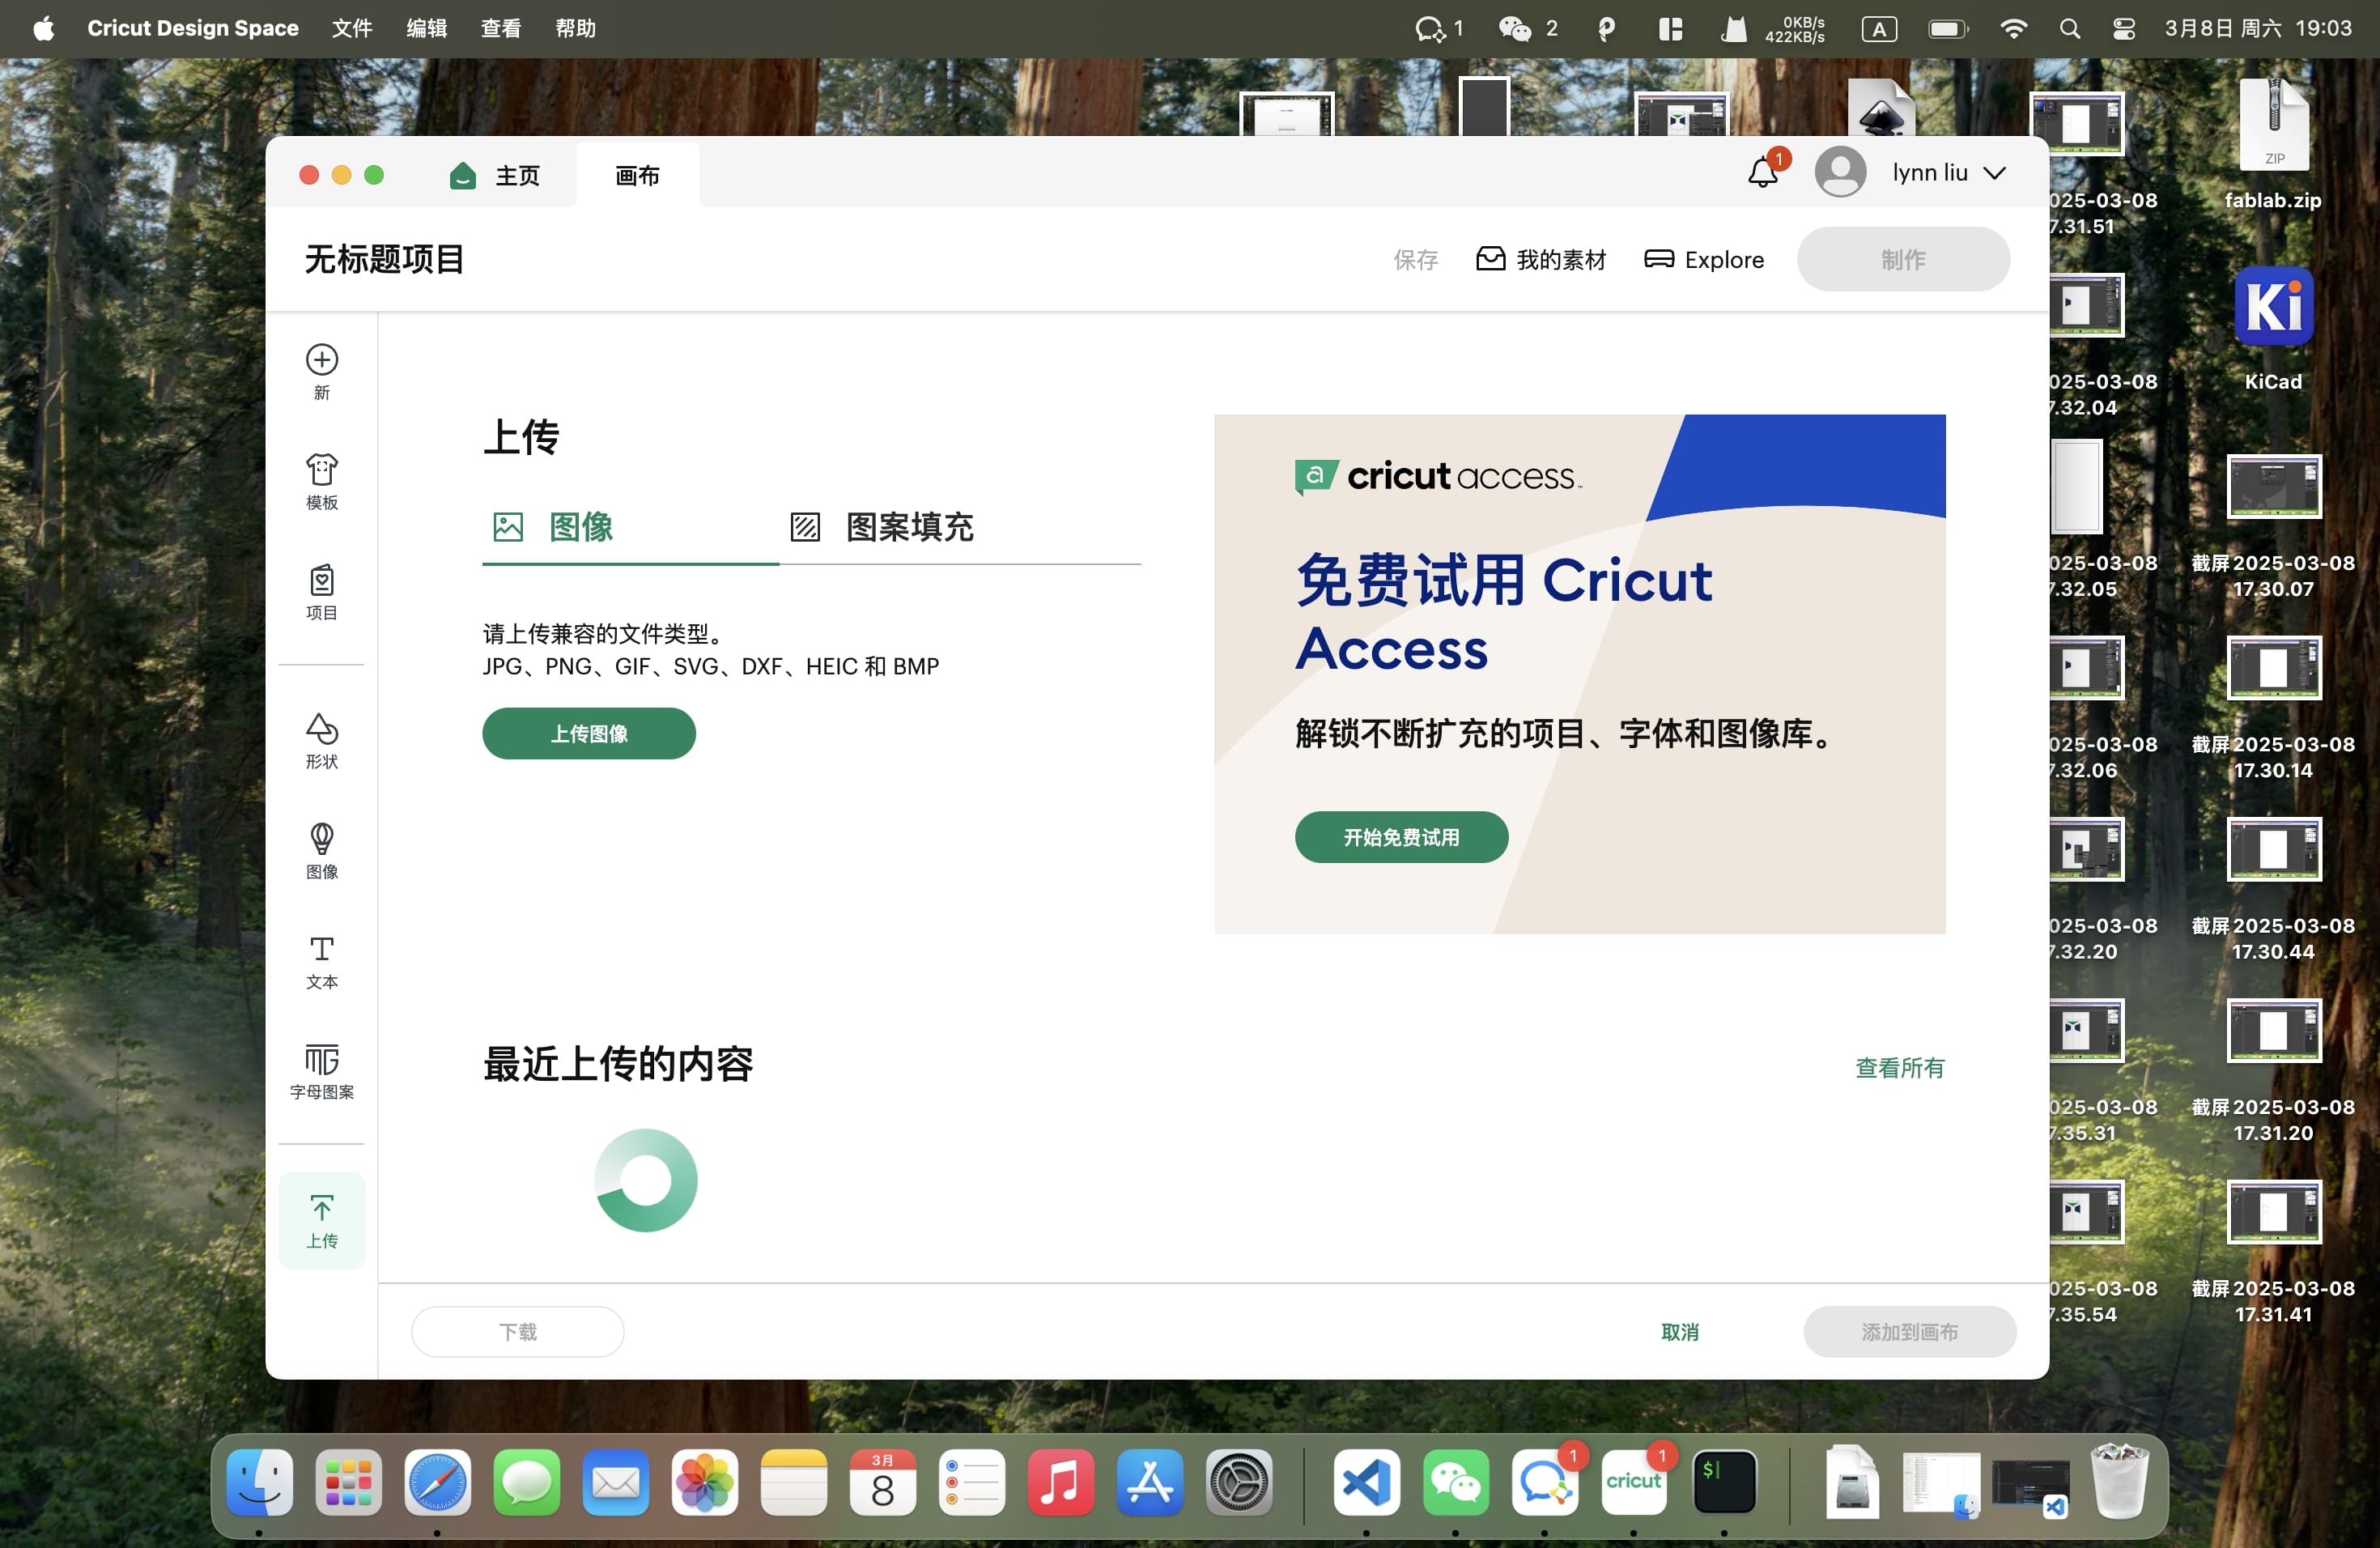
- Upload the DXF File
- If your design was created in another program (such as Illustrator or AutoCAD), export it as a DXF file and upload it to Cricut Design Space.
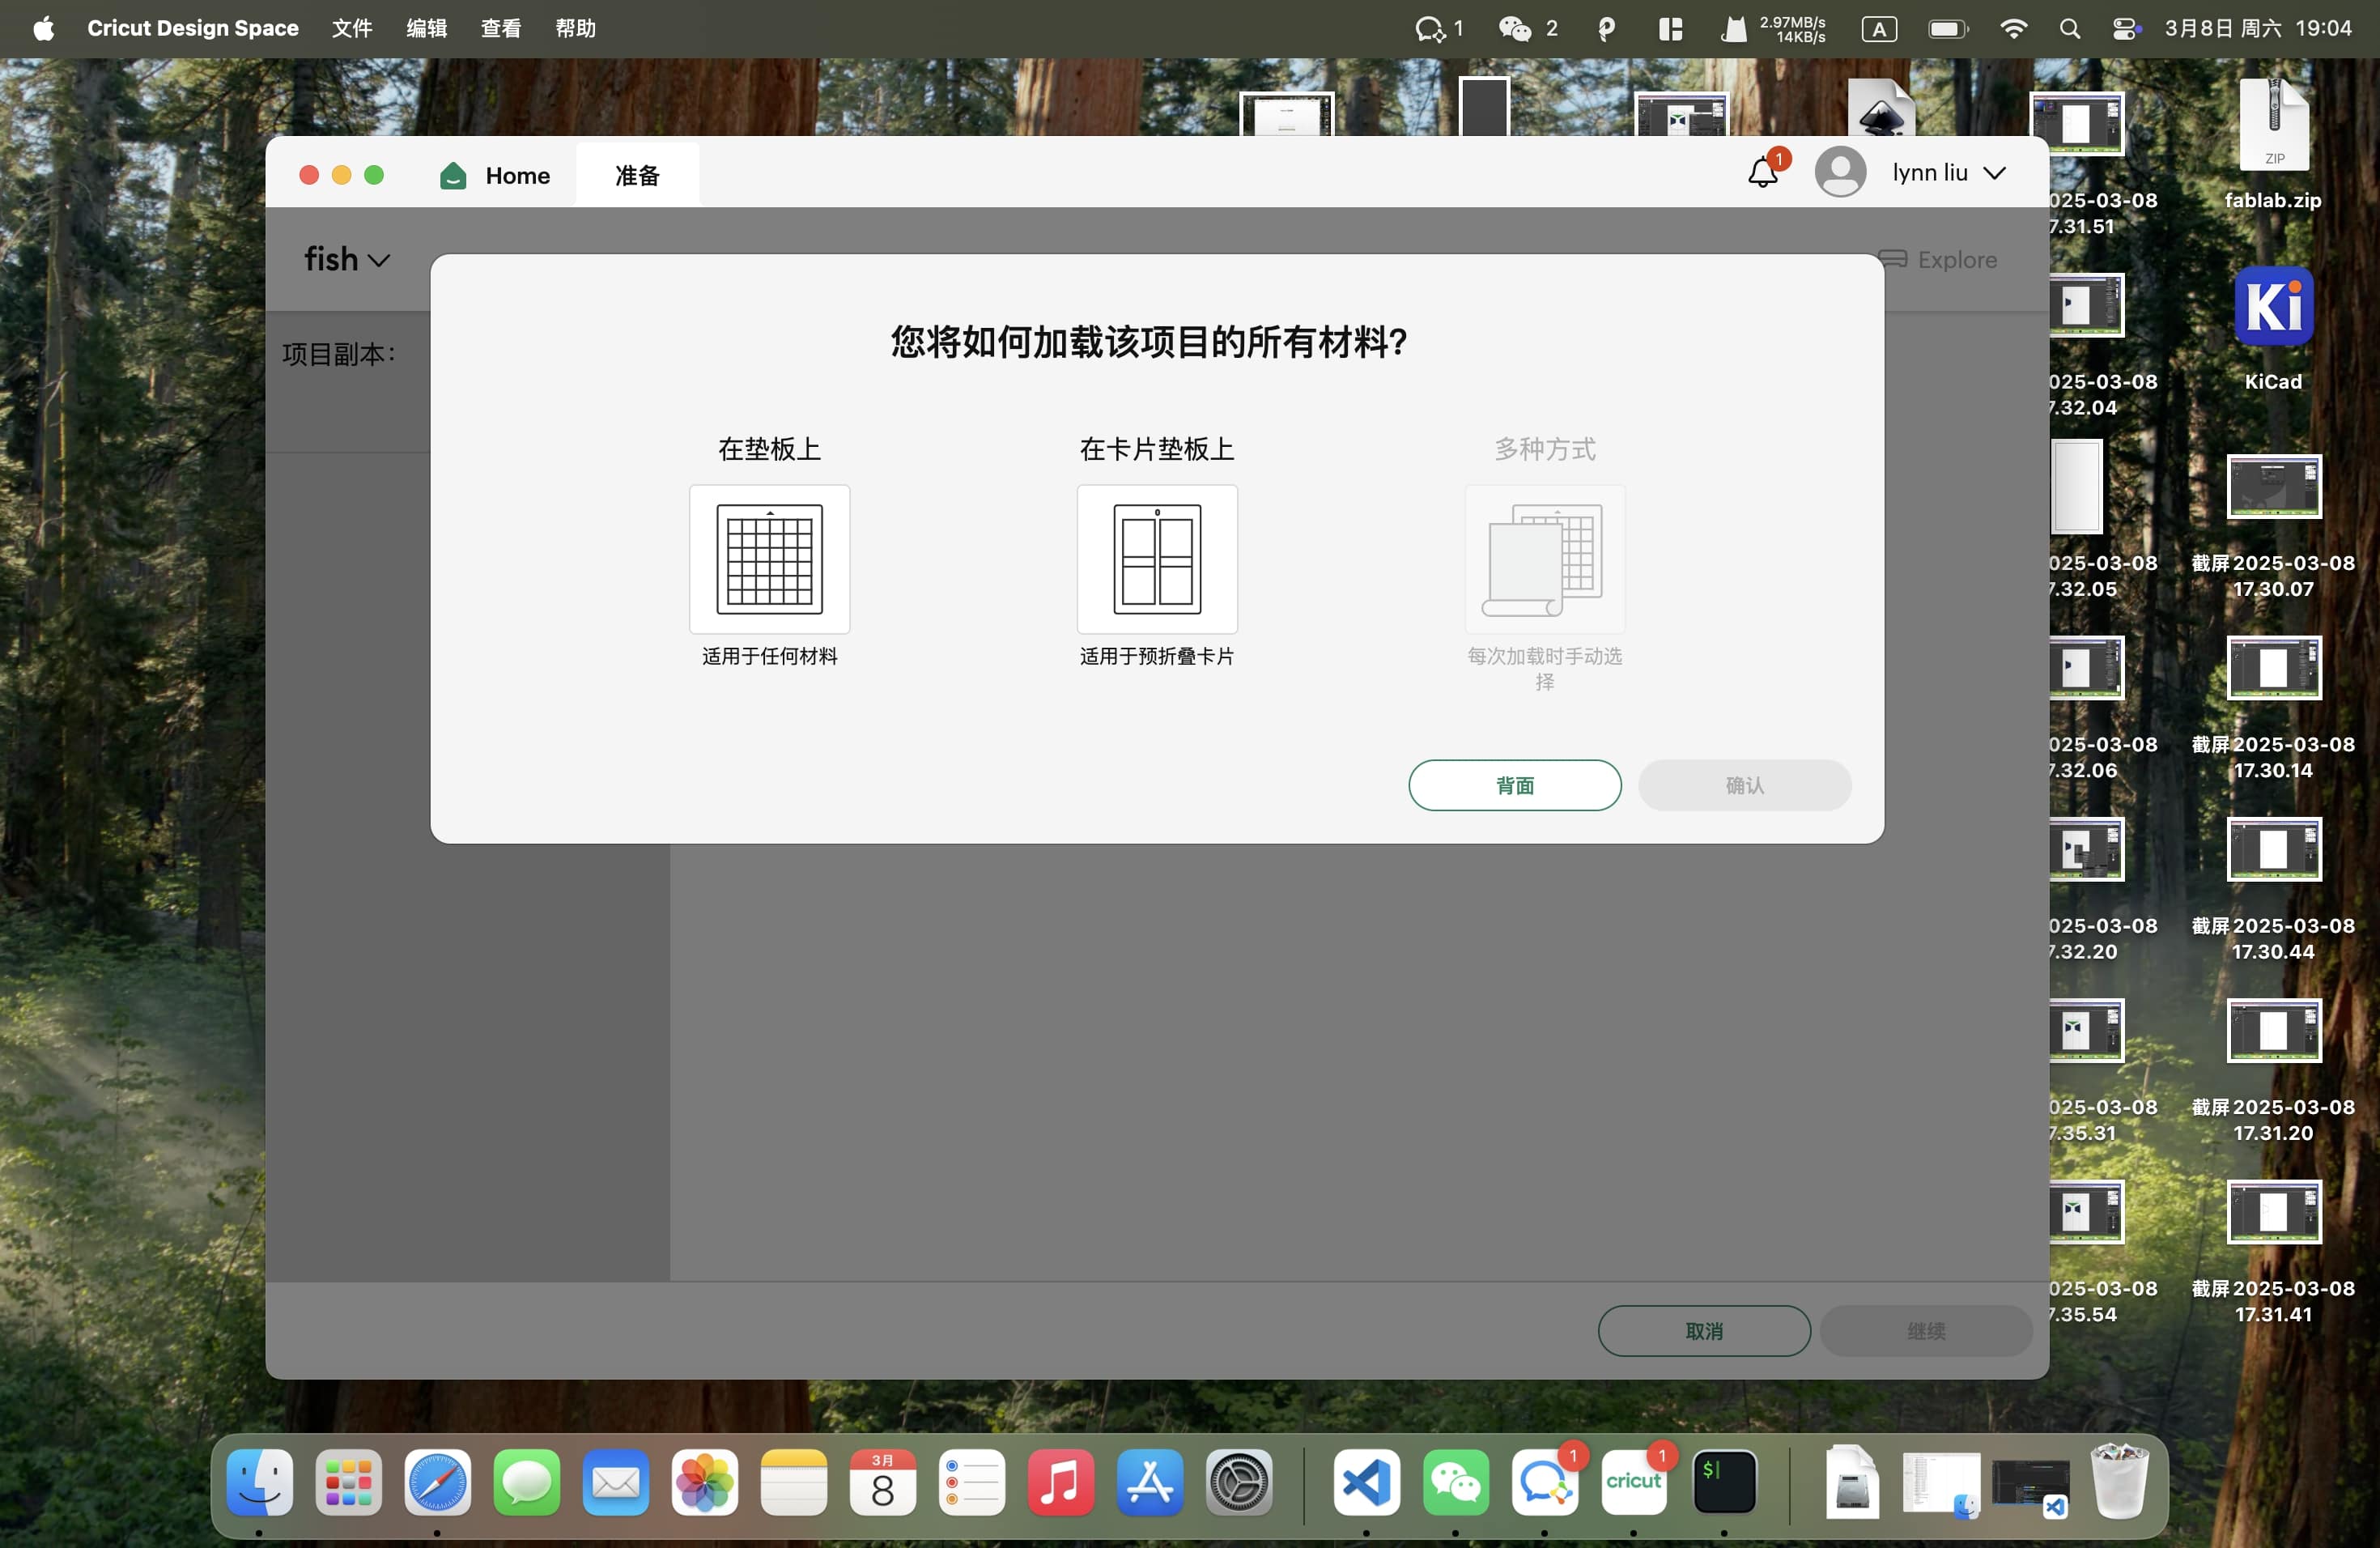
- Set Up the Material Size
- Ensure that the material size matches the dimensions of your vinyl sheet to prevent misalignment.
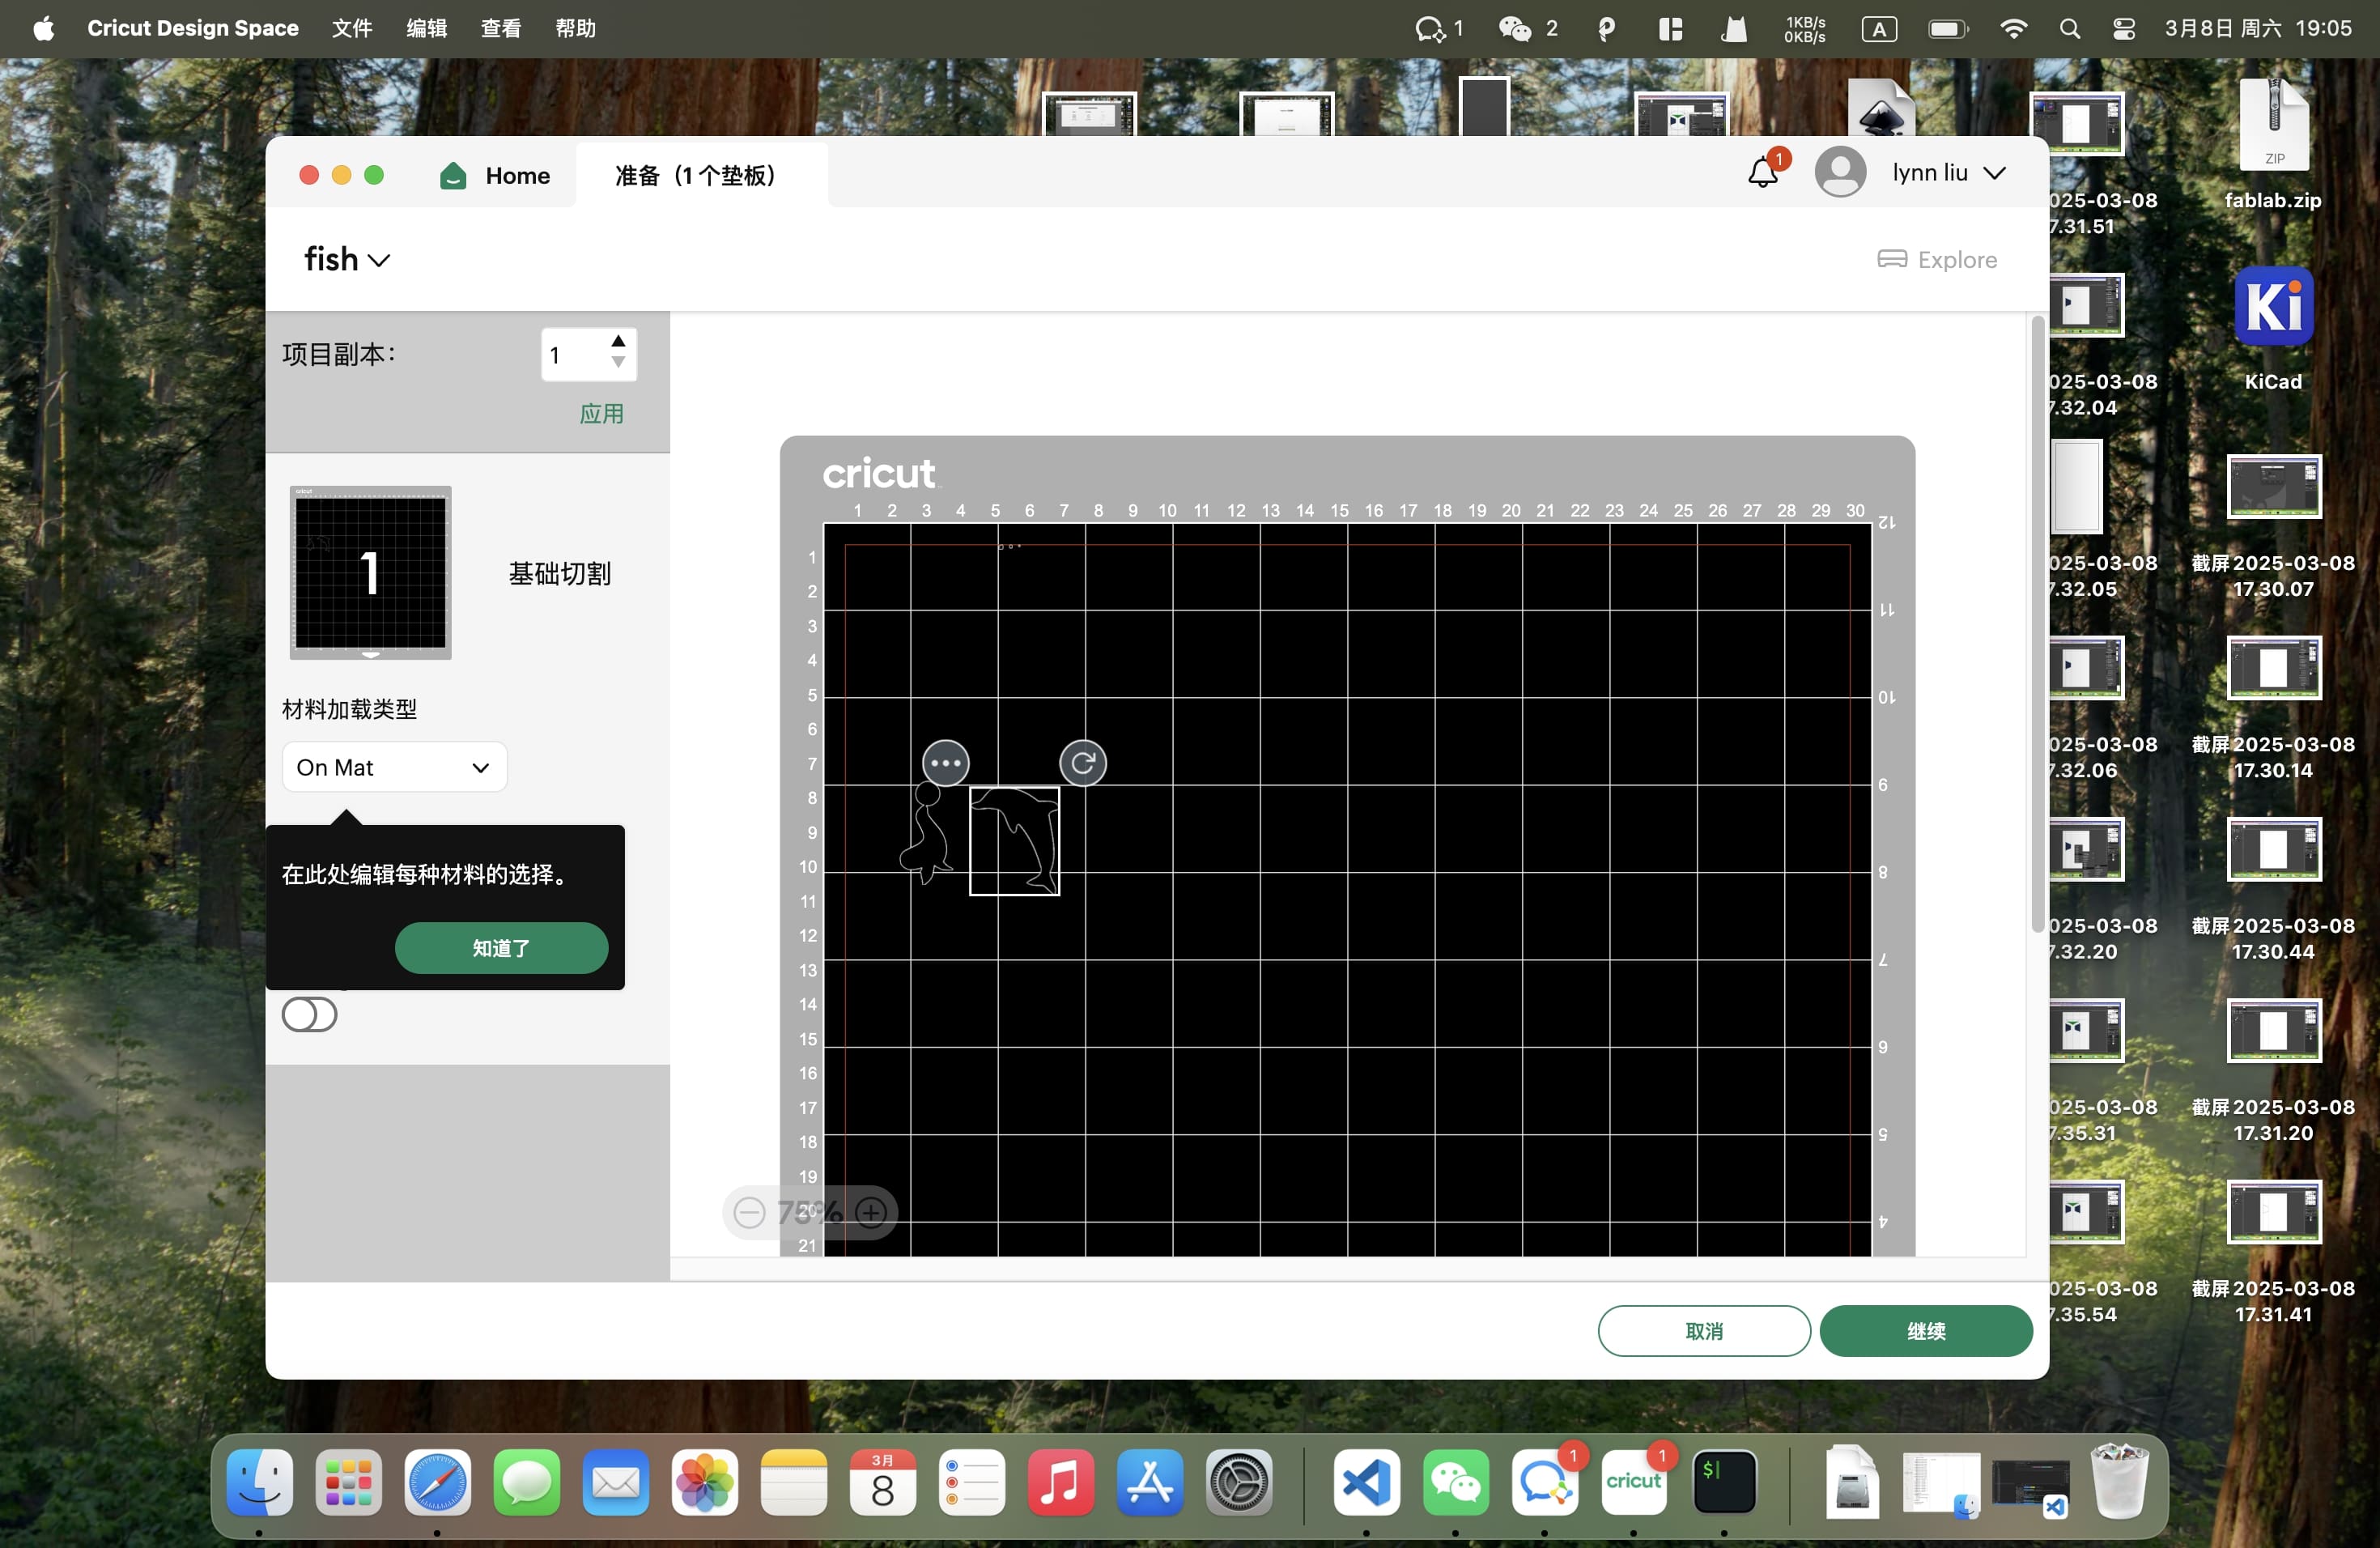
- Adjust the Design Placement
- Position your design properly on the virtual cutting mat to optimize material usage and minimize waste.
- Cut the Design
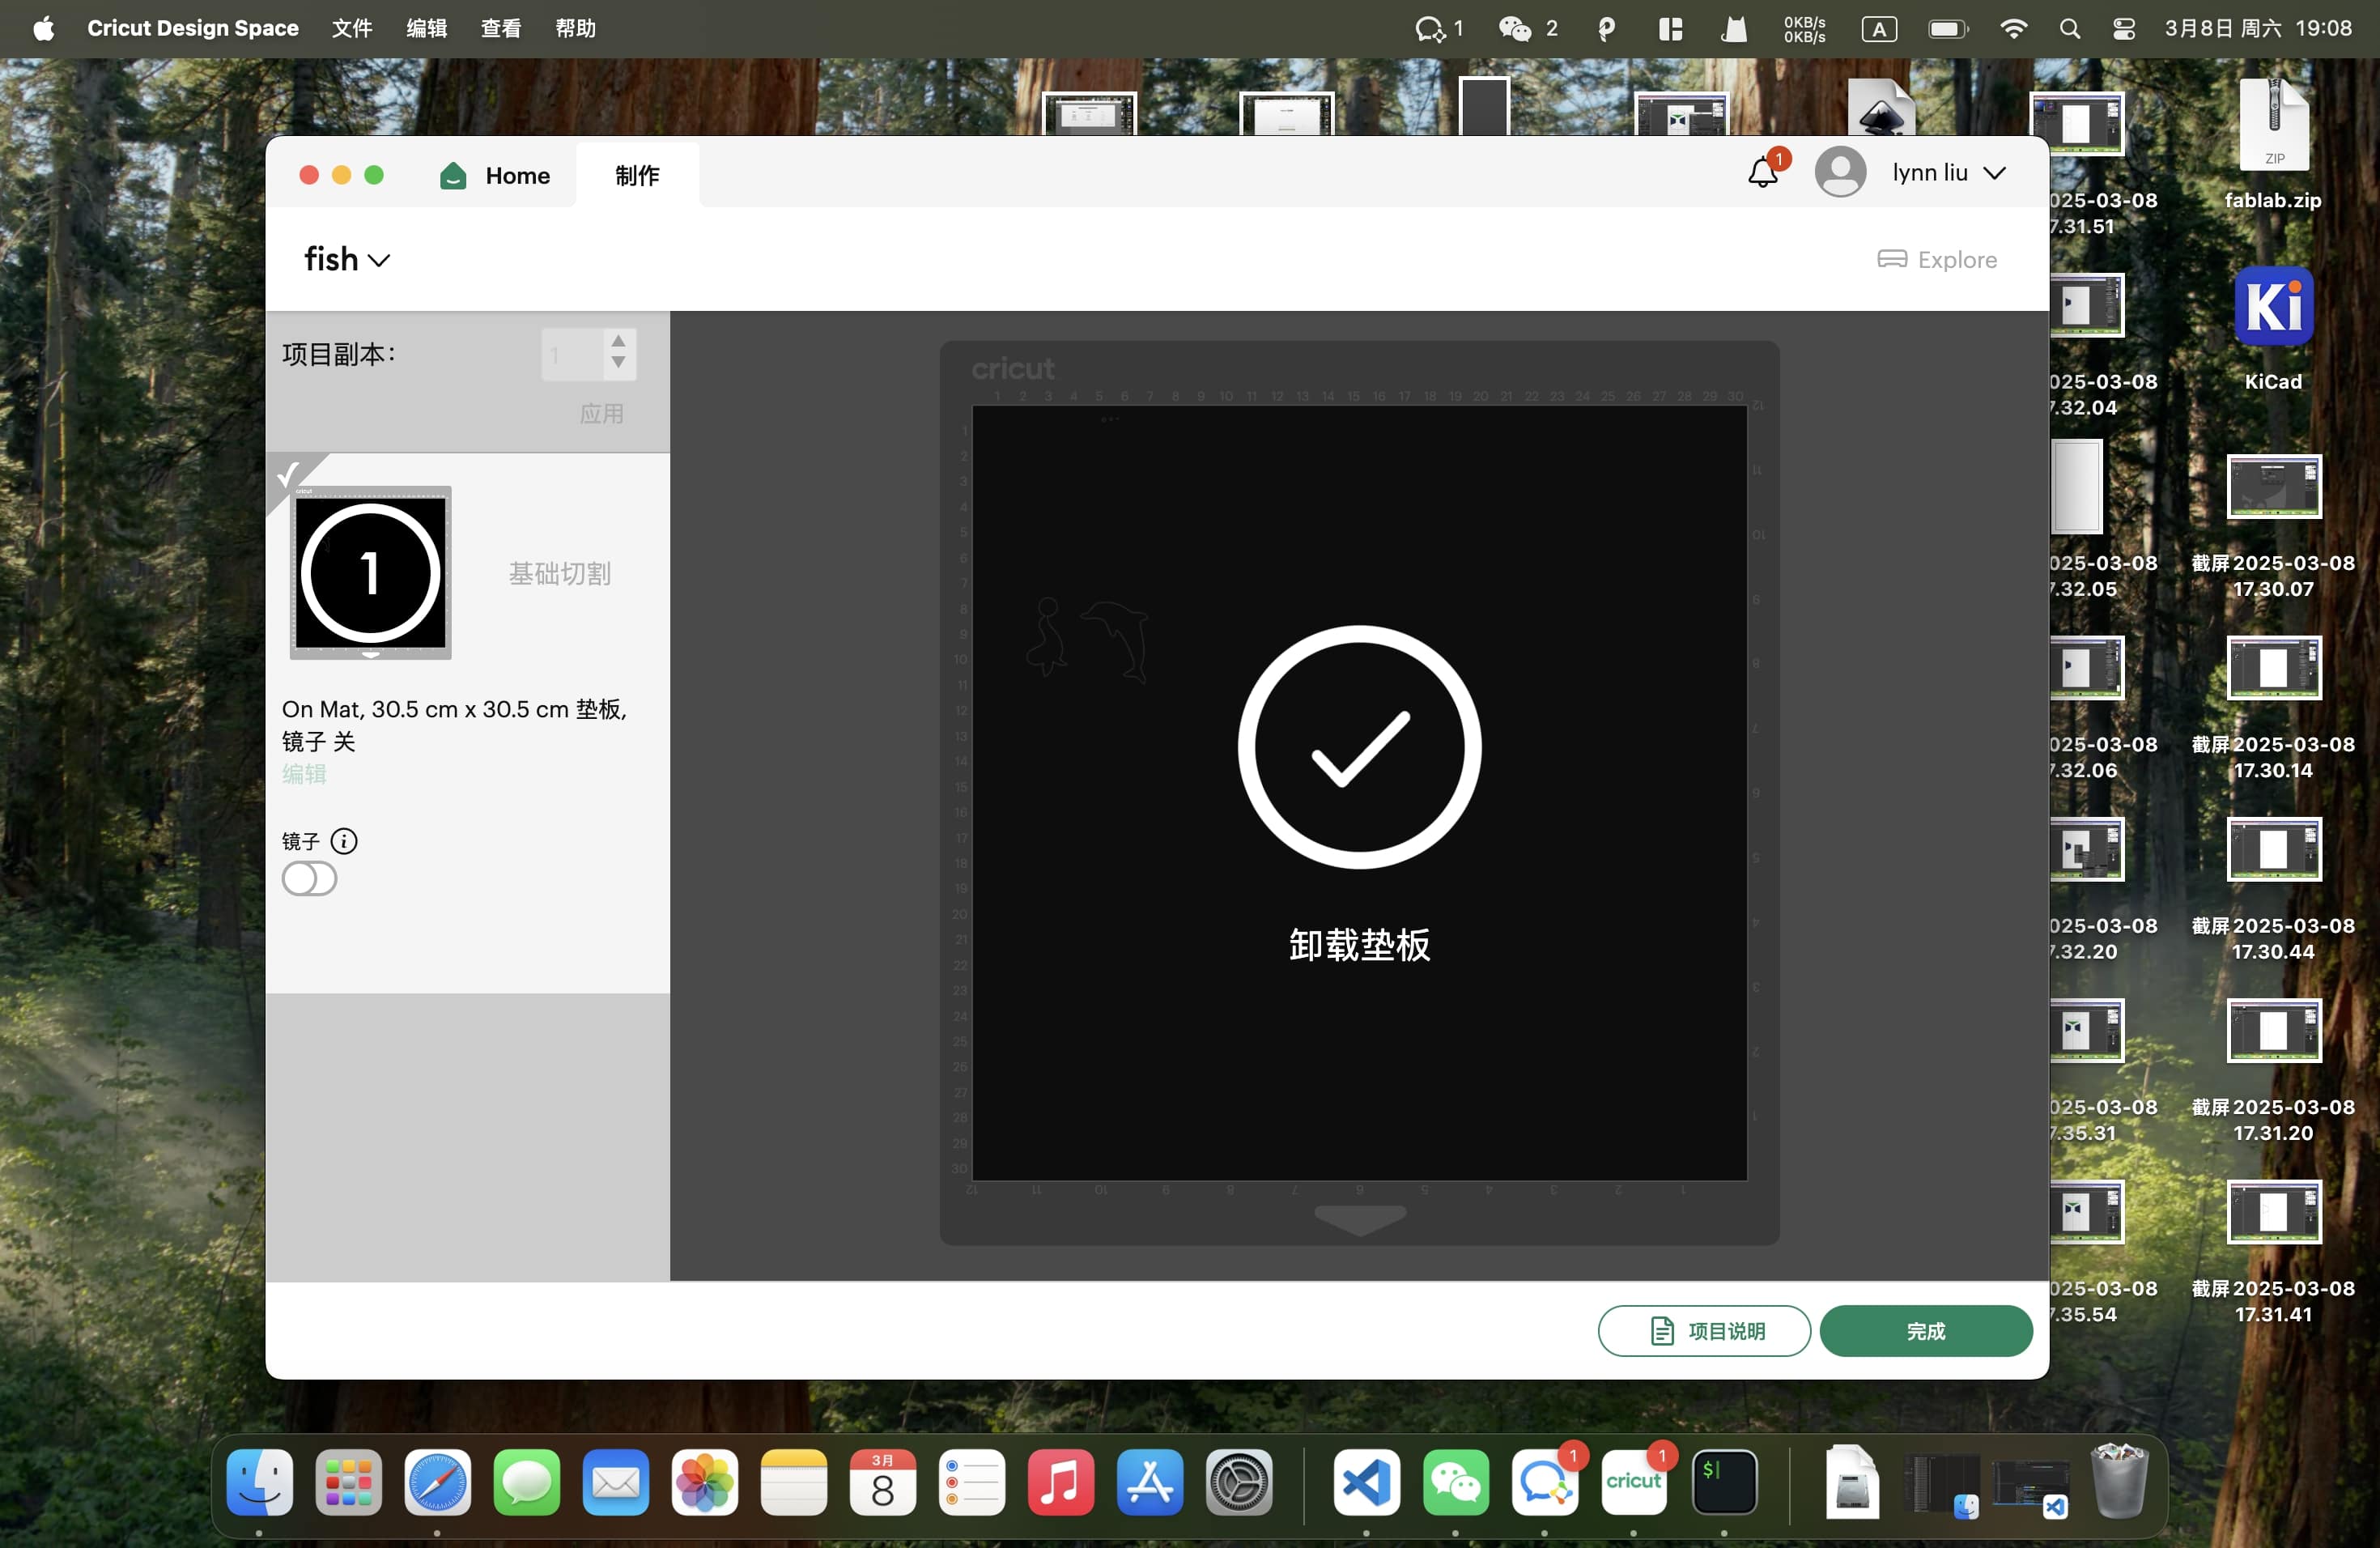
- Once everything is set up, send the design to the Cricut X1 machine for cutting.
2.4 Stripping and Applying the Vinyl
After cutting, follow these steps to apply your vinyl design:
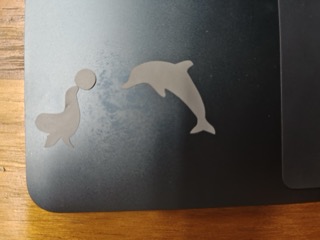
- Weed the Excess Vinyl
- Use a weeding tool to remove unwanted vinyl parts, leaving only the final design on the backing sheet.
- Apply Transfer Tape
- Place a sheet of transfer tape over the vinyl design and smooth it down to pick up the design.
- Apply the Vinyl to the Surface
- Position the design on your desired surface (e.g., glass, wood, plastic).
- Press firmly and smooth out any air bubbles.
- Carefully peel away the transfer tape, leaving the vinyl design in place.
Conclusion
Vinyl cutting is an efficient and precise technique for creating custom designs for various applications. With the Cricut X1 and Cricut Design Space, users can easily create and cut intricate patterns, ensuring high-quality results. By following the setup, design, and application steps outlined in this guide, you can successfully produce professional-grade vinyl decals and stickers.