4. Electronics production
Group 1 (Ito-Yamada)
characterize the design rules for your in-house PCB production process send a PCB out to a board house
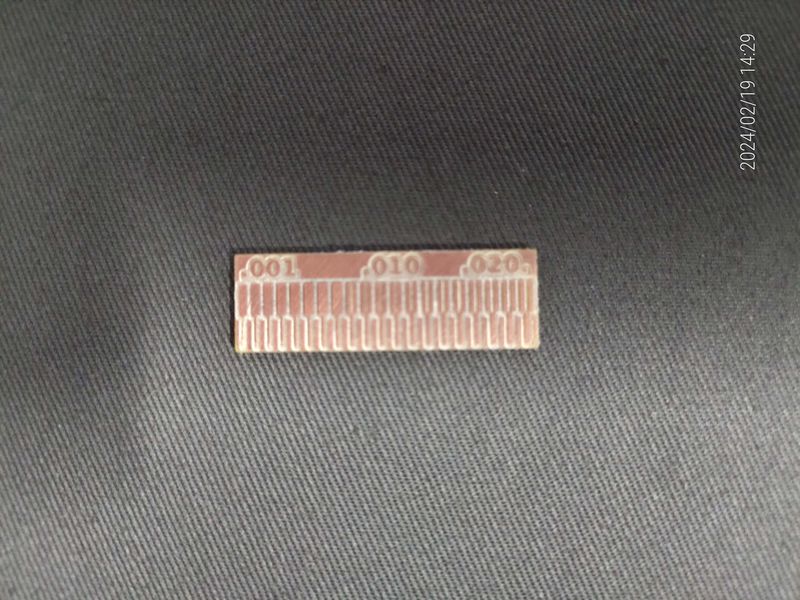
LINE TEST DATA


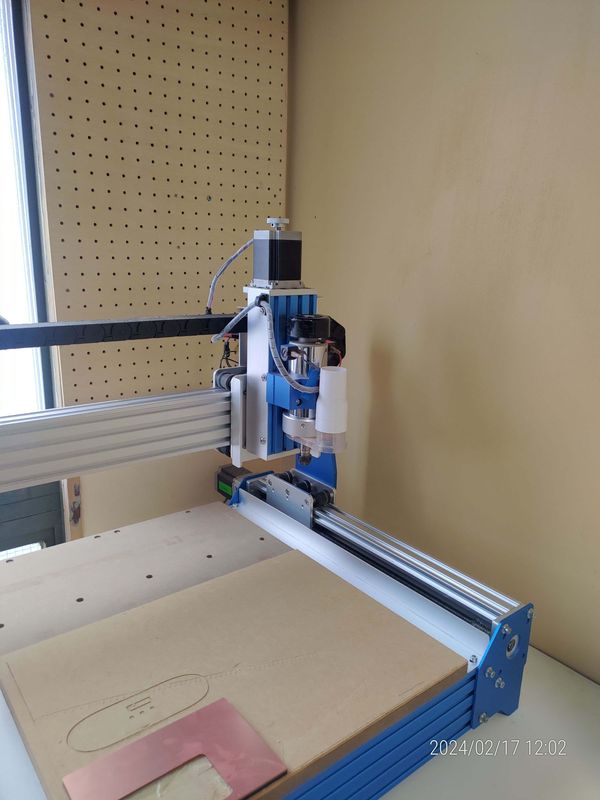
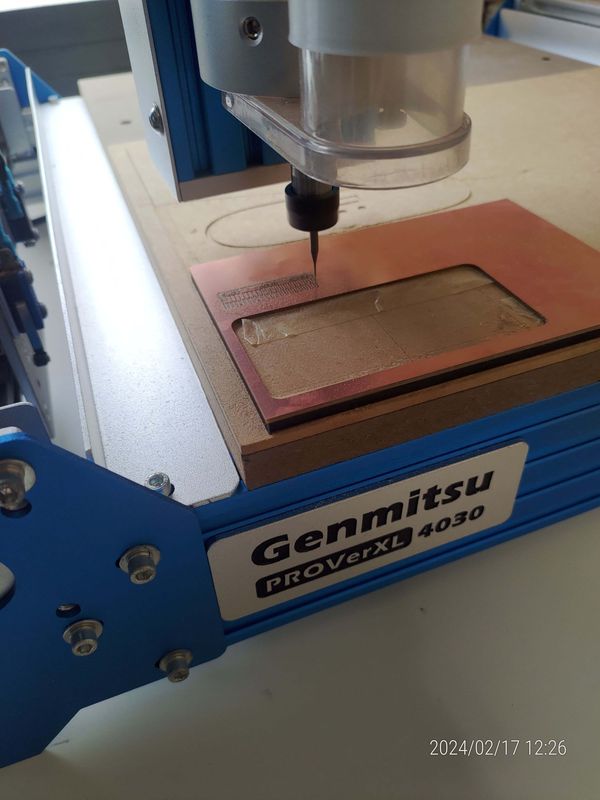
CNC Machine
Genmitsu PROVerXL 4030¶¶
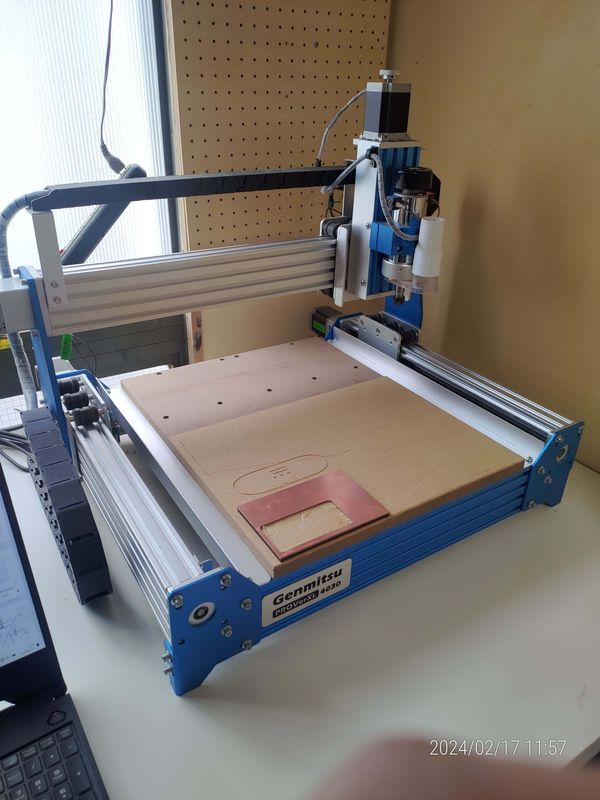

Specification
Working area: 400 x 300 x 110mm
Control Board Compatibility: GRBL 1.1h
Spindle: 300W 6A, 12,000 RPM
Max speed: 2000mm/min
Accuracy: 0.1 mm
Overall Machine Size: 641 x 755.5 x 580mm
Machine Weight: 26kg
Collet (in package): 1/8” Shank
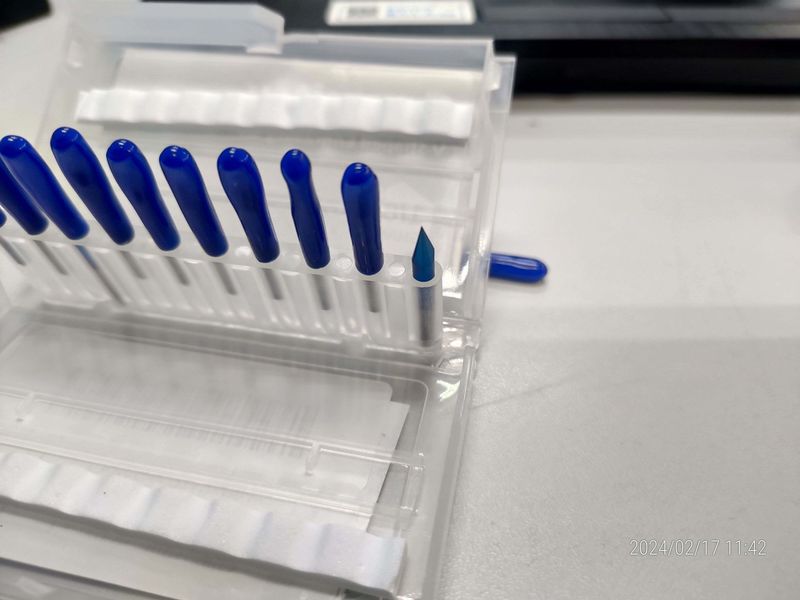
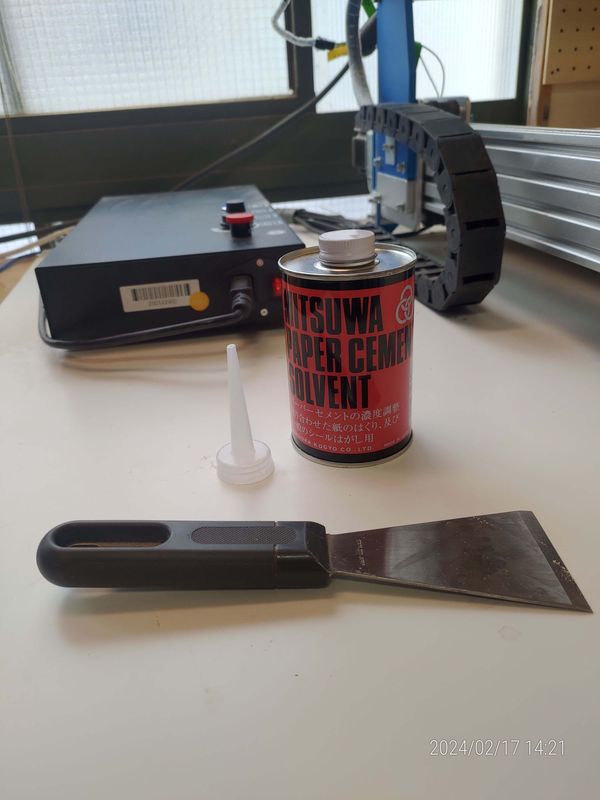
Tools
30 Deg V-bit
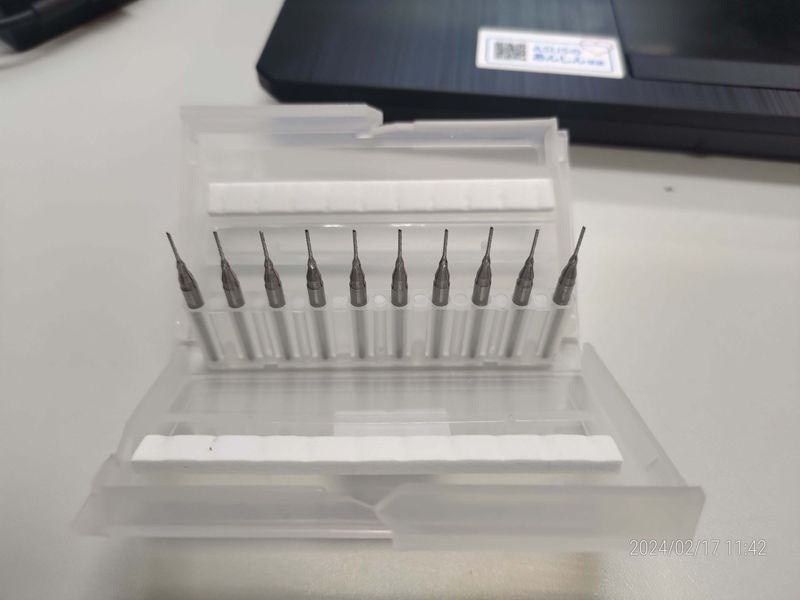
1/64 inch flat endmill

Power solvent & Scraper
A power solvent and a scraper can be used to remove double-sided tape that is fixed to the circuit board.
Process
Generate G-code from PNG
mods CE(https://modsproject.org/)
Setting with V-bit and 0.7mm
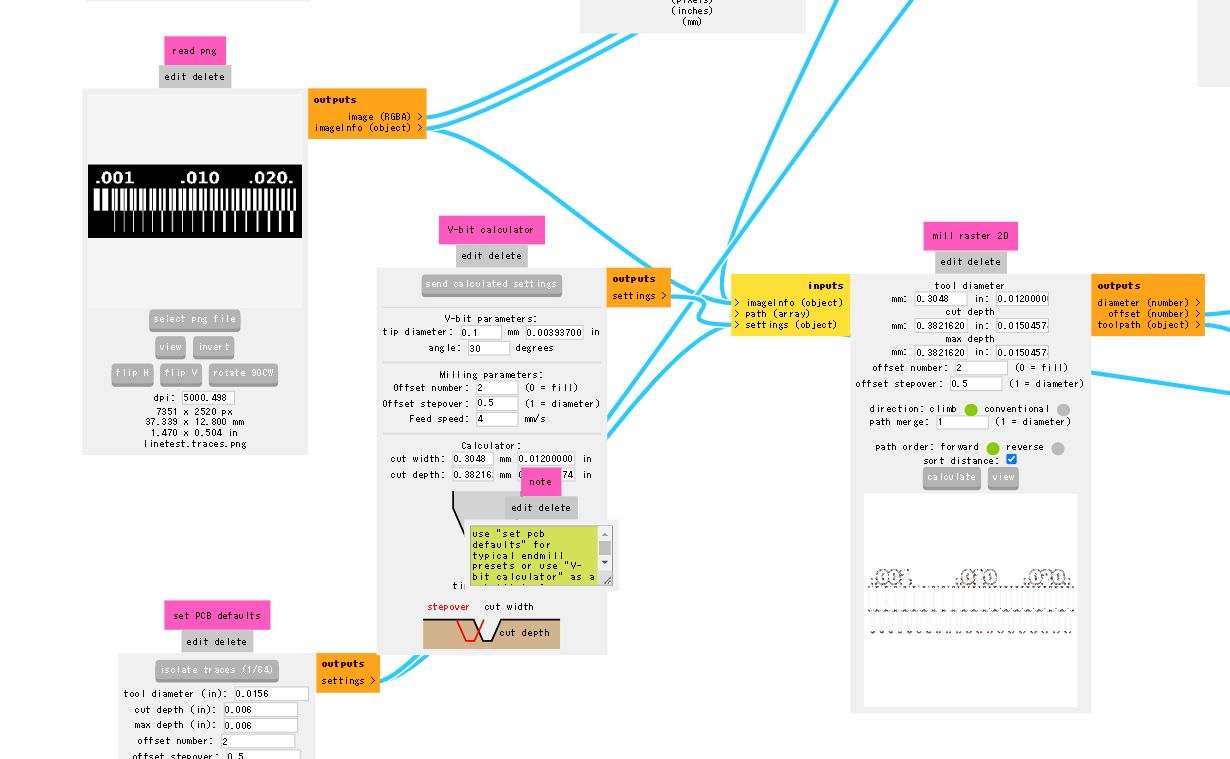
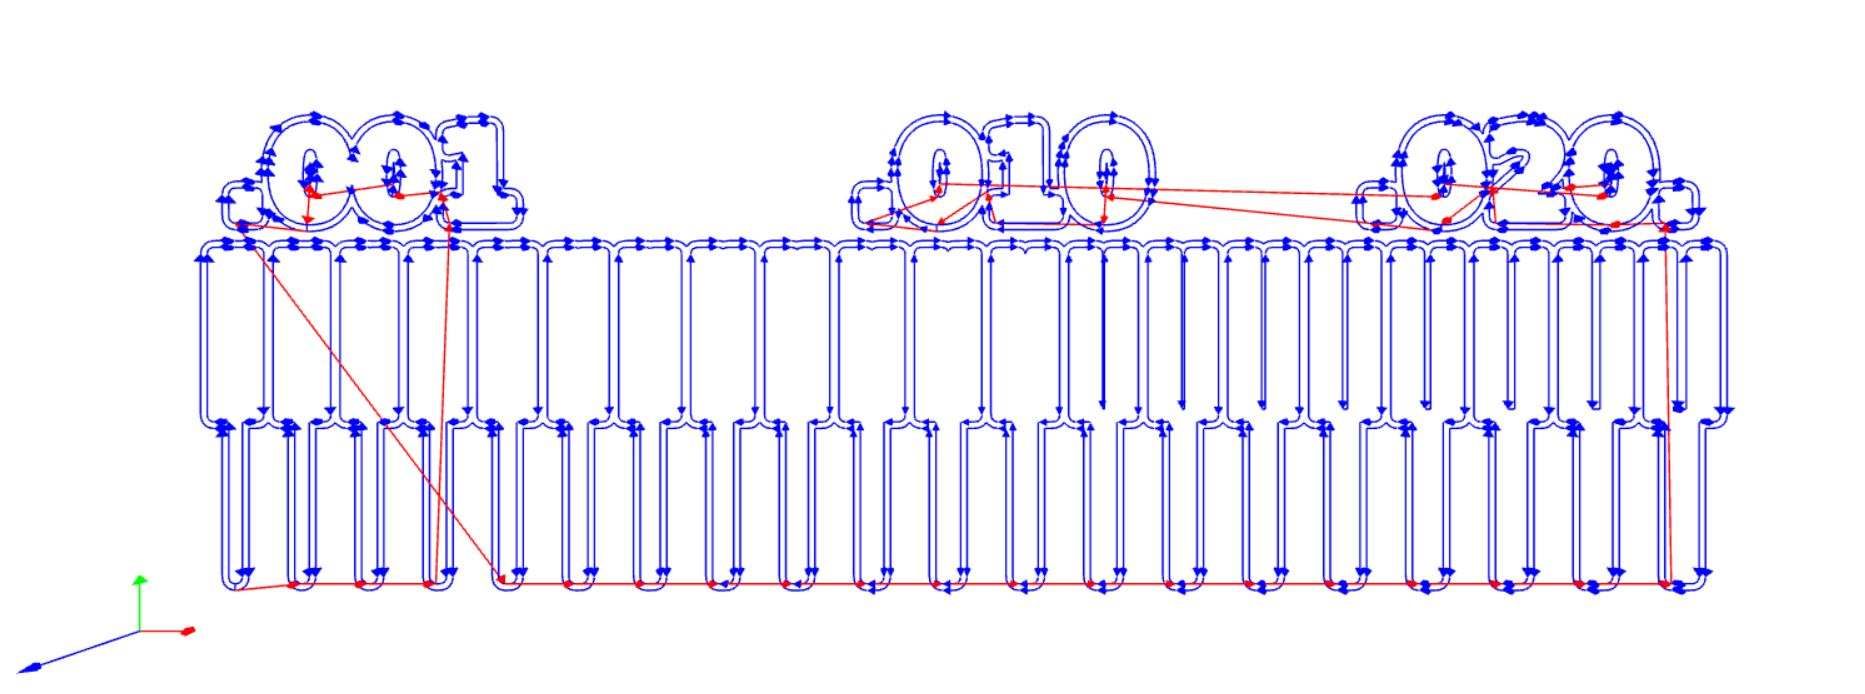
Trace data
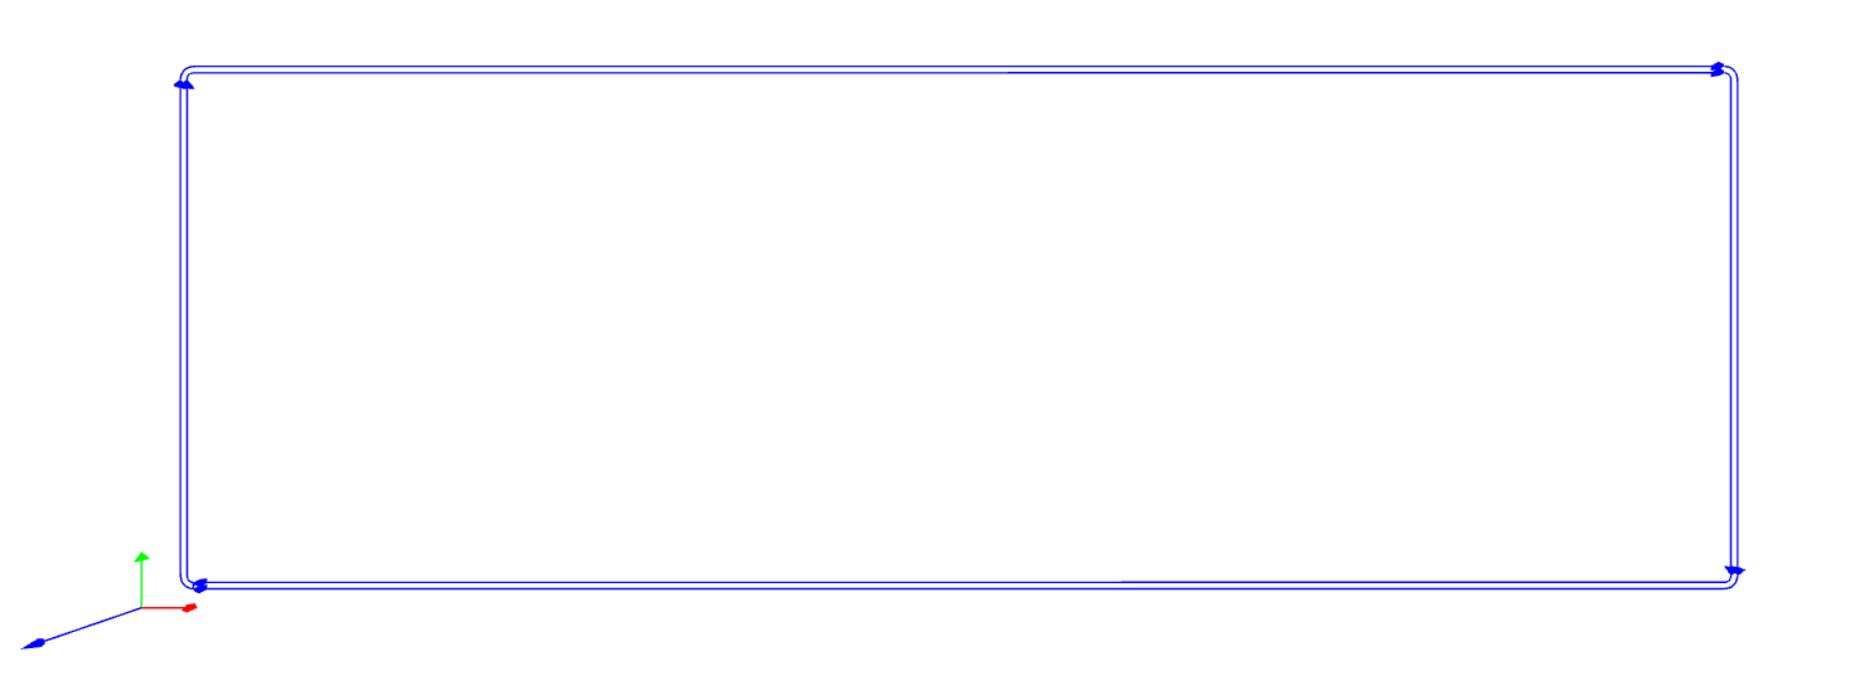
Interior data
gSender (Send g-code to CNC milling machine)
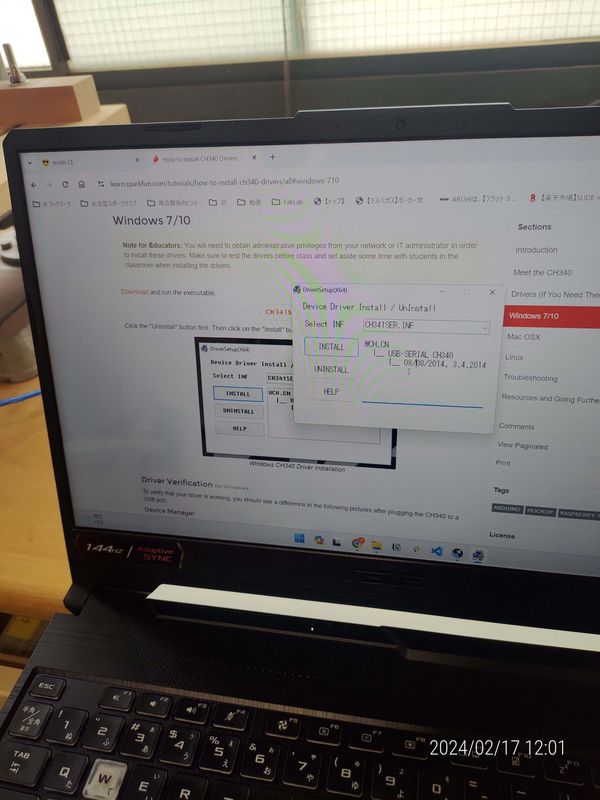
- Driver Instllation
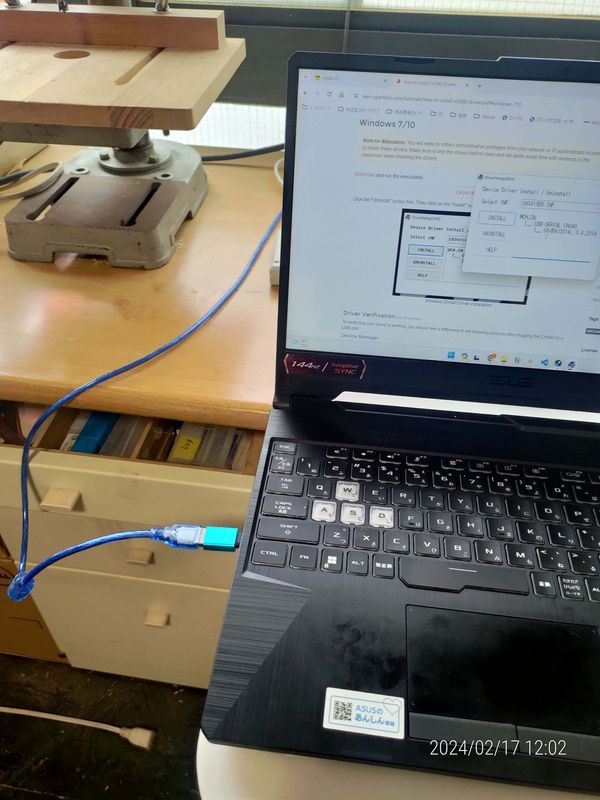
- Connect CNC machine to PC(USB Port)
- Moving the drilling motor to the start position.
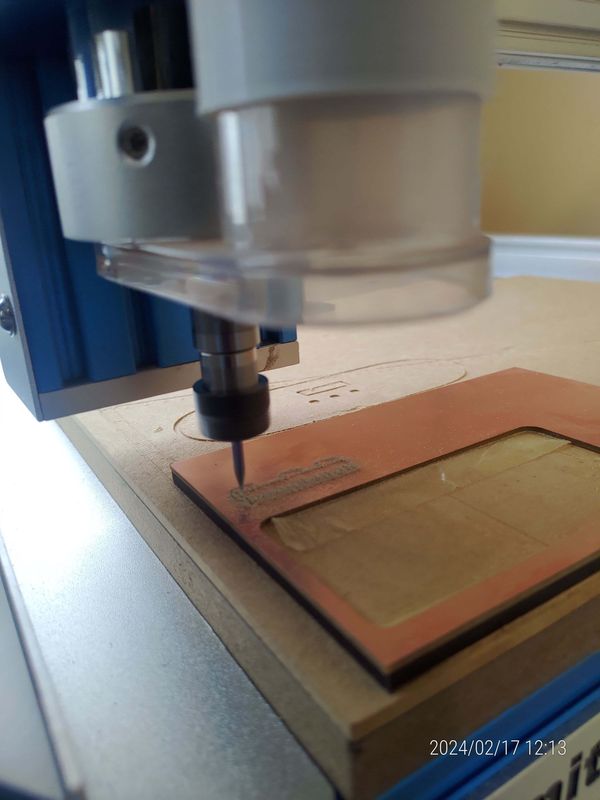
- Use two monkey wrenches to secure the bit
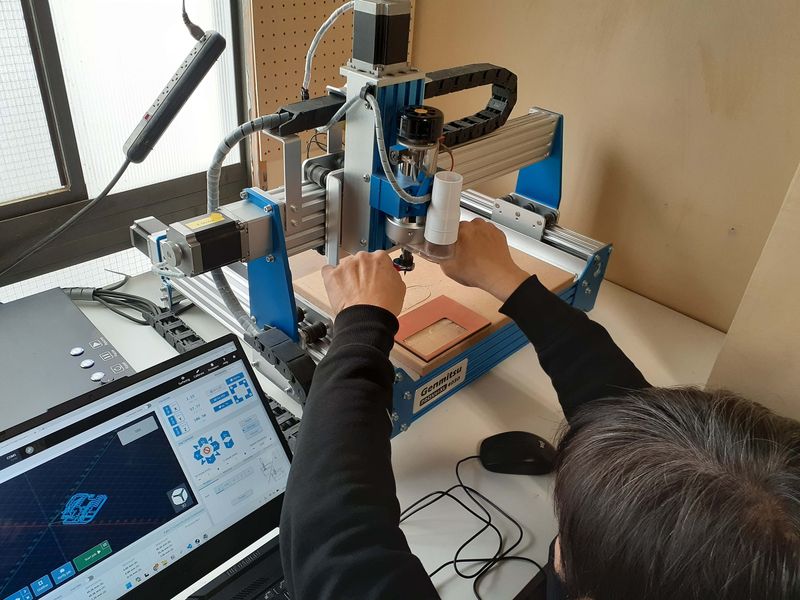
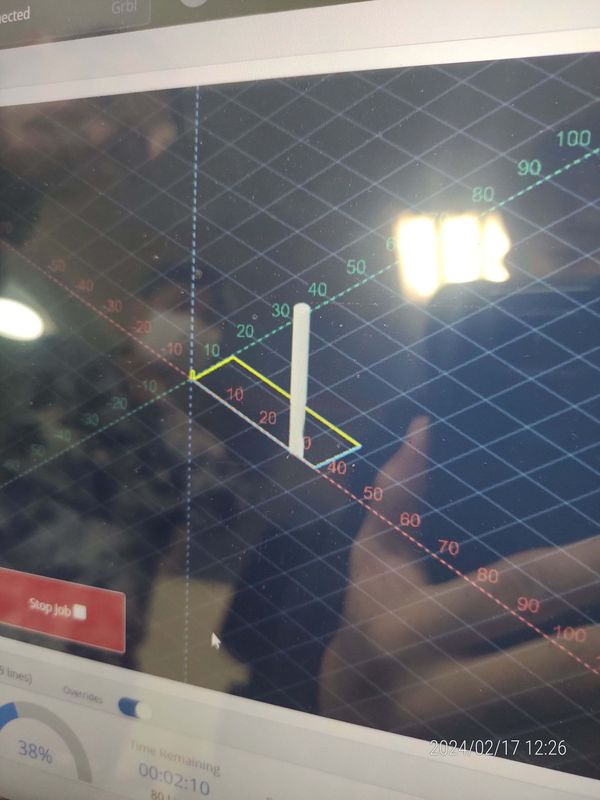
- What to do after launching g-Sender.

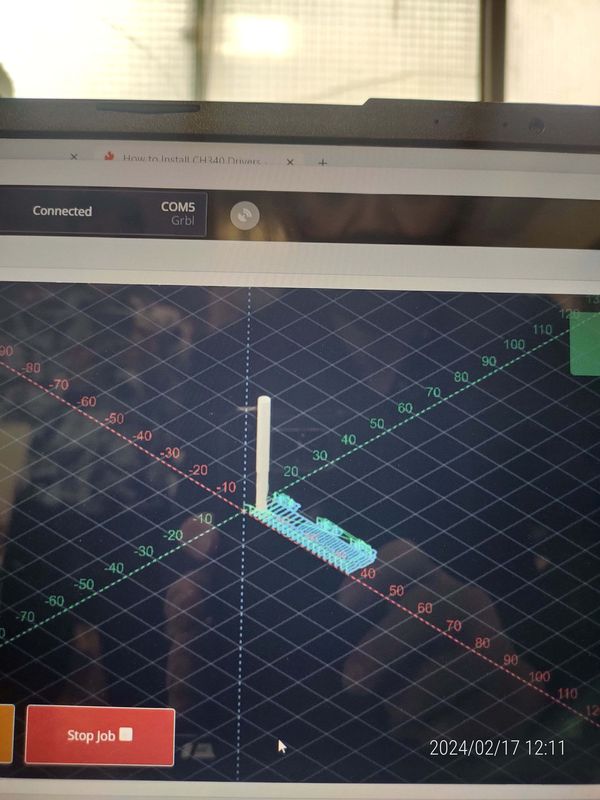
5-1. Select the connected Milling machine from the pulldown menu and establish a connection between the PC and the machine.
5-2. After loading the milling data, move the bit to the starting position for cutting. For the Z-coordinate, carefully lower the bit while placing a single sheet of paper between the material and the bit. The appropriate zero point is when the paper is caught between the material and the bit, and cannot be moved.
5-3. Once the X, Y, and Z positions are determined, press the respective buttons to set the zero points.
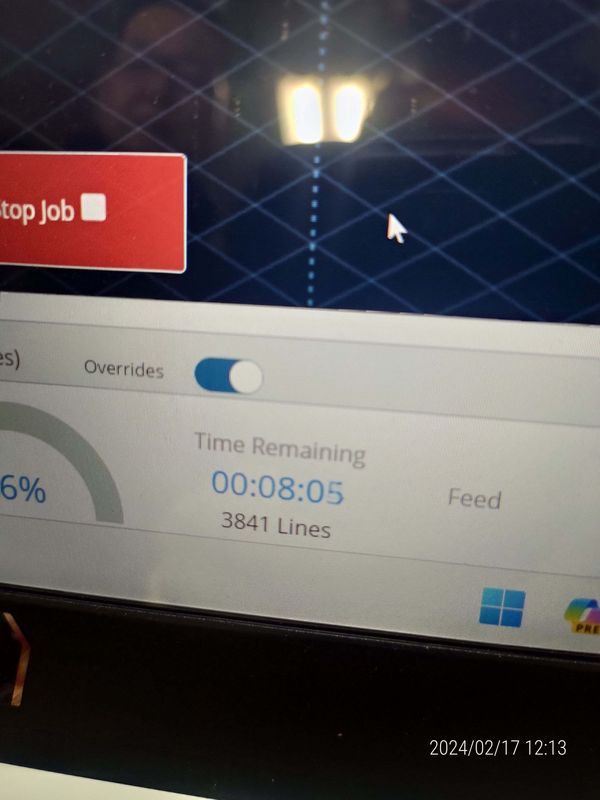
Press “Start Job” button to start the milling.
- Milling the traces first
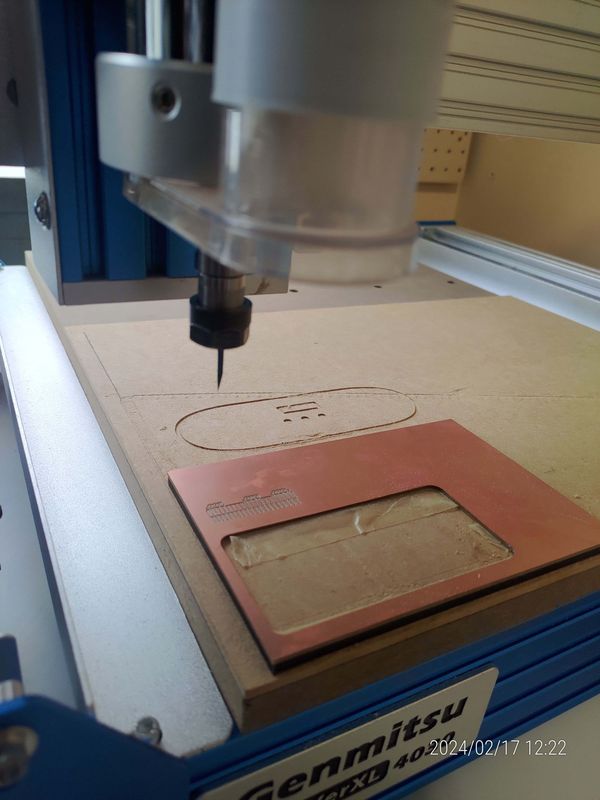
- Milling the interior
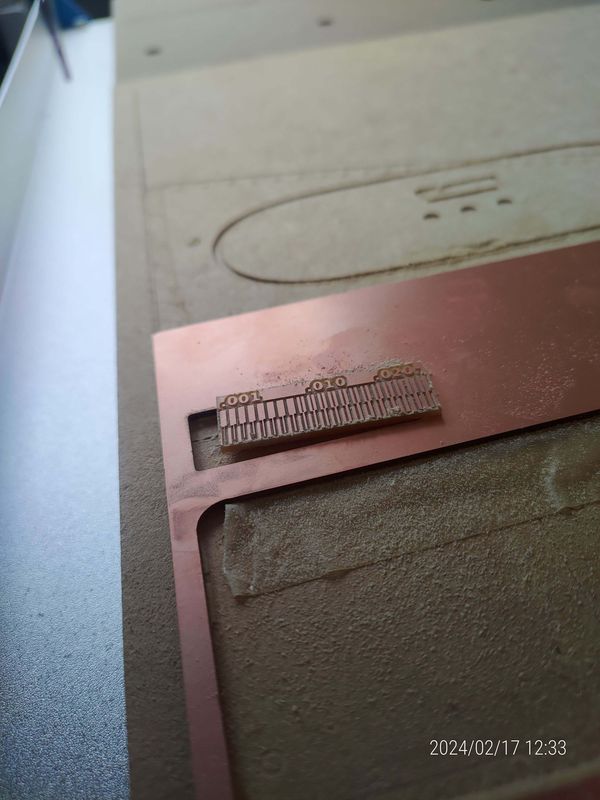
- Rsults