15. Interface and application programming
This week’s assignment was to write an application that interfaces a user with an input &/or output device that I made.
Group assignment
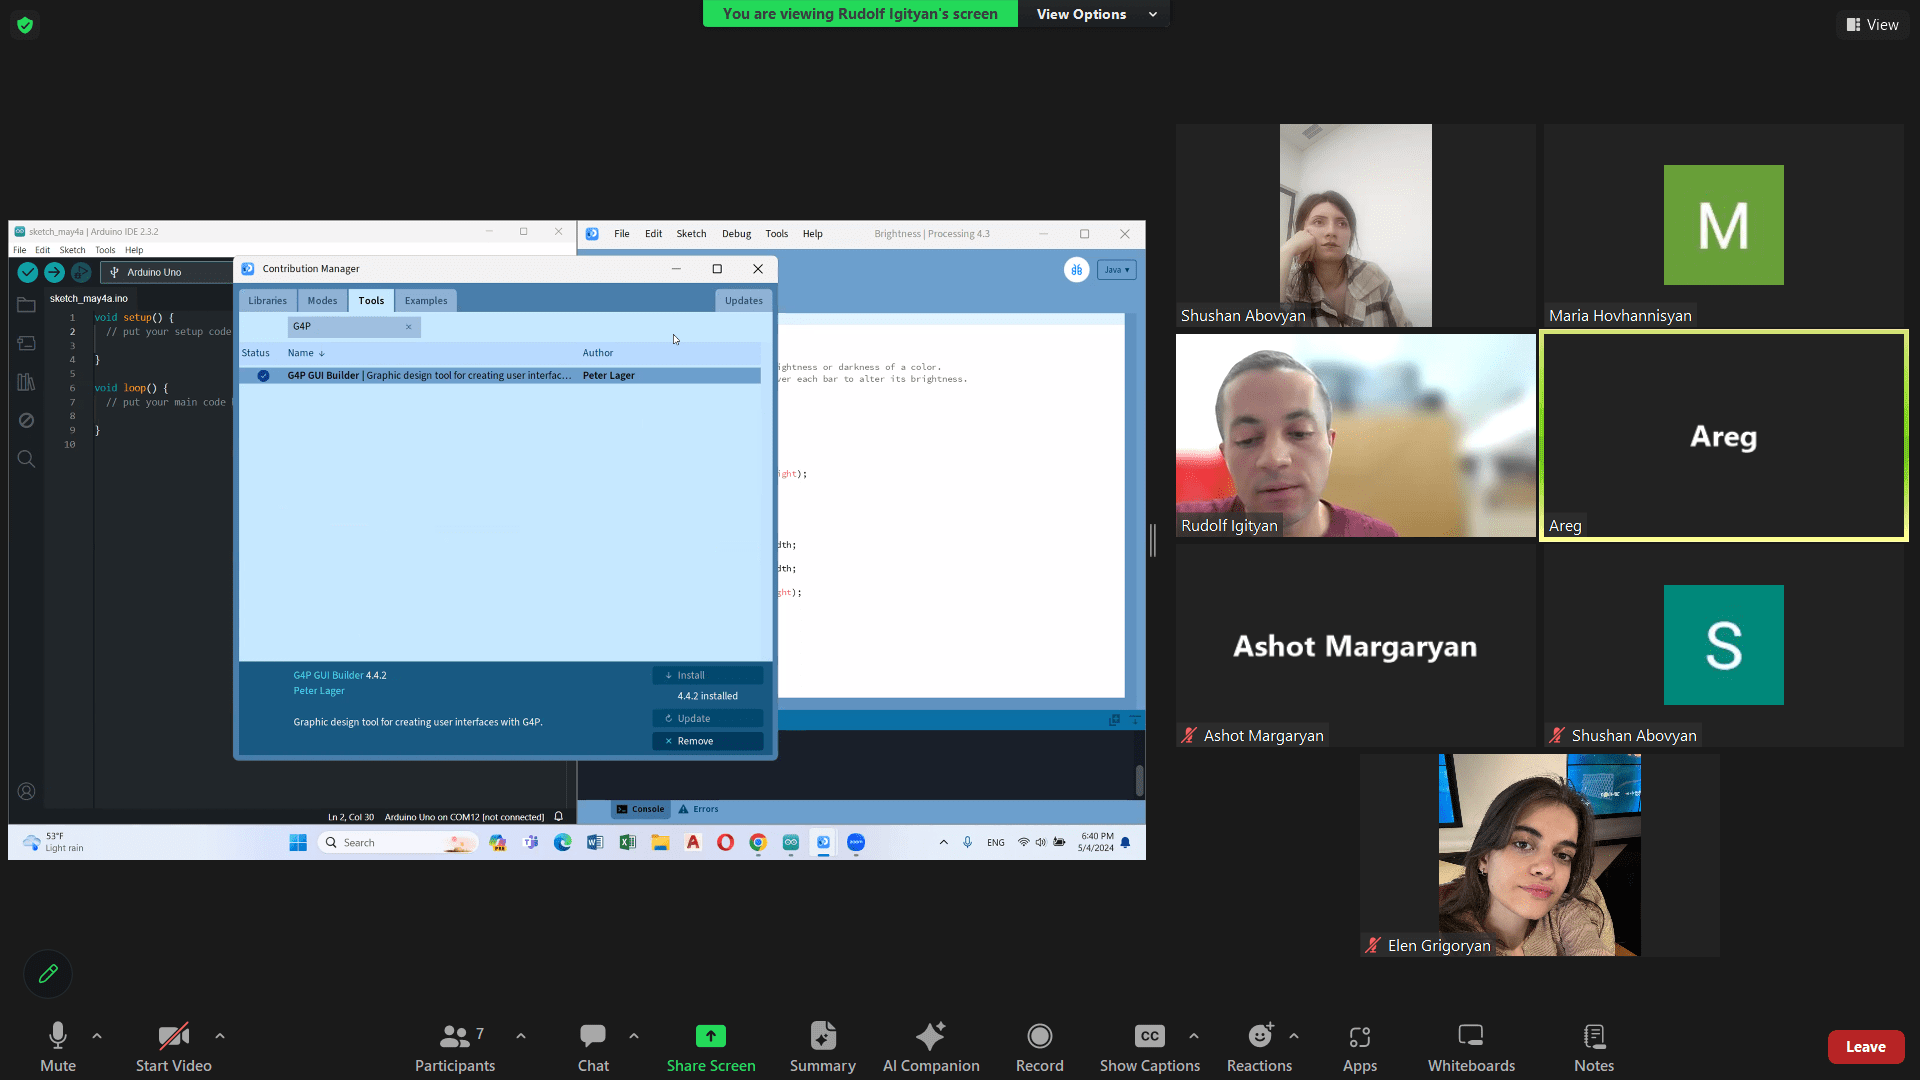
This week as I know C# programming language I decided to create Desktop application with Windows forms and suggested to share my knowledge during group assignment. It was really good experience because I needed explain very detailed and I never explain C# programming language before. But it was really interesting. I explained how they can make simple desktop application how they can add GUI, and how they can connect the device with application.

After that Rudolf explained us G4P GUI Builder. I never heard about it before.
First of all, we needed to download the Processing application.
The G4P add-on, which can be found in Tools, is very suitable for creating the visual part of the application.
In the top menu there are tools for creating components (for example, buttons).
In our example we created 2 buttons.
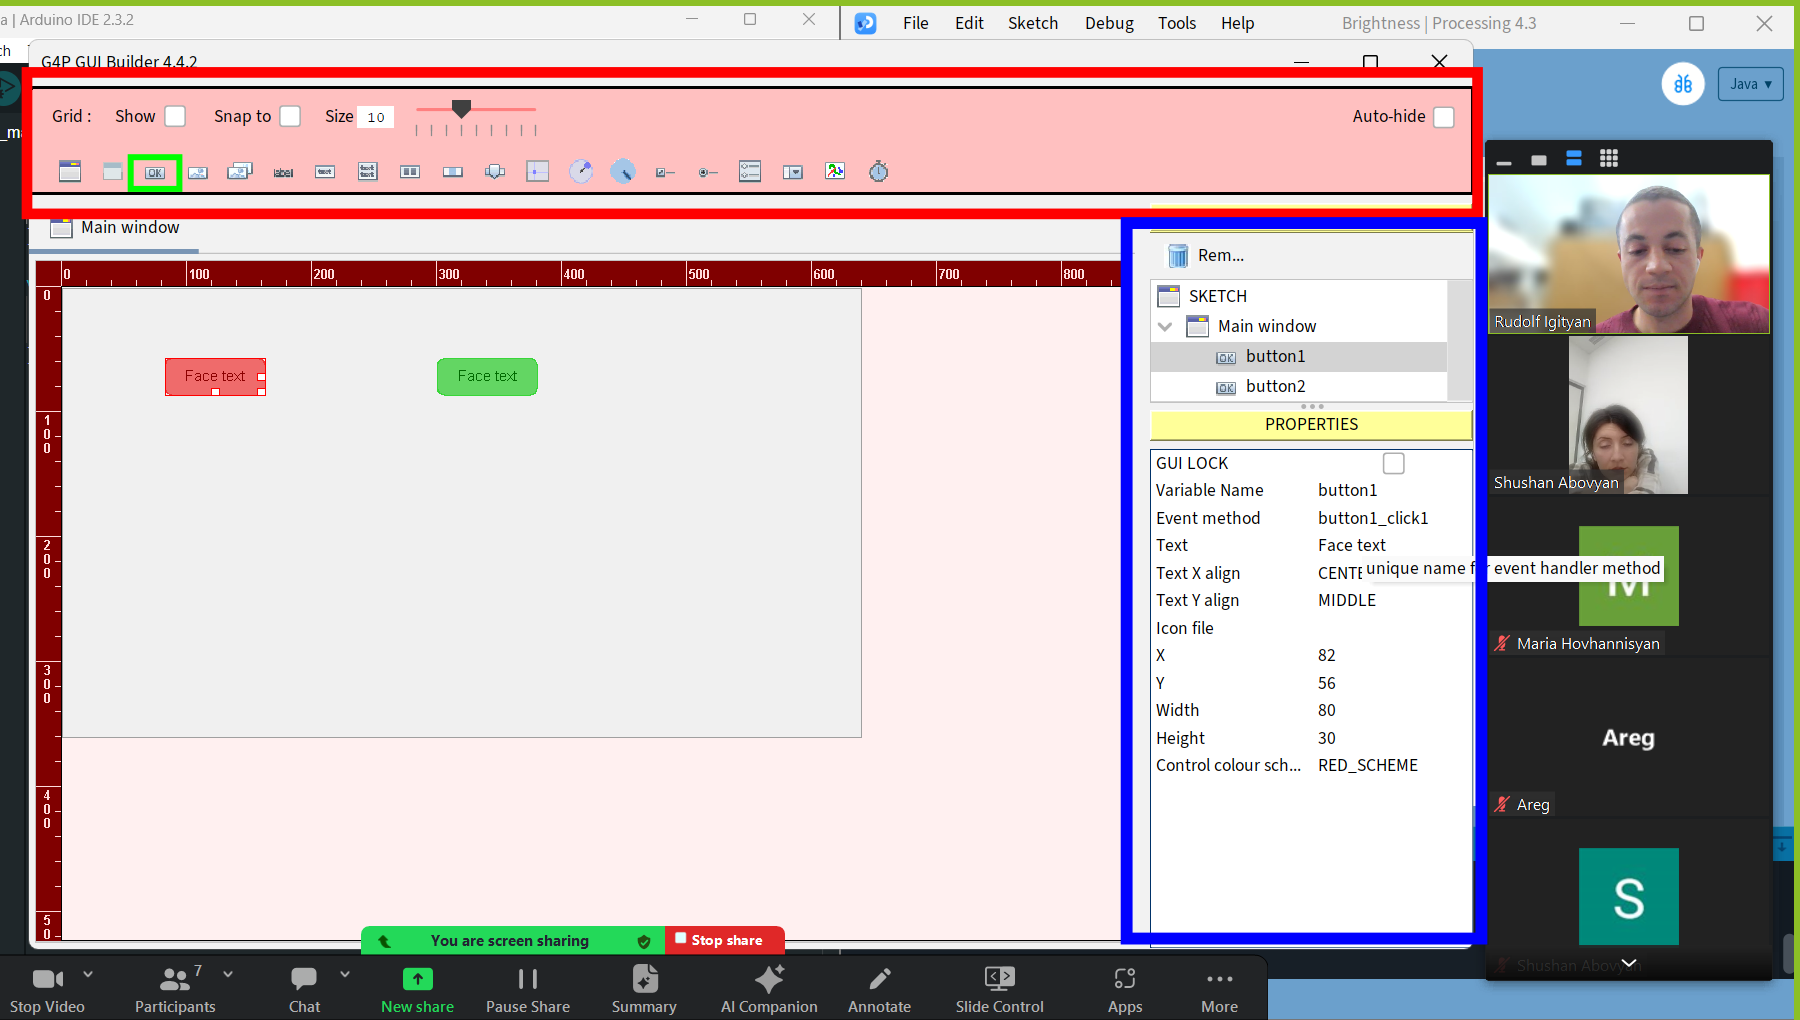
When the window is closed, button click methods are created in the main code, where we can specify the action that should occur when they are clicked.
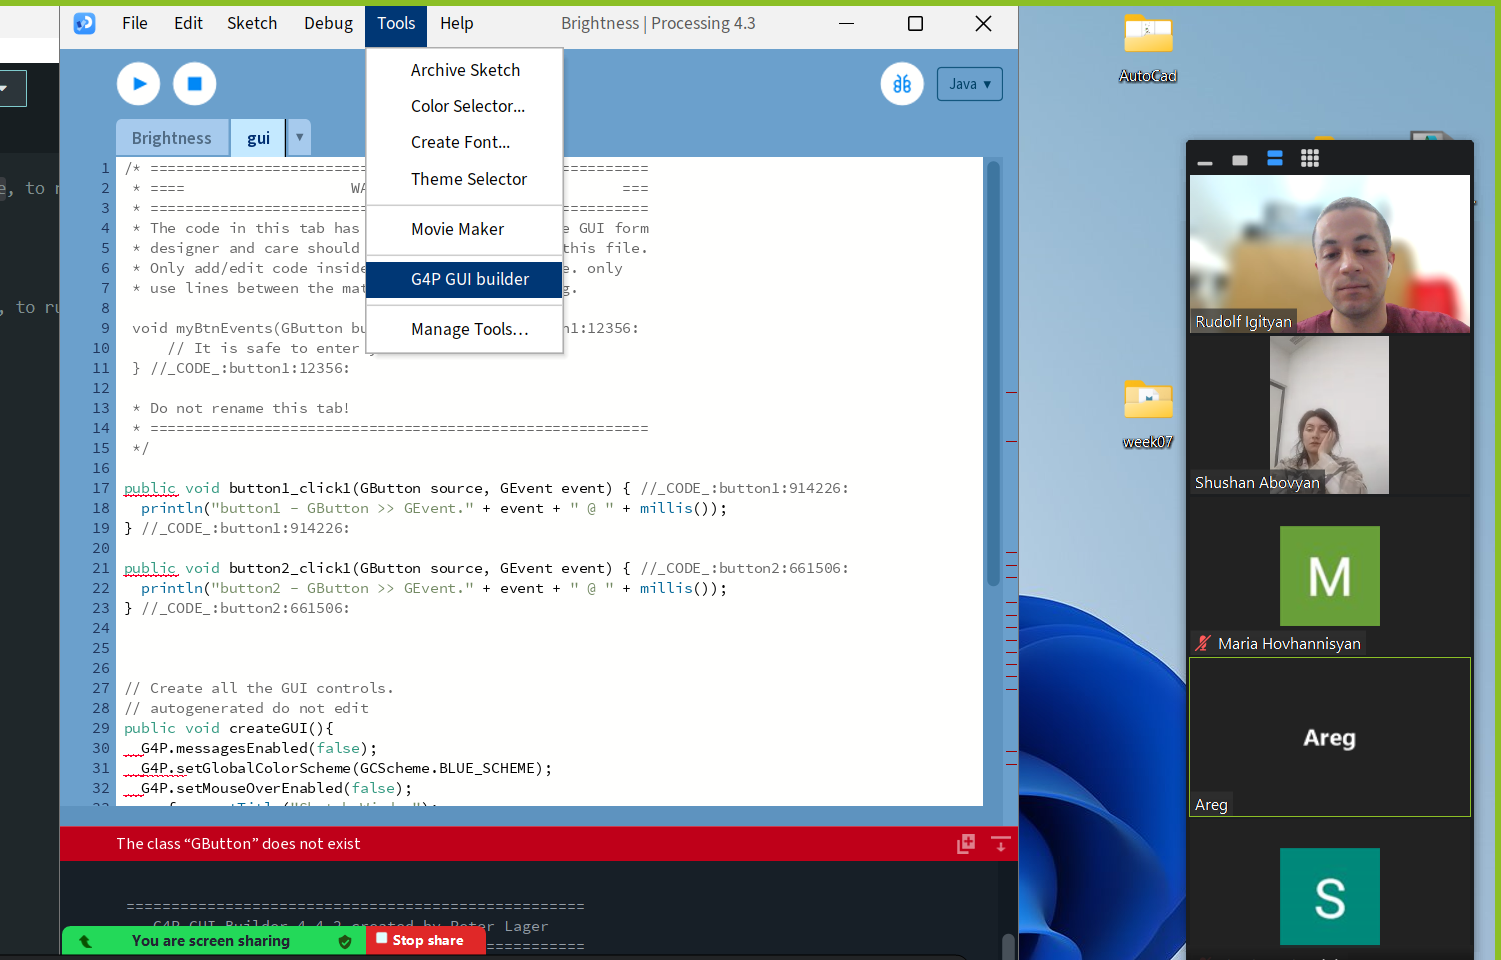
The Processing syntax is very similar to the Arduino IDE syntax. It basically consists of two required functions public void setup() and public void draw(). The first function is executed once at startup, and the second is always repeated.
Individual assignment
Windows form(Desktop Application)
At first I decided to understand what tool or programming interface I could use. Because I knew C# programming language and I knew that I can make applications and I found tutorial how can I create windows form application and connect it with my board. At first I tested it with Arduino Uno board and after that test it for my board.
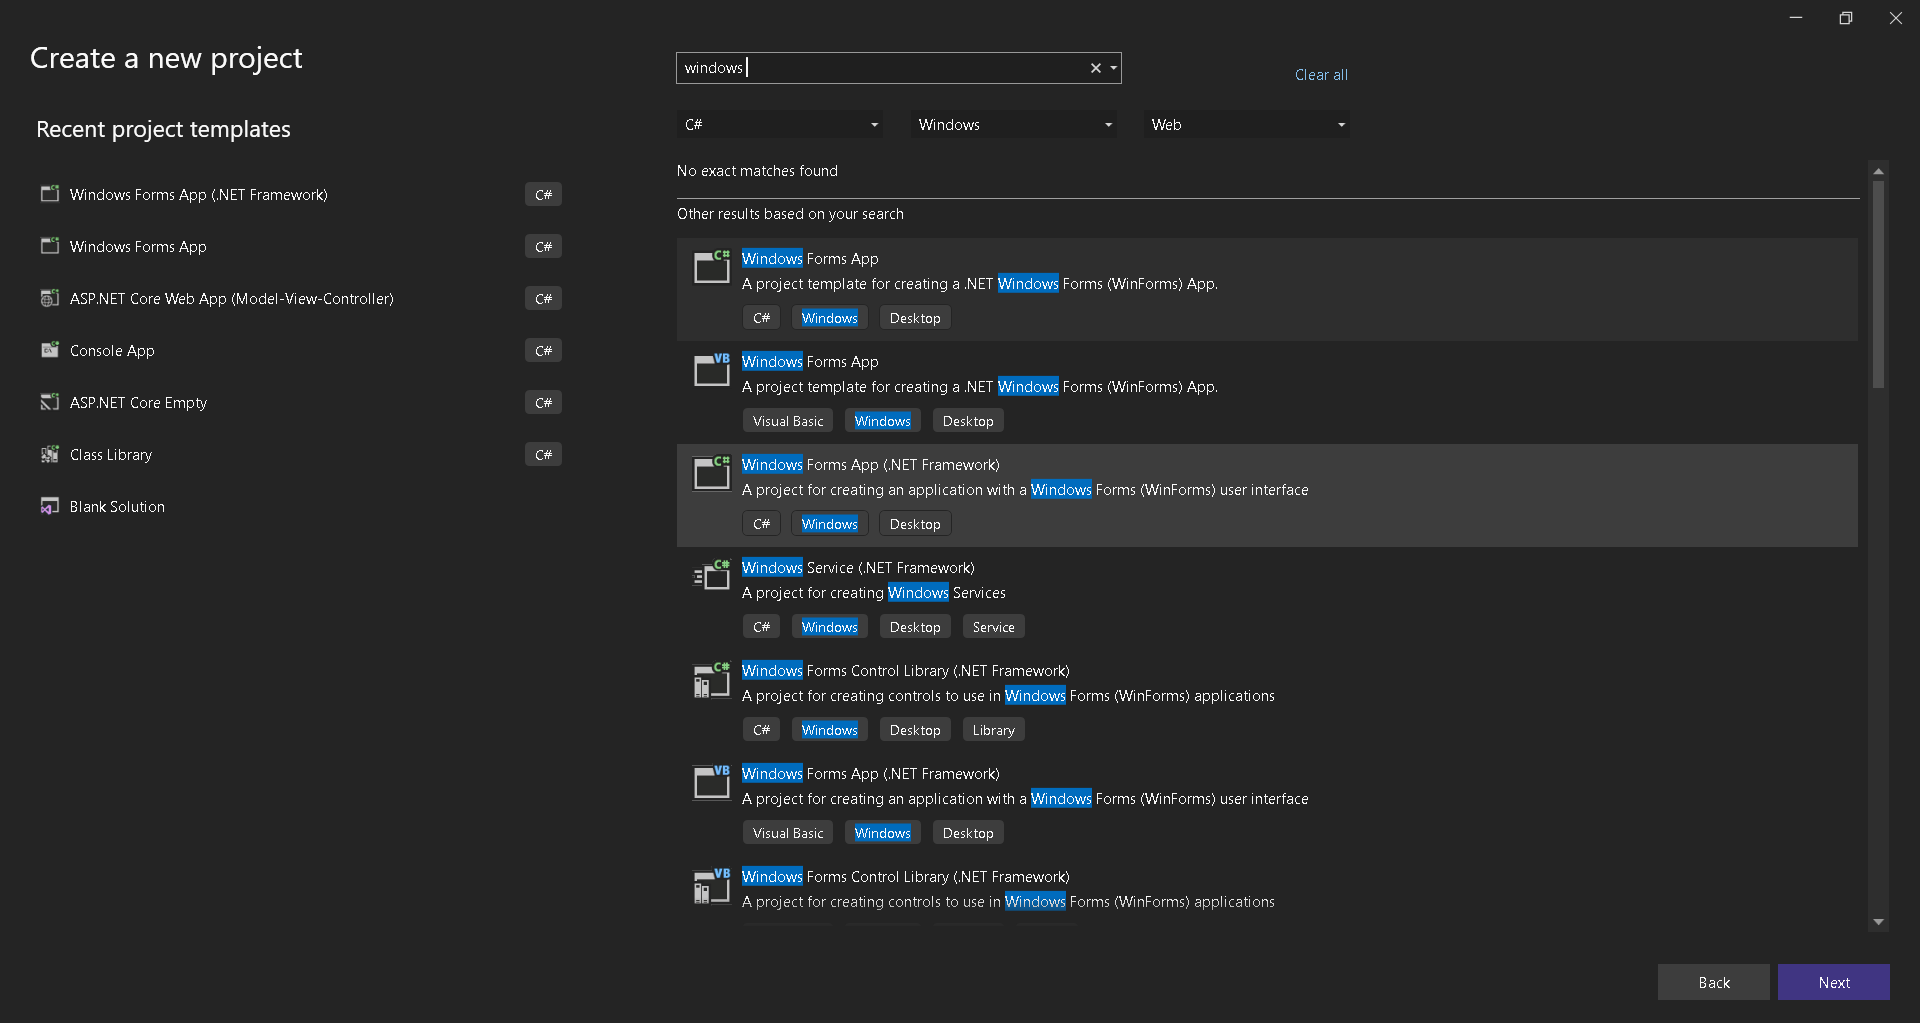
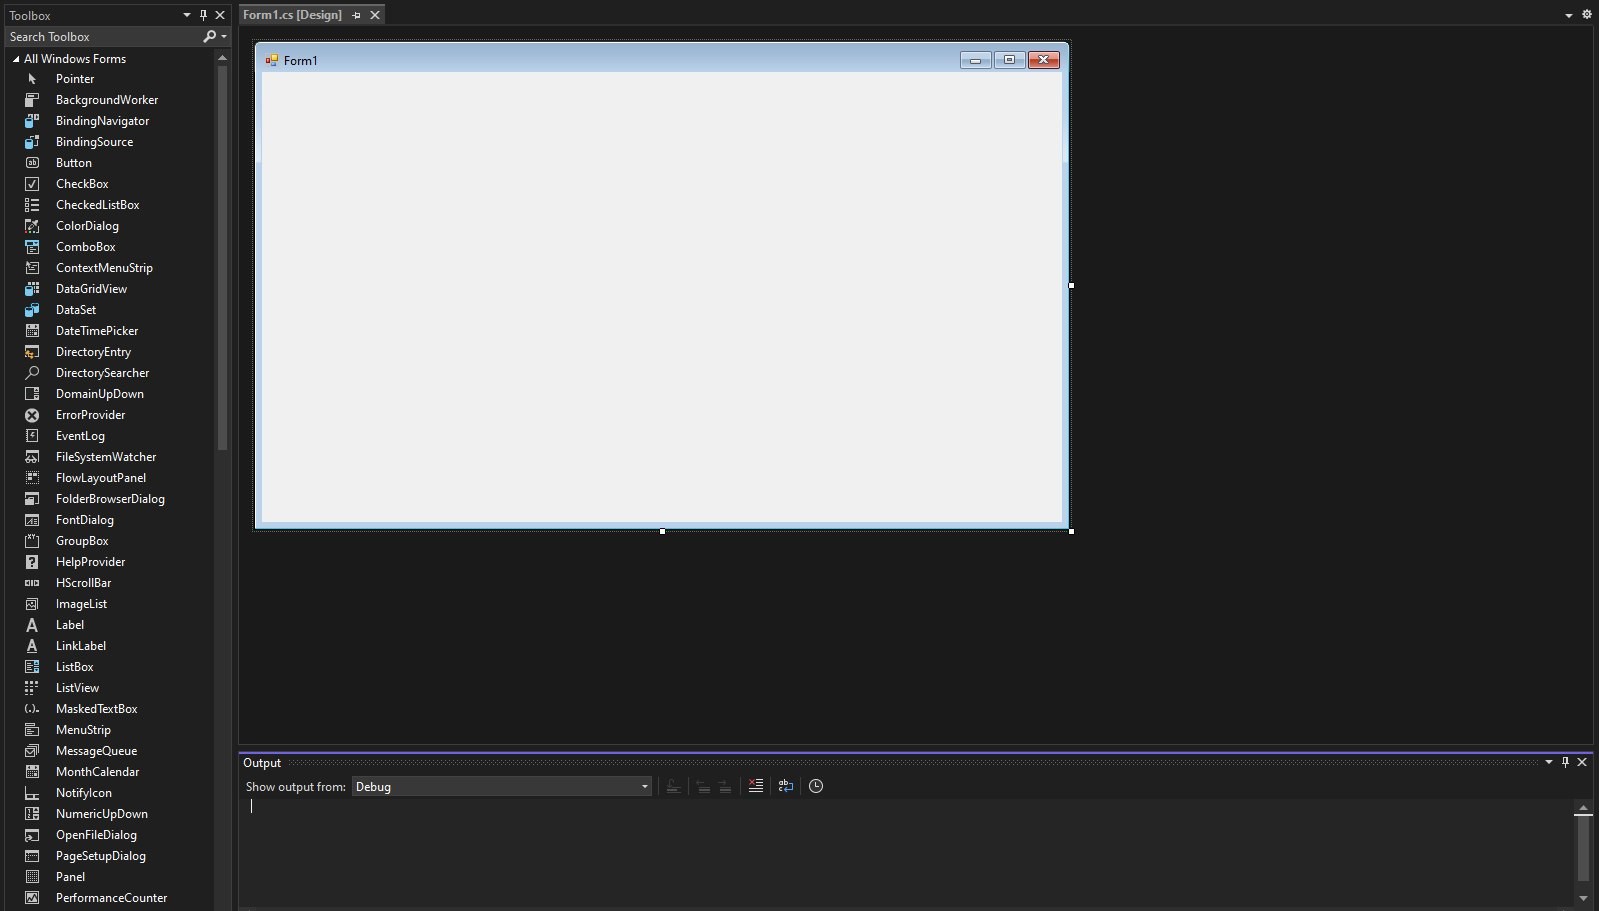
I created application with Visual Studio Community 2022 version. Here are the steps. 1. I opened it and select Create a new project option.

- After that search windows form and select programming language C# and select Windows Forms App(.NET framework).
-
Then I changed Project Name and press Create button.
-
And select framework version.

-
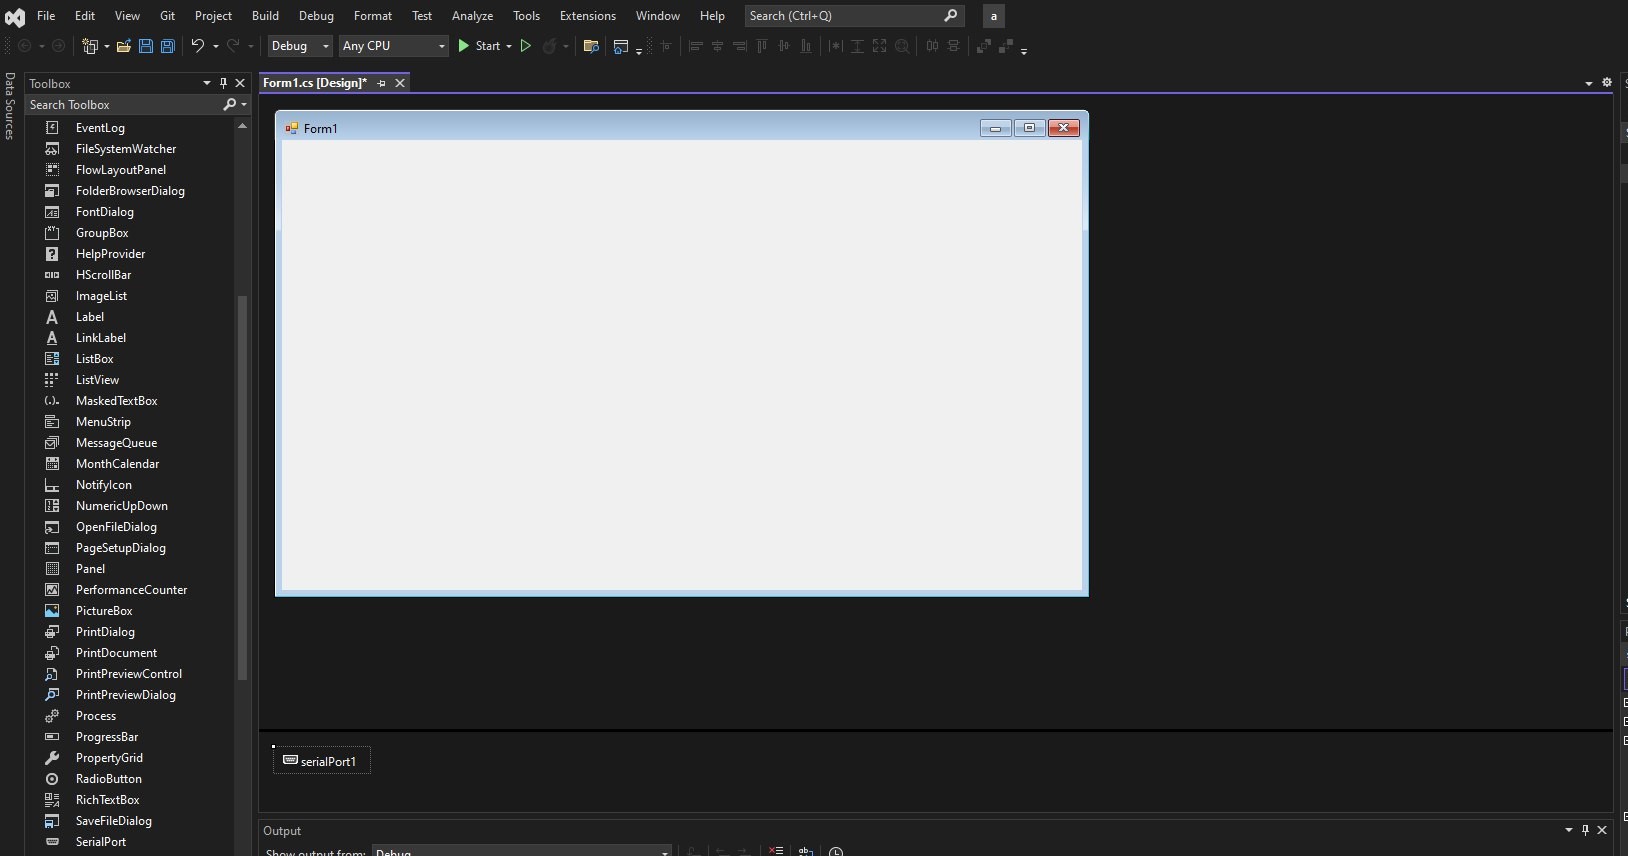
After that opened window for application designing where I put the elements of my application.
- First I added Serial port for communication with board. Serial Port is invisible in GUI.
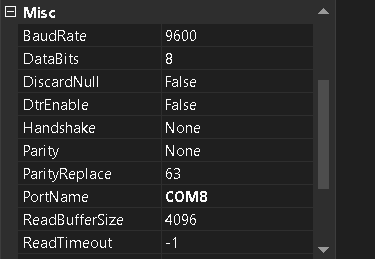
- I changed portName from Serial port properties (the property menu usually on the right bottom side of the window). It needs to be the same port that we connect our board(for my example it was COM8).
After that I started programming it. For that I clicked in the icon of SerialPort with mouse right button and select view code option.

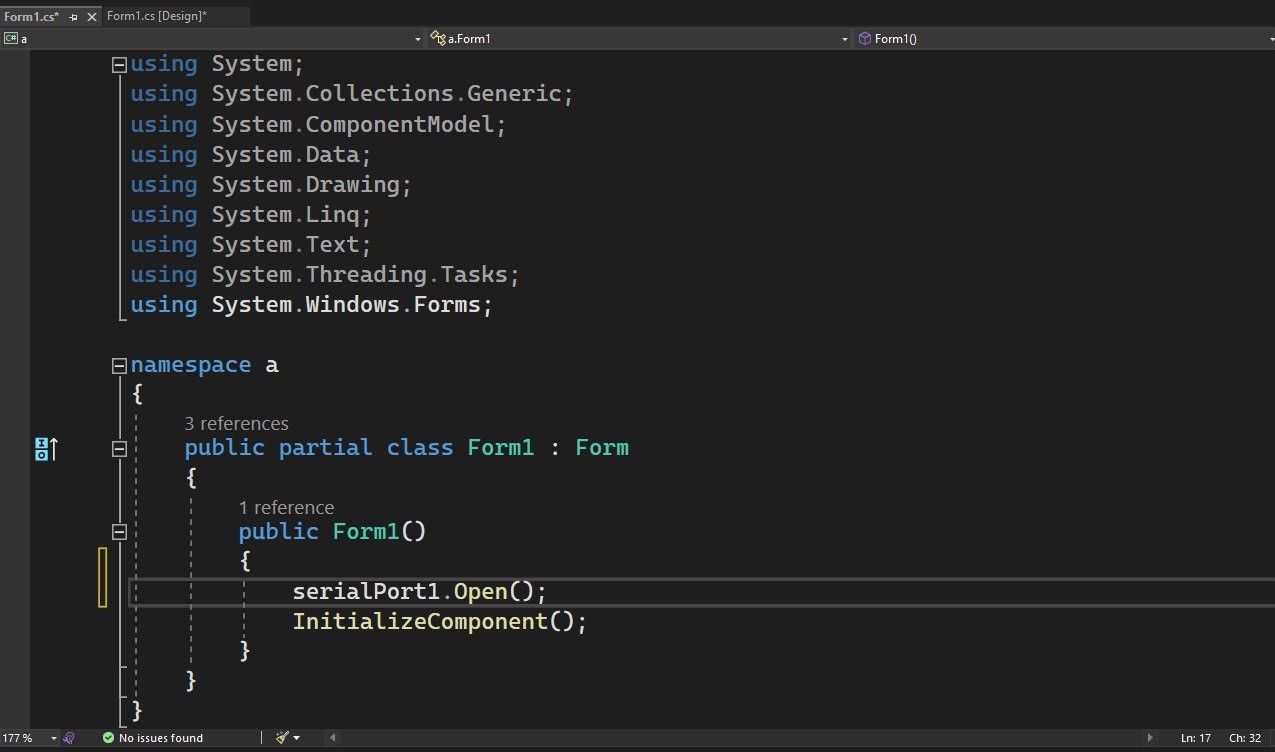
I invoke serialPort1.Open(); method that provide connection with Serial Port.
Then I started to make GUI.

For first part I added two buttons and label . One will turn led on and the other will turn off. For button I changed 2 property text and name. Text visible in GUI and the name we use in programming.
After that I double clicked the TurnON and it opened page for programming with onButton_Click() event that created automatically when I clicked the button.

When I finished led control program I also add textbox and button for servo motor control with them I set the value of the angle of servo motor and when I click the send angle button it send the value to my board.


After that I added program for controlling RGB led with trackbar. I added 3 trackbars and 3 buttons for each color.


After that I started to write a program for Arduino.
#include <Servo_megaTinyCore.h>
Servo s1;
String x;
int servoval;
String data;
char d1;
int redPin=7;
int greenPin=0;
int bluePin=1;
int redValue,greenValue,blueValue;

void setup() {
   Serial.begin(9600);
   pinMode(redPin,OUTPUT);
   pinMode(greenPin,OUTPUT);
   pinMode(bluePin,OUTPUT);
   s1.attach(10);
}

void loop() {
 if(Serial.available()){
  data=Serial.readString();
  d1=data.charAt(0);
  switch (d1){
    case 'n':
    digitalWrite(6,HIGH);
    break;
    case 'f':
    digitalWrite(6,LOW);
    break;
    case 's':
    x=data.substring(1);
    servoval=x.toInt();
    s1.write(servoval);
    delay(100);
    break;
    case 'R':
    x=data.substring(1);
    redValue=x.toInt();
    analogWrite(redPin,redValue);
    break;
    case 'G':
    x=data.substring(1);
    greenValue=x.toInt();
    analogWrite(greenPin,greenValue);
    break;
    case 'B':
    x=data.substring(1);
    blueValue=x.toInt();
    analogWrite(bluePin,blueValue);
    break;
  }
 }
}
Testing
First I tested the led control buttons.
After that I tested servo motor.
And at the end I tested RGB led trackbars.
I also had interface for counting the button clicks and also the textbox that shows potentiometer value but had some troubles with reading values.
App Inventor Application
As I finished my Desktop Application early and had some time I decided to try another program. At this time I tried to make application for mobile with App Inventor. MIT App Inventor is a visual programming environment that allows to build fully functional apps for Android phones, iPhones, and Android/iOS tablets. I made very basic interface for Led and connected bluetooth module hc-05 to my board. Before that I had connected Bluetooth hc-05 module to Arduino Uno for testing the application.
In App Inventor we can connect with AI companion , and see the changes we make in our smartphones. For that I downloaded MIT AI2 Companion

 And connected scanning the QR code.

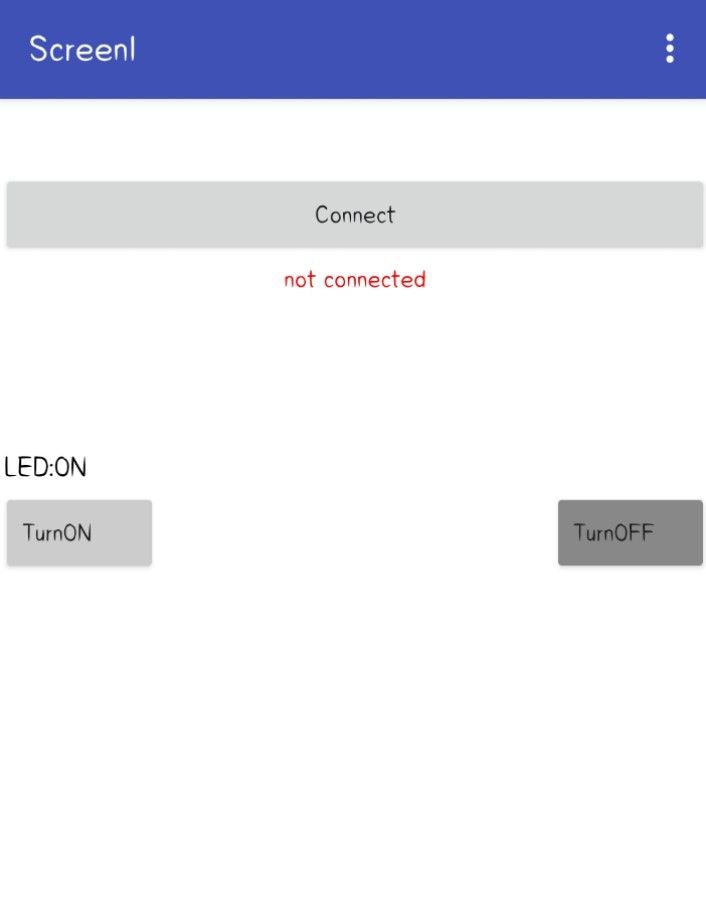
Here is how it is look like. In the right side of the window are the components that I used and the properties that I changed.

After that I wrote a program for my application.
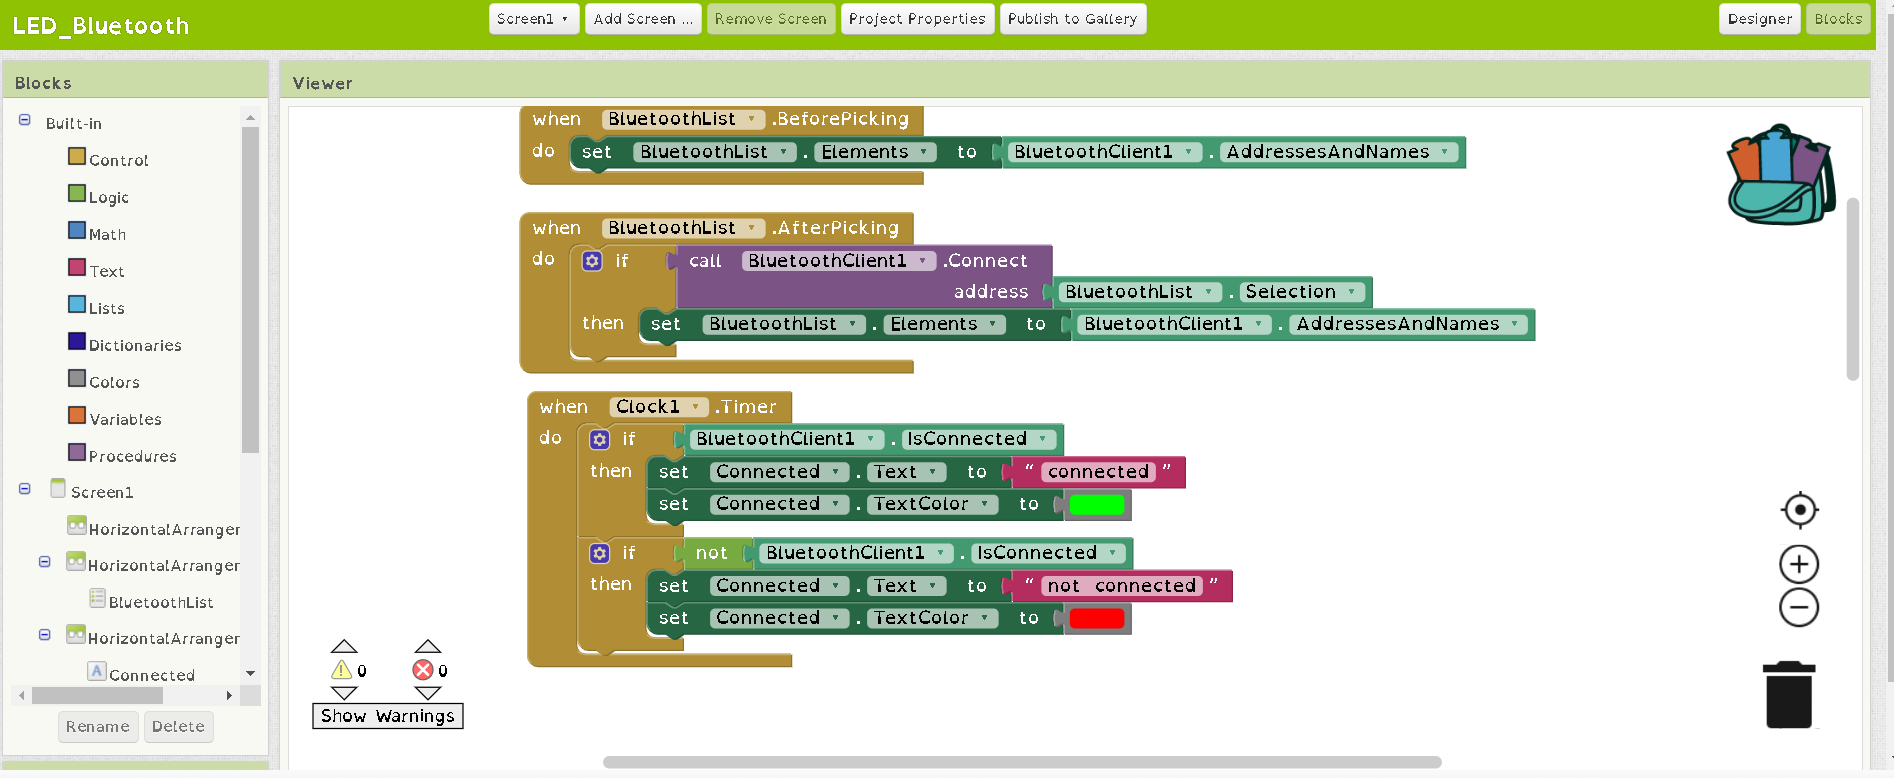
In this part of the program we get list of available devices and I the program checks if the device is connected changes statues not connected to connected and also changed the text color to green.
 Then when the application was ready I built it and chose Android App (.apk) option

And after that downloaded .apk file and installed it at my smartphone.

Here is the code in Arduino for controlling led with application.
#define ledPin 7
int state = 0;
void setup() {
  pinMode(ledPin,OUTPUT);
  digitalWrite(ledPin,LOW);
  Serial.begin(9600);
}

void loop() {
if(Serial.available()>0){
  state=Serial.read();
}
if(state=='0'){
  digitalWrite(ledPin,LOW);
  Serial.println("LED:OFF");
  state=0;
}
else if(state=='1'){
  digitalWrite(ledPin,HIGH);
  Serial.println("LED:ON");
  state=0;
}
}
I tested this code and application with Arduino Uno and it worked, but unfortunately it didn’t worked with my board. Now I am trying to understand the reason of it and solve.
Conclusion
This week was interesting. I learnt a lot of new things I know C# language, but never programed desktop applications and had an opportunity to share my knowledge with other students. It was a little bit hard because I had to explain all things very detailed and found easy explanation. Because C# isn’t very easy language for beginners. I tried all my best․ And after that I made the mobile application with App Inventor. Although the two interfaces weren’t very complicated I learnt a lot of tools and understood how can I make harder applications.