2. Project management
This week our task was to get acquainted with Git and made our webpage. I have watched tutorials and also read Git documentation. Working with Git Bash was a little bit challenging for me. By applying the commands and creating my own repositories in GitLab and GitHub, it became quite simple for me.
How I Make webpage
I learned HTML/CSS but never heard about Markdown.That’s why I decided to use template with Markdown that I found in FabLab Git. Markdown is an easy-to-use markup language that is used with plain text to add formatting elements (headings, bulleted lists, URLs) to get text without the use of a formal text editor or the use of HTML tags. Markdown template Firstly, I needed to understand the structure of template. I tried to find basic syntax of Markdown. That was quite easy. Here is the link of basic syntax. Markdown documentation
And after that I started to change the template.
Here are the steps.
1. First, I opened readme file to understand how I needed changing the template.
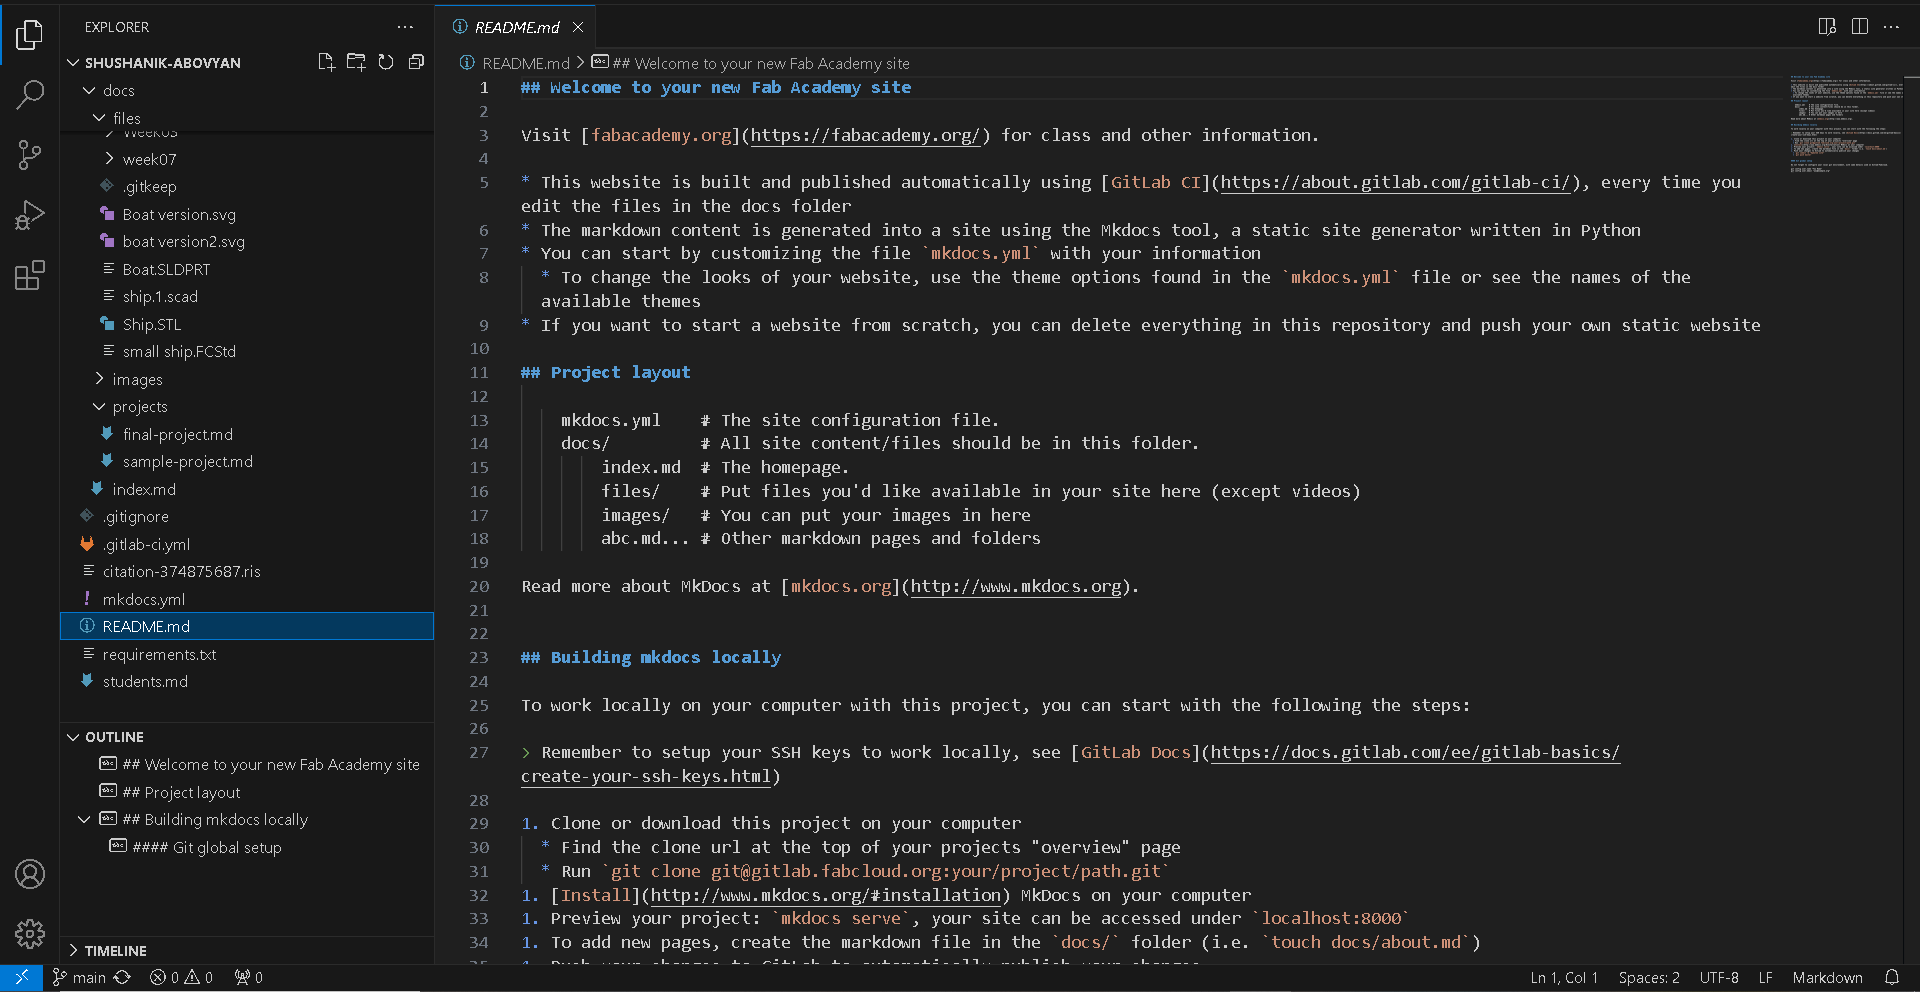
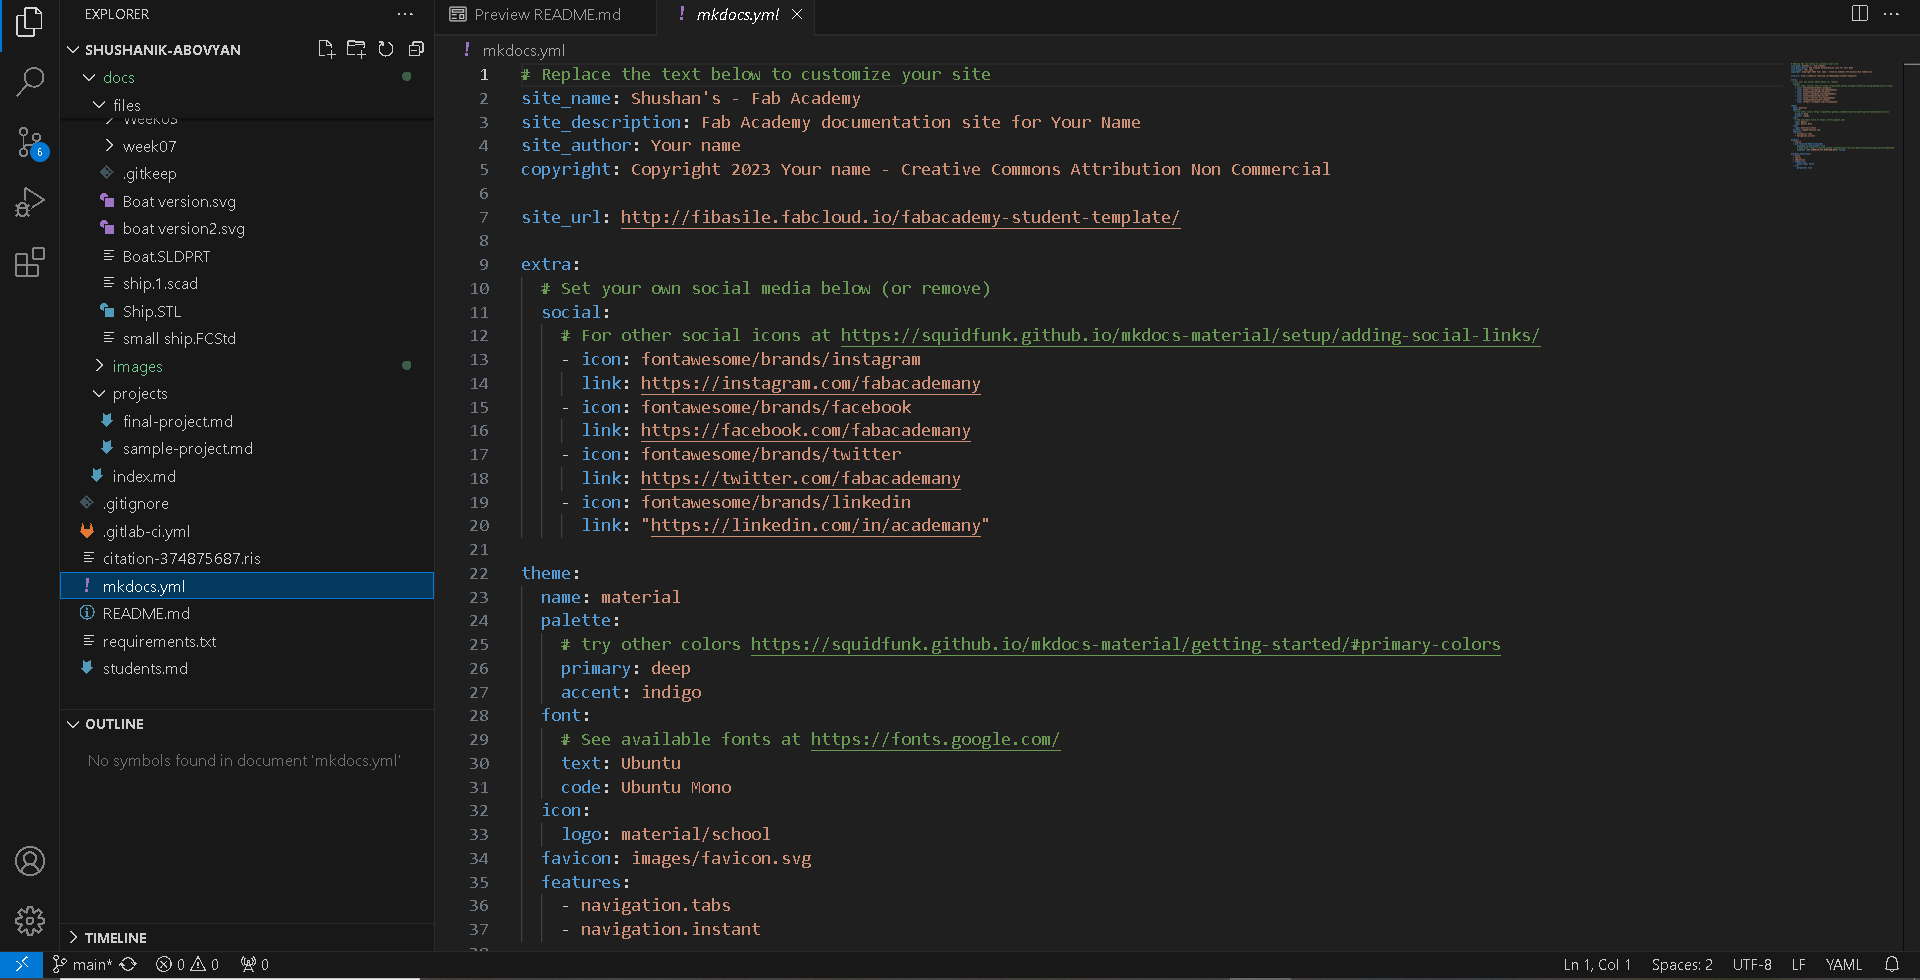
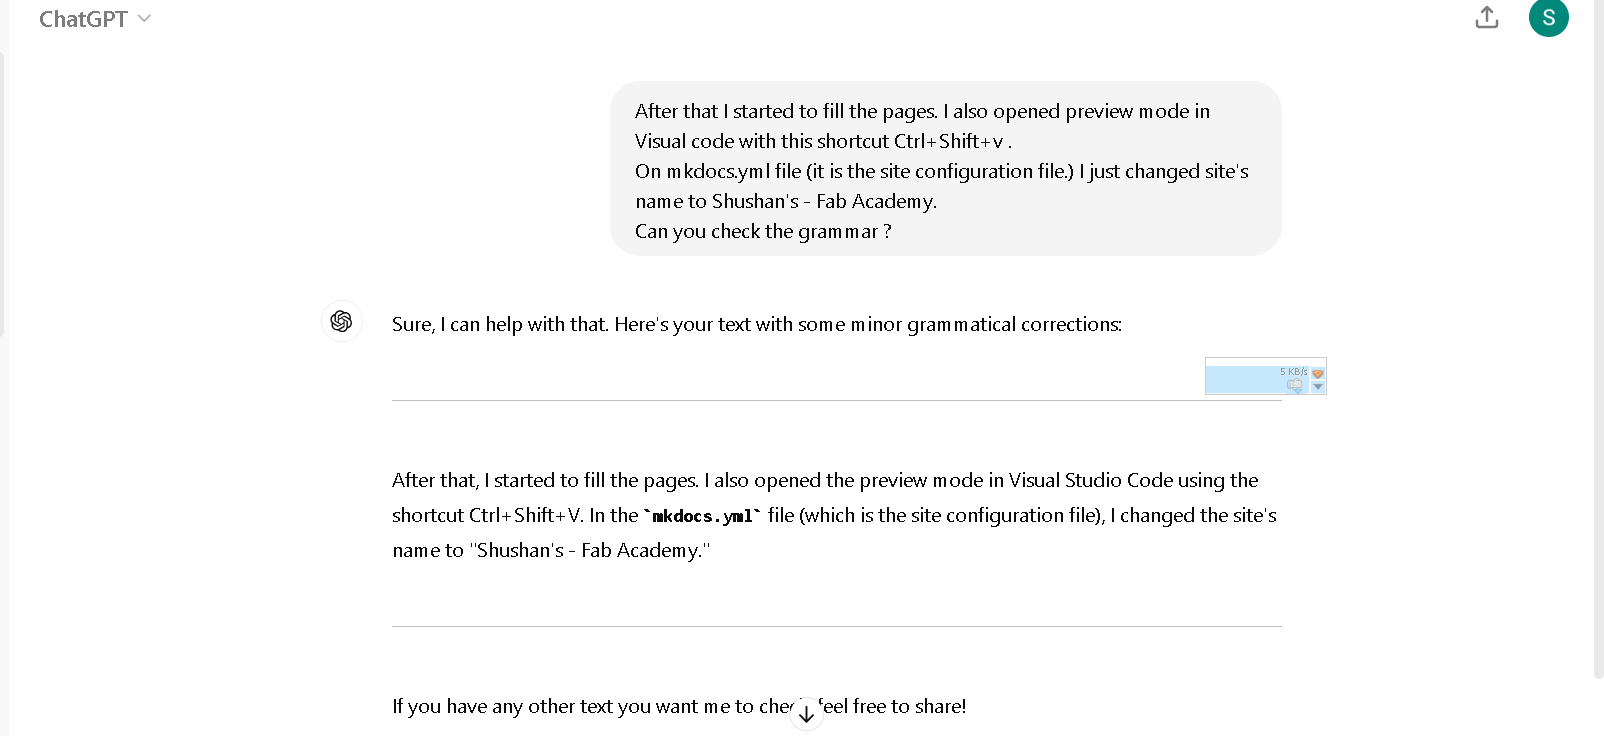
- After that I started to fill the pages. I also opened preview mode in Visual code with this shortcut Ctrl+Shift+v . On mkdocs.yml file (it is the site configuration file.) I just changed site’s name to Shushan’s - Fab Academy.
About webpage
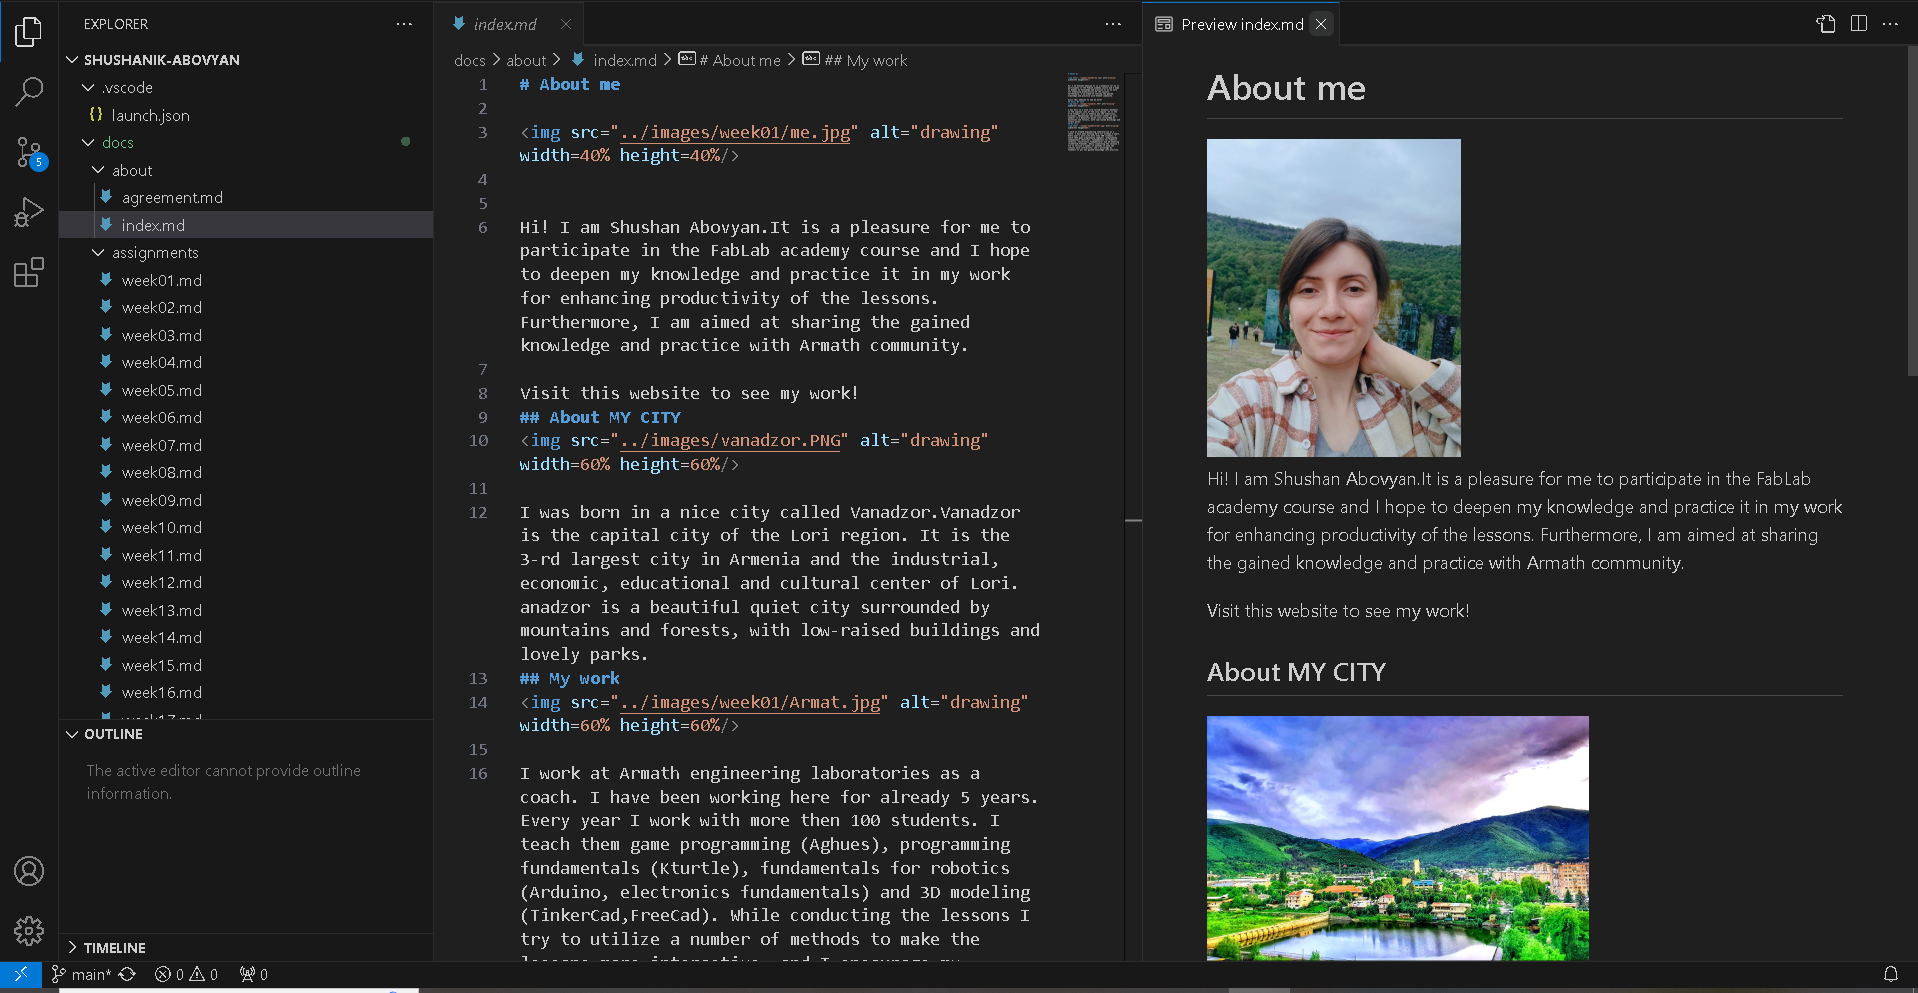
Home webpage

Student Agreement

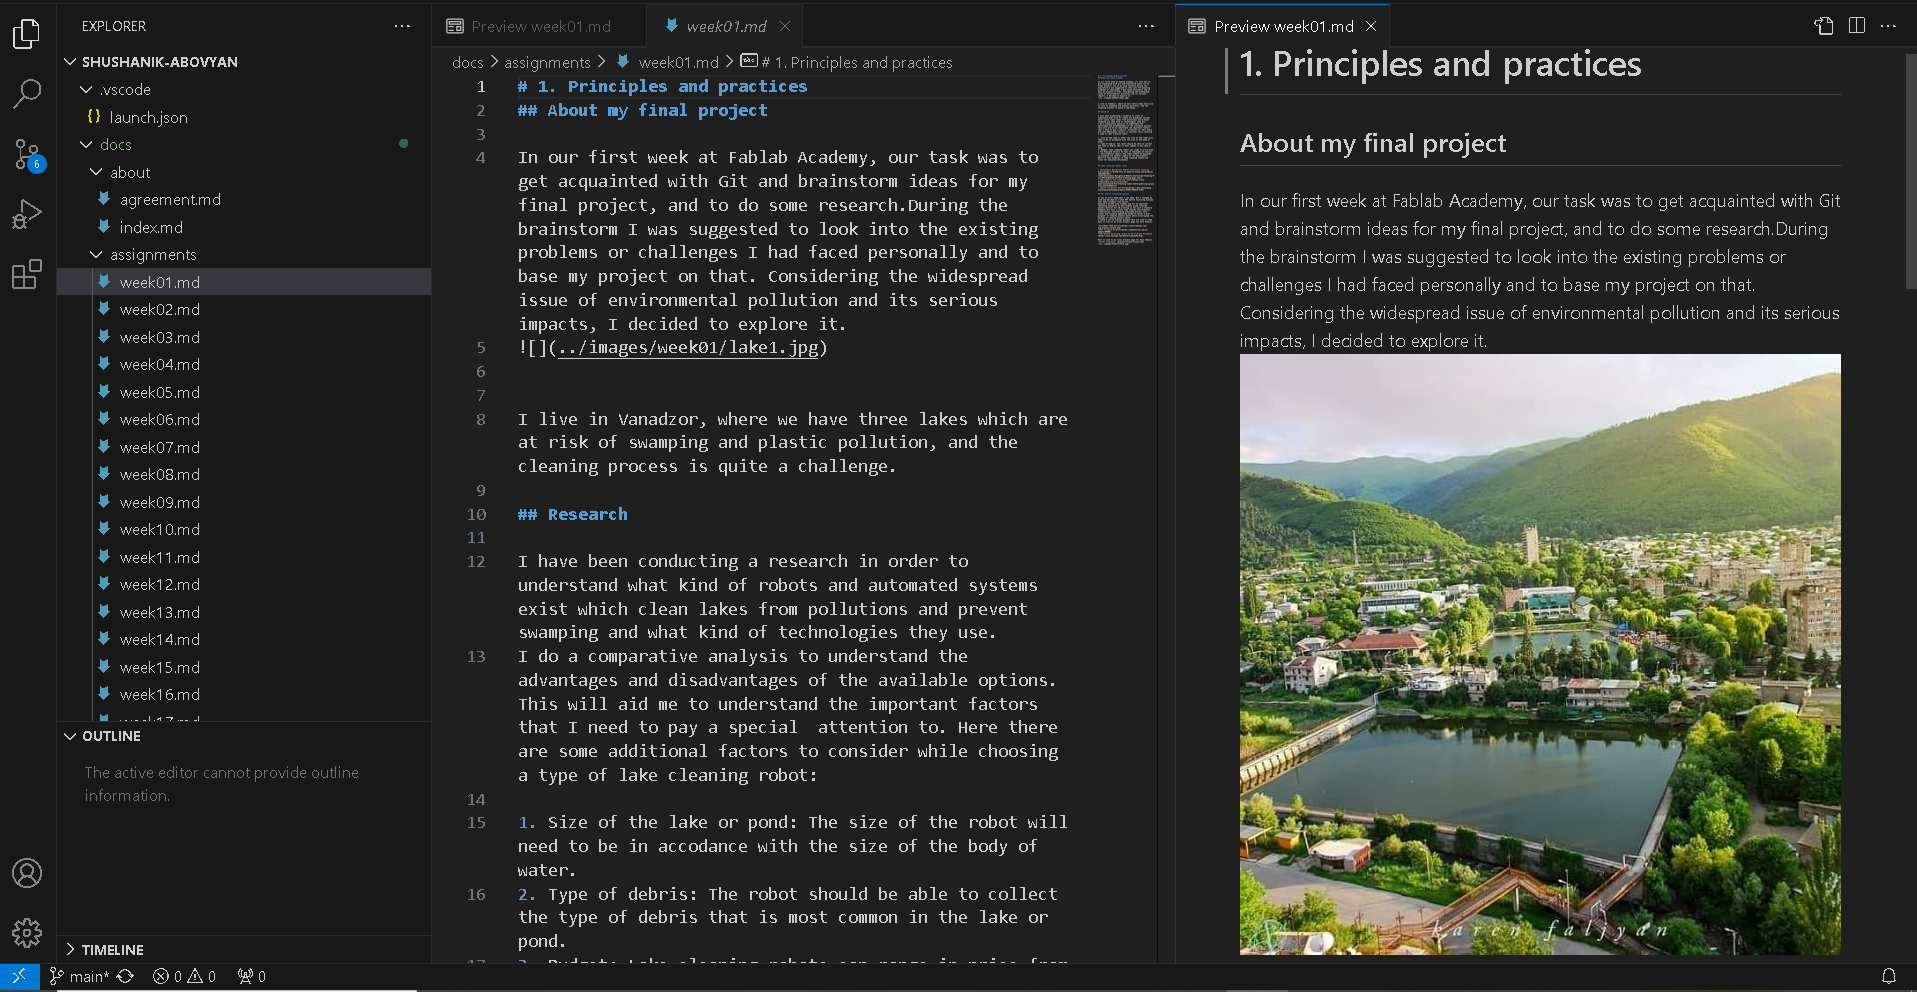
First week
And I also created the folders for every weeks’ images.
I used Chat GPT for grammar corrections in my documentation
Here is a prompt I used for this.
My path to learning Git
What is Git and Why Should I Use it?
Key Insights
- Git is the most widely used version control system, enabling tracking of changes to files and easier collaboration among multiple users.
- Git can be accessed via a command line or through a desktop app with a graphical user interface, such as Sourcetree.
- A Git repository contains all project files and their complete revision history, which is stored in a .git subfolder.
- Git allows users to ‘stage’ and ‘commit’ files, enabling them to choose specific pieces for version tracking and updates.
- Online hosts such as GitHub and Bitbucket can be used for storing a copy of the Git repository, enabling smoother collaboration with other developers.
- Git also supports branching and merging, allowing concurrent development workflows and providing robust tools for handling conflicts during merges.
Advantages of Git
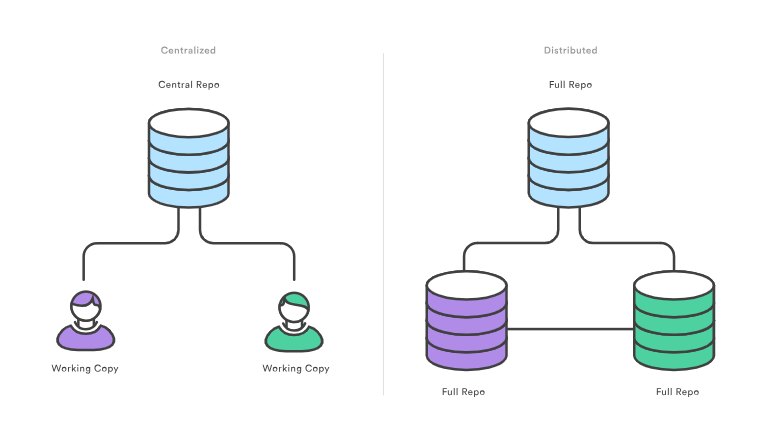
- Feature branch workflow: One of the biggest advantages of Git is its branching capabilities. Unlike centralized version control systems, Git branches are cheap and easy to merge. This facilitates the feature branch workflow popular with many Git users.

- Distributed development:In SVN, each developer gets a working copy that points back to a single central repository. Git, however, is a distributed version control system. Instead of a working copy, each developer gets their own local repository, complete with a full history of commits.
- Pull requests: Many source code management tools such as Bitbucket enhance core Git functionality with pull requests. A pull request is a way to ask another developer to merge one of your branches into their repository. This not only makes it easier for project leads to keep track of changes, but also lets developers initiate discussions around their work before integrating it with the rest of the codebase.

Install Git on Windows
Git for Windows stand-alone installer
- Download the latest Git for Windows installer.
- When you’ve successfully started the installer, you should see the Git Setup wizard screen. Follow the Next and Finish prompts to complete the installation. The default options are pretty sensible for most users.
- Open a Command Prompt (or Git Bash if during the installation you elected not to use Git from the Windows Command Prompt).
- Run the following commands to configure your Git username and email using the following commands, replacing Emma’s name with your own. These details will be associated with any commits that you create:
$ git config --global user.name "Shushan Abovyan"
$ git config --global user.email "shushan.abovyan.1@gmail.com"
What is a Git repository?
A Git repository is a virtual storage of your project. It allows you to save versions of your code, which you can access when needed. To create a new repo, you’ll use the git init command. Git init is a one-time command you use during the initial setup of a new repo. Executing this command will create a new .git subdirectory in your current working directory. This will also create a new main branch. This example assumes you already have an existing project folder that you would like to create a repo within. You’ll first cd to the root project folder and then execute the git init command.
cd /path/to/your/existing/code
git init
If the project has already been set up in a central repository, the clone command is the most common way for users to obtain a local development clone. Like git init, cloning is generally a one-time operation. Once a developer has obtained a working copy, all version control operations are managed through their local repository.
git clone <repo url>
Git clone is used to create a copy or a clone of the remote repositories. You pass git clone a repository URL. Git supports a few different network protocols and corresponding URL formats. In this example, we’ll be using the Git SSH protocol. Git SSH URLs follow a template of:
git@HOSTNAME:USERNAME/REPONAME.git
You can also add new file and after adding commit it. It means to create a new commit with a message describing what work was done in the commit.
git add FileName.txt
git commit -m "Message about commit content"
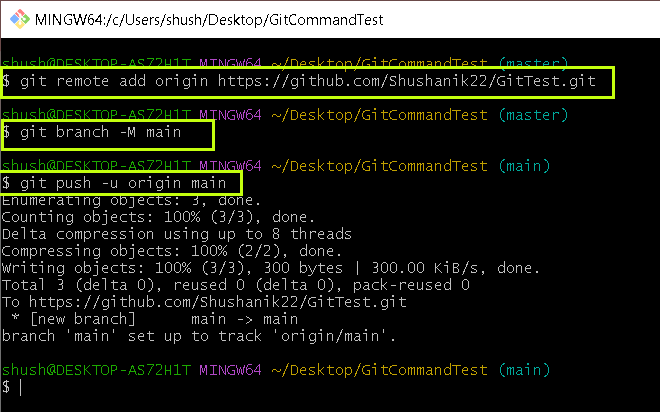
Once you have a remote repo setup, you will need to add a remote repo url to your local git config, and set an upstream branch for your local branches. The git remote command offers such utility.
git remote add <remote_name> <remote_repo_url>
This command will map remote repository at <remote_repo_url> to a ref in your local repo under <remote_name>. Once you have mapped the remote repo you can push local branches to it.
git push -u <remote_name> <local_branch_name>
Video Tutorials
Armenian video lessons
Using Git source control in VS Code
Visual Studio Code has integrated source control management (SCM) and includes Git support out-of-the-box. Many other source control providers are available through extensions on the VS Code Marketplace.

The Source Control icon in the Activity Bar on the left will always indicate an overview of how many changes you currently have in your repository. Selecting the icon will show you the details of your current repository changes: CHANGES, STAGED CHANGES and MERGE CHANGES.
Clicking each item will show you in detail the textual changes within each file. Note that for unstaged changes, the editor on the right still lets you edit the file: feel free to use it!
You can also find indicators of the status of your repository in the bottom-left corner of VS Code: the current branch, dirty indicators, and the number of incoming and outgoing commits of the current branch. You can checkout any branch in your repository by clicking that status indicator and selecting the Git reference from the list.
Time to practice.
Adding locally hosted code to GitHub
- First, I downloaded Git and installed it on my computer.
- Next, I created a local folder in my computer for testing Git Bash commands.I navigated to this folder using the Git Bash.
 3.I added a local repository to GitHub by creating a repository on the GitHub website.I copied the remote repository URL provided by GitHub.
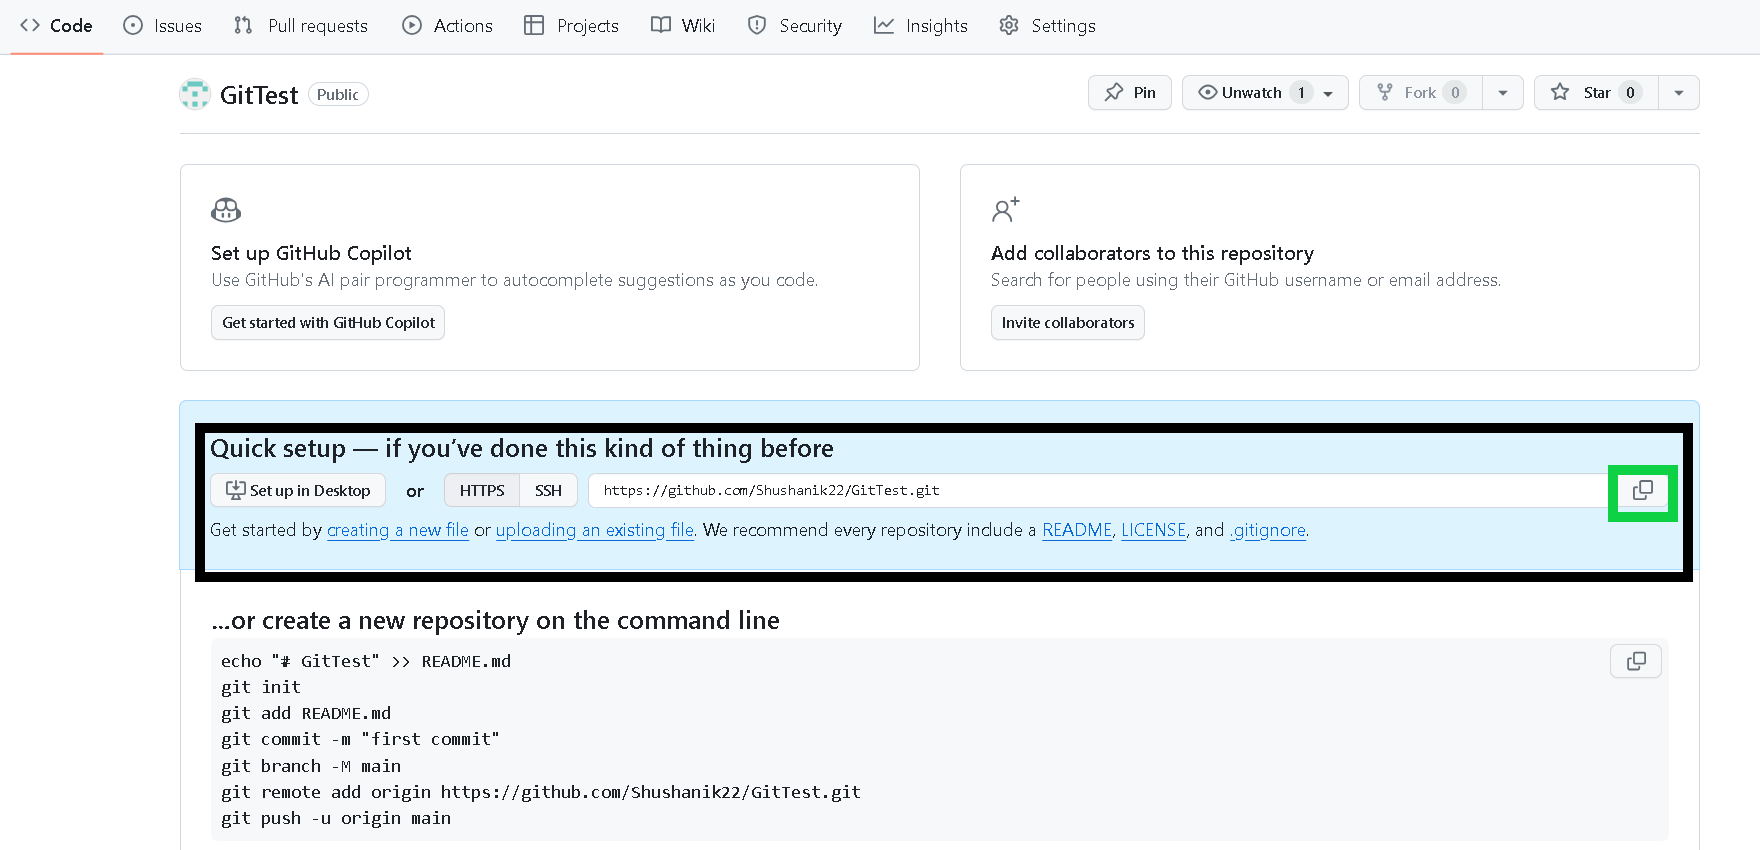 4.I linked my local repository to the GitHub repository by adding the remote repository URL. I pushed the changes from my local repository to remote repository.
Adding locally hosted code to GitLab
For adding to GitLab I did the same steps as on GitHub, but I used the SSH protocol and generated an SSH key.
With SSH keys, you can connect to GitLab without supplying your username and personal access token during each visit. You can also use an SSH key to sign commits. Here there are the steps that I did.
1. I began by creating a local folder and gave a name to it.
2. I generated an SSH key.
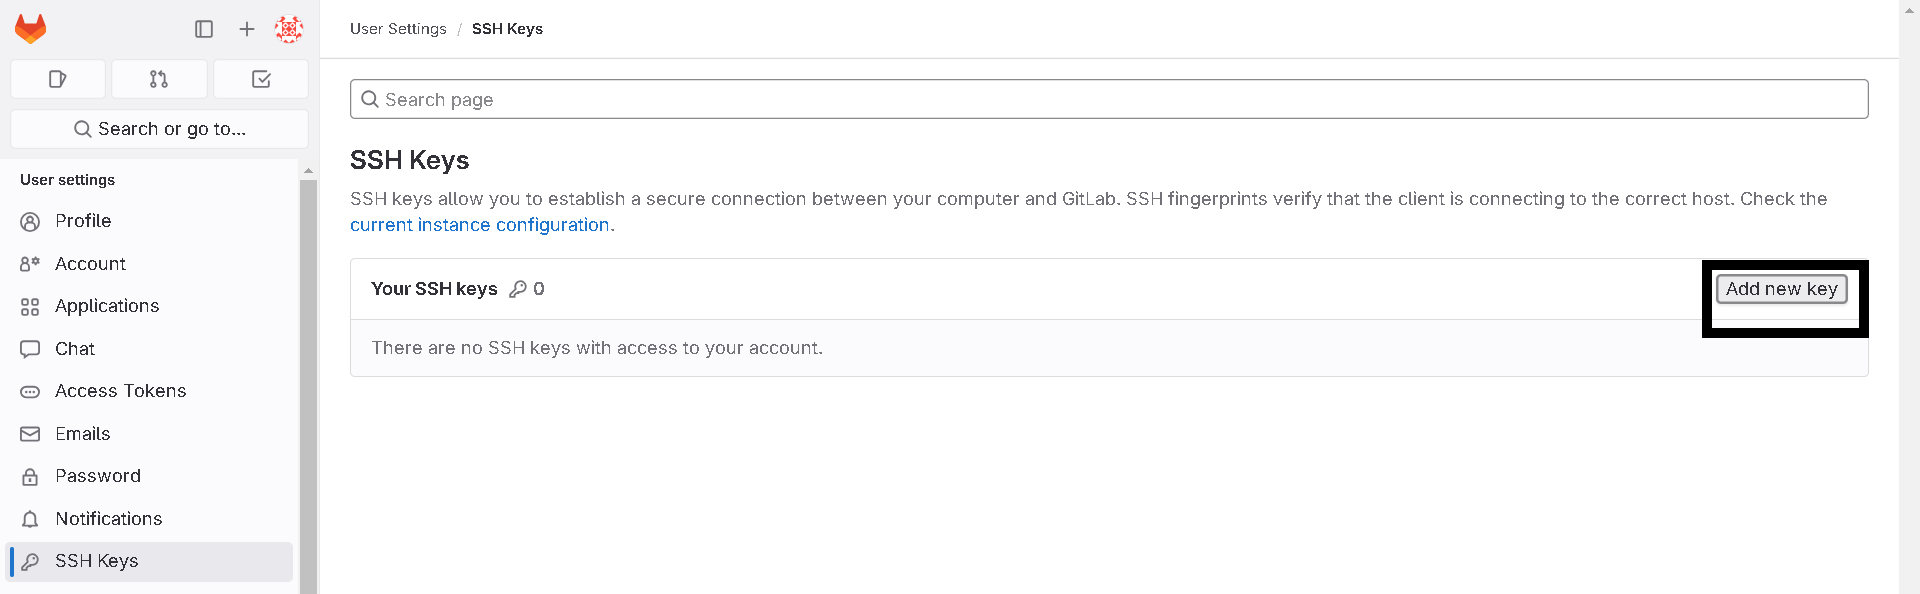
 2. After that I added my generated SSH key to my GitLab account.
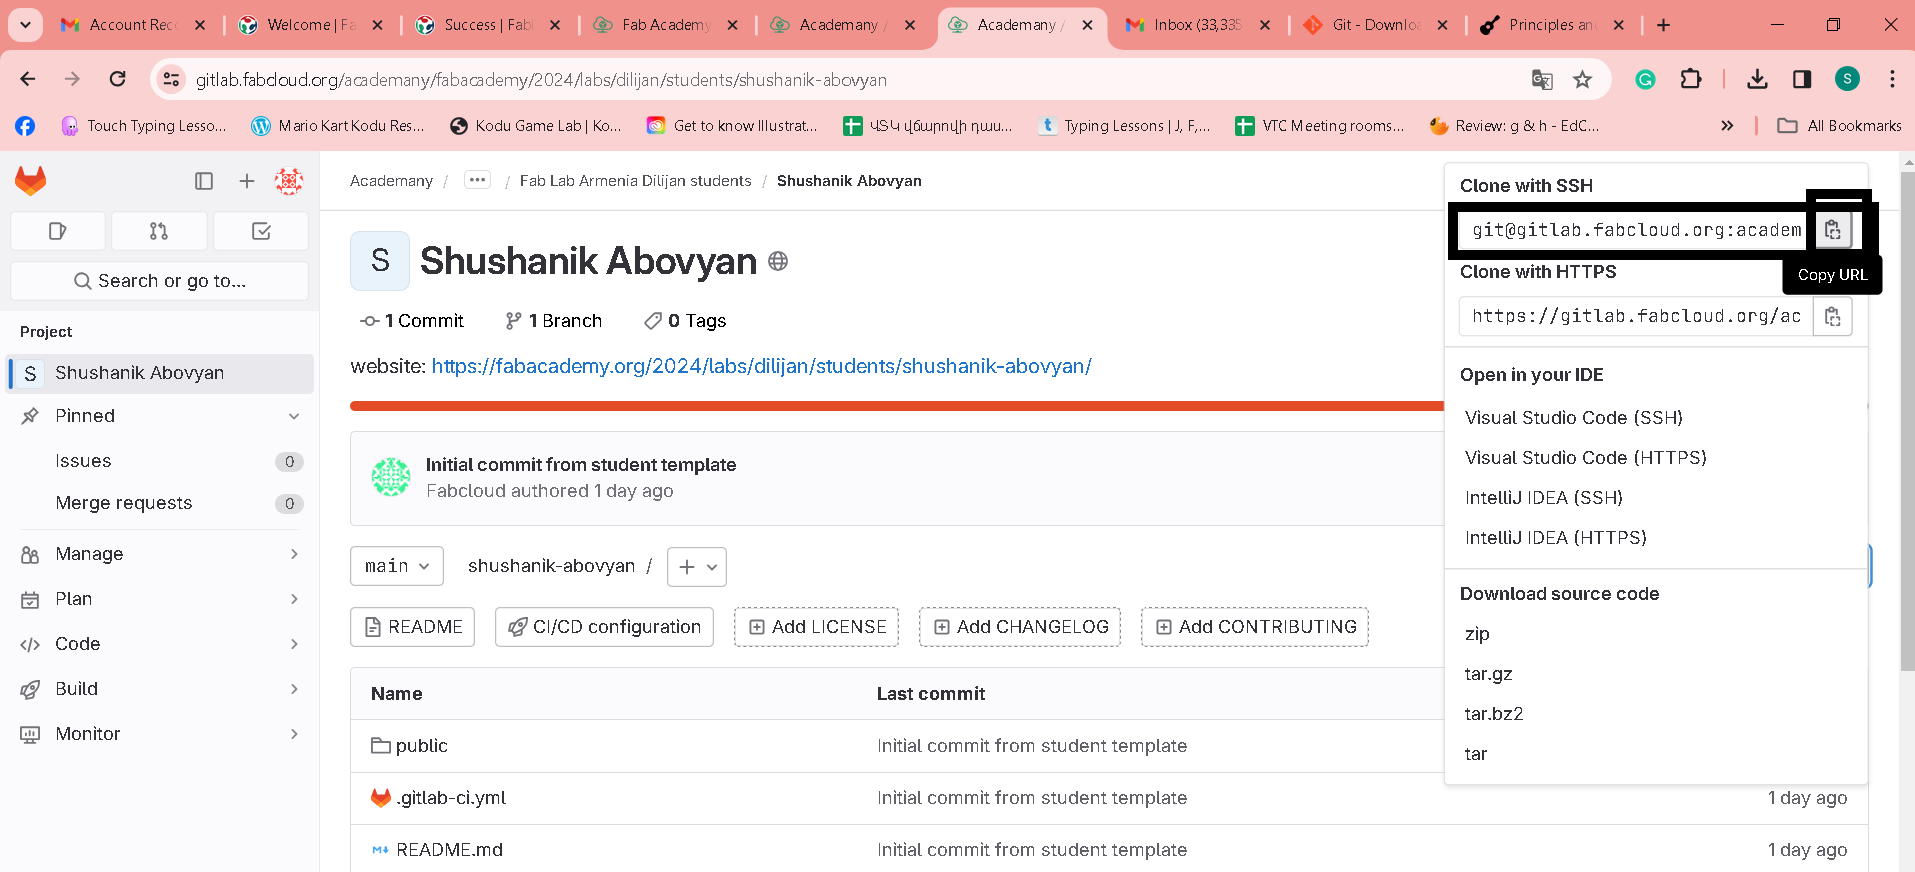
 3. Then I cloned my GitLab project using the SSH protocol into the local folder I had created earlier.
 5. I downloaded and installed Visual Studio Code, a code editor.
4. Then I signed in to my GitLab account using Visual Studio Code which allows me to connect easily. After signing in, I opened the folder where my cloned project was located.
5. I downloaded and installed Visual Studio Code, a code editor.
4. Then I signed in to my GitLab account using Visual Studio Code which allows me to connect easily. After signing in, I opened the folder where my cloned project was located.
