Week 15. Wildcard Week
Task for the Week:
- Design and produce something with a digital process not covered in another assignment, documenting the requirements that your assignment meets, and including everything necessary to reproduce it. Possibilities include but are not limited to.
Disclaimer: All the Assignments and Documentations are done and written by me, however after writing it myself, some I pass it through chatGPT to fix my language and grammar.
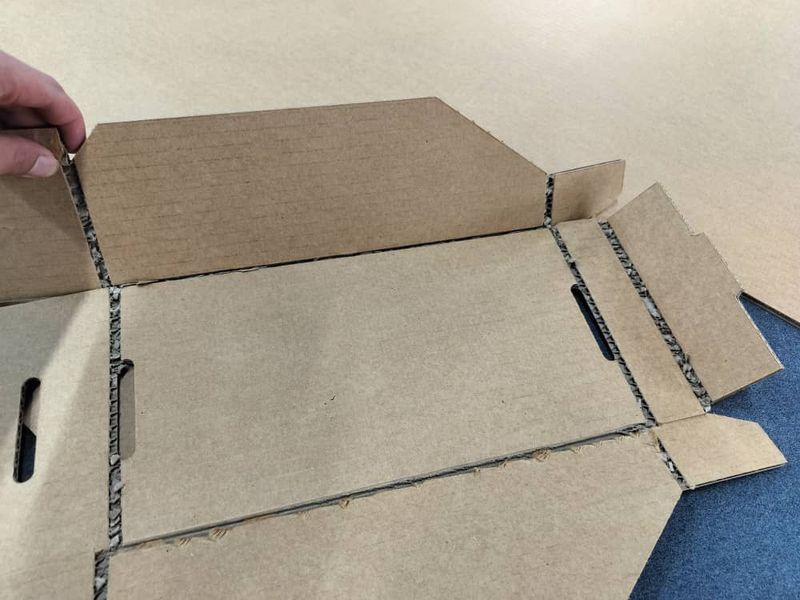
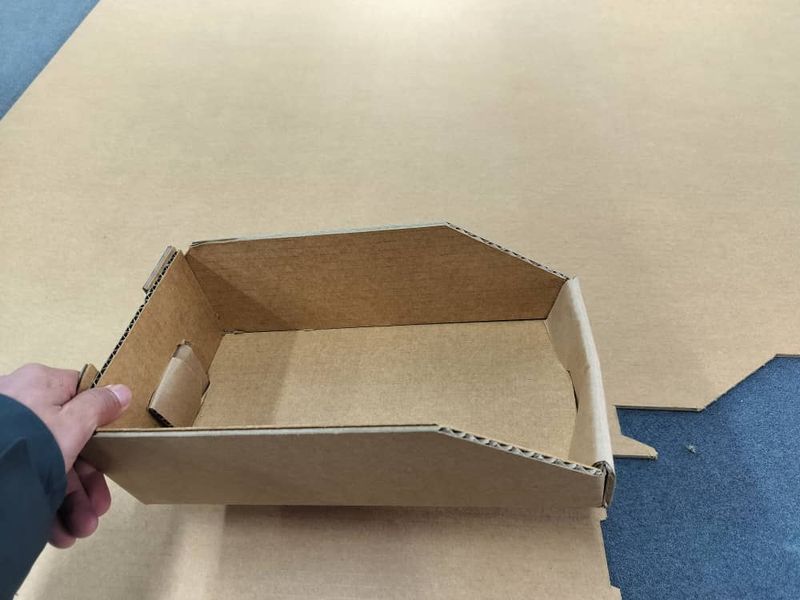
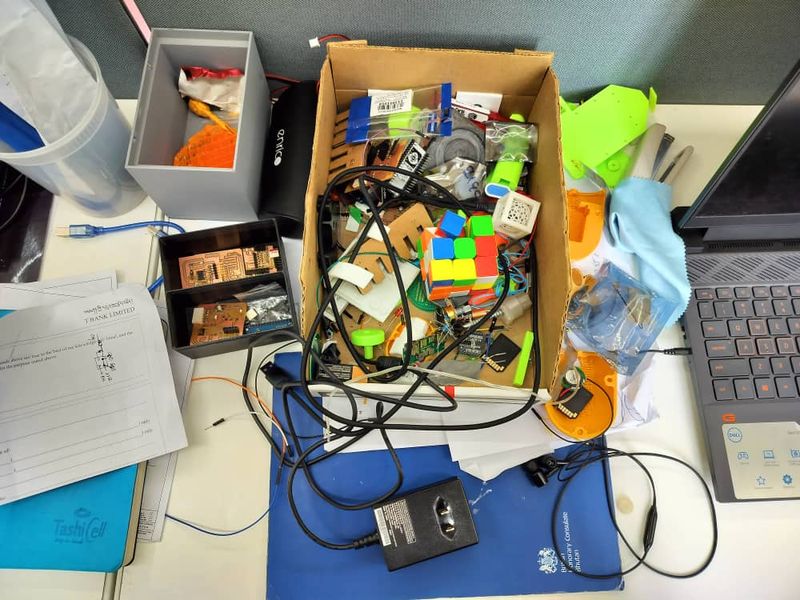
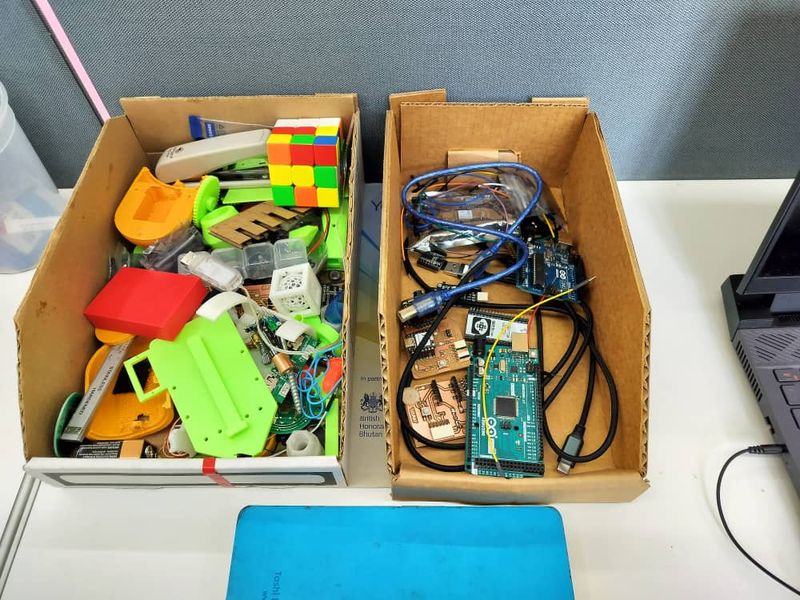
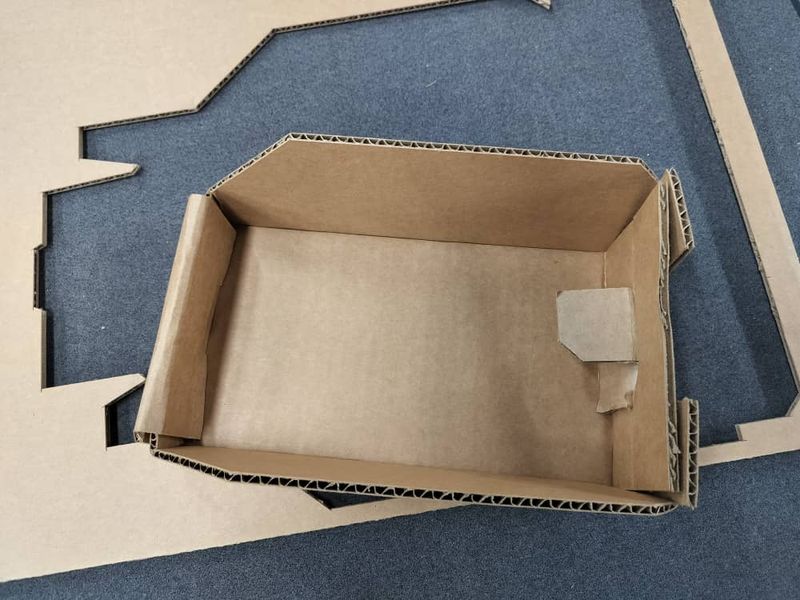
To tidy up my cluttered table, I decided to make a box with the Zund cutter.
- Although laser machine can be used to make a box, but for my design, I need fold lines that can easily bent. So to create fold lines, the creasing or V-cut tools are found in Zund cutters.
- Moreover, my box design requires different types of tools to be used; for example, I need an EOT tool for cutting through materials and V-cut or crease tools for making fold lines for the box. For that, Zund cutter has automatic tool changer and also produce high-quality and high precision cuts.
Before:
After:
Technical Data Zund G3
The Zund G3 flatbed cutter is a super machine which is used in industries like packaging, signage, and textiles for precisely cutting a variety of materials like cardboard, plastics, foam, etc. It is the one of the highest precision machine we have in our lab that can provide best quality product.
To know more about Zund, go to this Link
Specifications of G3:
Refered this source to learn about specs
- Repeatability: ± 0,03 mm / ± 0.001”
- Position accuracy: ± 0,1 mm/m / ± 0.0012”/ft + repeatability
- Floor load requirements: 200 kg/m² / 45 lbs/ft²
- Interface: RS232C/V24, Ethernet 10/100Mbit
- Operating temperature: 10-35 °C / 50-95 °F
- Relative humidity: 10-80 % non condensing
- Noise emission: < 75 dB(A)
- Beam height: 30/60/120 mm / 1.1/2.3/4.7“
- Electrical requirements: AC 3ph+N+GND, 208/400 V, 50/60 Hz, 32 A
- Max. material weight: 30 kg/m² / 6 lbs/ft² (manual loading) (can affect the evenness of the working surface)
Designing
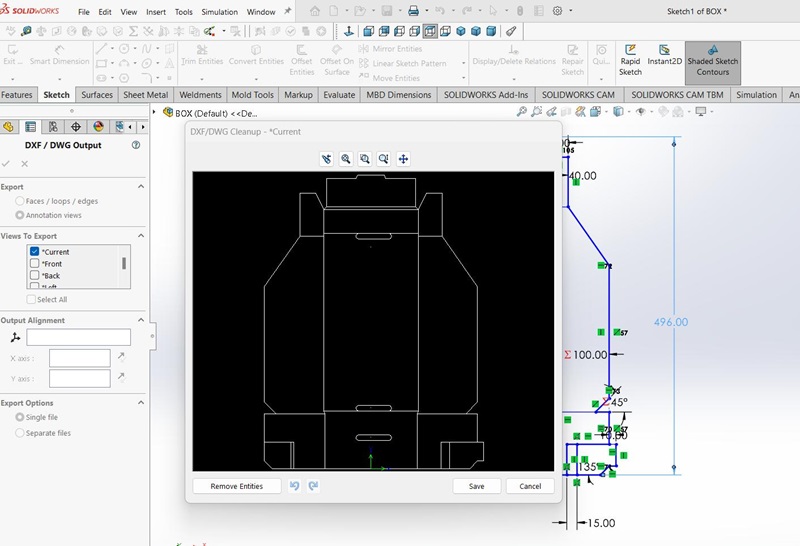
First, I designed the box using SolidWorks. Then, I saved the design as a DXF file because the Zund software can read that format.
Manufacturing Process
Powering the Machine:
- Before starting the machine, ensured all EMERGENCY STOP controls were easily accessible and cleared any debris from the movement systems.
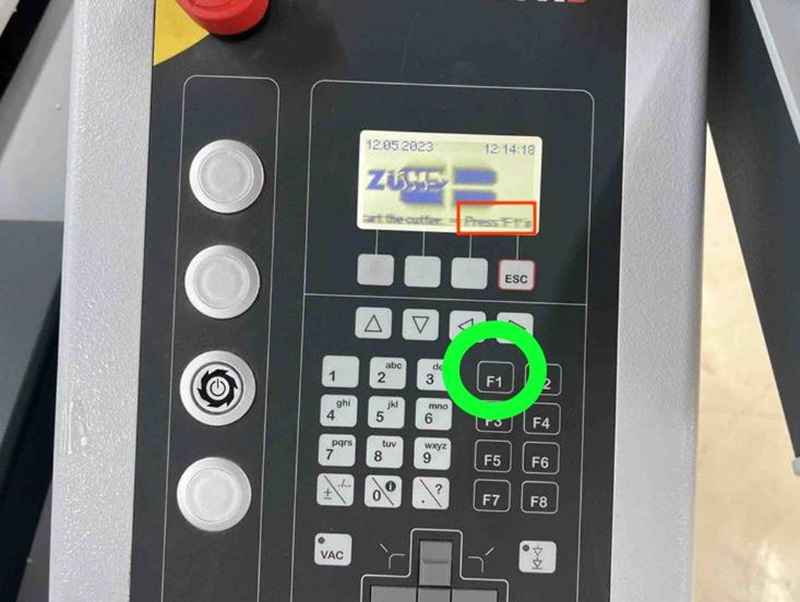
- Switch ON the main power supply of the Zund and turn ON the compressor of the Zund. Then, Press F1 to initialize the machine. The screen will prompt you to do so.
- Wait for the machine to complete its initialization process. Do not touch anything during this time. Meanwhile, turn ON the PC.
Initializing the Tools:
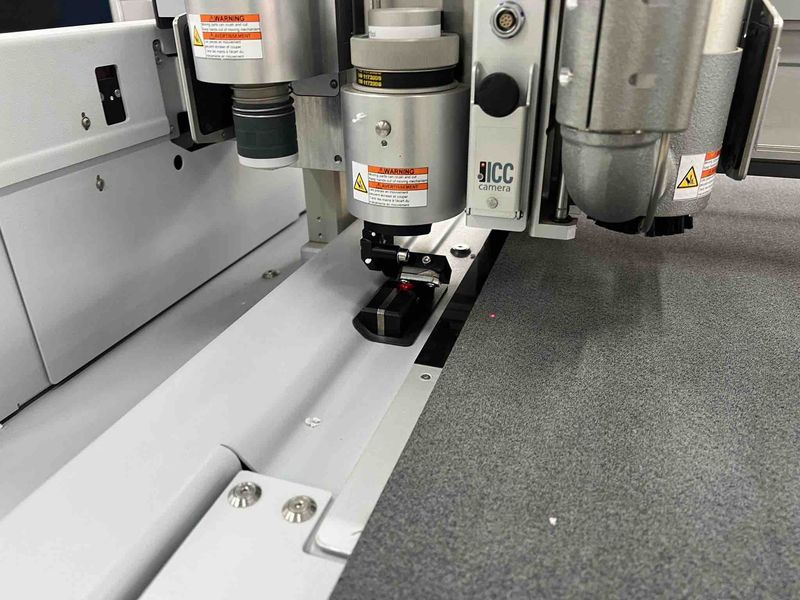
- The Zund has three module slots.
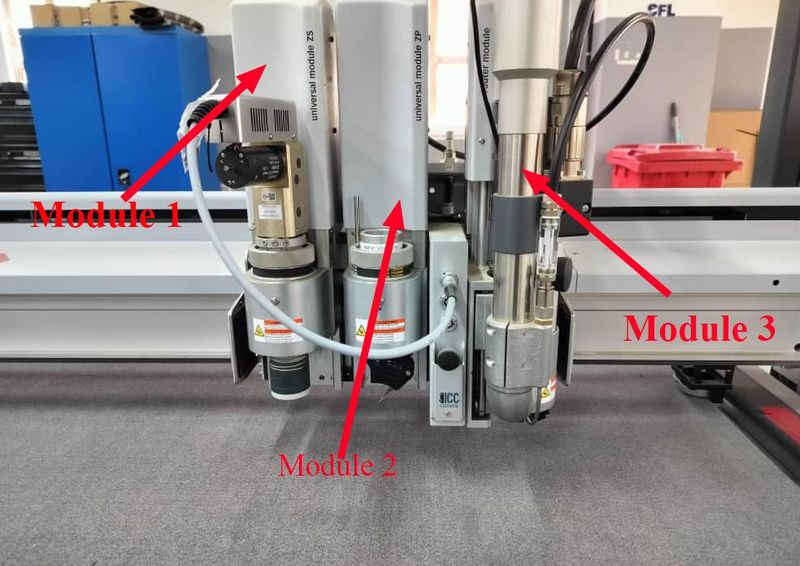
- Begin with module 1. Check and confirm that the tool displayed on the screen matches the one in module 1.
- Press ‘init’ to move to the initialization screen. Use the keypad to auto-init by pressing ‘2’, then ‘okay’and save by pressing ‘ESC’. Repeat this process for modules 2 and 3.

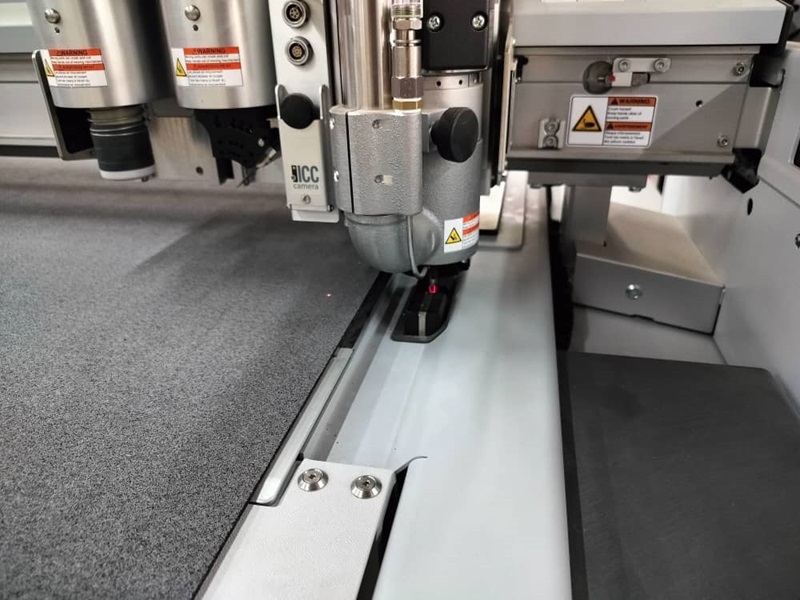
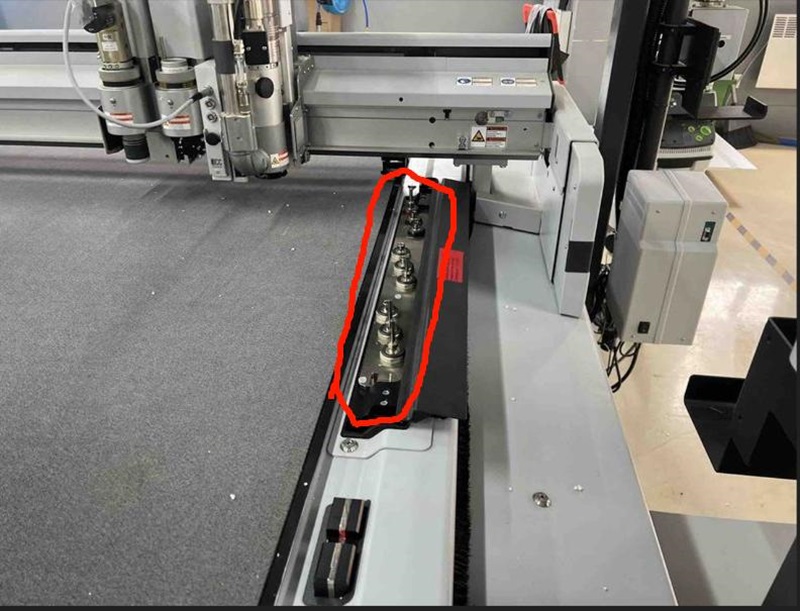
- After initializing third module, the screen will prompt a magazine scan. Simply hit okay to complete this step.
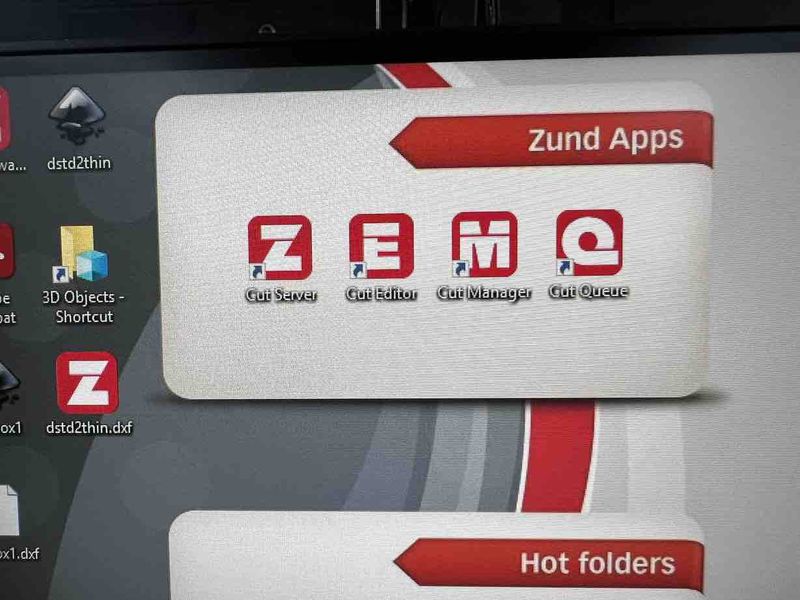
Zund Apps:
- The Zund’s PC has four main applications: Cut Server, Cut Editor, Cut Manager, and Cut Queue.
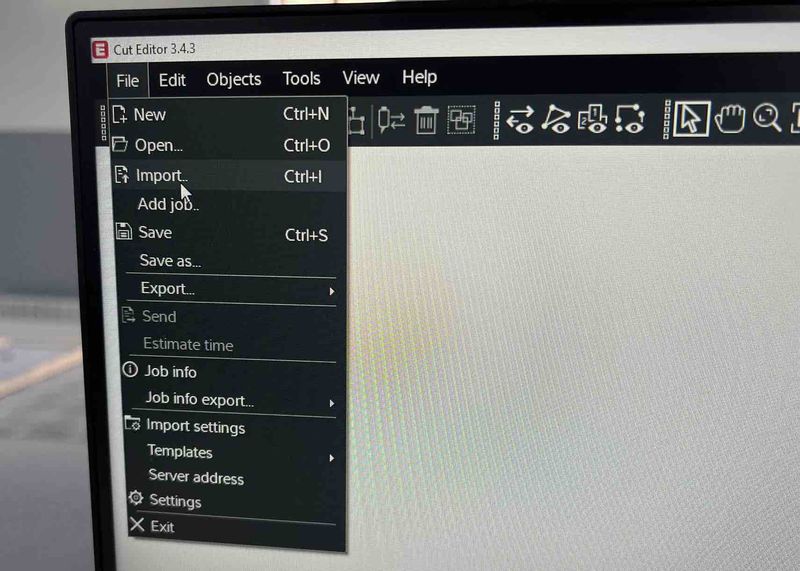
- Use Cut Editor to design/import design, editing, material selection, and process assignment.
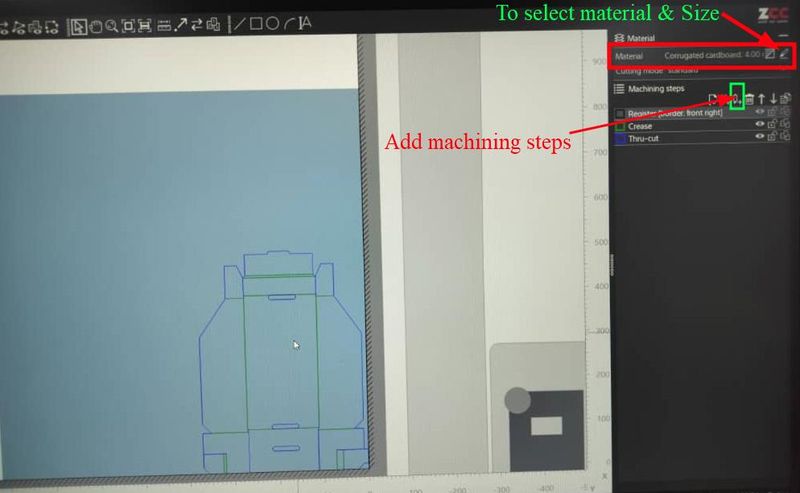
- Select the material and its dimensions in Cut Editor.

- Assign process methods by selecting lines in the design and choosing from predefined methods.

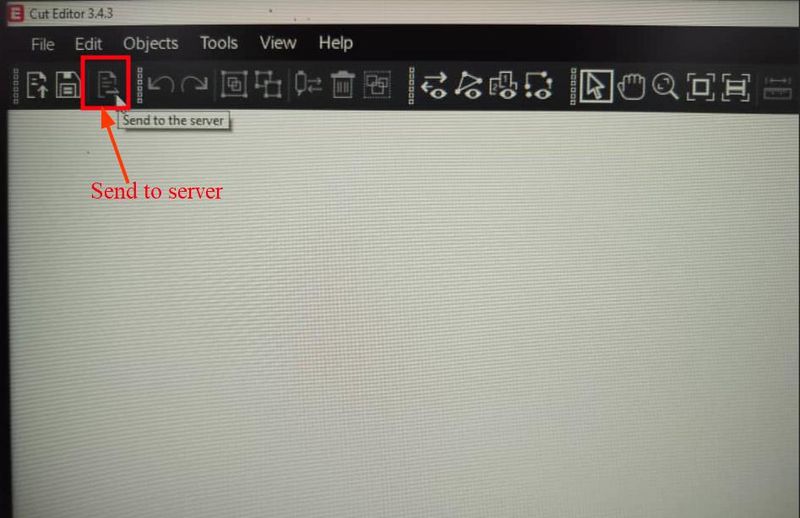
- After setting up the design in Cut Editor, send it to the Cut Queue.
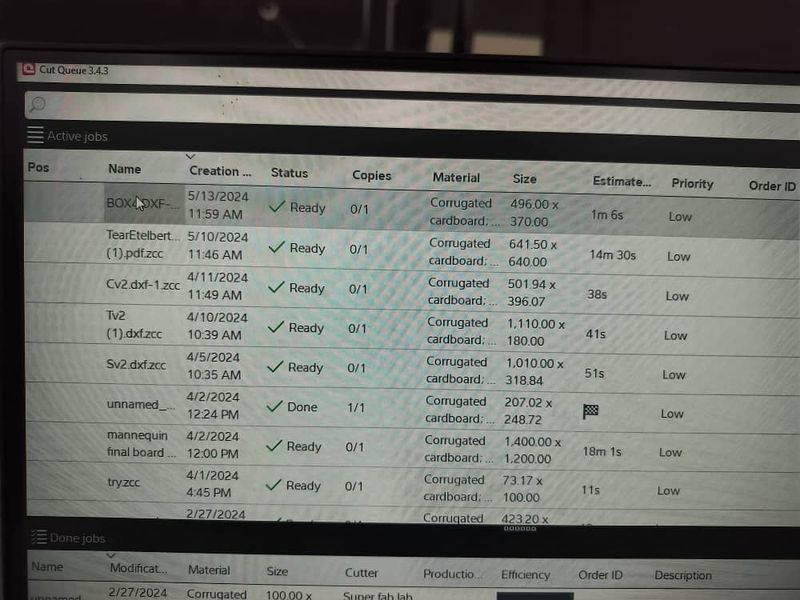
- Find the job in the cut queue and double left click on job to open it in Cut Center.
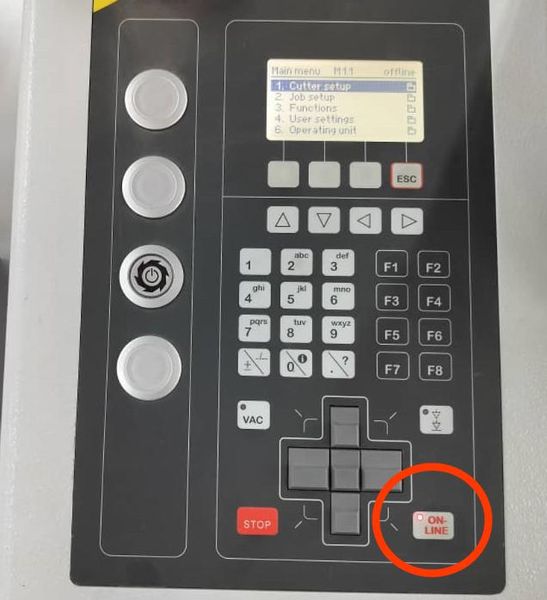
- In Cut Center, ensure correct tools are assigned to each process and check blade angles and adjust cut depths as needed. Hit ‘Online’ on the machine’s keypad to connect to the PC.
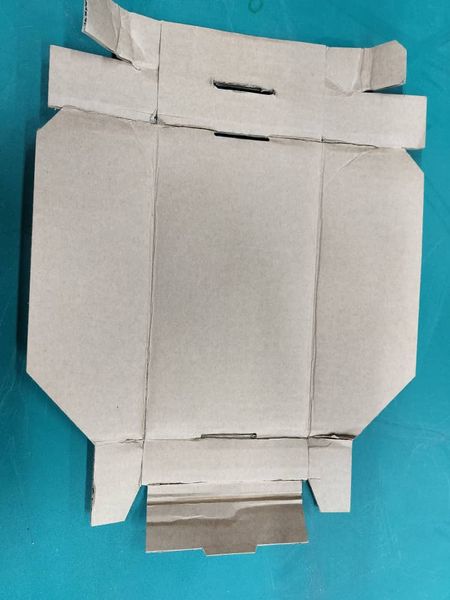
- Turn on the vacuum to hold the job piece. Place the job piece on the cutting area and finally hit ‘Start Job’ to begin the process. Follow on-screen instructions to align the camera with the job piece’s borders for registration. Once registered, the job will begin.
Changing the Tool:
Once I finished machining, I noticed that the creasing tool didn’t provide the desired folding result for the cardboard. So, I decided to switch to the V-cut tool. Here’s how I changed the tool:
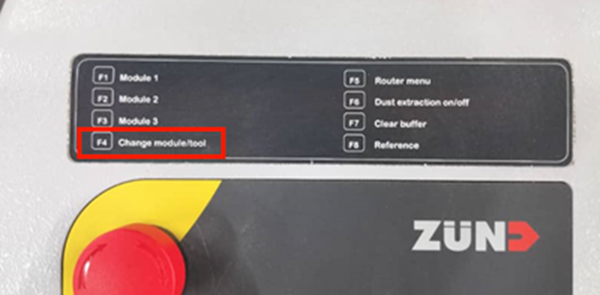
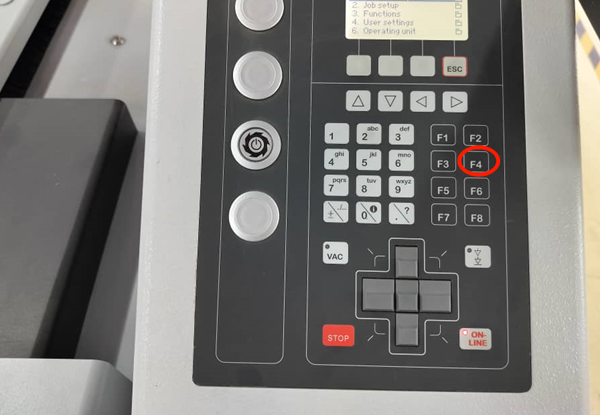
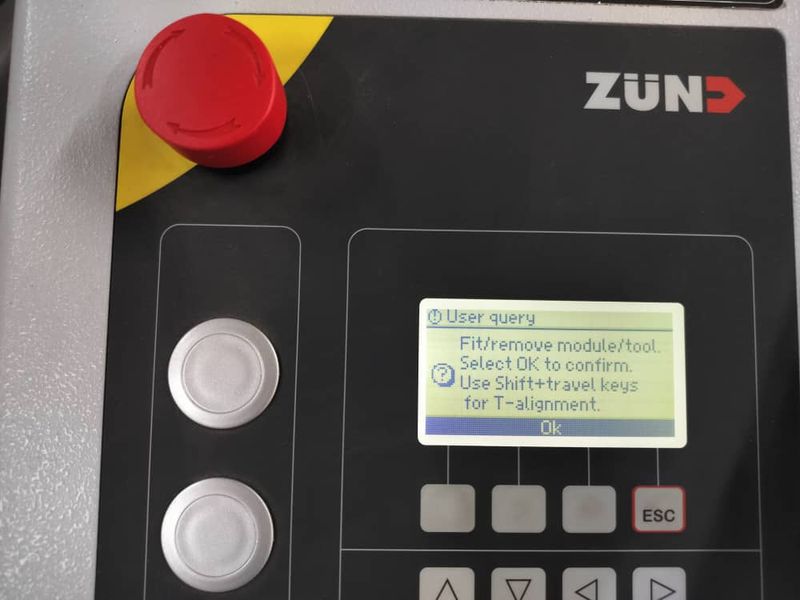
- On the machine’s operating screen, I hit F4 to start the tool change process.Upon pressing F4, the modules moved towards me, and the screen prompted me to remove or change the tool.
- Selecting Pos 1 brought the modules towards me, while Pos 2 moved them to the other side. I refrained from hitting okay until I finished changing the tool to avoid any premature actions.
- To remove the tool, I pressed the circular button on the tool and rotated the sleeve anti-clockwise.
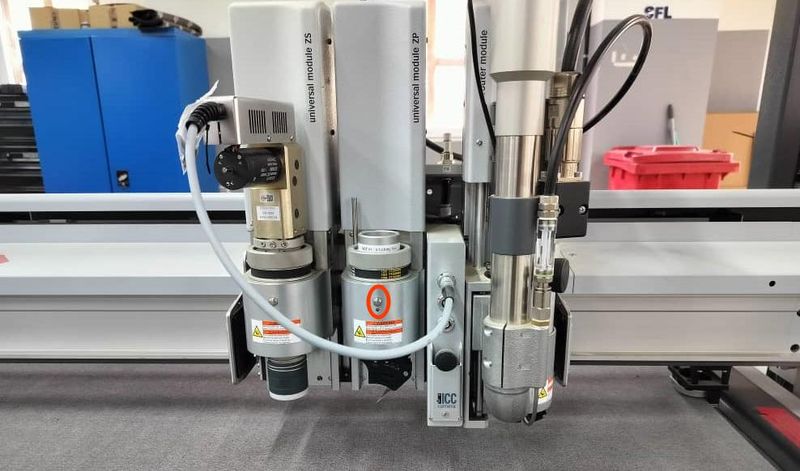
- Once the red dot of the tool and the module sleeve aligned, I simply pulled the tool out.
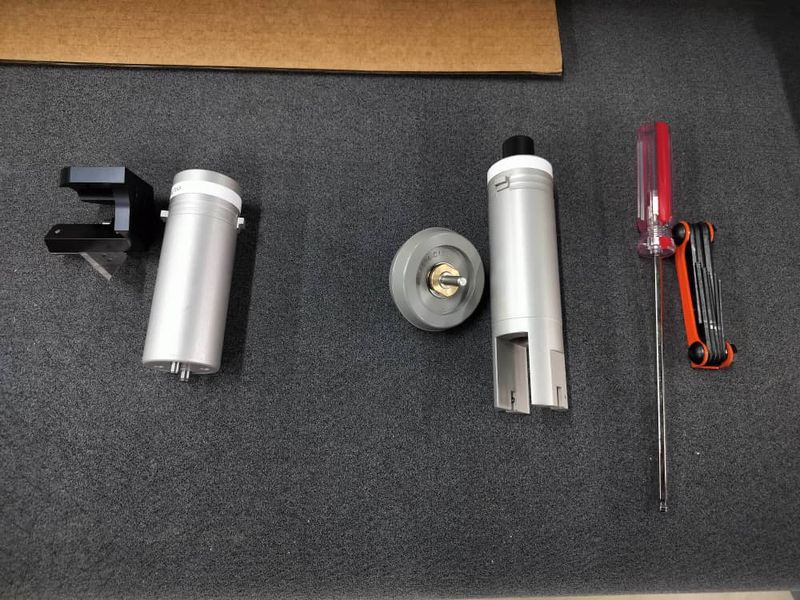
For box-making, I utilized the following tools:
- Electric Oscillating Tool (EOT): Used for high-frequency cutting of soft and medium-hard materials like cardboard.
- V-Cut Tool (VCT): Used for creating intricate 3D constructions from foam or sandwich boards with its five cutting angles.

-
Creasing Tools: Adjusted for various materials, providing lateral and longitudinal pressure along the shaft.
-
Once the physical change was complete, I returned to the operating screen and hit okay.
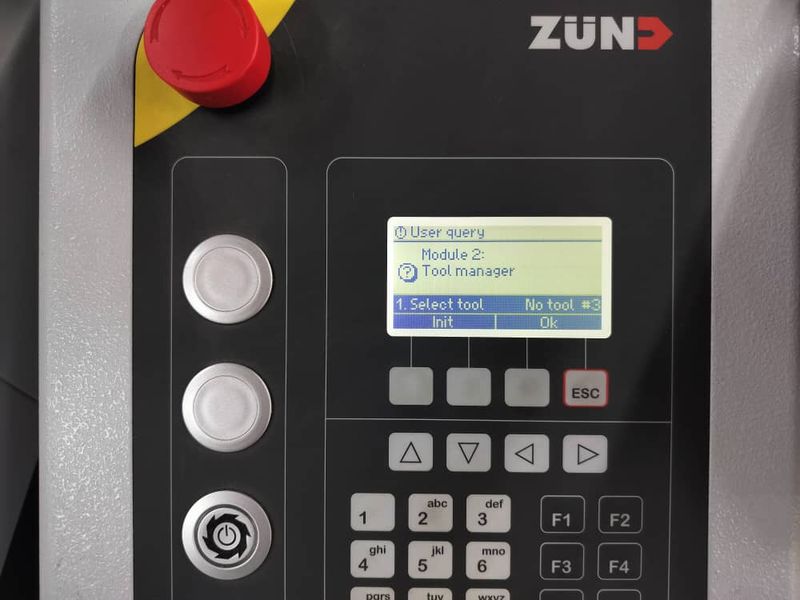
- In the next screen, I selected the tool I added, which in my case was the VCT1.
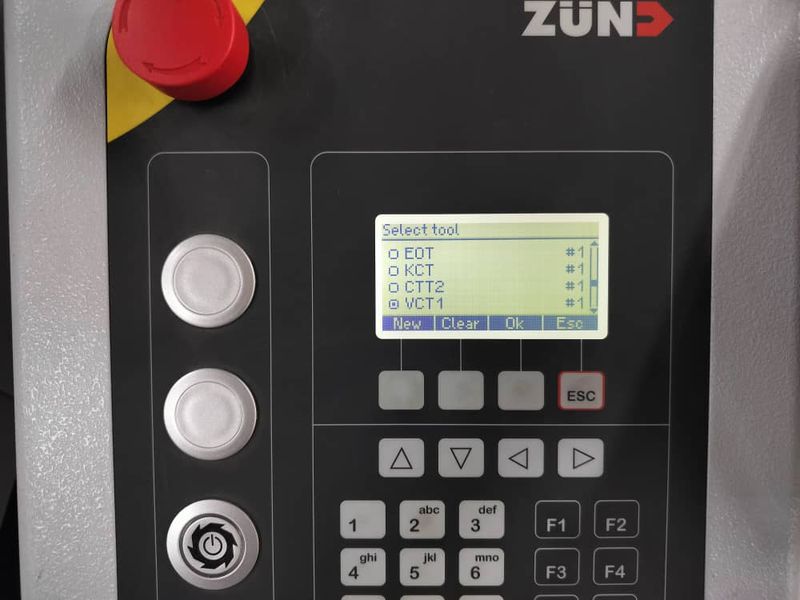
- Then, I underwent the initialization process similar to when starting up the machine.
- And again started machining job once more.
