5. 3D Scanning and printing
This week I worked on defining my final project idea and started to getting used to the documentation process.
Group assignment
Indivisual assignment
This week’s indivisual assignment was to design and 3D print a small object that could not be created subtractively. the Item I decided to make was a container to hold pens and pencils.
Cad: Fusion 360
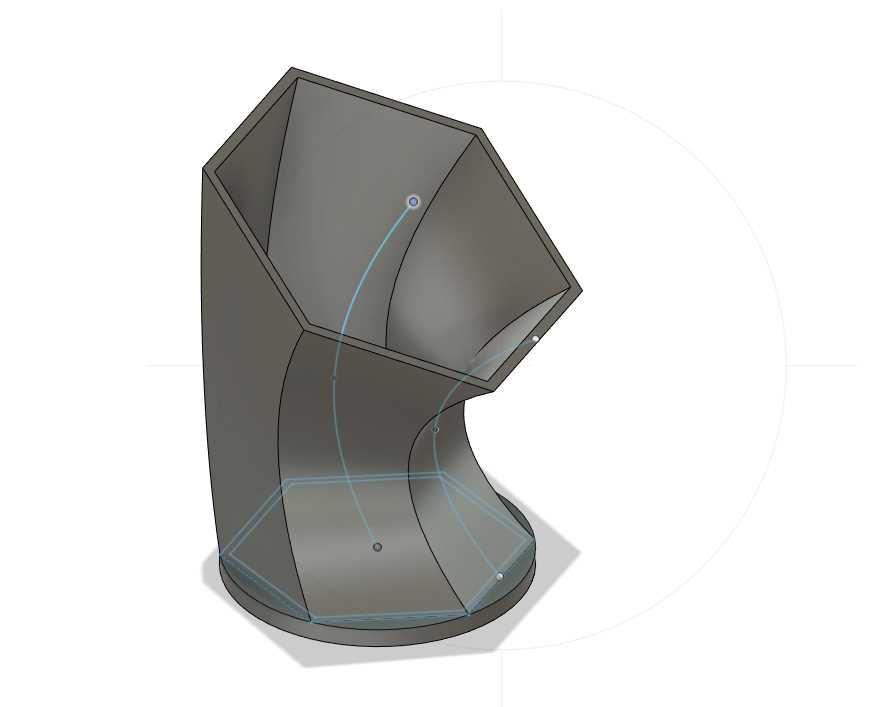
I started with a circular base for the bottom of the case.
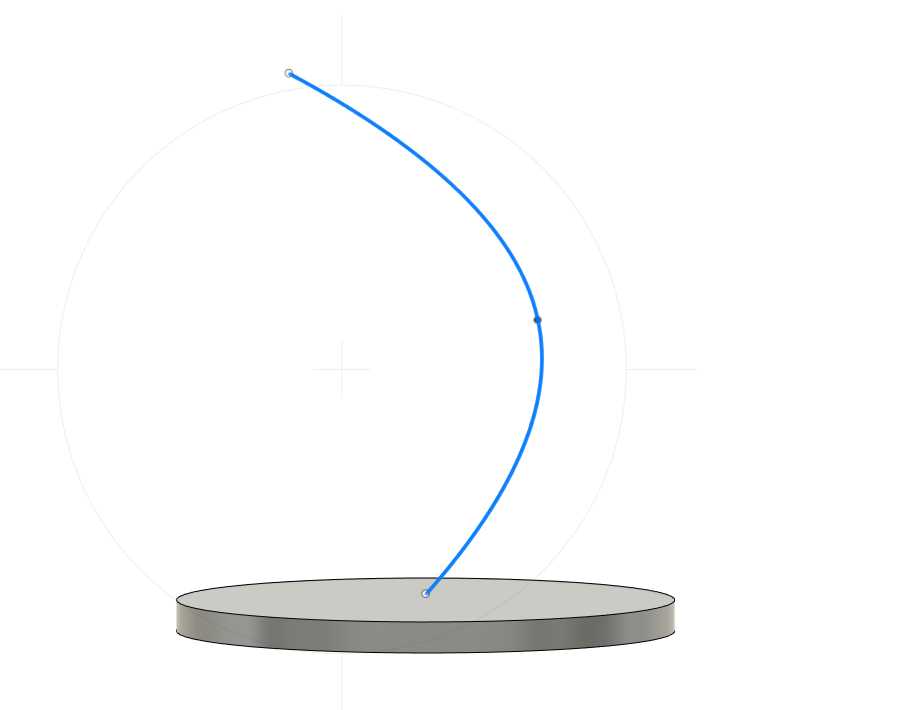
I then made a hexagon as the cross section of the shaft. To give it a special shape, instead of using extrude, I usded loft to extrude the image through a curved path with the end rotated and larger from the start.
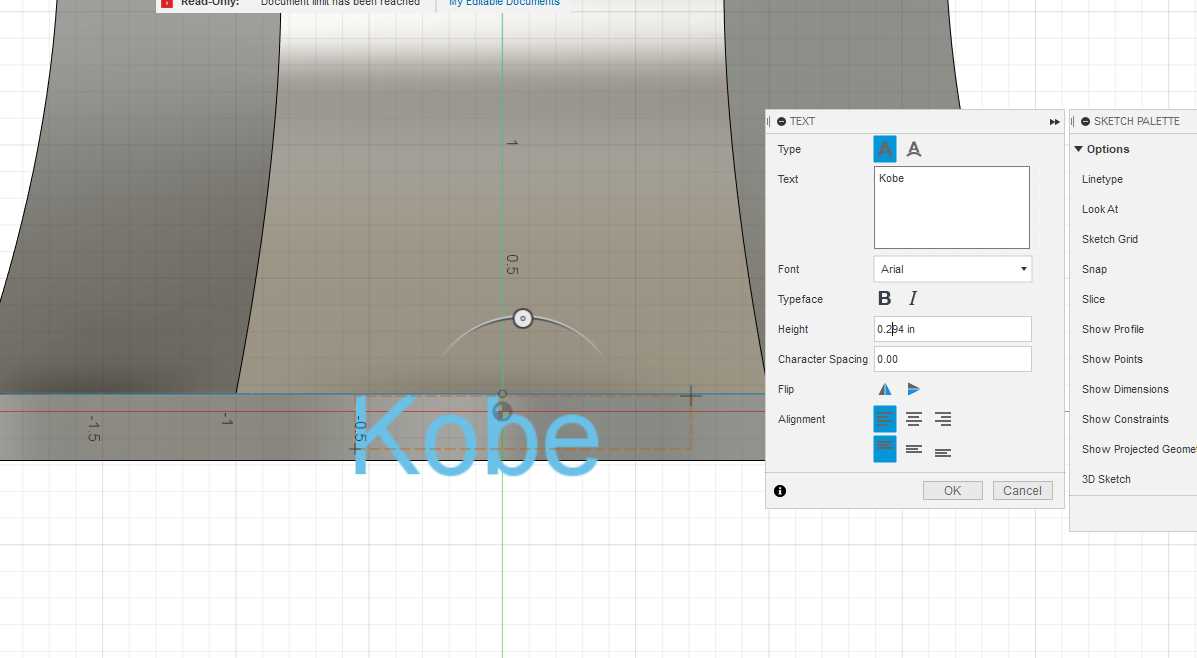
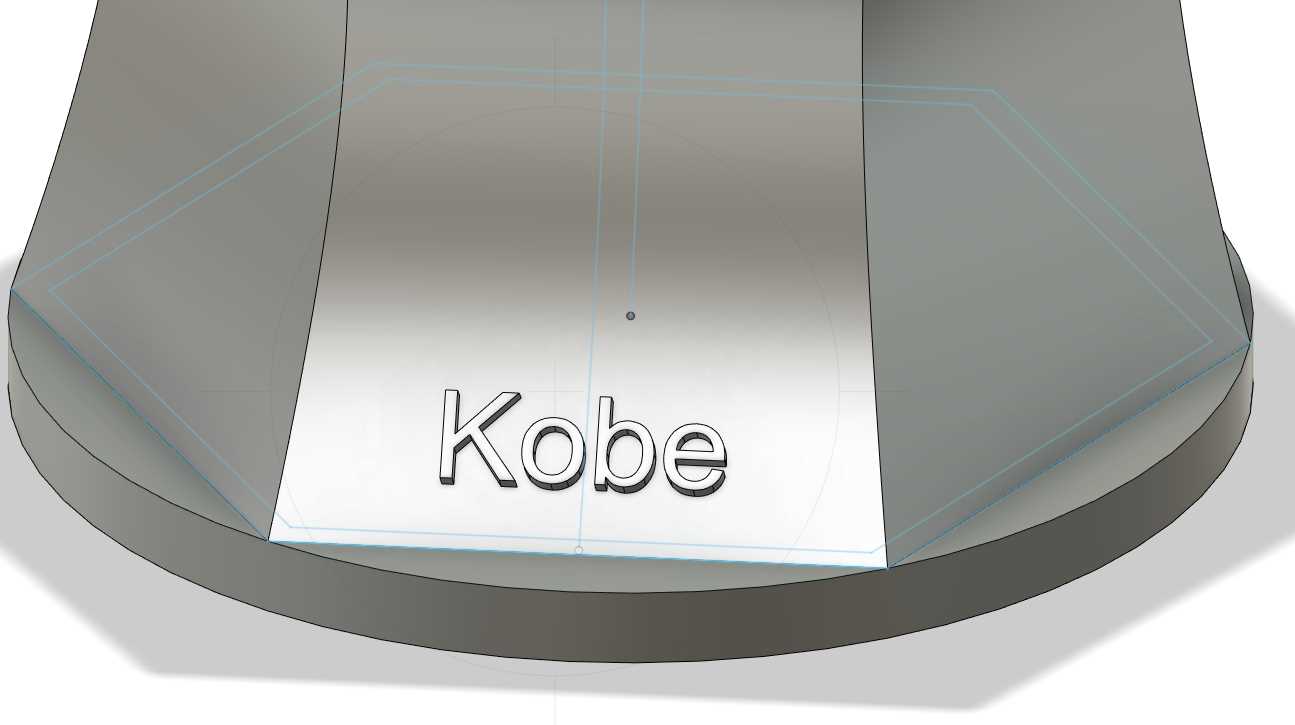
Finally, I used the emboss tool to print my name onto the case to mark that it is mine.
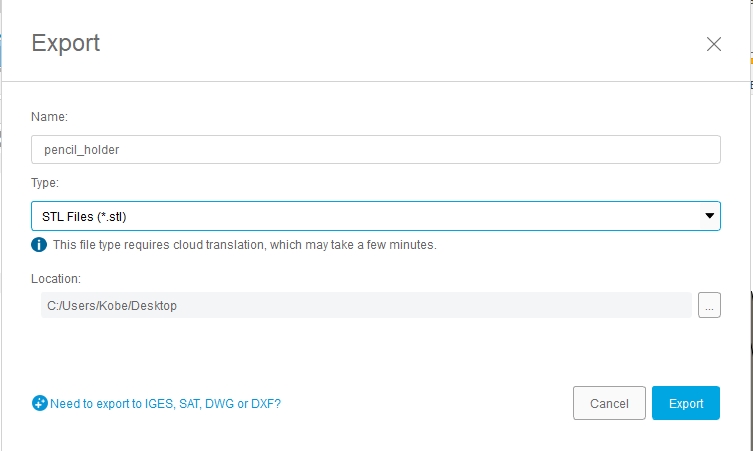
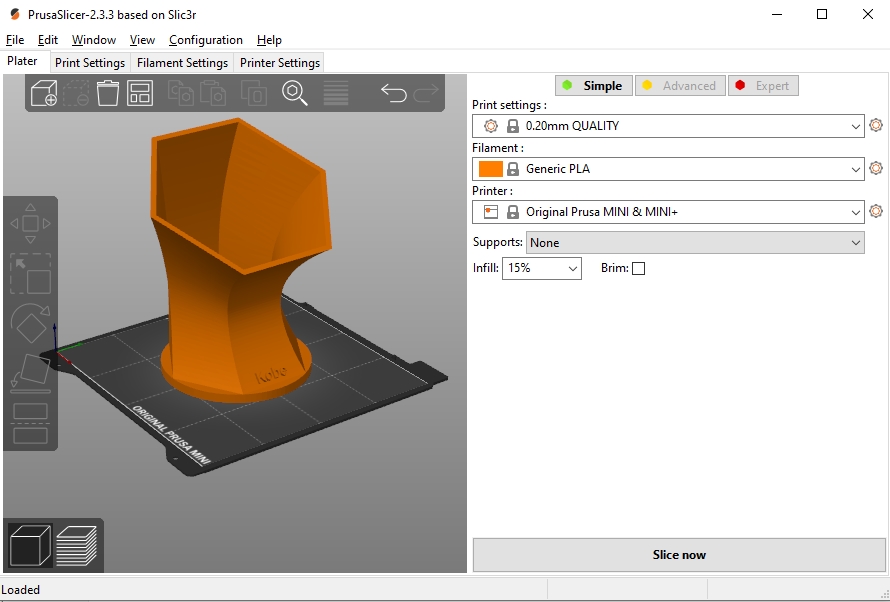
transferring to prusa slicer
to move my design to prusaslicer, I simply export the file as an STL, which prusaslicer can read
I decided to keep everything on the standard settings. I exported the gcode of the file to an SD card, then inserted that card into the printer before starting.
final product
 When I came back to the lab the next morning, I saw the print came out as expected with no issue. I have seen some prints before have slight issues and other prints go horribly wrong, so I was glad that there was nothing I overlooked when designing the case that jeopordized the print. With that, I now had something to hold my pencils with my name on it that was one of my favorite colors.