4. Electronics production
This week I worked on defining my final project idea and started to getting used to the documentation process.
Mods
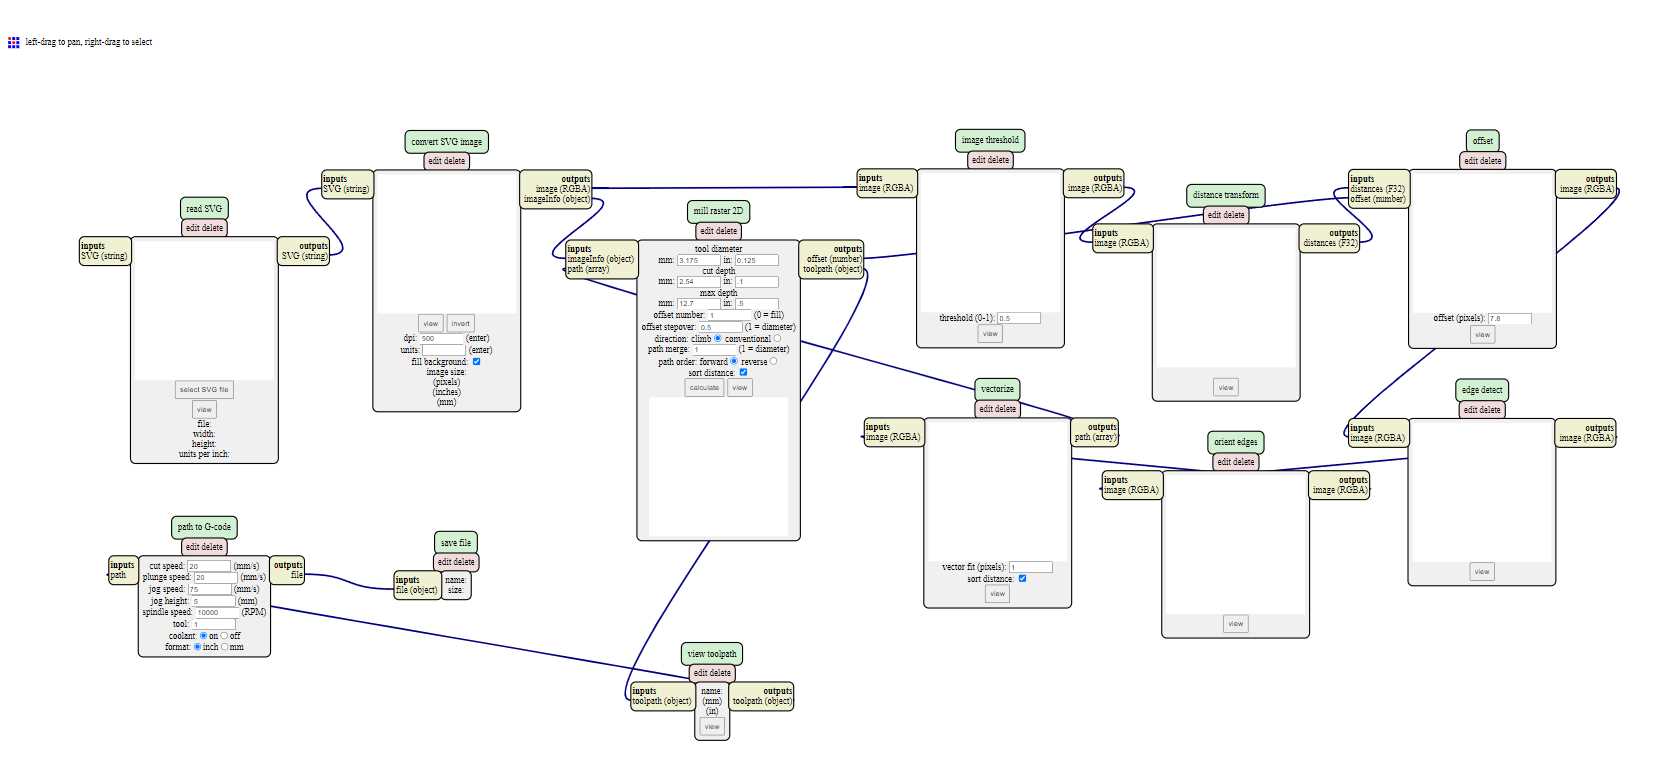
The first thing I needed to do was set up mods to operate the mill. Luckily for me, My instructor Jason had made a nice tutorial about how to use mods and operate the two mills we have in the lab, This process went along relatively smoothly.
I downloaded the svg files for the traces and the outline, I used a 1/32 bit for the outline and 1/64 bit for the traces. In Jason’s instructions, it was pointed out that we could put the speed to 2.5x instead of 1x. This was likely because he knew this speed would get the job done just fine and that the machine could take a while. not realising how long milling could take, I opted to leave the speed at its default and paid an extra hour of my friday night as the consequence.
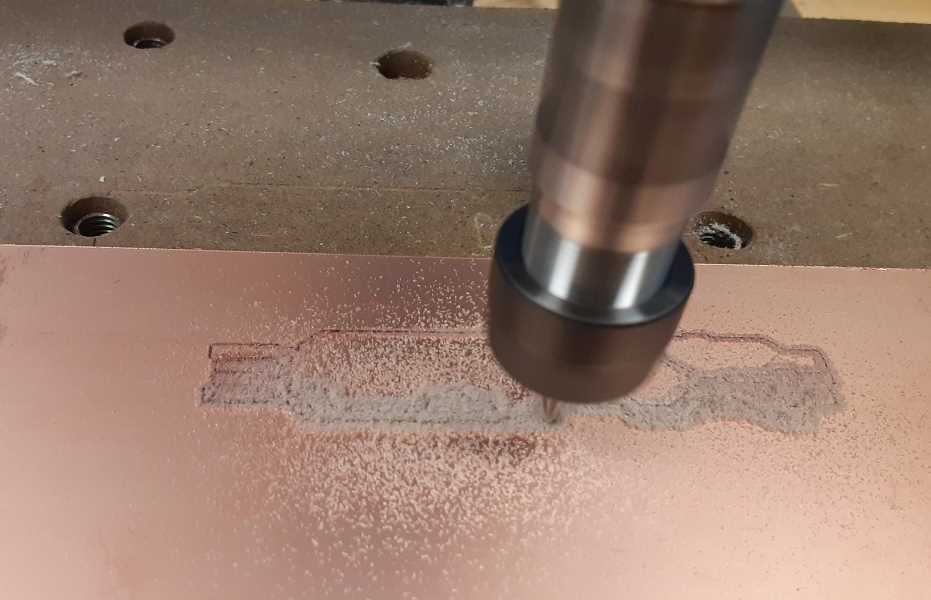
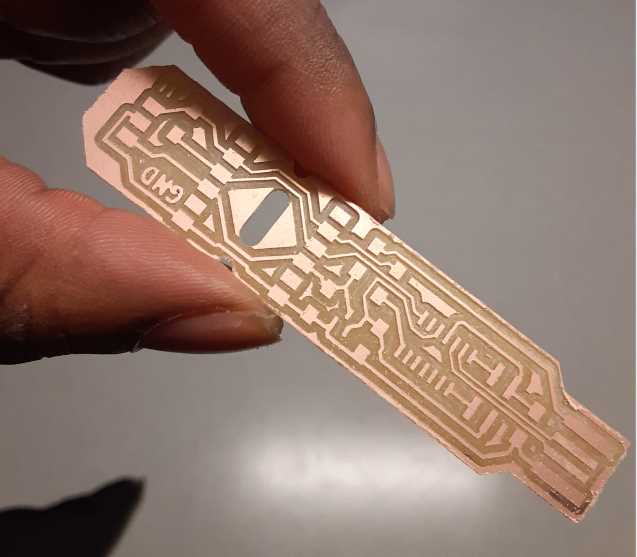
Milling
There were a few mistakes I came very close to making. For one thing, when first entering settings, i had lost track of everything and had to reload and start over. I had made all changes I wanted to, but had forgotten two of the arguably most important things. I had not selected that my traces be usded with the 1/64 drill bit, and I did not invert my image. luckily, I realised something was wrong about 10 seconds into my first attempt to cut and swiftly canceled it. At first I thought this process would be very intimidating because of all of the different options, but by the time I had started the machine, I started to see things were not so bad.


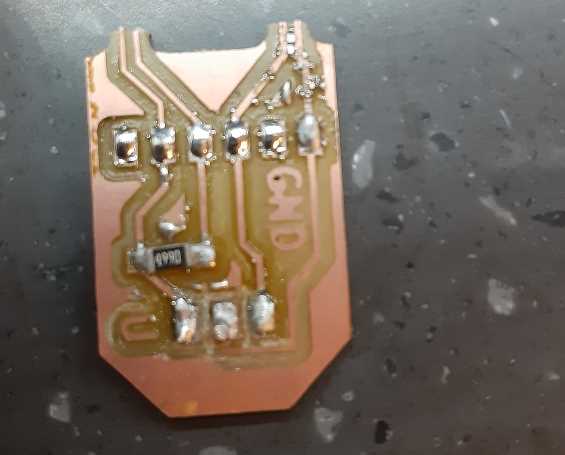
Soldering
This was the part that I figured would be the most worrying, because every issue that comes up in the future might come back to something being soldered incorrectly.
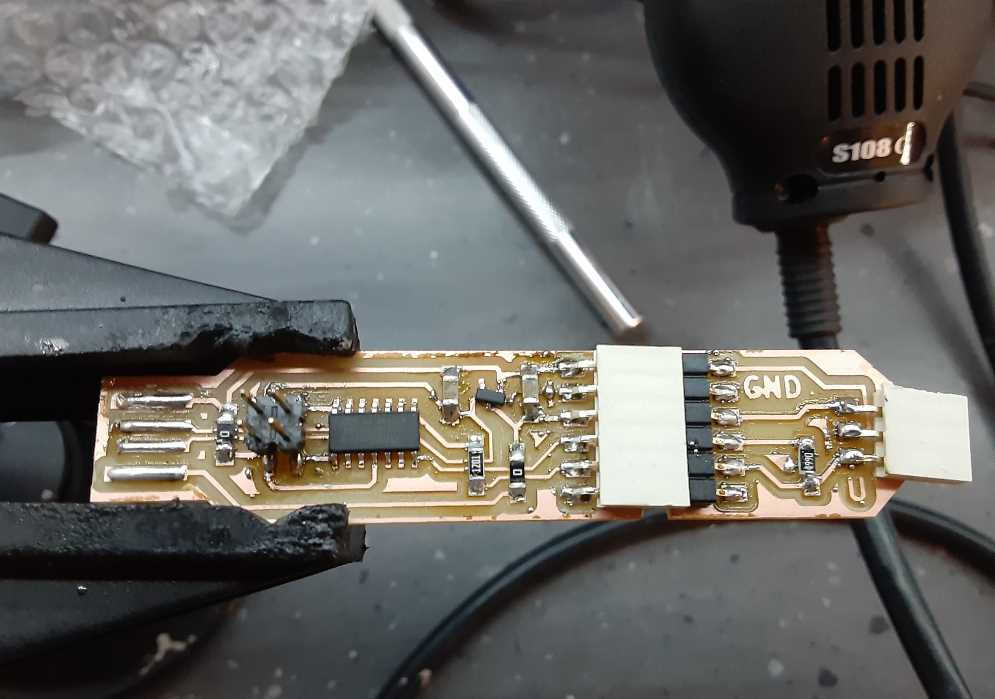
ends continuous?
I used a multimeter to check the continuity of the ends of the usb slots, because the ends being connected would be really bad; unfortunately, they were.
I tried resoldering everything to find where this connection was coming from. I eventually found the error being in one of the 6pin headers.
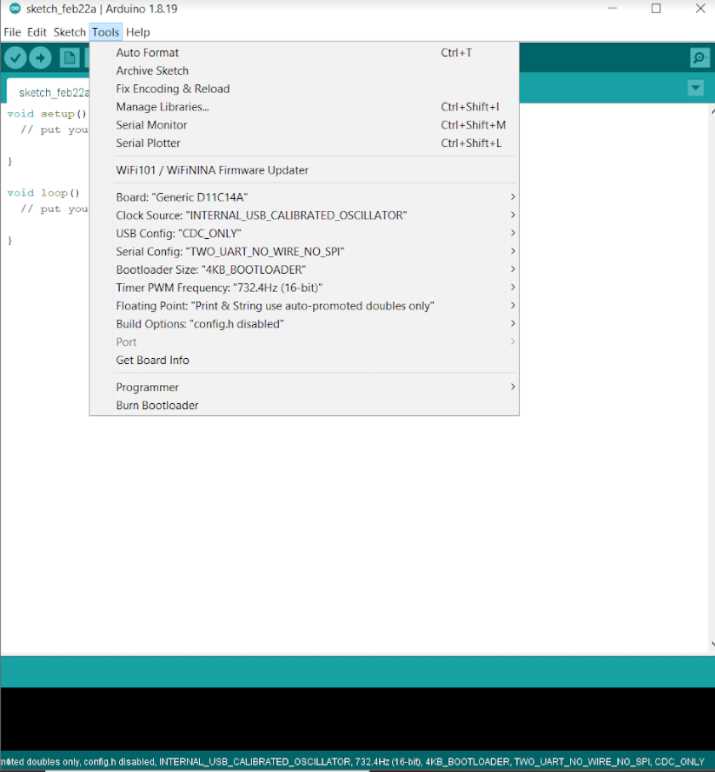
Programming
now that my board is complete, I have to set it up, starting by burning the bootloader onto it. I installed Fab SAM Core for Arduino, selected board Generic D11C14A, USB config: CDC_only, Serial config: TWO_UART_NO_WIRE_NO_SPI, Bootloader size: 4KB_BOOTLOADER, and programmer ATMEL-Ice.
not burning bootloader, where I am at now
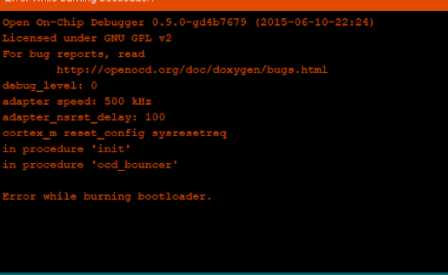
as of Tuesday night, no matter what I tried doublechecking, it says I have failed to burn bootloader. I was working on this part too late to ask an instructor about it, so I plan to do that as soon as possible.