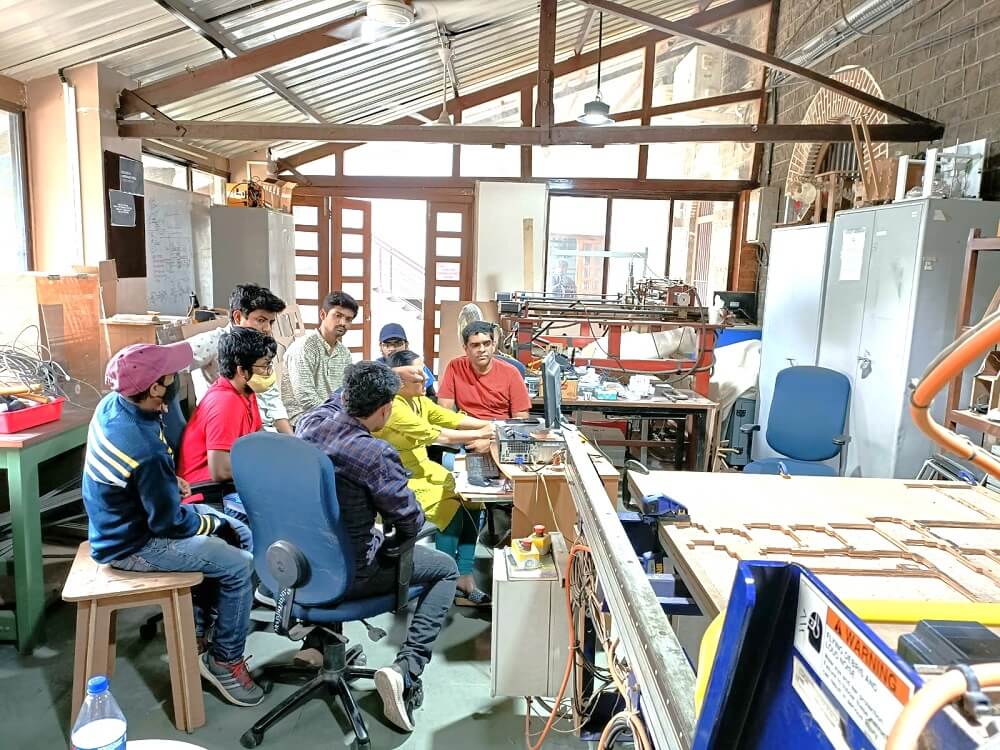
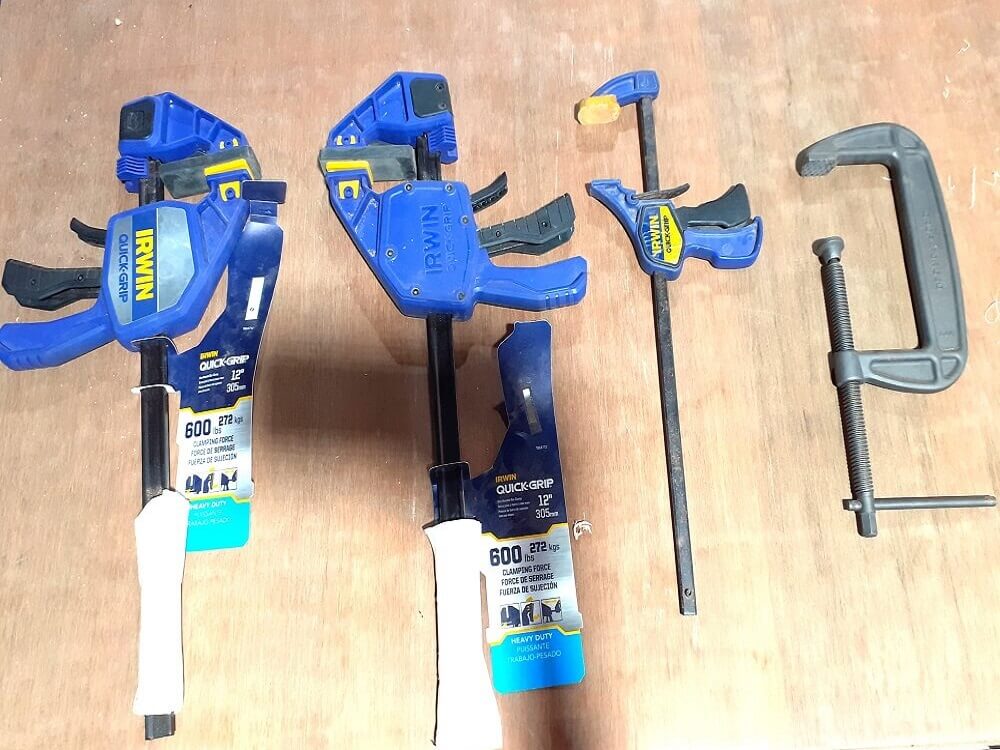
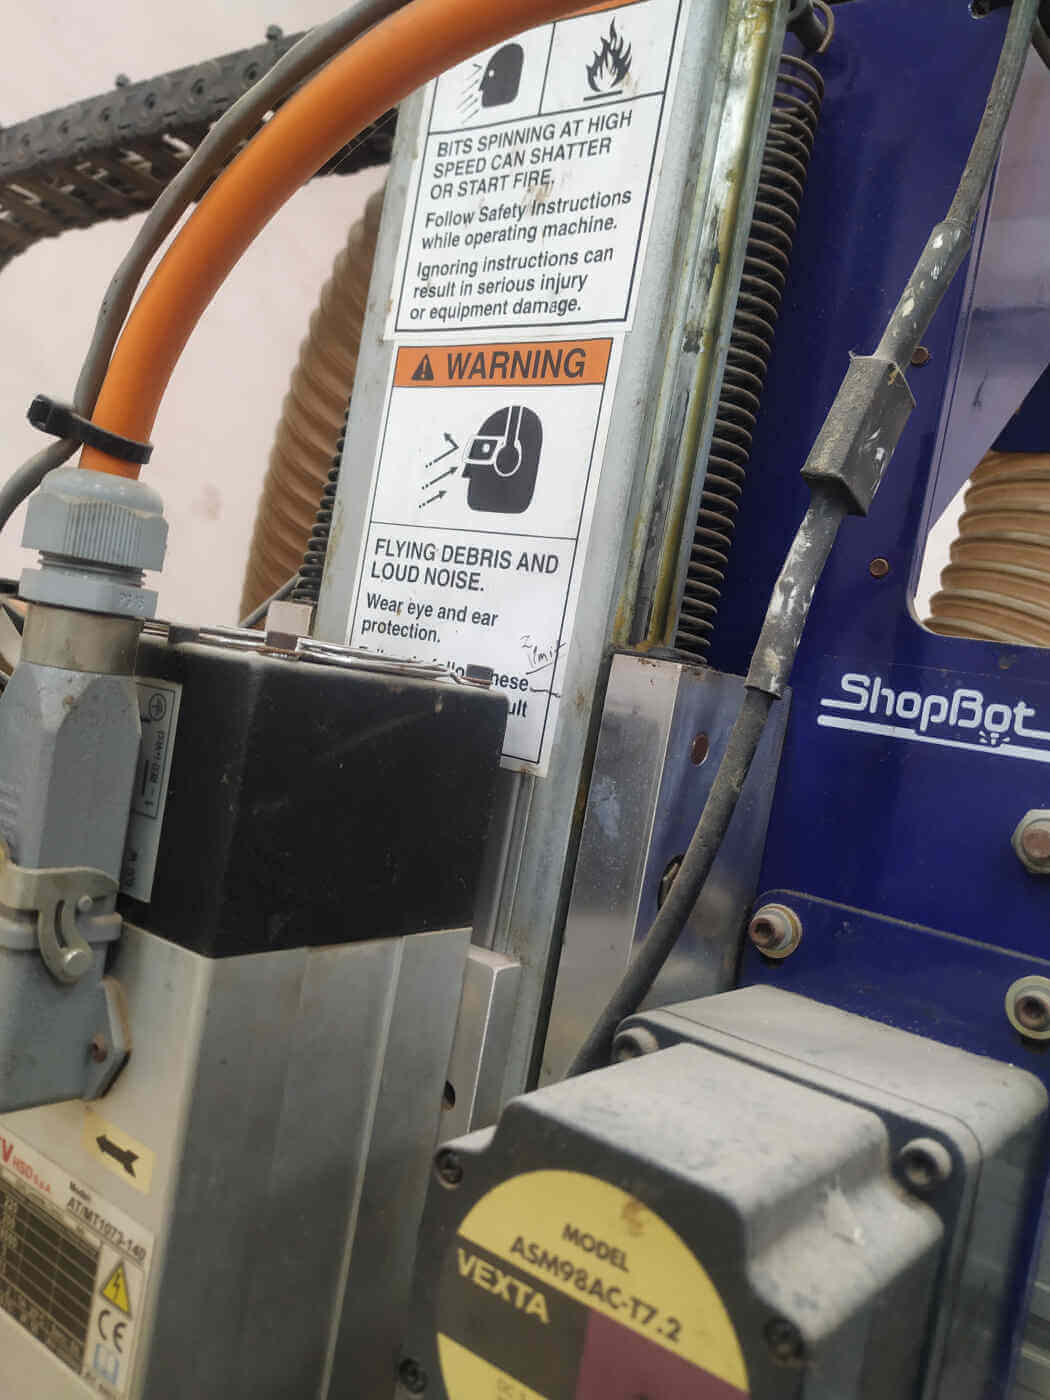
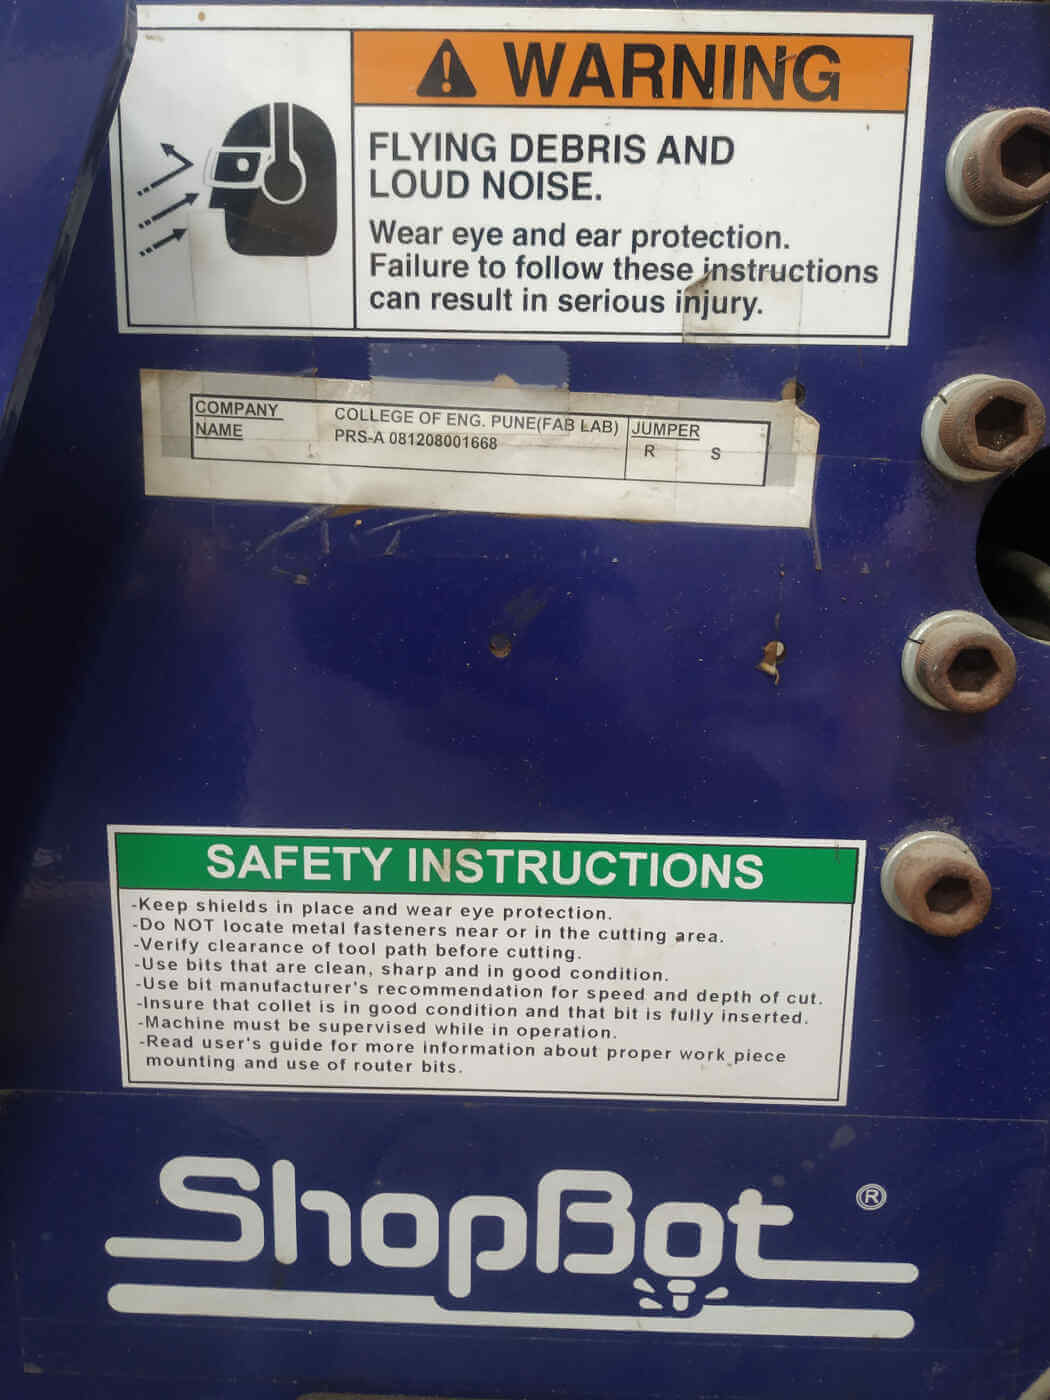
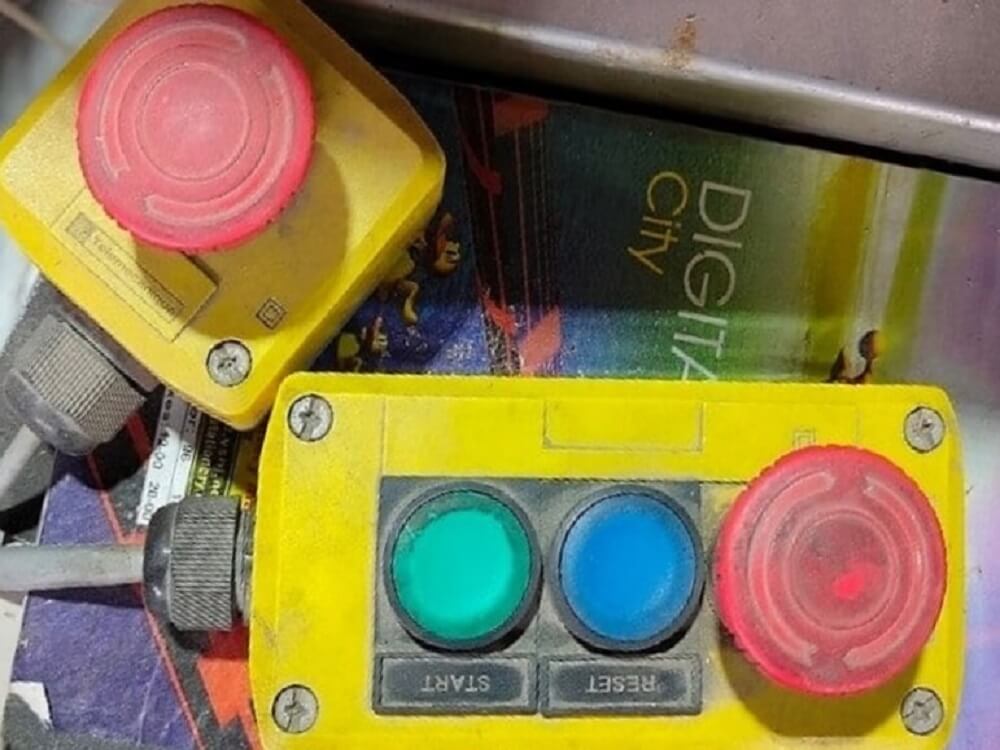
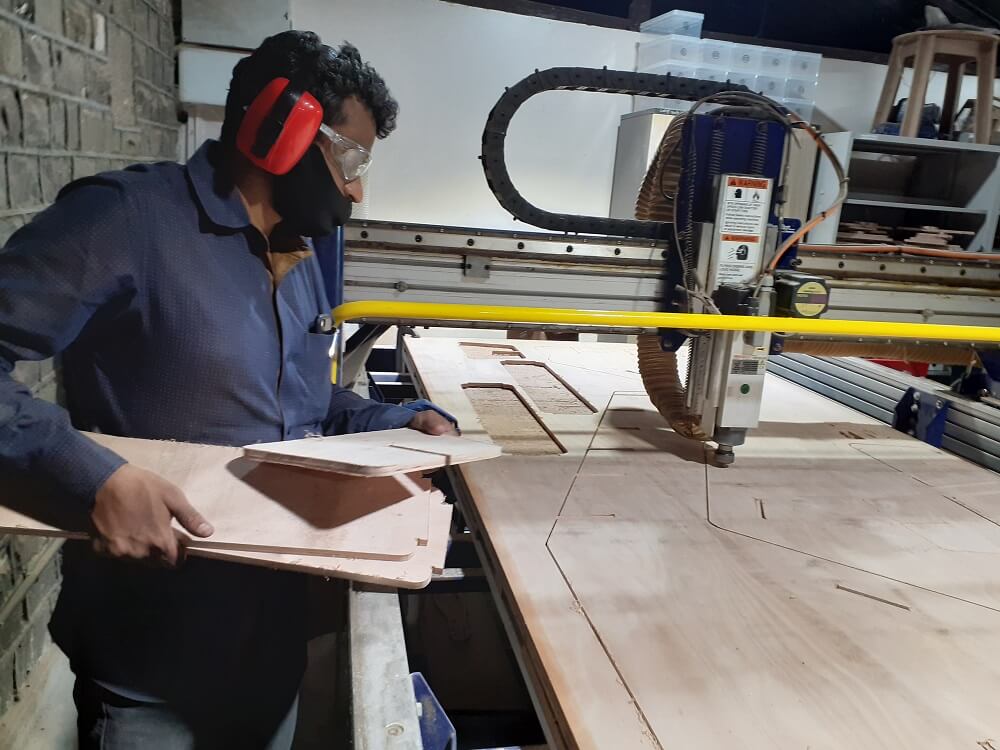
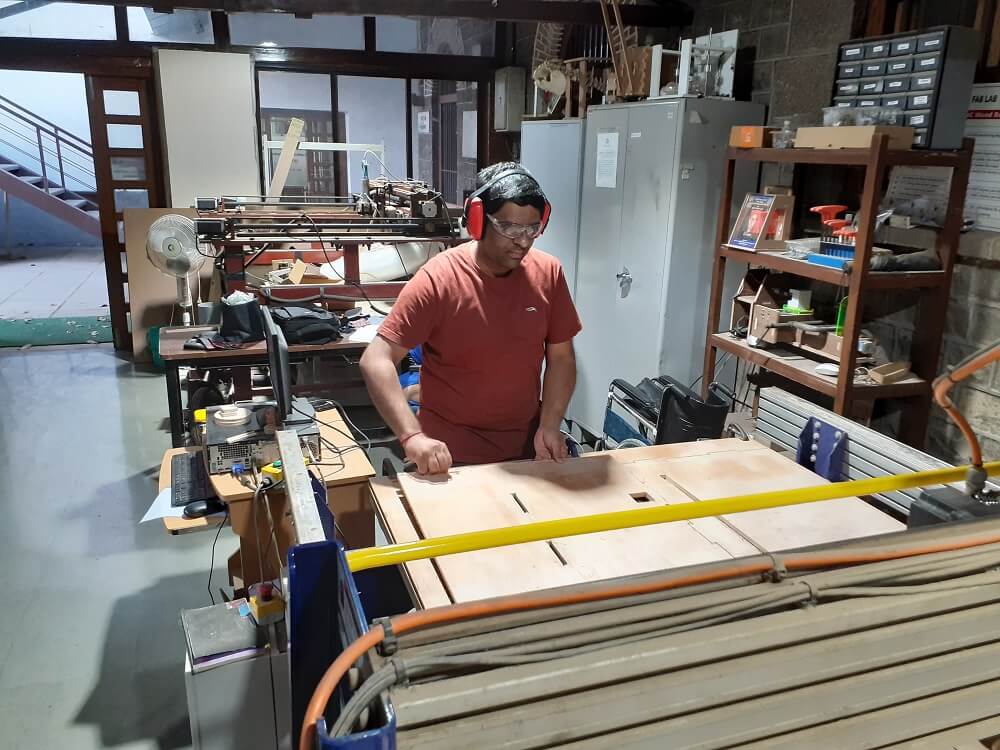
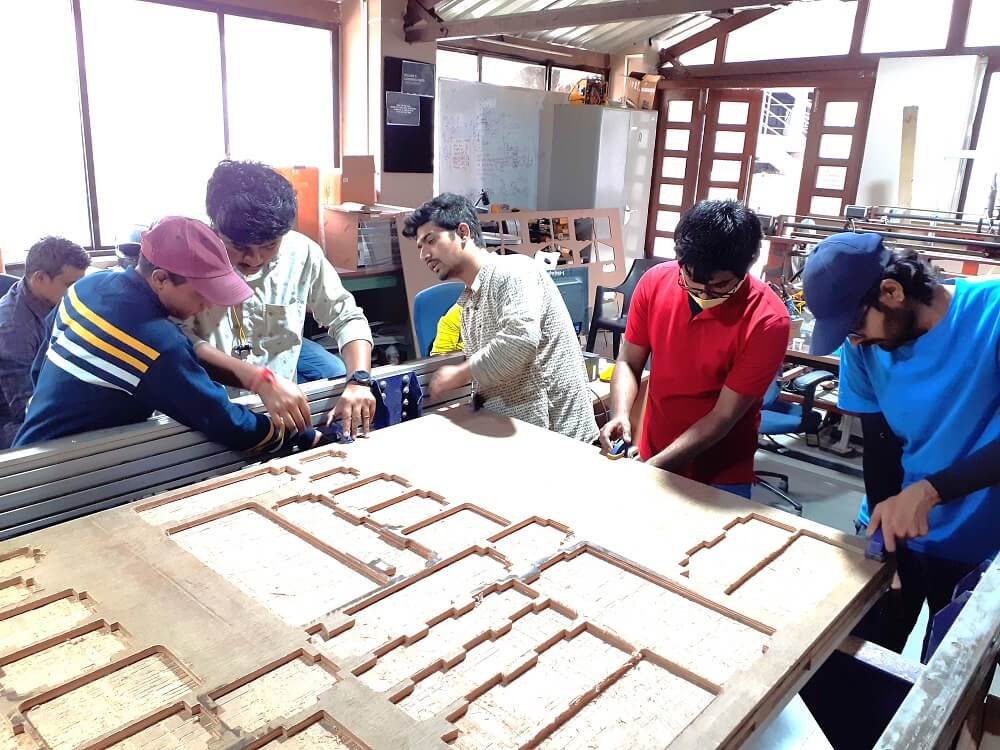
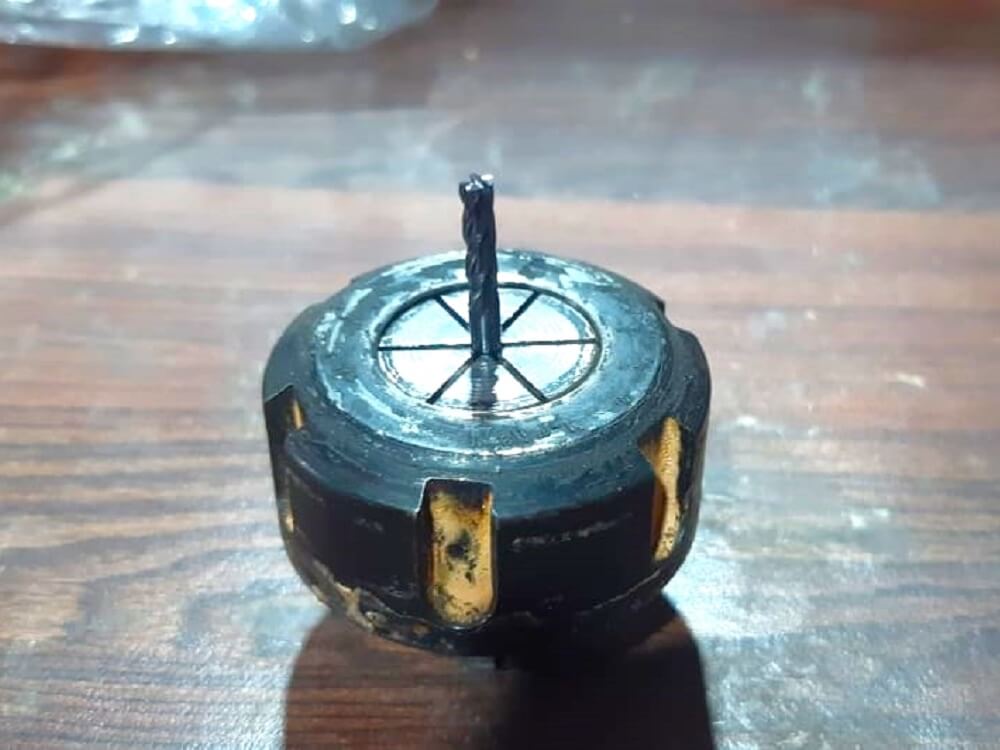
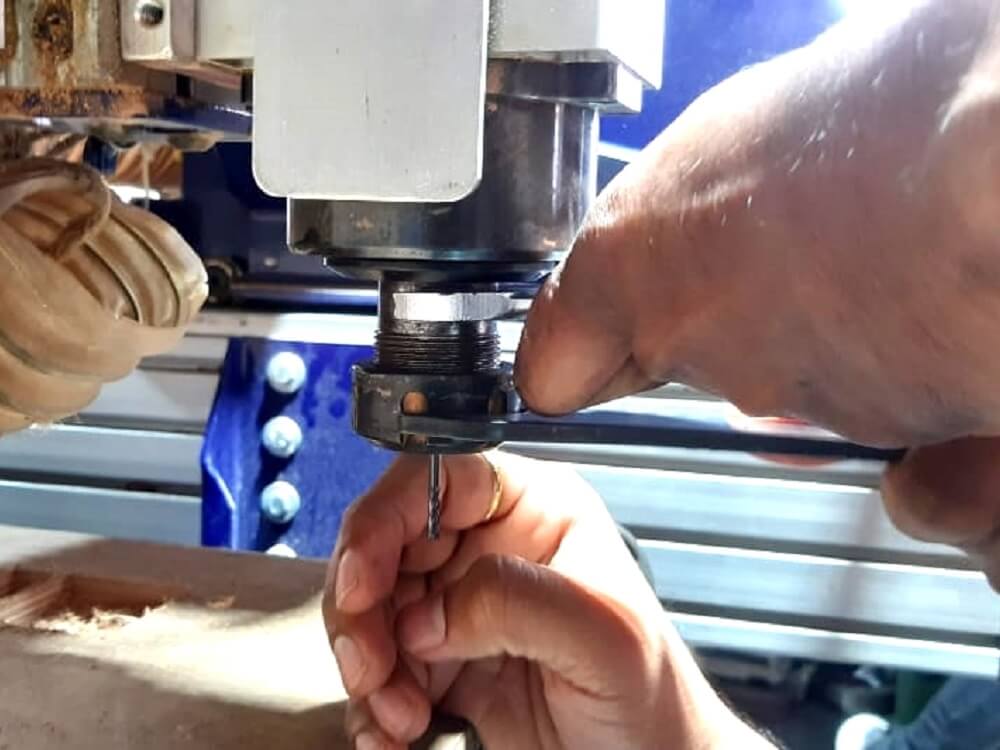
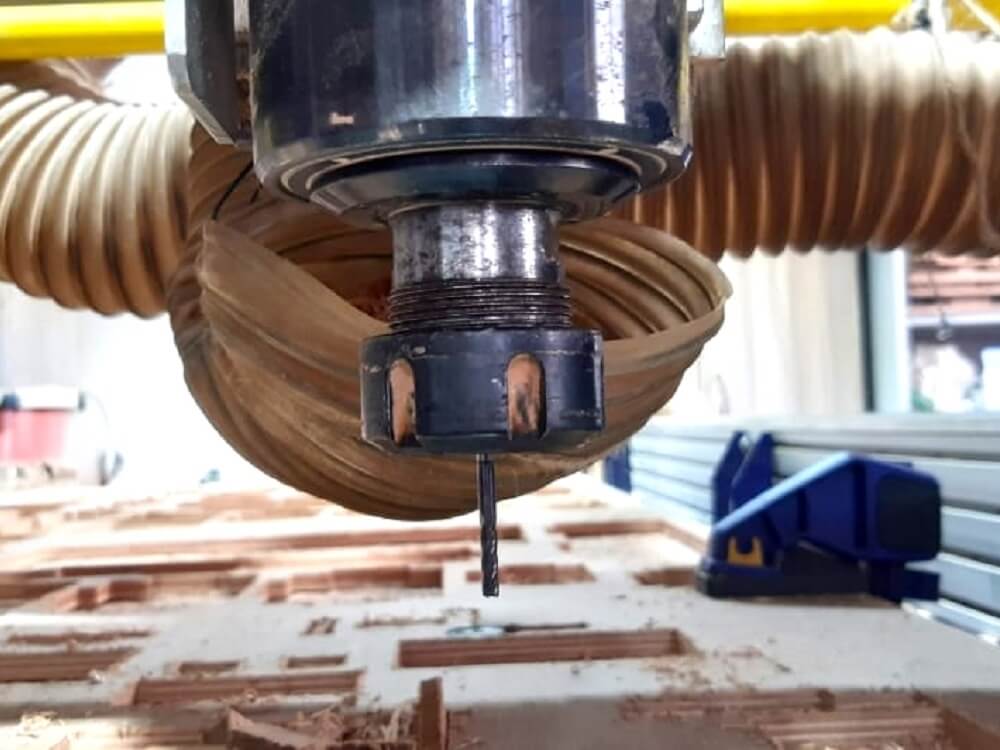
After lab safety training, we learned the tooling and fixturing requirements for the machine. Clamps are very much required for holding the stock properly on the machine bed. We need to consider the job layout and place clamps accordingly so that the tool does not hit the clamp while in operation. We also did nailing wherever we thought the stock/the cut part will come up during the process. There are chances that tool will hit on to stock and/or the cut parts and break. We also changed the tool from the machine to learn the tool changing process.
Test Runouts and Characterizing Machine
Once we learned the tooling and fixturing requirements, it was a time to do trial run-outs and cut sample parts to understand the machine accuracy, tolerances and fitments in press-fit joints. Based on the measurements of these test jobs, we later concluded on design parameters for the press-fit joints.
However, before we started cutting parts on the machine, it was important for us to learn the settings for speed, feed, material, and toolpaths generation during test runouts on the machine.
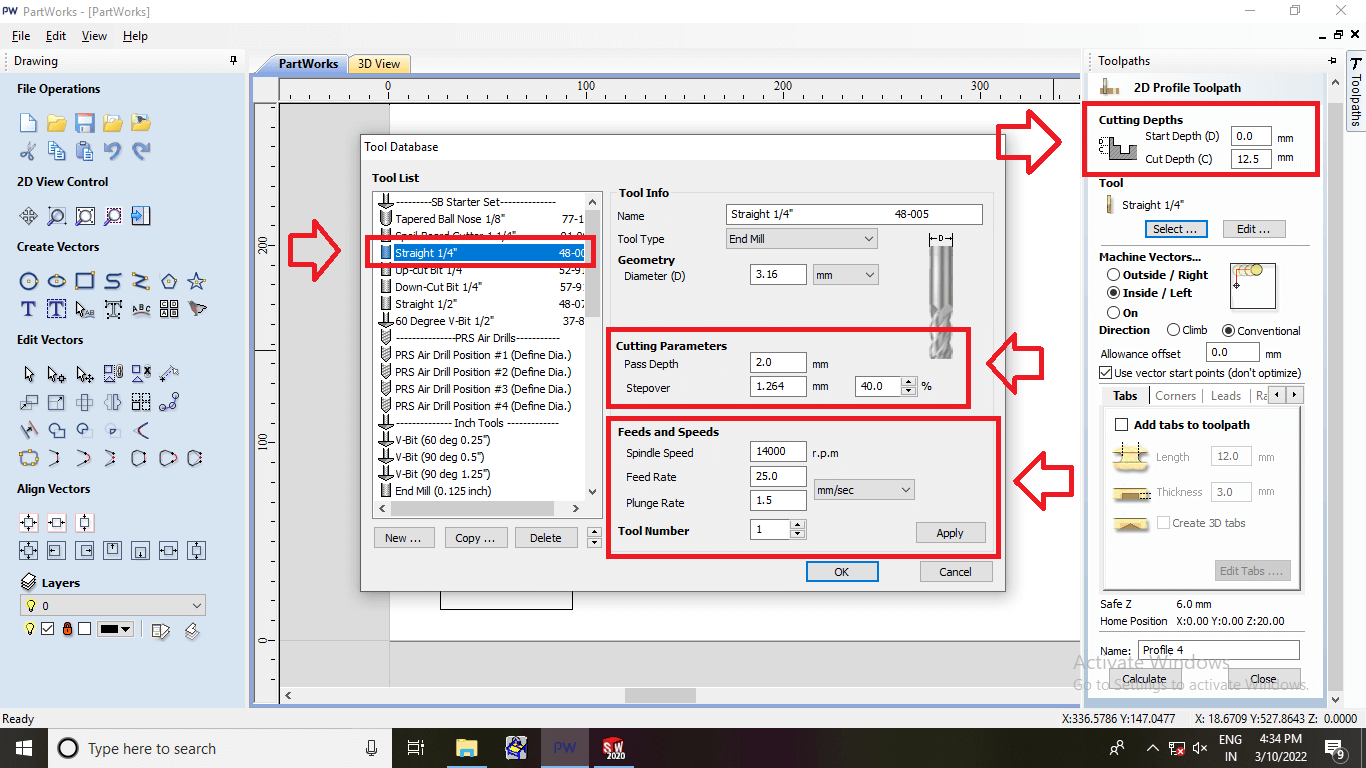
Following is a GUI of Partworks software that we used to generate the toolpaths for our jobs. We can import the dxf files of our job parts inside the partworks, set-up machine parameters like speed, feed, plunge rate, pass depth, step-over, total cut depth as per the stock thickness. After setting-up the job layout on the machine bed and setting up these parameters, we generated the toolpaths.
Setting up the machine parameters.
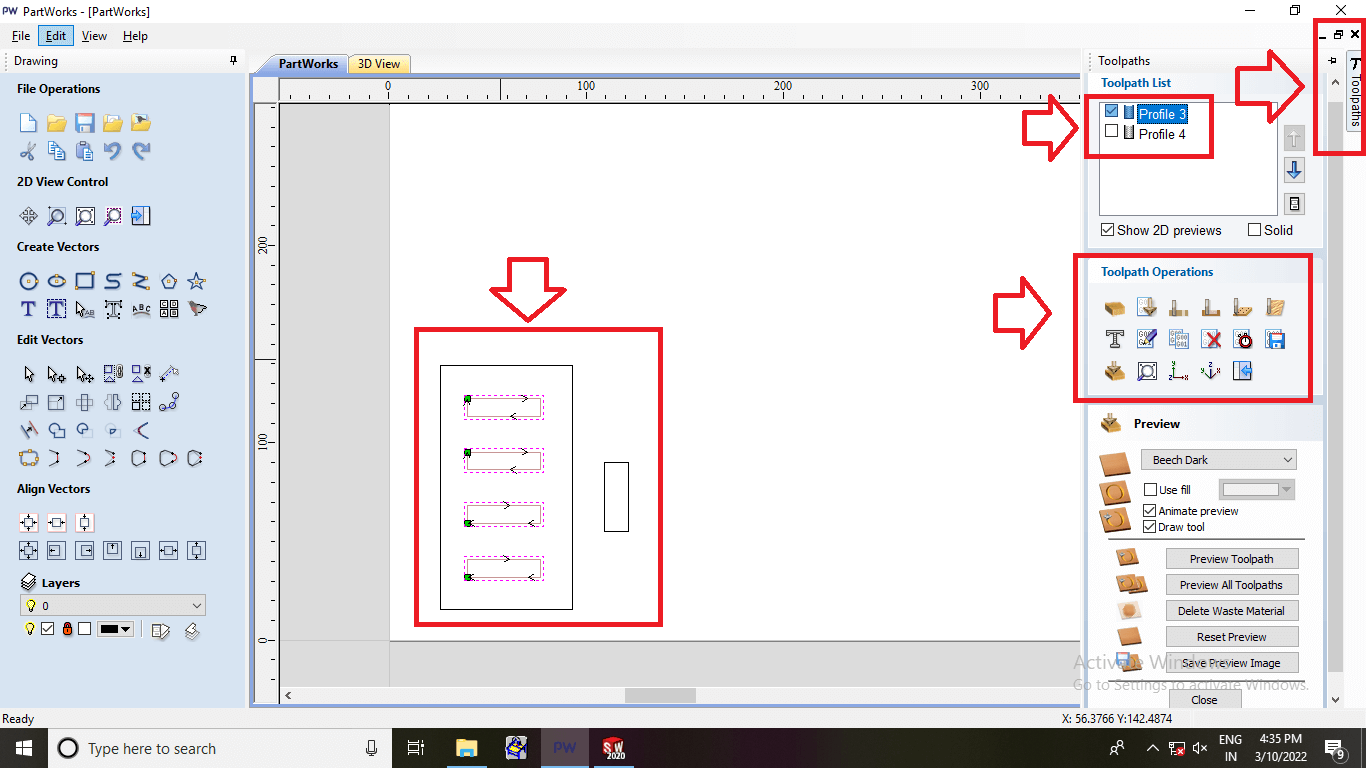
Generating the toolpaths.
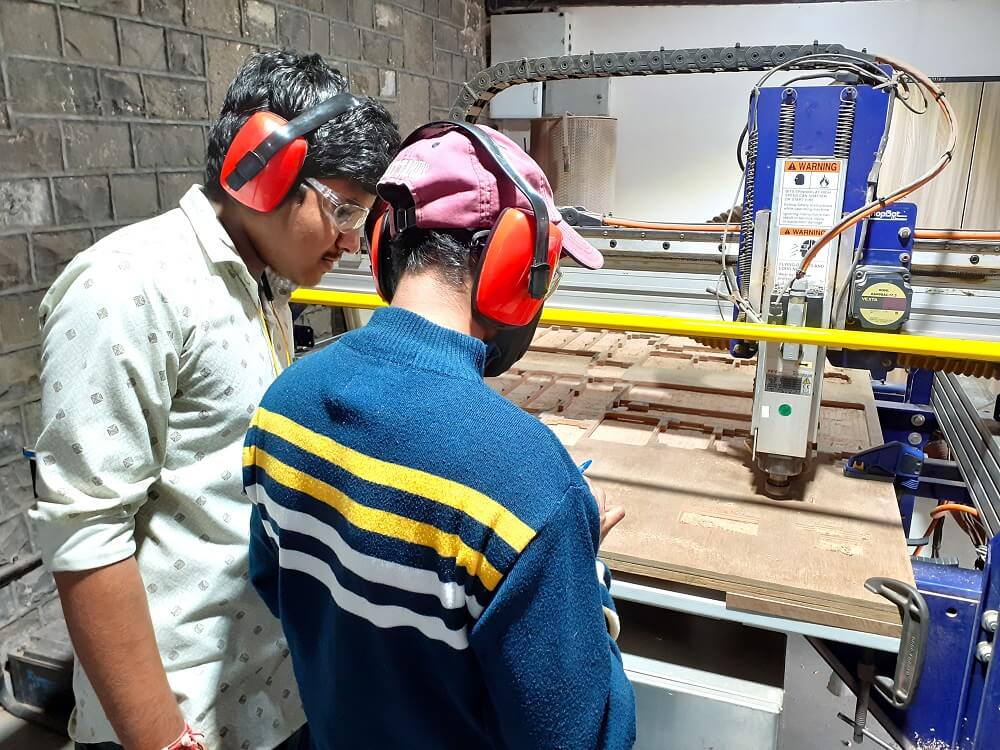
Then we learned how to use ShopBot console to load the partfile and start the machine. We also learned how to move the X, Y and Z axis along with setting-up Zero-zero position of the tool using this console.
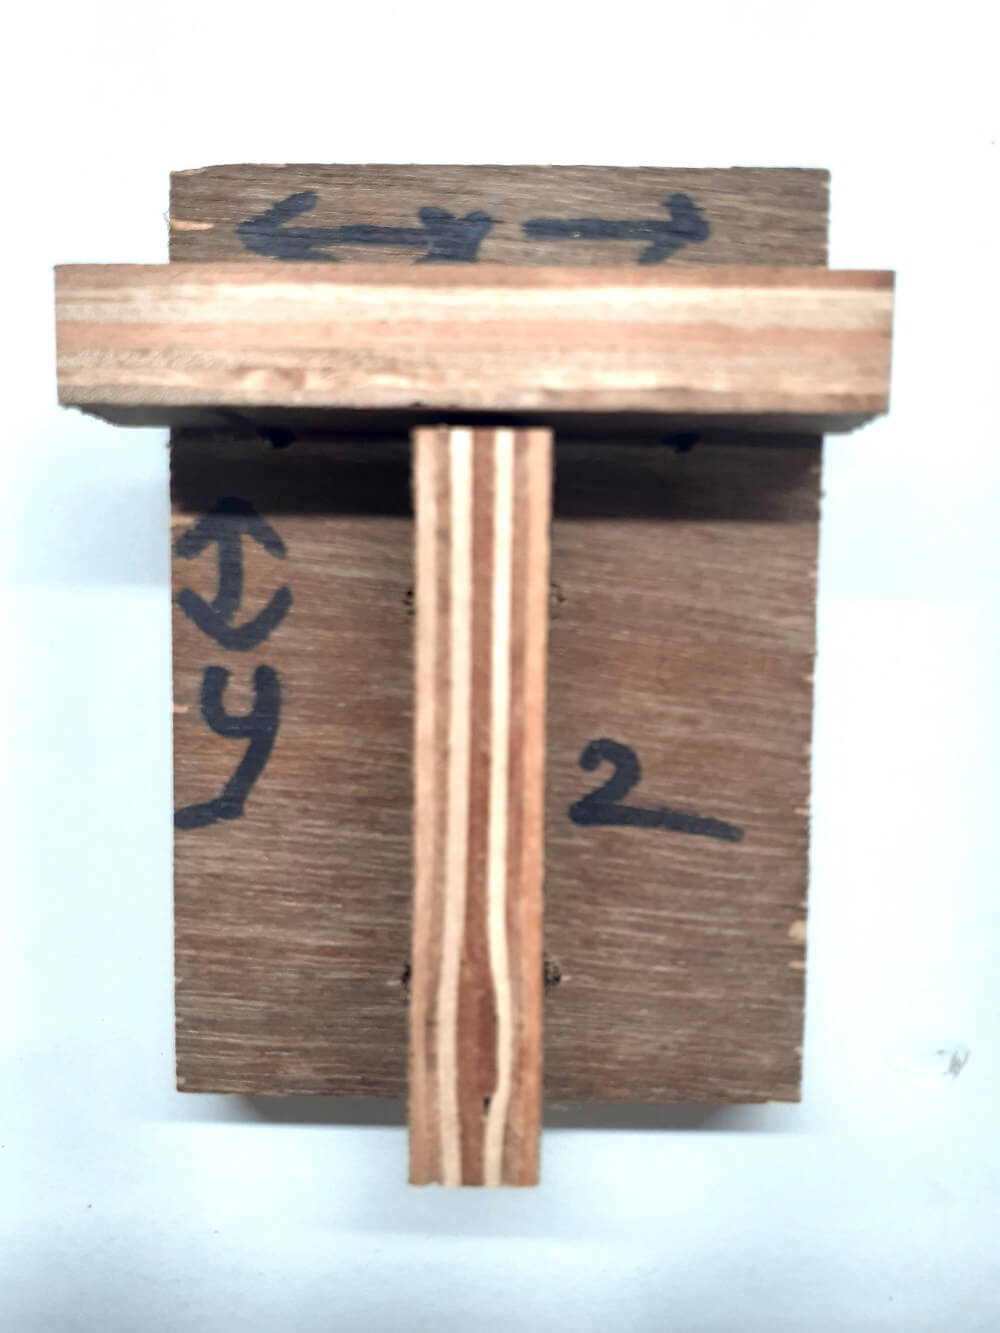
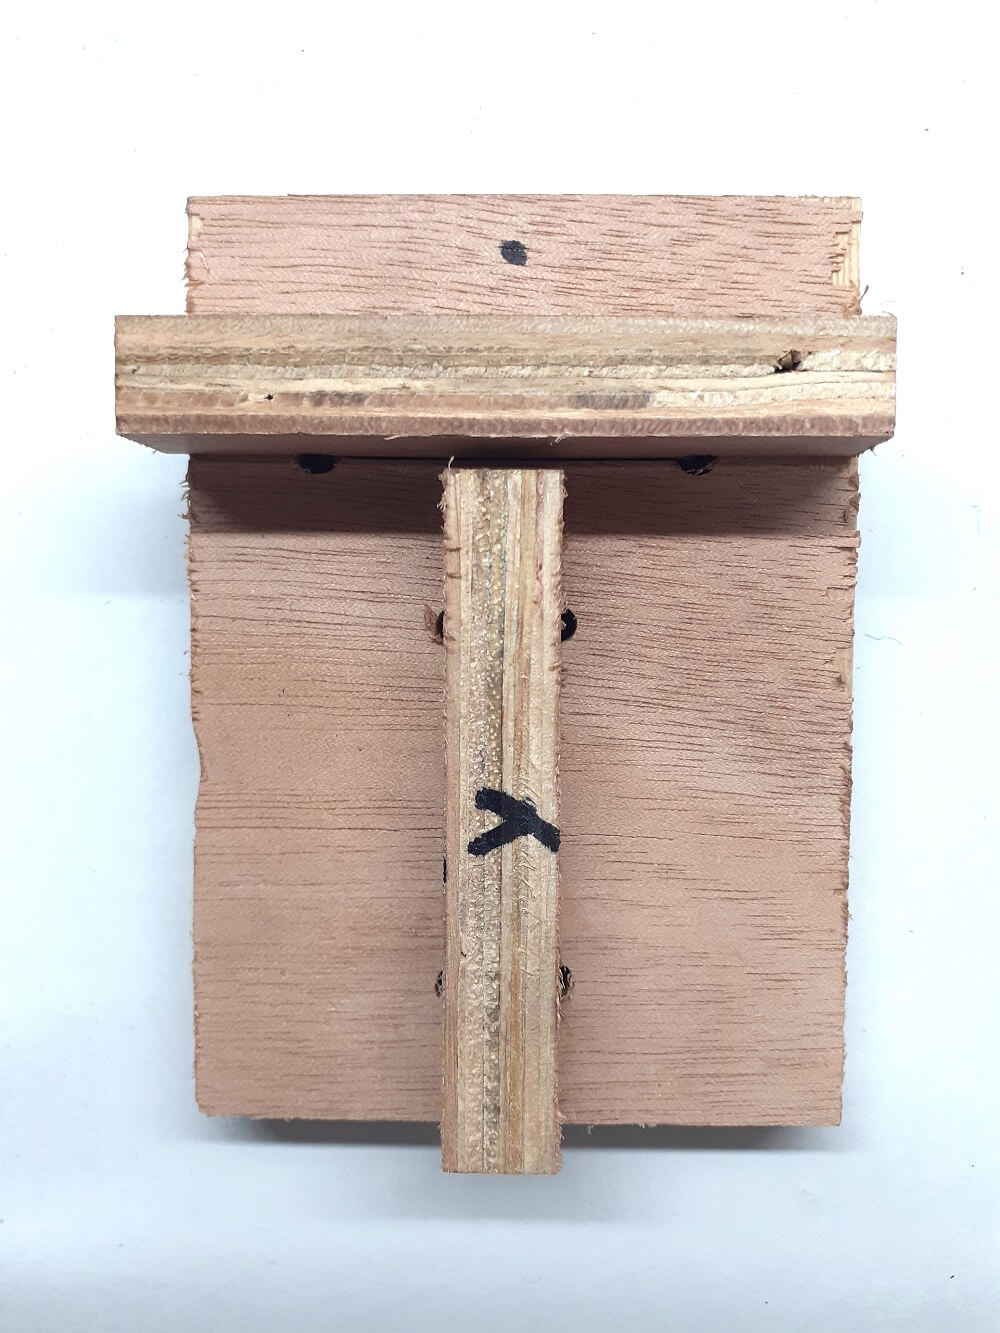
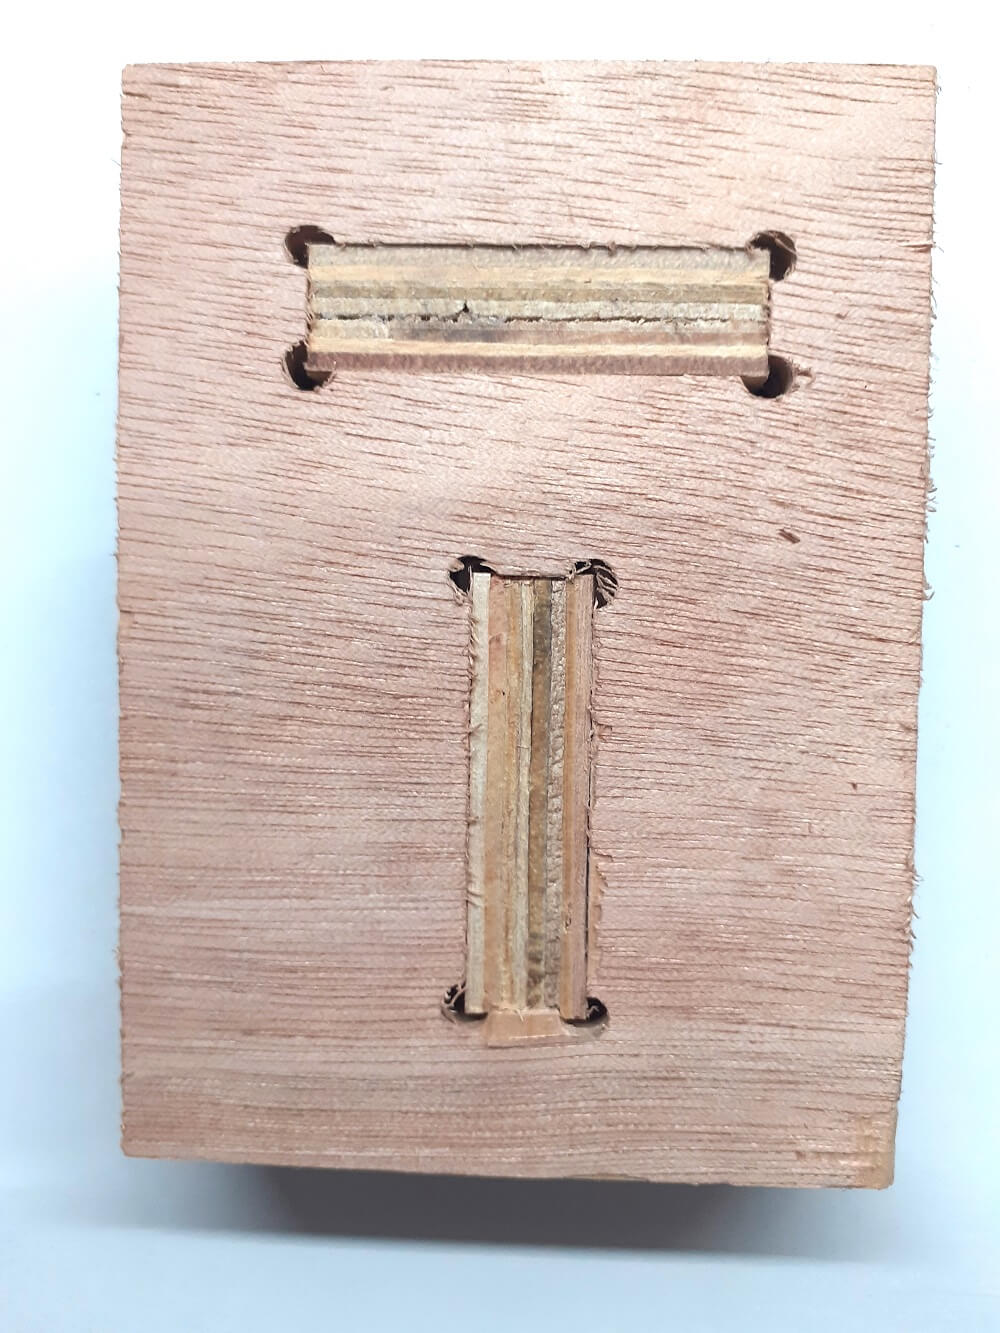
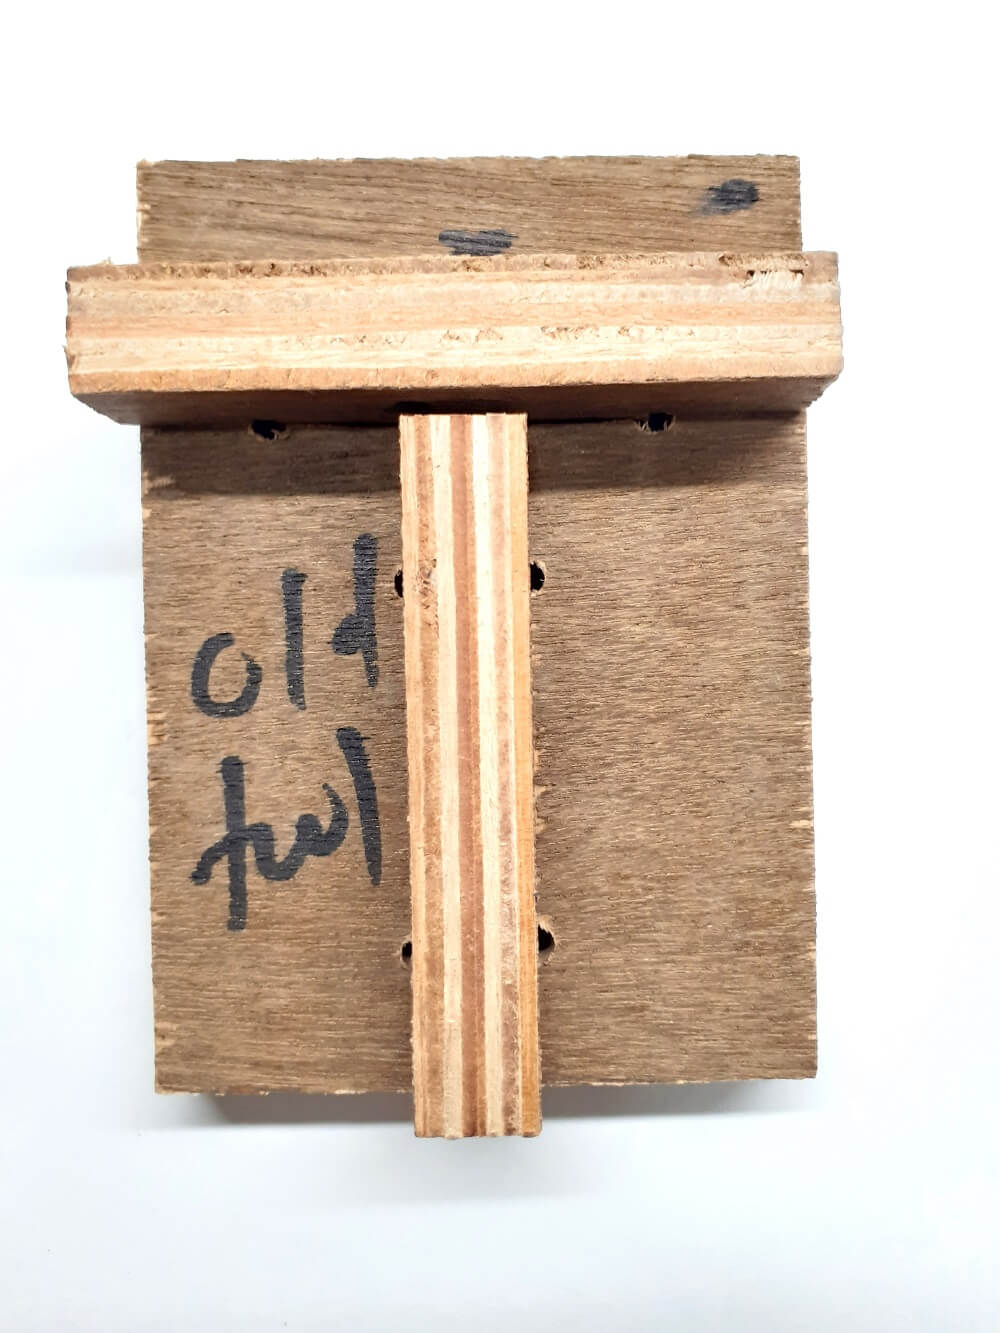
Then using solidworks, we designed slots and projections with T-shape, aligned along with the X and Y axis of the machine. Following were the dimensions we used in the design for cutting slots and projection.
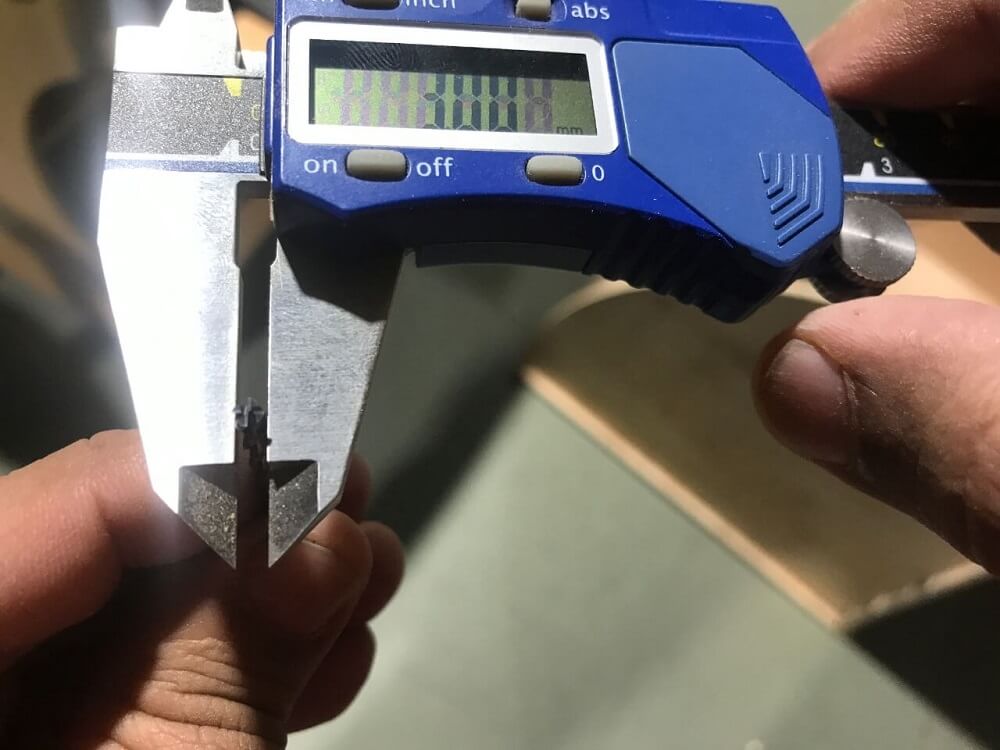
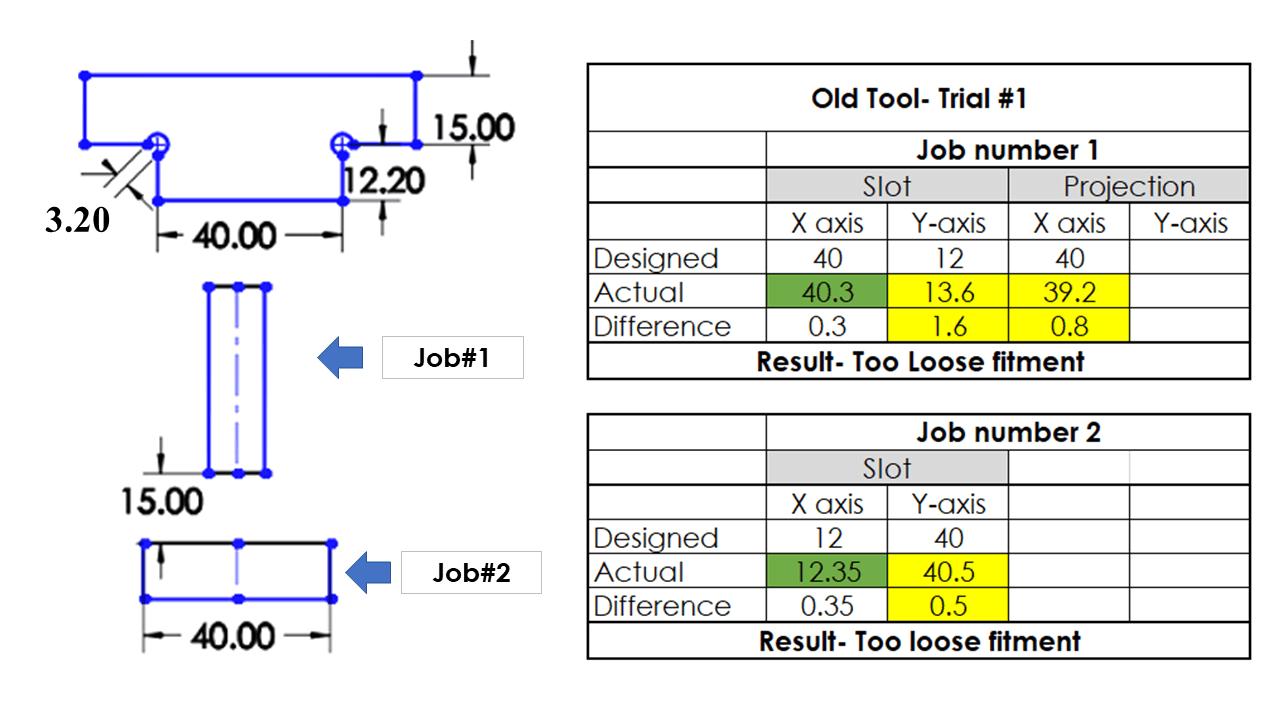
However, the jobs could not fit well as in press-fit joints. There was a gap of 1 mm to 1.6 mm between the designed and actual dimensions for the features that were aligned along Y-axis of the machine. The difference between design and actual dimensions along X-axis was 0.3 to 0.8 mm.
 |
 |
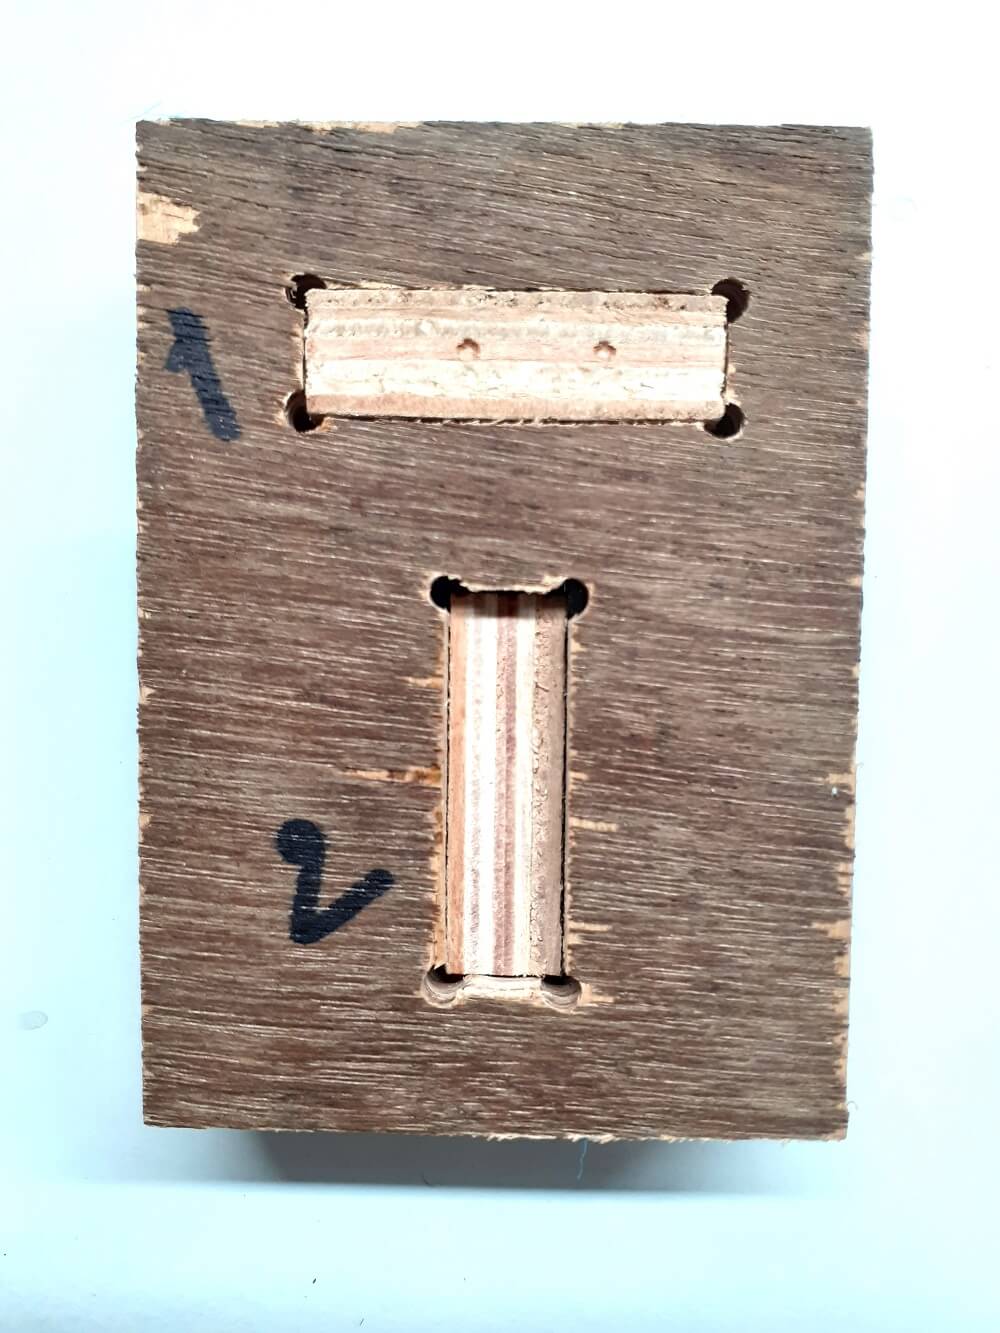 |
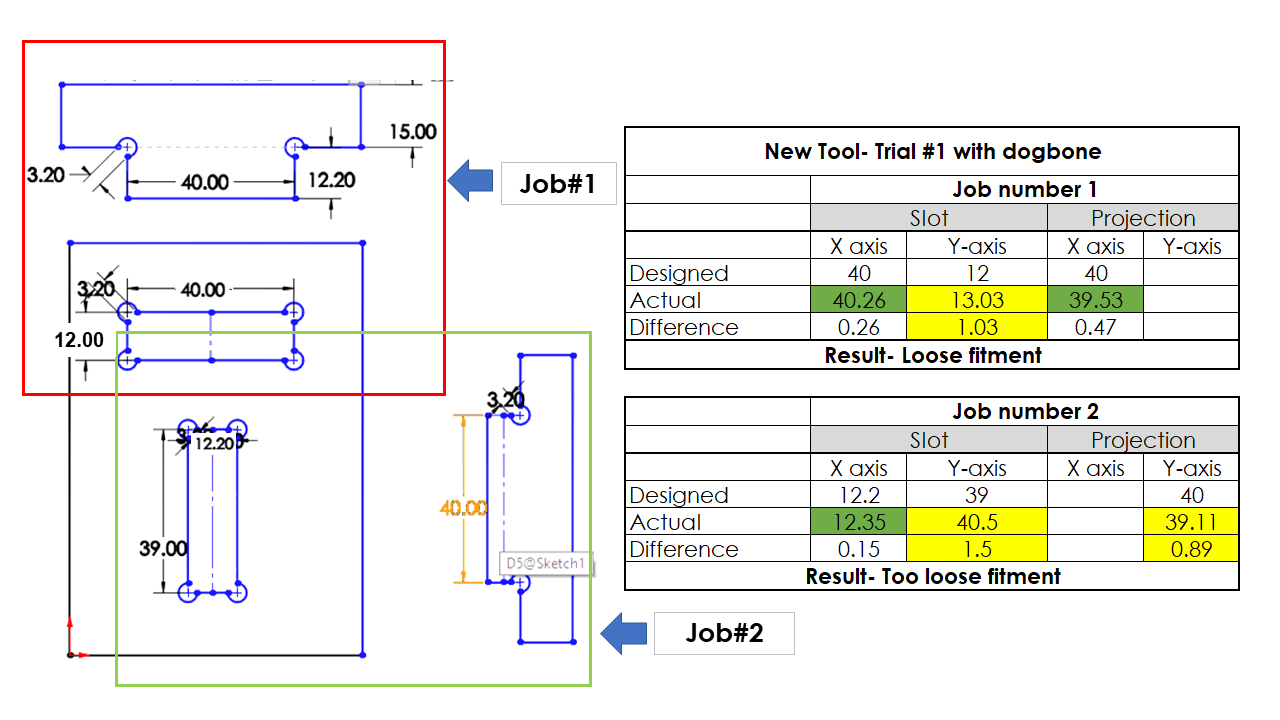
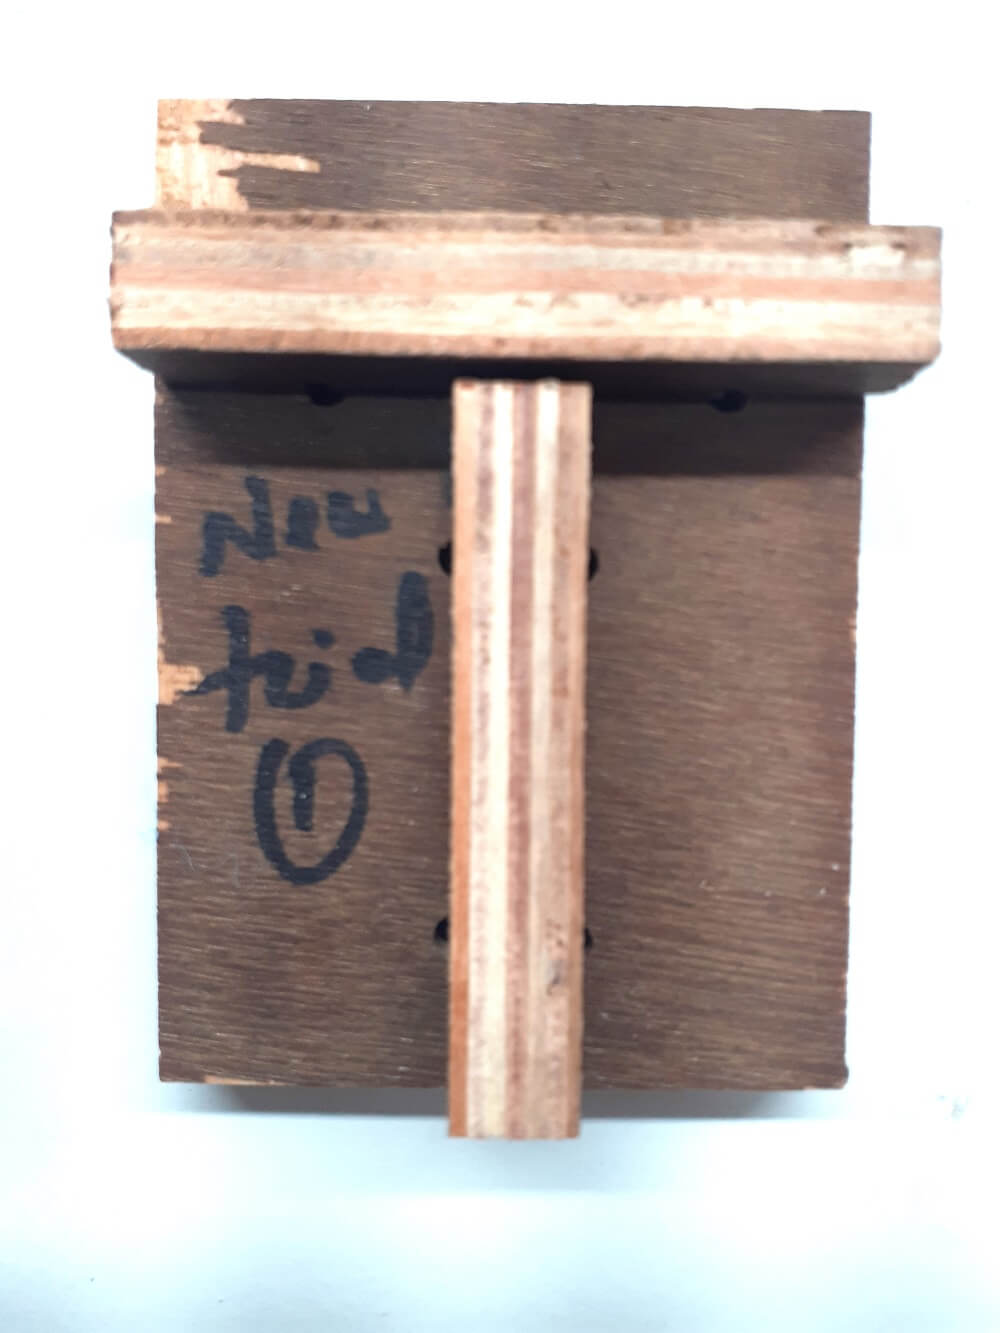
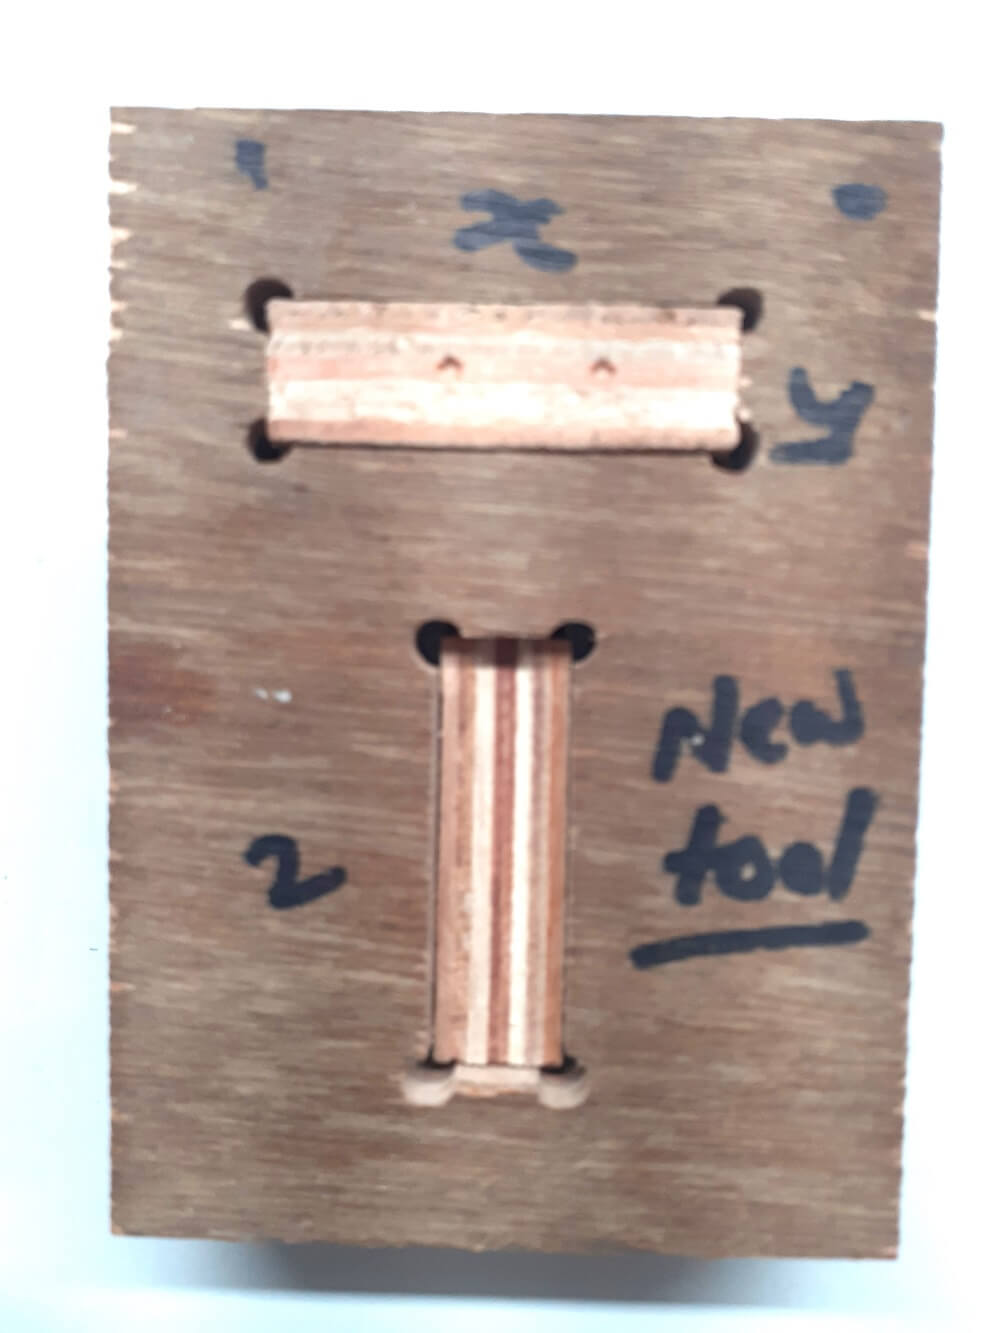
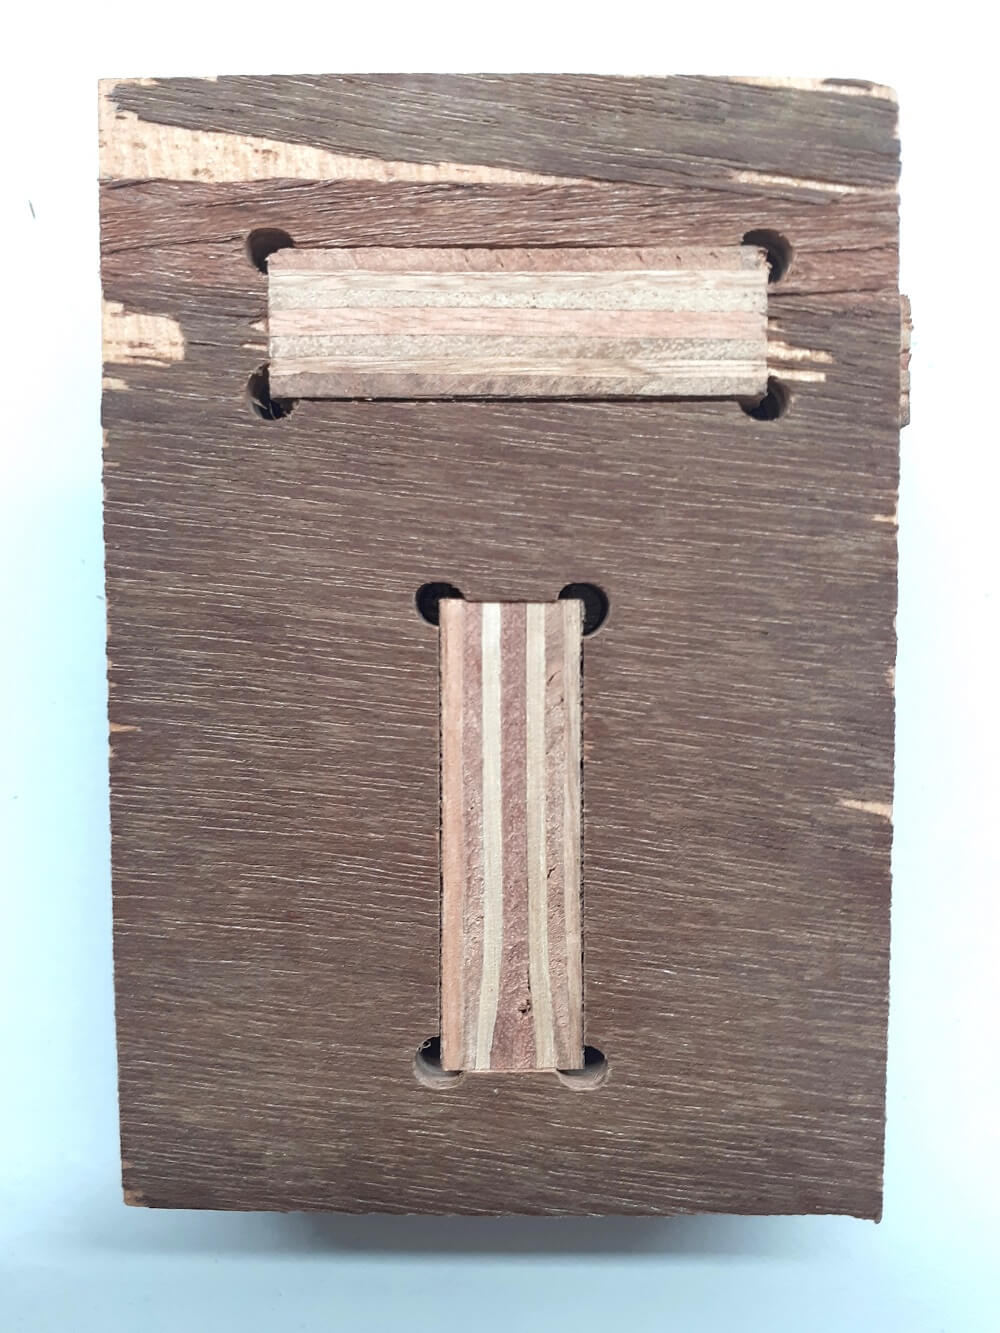
We then changed the tool, we used a new carbide tool and conducted a few more trials. This time we used dog-bone at the corners to avoid fillet radius at the sharp corners. Following are the designed dimensions and actual dimensions.
However, we still got major differences in dimensions along Y axis for this trial as well. We did not understand the reason behind the difference between designed and actual dimension happening ONLY on Y axis. Only thing we could conclude- there was an error of 1-1.6 mm along the Y axis drive of the machine. Result was loose fitments in this trial as well.
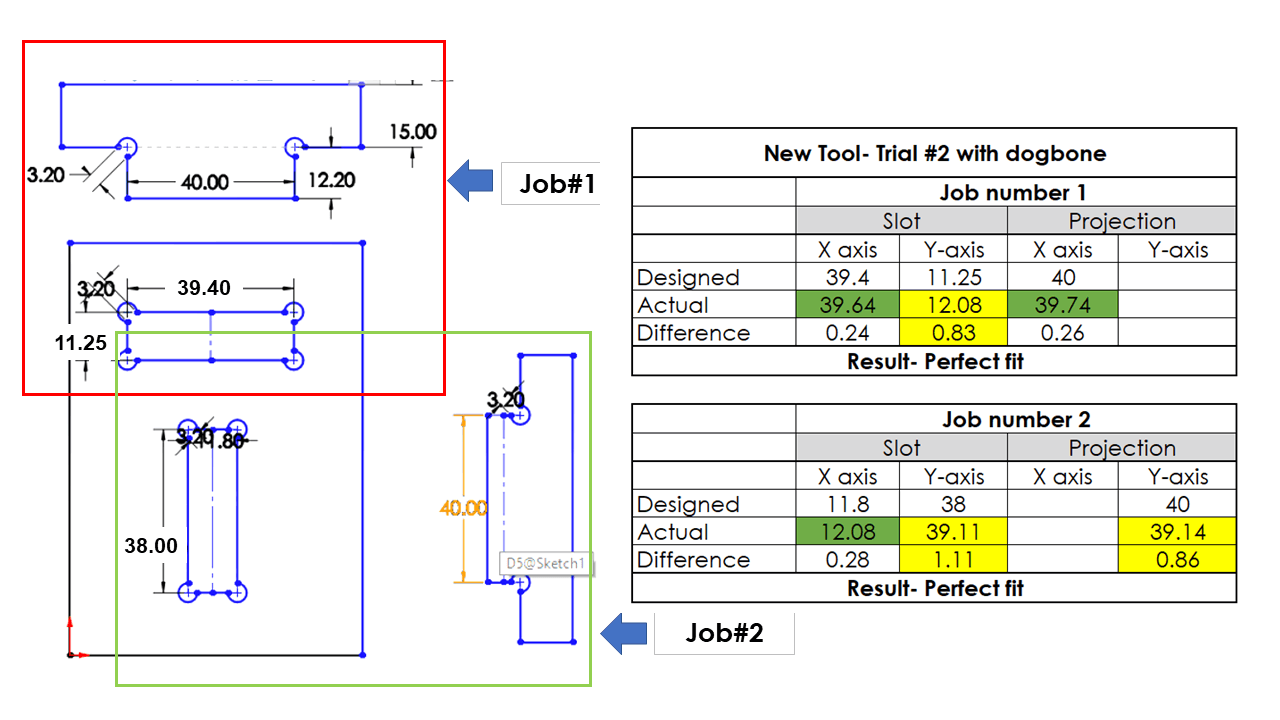
So, we thought of making these adjustments in designed dimensions only to compensate fot the Y-axis error. So, following are the designed dimensions to achieve the required dimensions. This time the result was- the fitment was perfect, it was a press-fit in both the jobs.
Therefore, to get a good press-fit joints even after having an error on Y-axis, we concluded to make following changes in designed dimensions. However, we knew that, this was a very raw method. It is also difficult to make these changes in the design in every single slot and projection. Designing would not be that easy using this method.
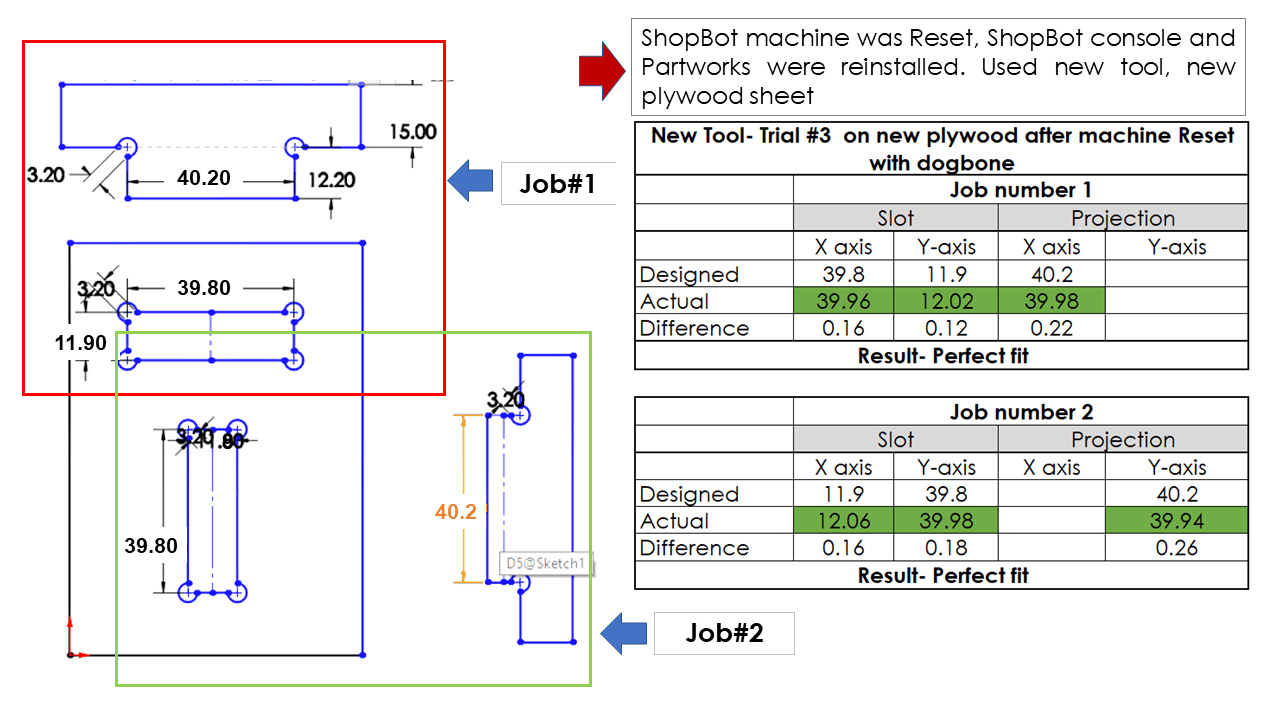
To avoid design complexities as we mentioned above, we decided to reset the machine, uninstall and reinstall ShopBot console software, reset the USB port used for communication, change the plywood sheet and use new one.
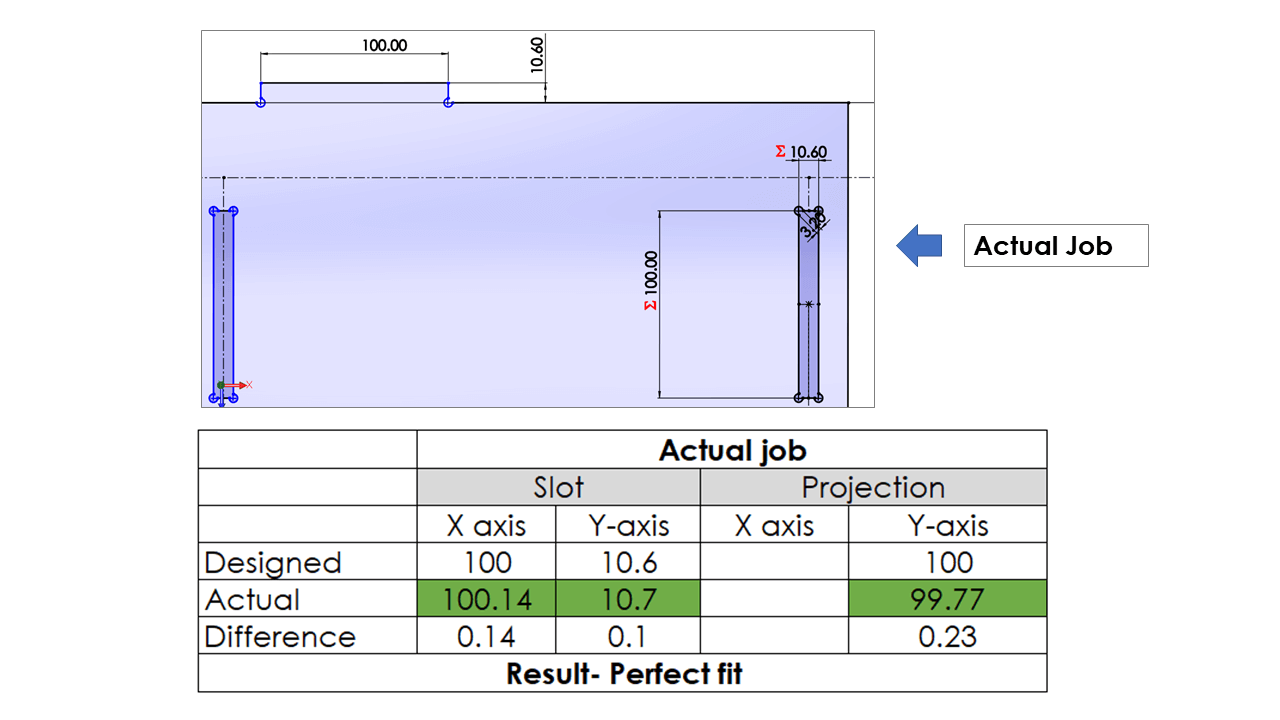
Following are the designed vs actual dimensions of the jobs. This time, we did not make any changes in design and we also did not get any errors in the dimensions along either of the axis.
We then used following design dimensions in our individual assignment jobs and got following results with a good press-fit joints. We did not need to make any changes in our designed dimensions and it was quite easy.
What we learned in this assignment
We learned Safety requirements of the machine, shop and tooling. We understood the tooling and fixturing requirements for ShopBot. We also learned machine parameters like, Speed, feed, plunge rate, depth of cut, etc. We used Partworks for toolpath generation.
We would like to thank Ms. Apeksha and her team from College of Engineering, Pune to help us throughout this assignment.