The Idea
Digital wall clock
The idea was to design a wall clock that will go along with my bedroom and can change color by phone.
First design:

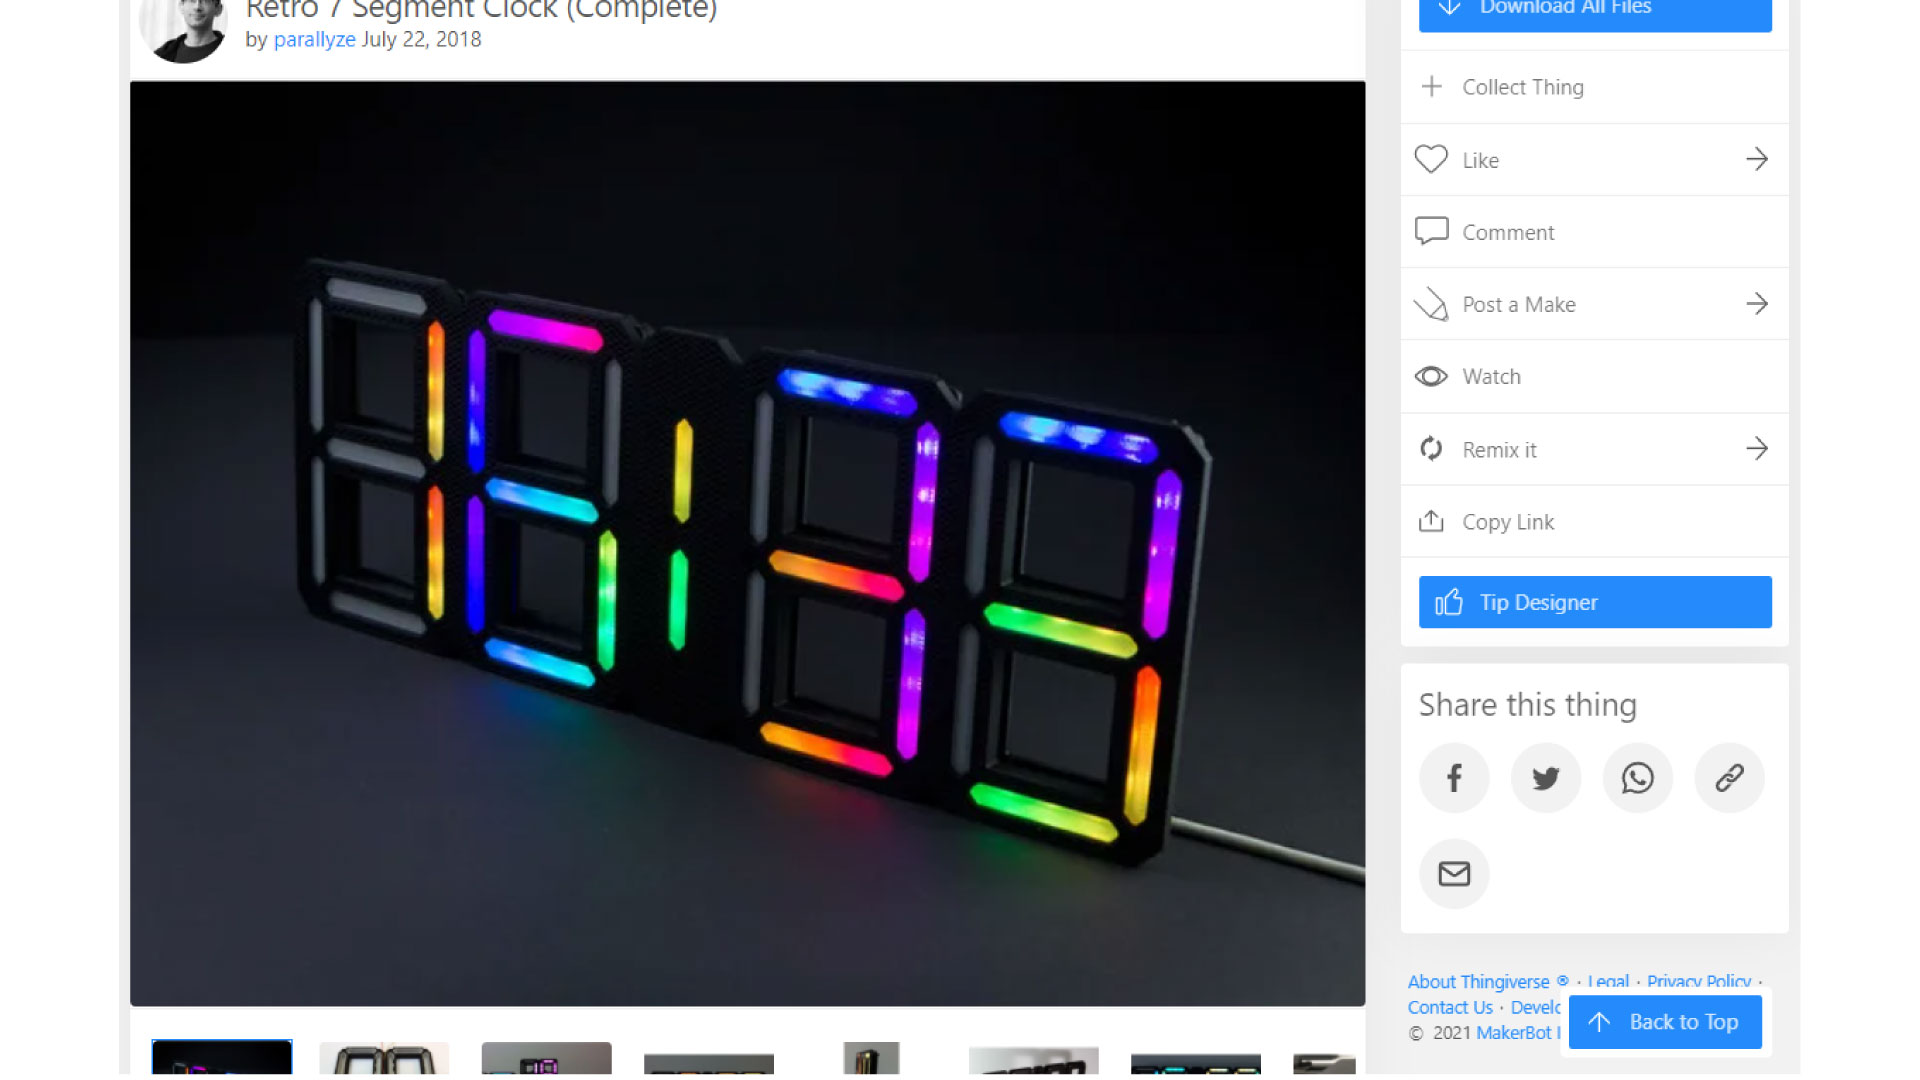
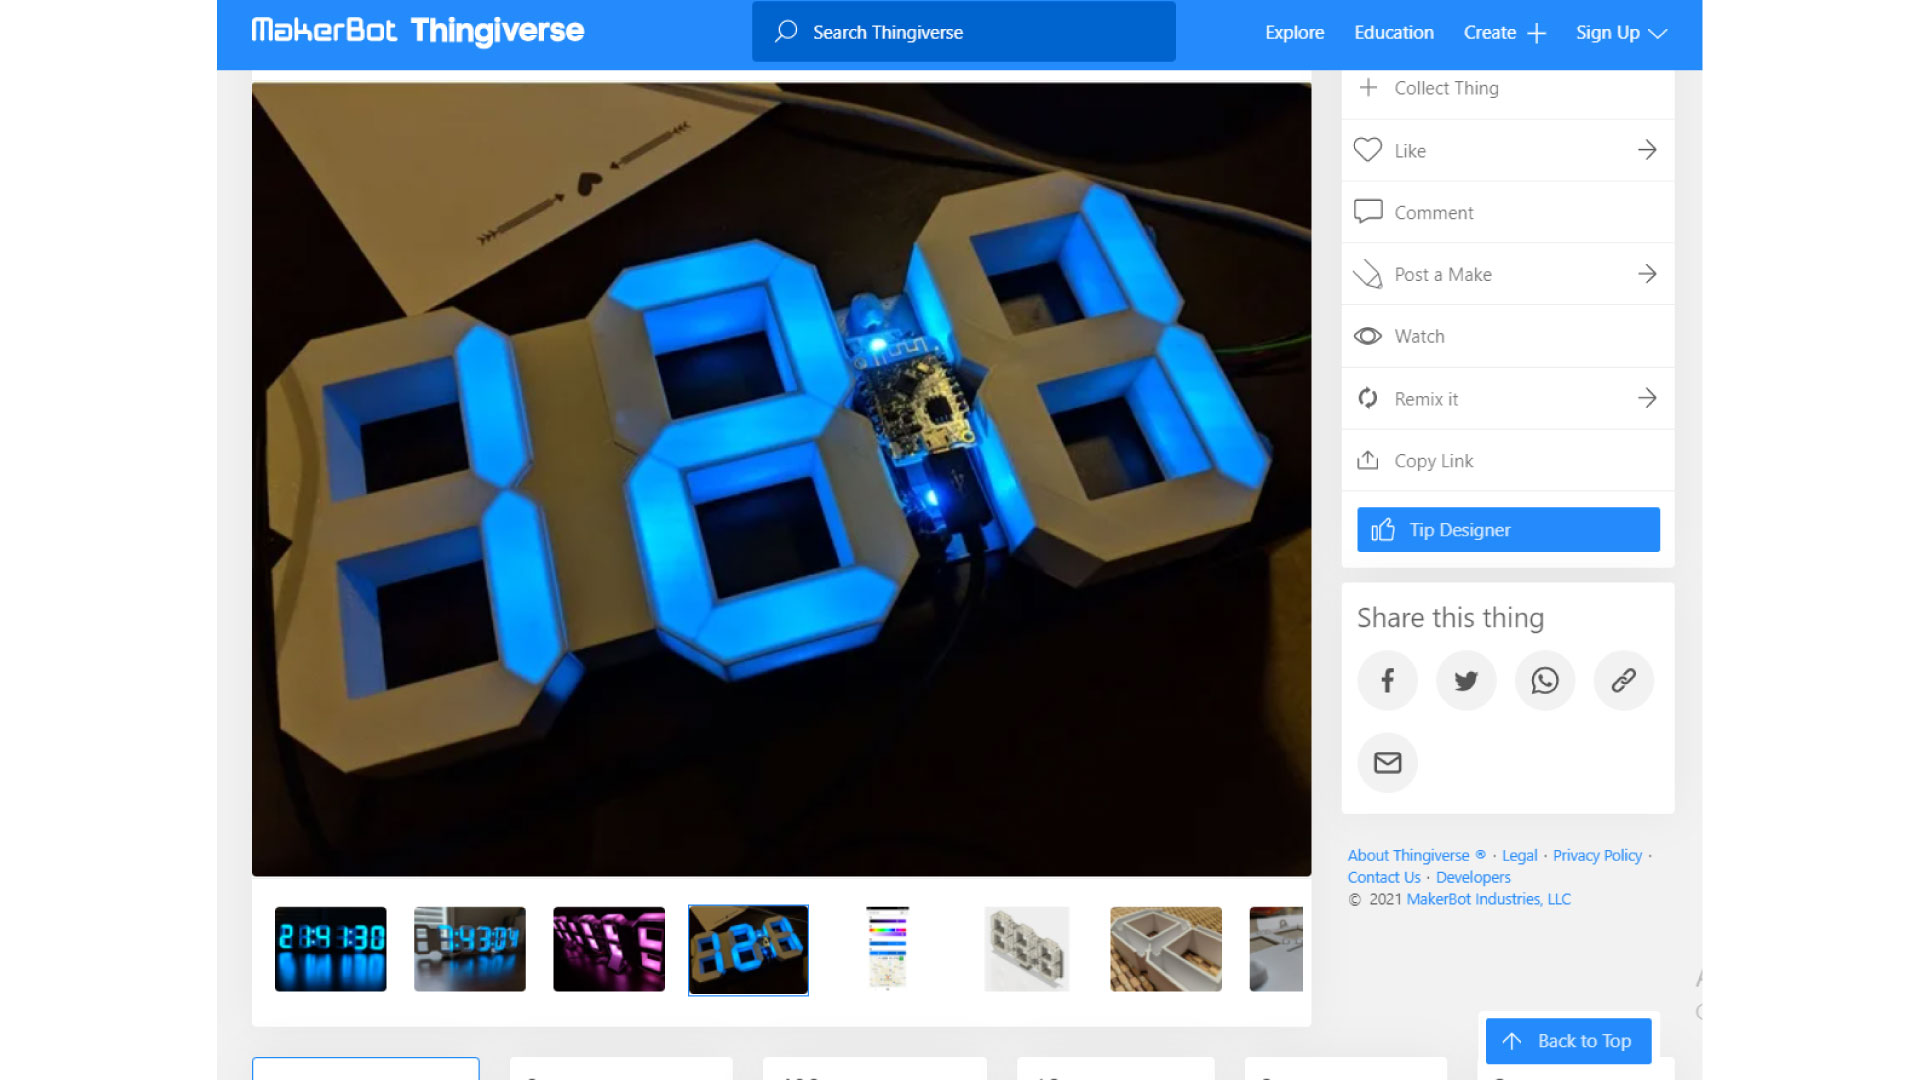
Inspiration photos:
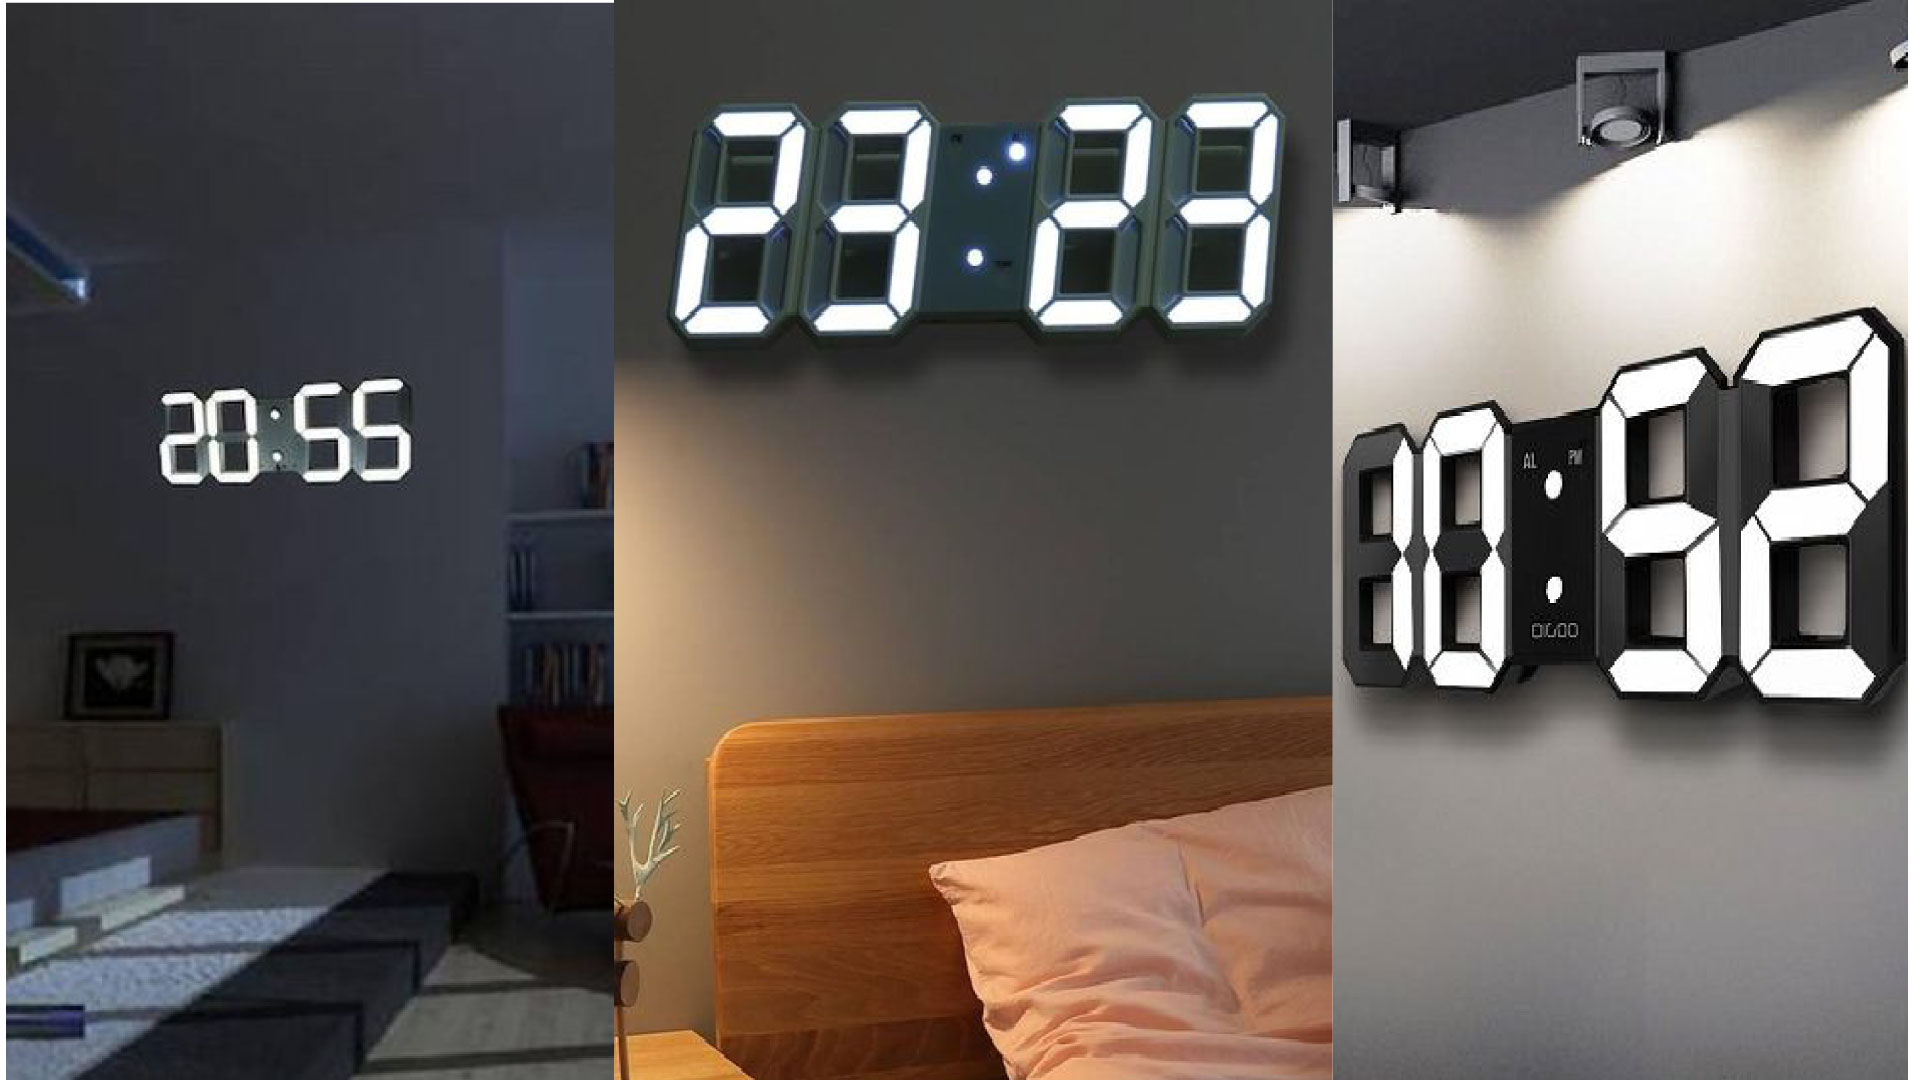
The aim:
- To get accurate time display
- Get temp display
- change color using bluetooth connection
The system (concept and reaserch)
You can refer to Application and implications week for more details.
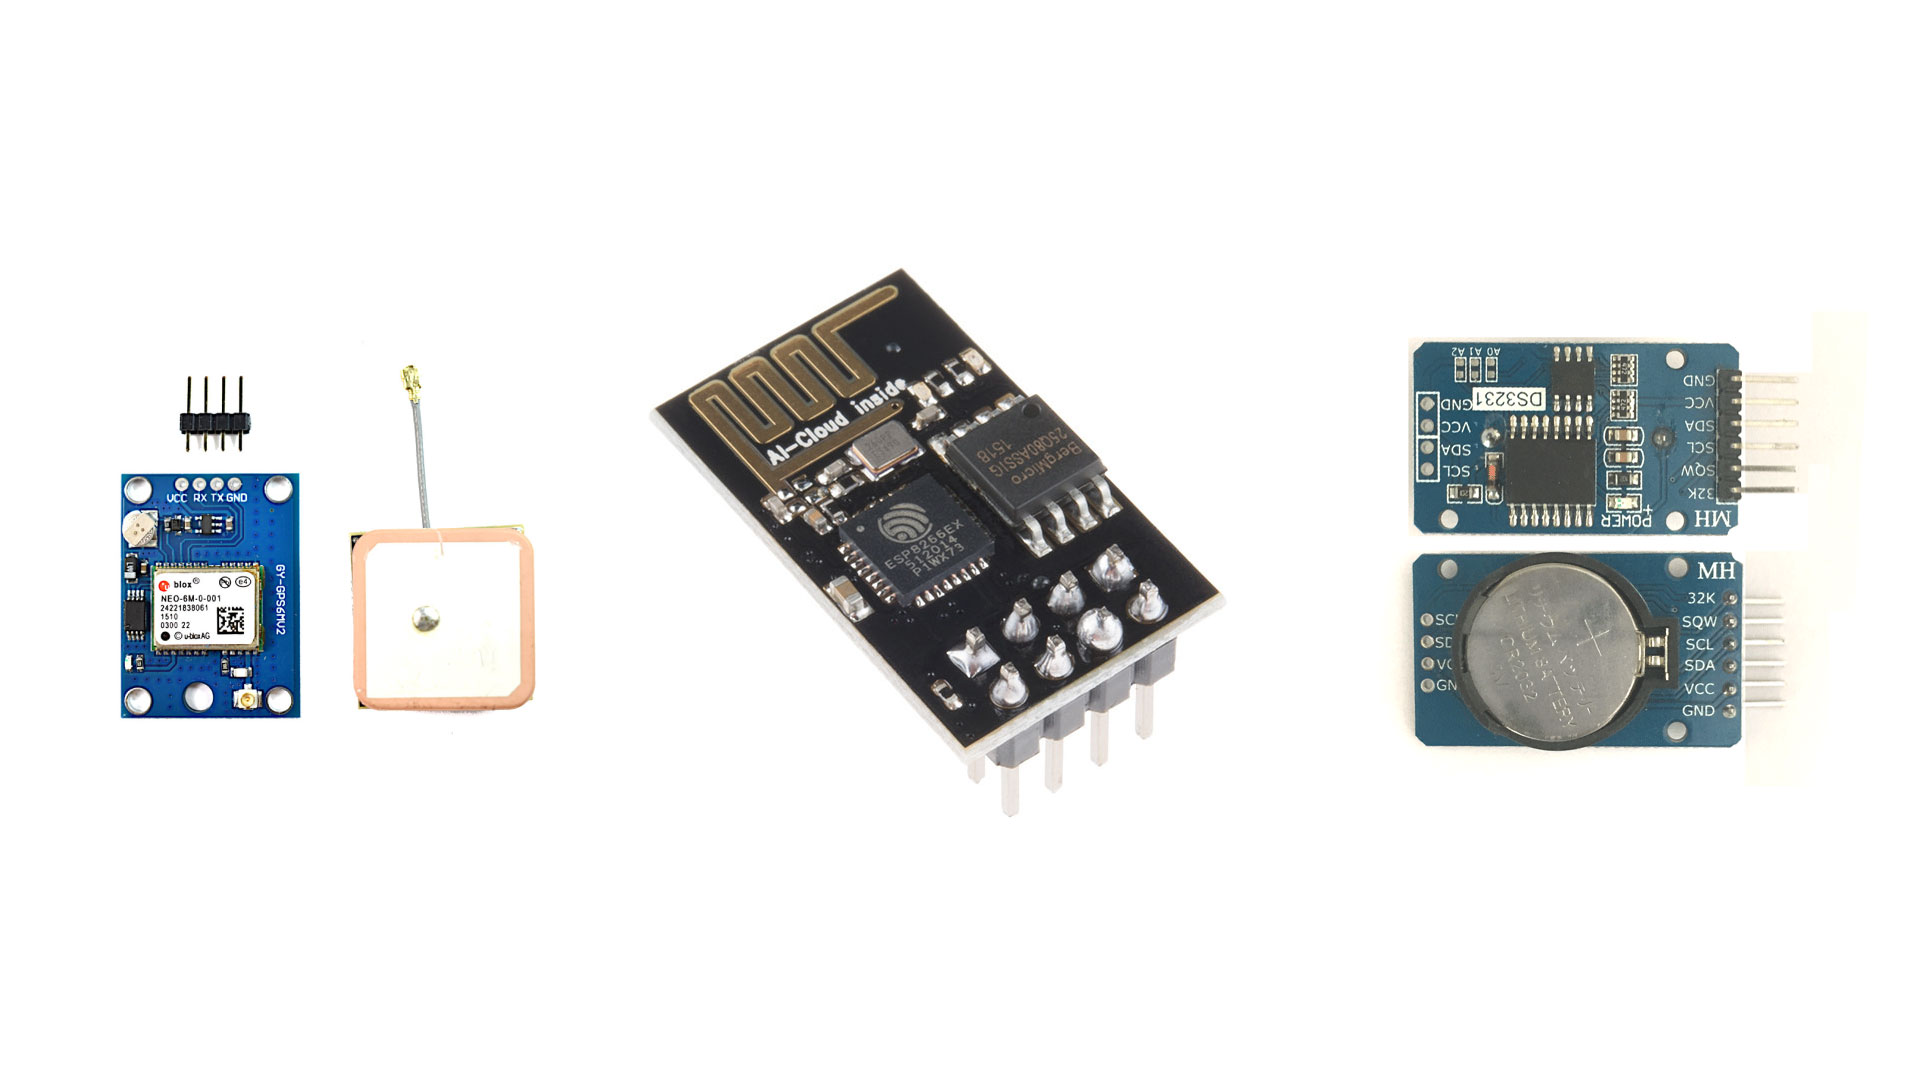
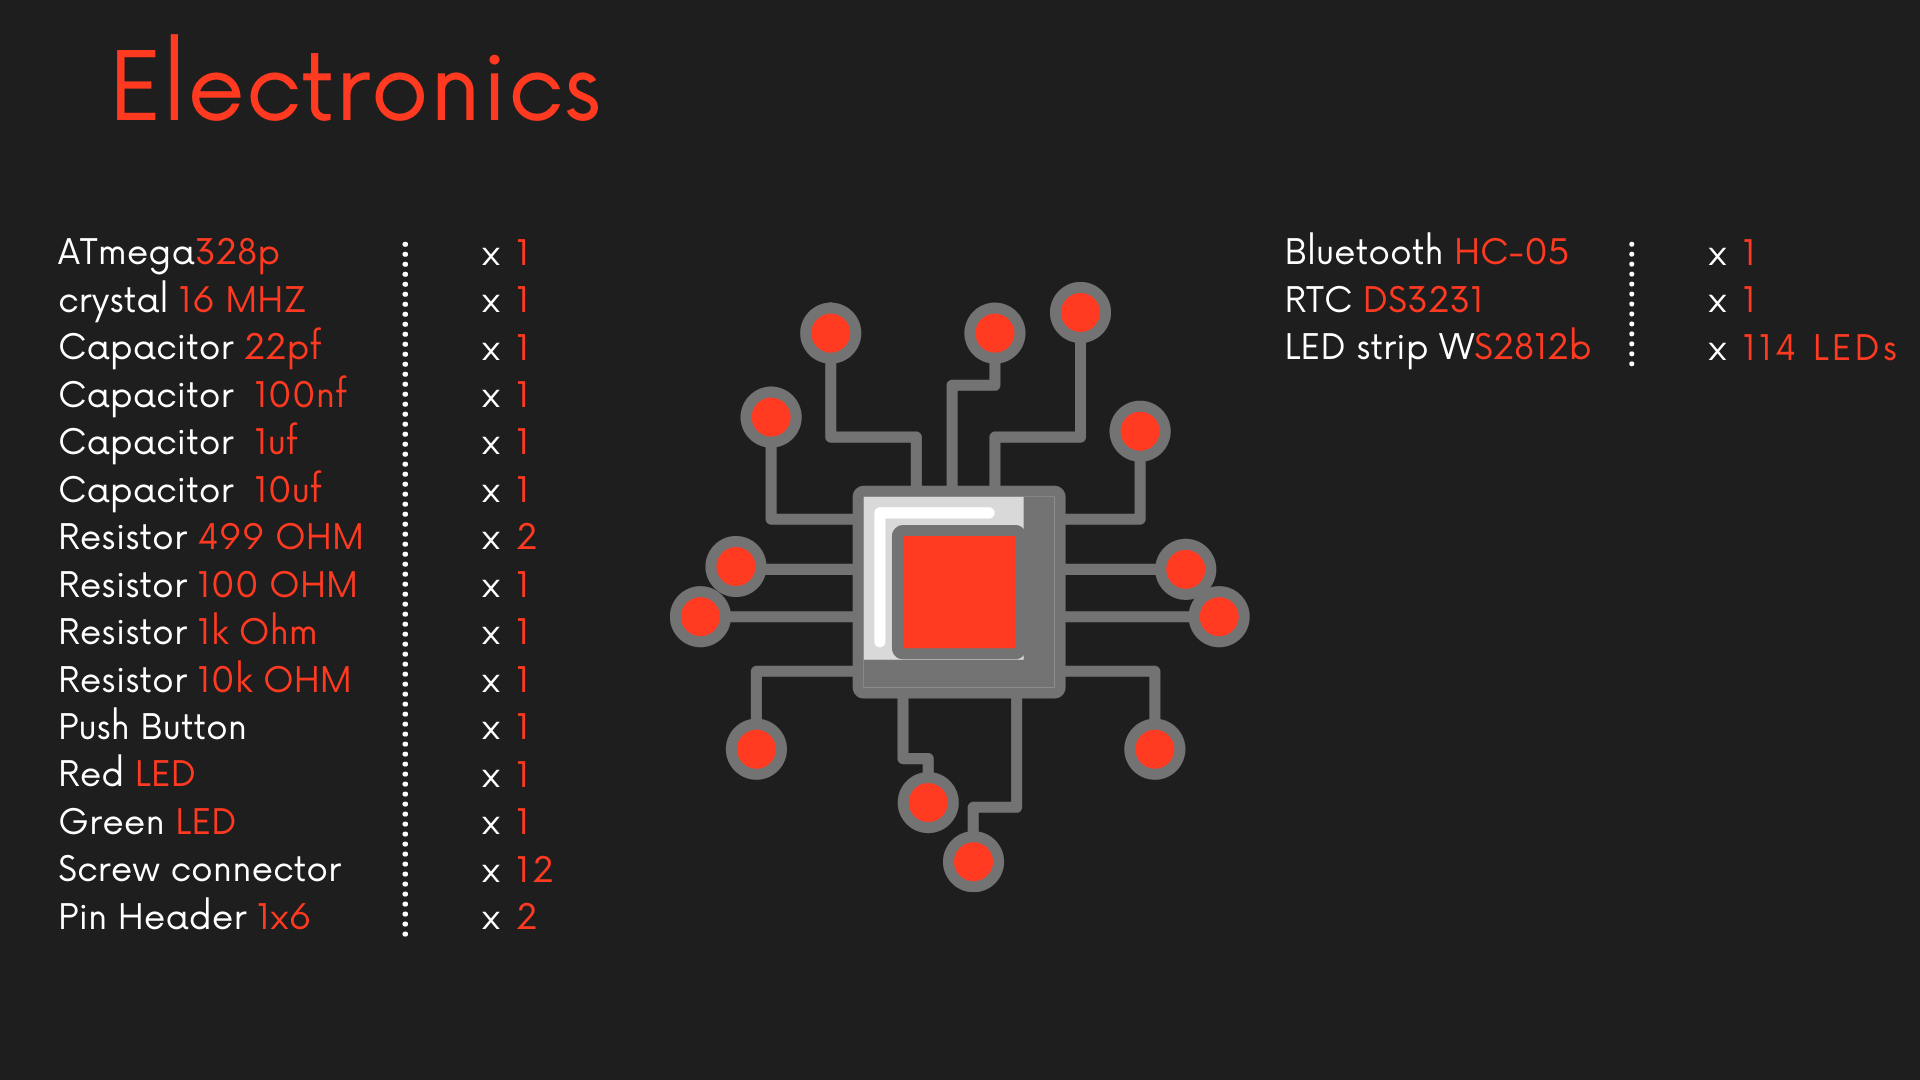
Data acquisition
There are different approaches to acquire data, it can be aquired from the internet uising WiFi connectivity with ESP32 to acquire data online, or by using a GPS device which communicates with satellites to determine its location anywhere in the world. Its GPS data also contains time data. or by using the real time clock (RTC) DS3231, this module also has a built in temperature sensor instead of using an extra sensor, and I will use the RTC option.
Lighting system
For this project, there are three different options for lighting, I can use a one-color LED strip for each segment, or an RGB LED, or an addressable RGB strip. I will be using option three, since it limits the wiring and creates better light effects.
The Project Planning
Phases:
The project was done in different stages:
- Design
- Production
- Assembly
- Programming
- The final result
Skills Learned:
I used the skills learned in the previous weeks to accomplish the final project, these skills include:
- Computer aided design to design the segments and wooden board with closure. and 3D printing week to print the segments.
- I applied the knowledge from Computer controlled machining week to CNC cut the wooden chassis.
- Computer controlled cutting to cut the plexiglass segment covers, applying the cutting rules learned from week three.
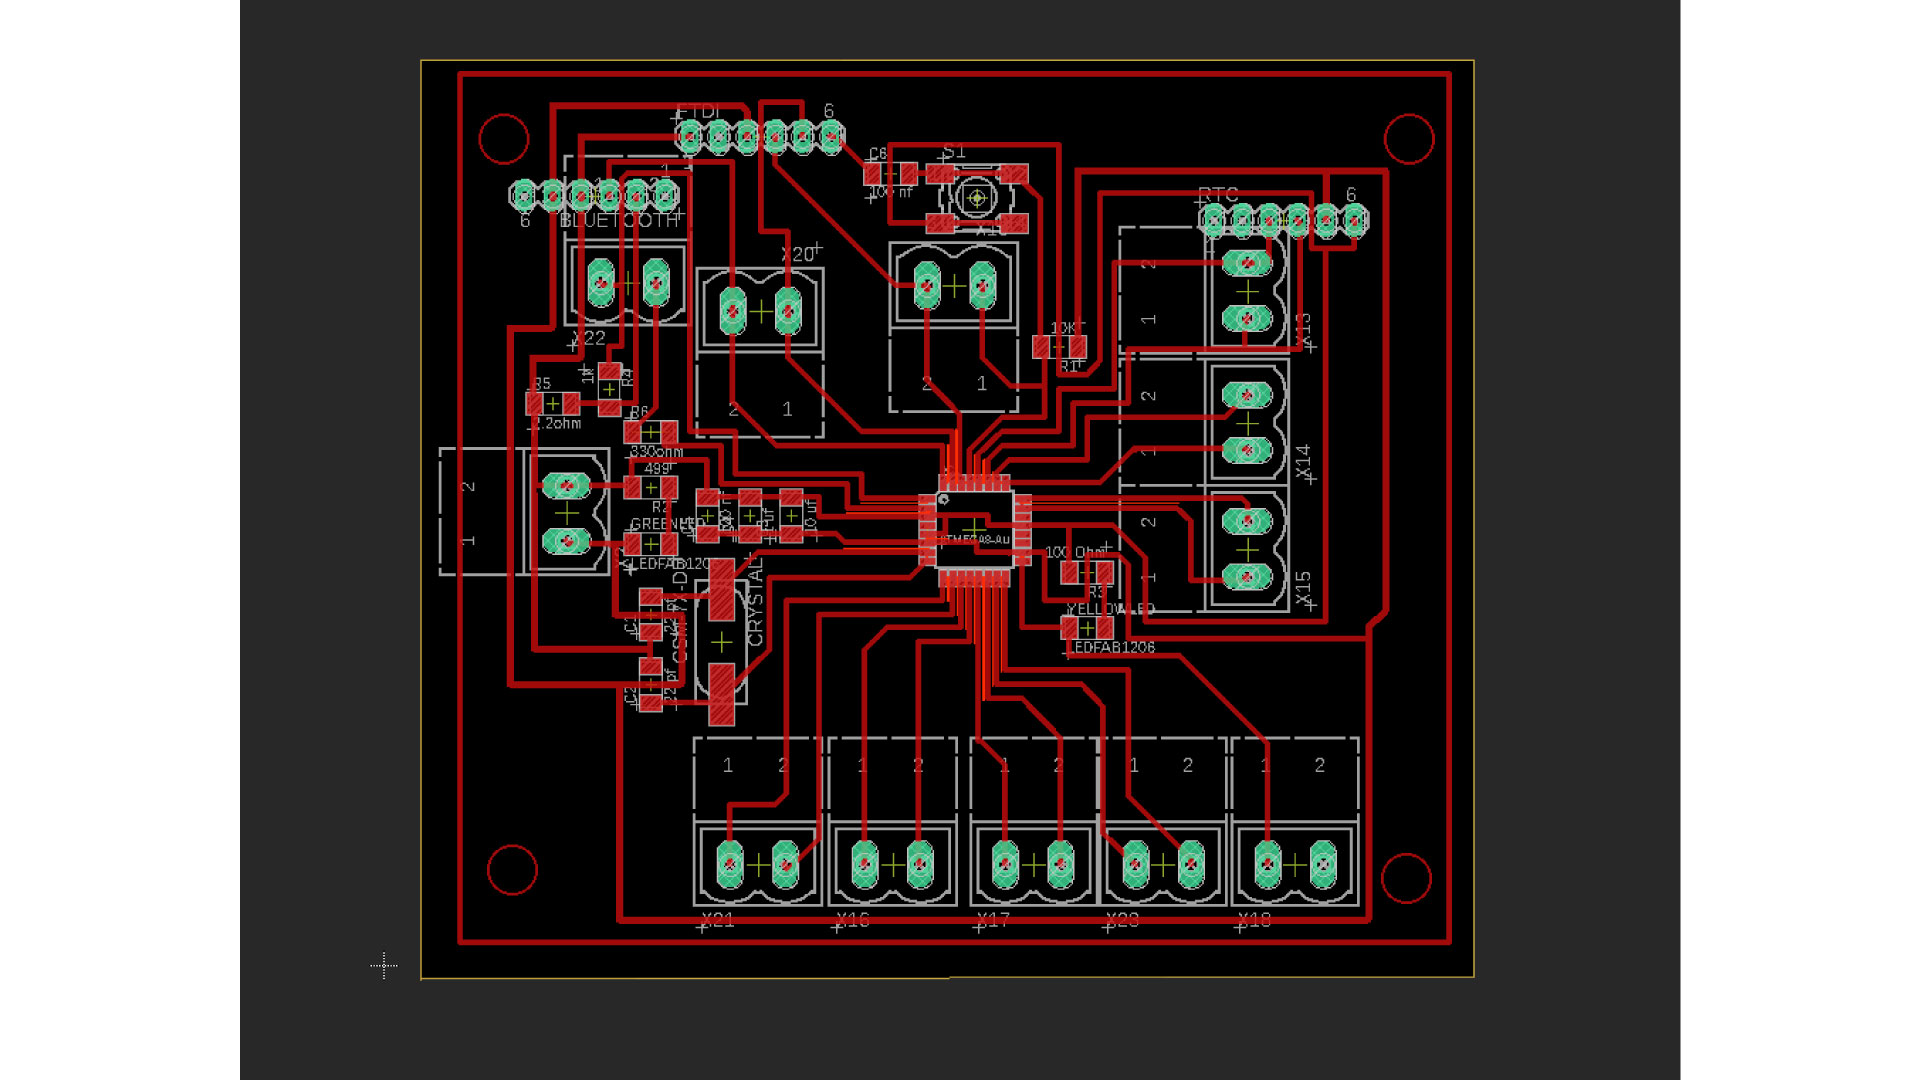
- Electronic design to design my PCB, and embedded programming to program the PCB.
- I also used what i learned from Networking and communication week to establish the bluetooth connection, and Interface and application programming week to make the application.
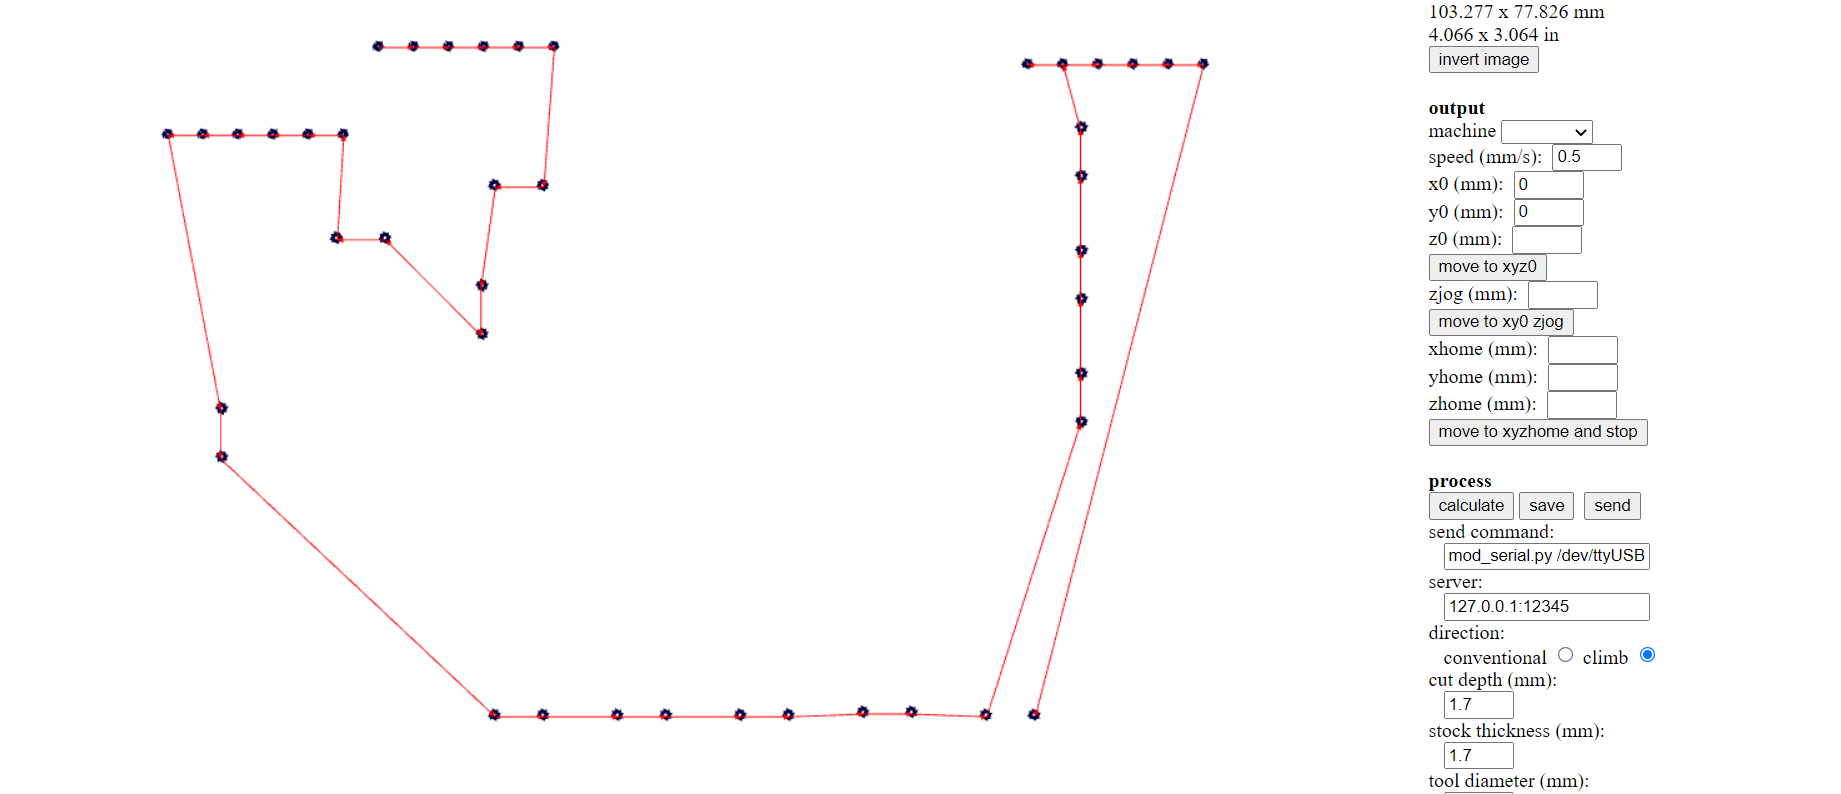
Designing the project:
Segments, wooden chassis and closure:

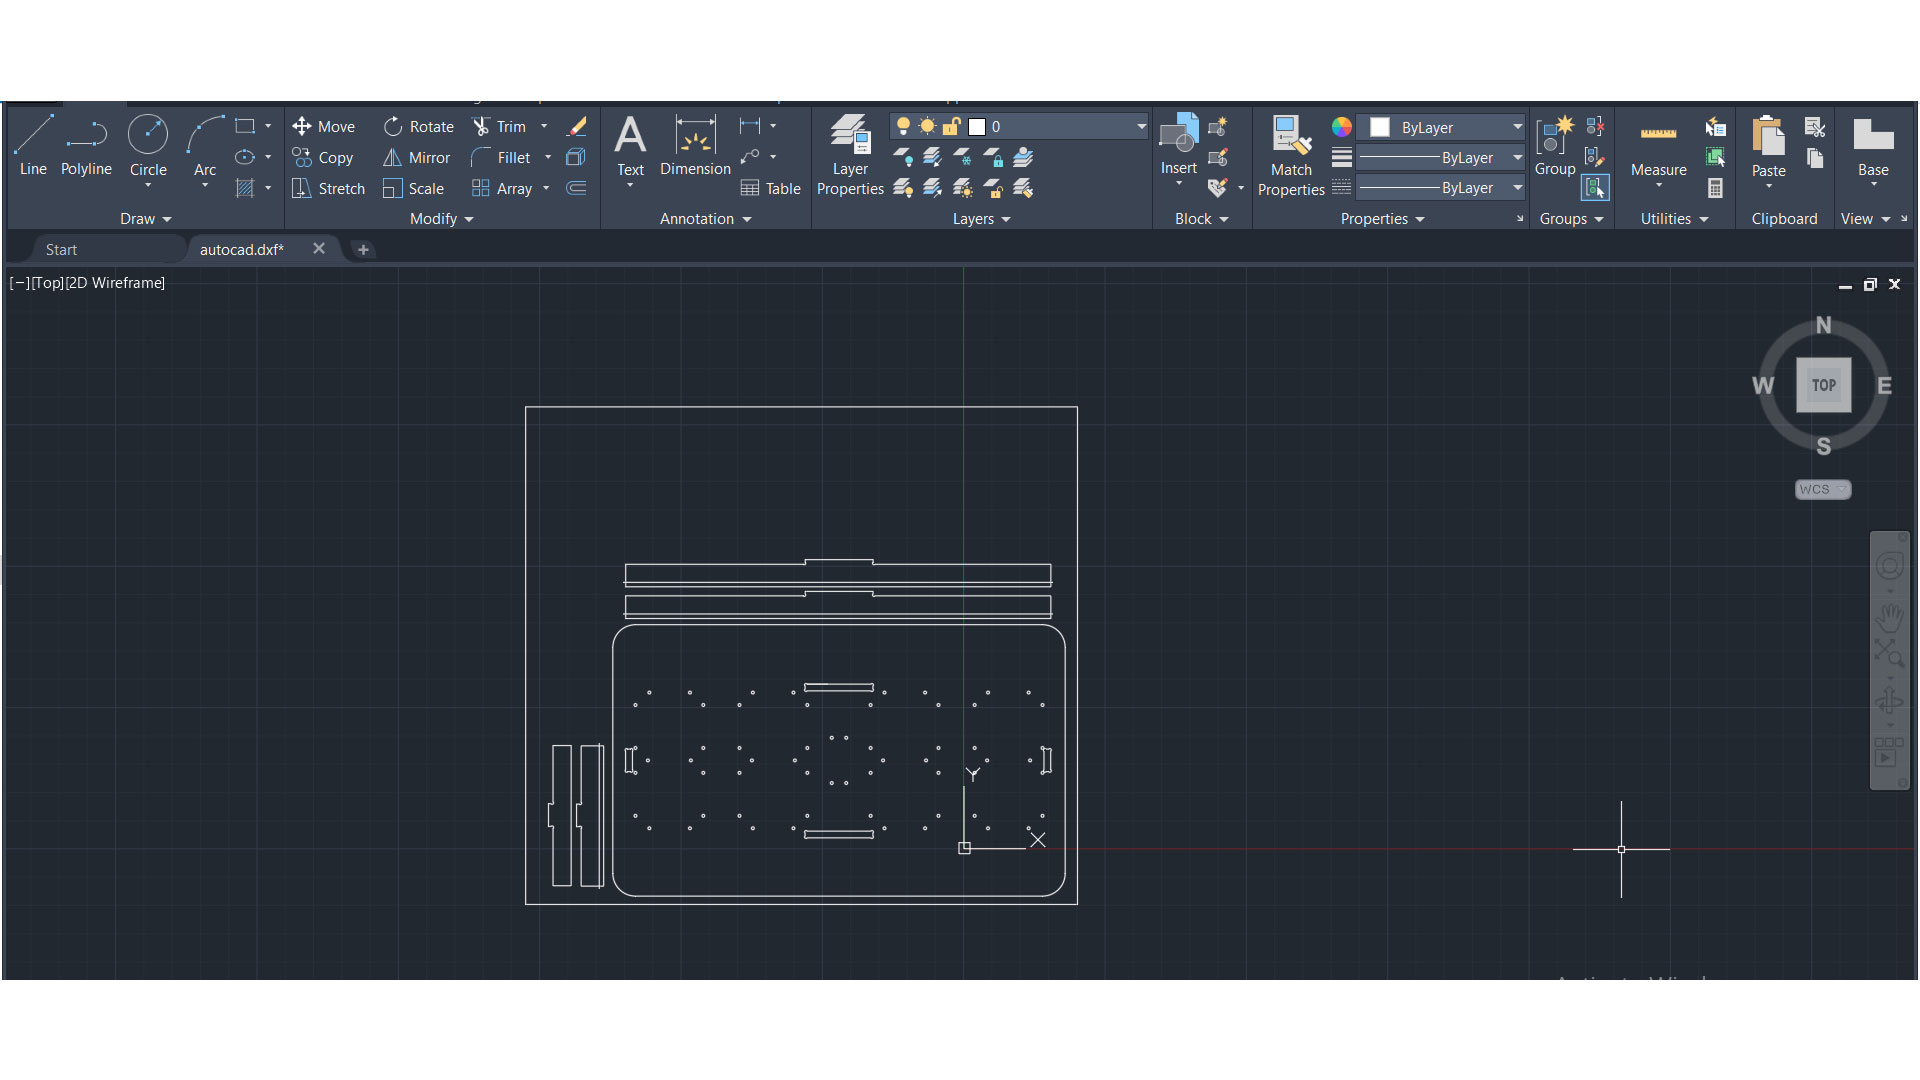
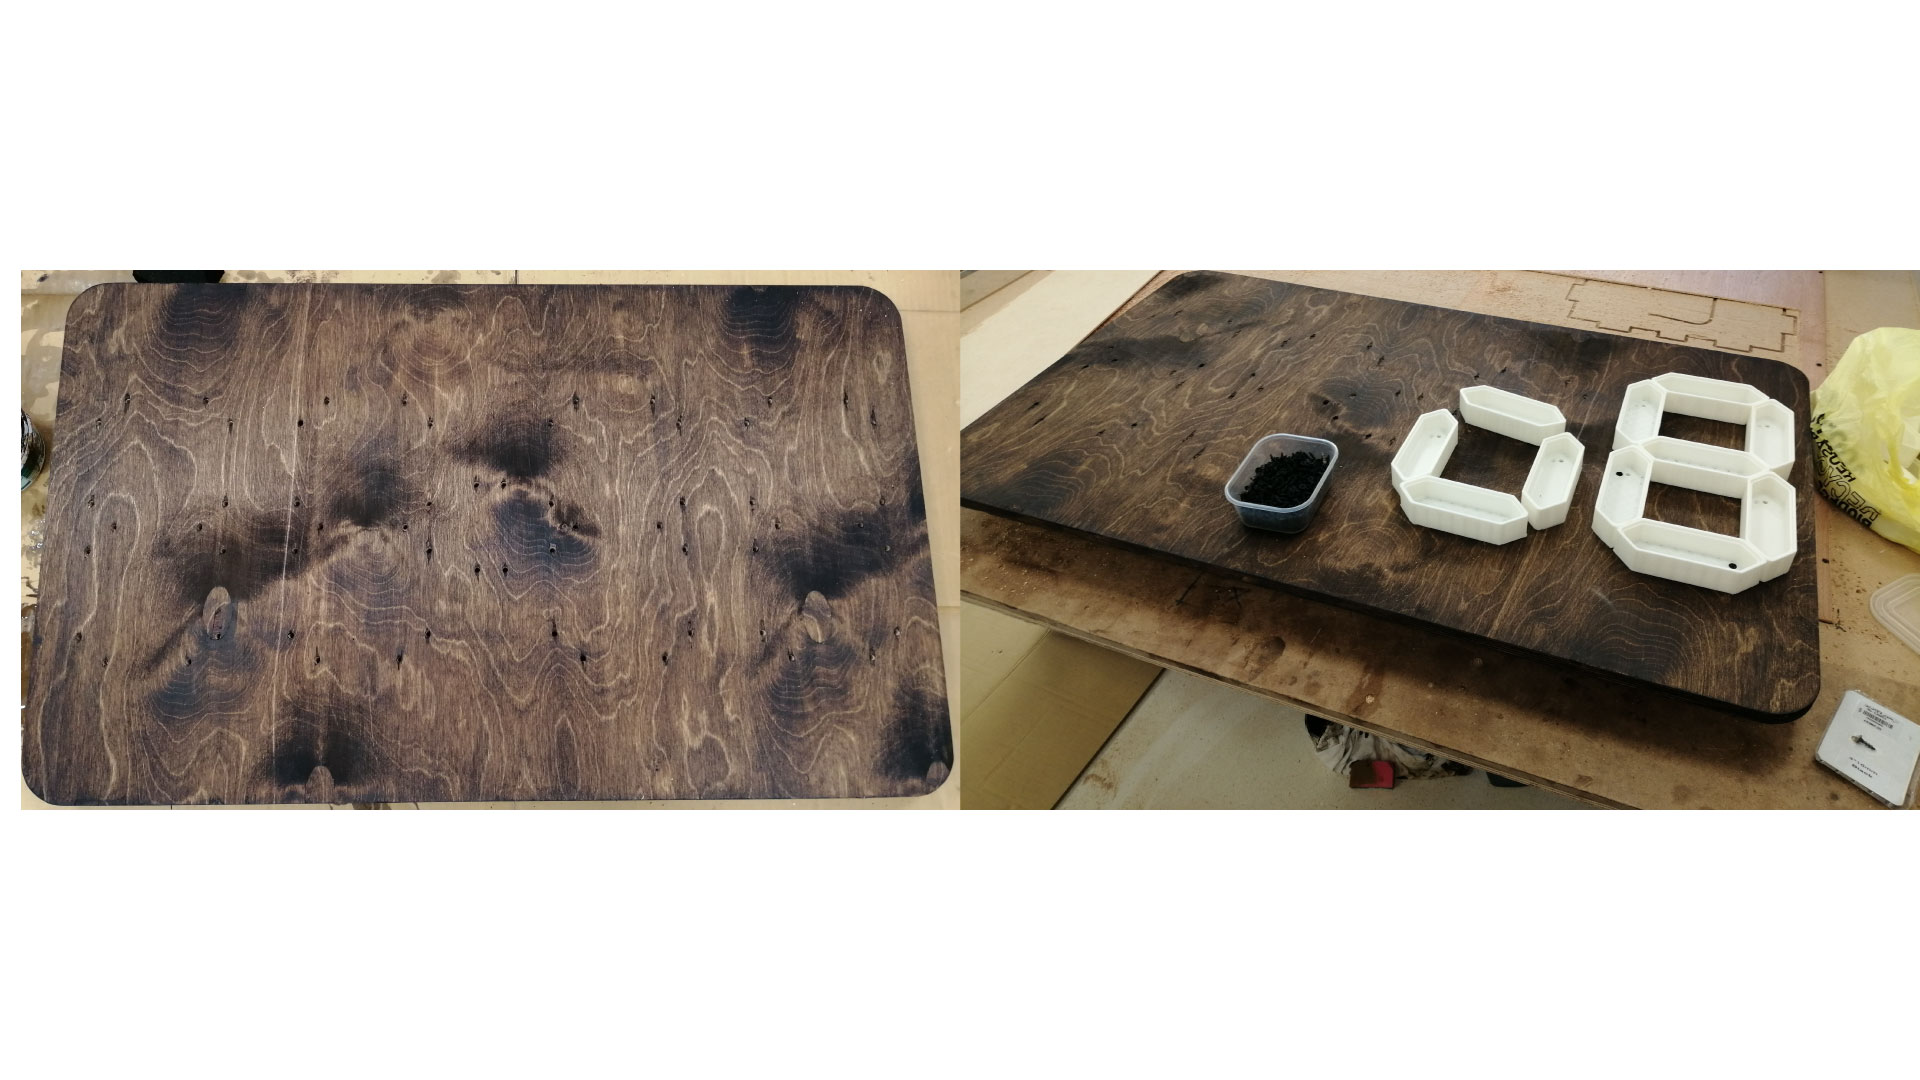
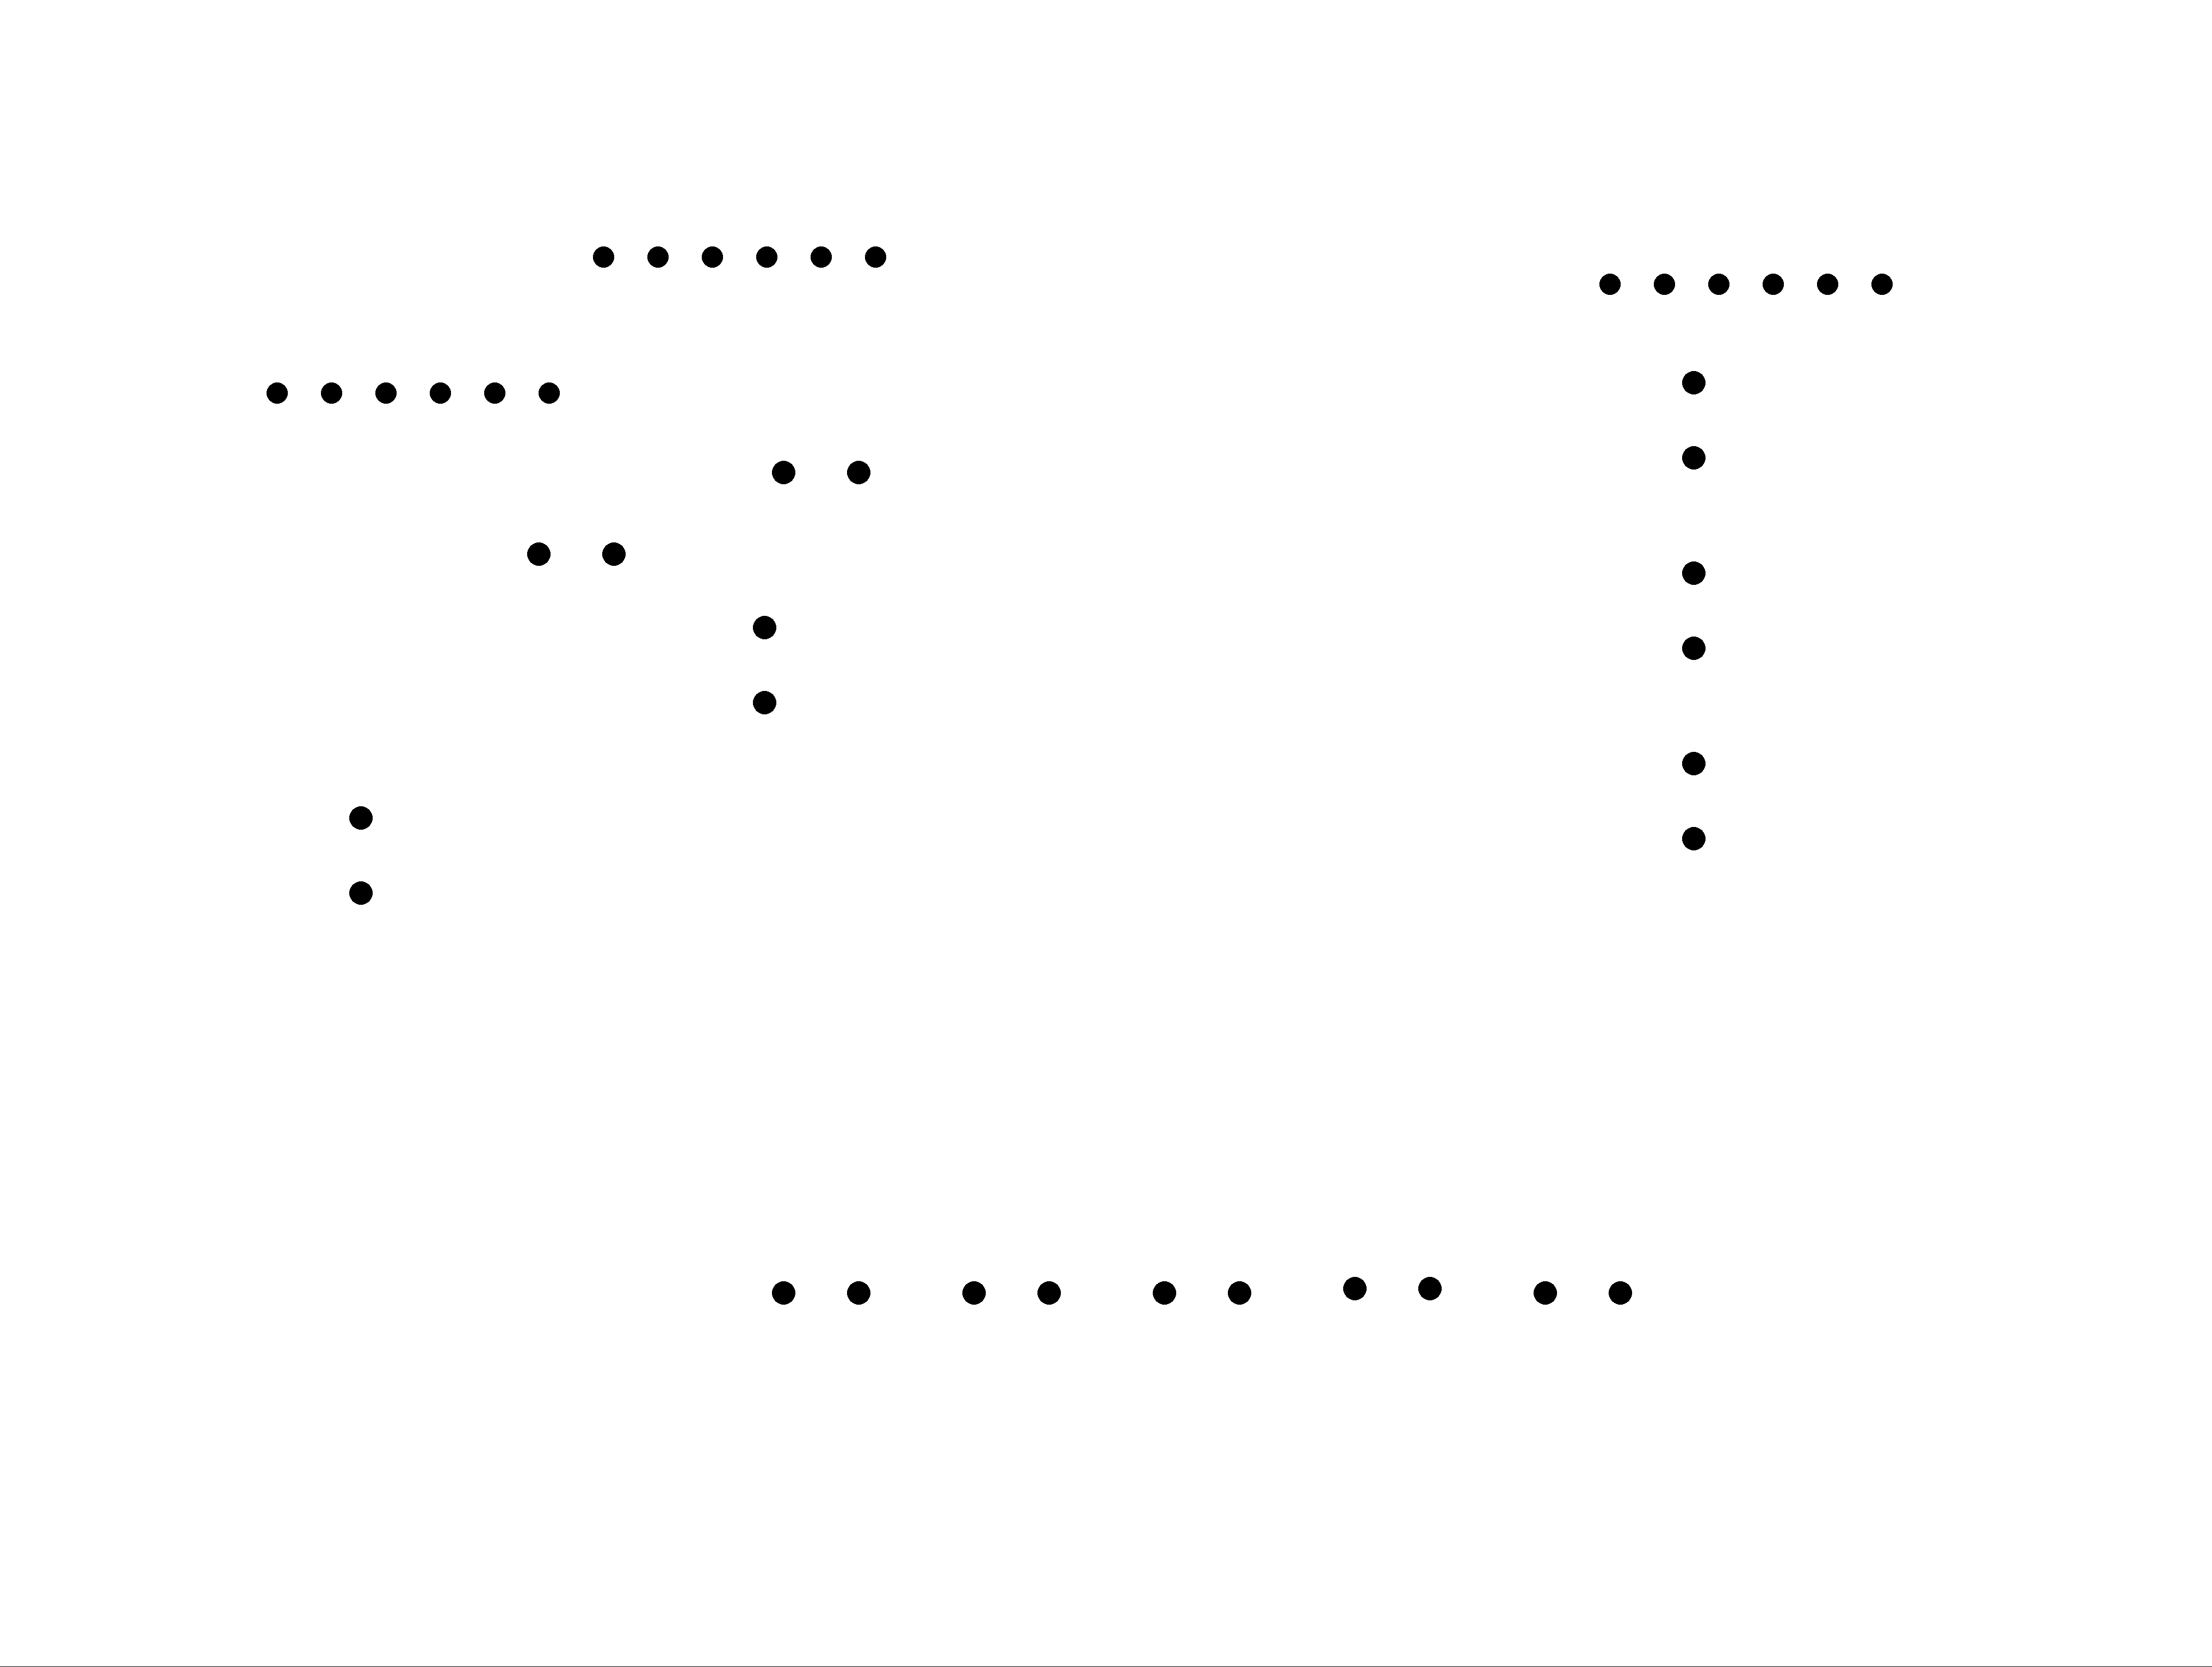
to place the segments in the right place, I included holes in them and on the wooden chassis for them to be placed according to the holes, then they can be screwed on wood. And the wires of the LEDs can go through these holes as well.
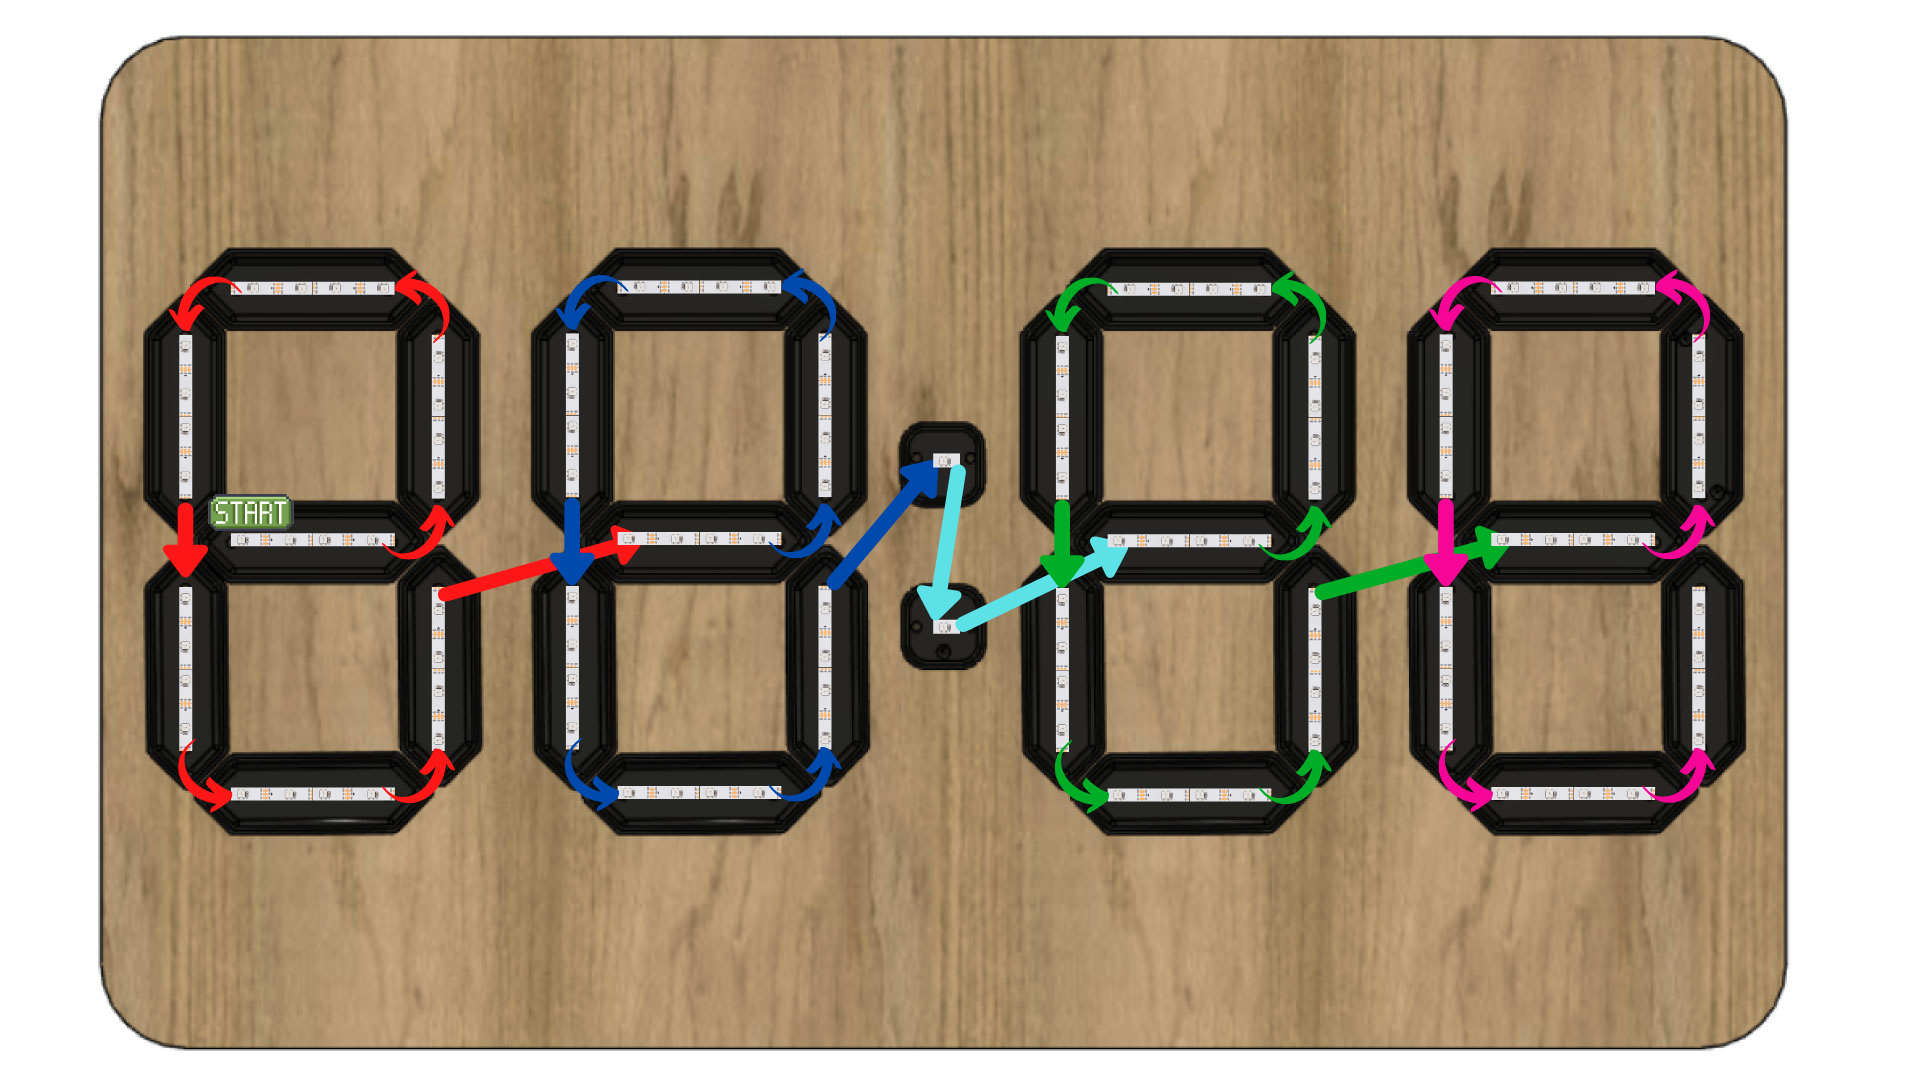
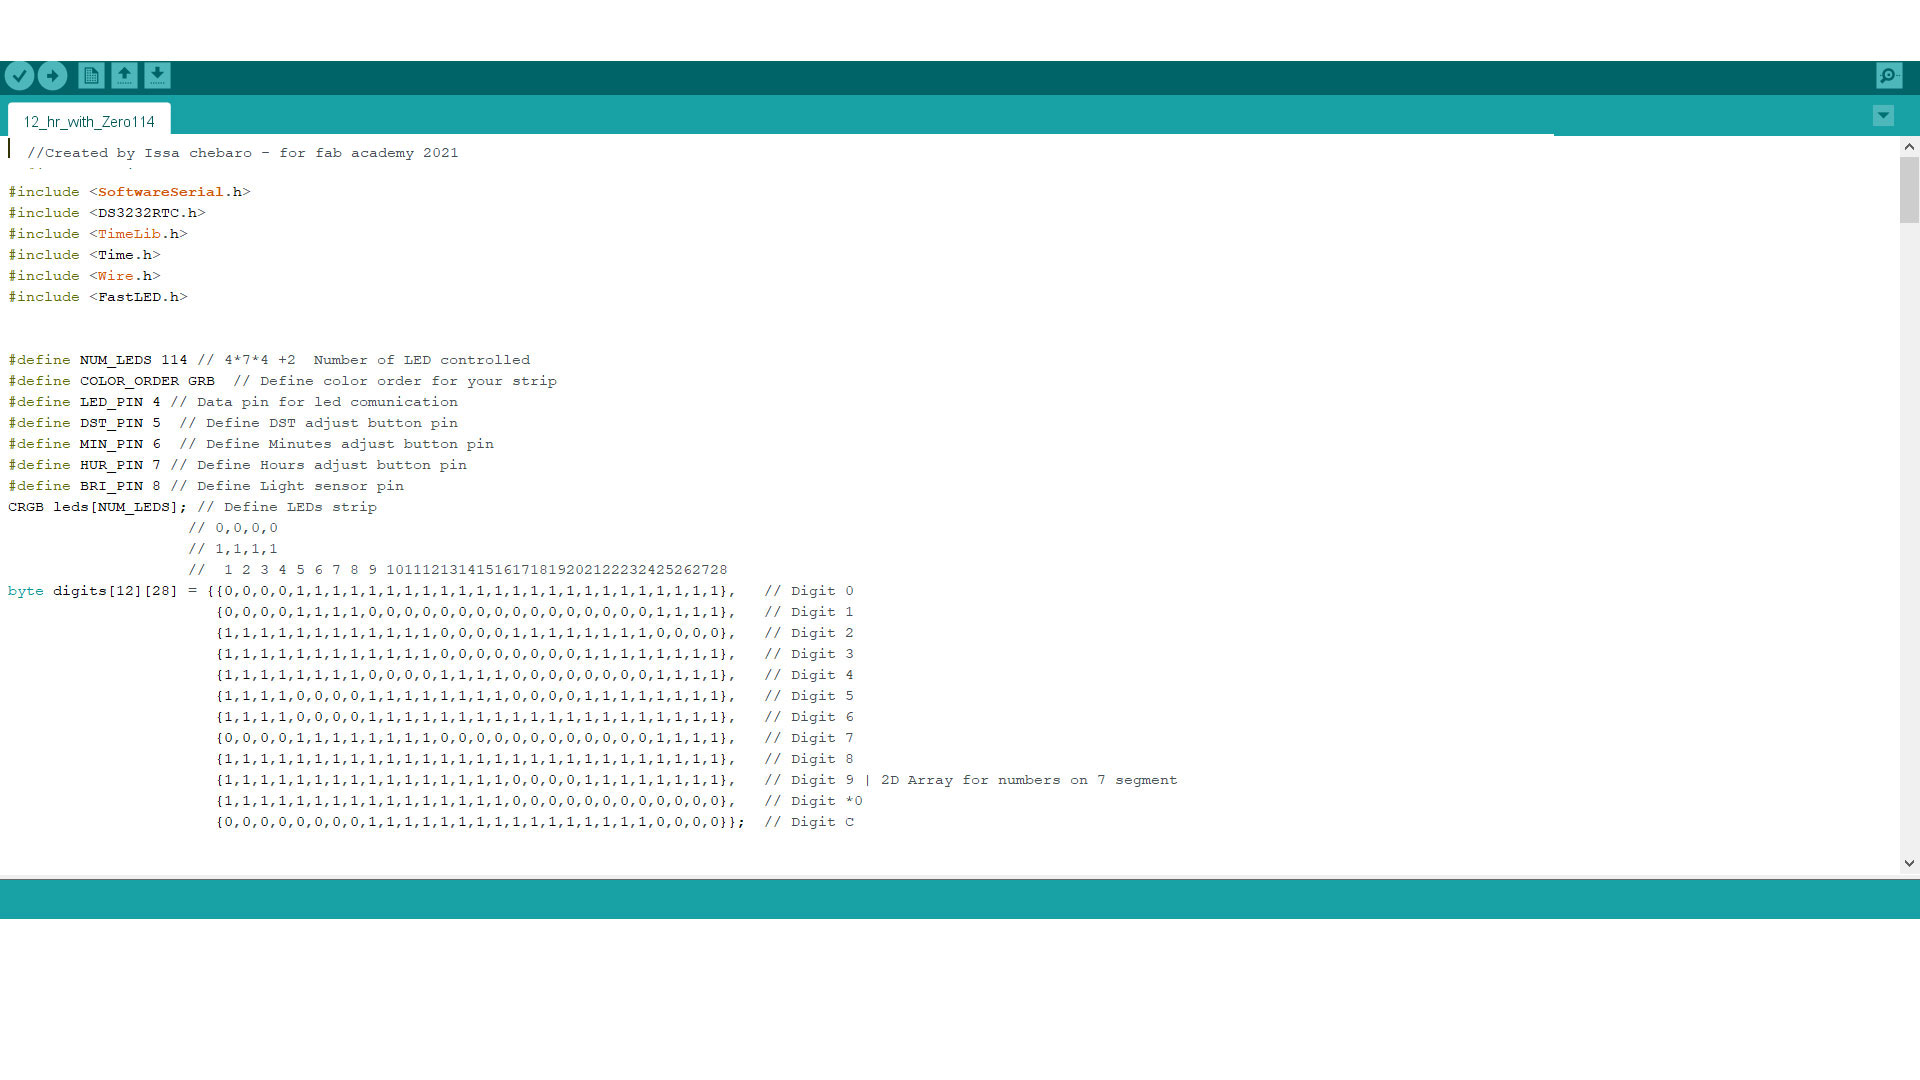
I used the WS2812b LED strip to light the segments, Each LED can be controlled individually, and it operates on 5v. I needed 114 LEDs, four for each segment, and one LED for each of the middle two pieces.
I will wire the LEDs following this diagram:
Production:
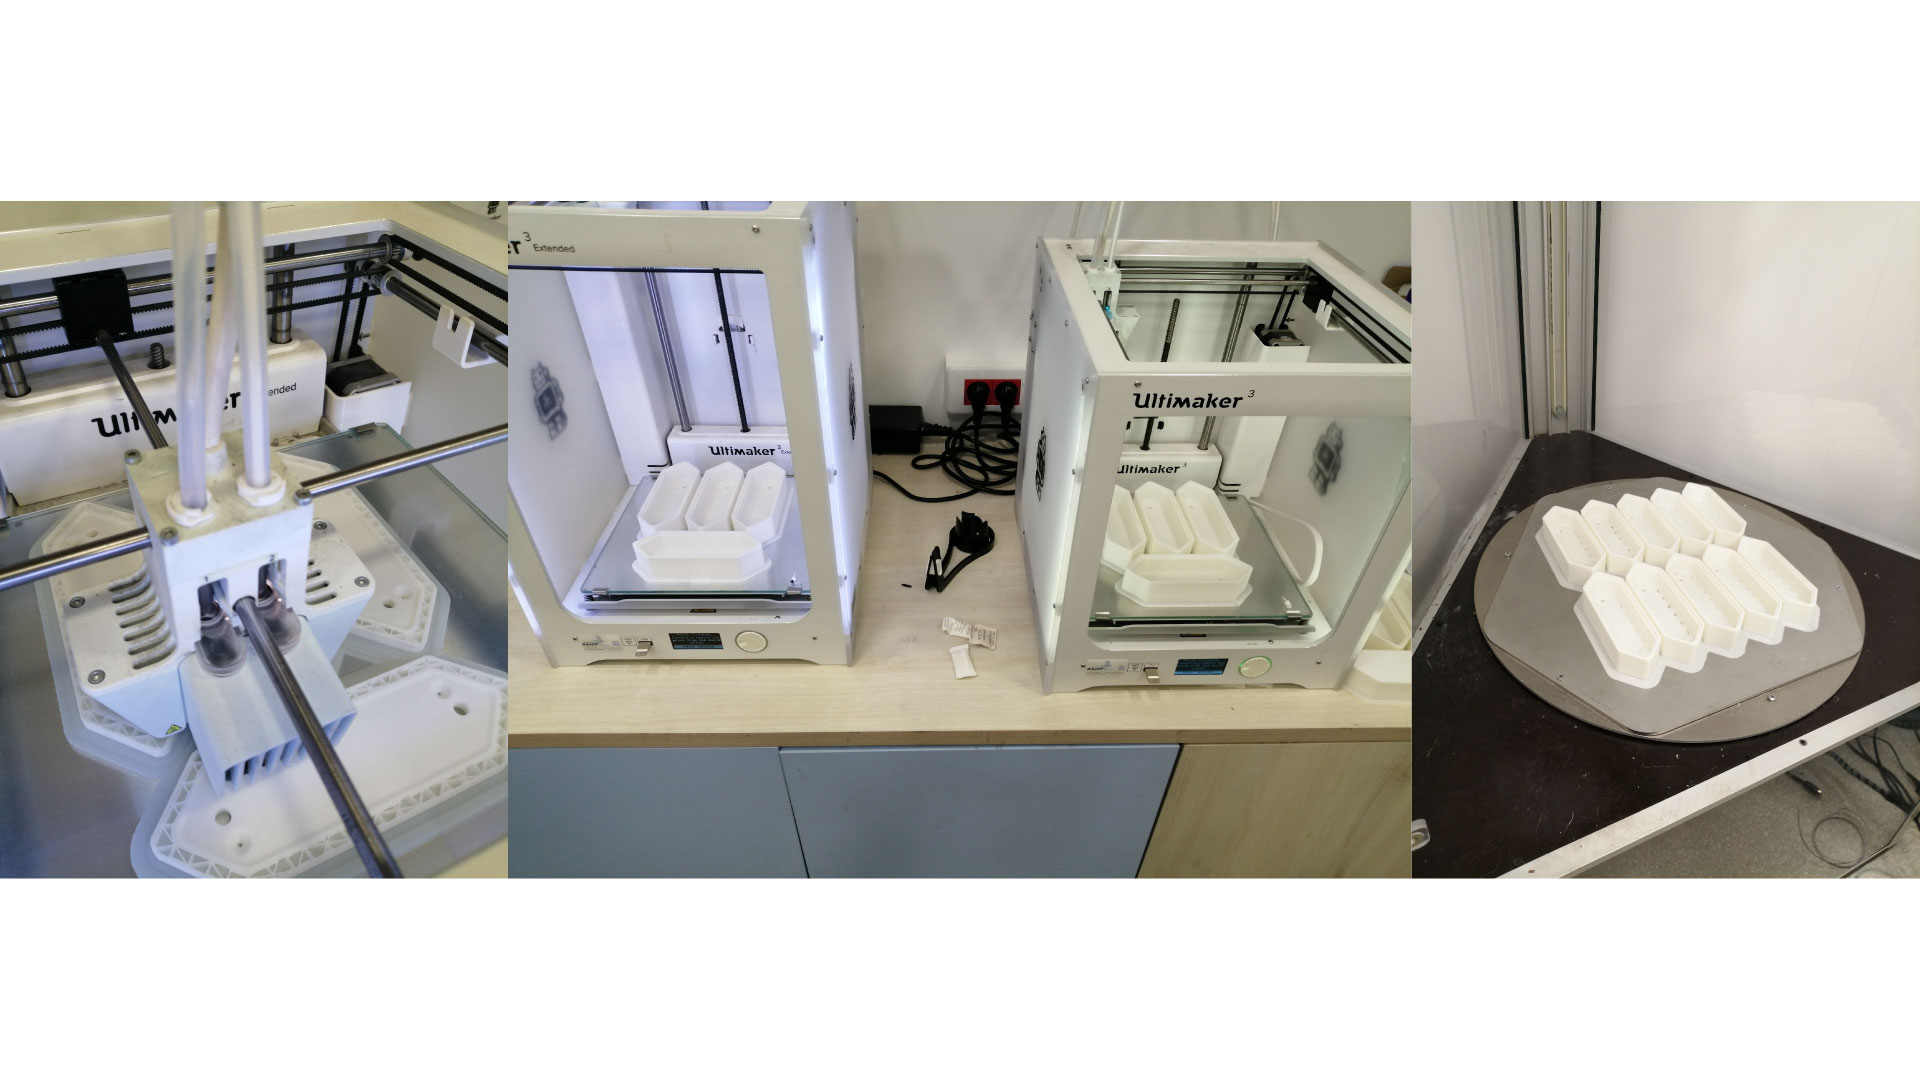
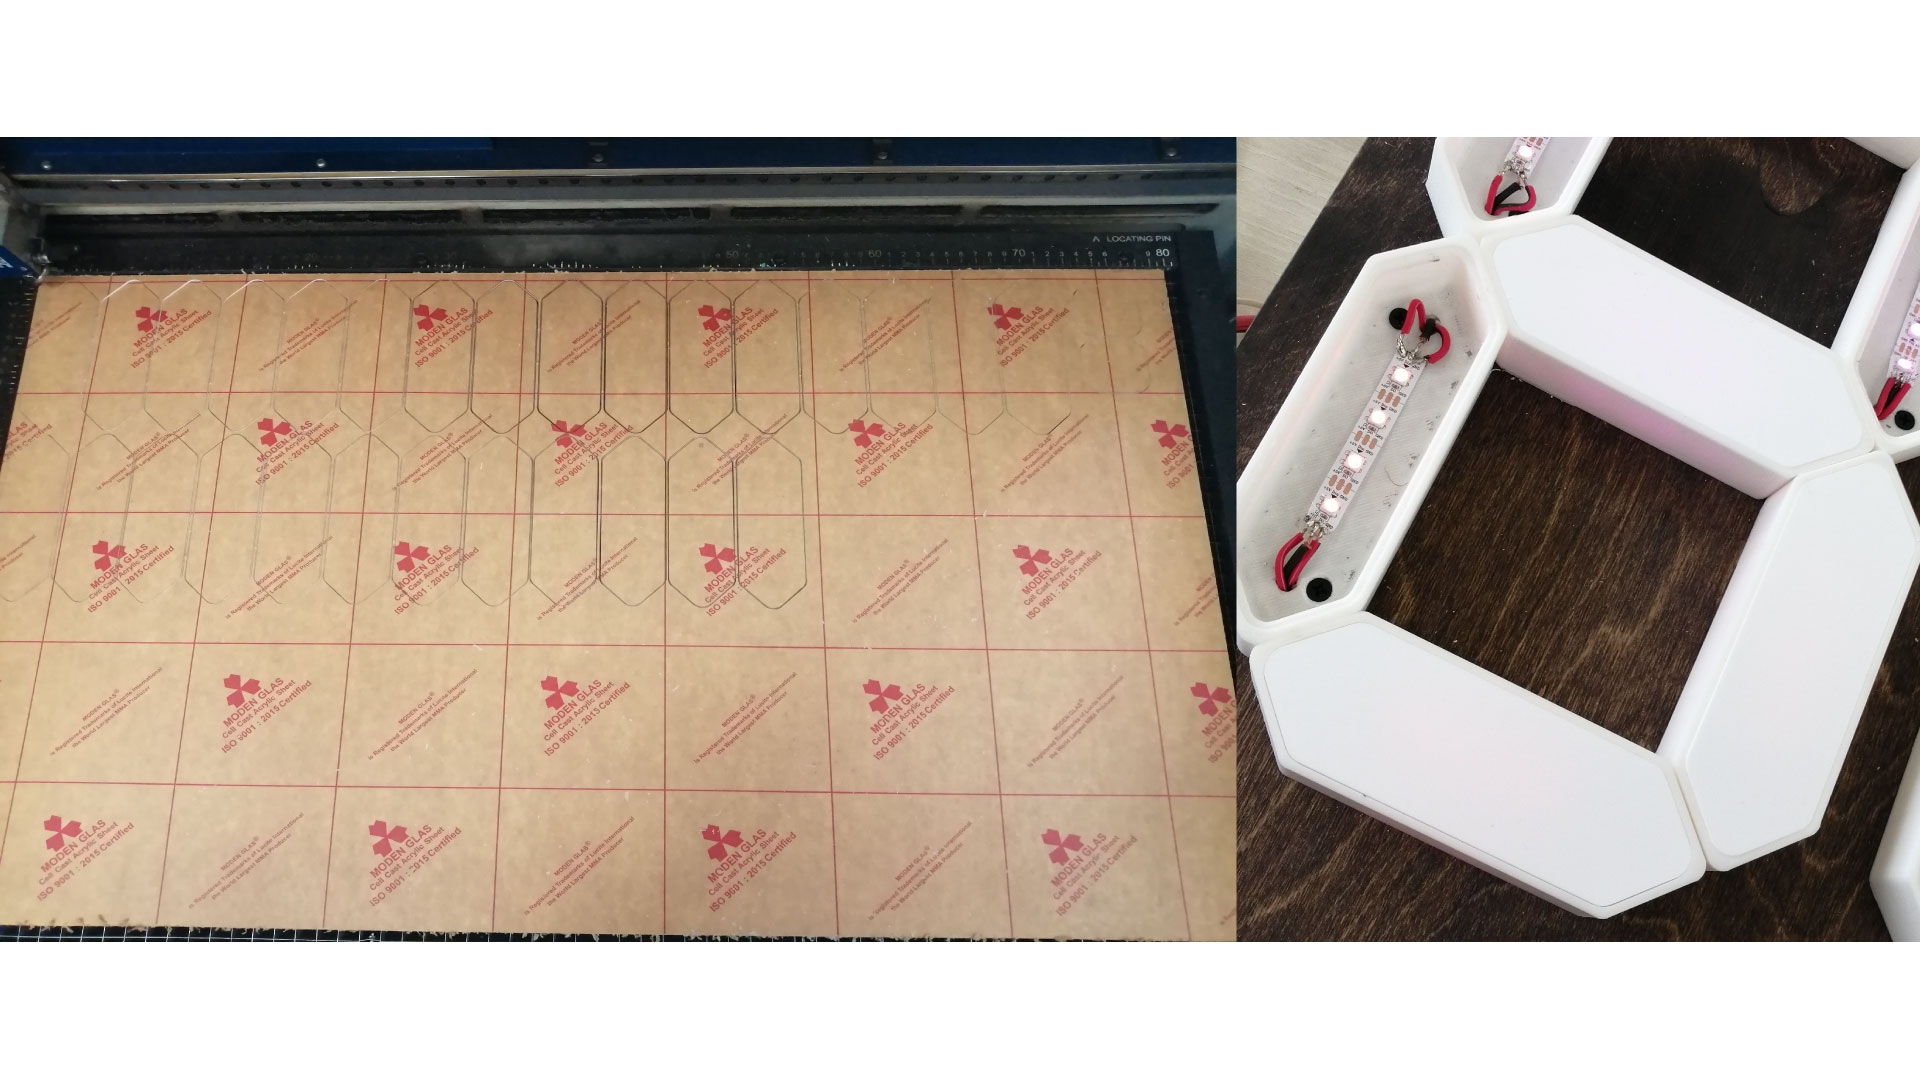
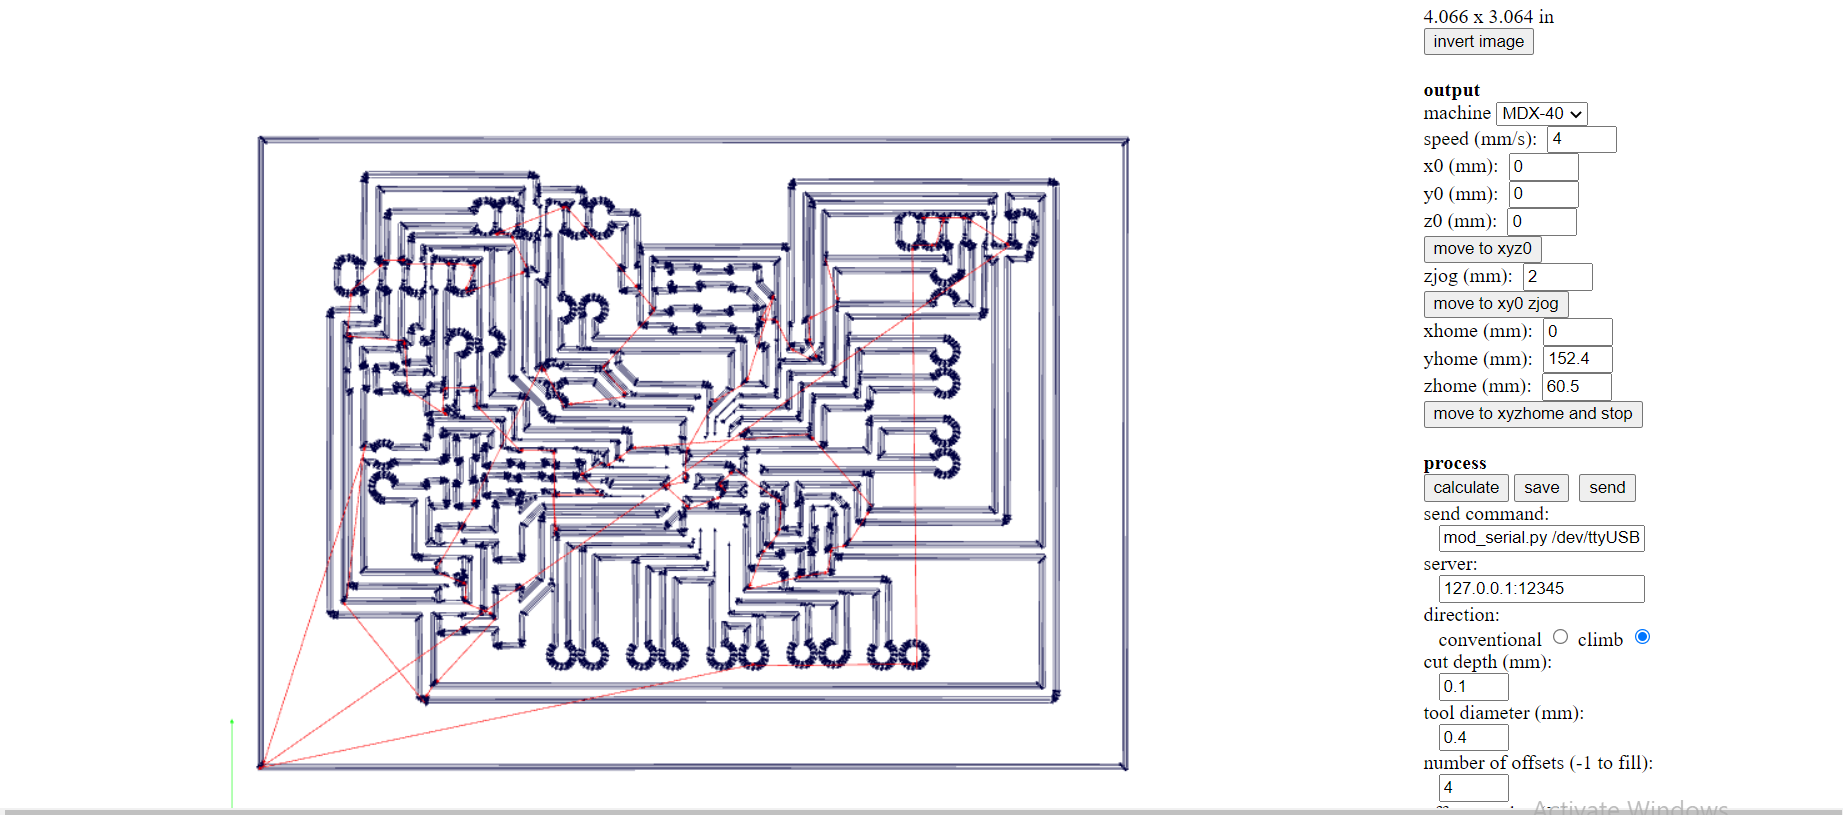
First, I 3D printed the segments, then I laser cut the covers and tested the fiitment:
Then, I used the CNC machine to cut the wooden structure:
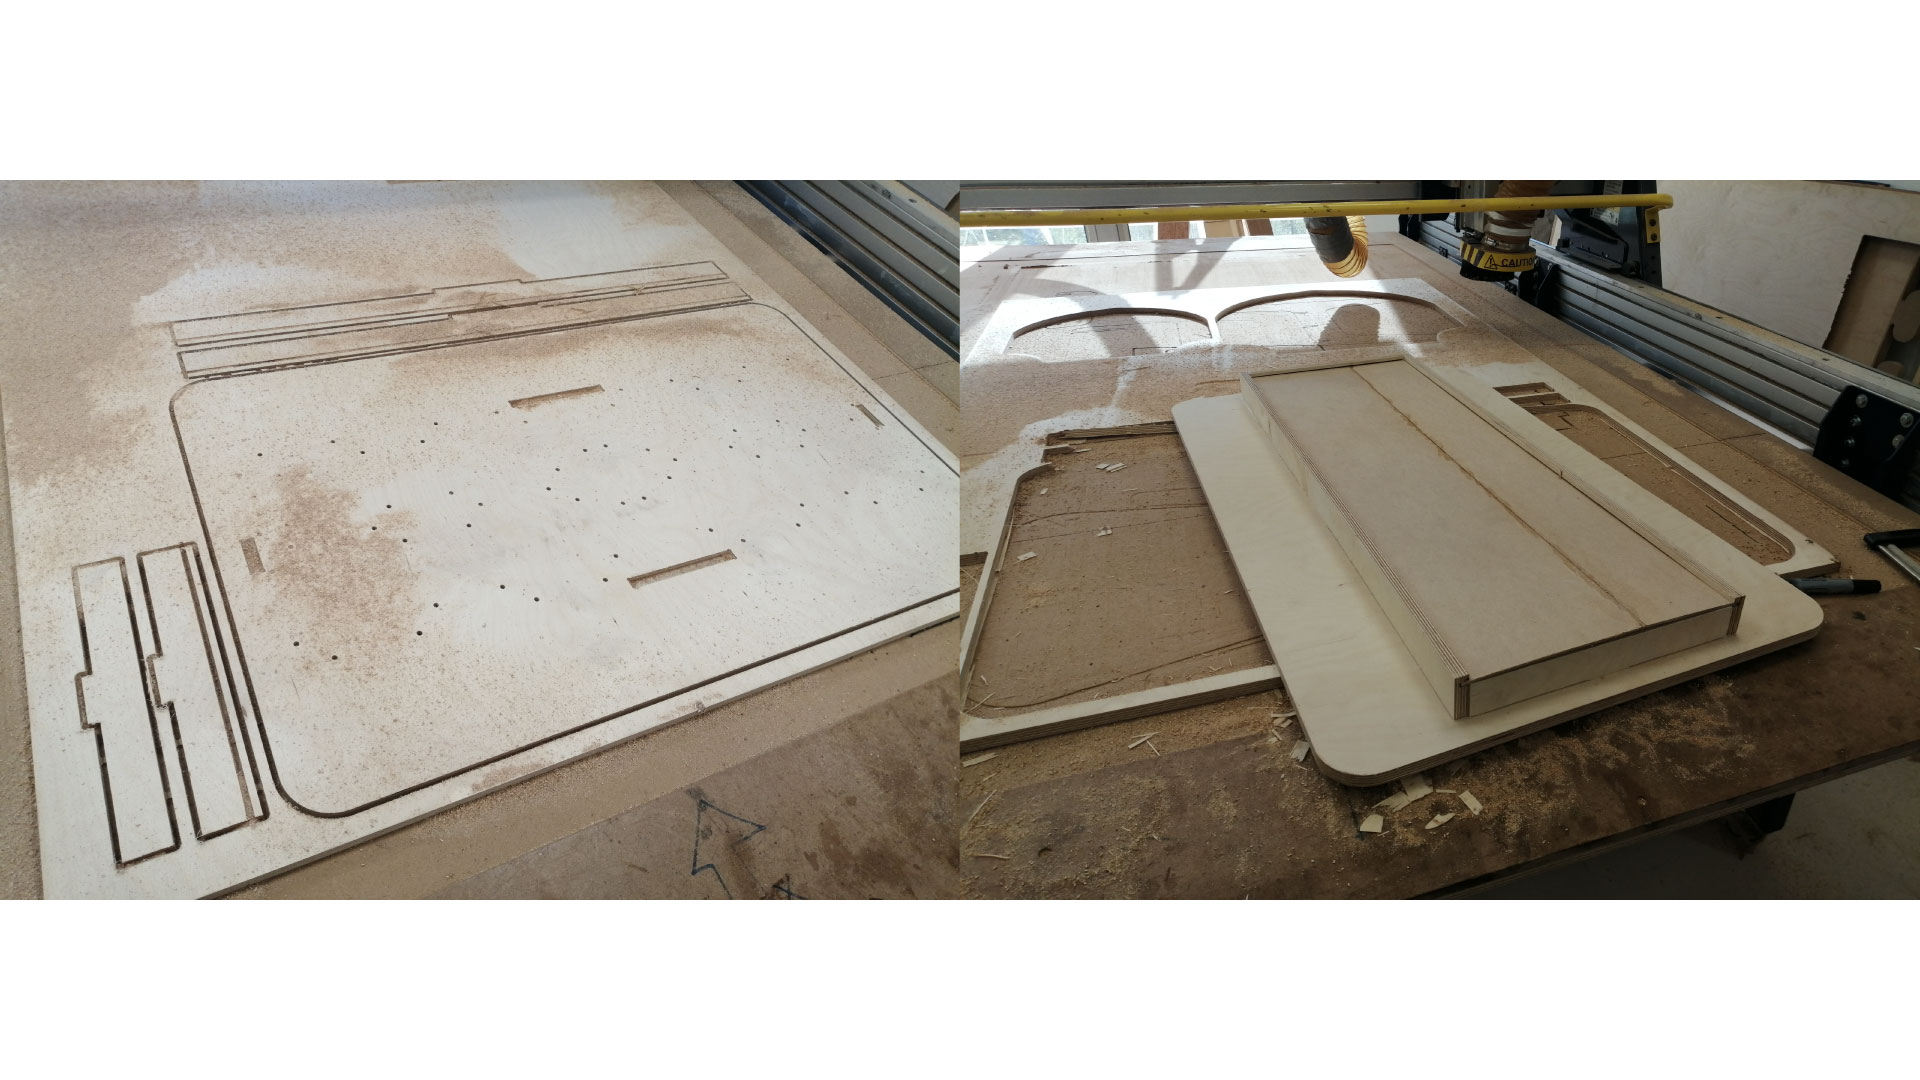
After that, I painted the wood, and placed the segments in their place.
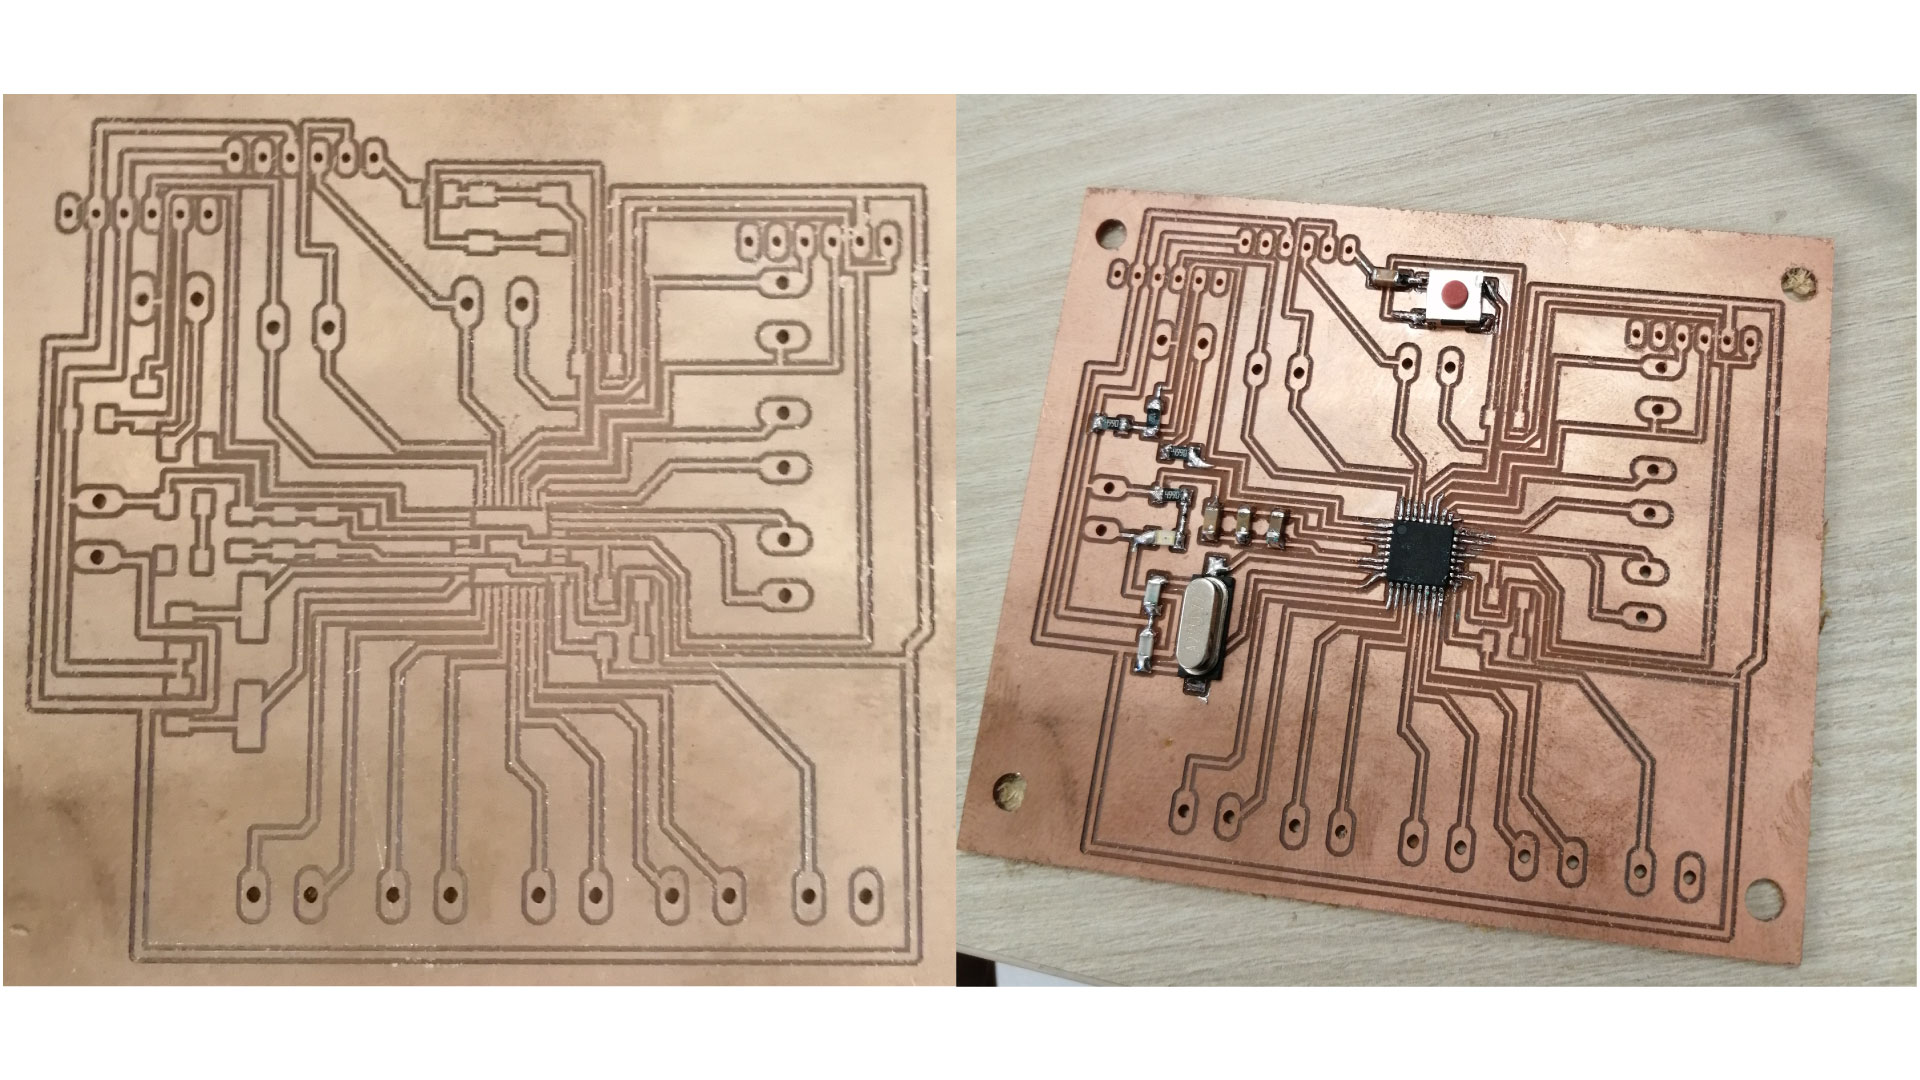
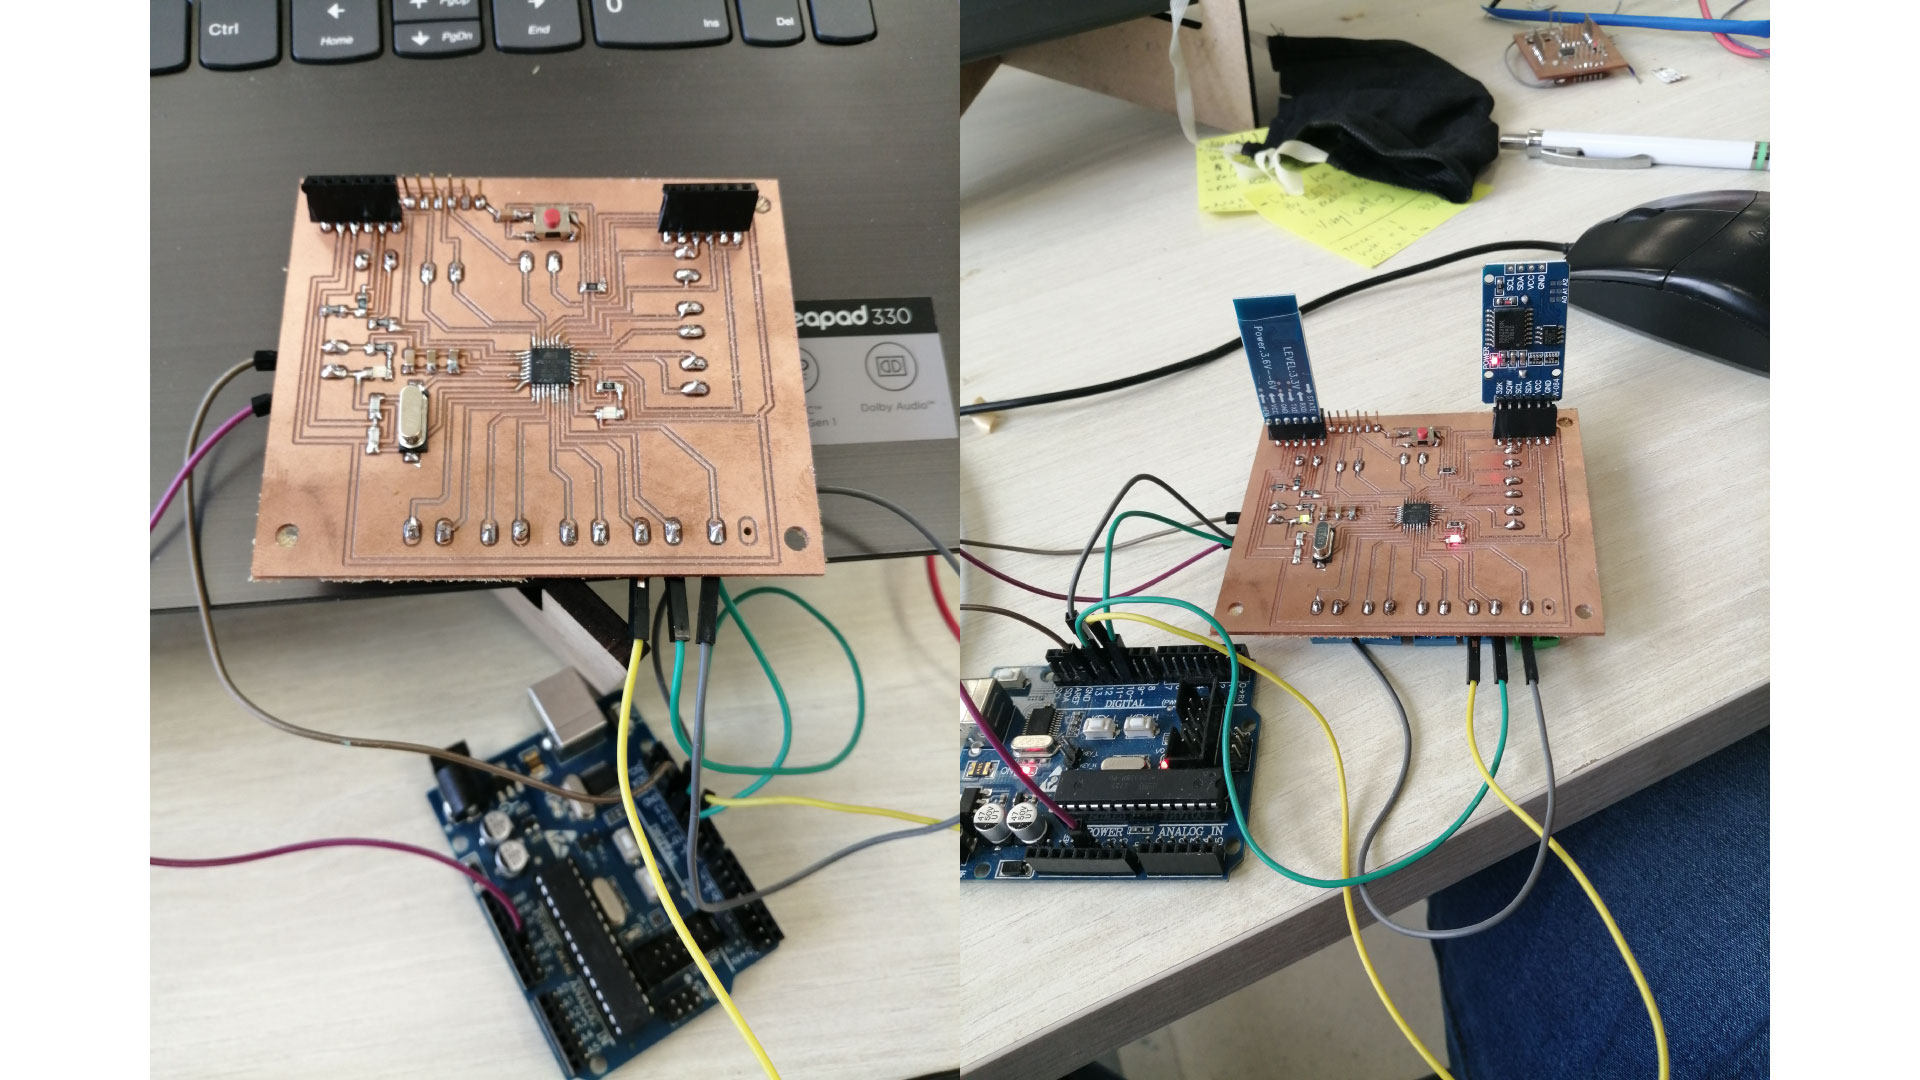
>Milling the PCB and programming it:
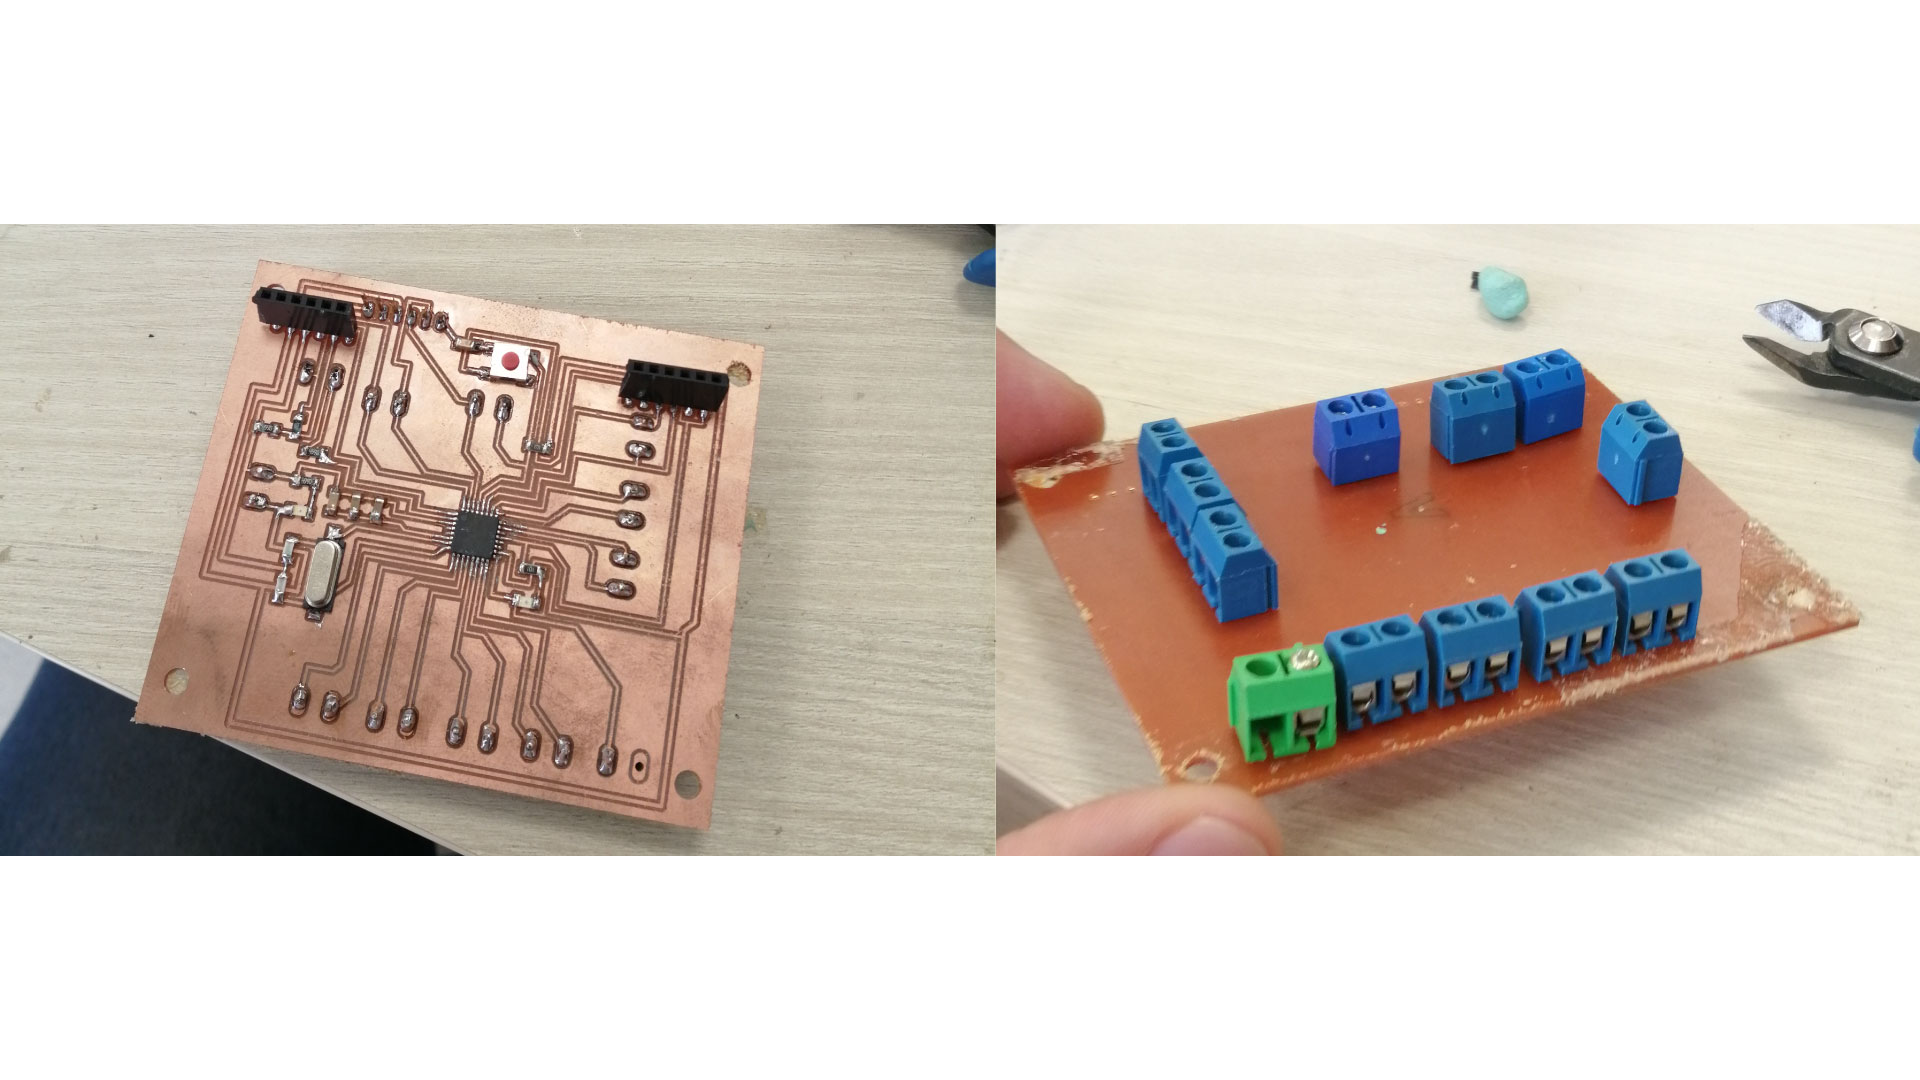
First, I tested the code and connections using arduino uno, then for the PCB, I created pins to hock my bluetooth and RTC modules directly to the PCB.
I made FTDI pin headers and I chose to use screw connectors to connect the wires.
In order to connect the LED, a resistor must be placed on its digital pin, so i added ohm resistor on pin 3

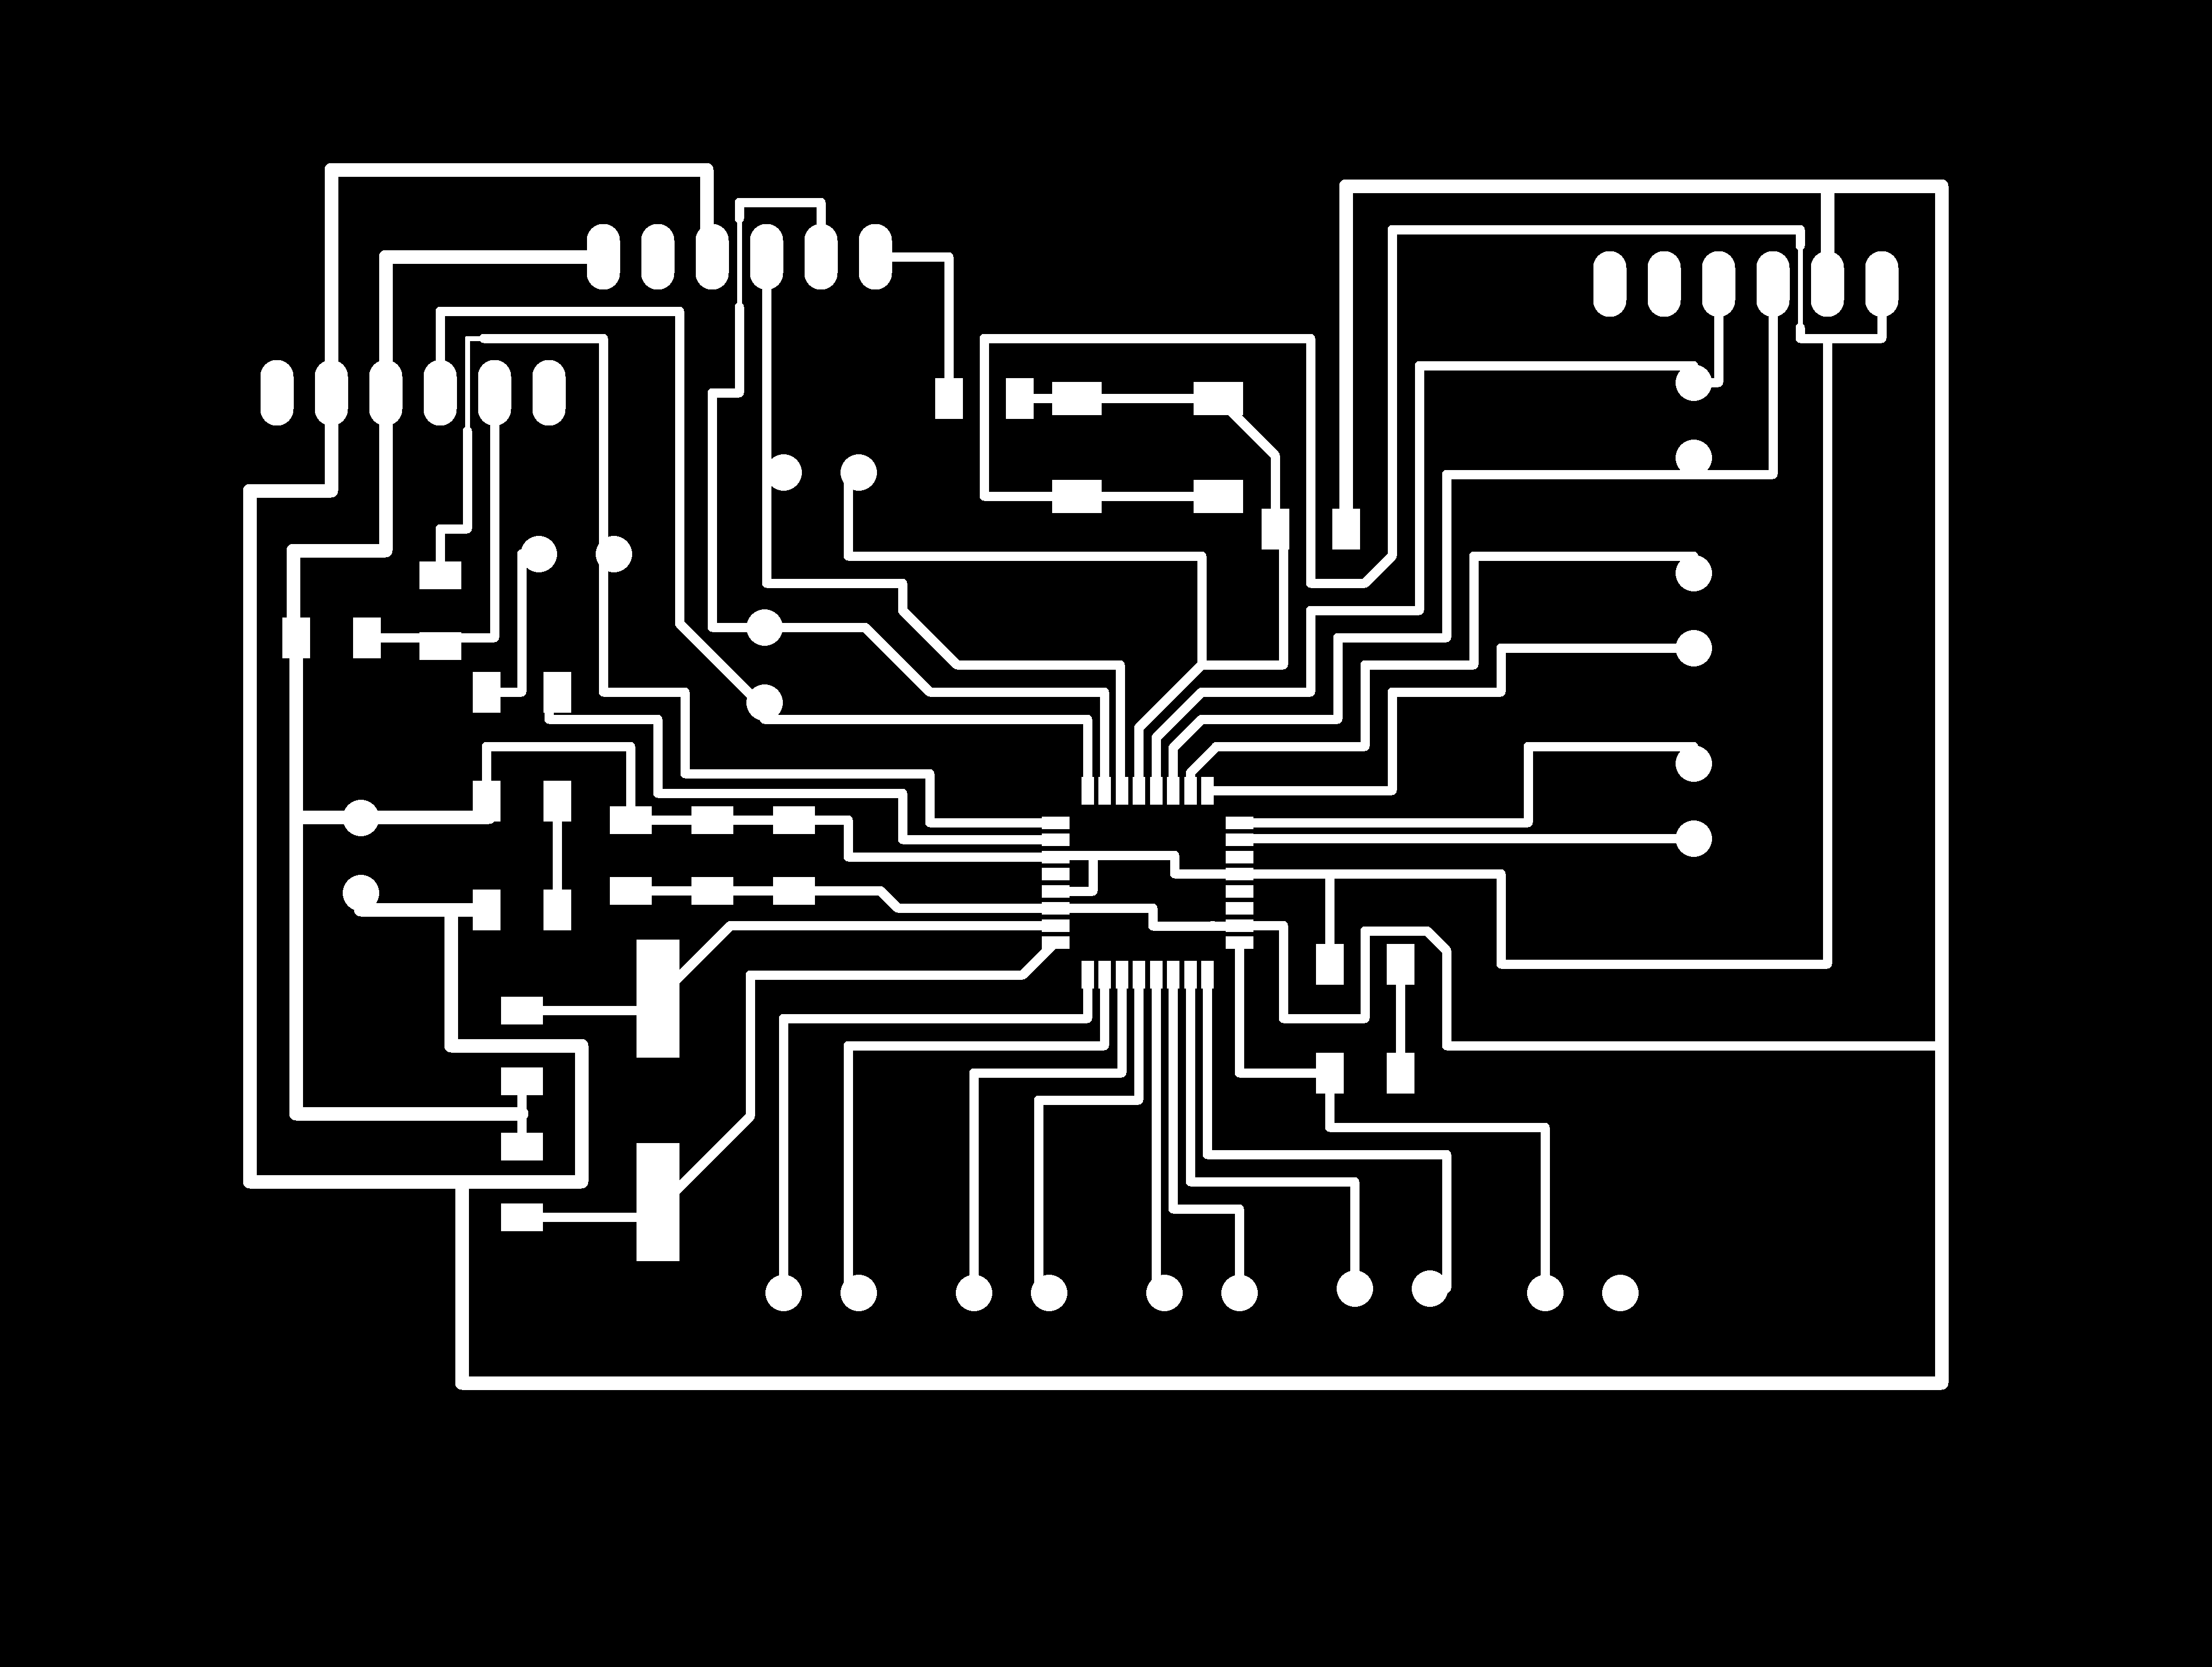


Then i soldered the electronic components
Then, I wired the LEDs

After that, I programmed my board
First, I uploaded the bootloader to the board, by uploading the Arduino ISP code to an arduino, then connecting my board to the arduino following the ISP connections, note that I did not make an ISP header, so I connected them to their equevelant ports.
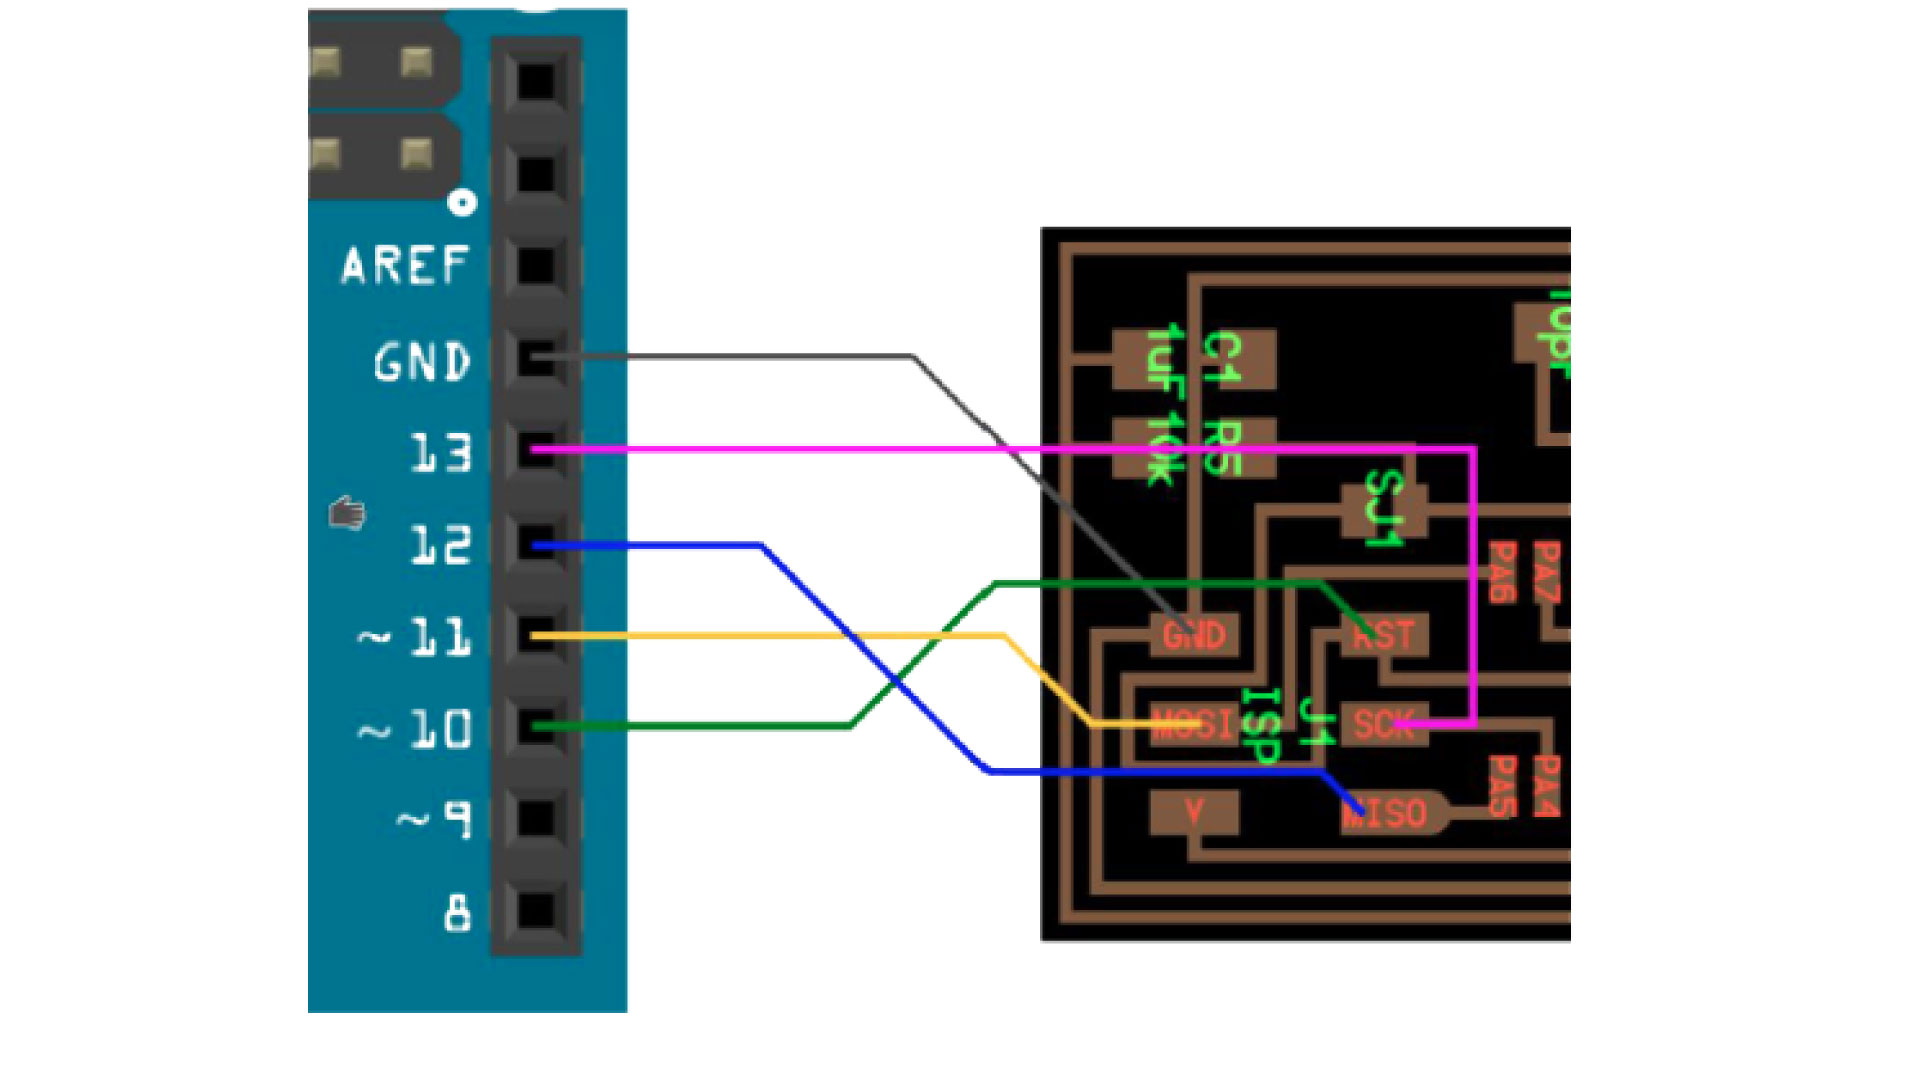

After that, I uploaded the code using the Arduino as ISP
Then, I uploaded the code
Summary
After completing this project using all the skilled learned during previous weeks, there is a window for more inprovements in the future:
- Better LEDs can be used since the LED intinsity is not enough, and it can be hard to determine the time in day light.
- I could add more features like an alarm and a timer.
- Another type of material could be used as covers, maybe using thinner plexiglass would make the light pass better.
- I might use WiFi connection instead of bluetooth, since it can add extra features to the product.

This work is licensed under a Creative Commons Attribution-NonCommercial-ShareAlike 4.0 International License.