CAD - Week two
2D design
Illustrator
Adobe Illustrator is used to create a variety of digital and printed images, including cartoons, charts, diagrams, graphs, logos, and illustrations. Illustrator allows the user to import a photograph and use it as a guide to trace an object in the photograph.
AutoCAD
AutoCAD is a computer-aided design software developed by the company Autodesk. It allows you to draw and edit digital 2D and 3D designs more quickly and easily than you could by hand. The files can also be easily saved and stored in the cloud, so they be accessed anywhere at anytime
I was inspired by this laser cut design I found on Pinterest, I could not find the design files anywhere, so I decided to learn using Illustrator and make my own design.
So I searched for side profile pictrues to take as a reference
then i launched Illustrator and started by placing the side profile image, and i traced it while keeping in mind that my design will consist of three layers.
Then, I switched to AutoCAD to split my design into three layers, and to make sure each layer is closed and ready to be laser cut. This could be done with illustrator as well, but I personally prefer autoCAD
3D design
Fusion 360
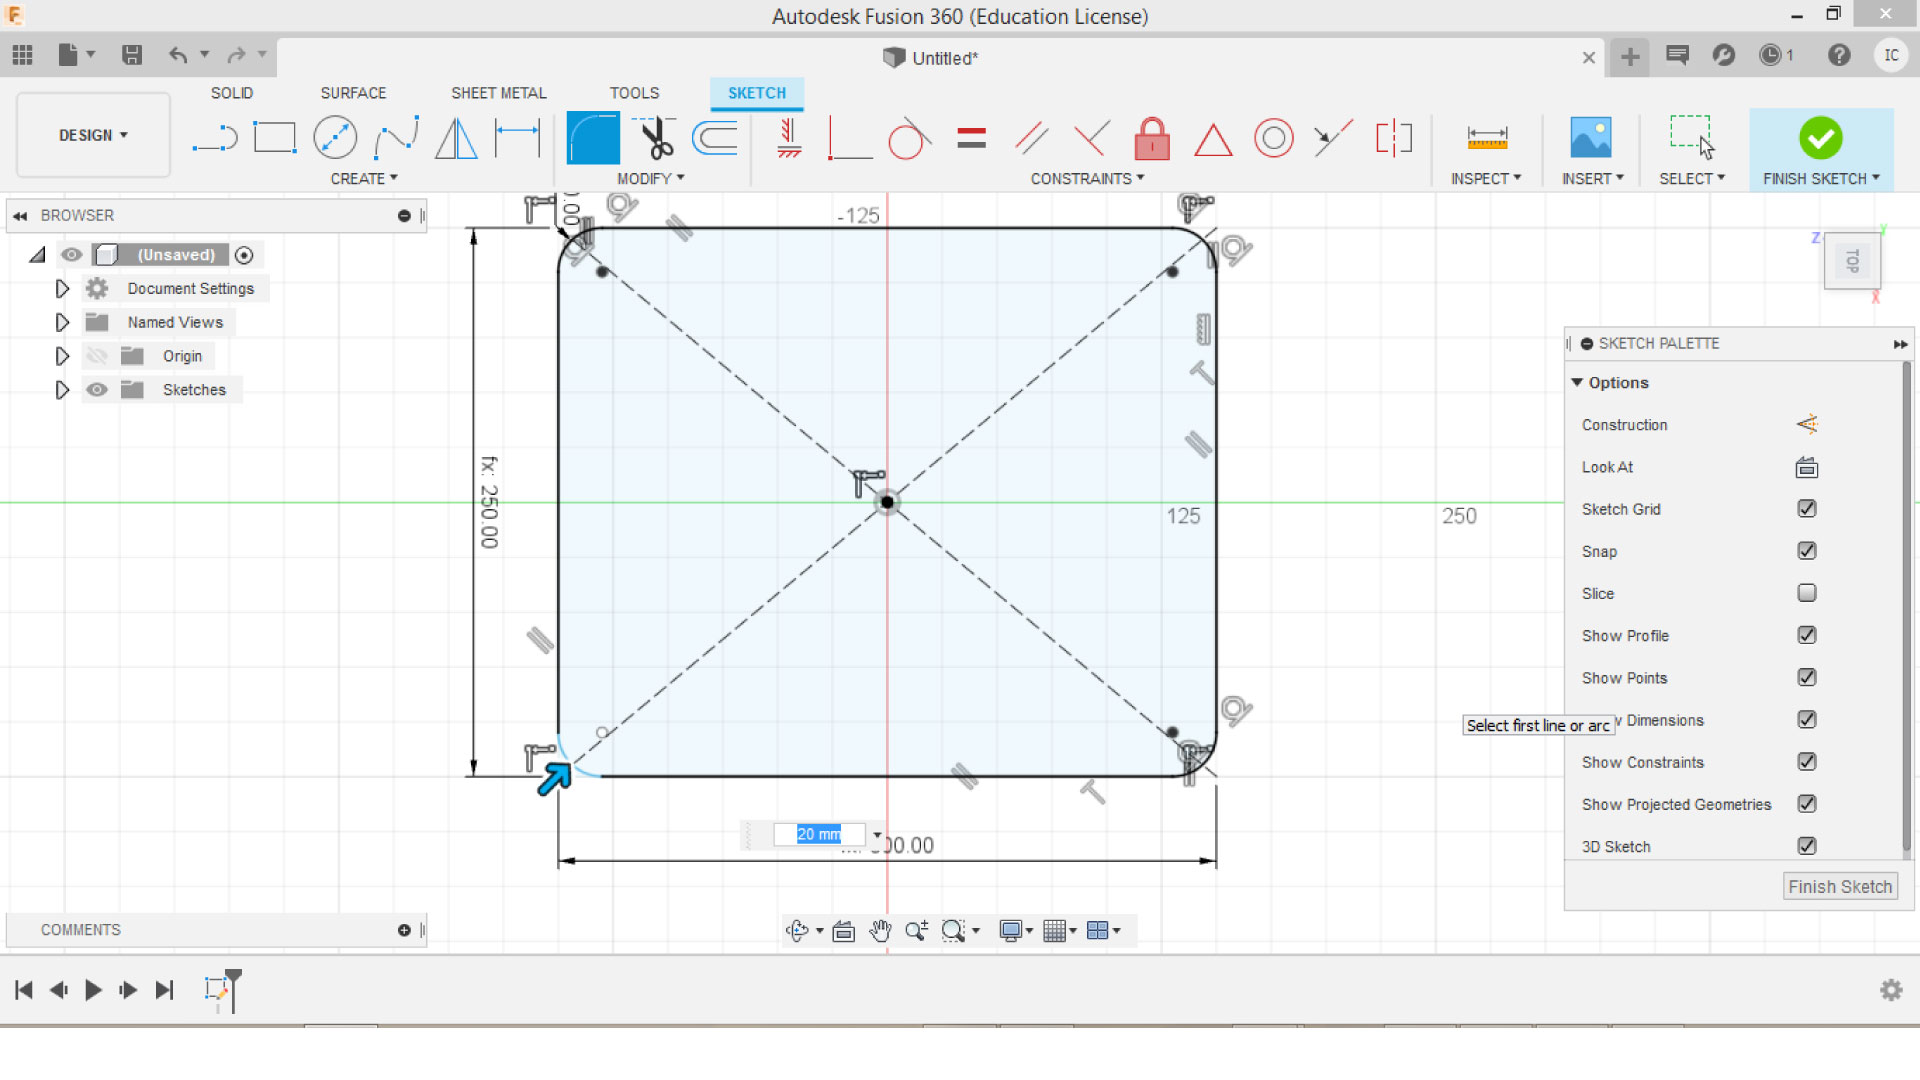
I already have some experience in 3D modeling, I decided to use the two software for different applications. First, I used Fusion 360 to design the initial concept of a lunch box. First we have to create a skitch, I wasn't sure about the size of my box, so I used parameters for my dimentions (this means we can change them later on)
You can check my Idea of the final project here
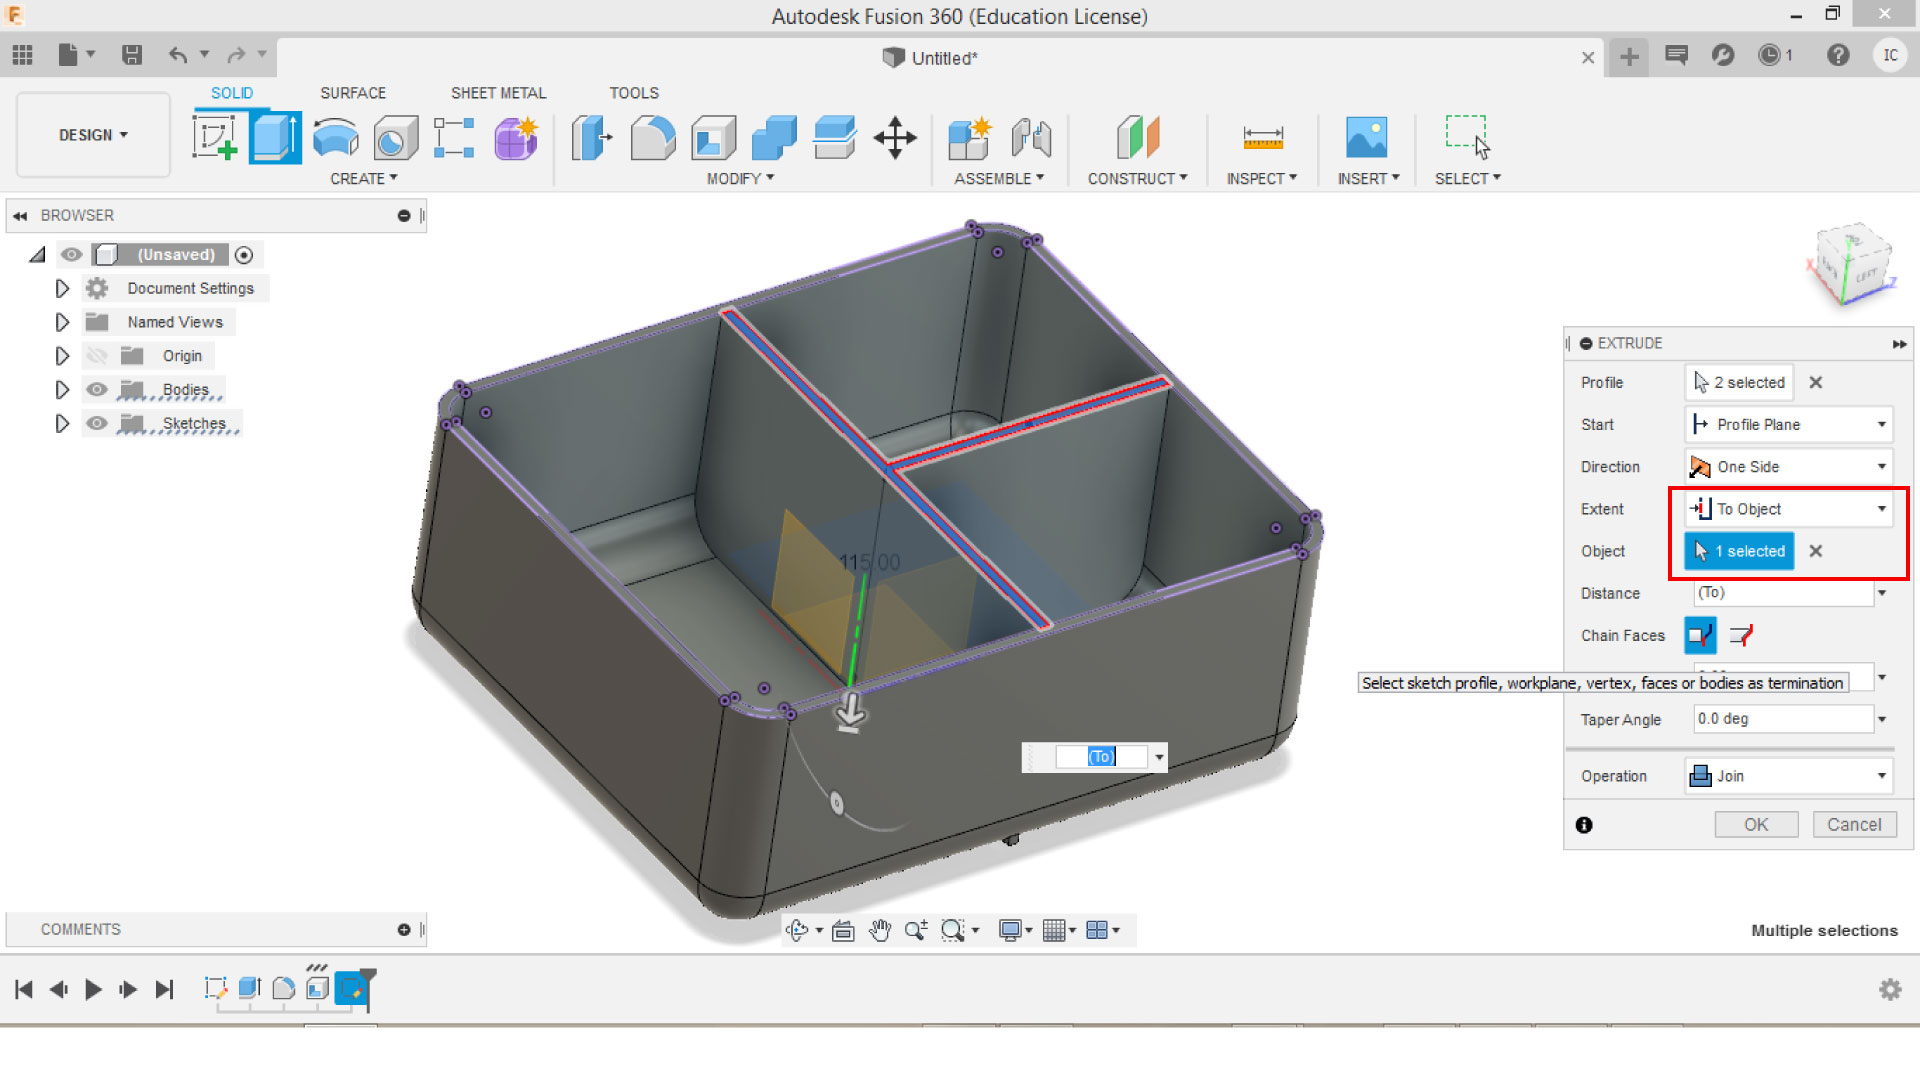
and I used the fillet tool to round up the edges, then the extrude tool to make a body out of the skitch
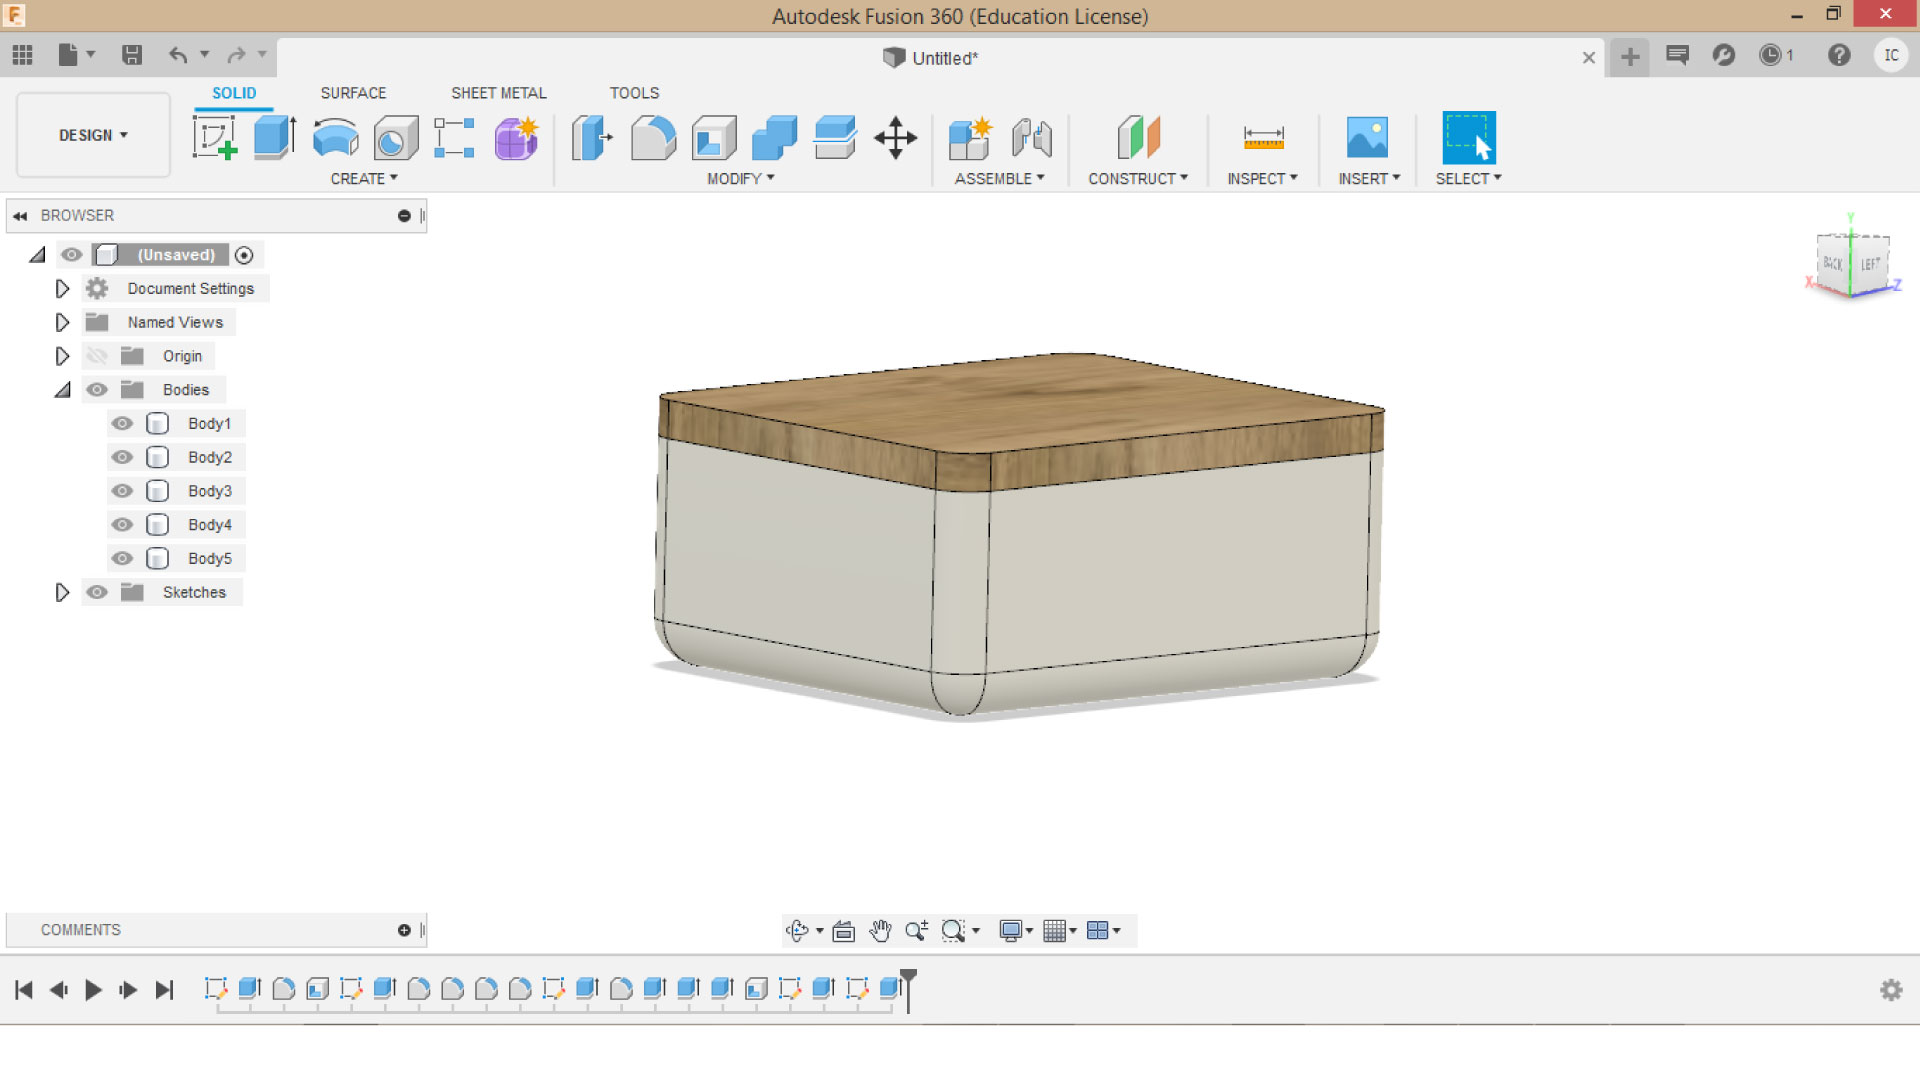
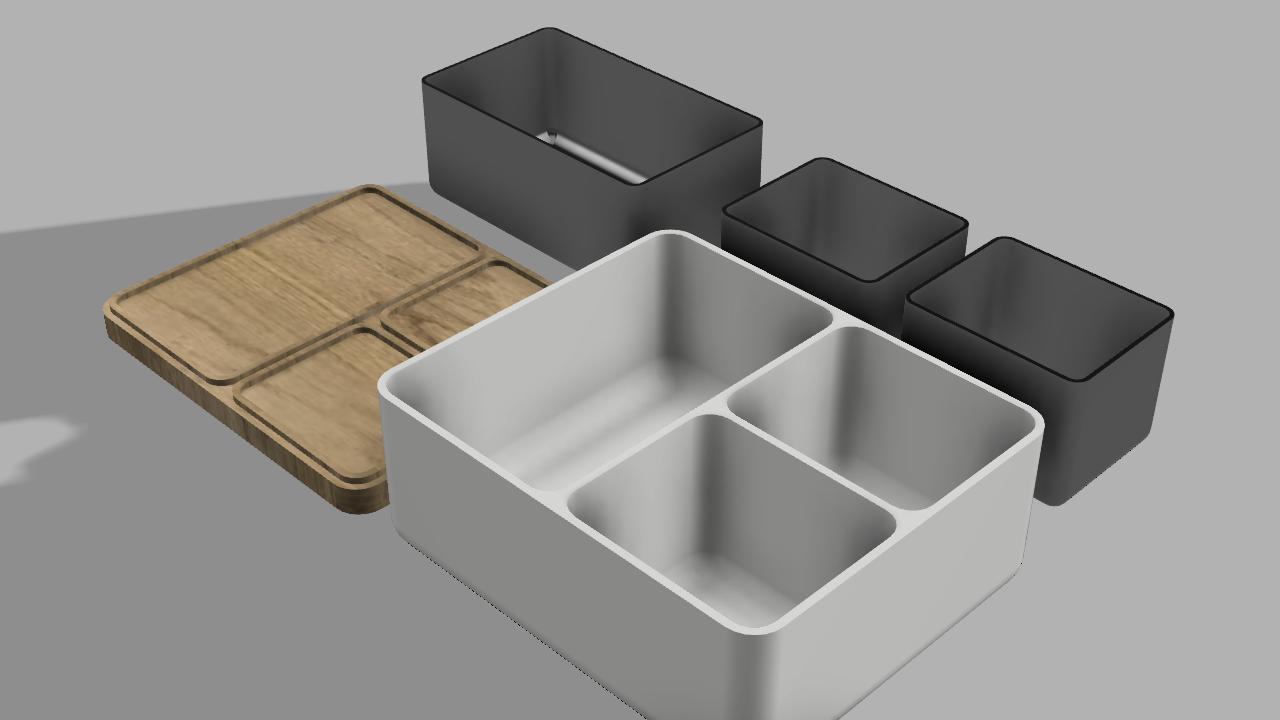
After that, I made other components for the lunch box, like the incide containers and the top, and I changed the physical apperances.
And i used the render tool to capture this image.Inventor
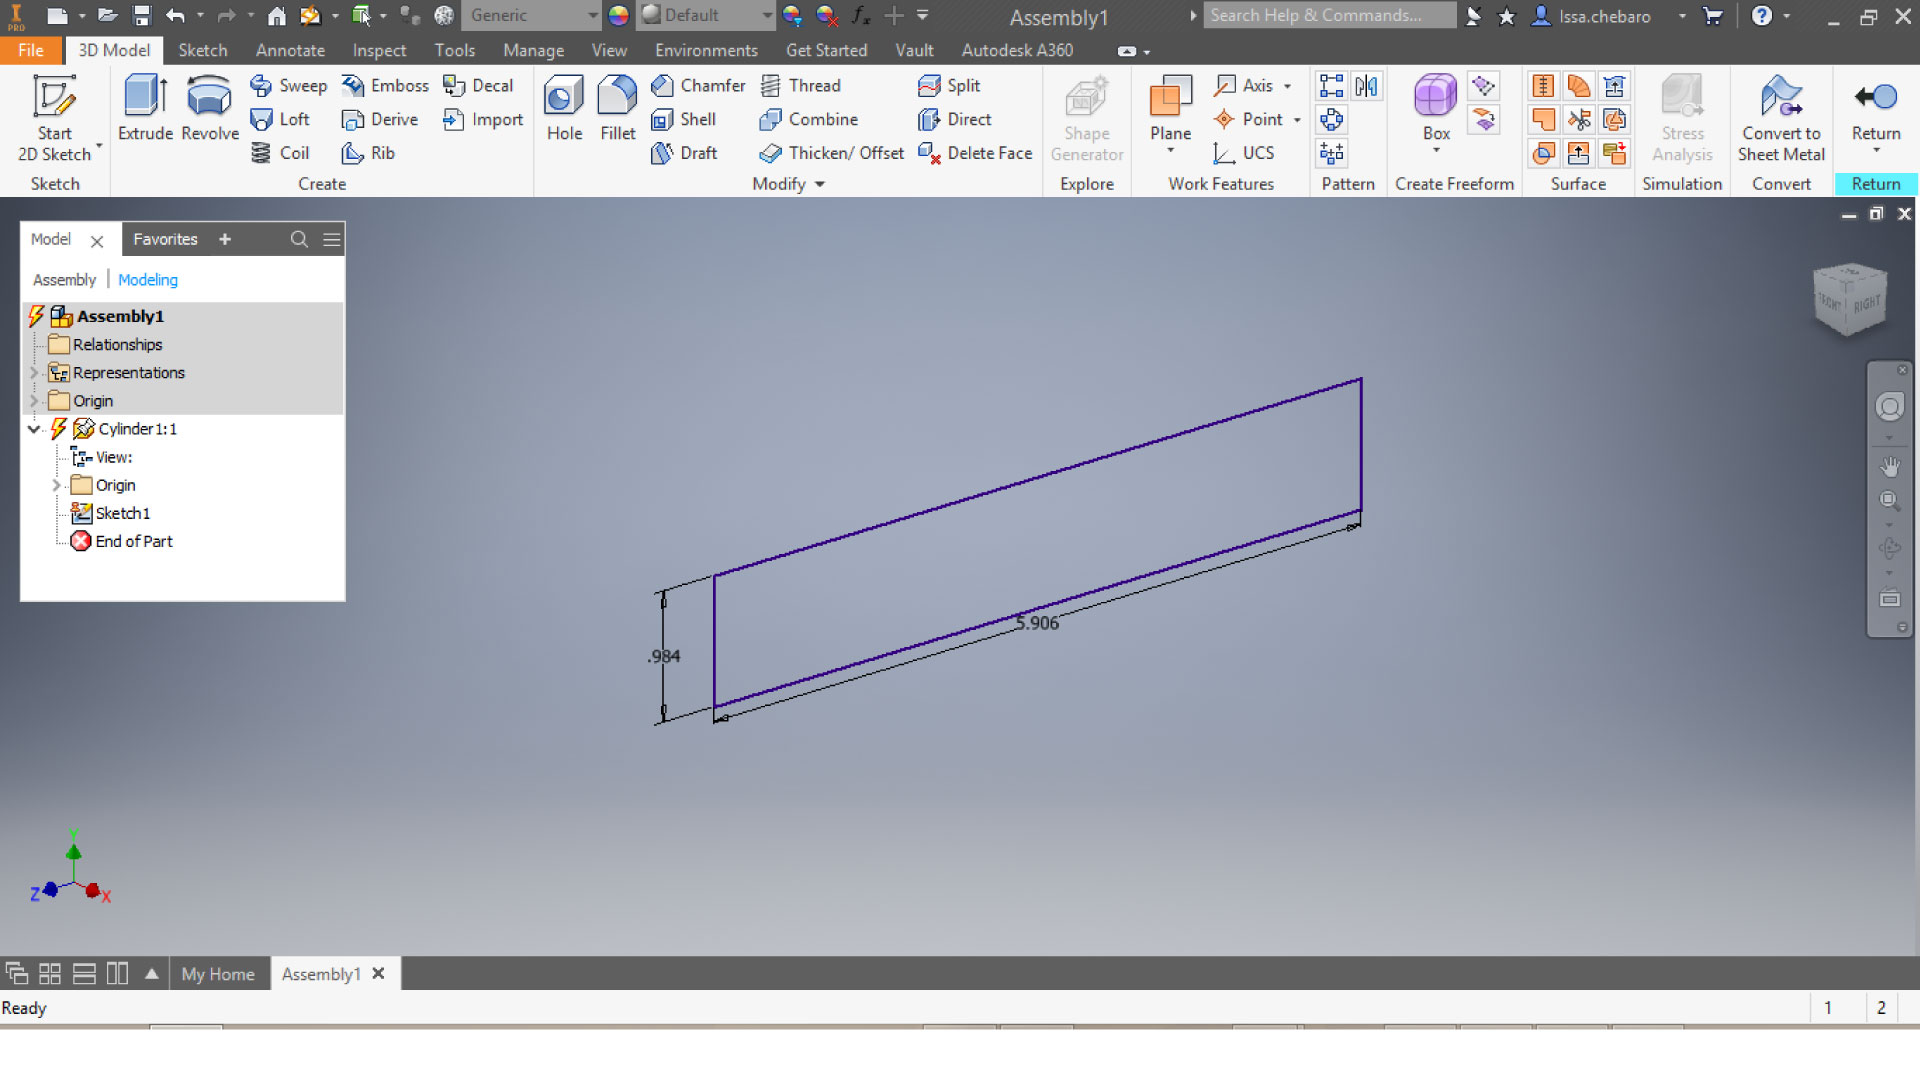
I like using Inventor to make mechanical assemblies, it is more complicated and advanced in my opinion. I tried to create a hydraulic handbrake which is used for drifting. The first thing to do is to create a new assembly, then we create the parts one by one:
I used the revolve tool for this part
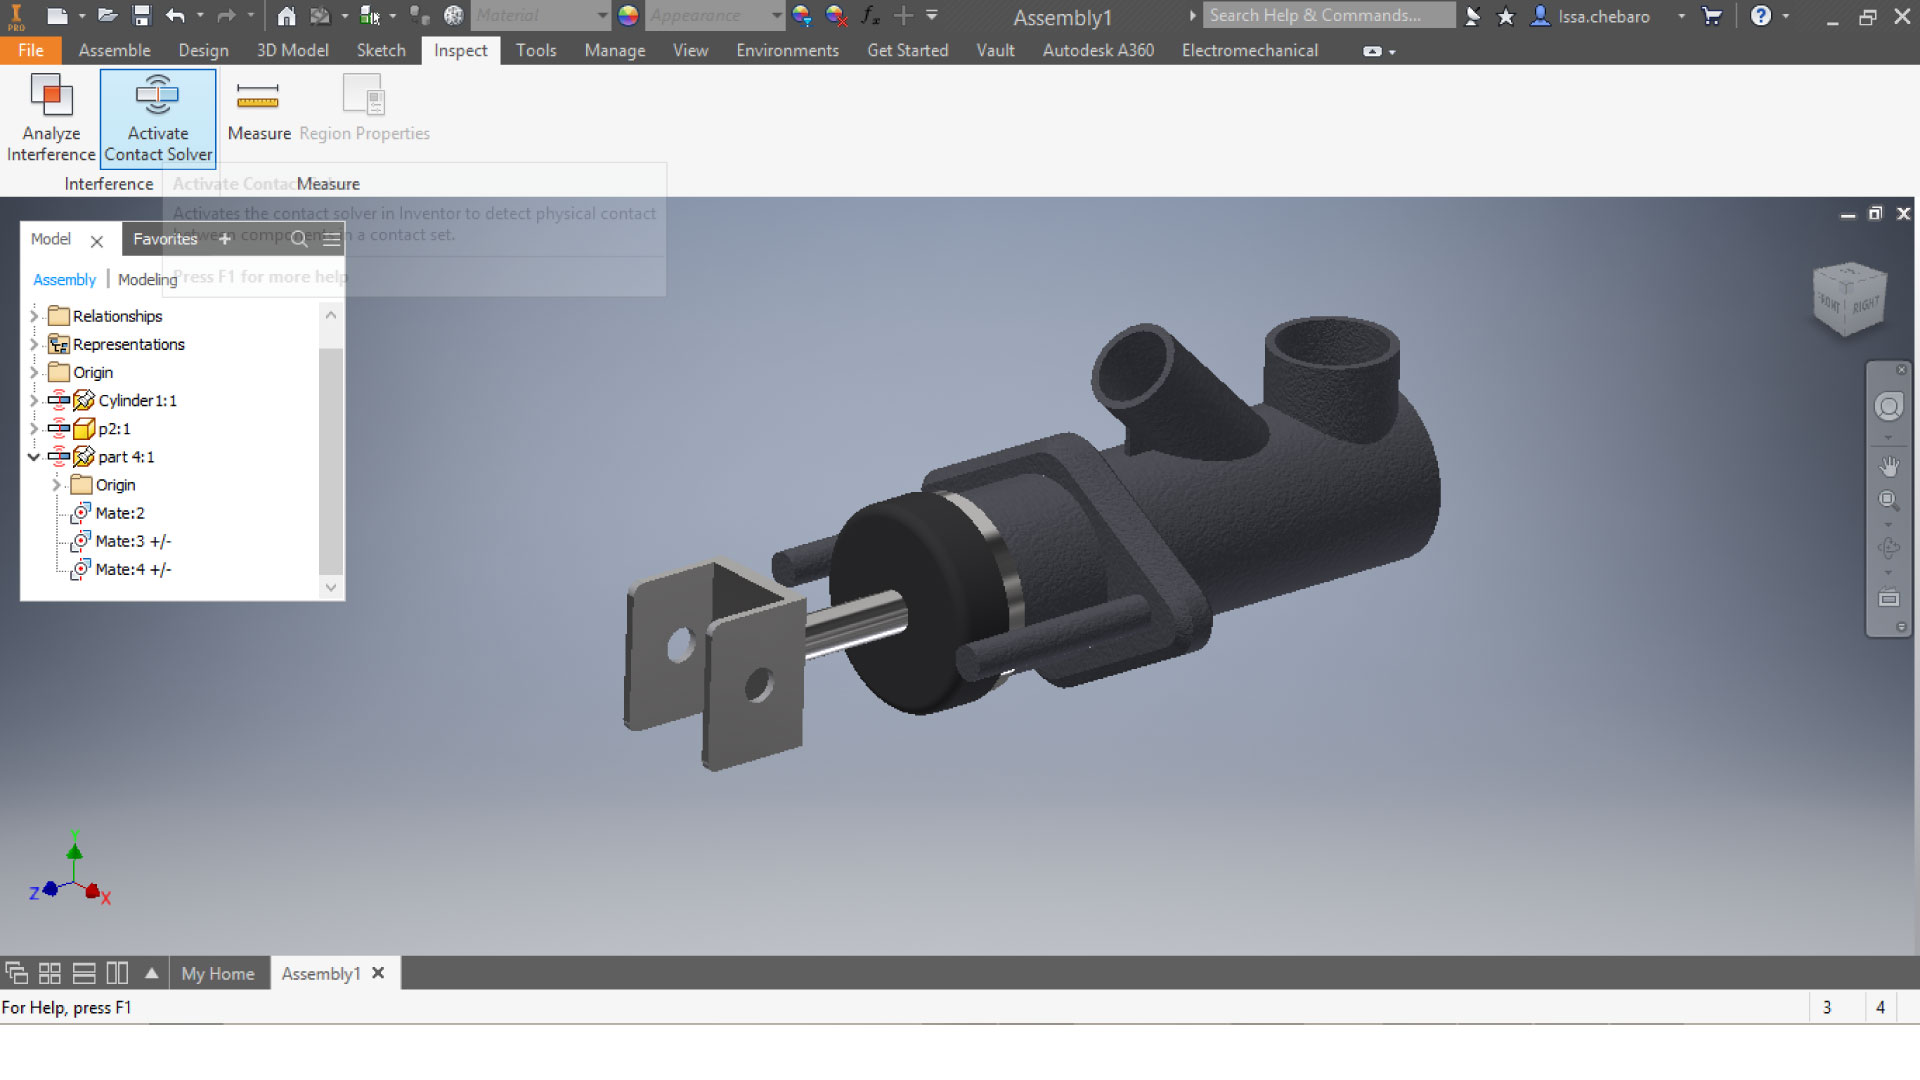
Then i started making other parts and assembling them. I also changed the physical appearances
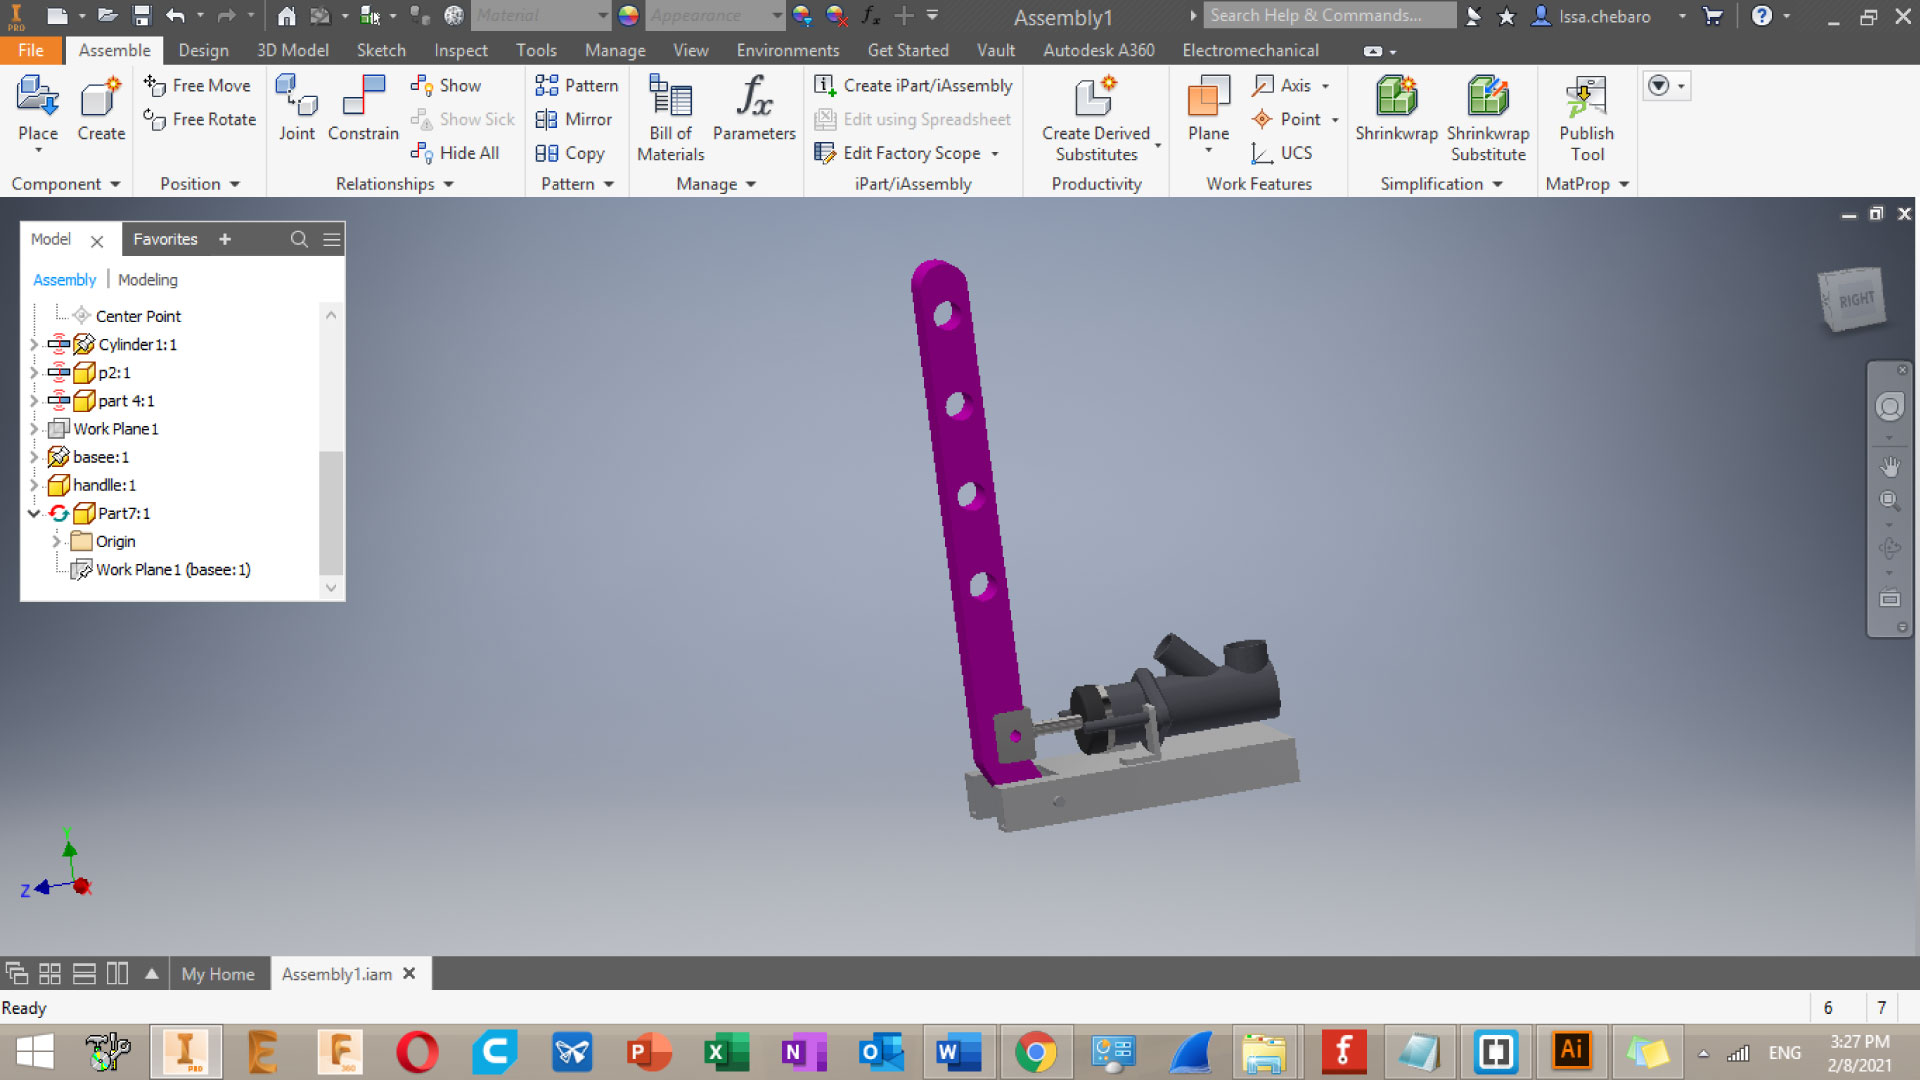
And this is what the final assembly looks like


