Project management - Week one

Step 1
What is HTML
HTML stands for Hyper Text Markup Language, HTML is the standard markup language for Web pagesm, and HTML elements are the building blocks of HTML pages.
By the help of our instructor Wael Khalil, and by following the HTML tutorial
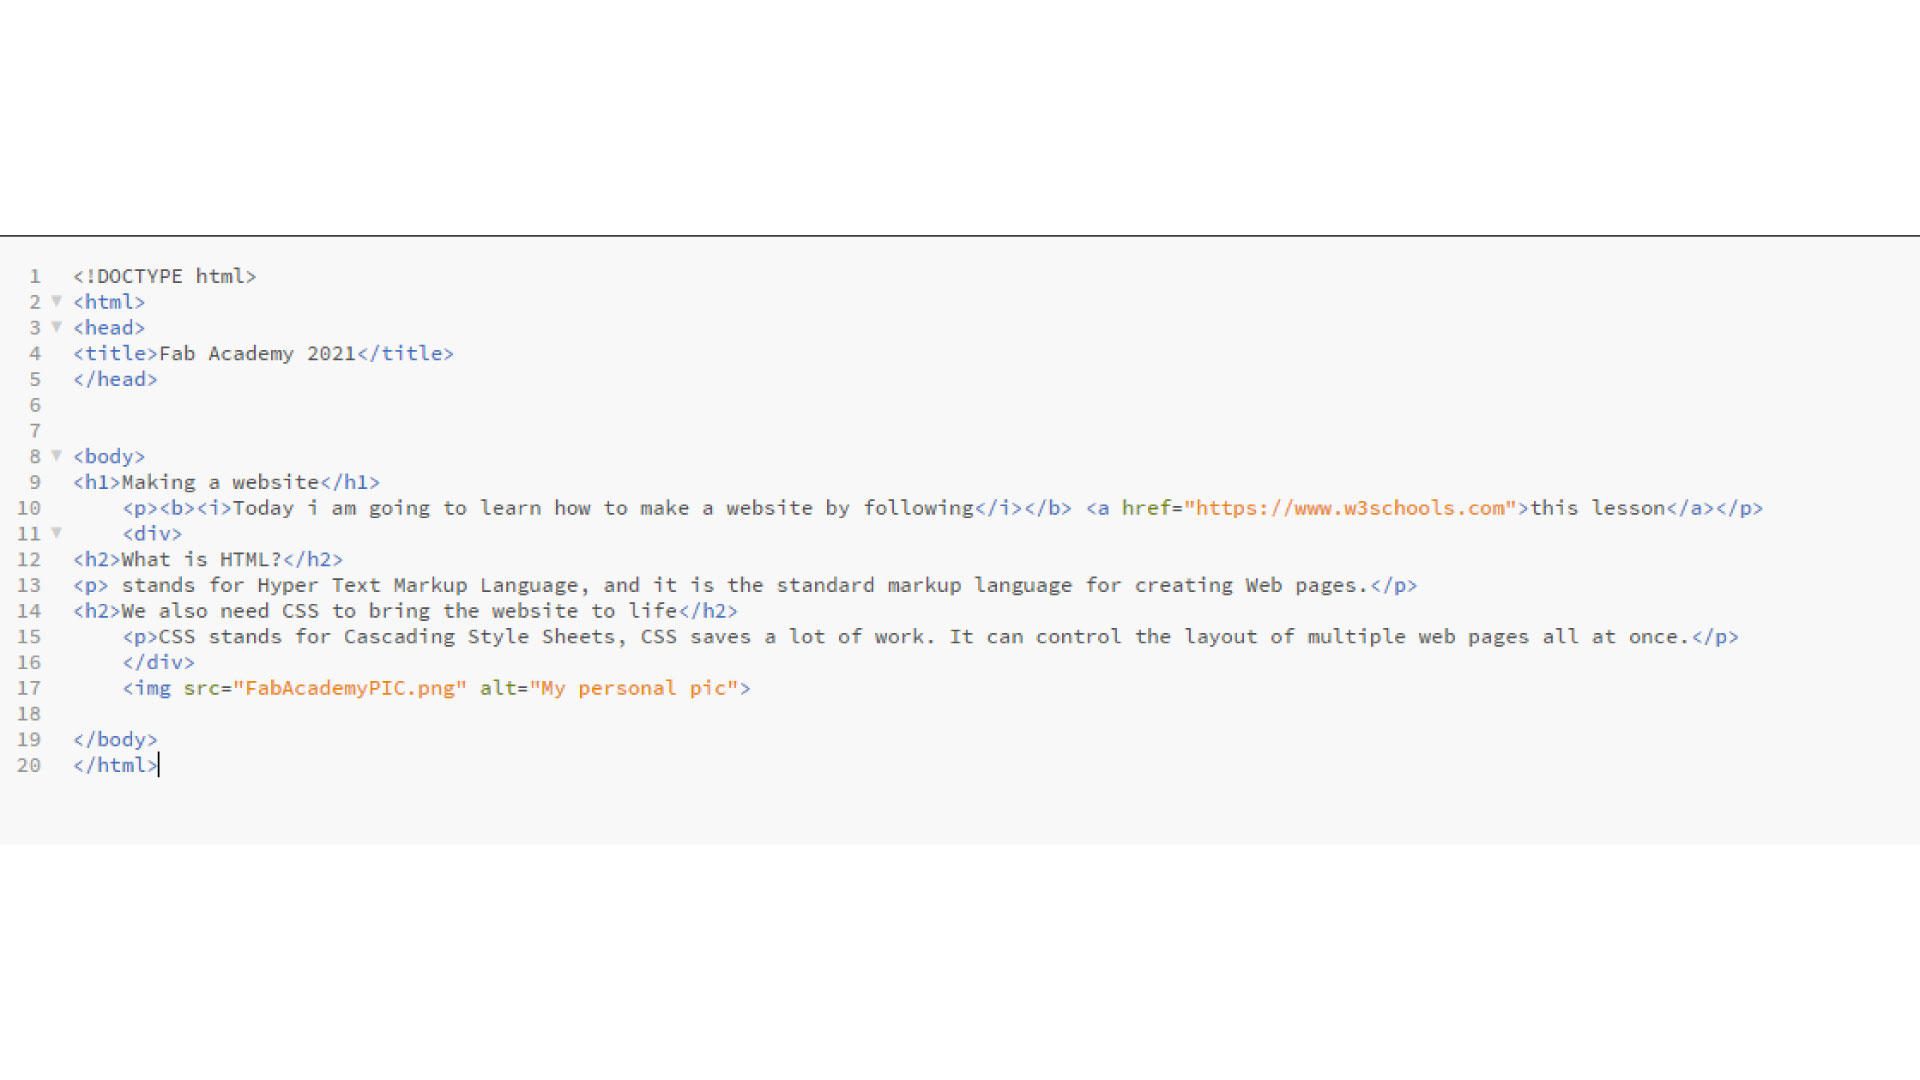
, I was abel to train myself, I learned how websites are made, and I started making my website. My idea was to learn HTML first and understand it very well. I downloaded Brackets, and i started writing HTML,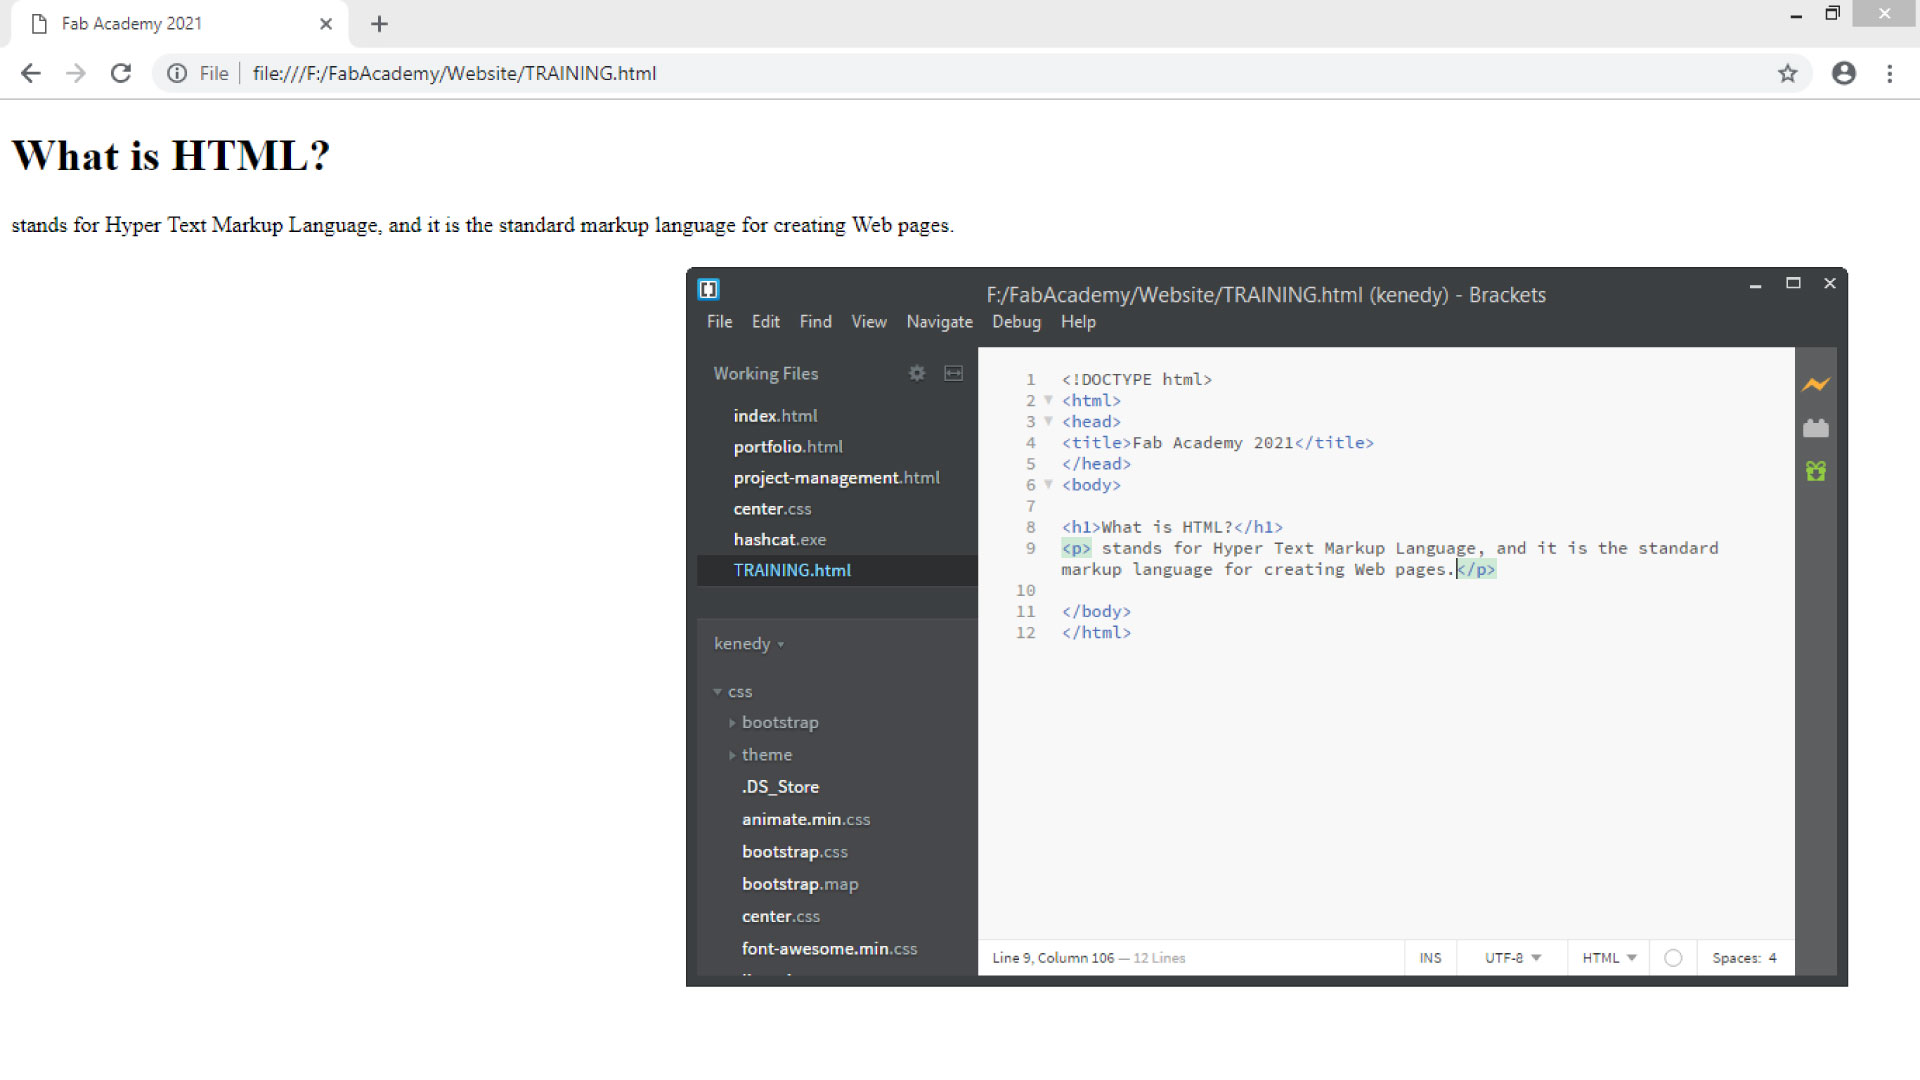
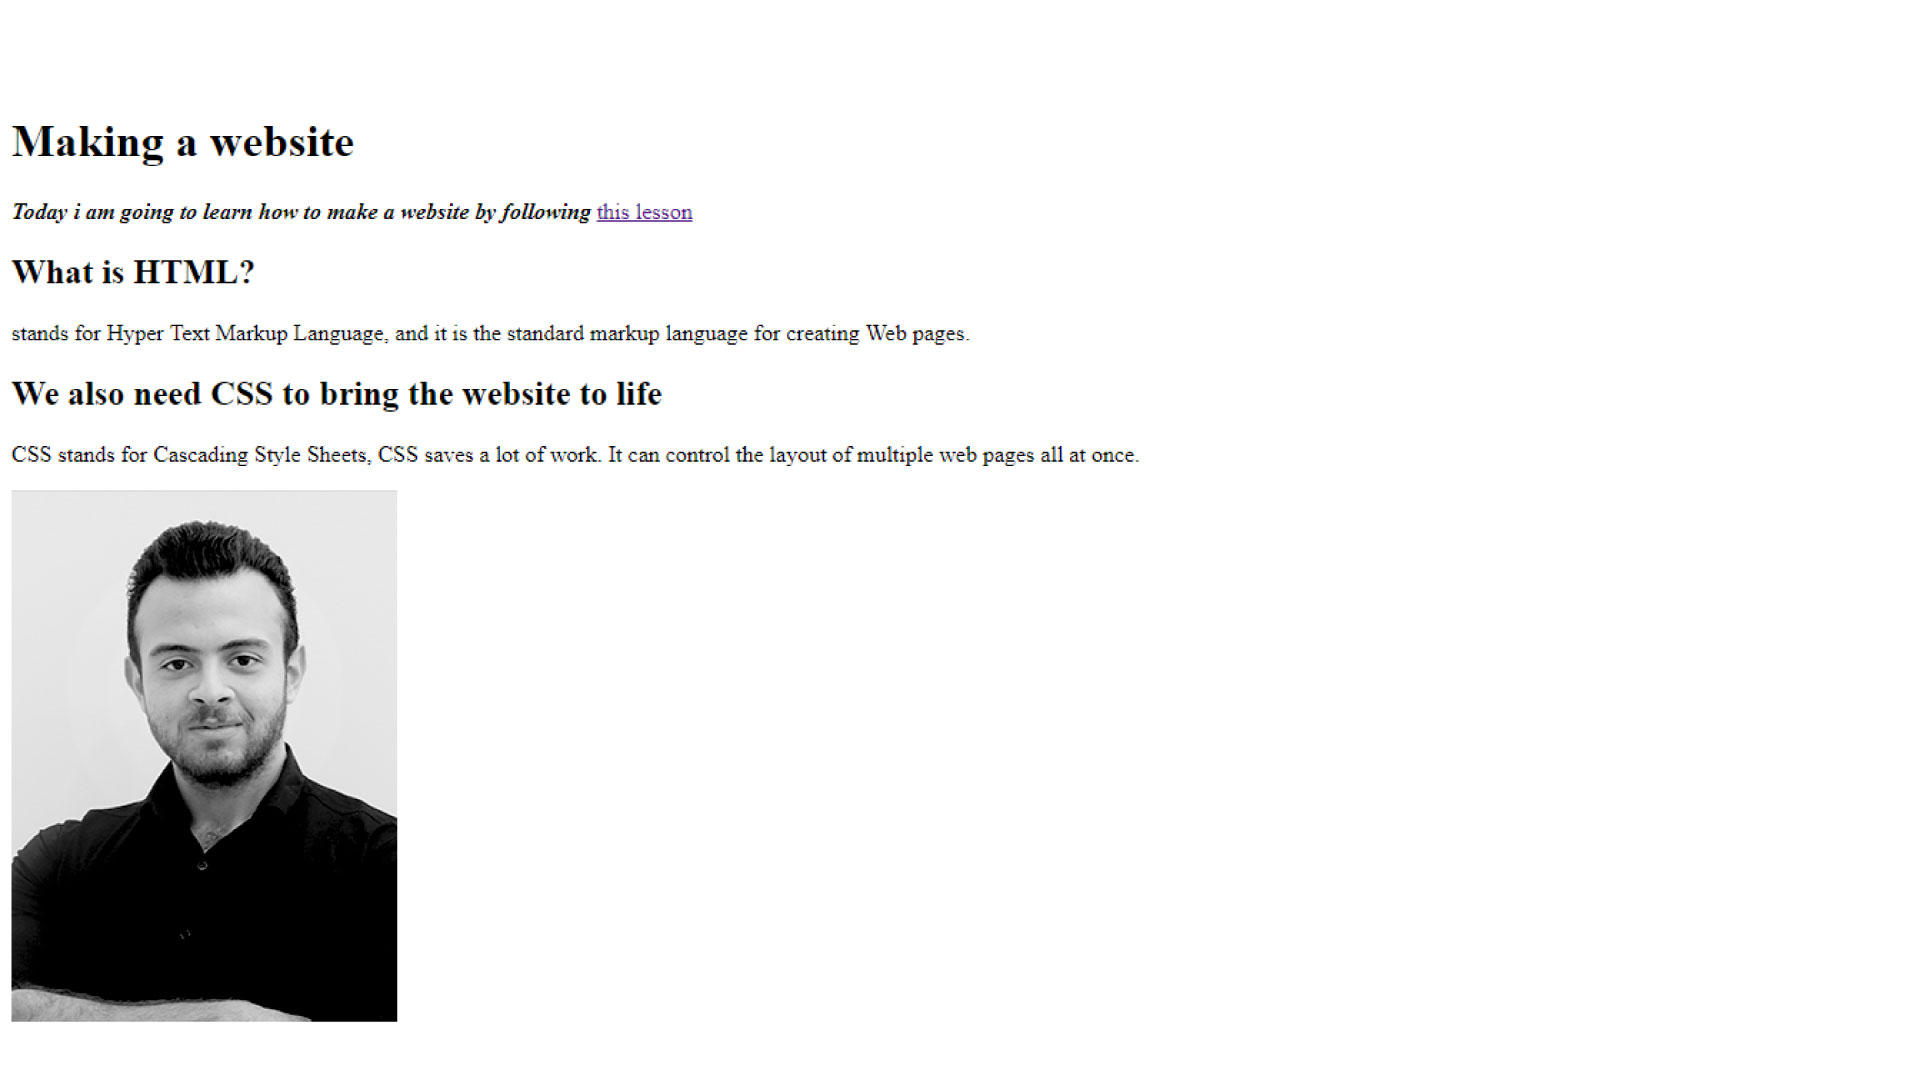
I learned how to add headings with different sizes, how to add an image, how to add links, righting paragraphs making text bold, and changing font size.
What is CSS
The CSS file is used for formatting the website. CSS files can help change font, size of text, colors, spacing between lines, borders positioning of HTML content on a web page.

Step 2
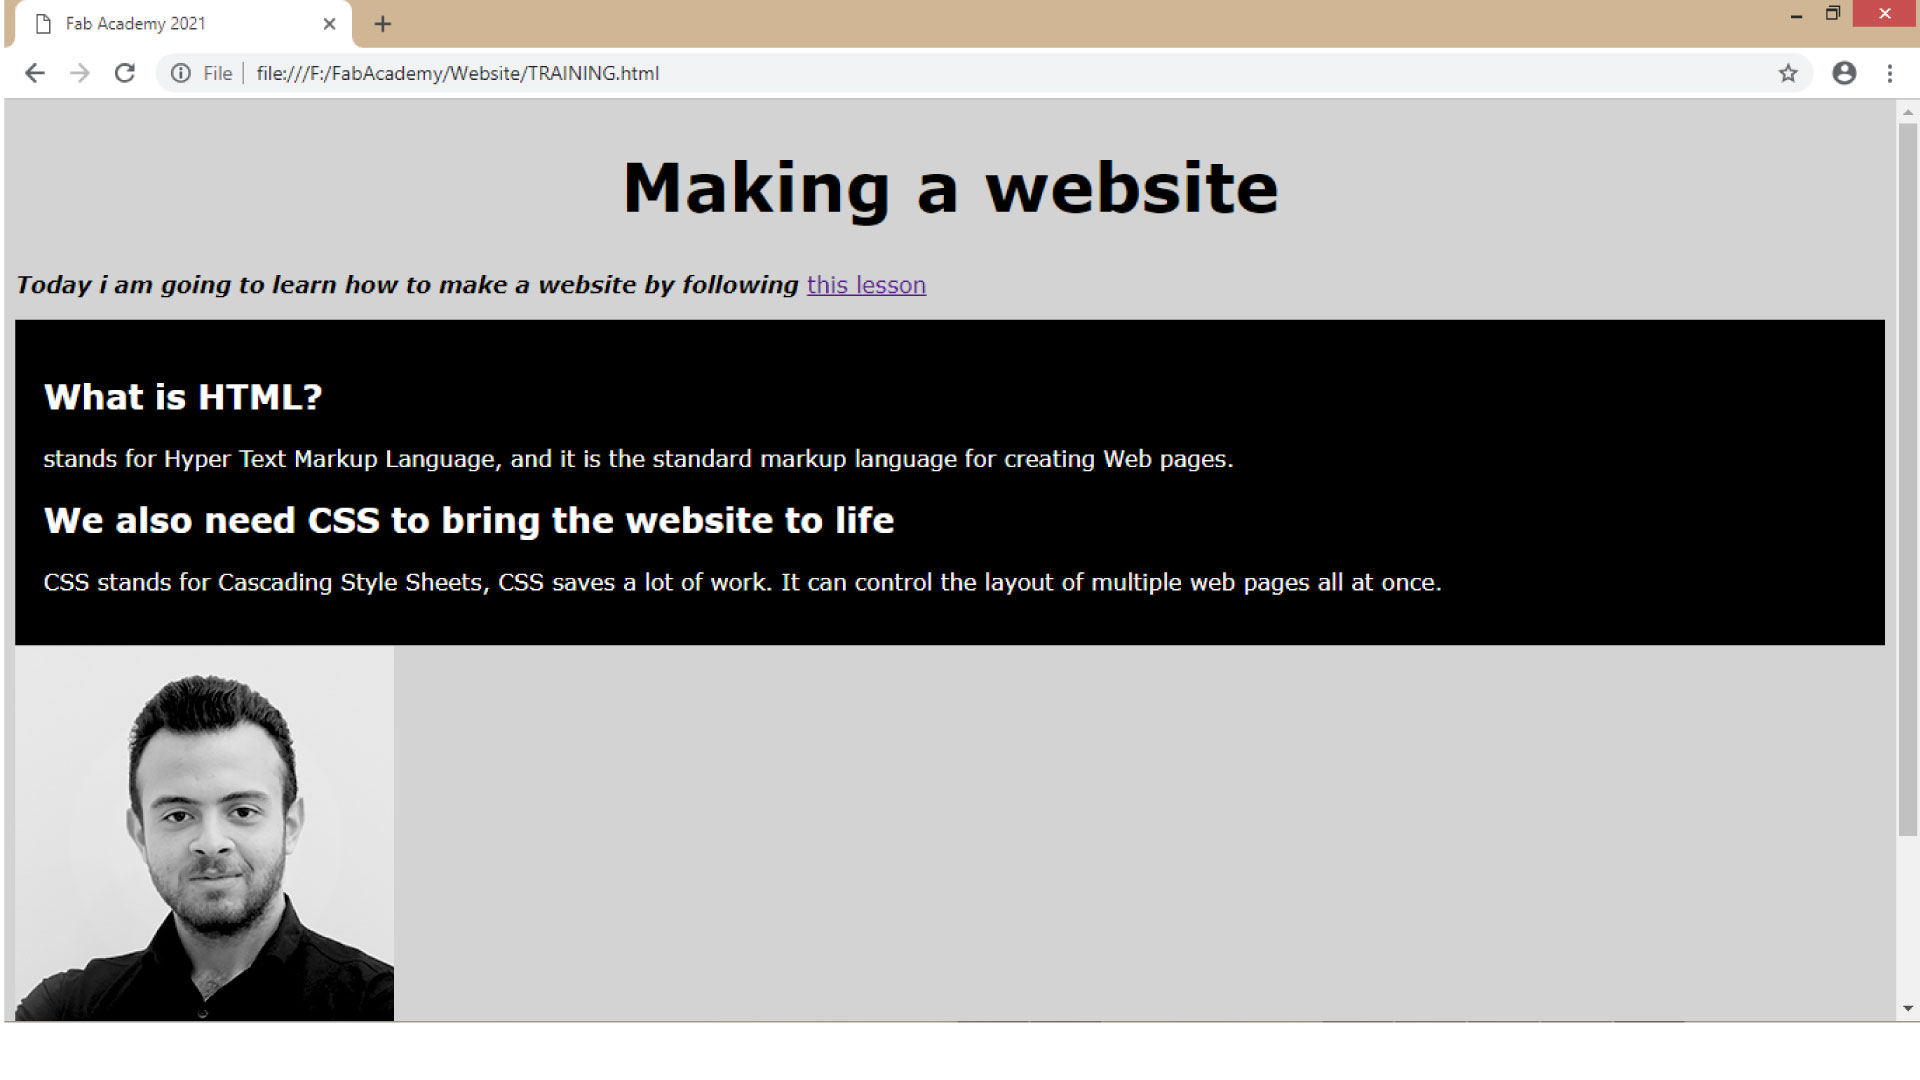
After that, I decided to download a template from the internet, and edit it by applying what I learned. I found this very helpful, seeing the template and how it was written gave me more knowledge.
I edited the template by deleting what was not needed, by changing the buttons and links, by changing the pictures. I liked the colors of this specific template so I kept them the same
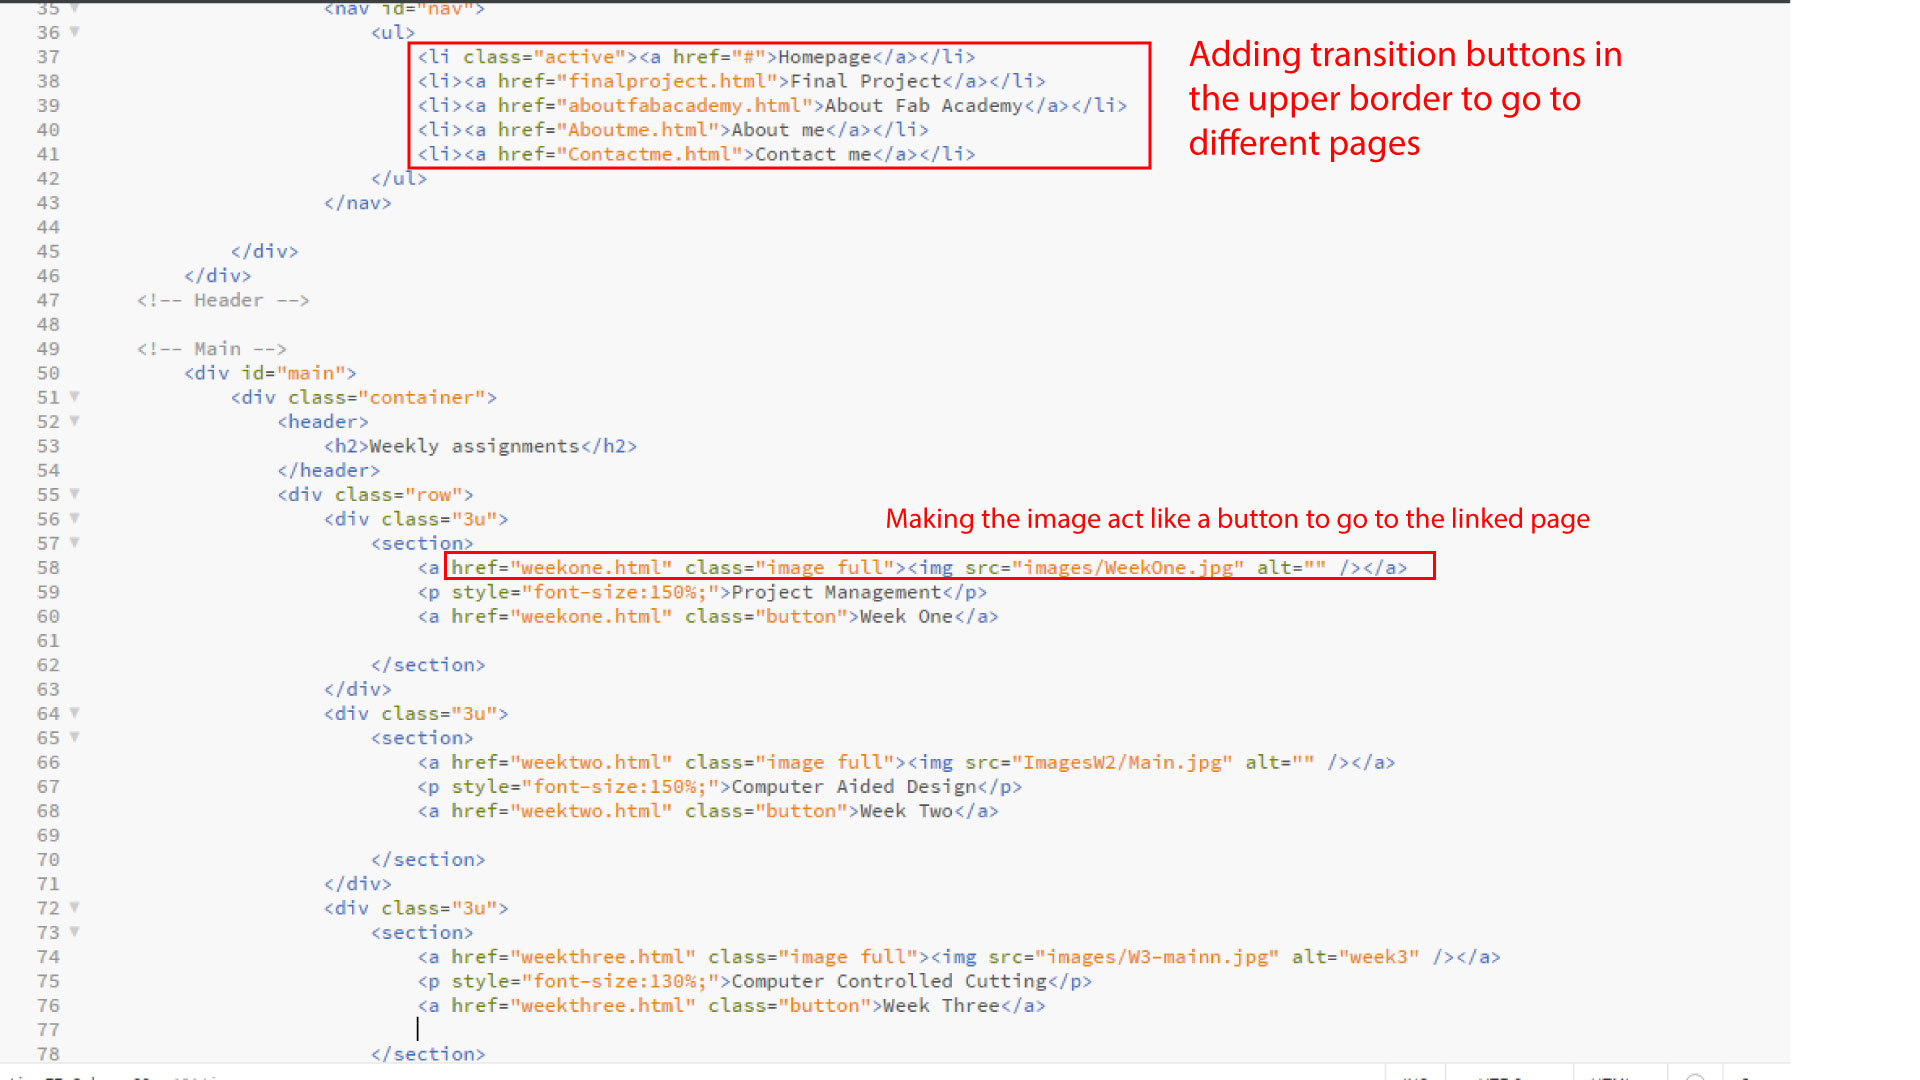
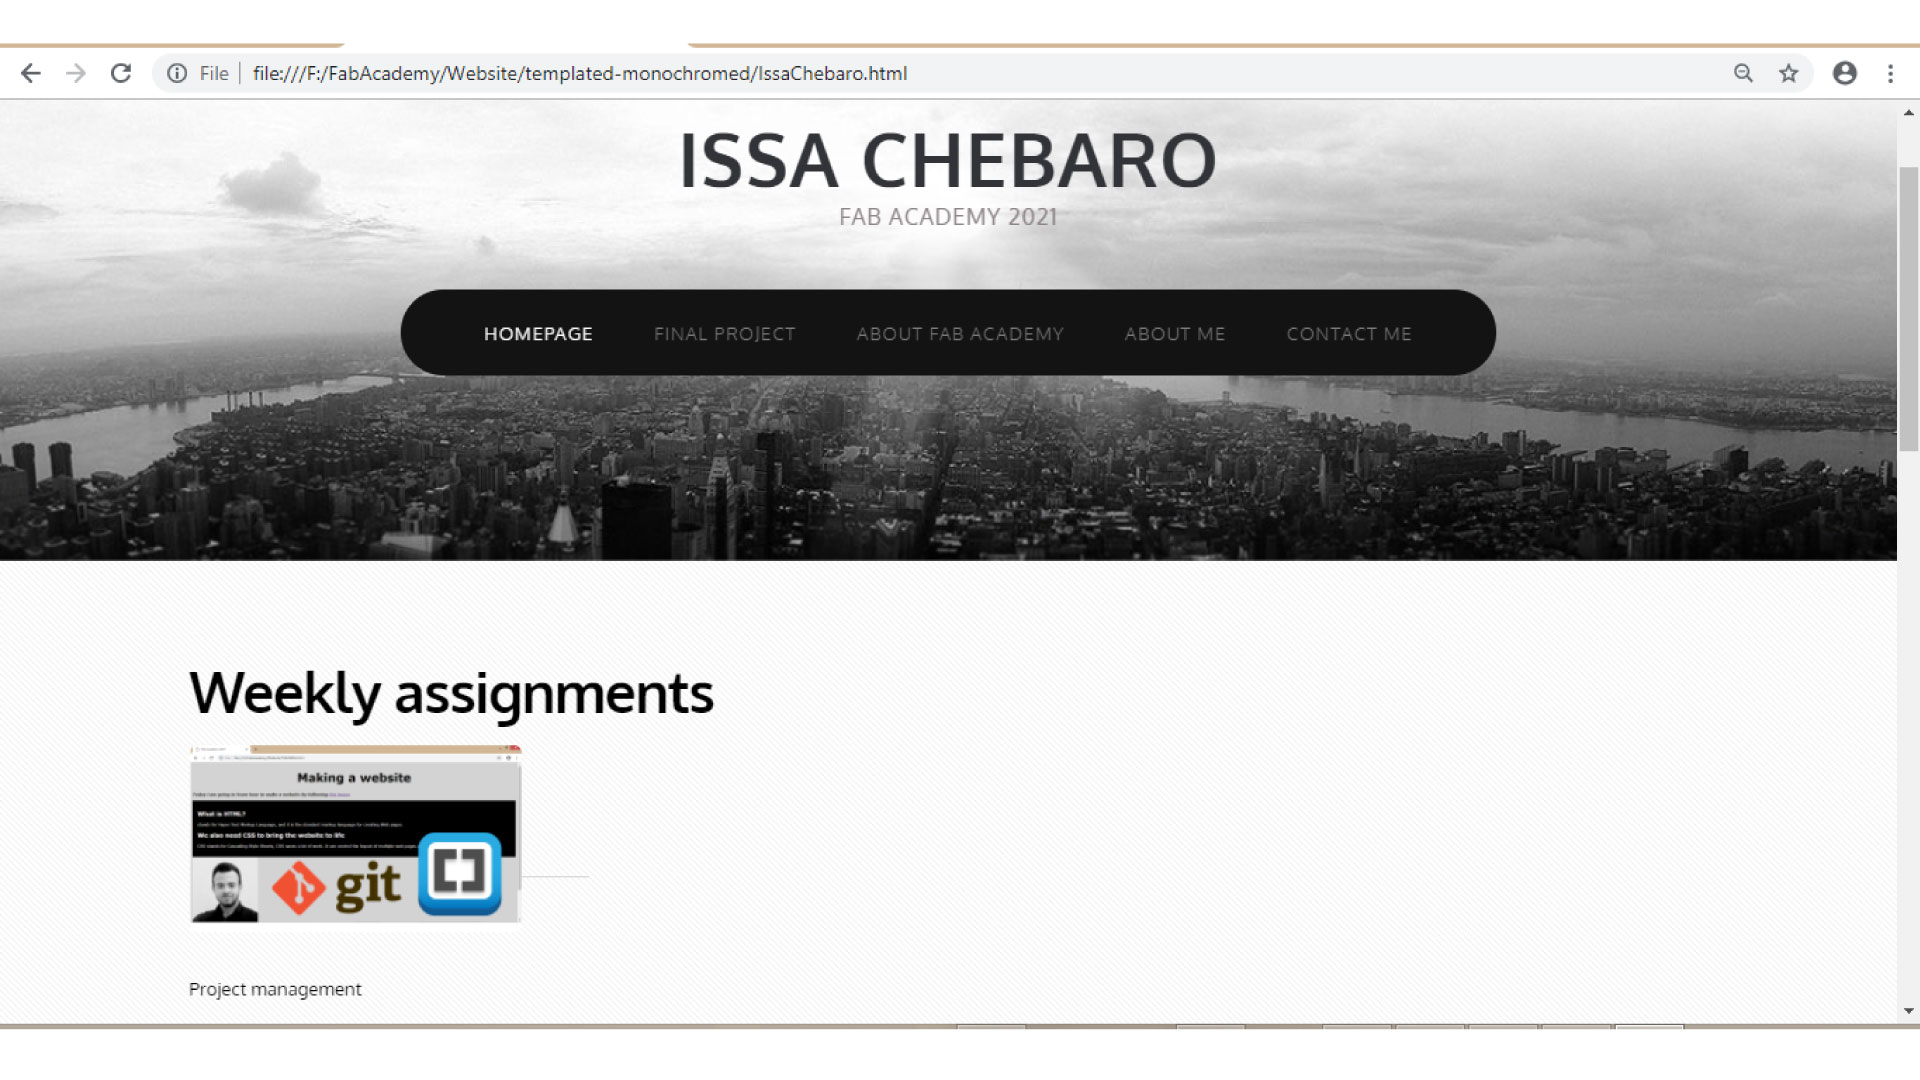
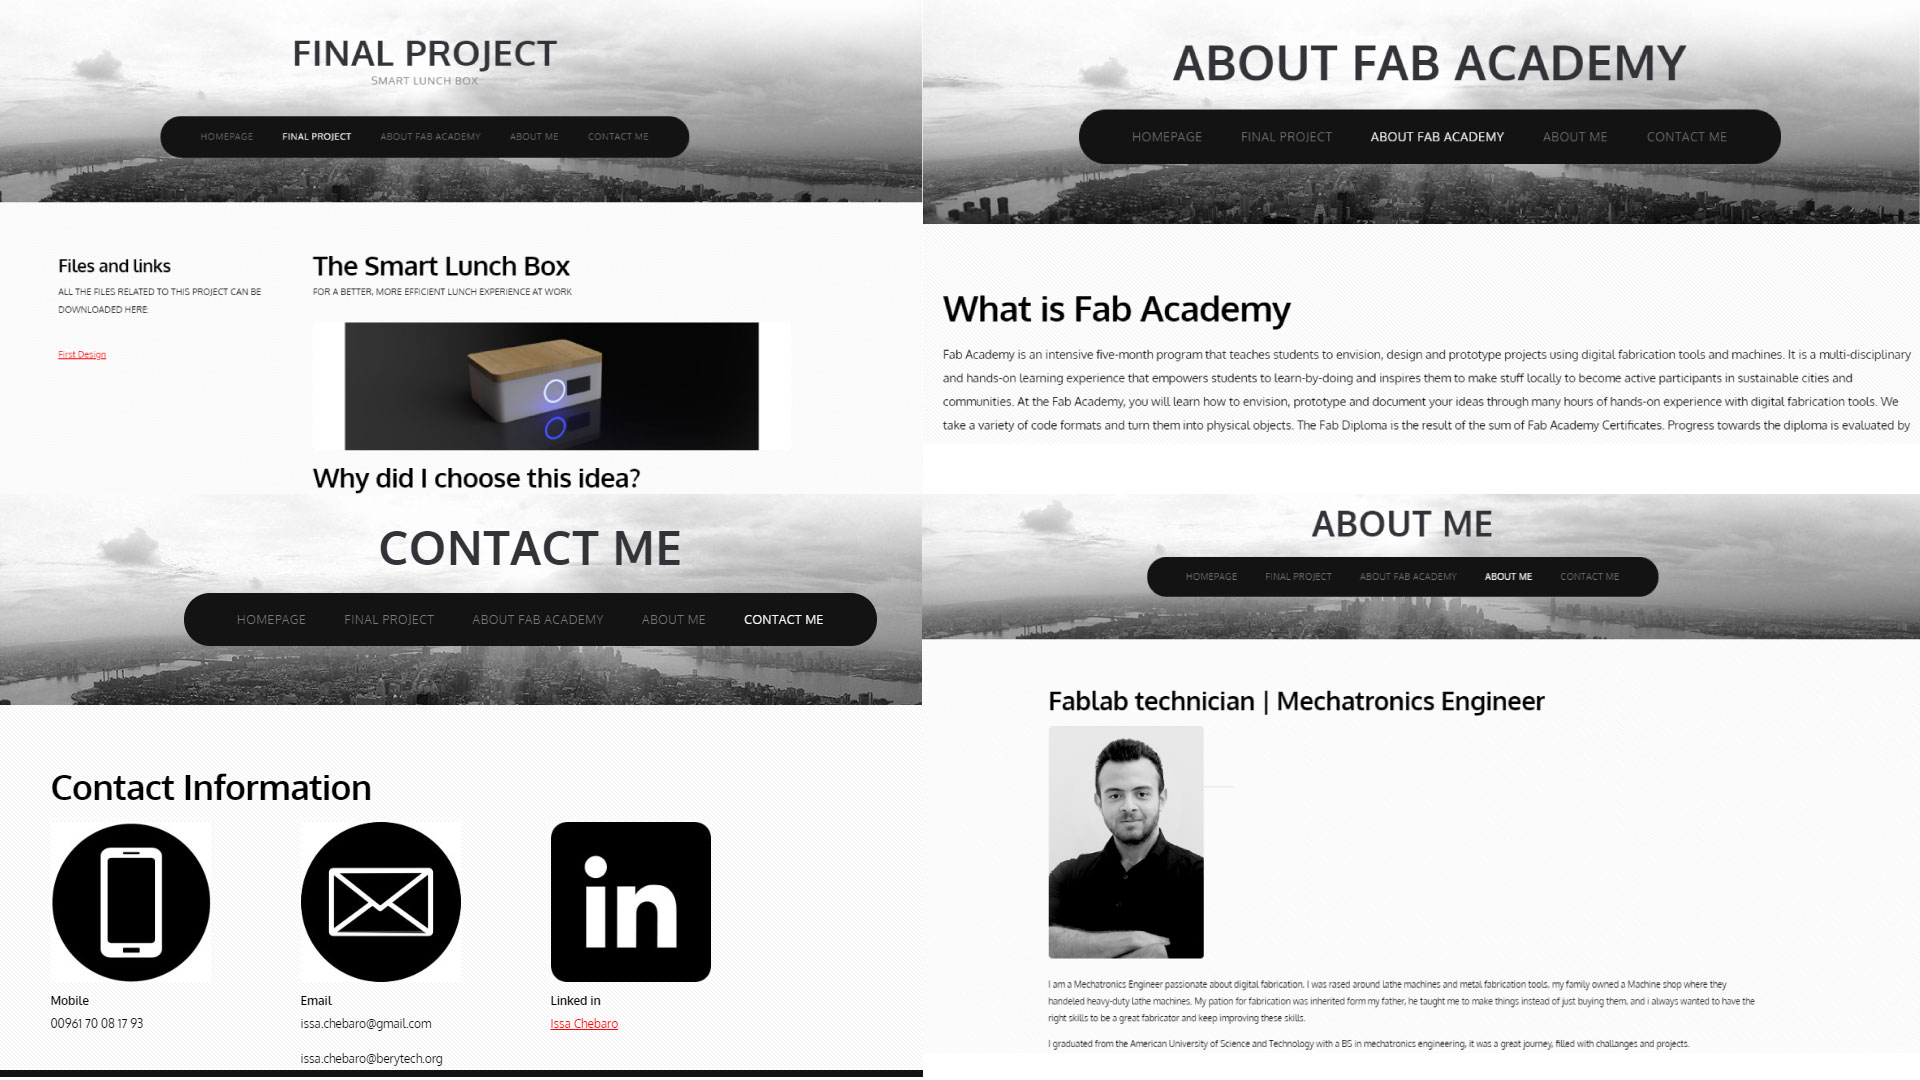
After that, i built different pages like about me, about fab academy, etc.
Step 3
The fab academy archive is hosted in a private server in Git-Lab, to publesh my website, i had to setup git on my computer by creating a file specific only to the data that will be uploaded to the website, then i signed in to my account in gitlab. After that, I launched git bash, which provides a BASH emulation used to run Git from the command line.
The first thing we want to do is to set up the name and email by writing these commands:
1- git config --global user.name "Your User Name" git config --global user.email johnjr@example.com
2- git config --global core.editor "'C:/Windows/System32/notepad.exe' -multiInst -nosession"
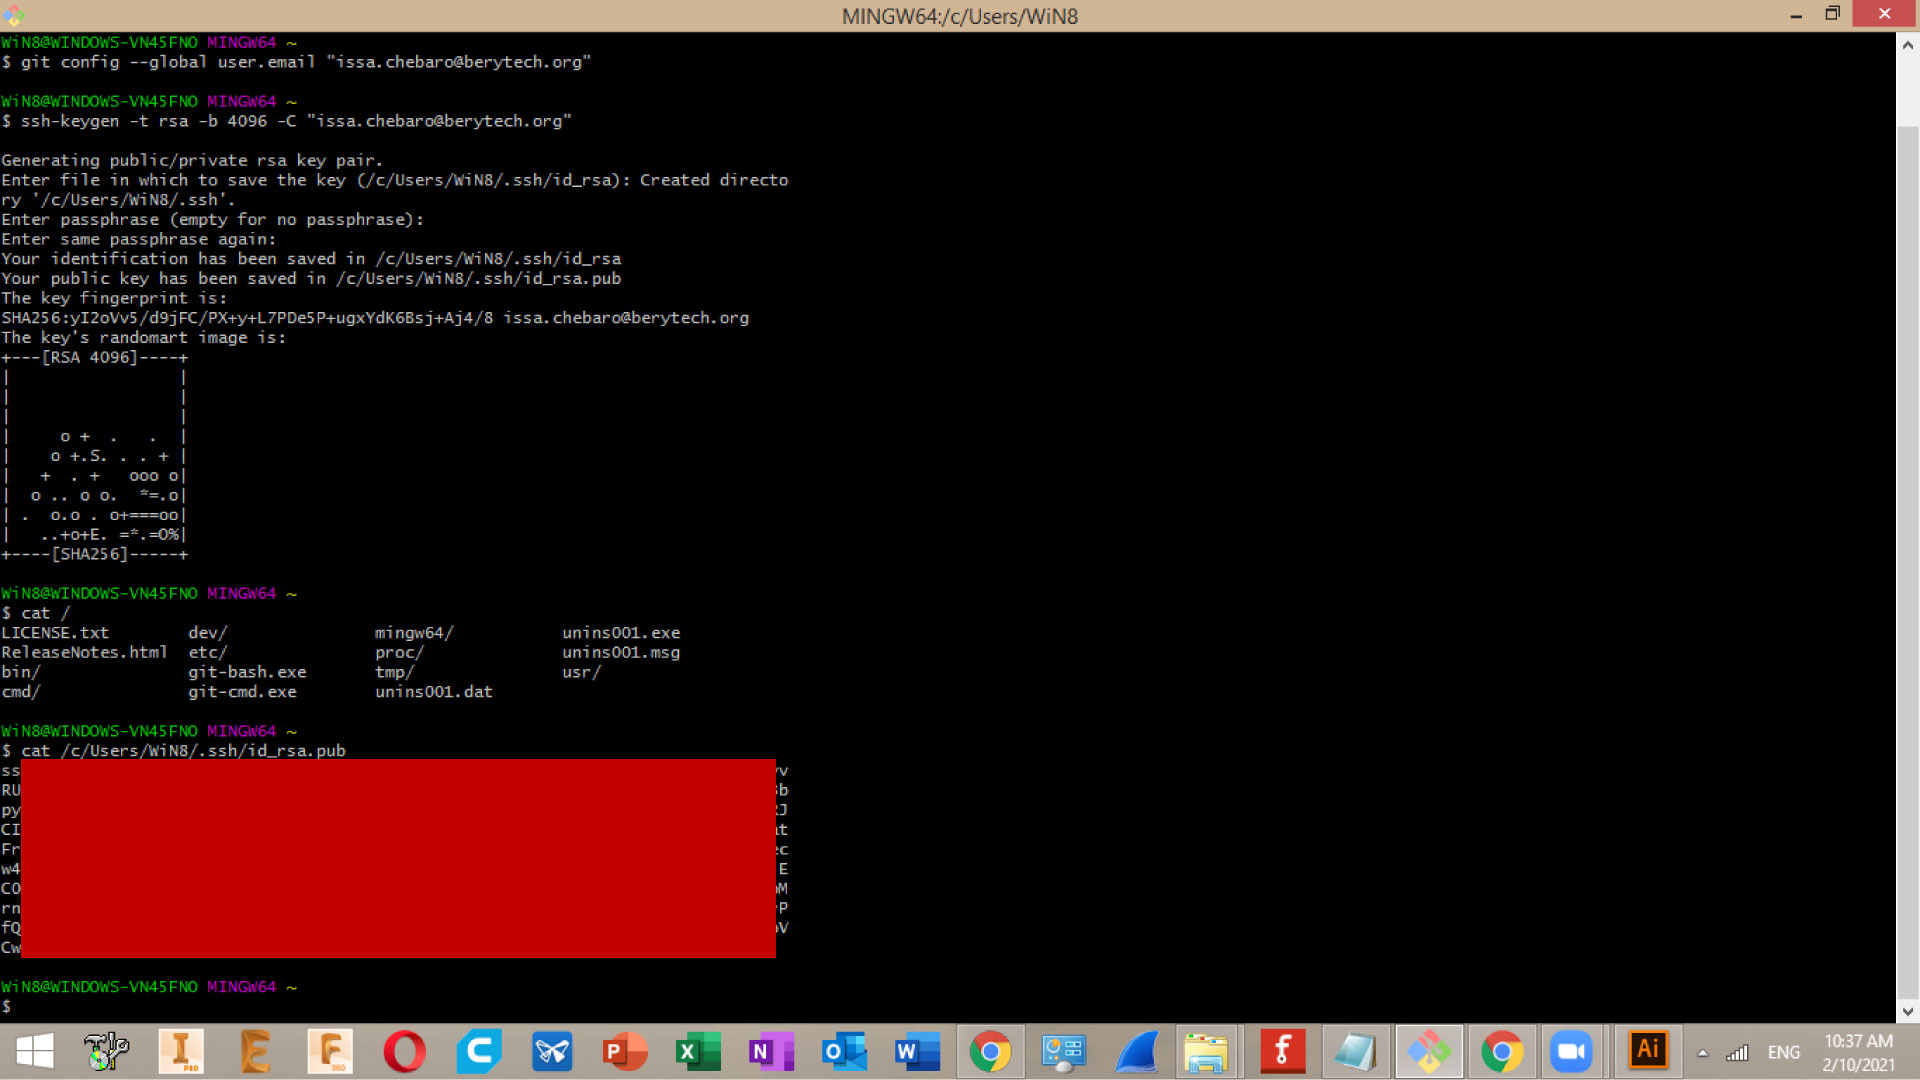
After that, I had to generate the SSH key that will be added later on gitlab:
ssh-keygen -t rsa -C "your_email" // used to generate the ssh key cat ~/.ssh/id_rsa.pub // used to copy the ssh key
Make sure not to share the key with anyone
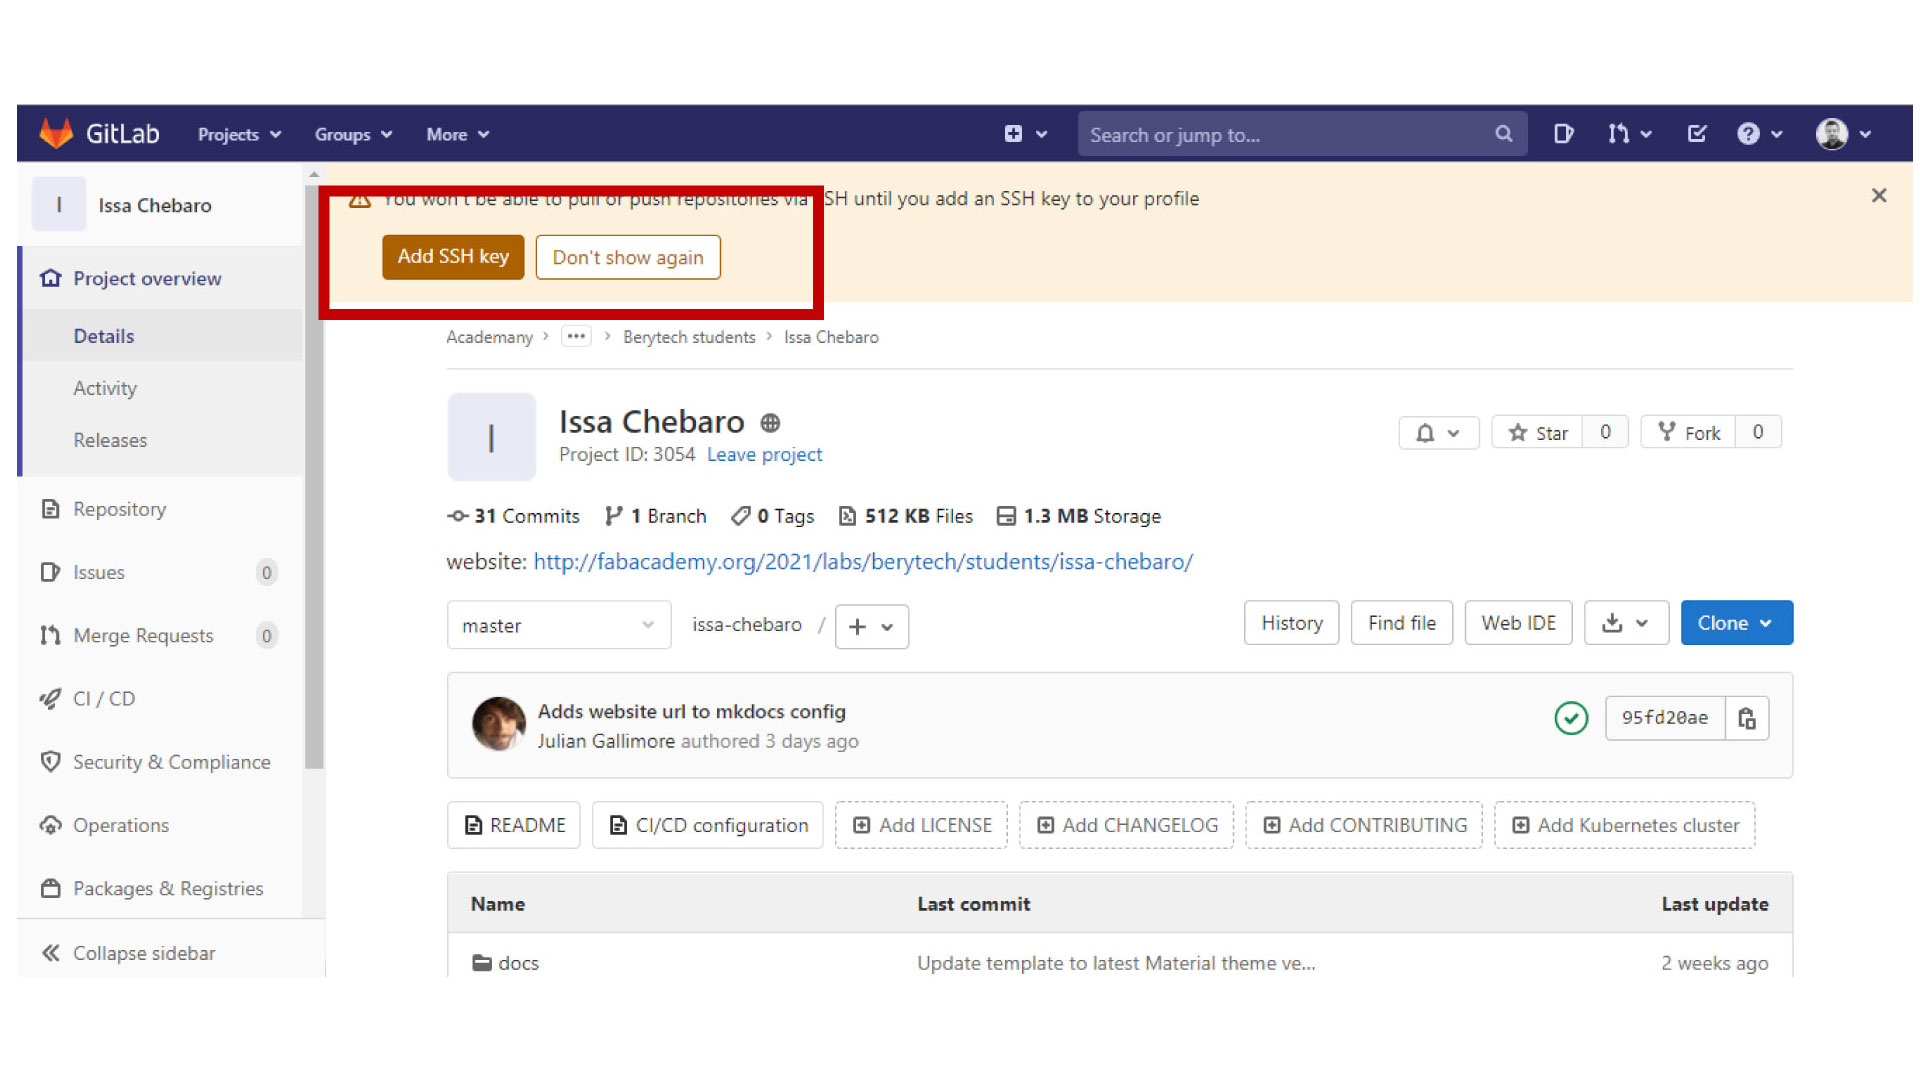
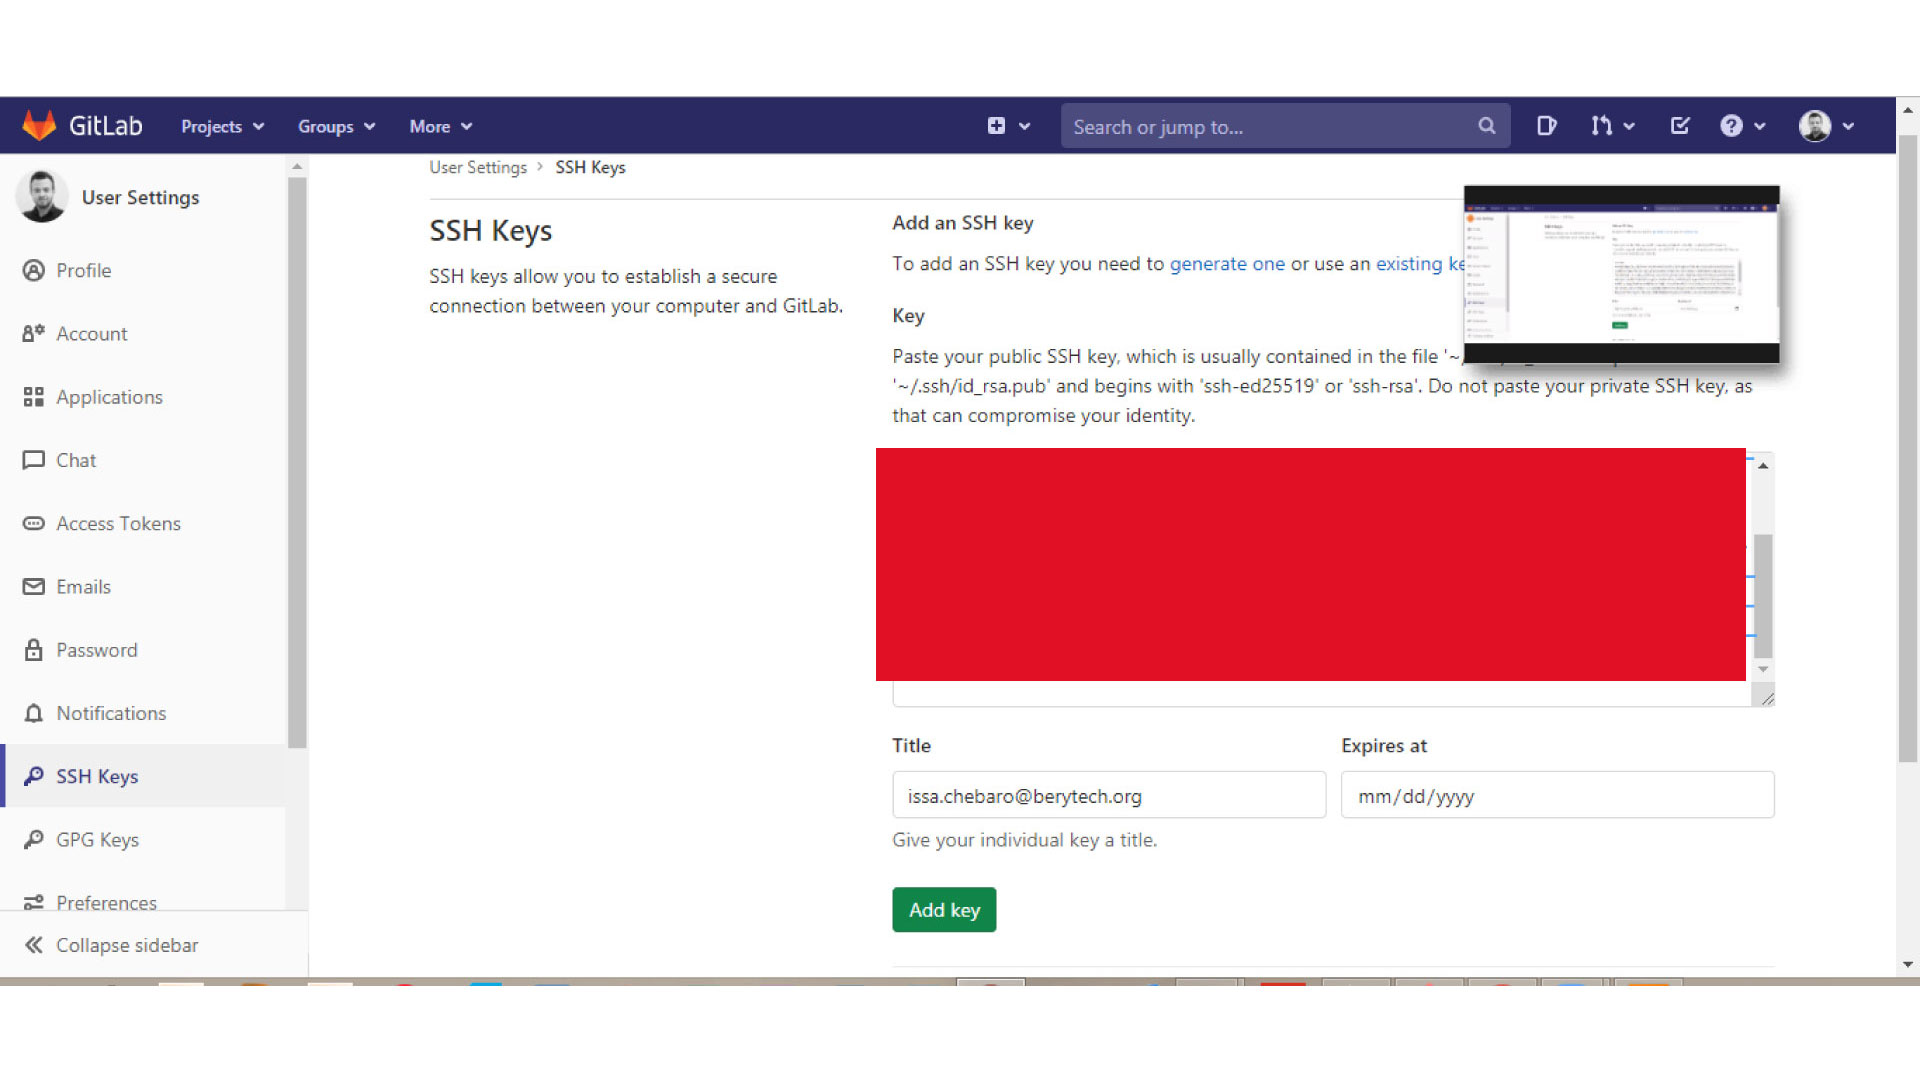
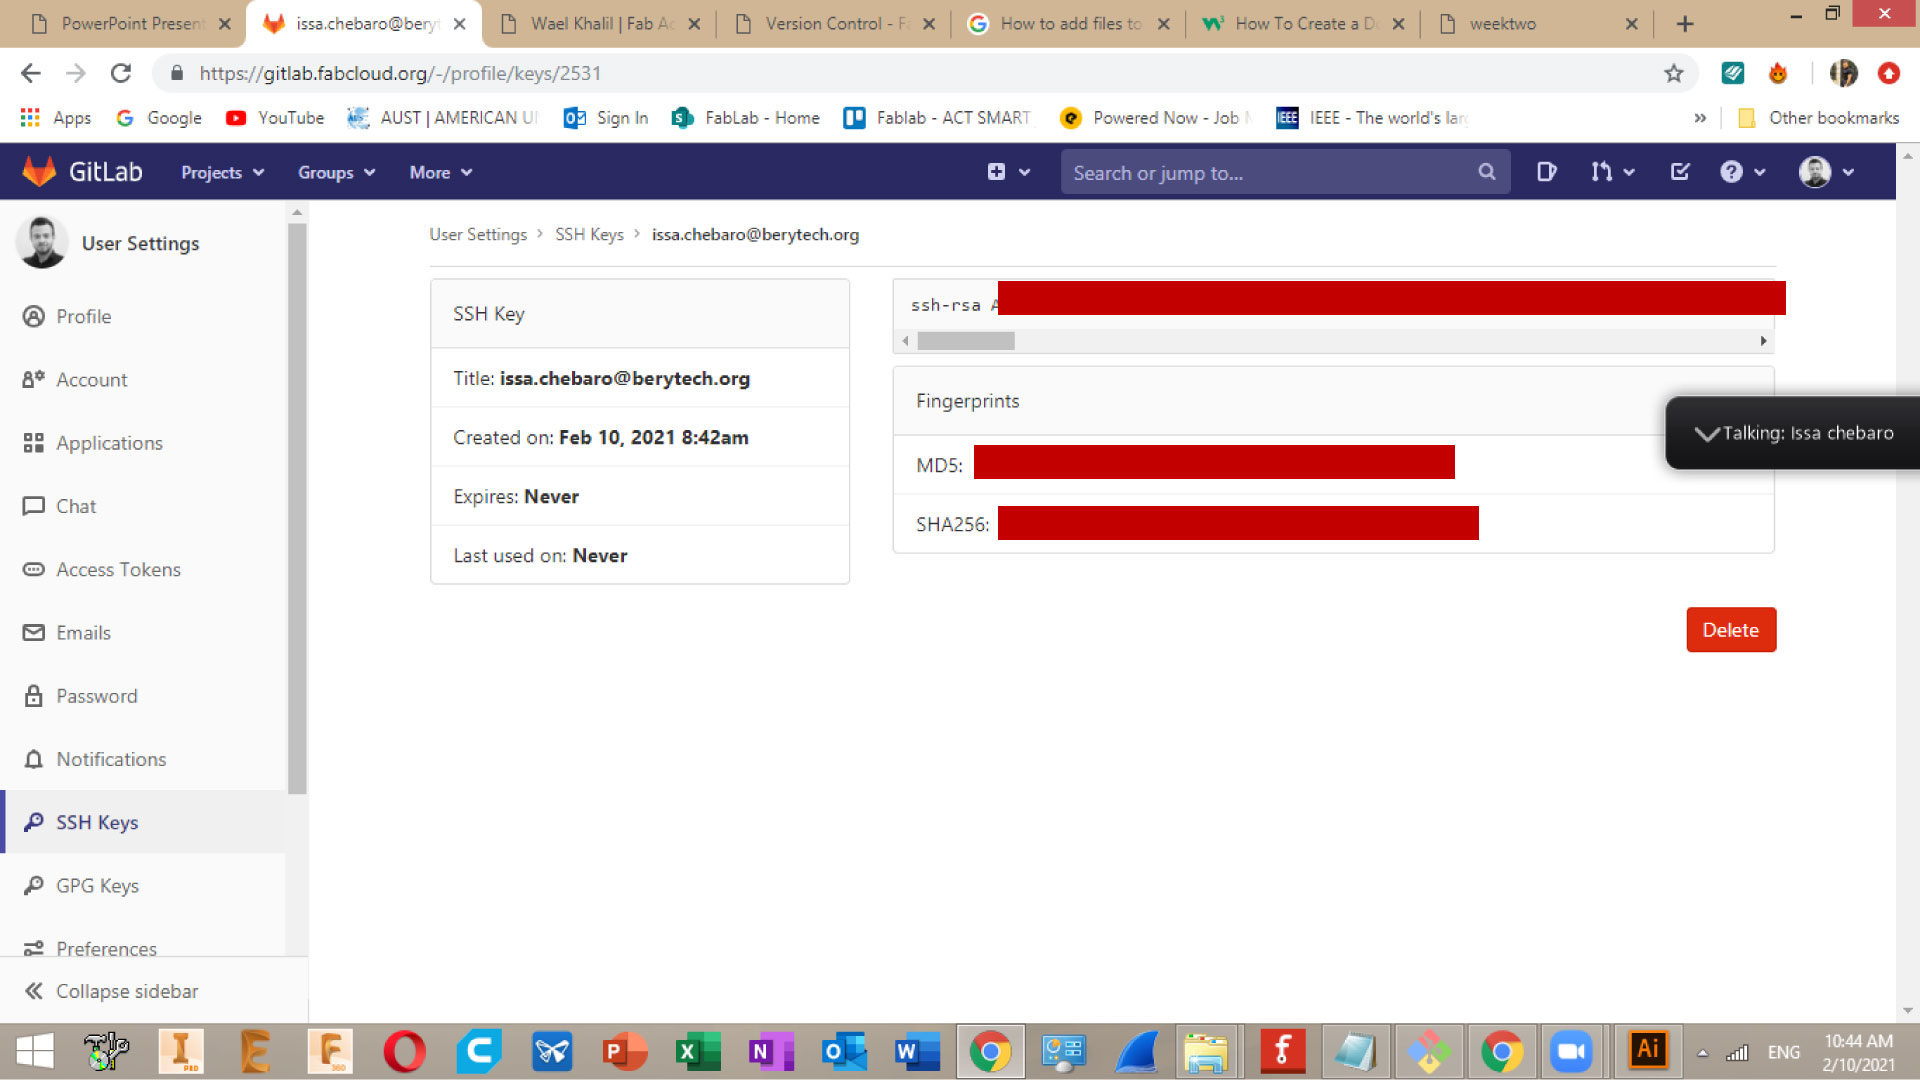
Then we need to copy that code, and add it to gitlab:
Before uploading our website, we need to pull the content before pushing to the repository, following these steps:
Git clone git@gitlab.fabcloud.org:academany/fabacademy/2021/labs/berytech/students/issa-chebaro.git
If we take this command apart, it consists of "Git clone" then "Git@ LINK OF YOUR GITLAB WITHOUT HTTPS", and inside the link we change the "/" after fabcloud.org to ":", and at the end of the link we add ".git"
after that, if we access our local folder using these comands: Cd FolderName, we can see that it says "Master"
after that, we type git add *, which is used to register all new files in the index repository to be commited
then Git commit -m "First commit", used to hand over file to your local repository and commit a change. You can call your commits whatever you like, I used numbers to keep on track.
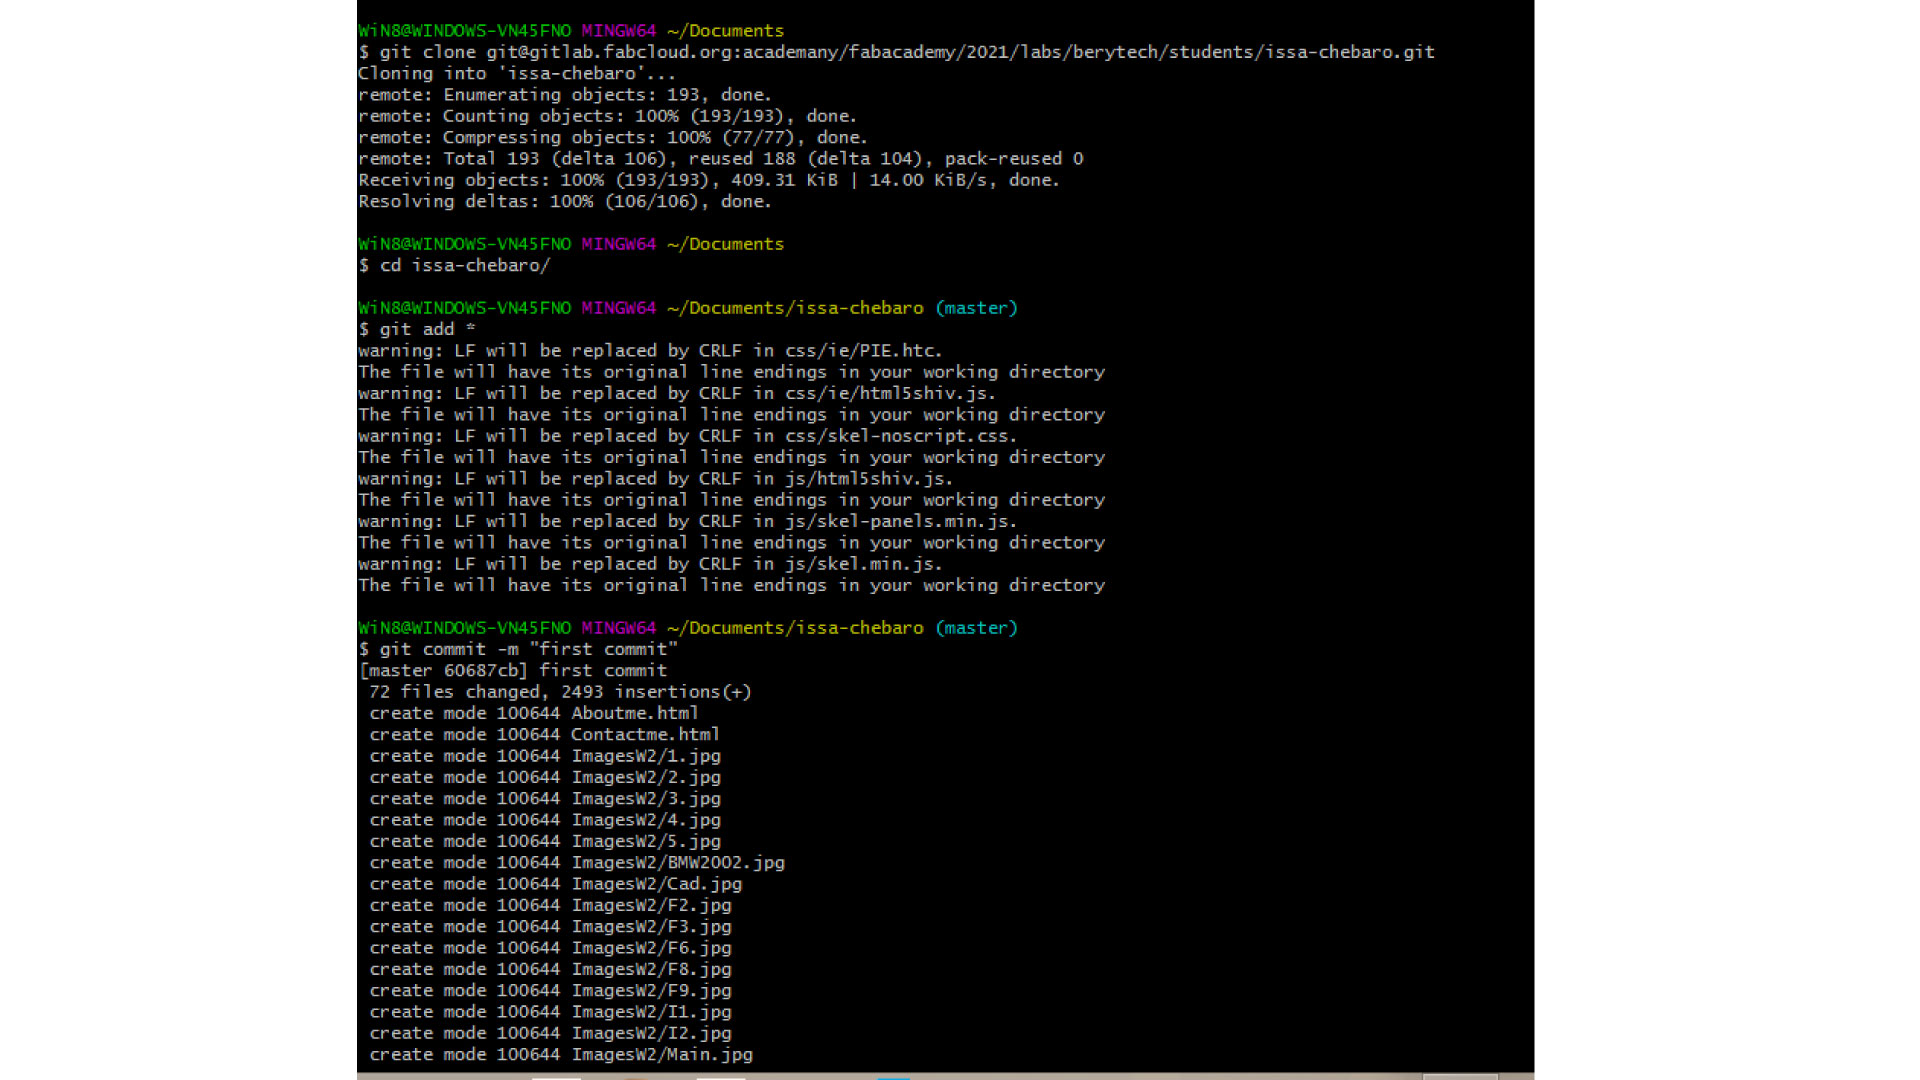
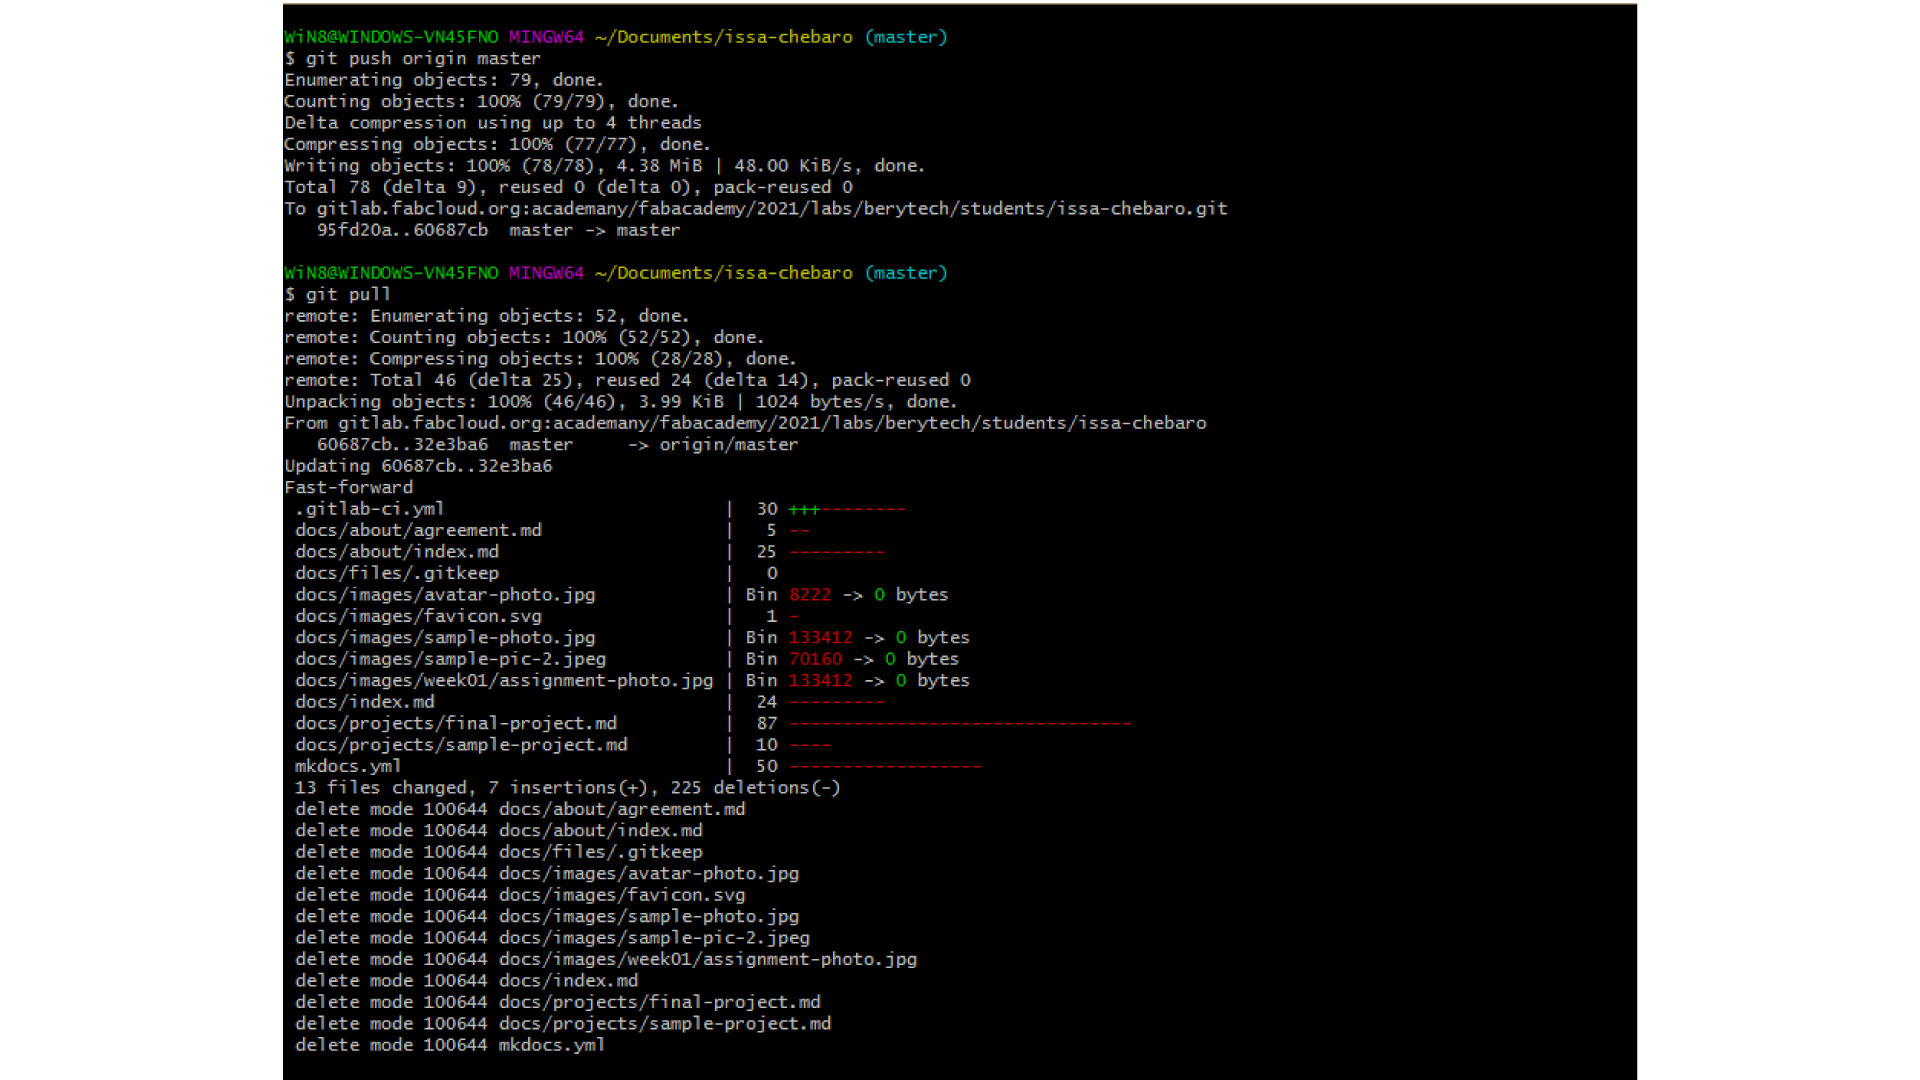
After that, we hand our files to the repository: git push origin master
I had to delete the old YML file on Gitlab and replace it with a new one in order to upload my website.
To do so, first, create new file on GITlab, from the template option, choose ".gitlab-ci.yml" from the drop down menu. press on "Apply a template" dropdown menu, then choose "HTML". Then, add a comment in the "Commit message" window. finally, press the "Commit changes" button.
Then, we pull our files to our local repository on pc: git pull origin master
>In conclusion, if I would do the whole process all over again, I would start from scratch instead of using a template, but of course templates can be referred to.
Another thing I did, I created folders for videos, files, and images. I did that to organize my data and to make linking the files easier. I could have made weekly folders for images or videos, but I placed them in a single folder, and named the images starting with the number of the week instead.
