16. Molding and Casting
Group Assignment:
- Review the safety data sheets for each of your molding and casting materials, then make and compare test casts with each of them
Individual Assignment:
- Design a mold around the stock and tooling that you’ll be using, mill it (rough cut + (at least) three-axis finish cut), and use it to cast parts
For this week, I wanted to create a grip for my wand using a hard cast.
Design
First, I created a rippled sketch for the grip and revolve the sketch to create the rounded shape.

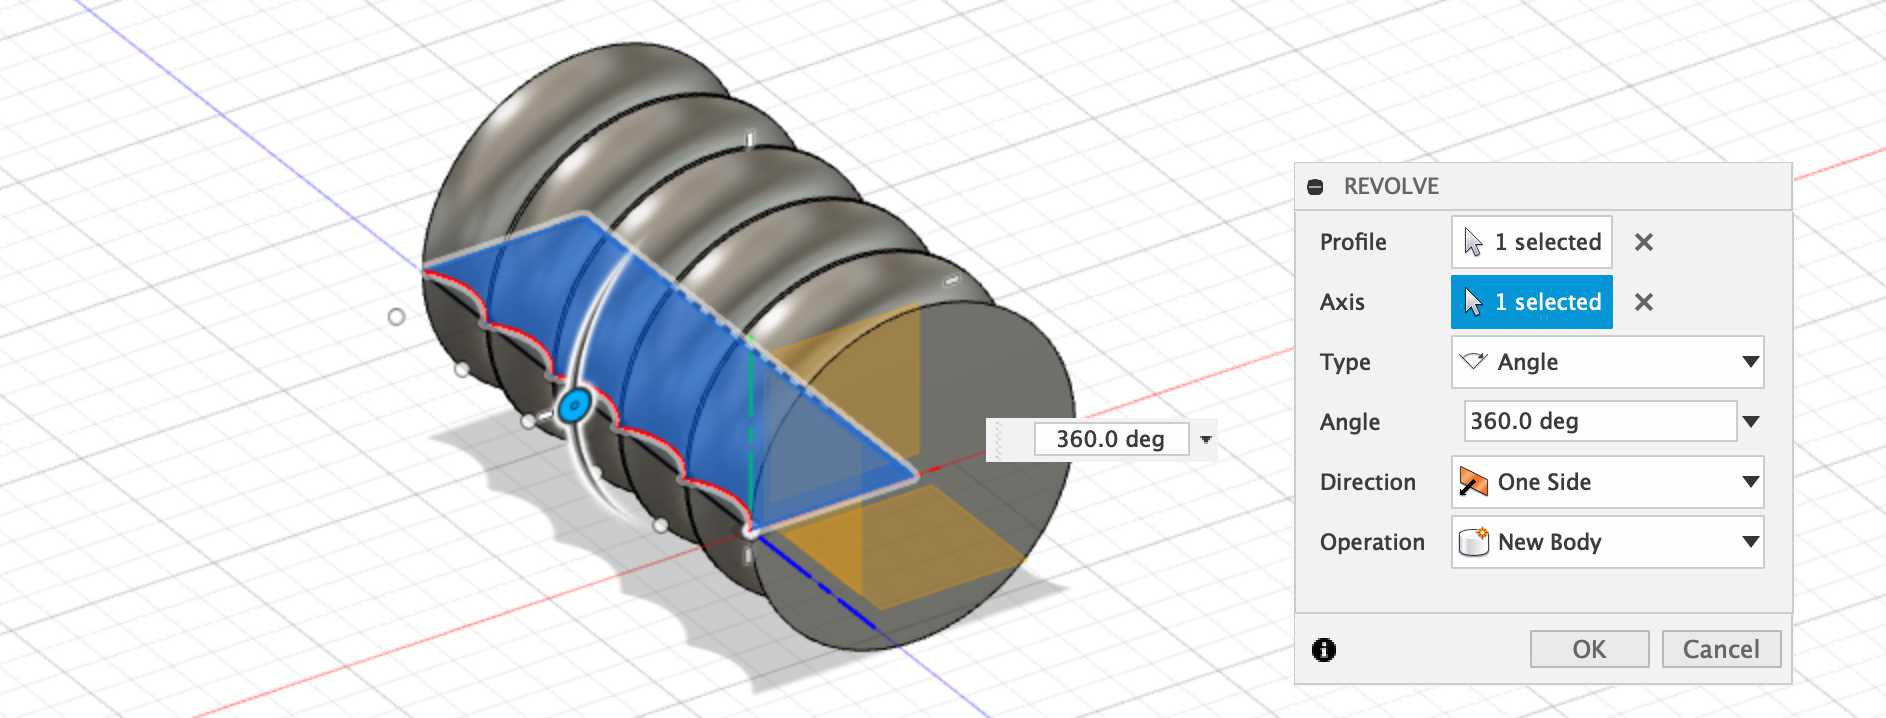
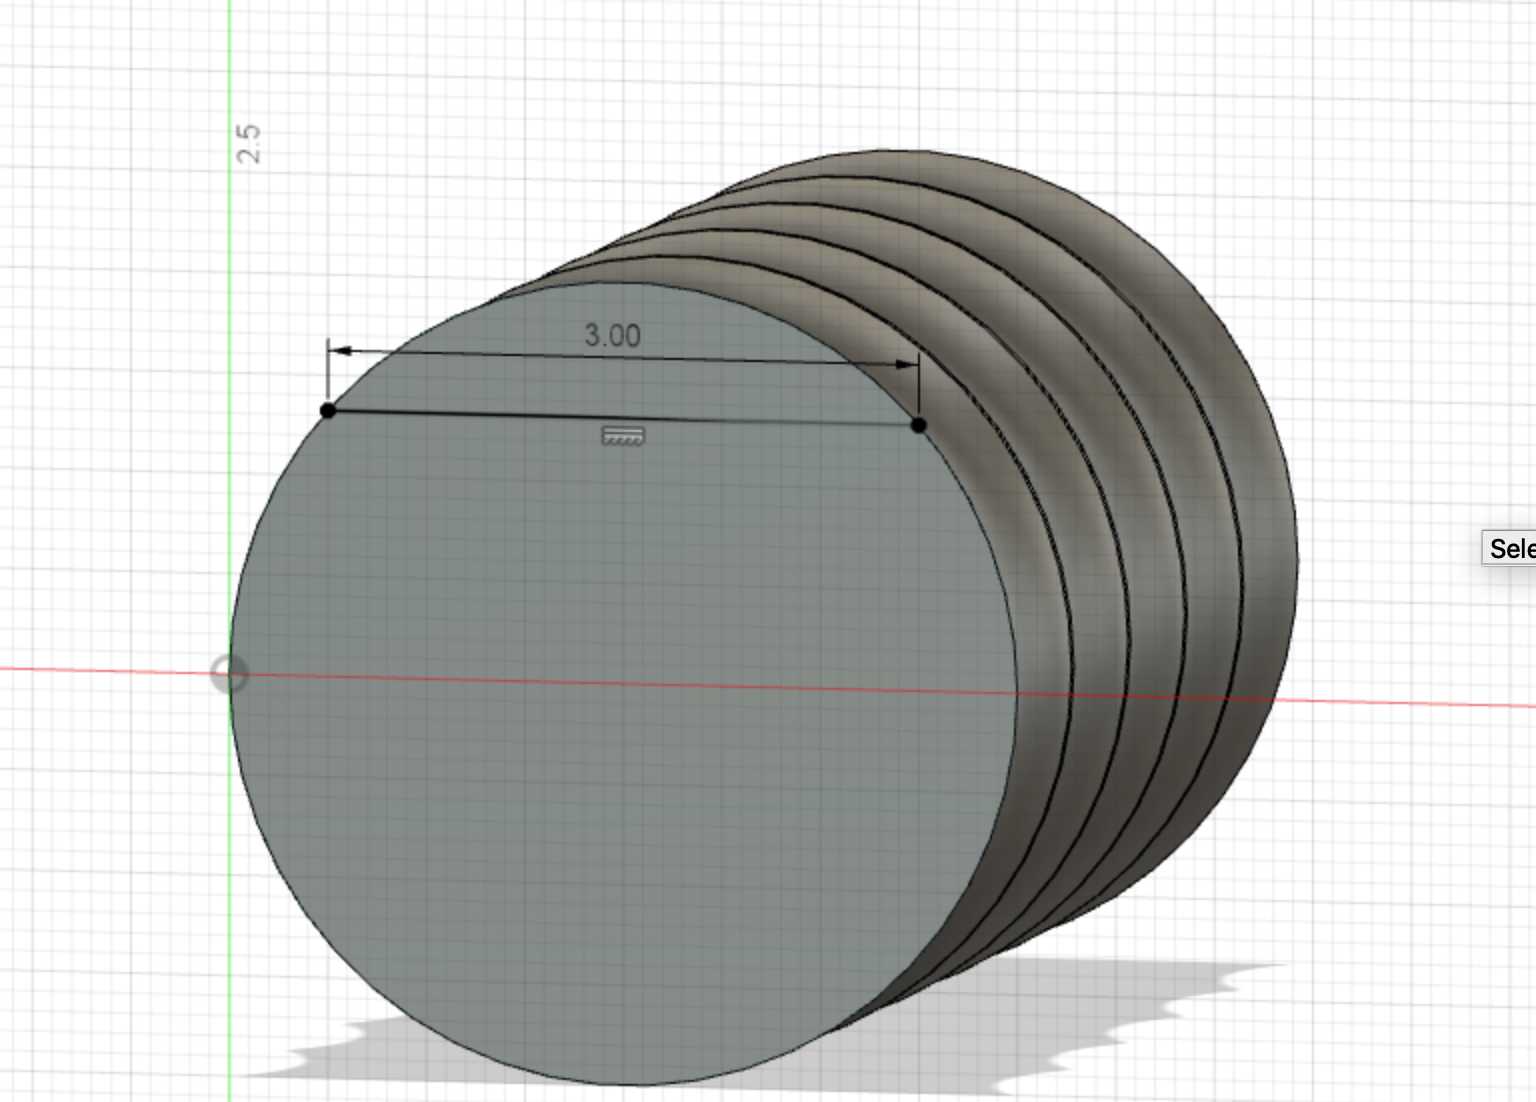
Then, I placed a 3 cm wide chord on the side of the body and extruded away the rest of the body to create a piece of the grip that could attach to the recentagular sides of my wand body.
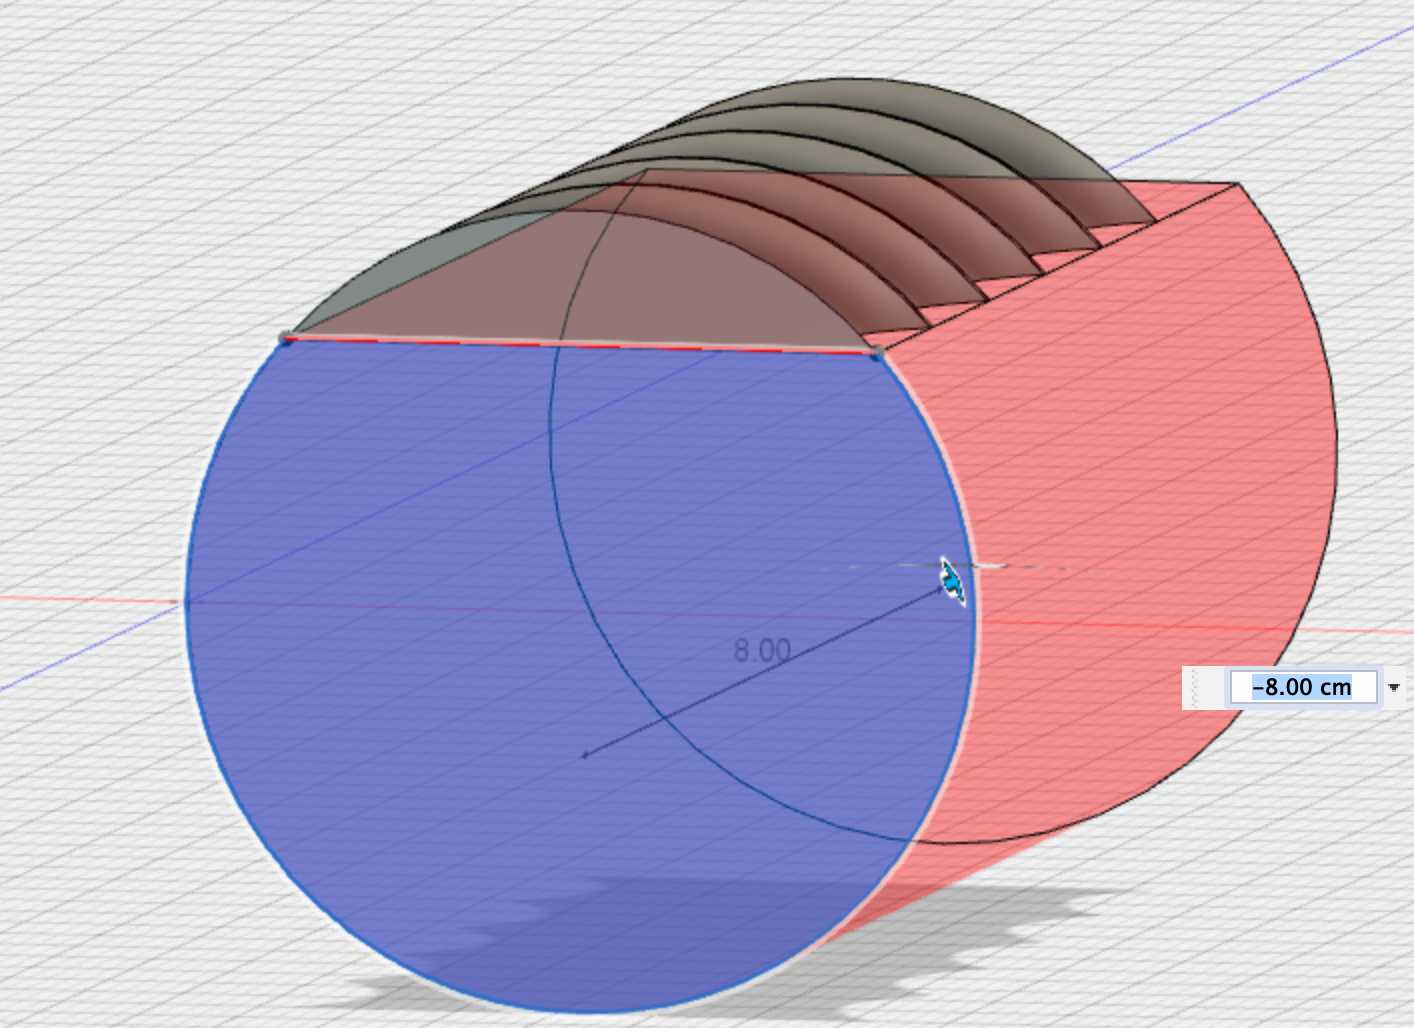
Next, I created a shell to house the mold and I used the move tool to move the positive shape to bottom of the shell.
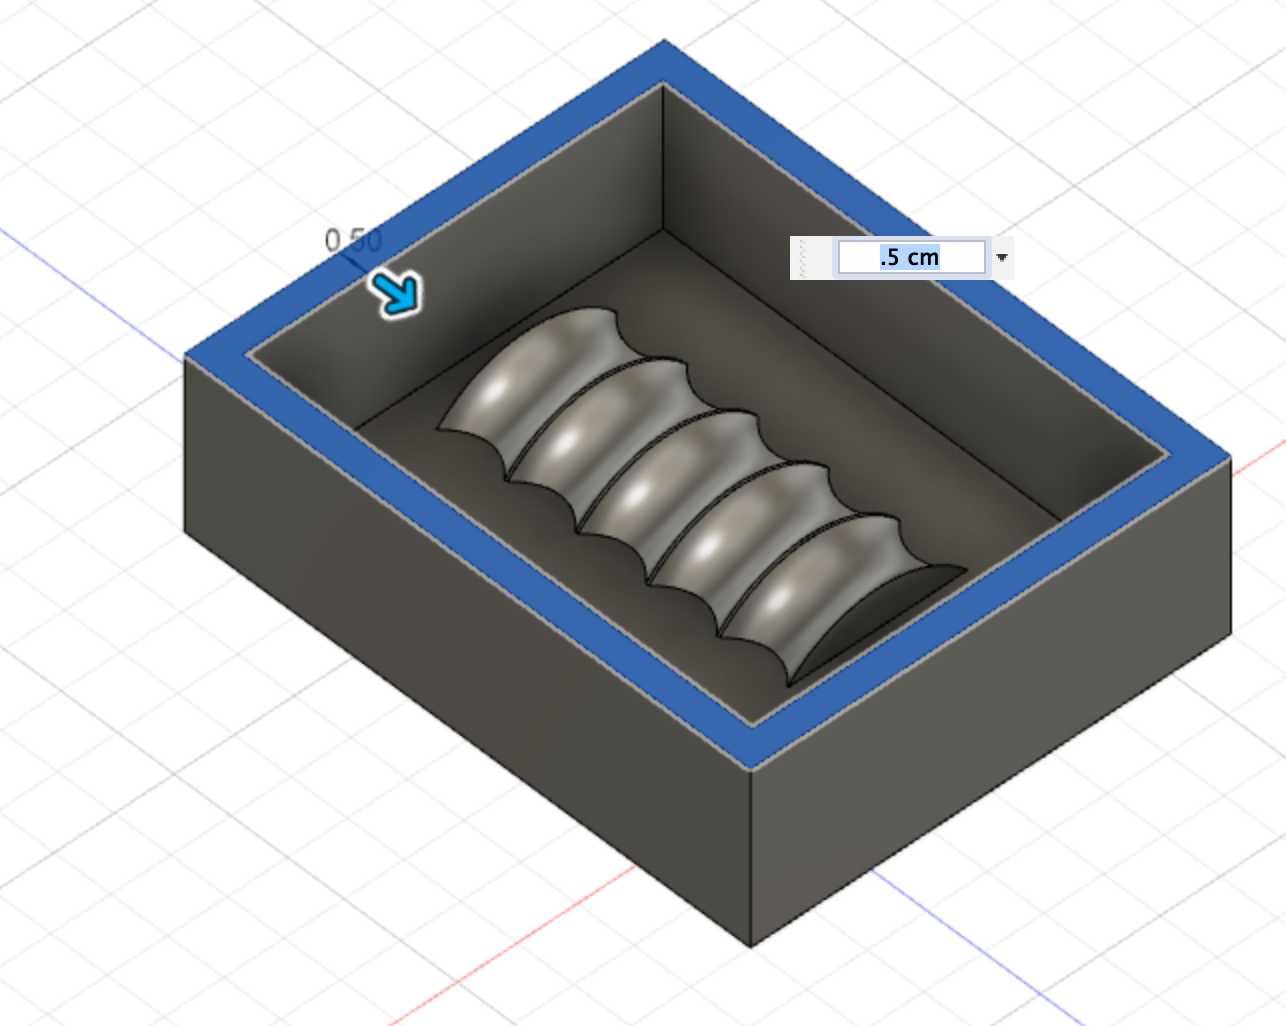
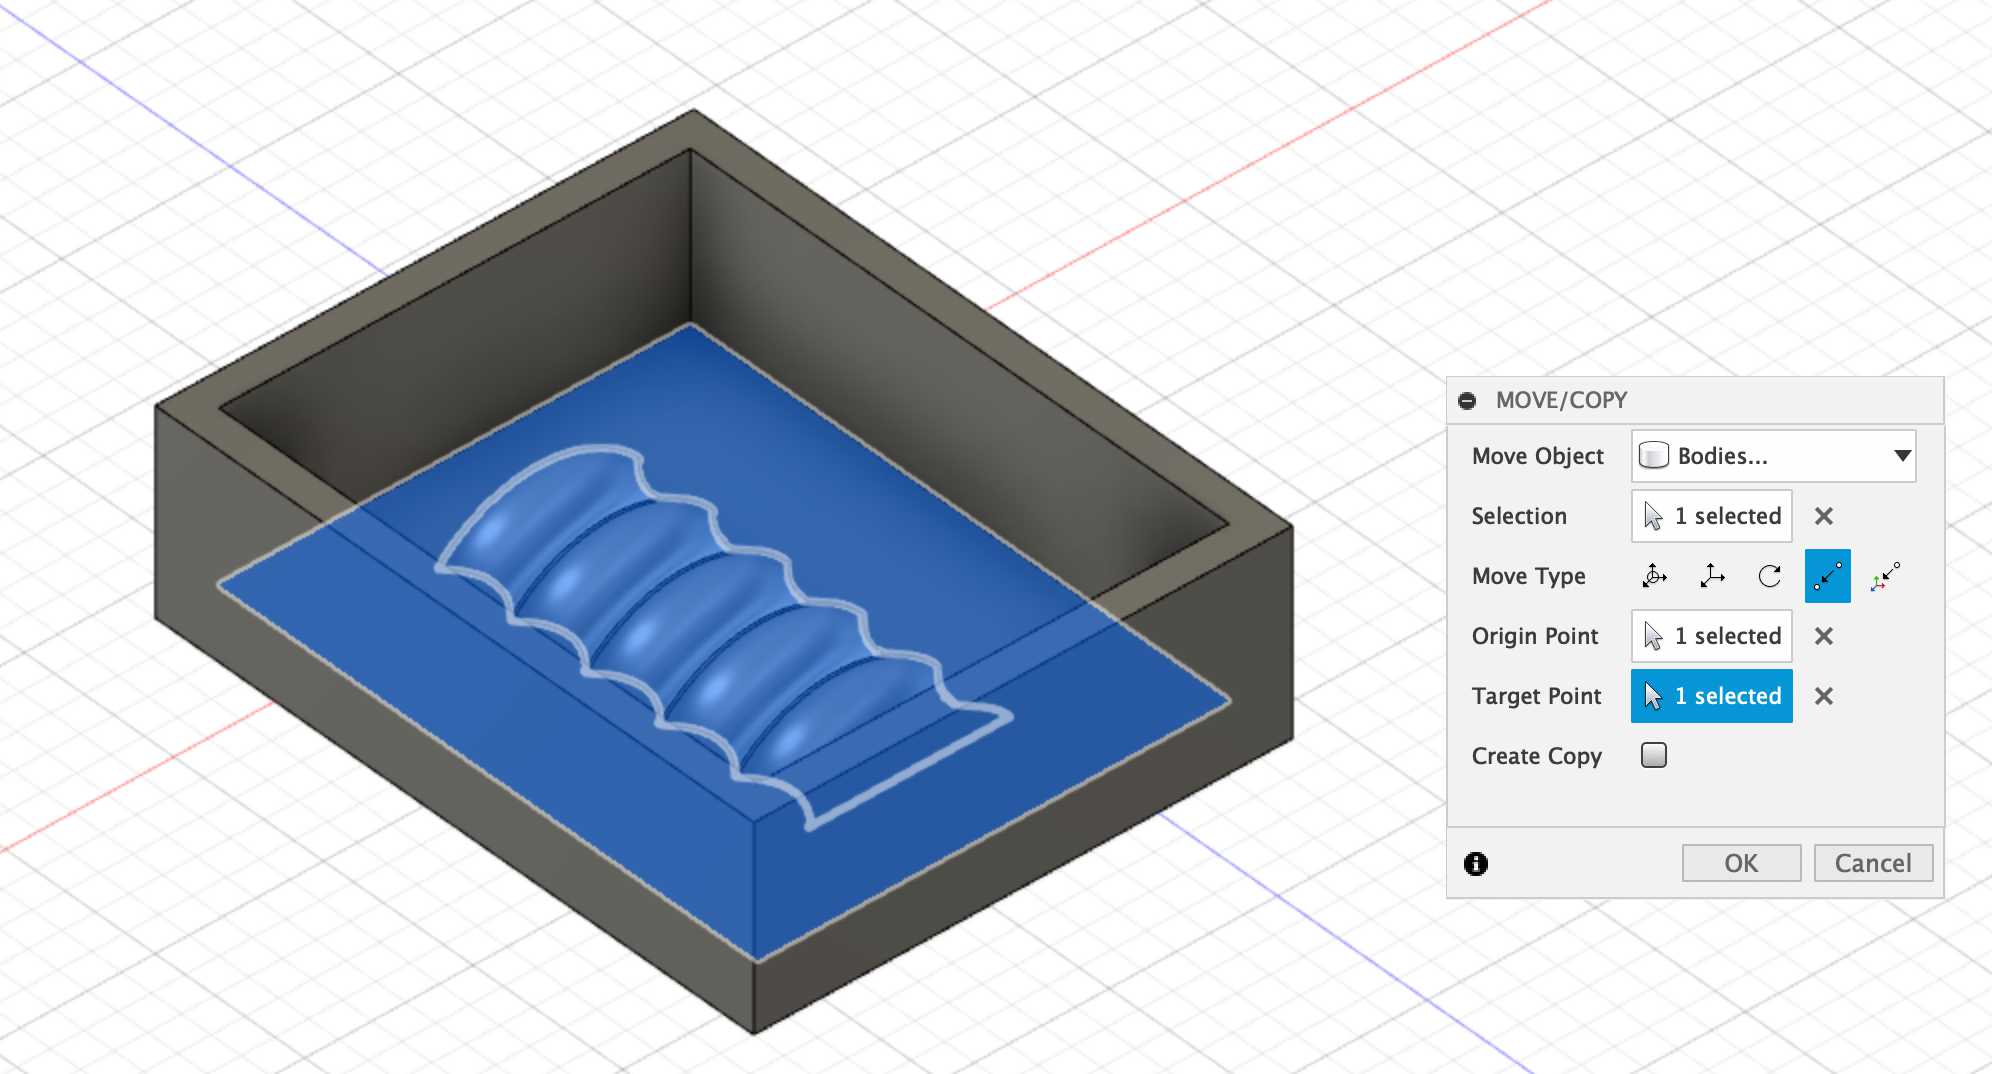
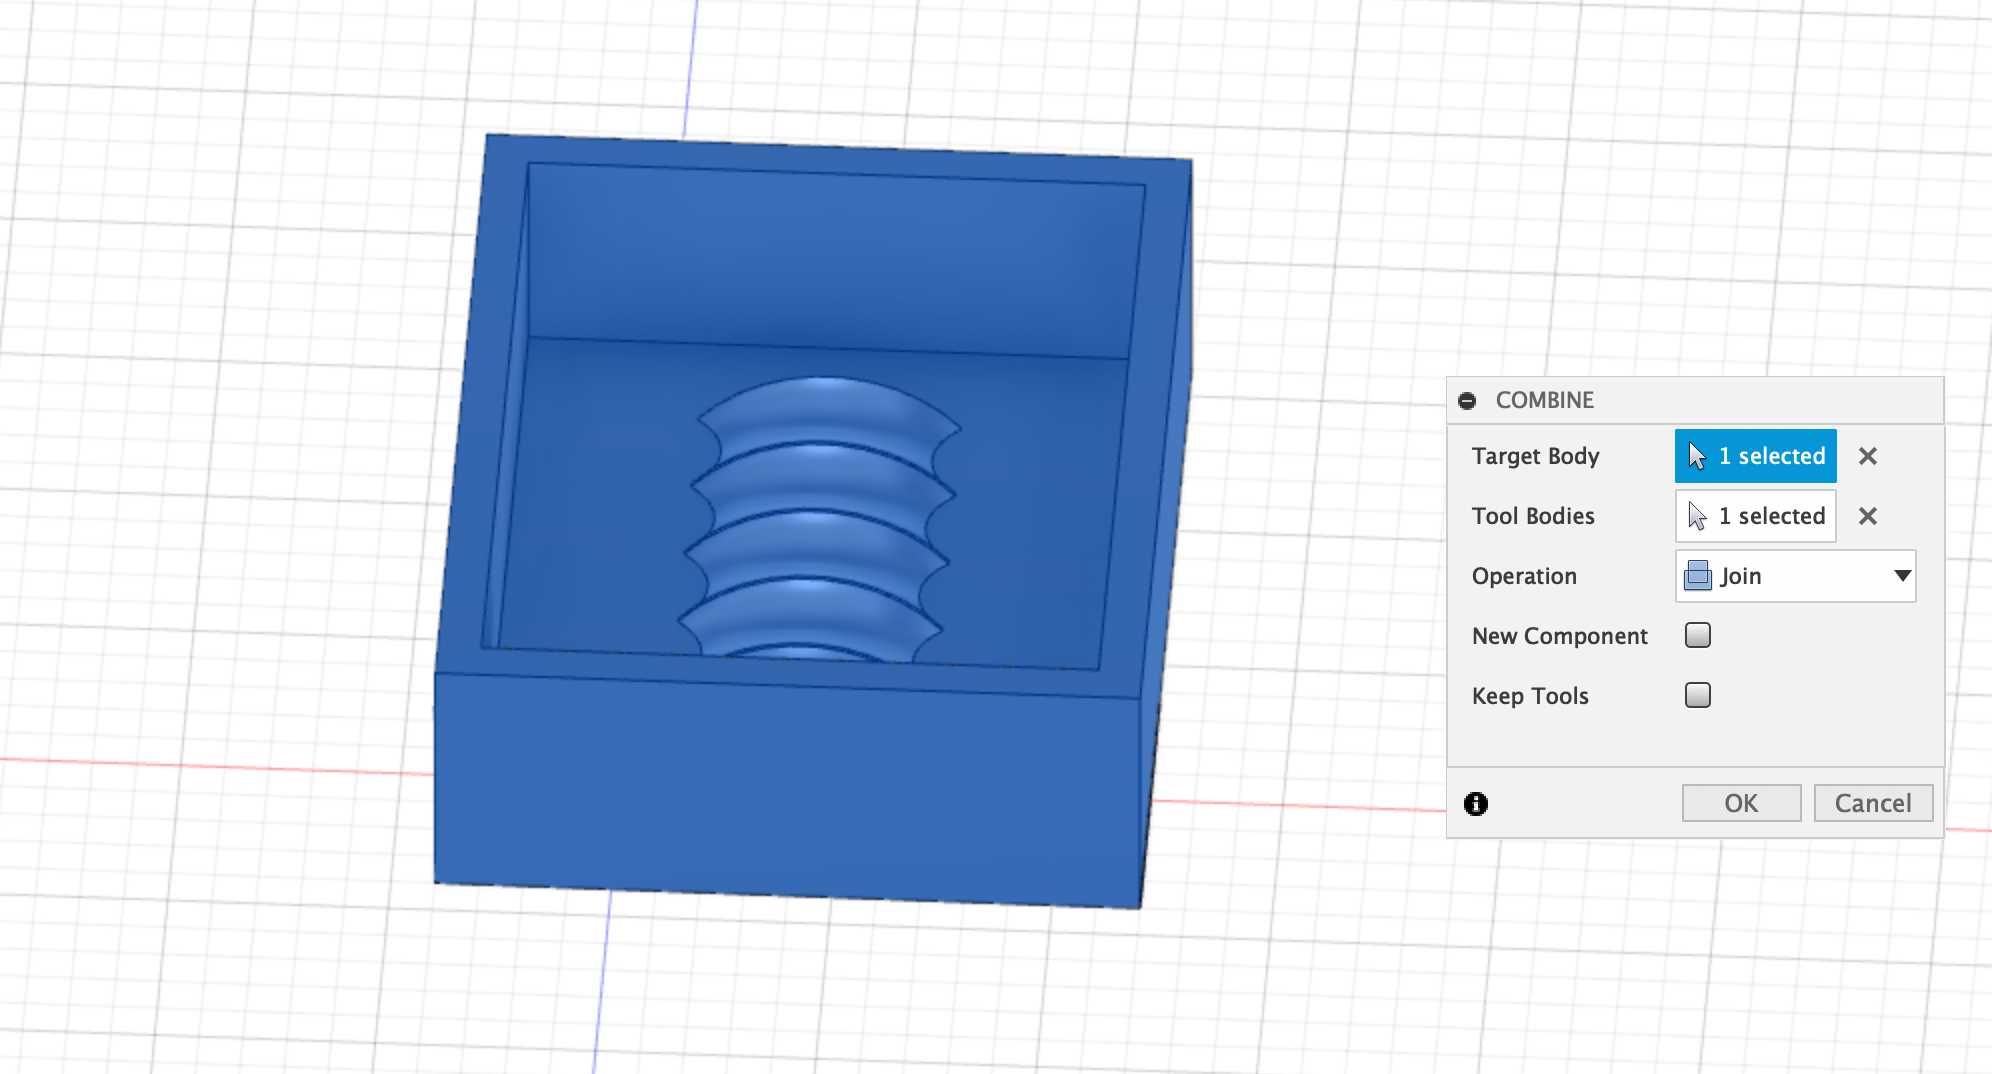
Finally, I joined the bodies together.
CAM
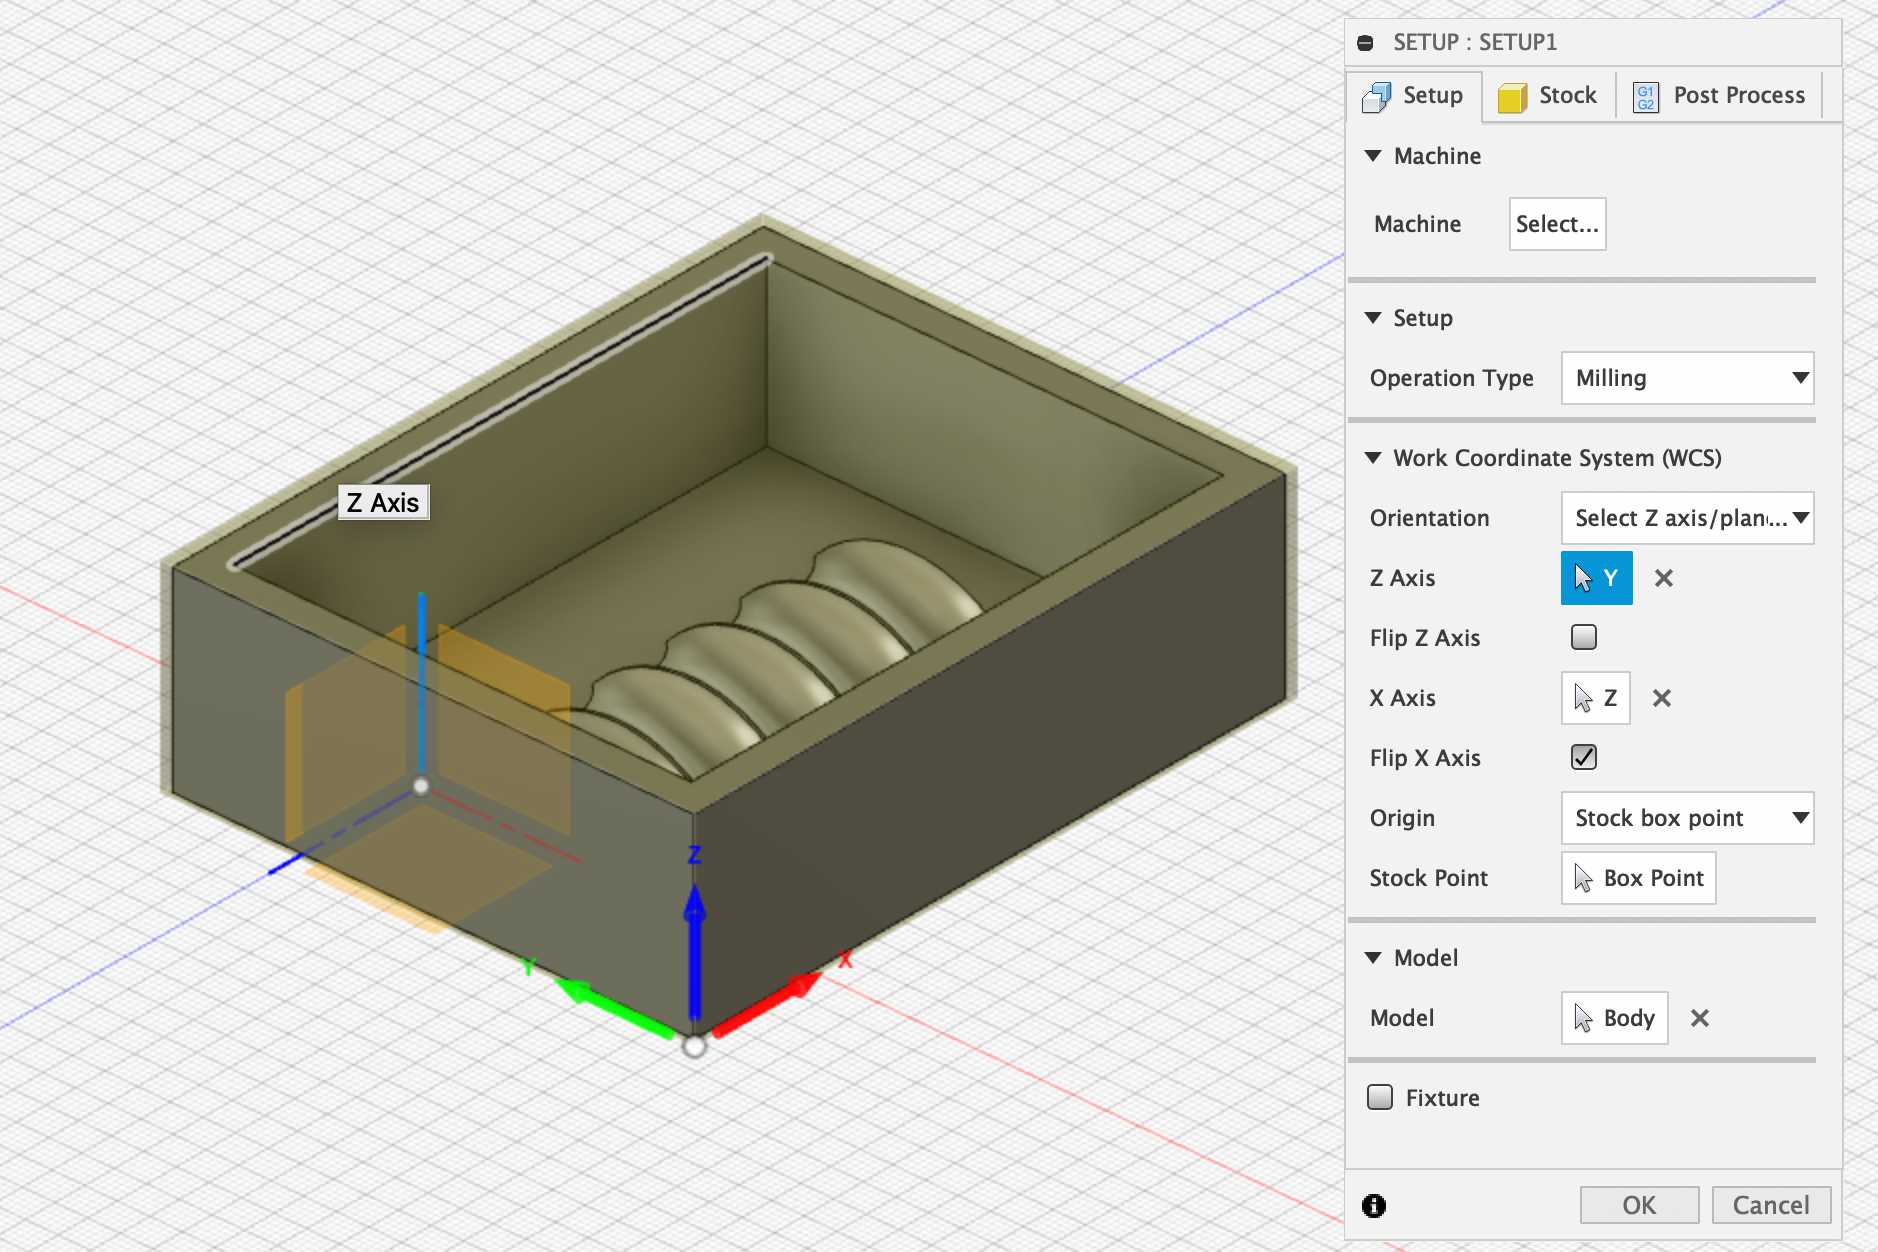
I had used the CAM component of Fusion 360 before so I had a slight idea of the CAM workflow. I began by creating a setup and positioning the origin of the setup to the bottom right-hand corner of the model.
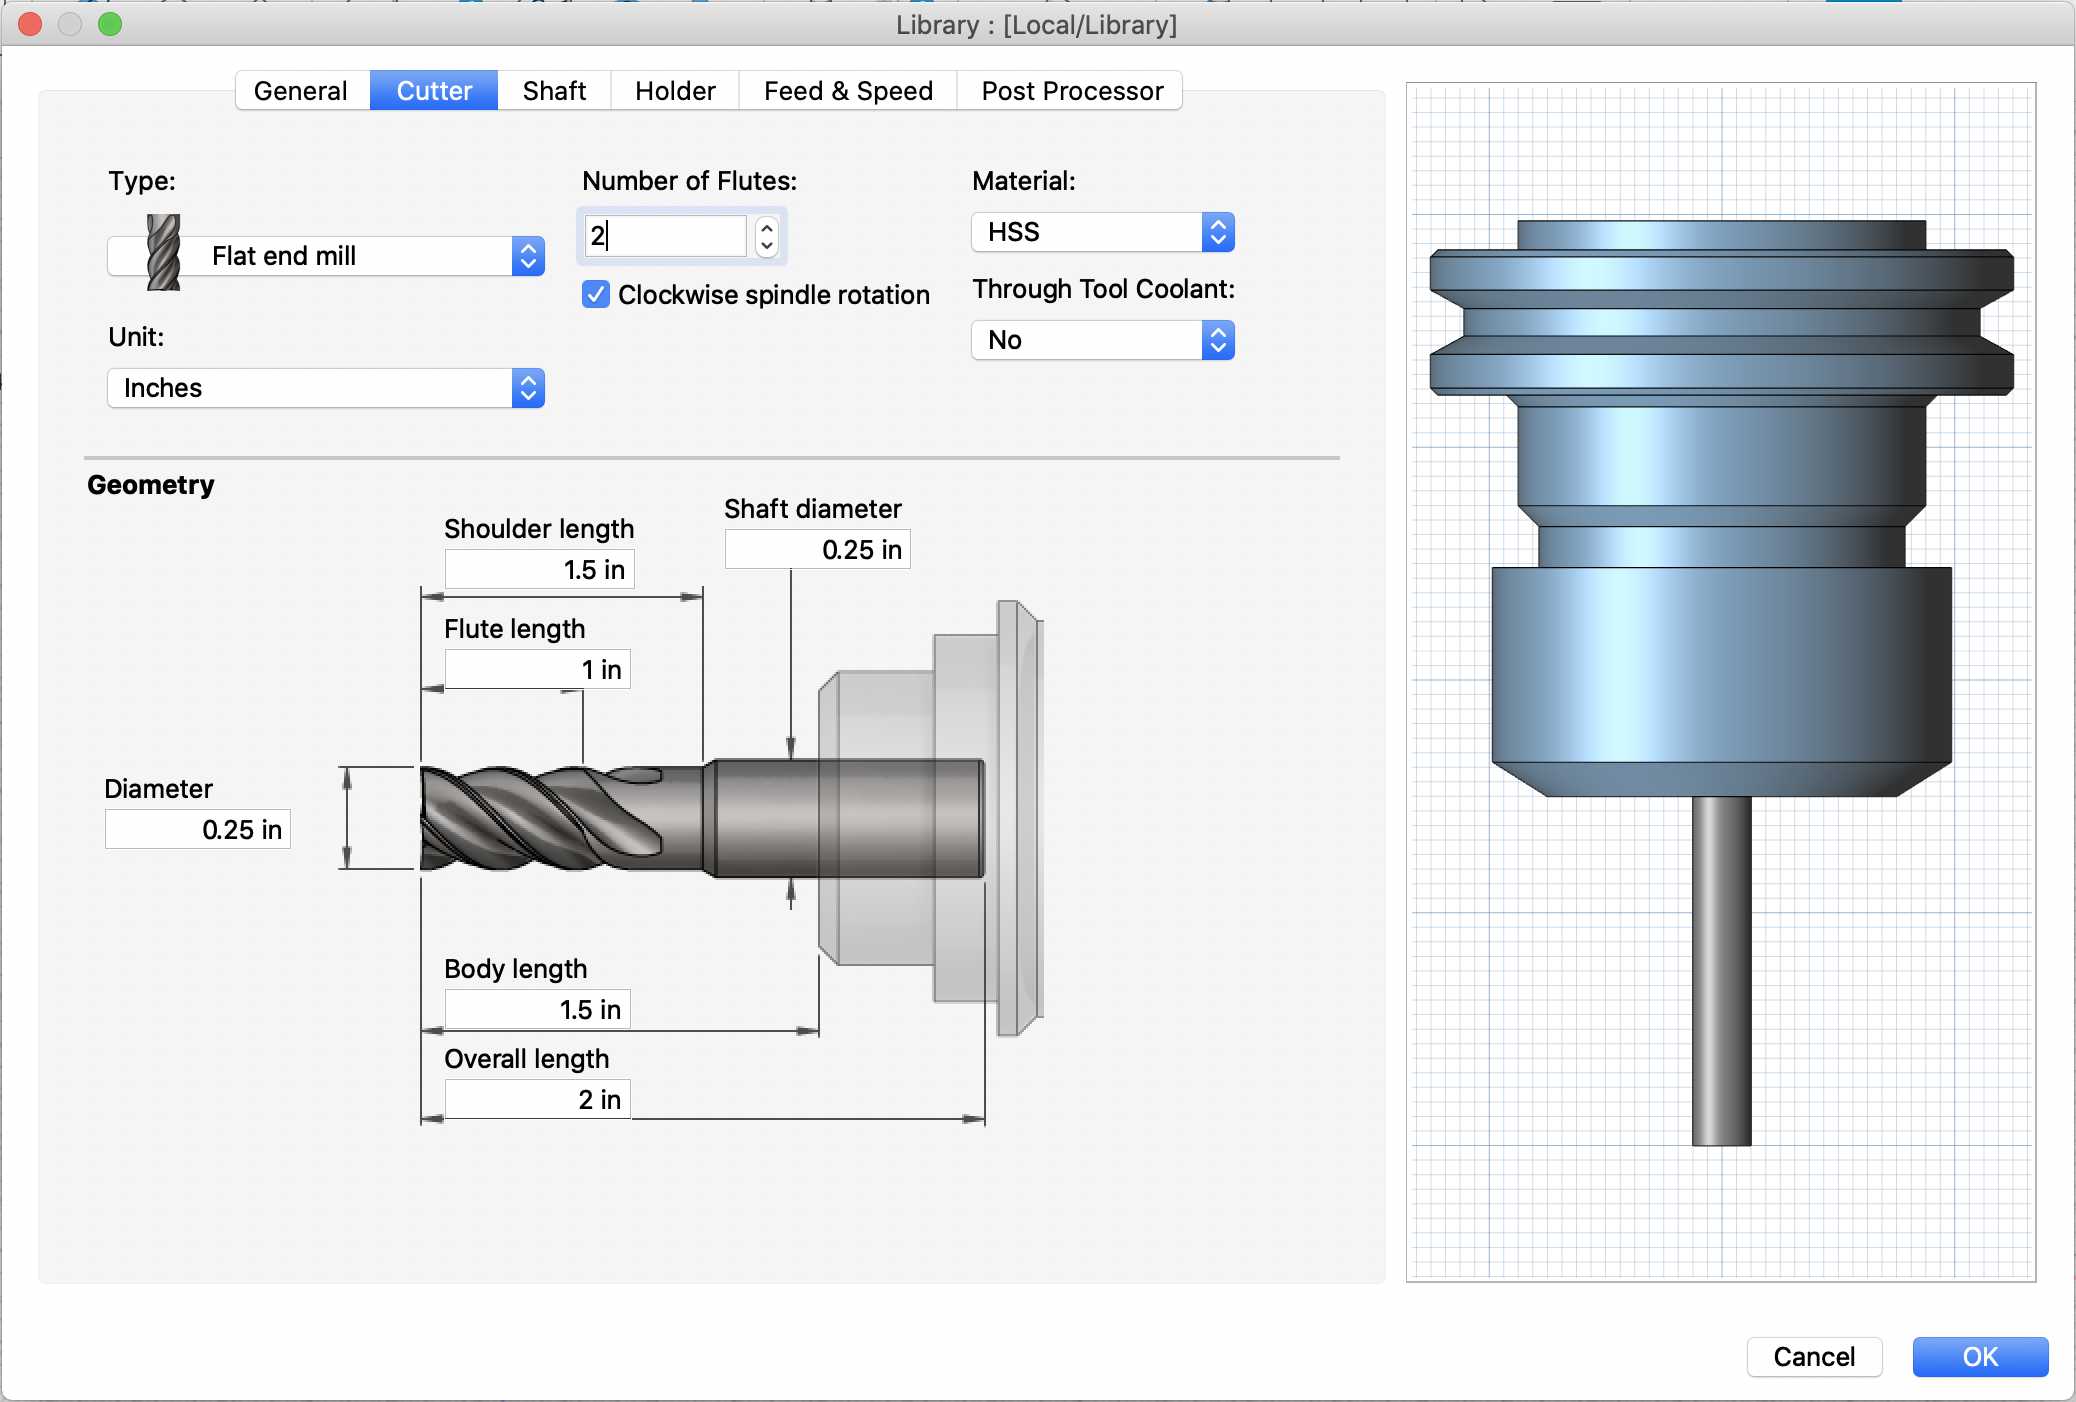
However, I didn’t have any clue about the bits that I could use due to the coronavirus quarantine policies, so I used the bits that William Knight used during this week.
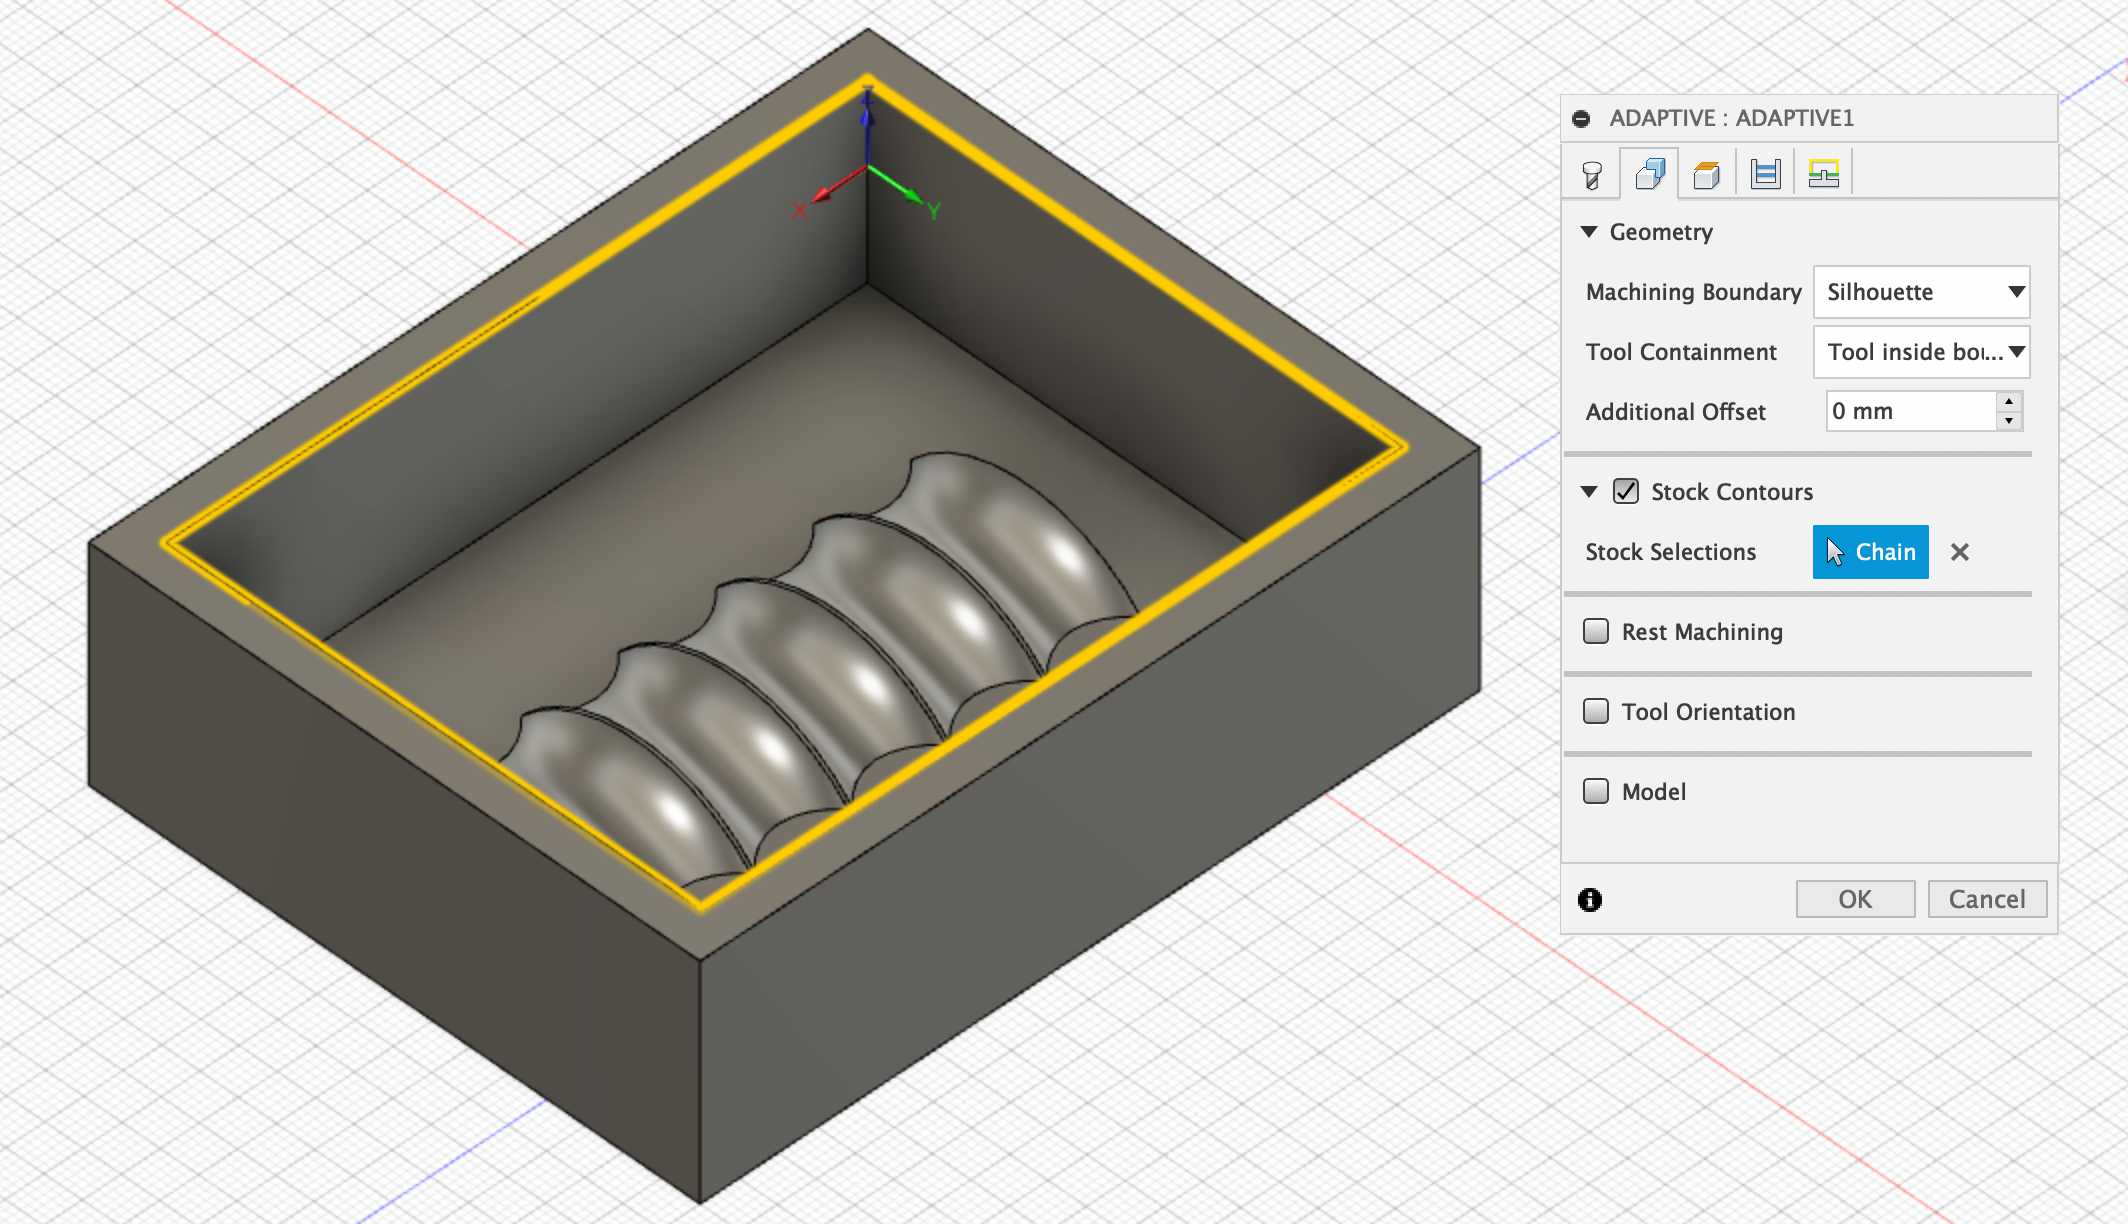
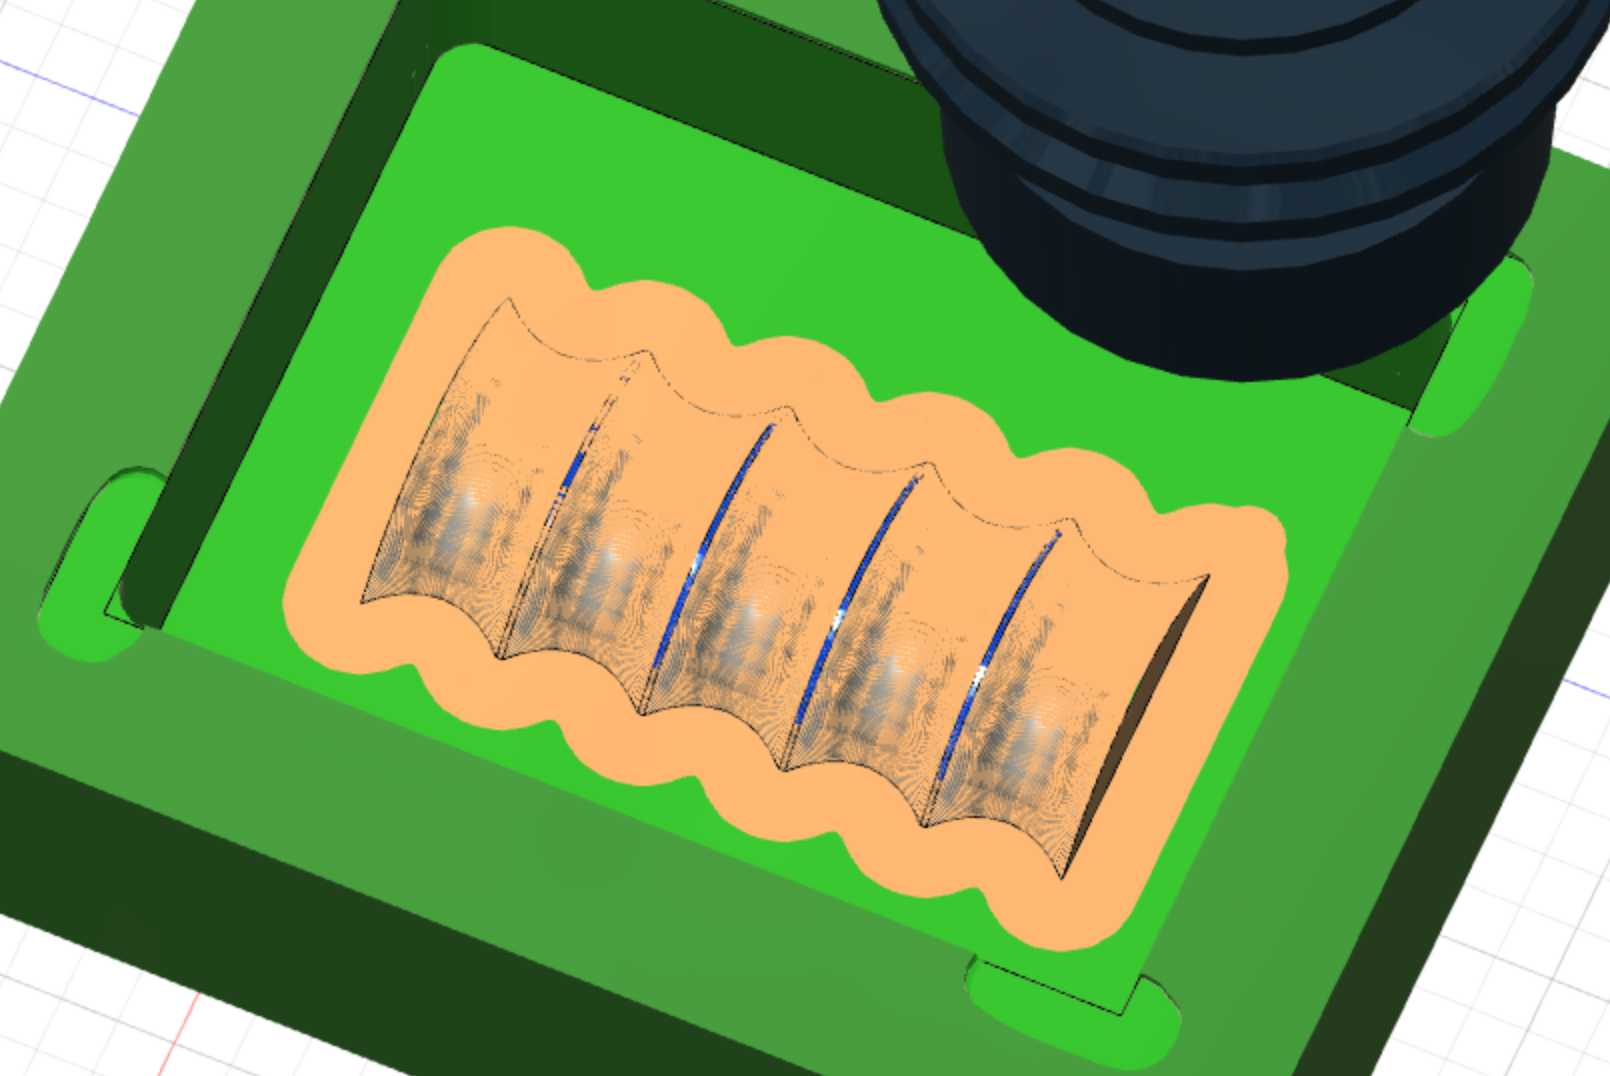
To remove the majority of the stock material, I used “Adaptive Clearing” and unselected the “Stock to leave” option since the previous simulations revealed that the option left unwanted stock material. The simulation revealed a blocky but defined positive shape in the center.
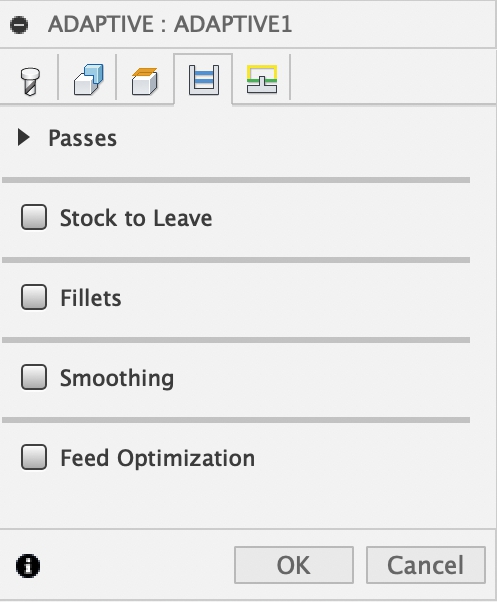
Next, I addressed the issue of finer details. I used “Parallel” to smooth the ridges in between the recesses.
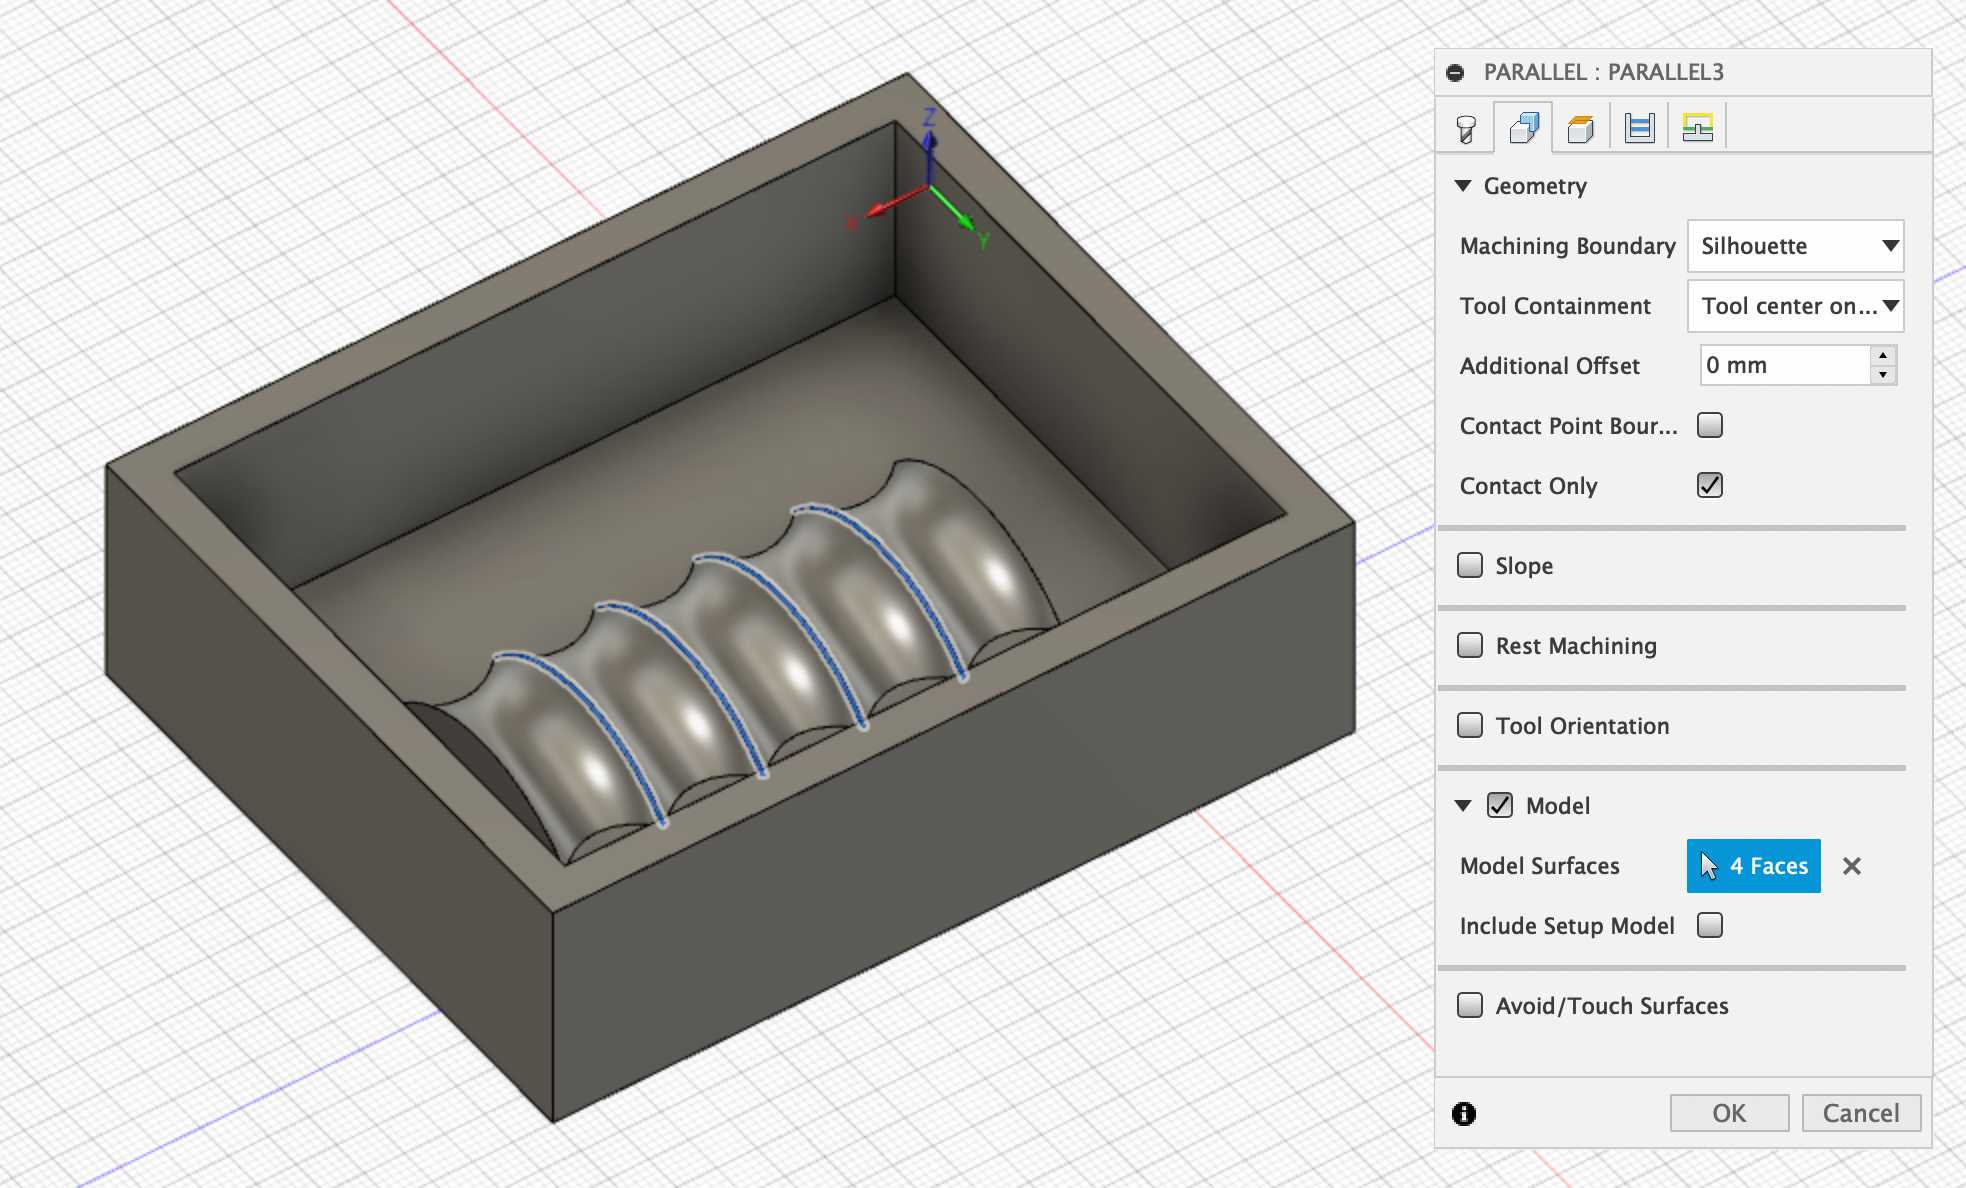
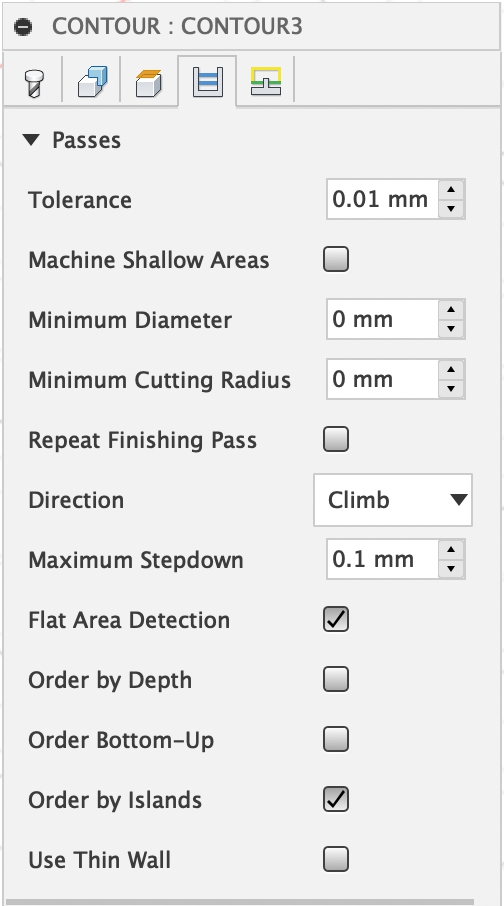
Then I used “Contour” to smooth the recesses by seting the maximum stepdown to .1 mm.
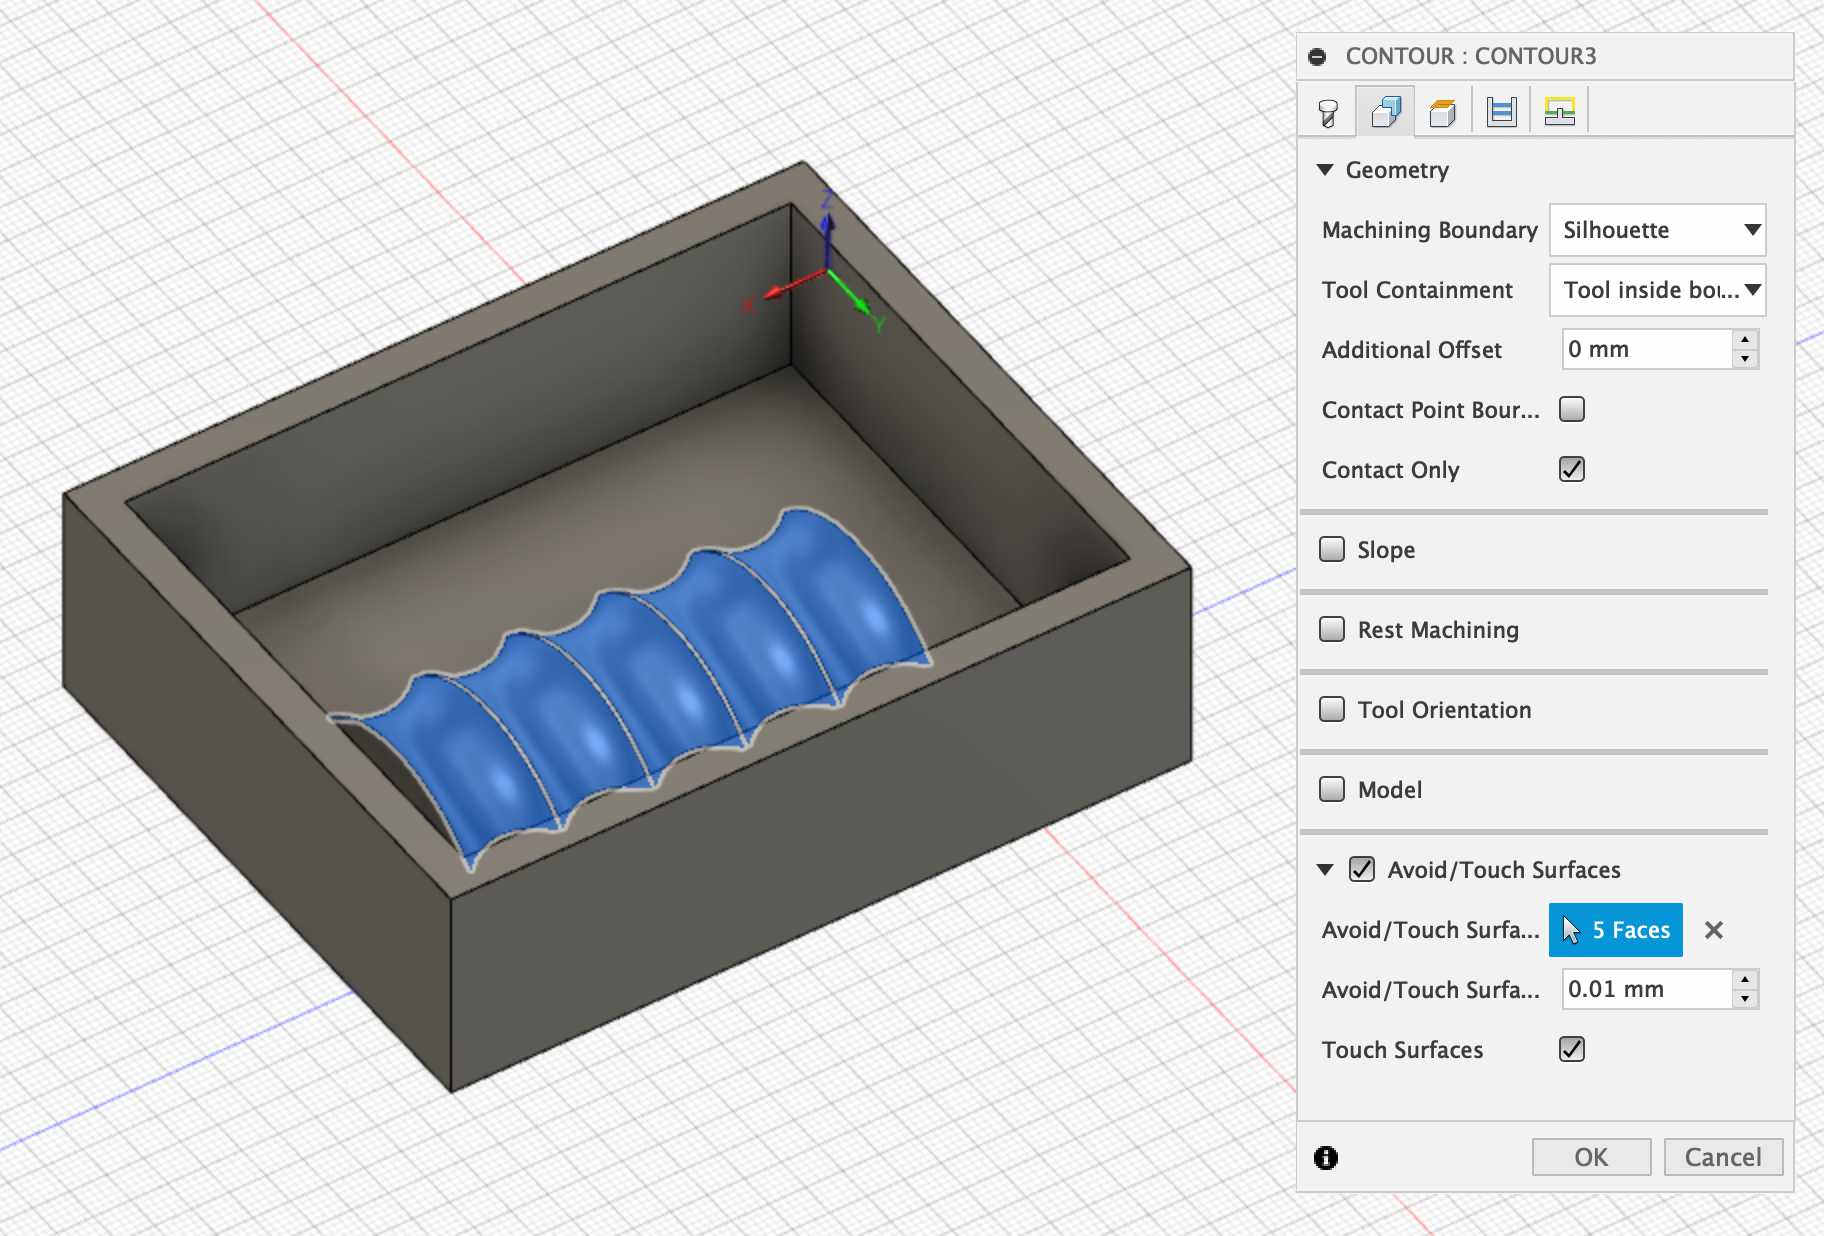
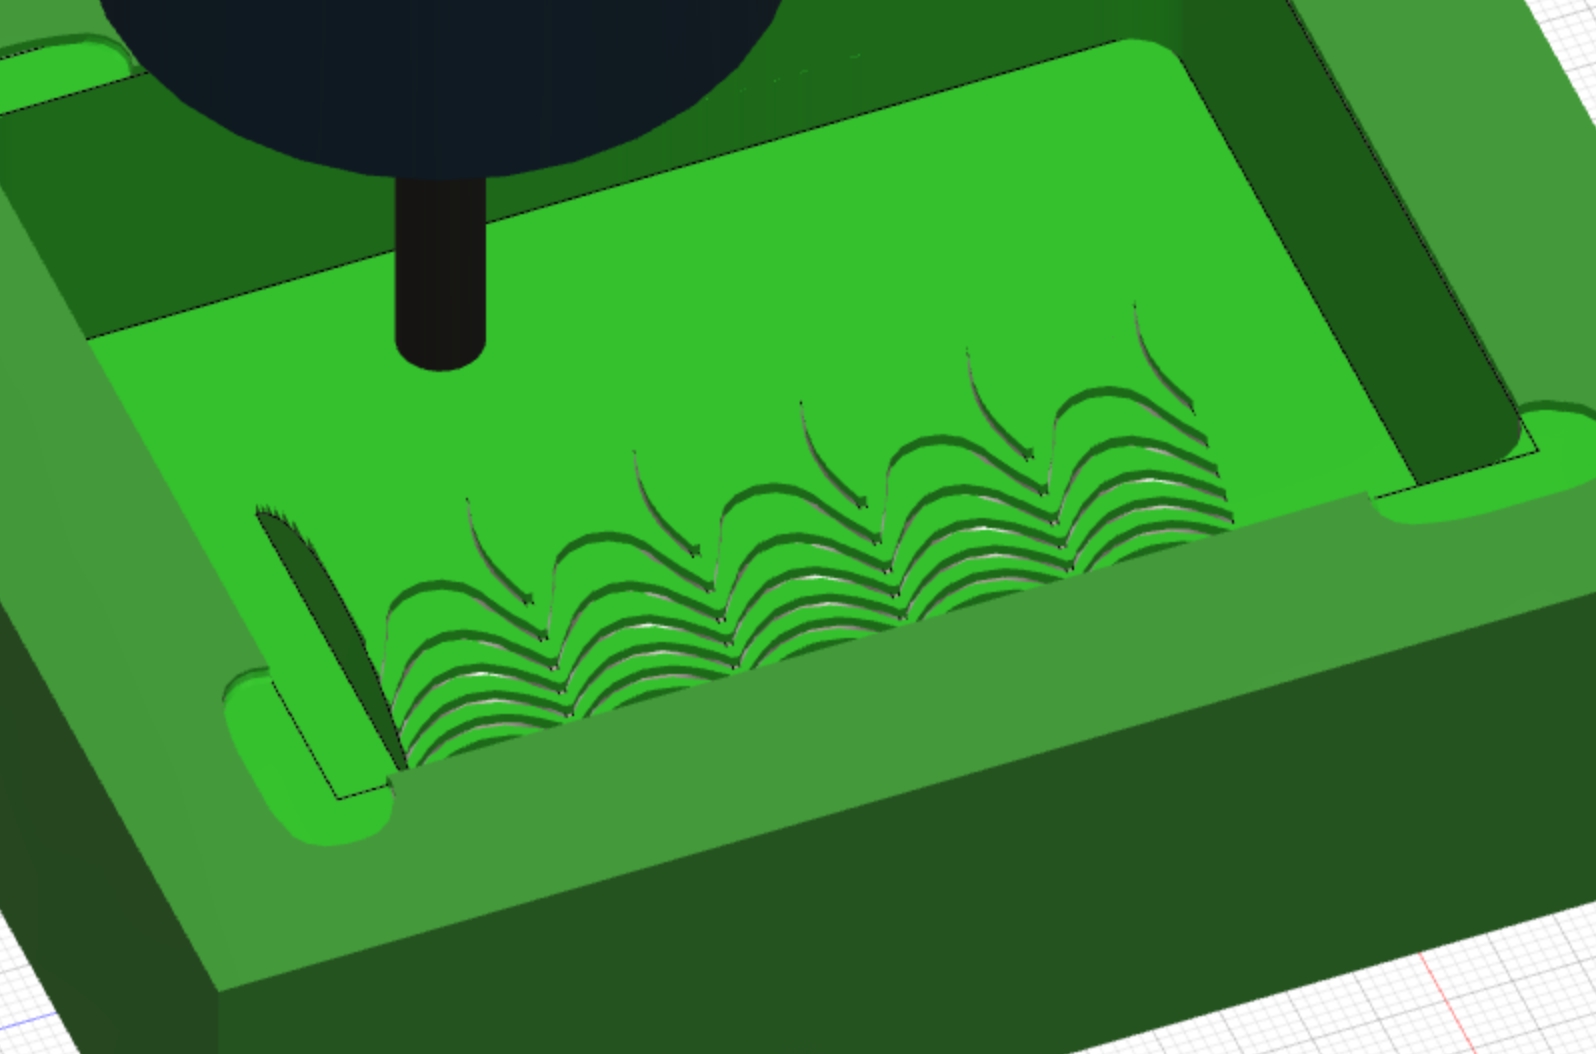
The simulation of the entire setup yielded a positive shape with much finer details.
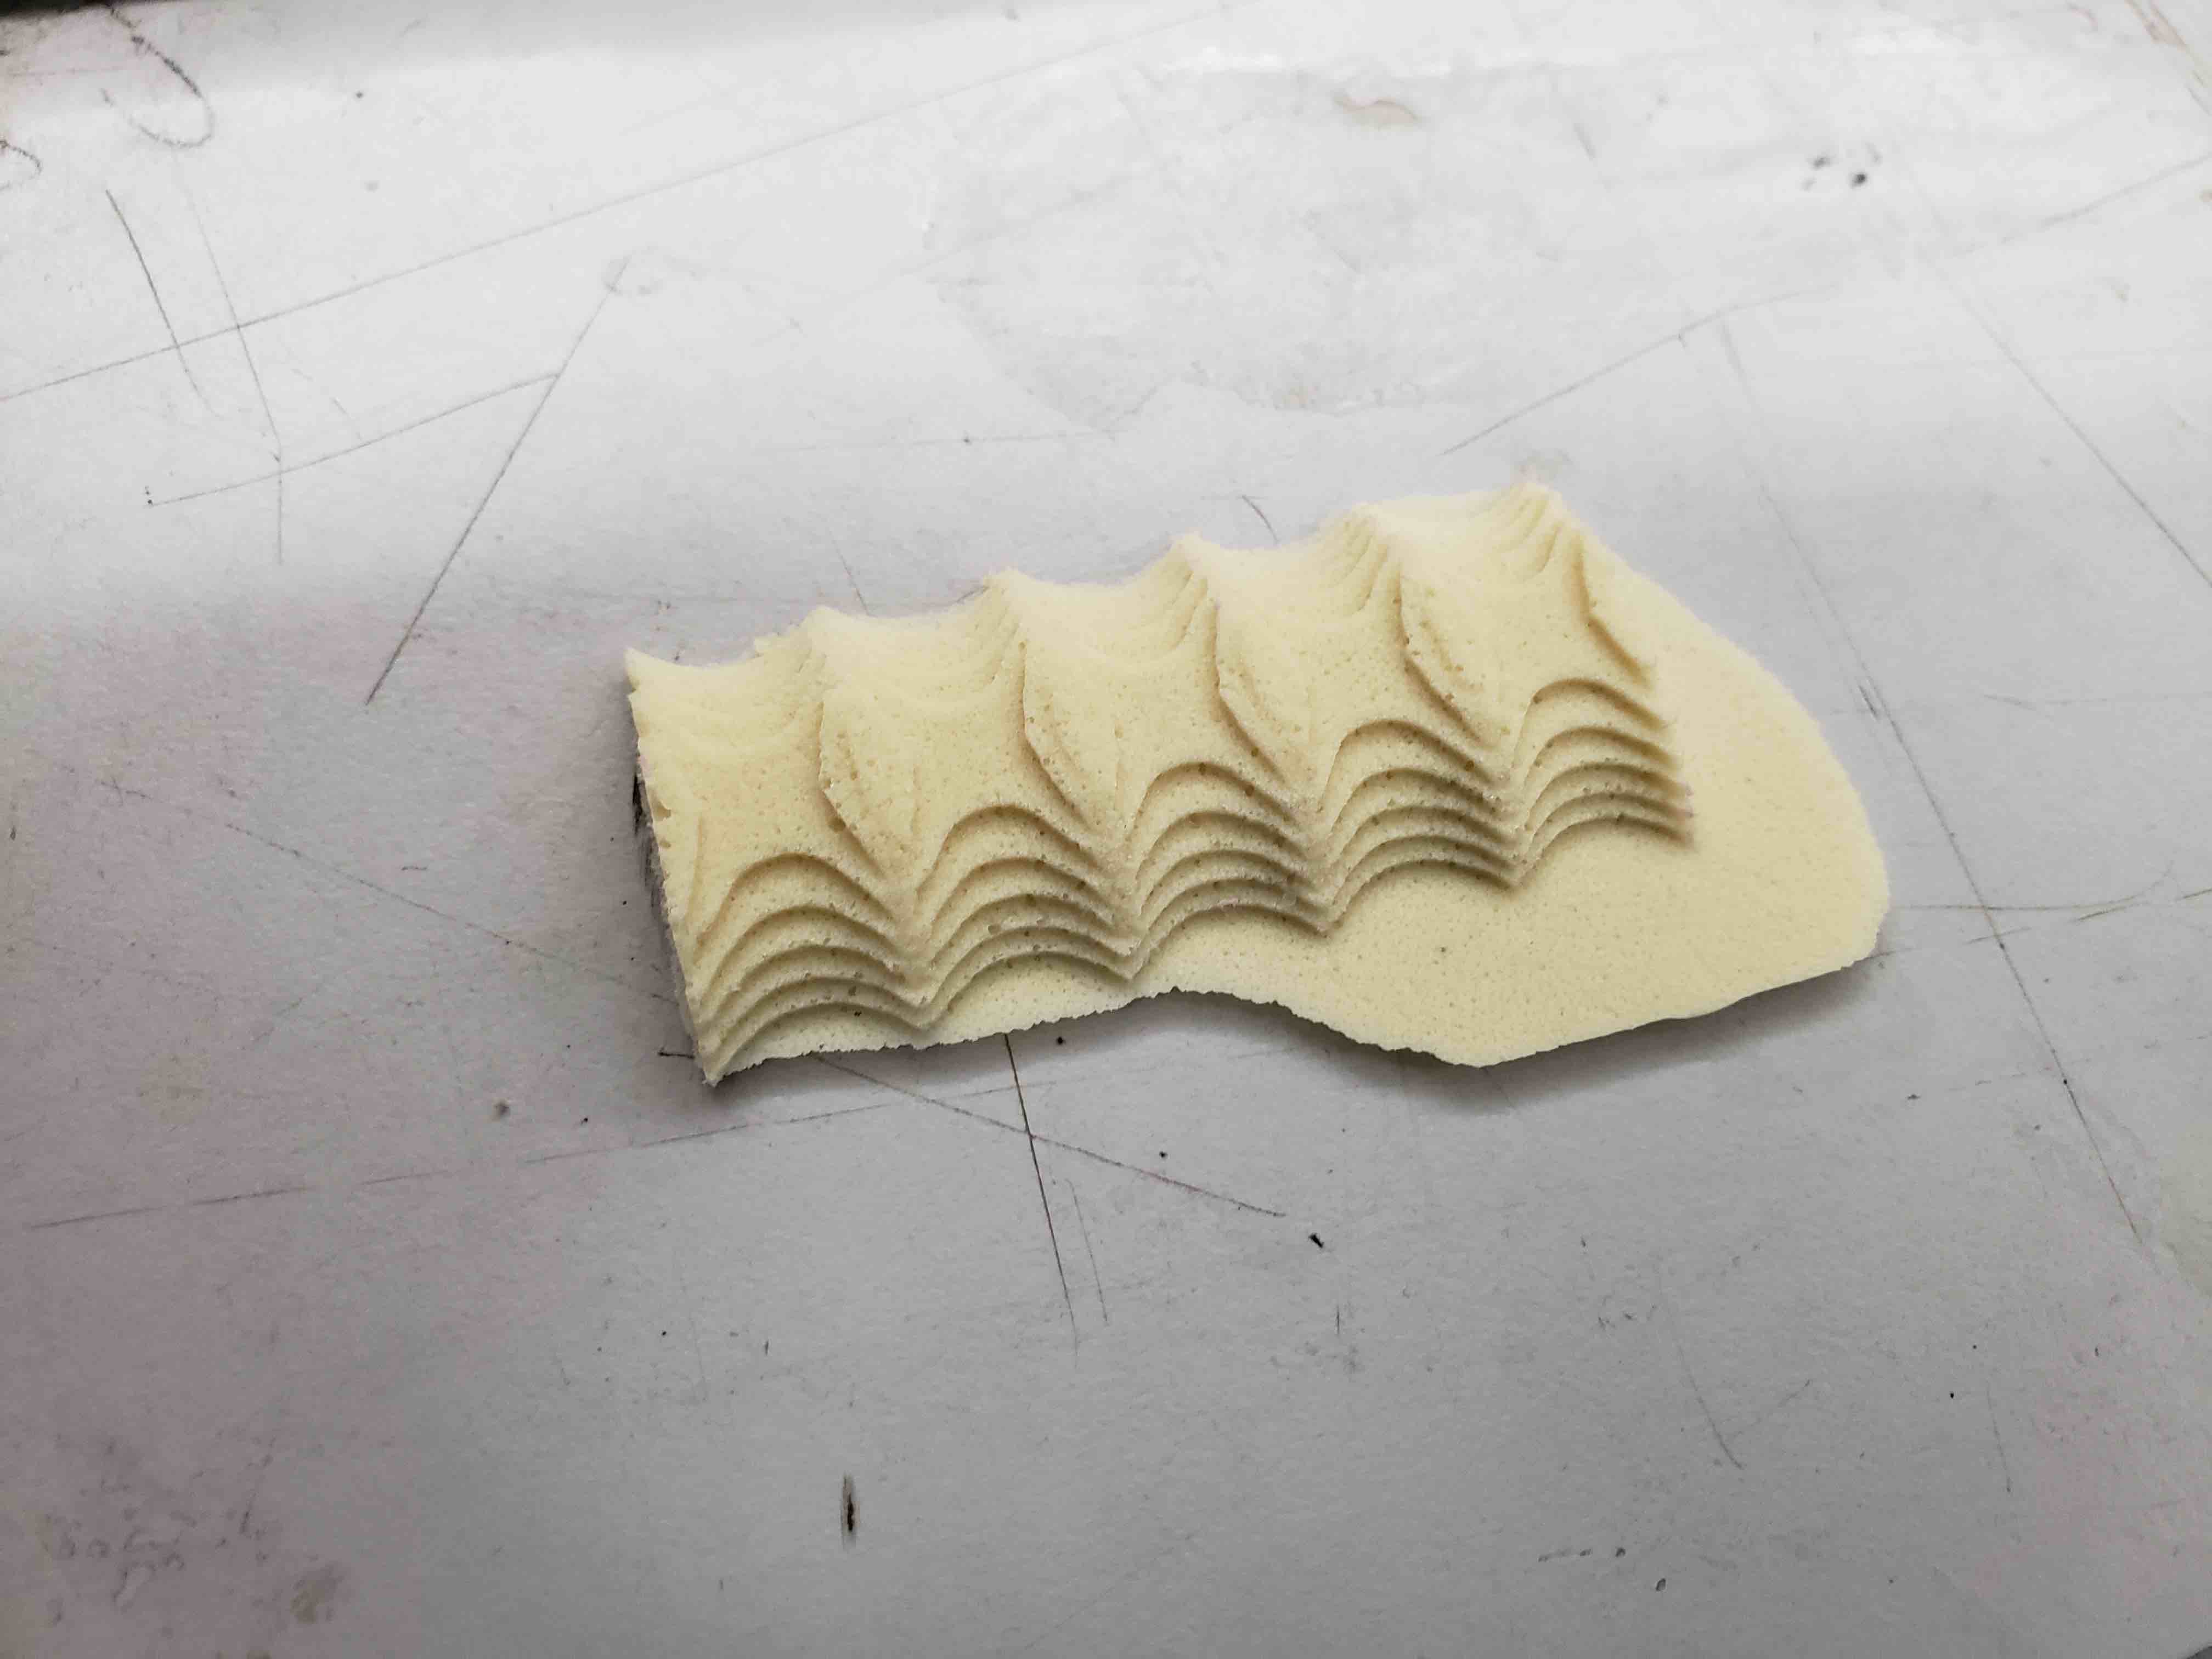
I had to mill on foam because there was no wax pieces large enough to accomodate my design. However, when I milled out the design on a piece of foam, the bit went too far into the foam. After several attempts and consulting other alumni, I found out that I needed to use the z-plate on top of the stock and that my stock origin should be on the upper corner of the stock.
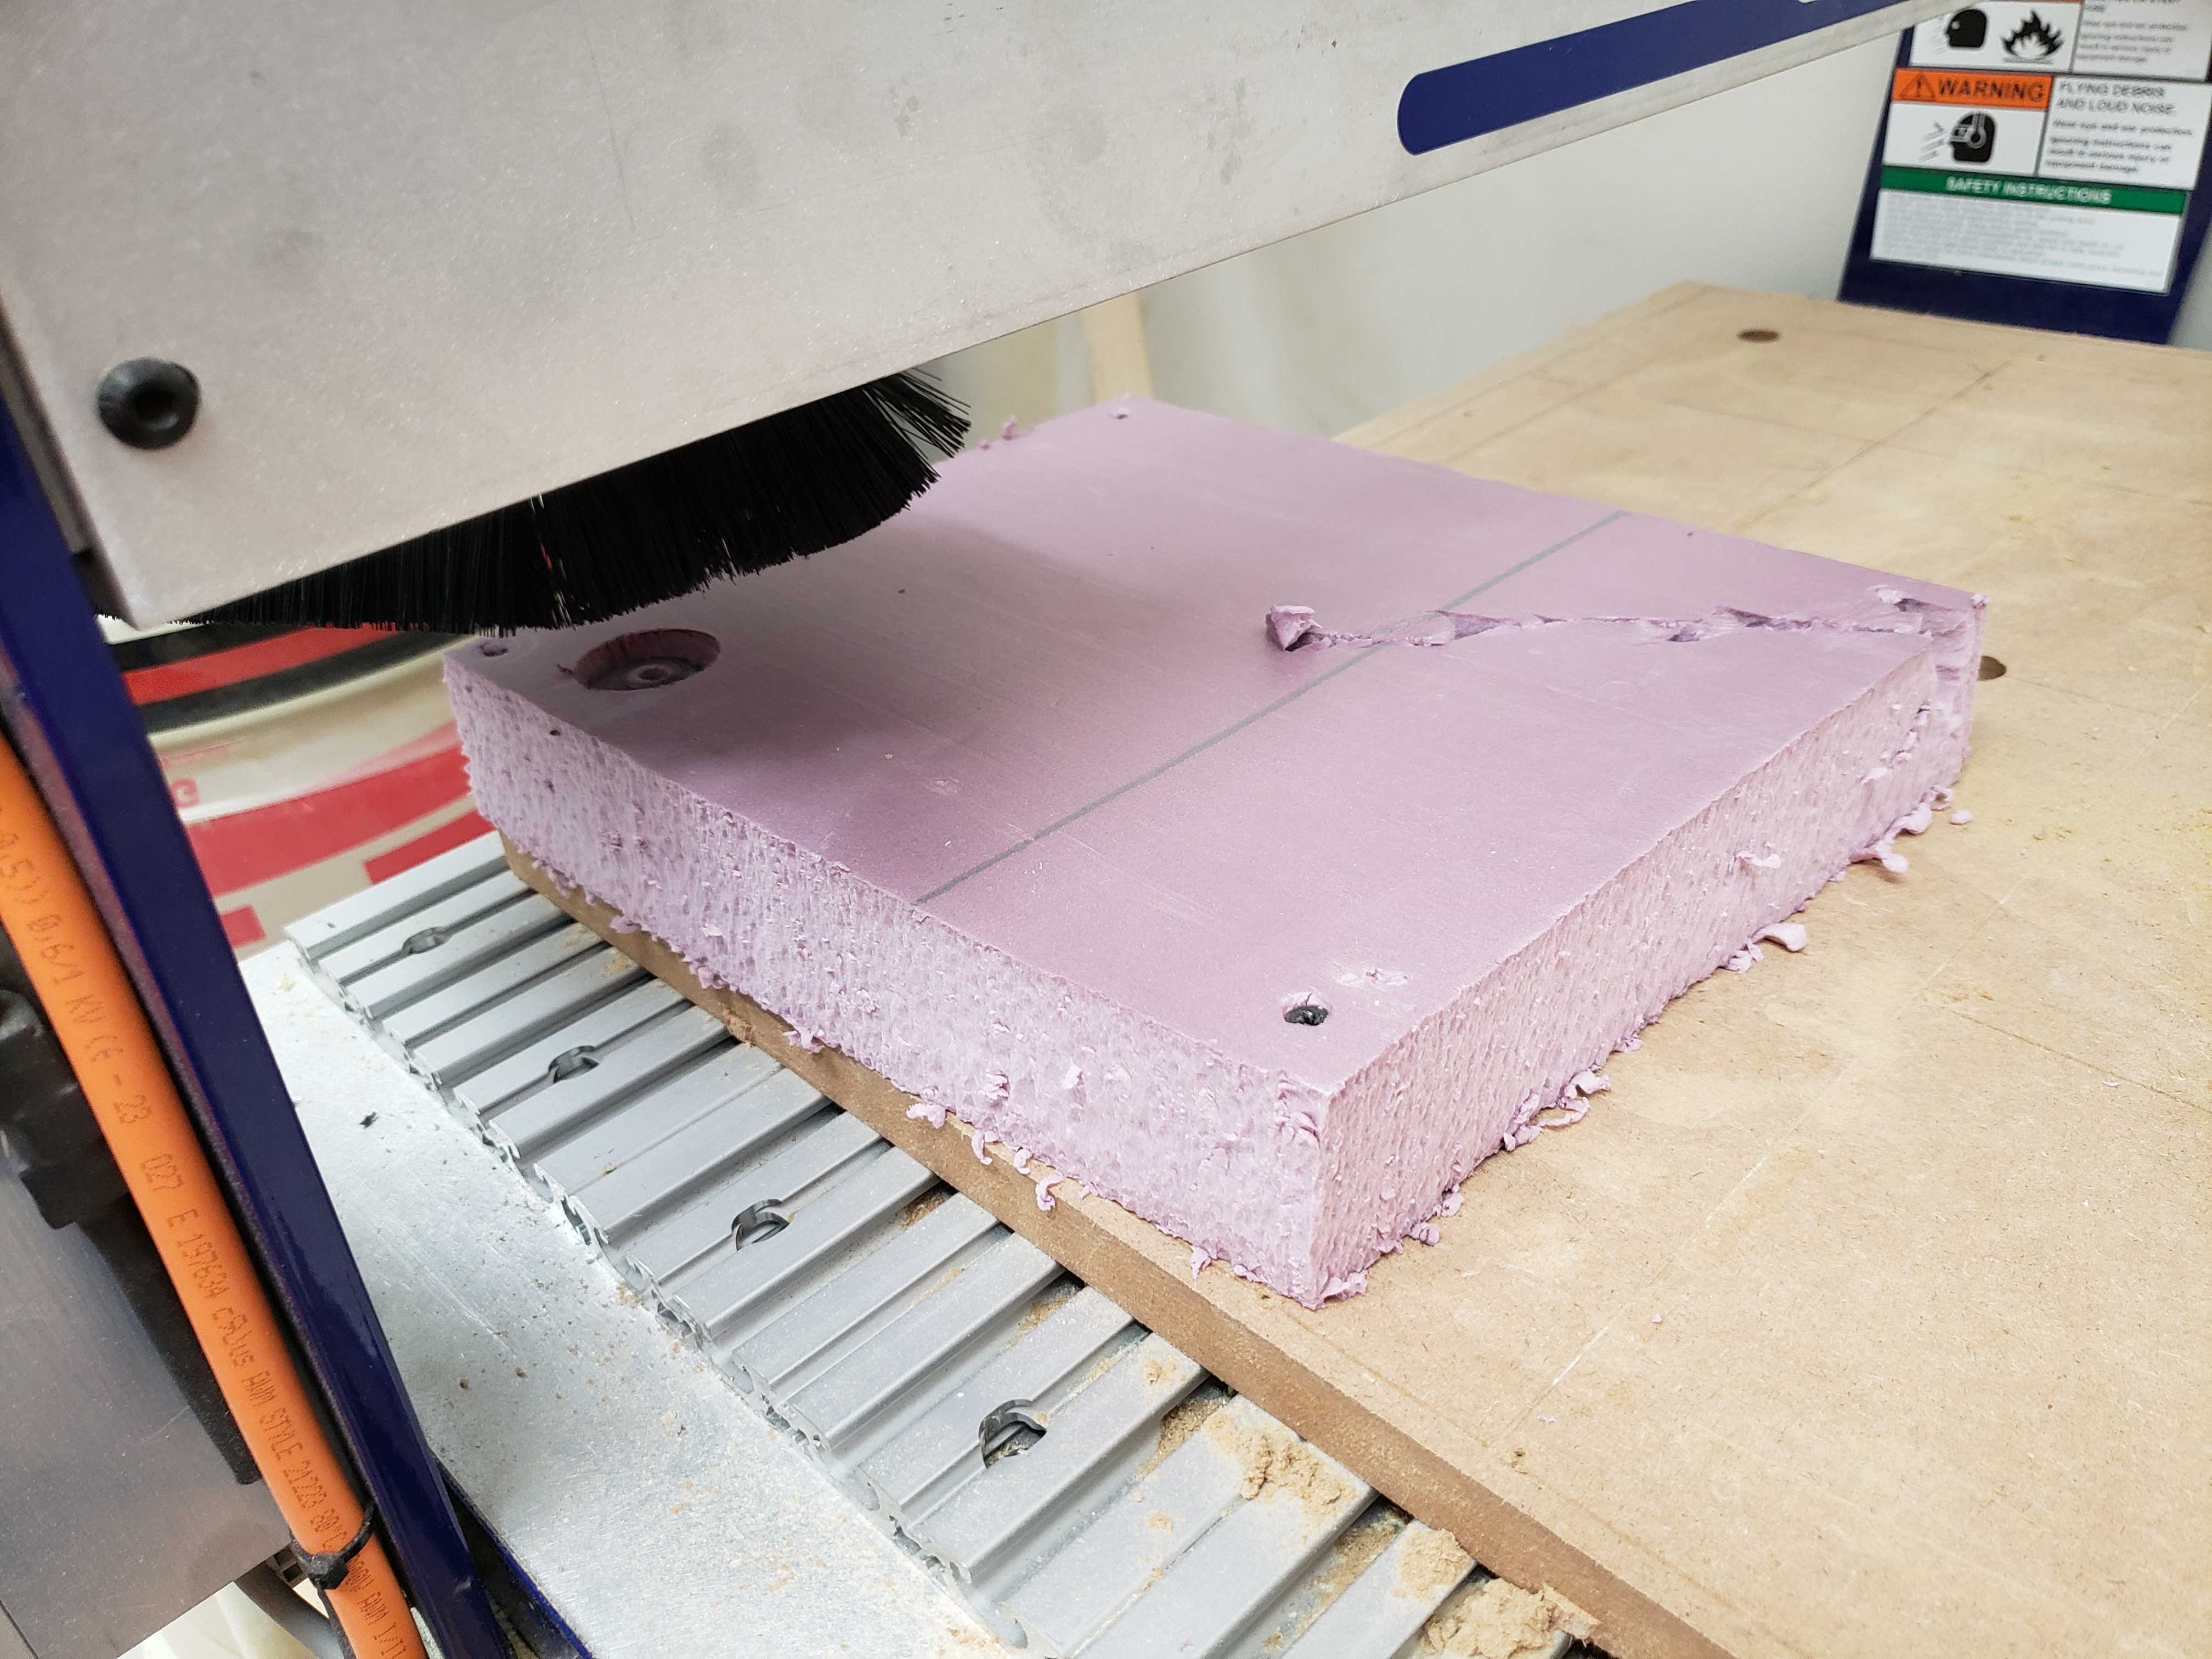
Materials
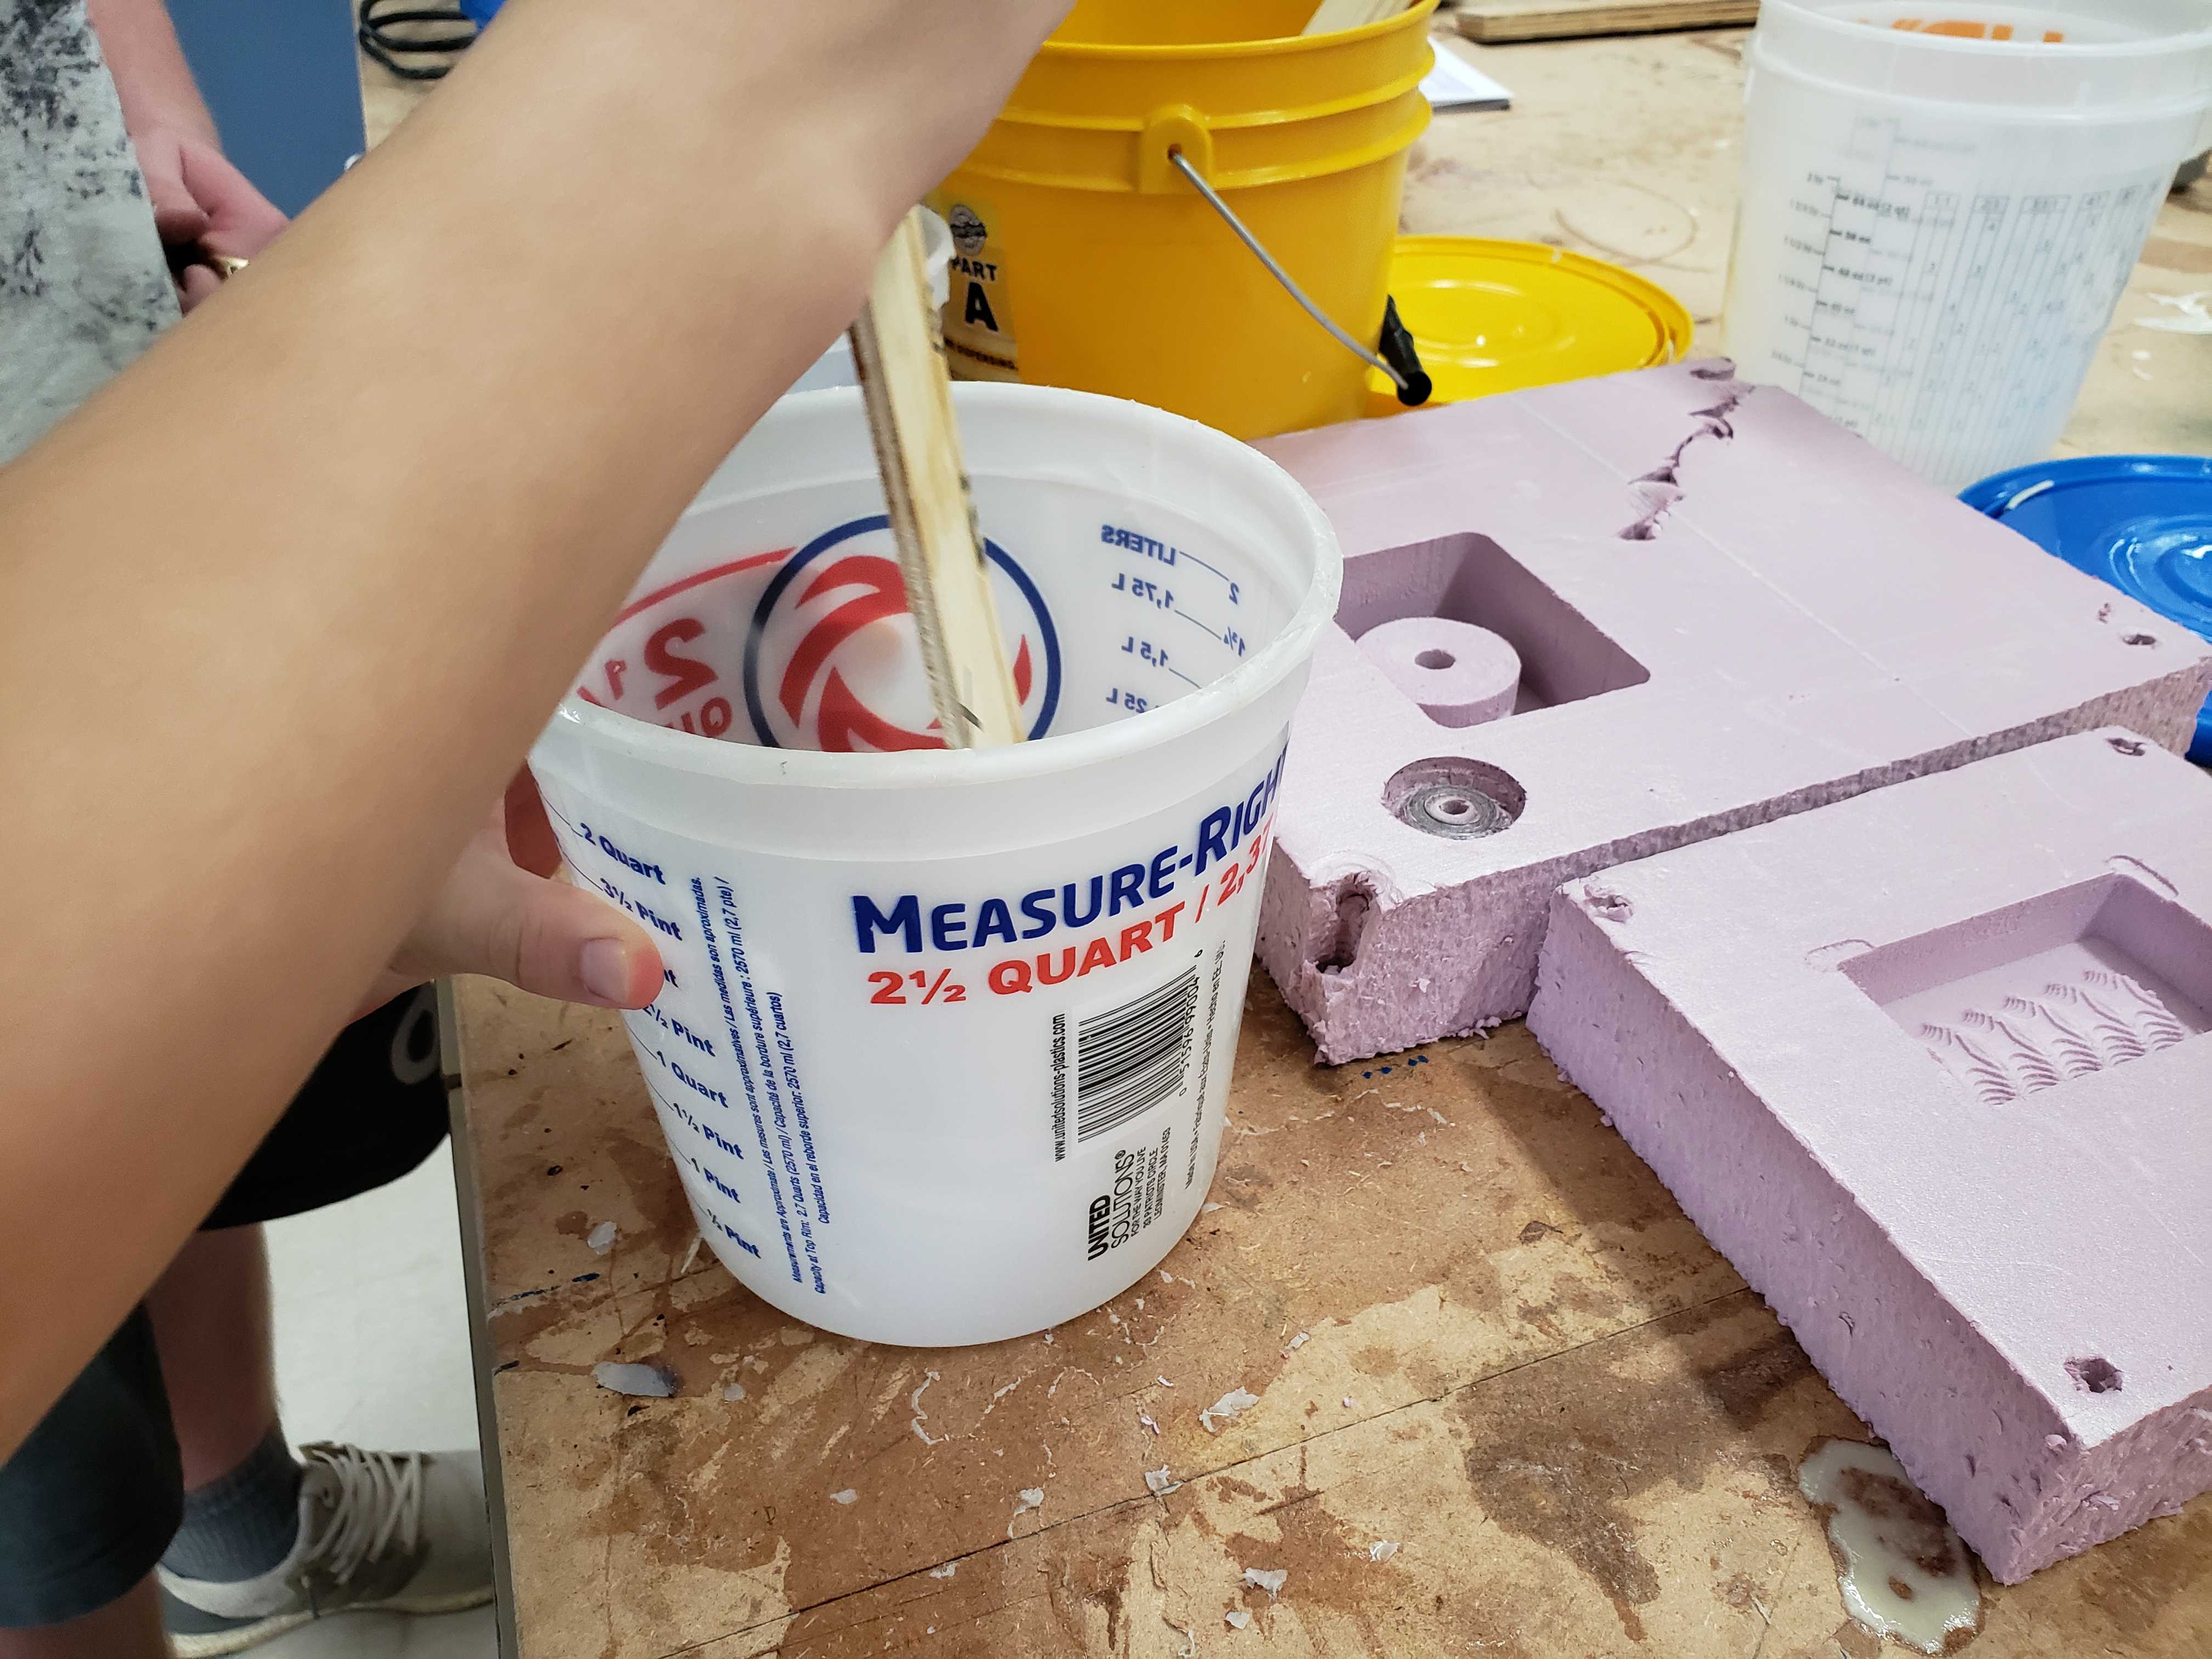
With the foam milled out, it was time to create a mold. Since the grip was to be made out of a hard cast, I needed a soft mold and used Ecoflex.
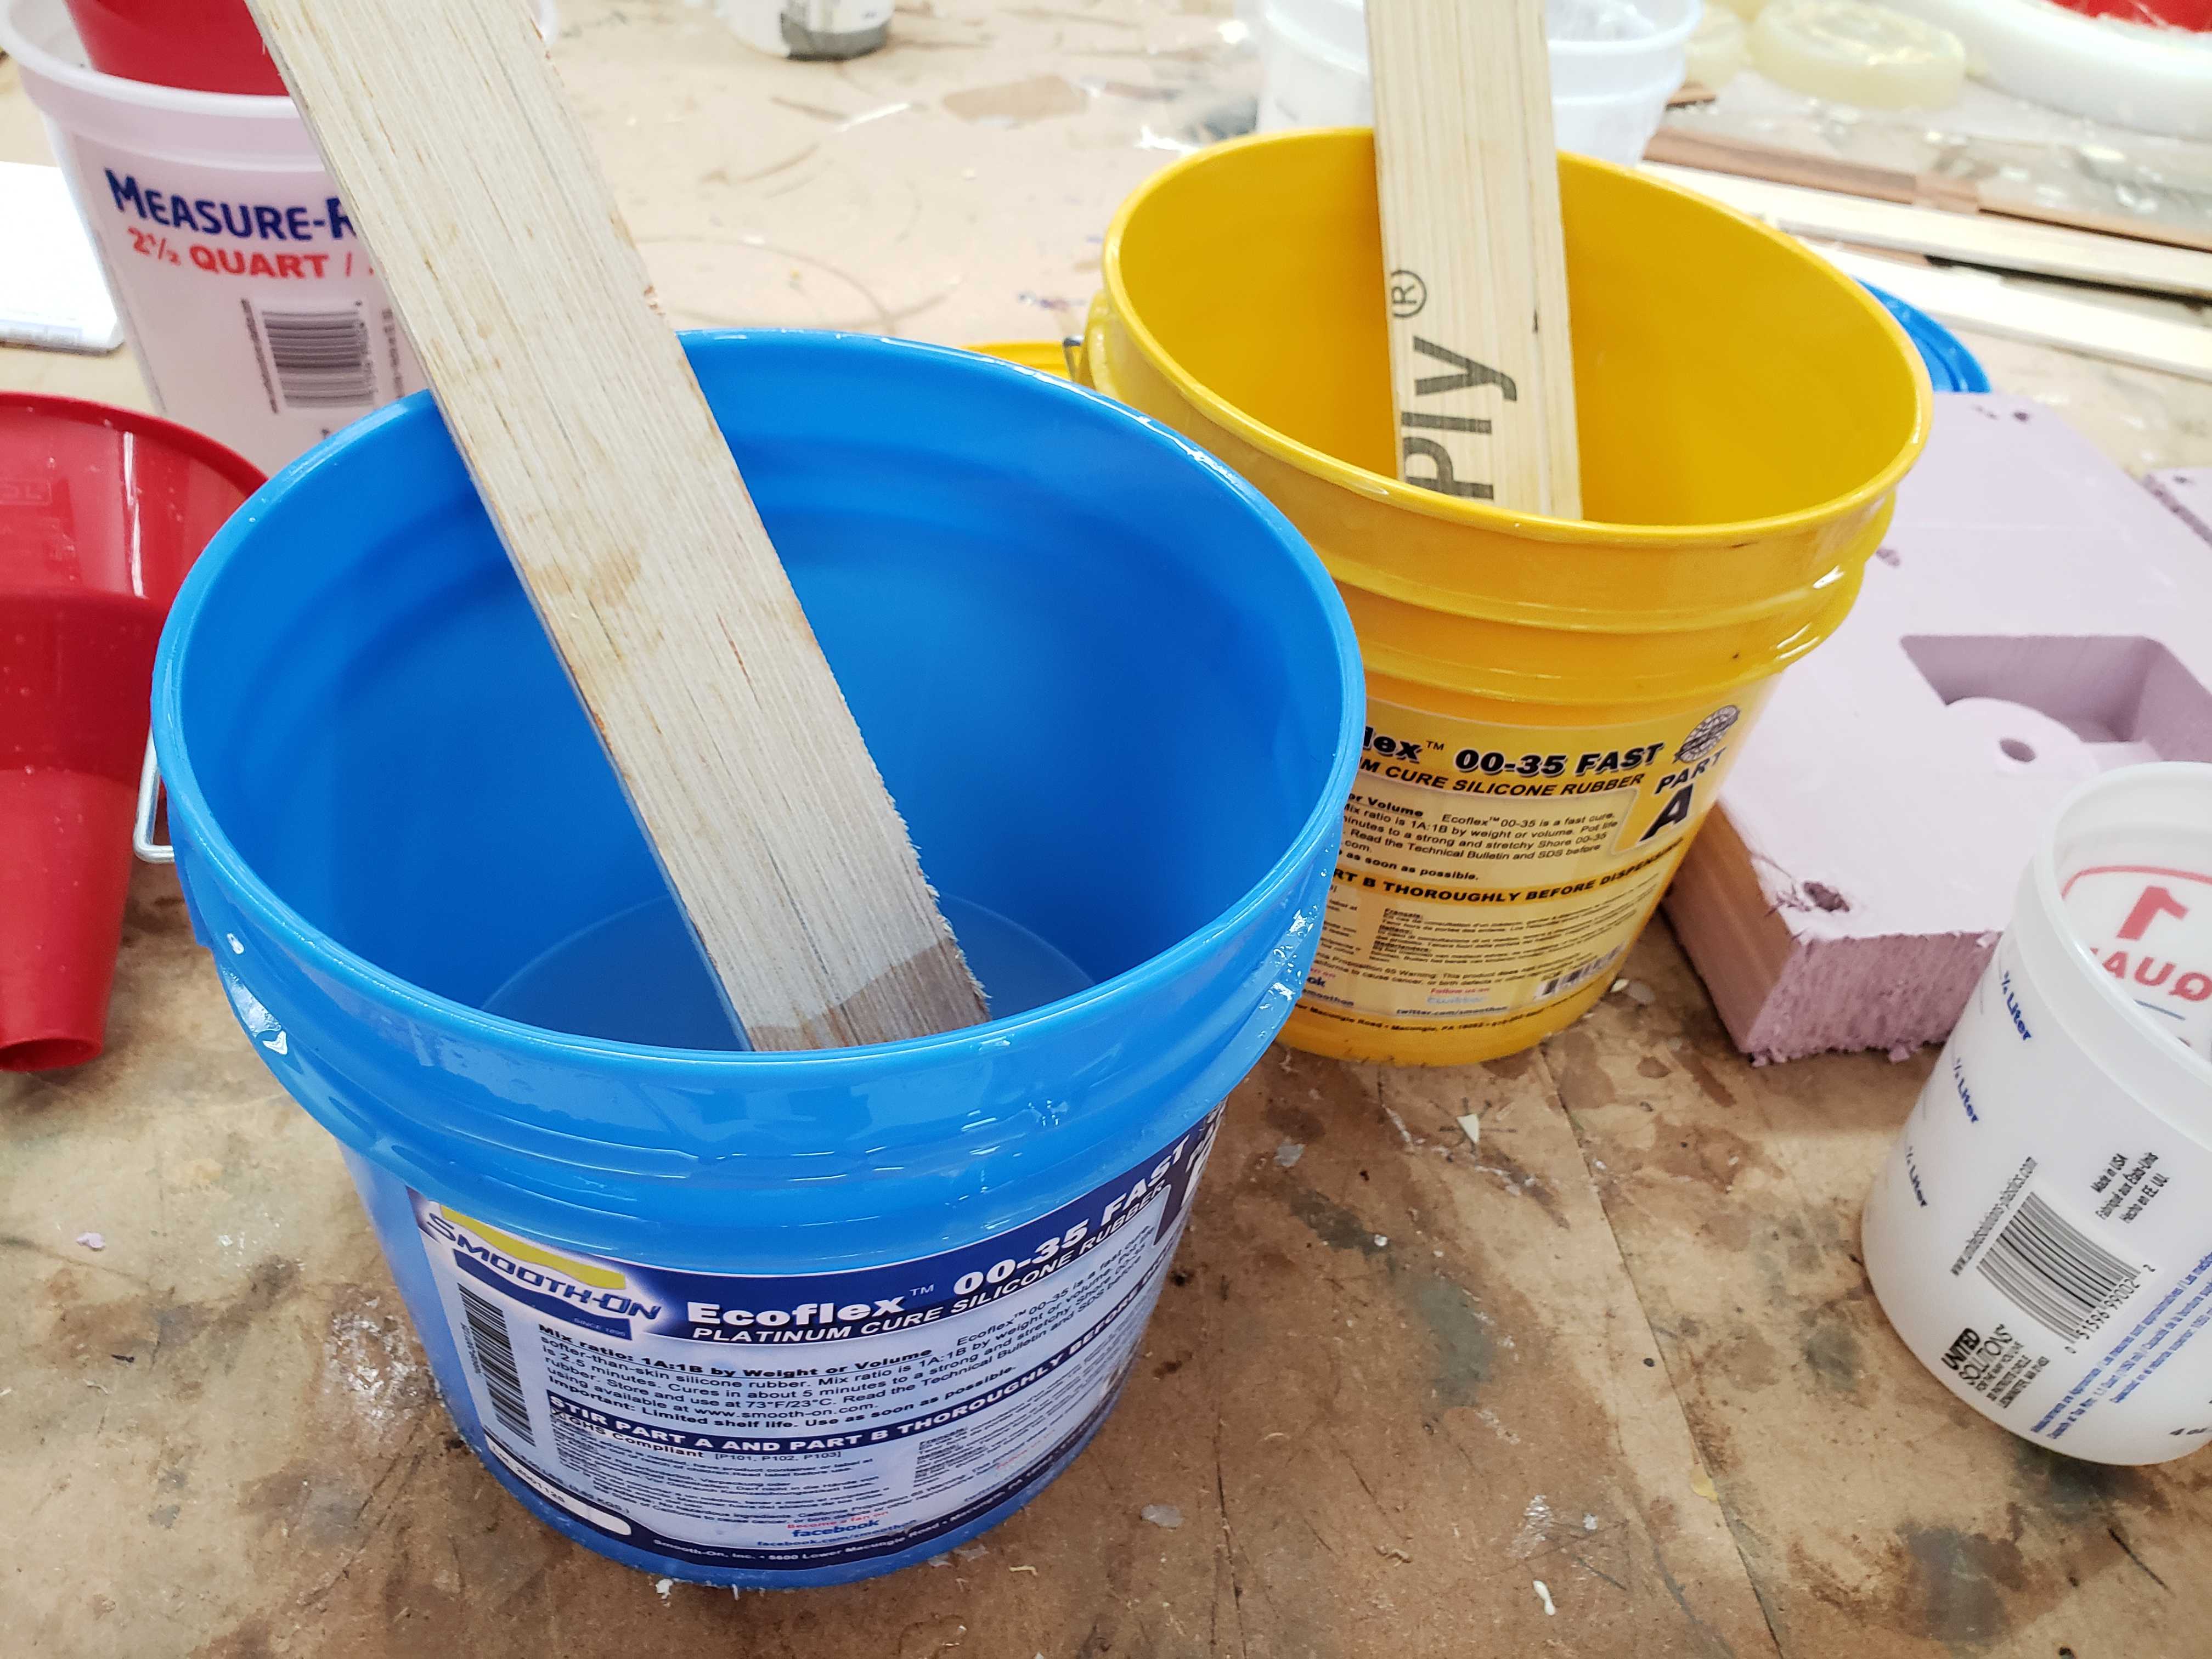
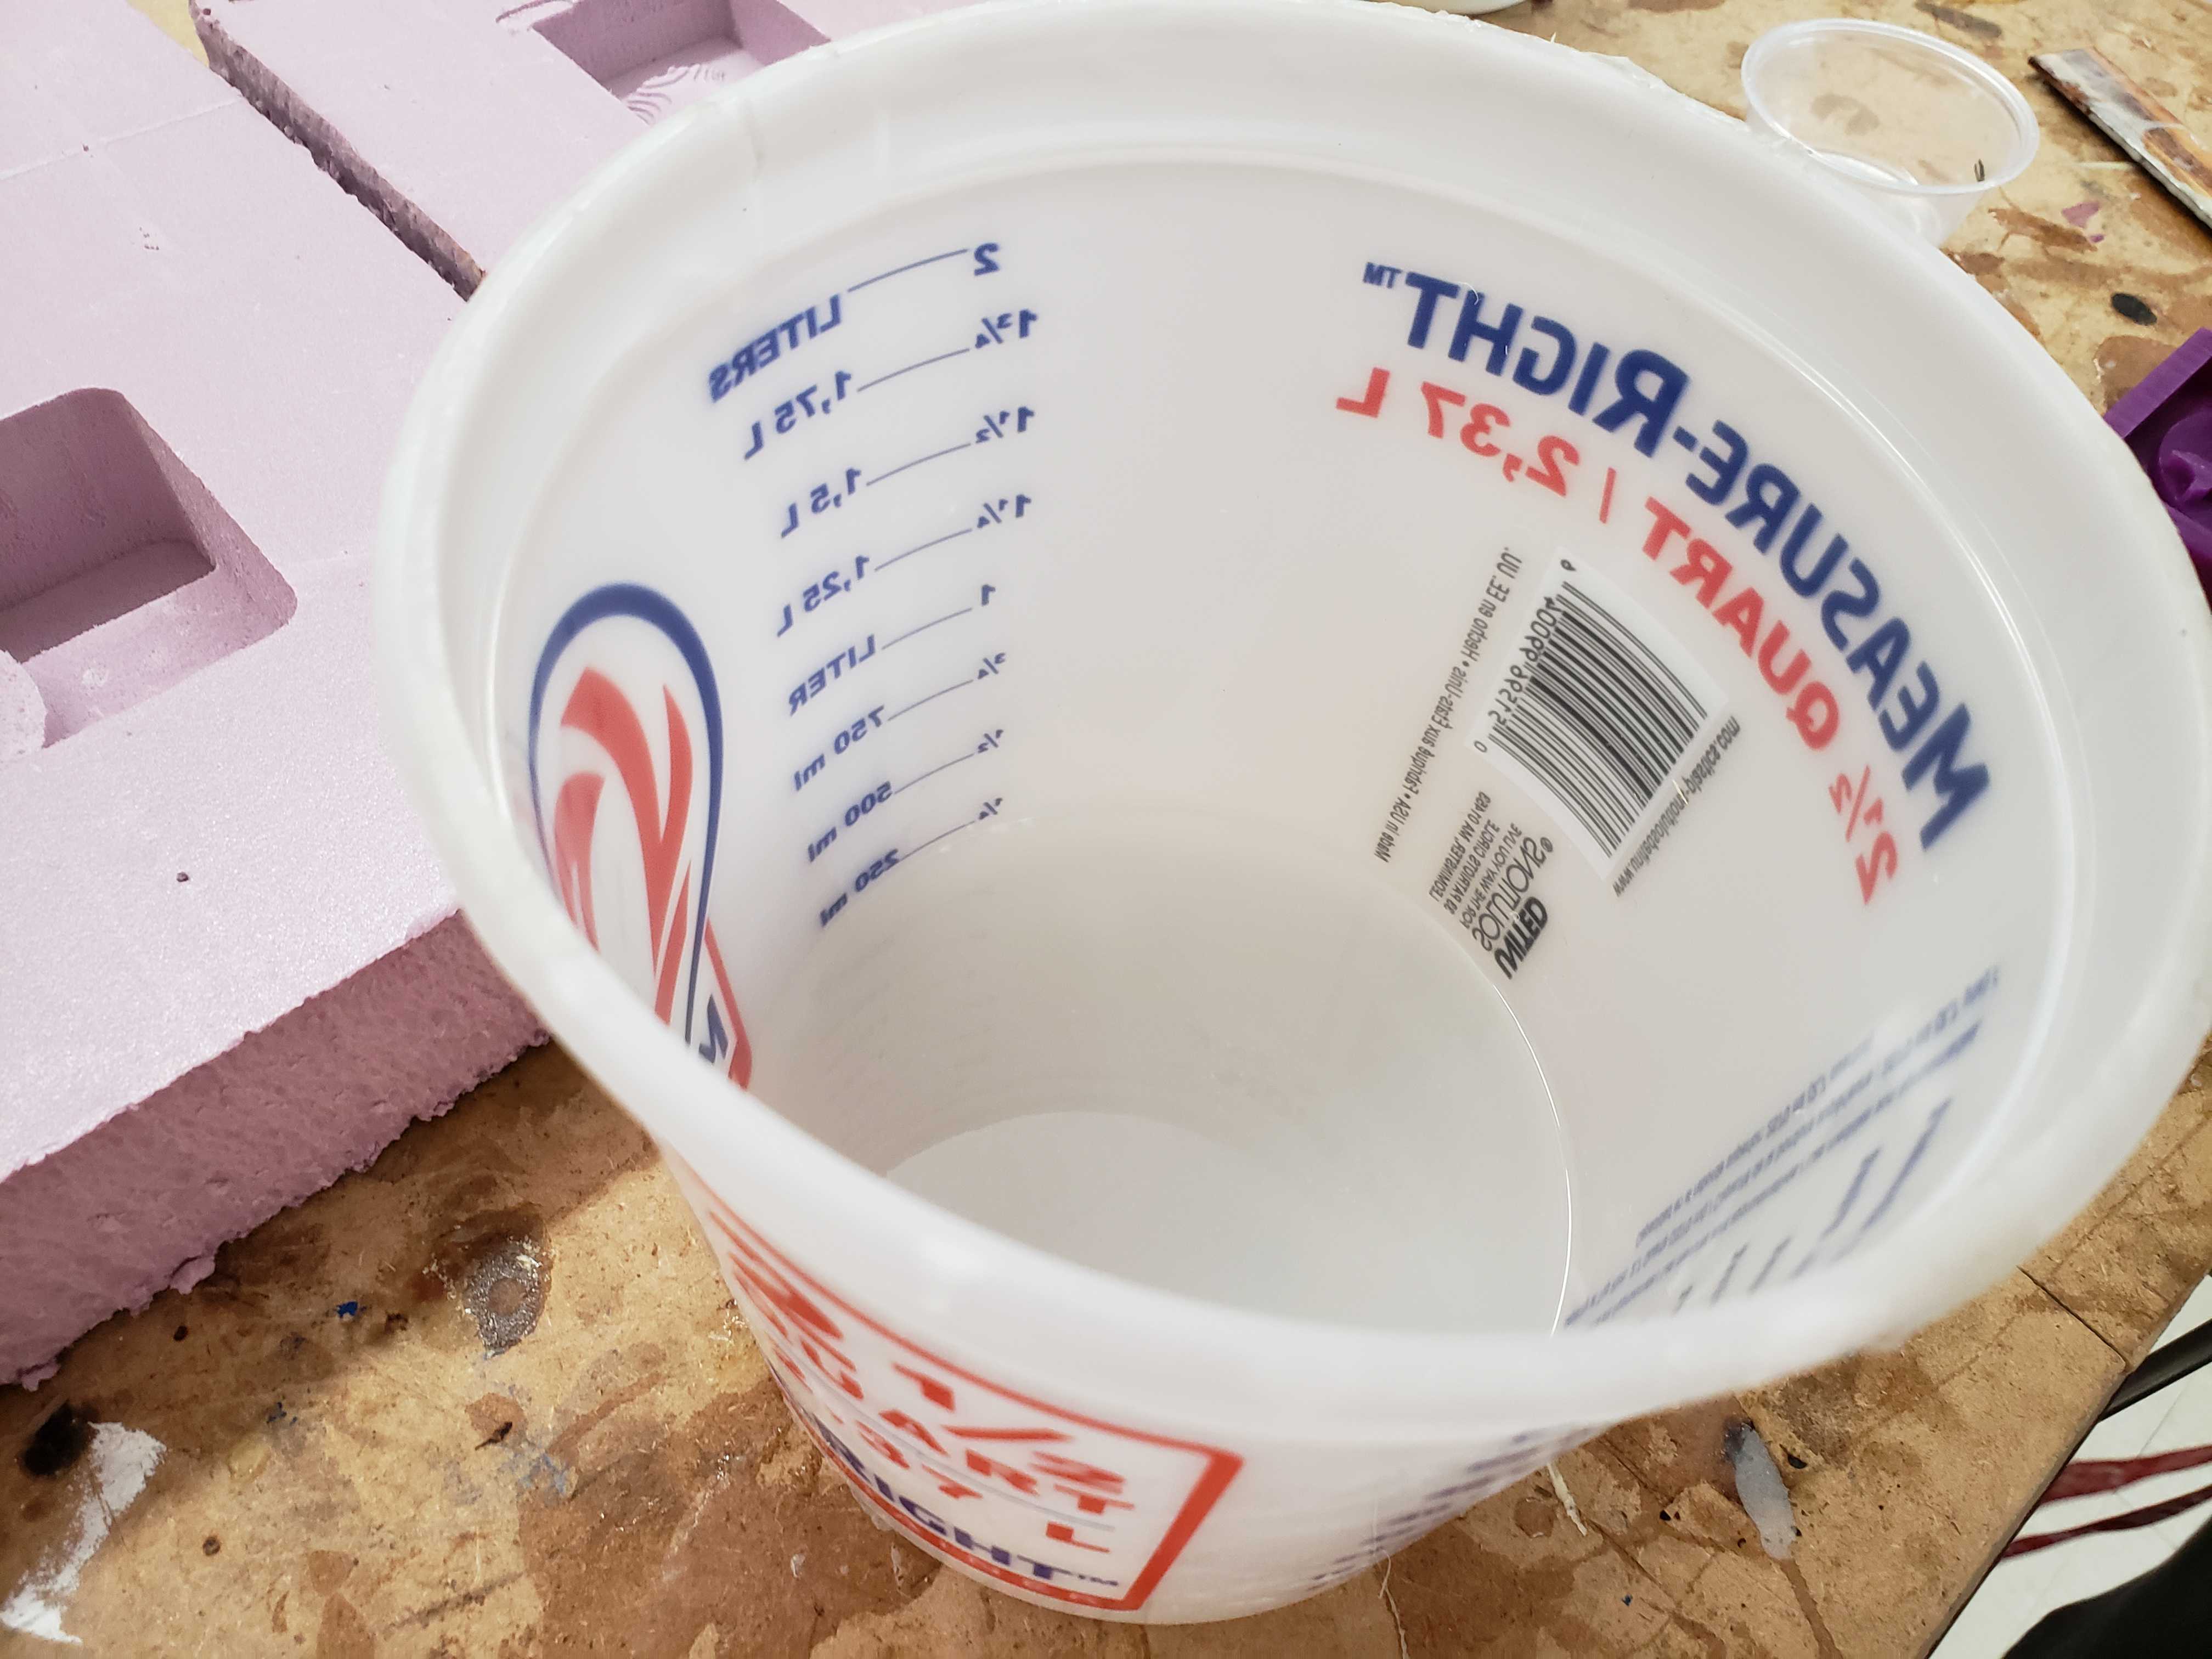
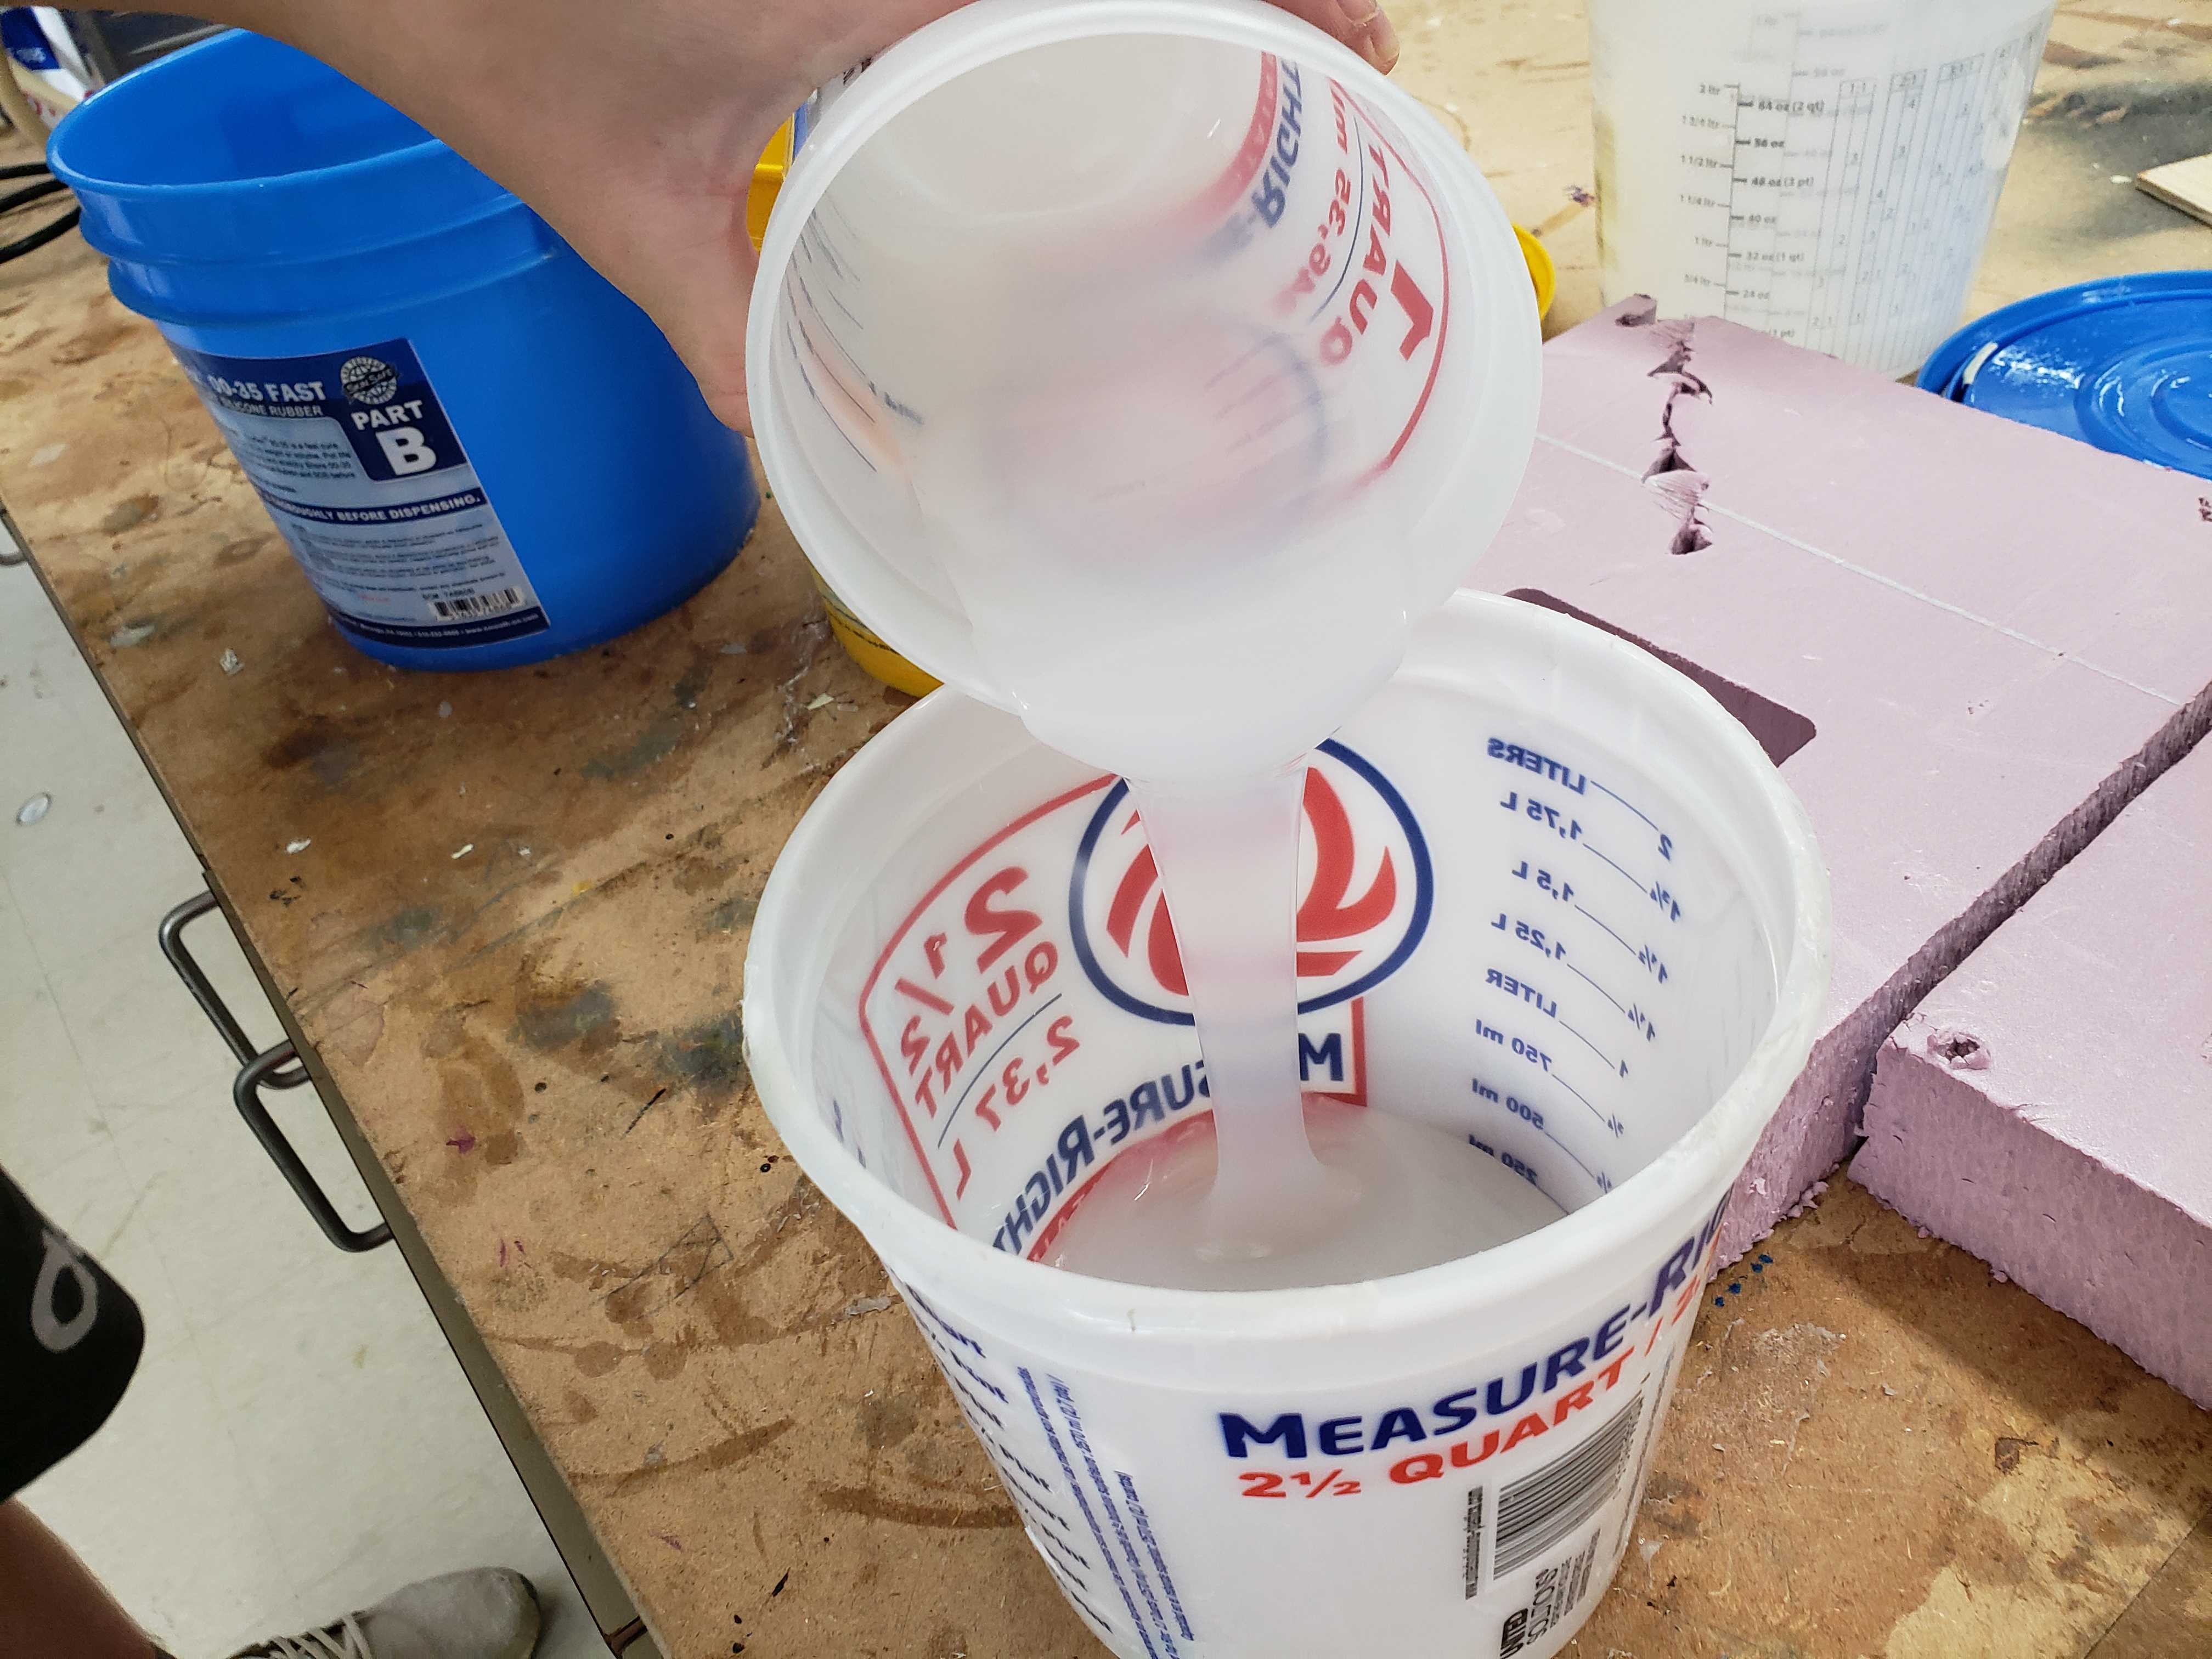
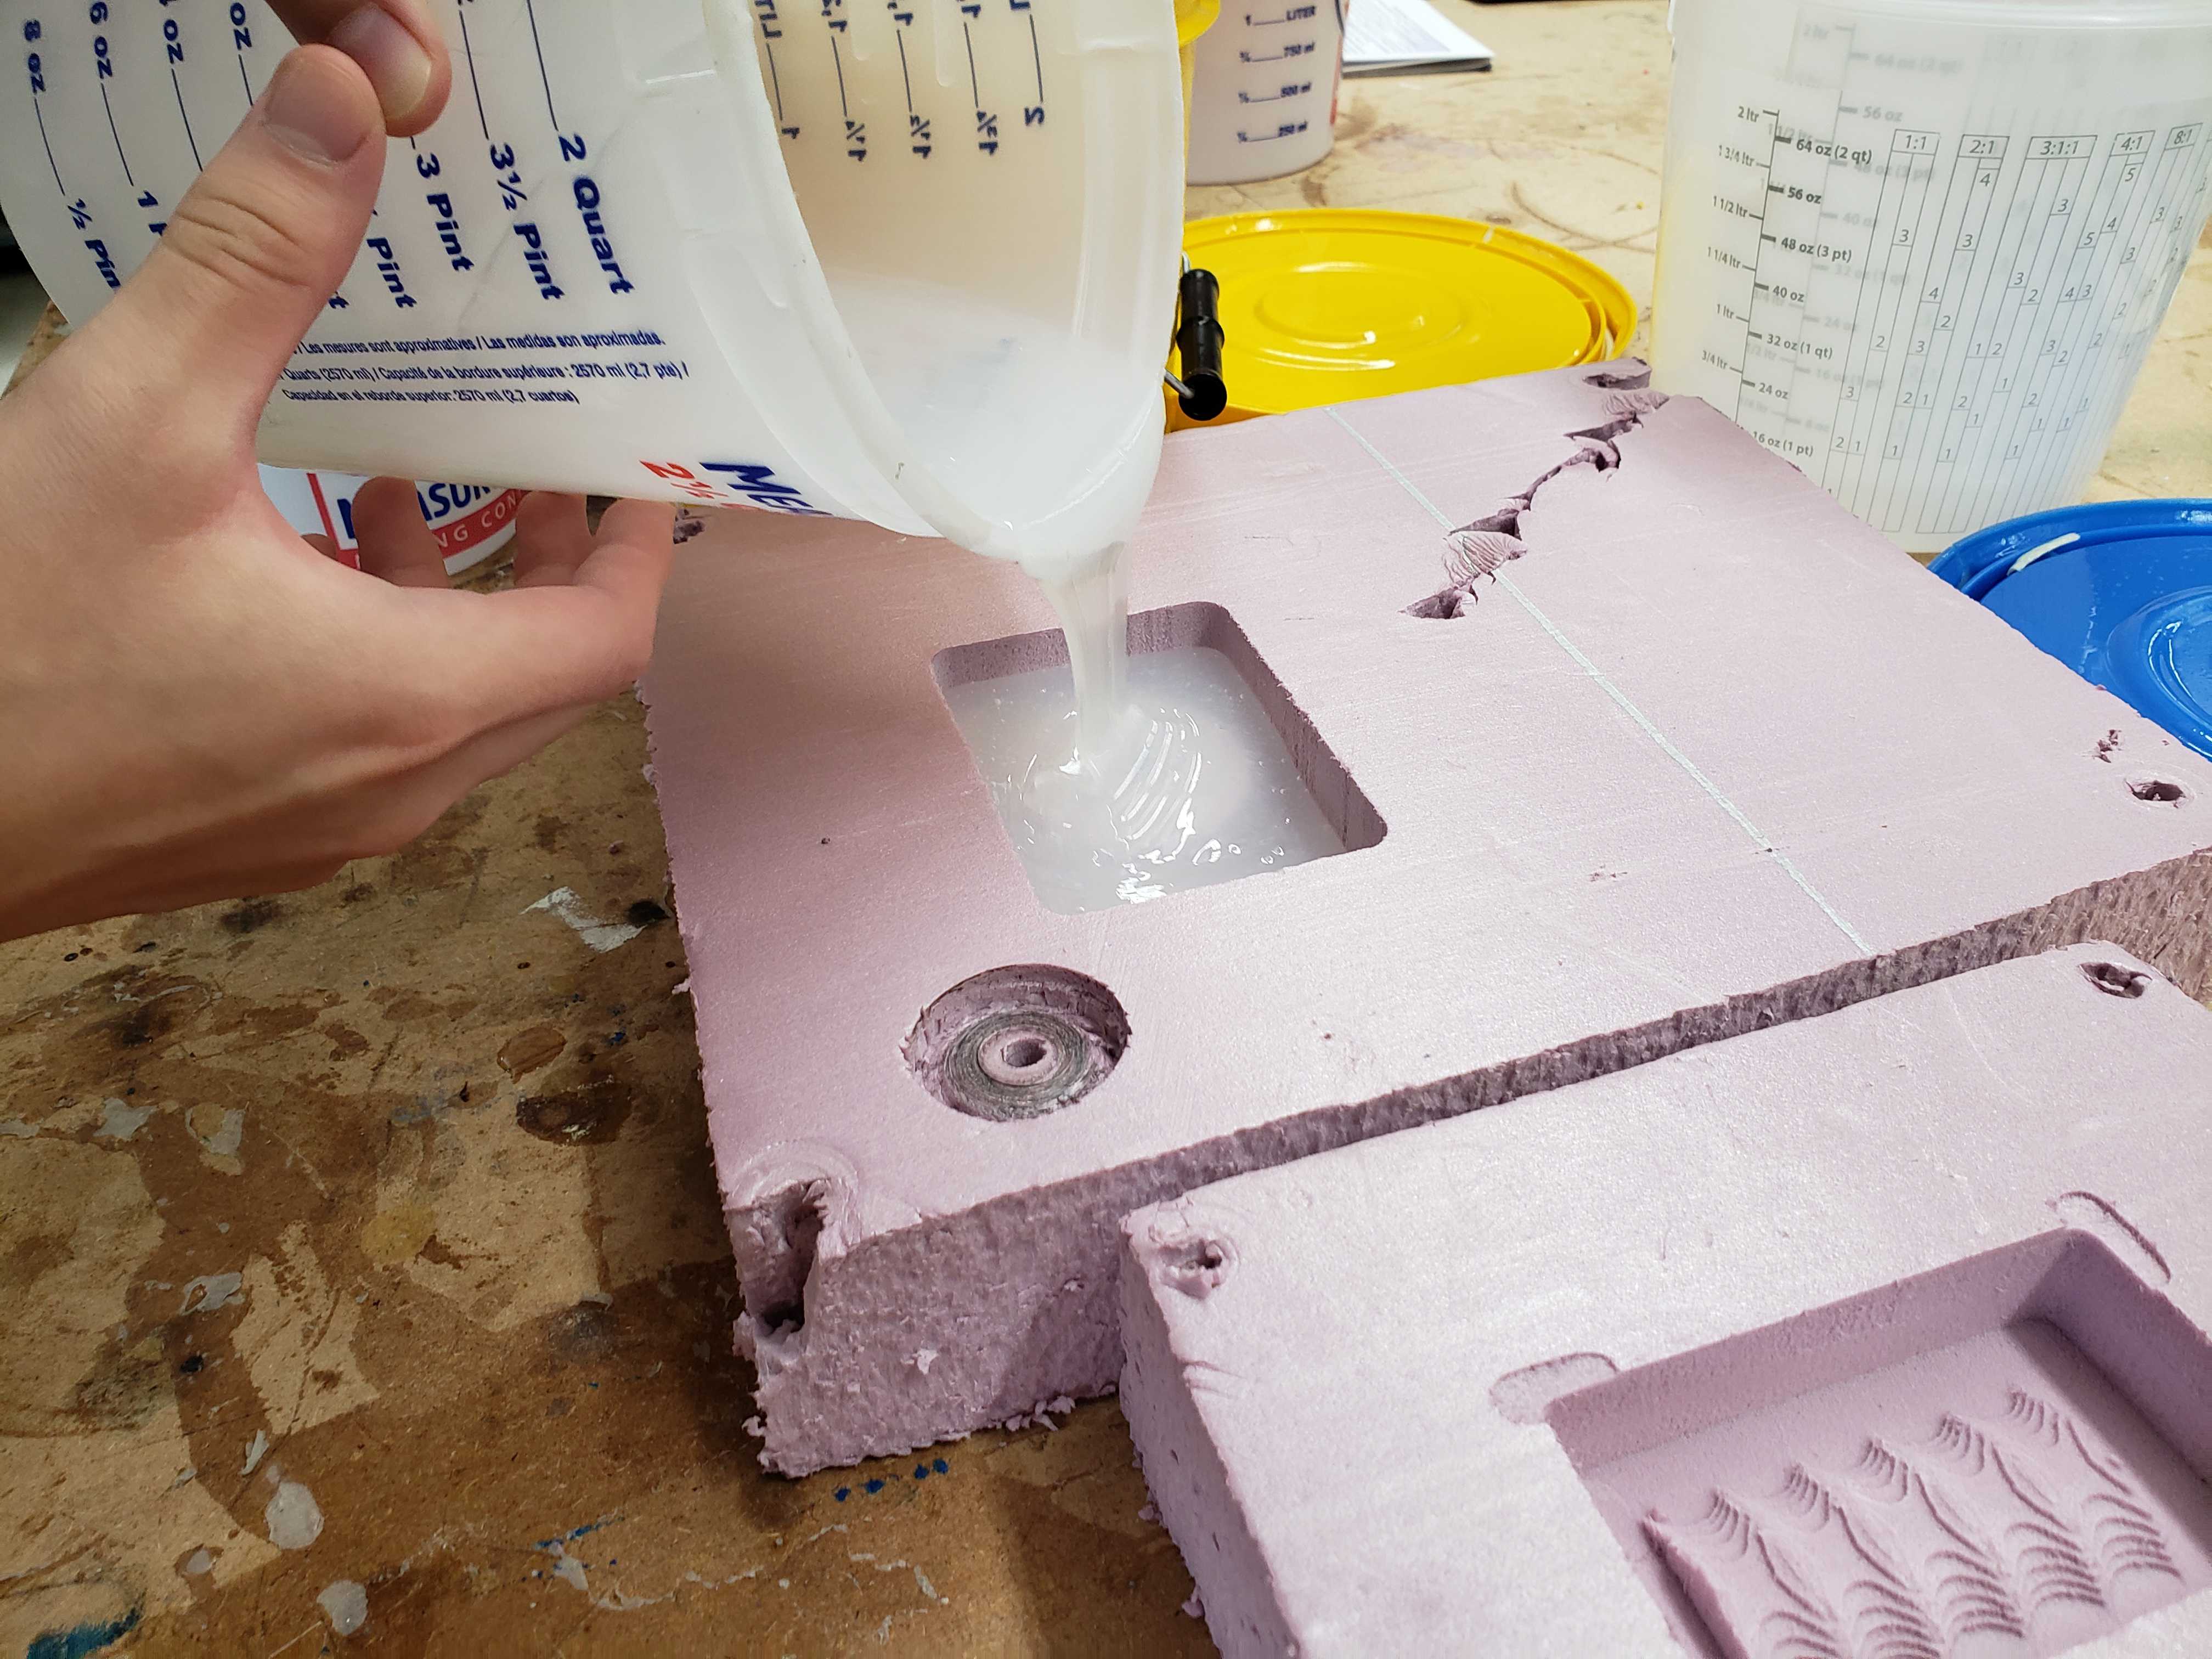
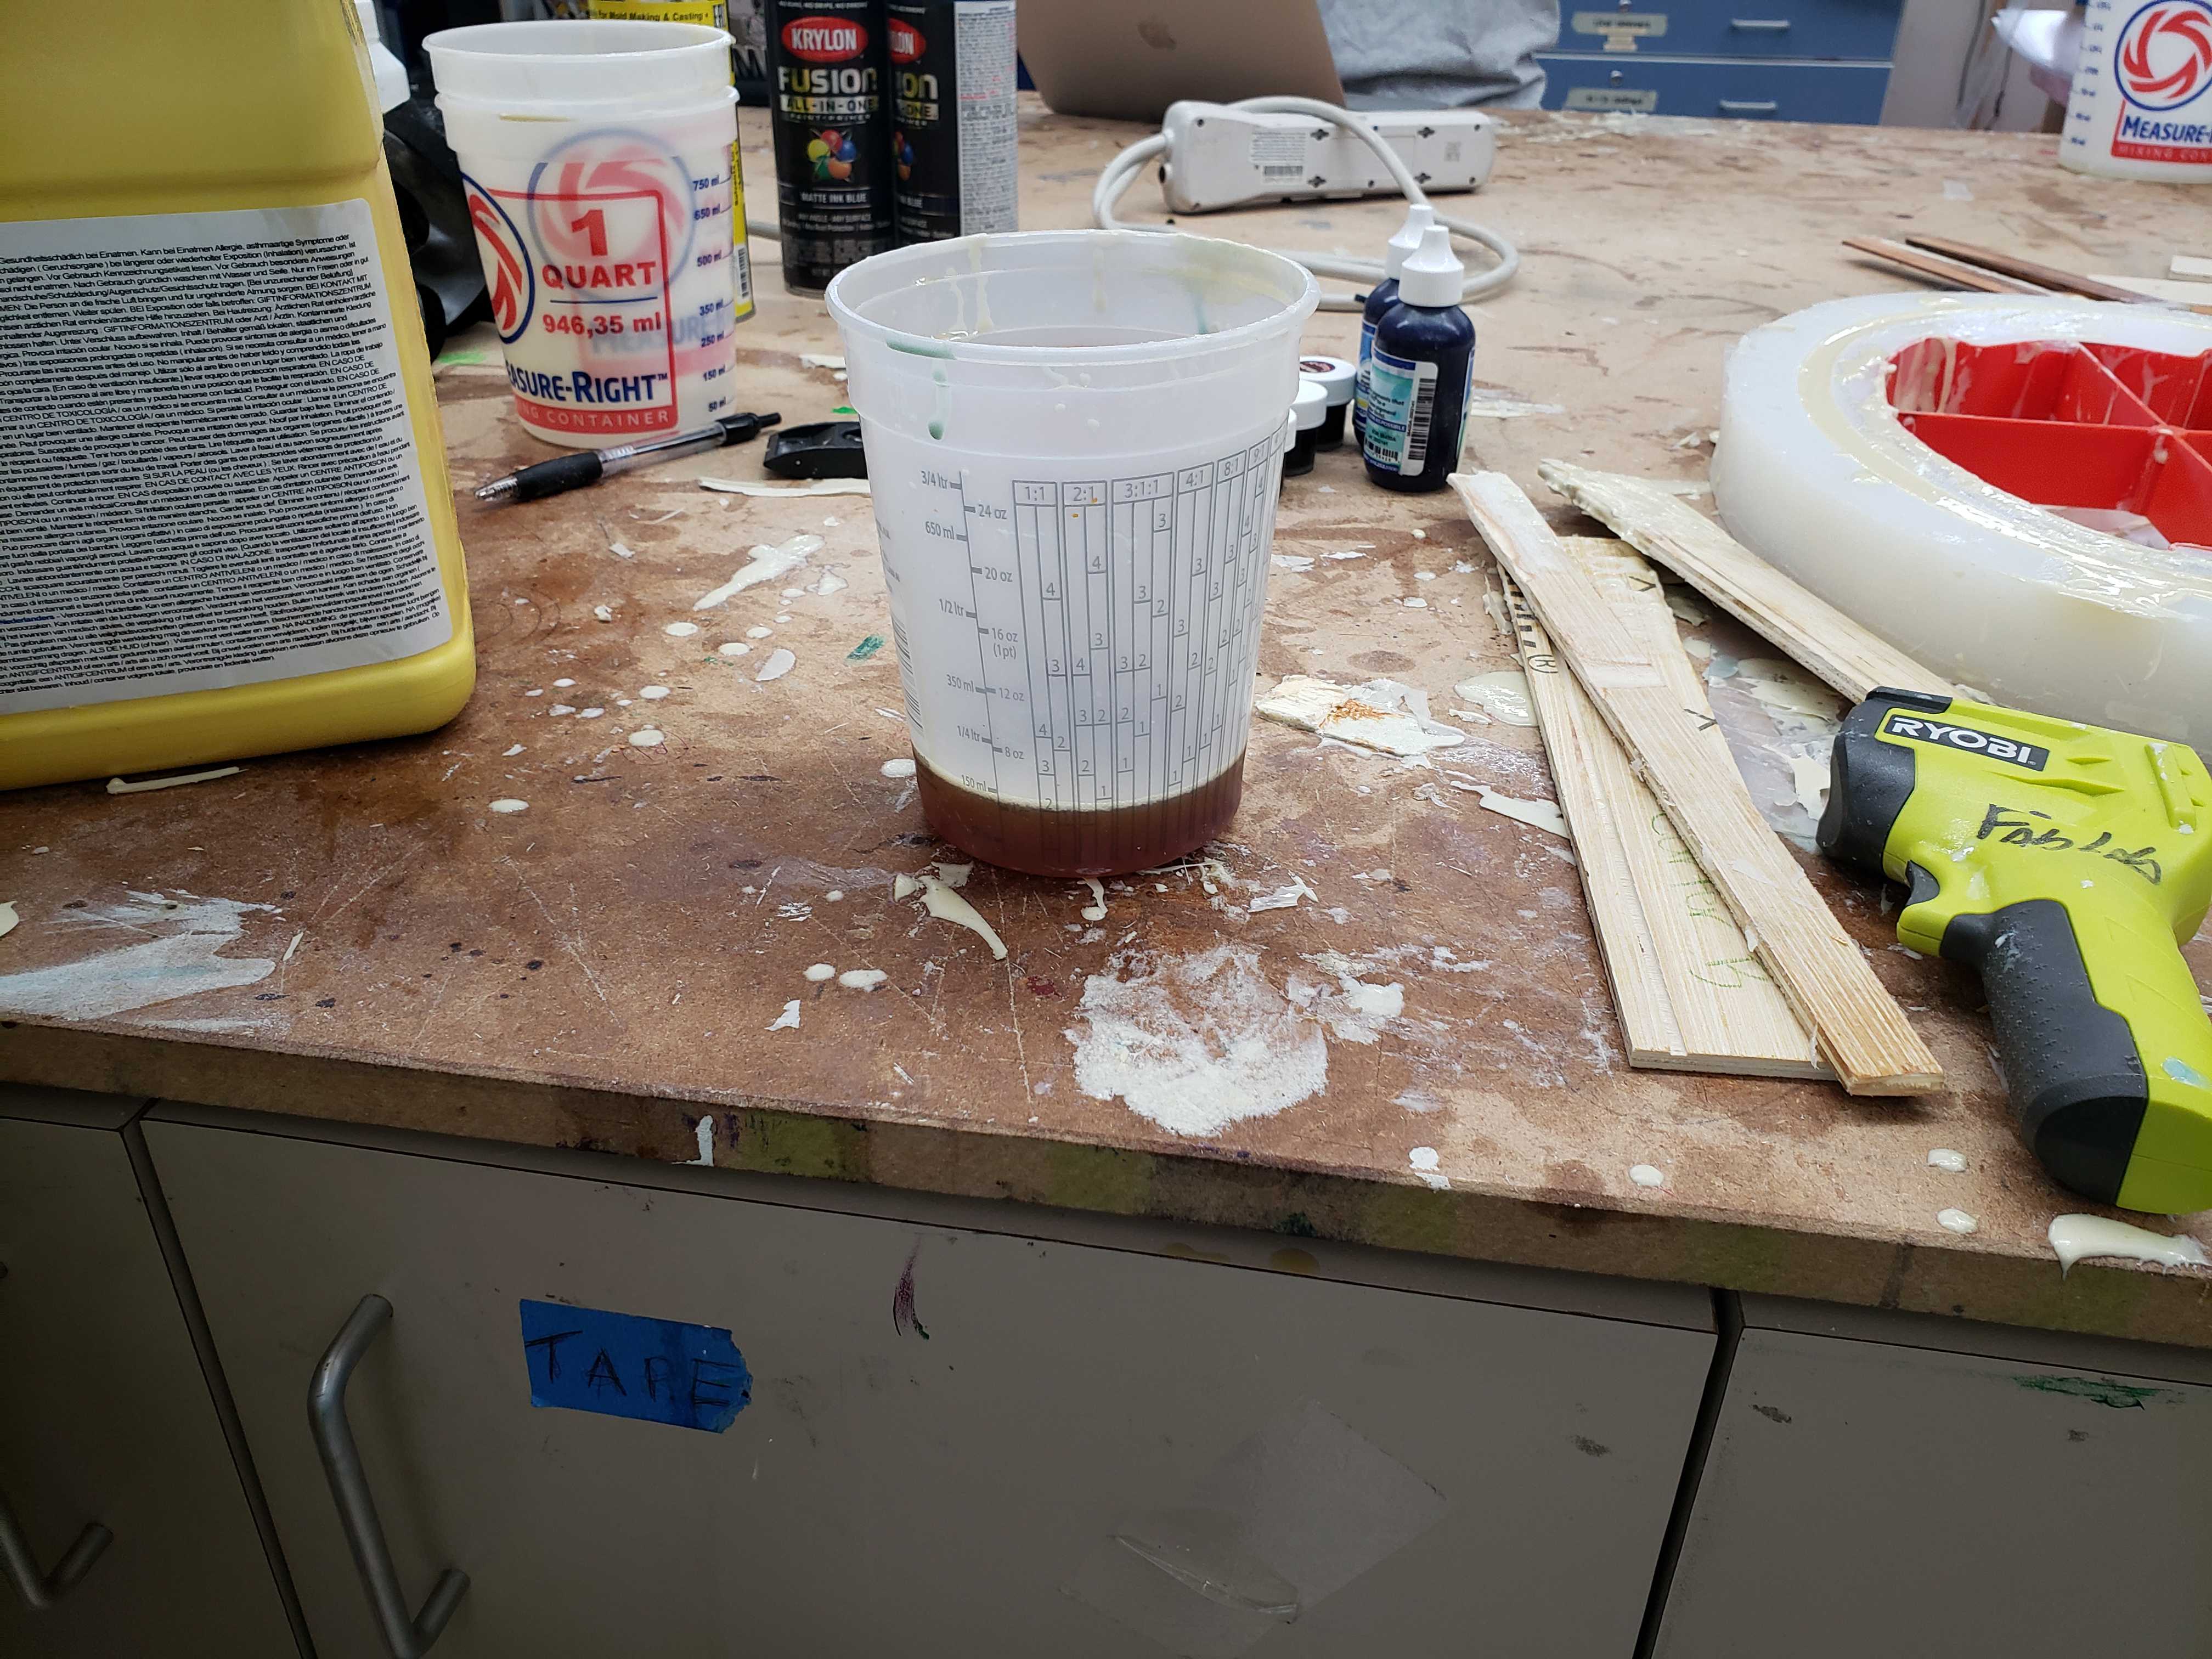
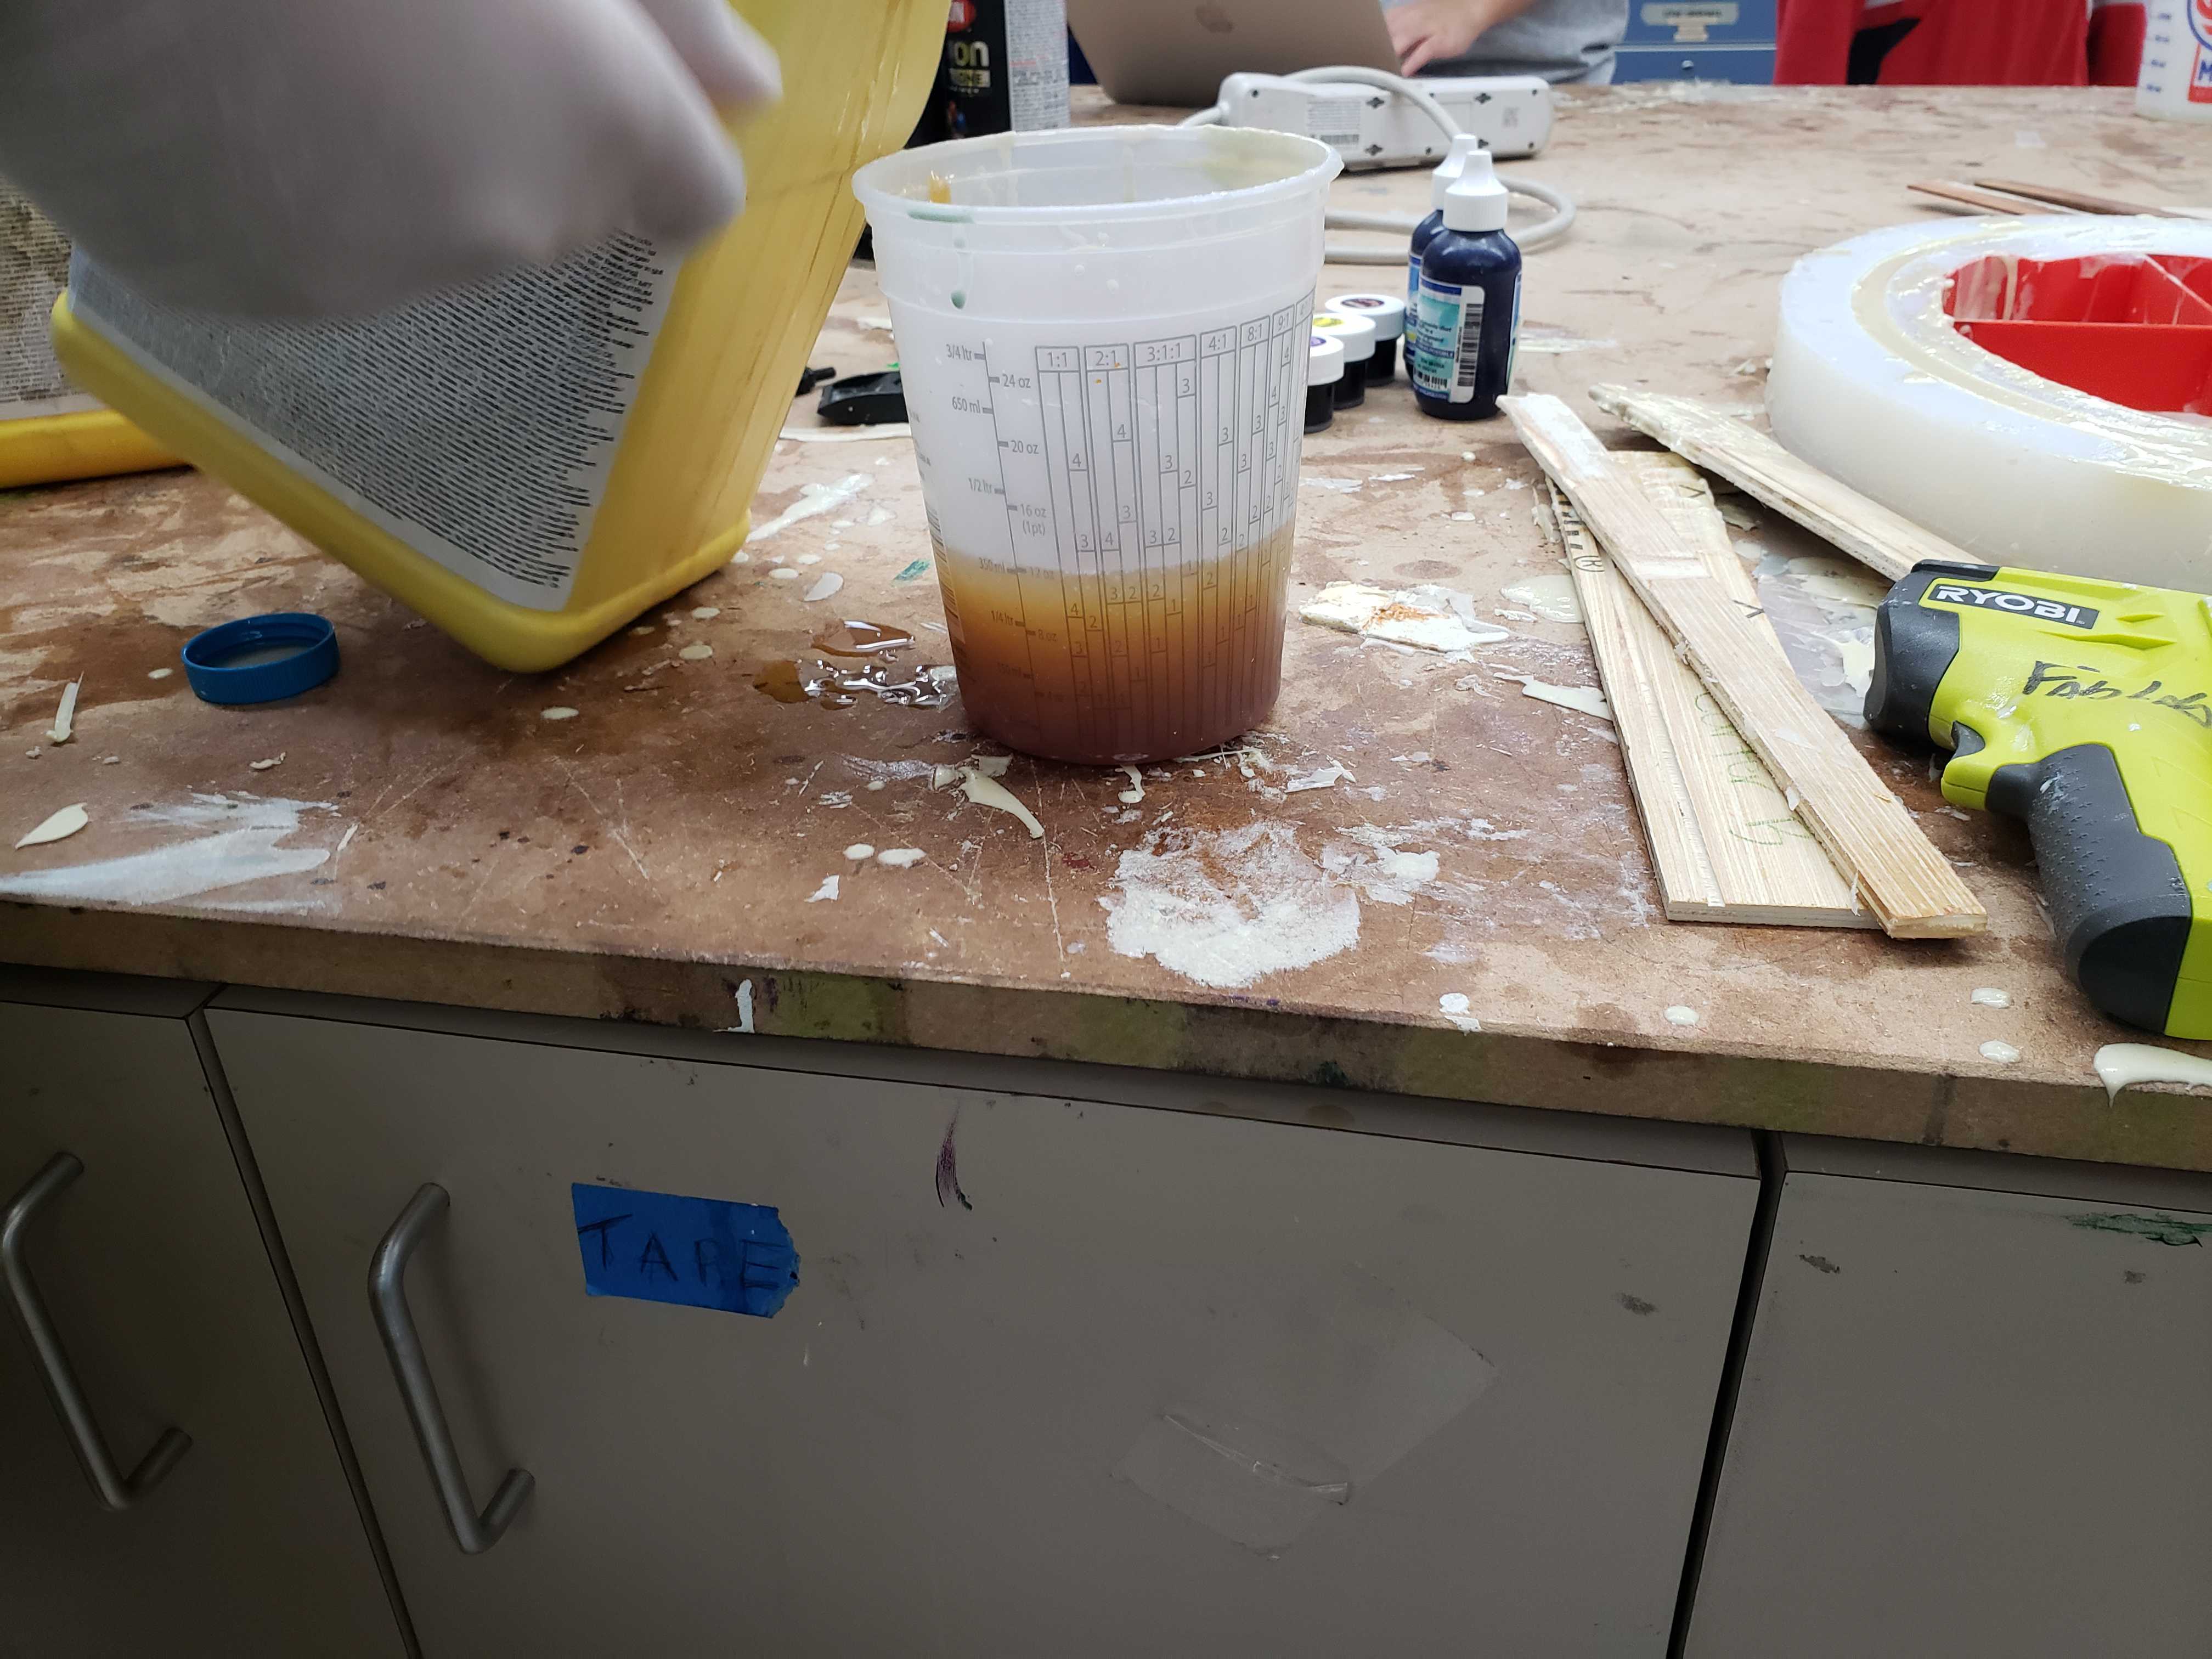
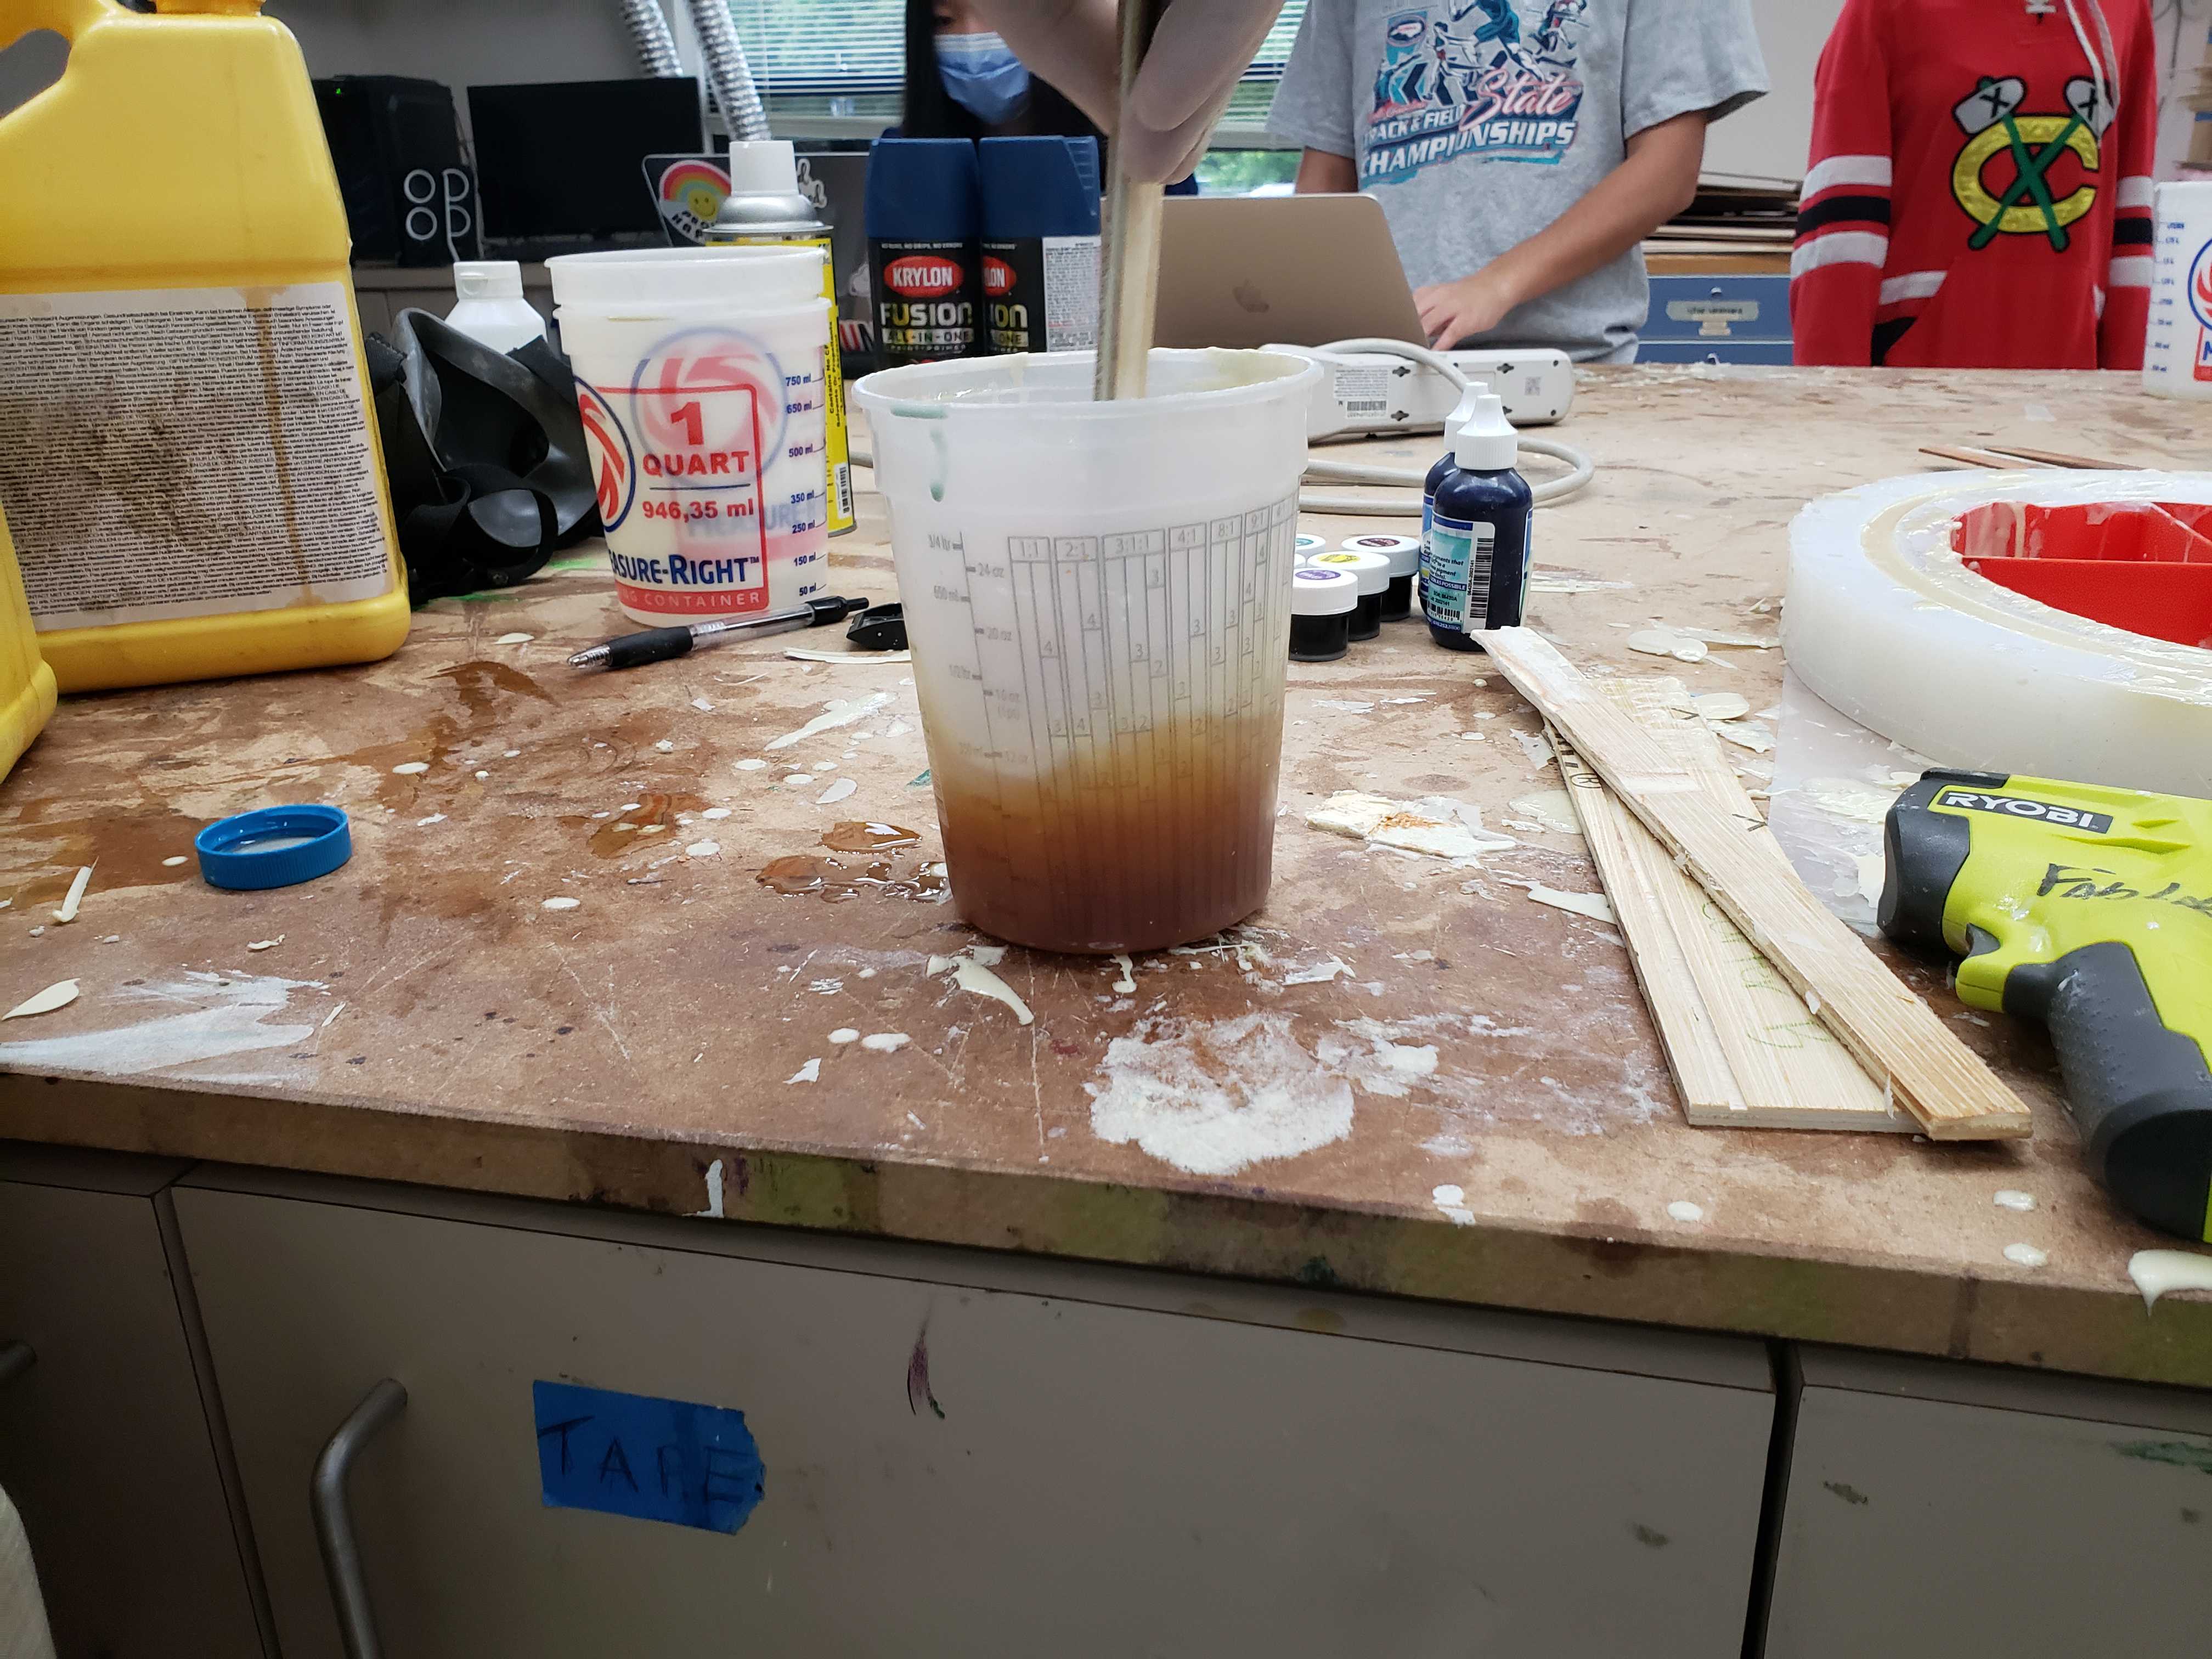
To use any molding and casting materials, the part A substance must be mixed with the part B substance in a predefined ratio and poured during the potable period. Ecoflex has a 1:1 ratio by volume, so we poured part A and part B into seperate measuring cups with equal volume. Then, we poured them together and mixed the mixture for about a minute.
Next, we poured the mixture into the foam cast and waited for 90 minutes.
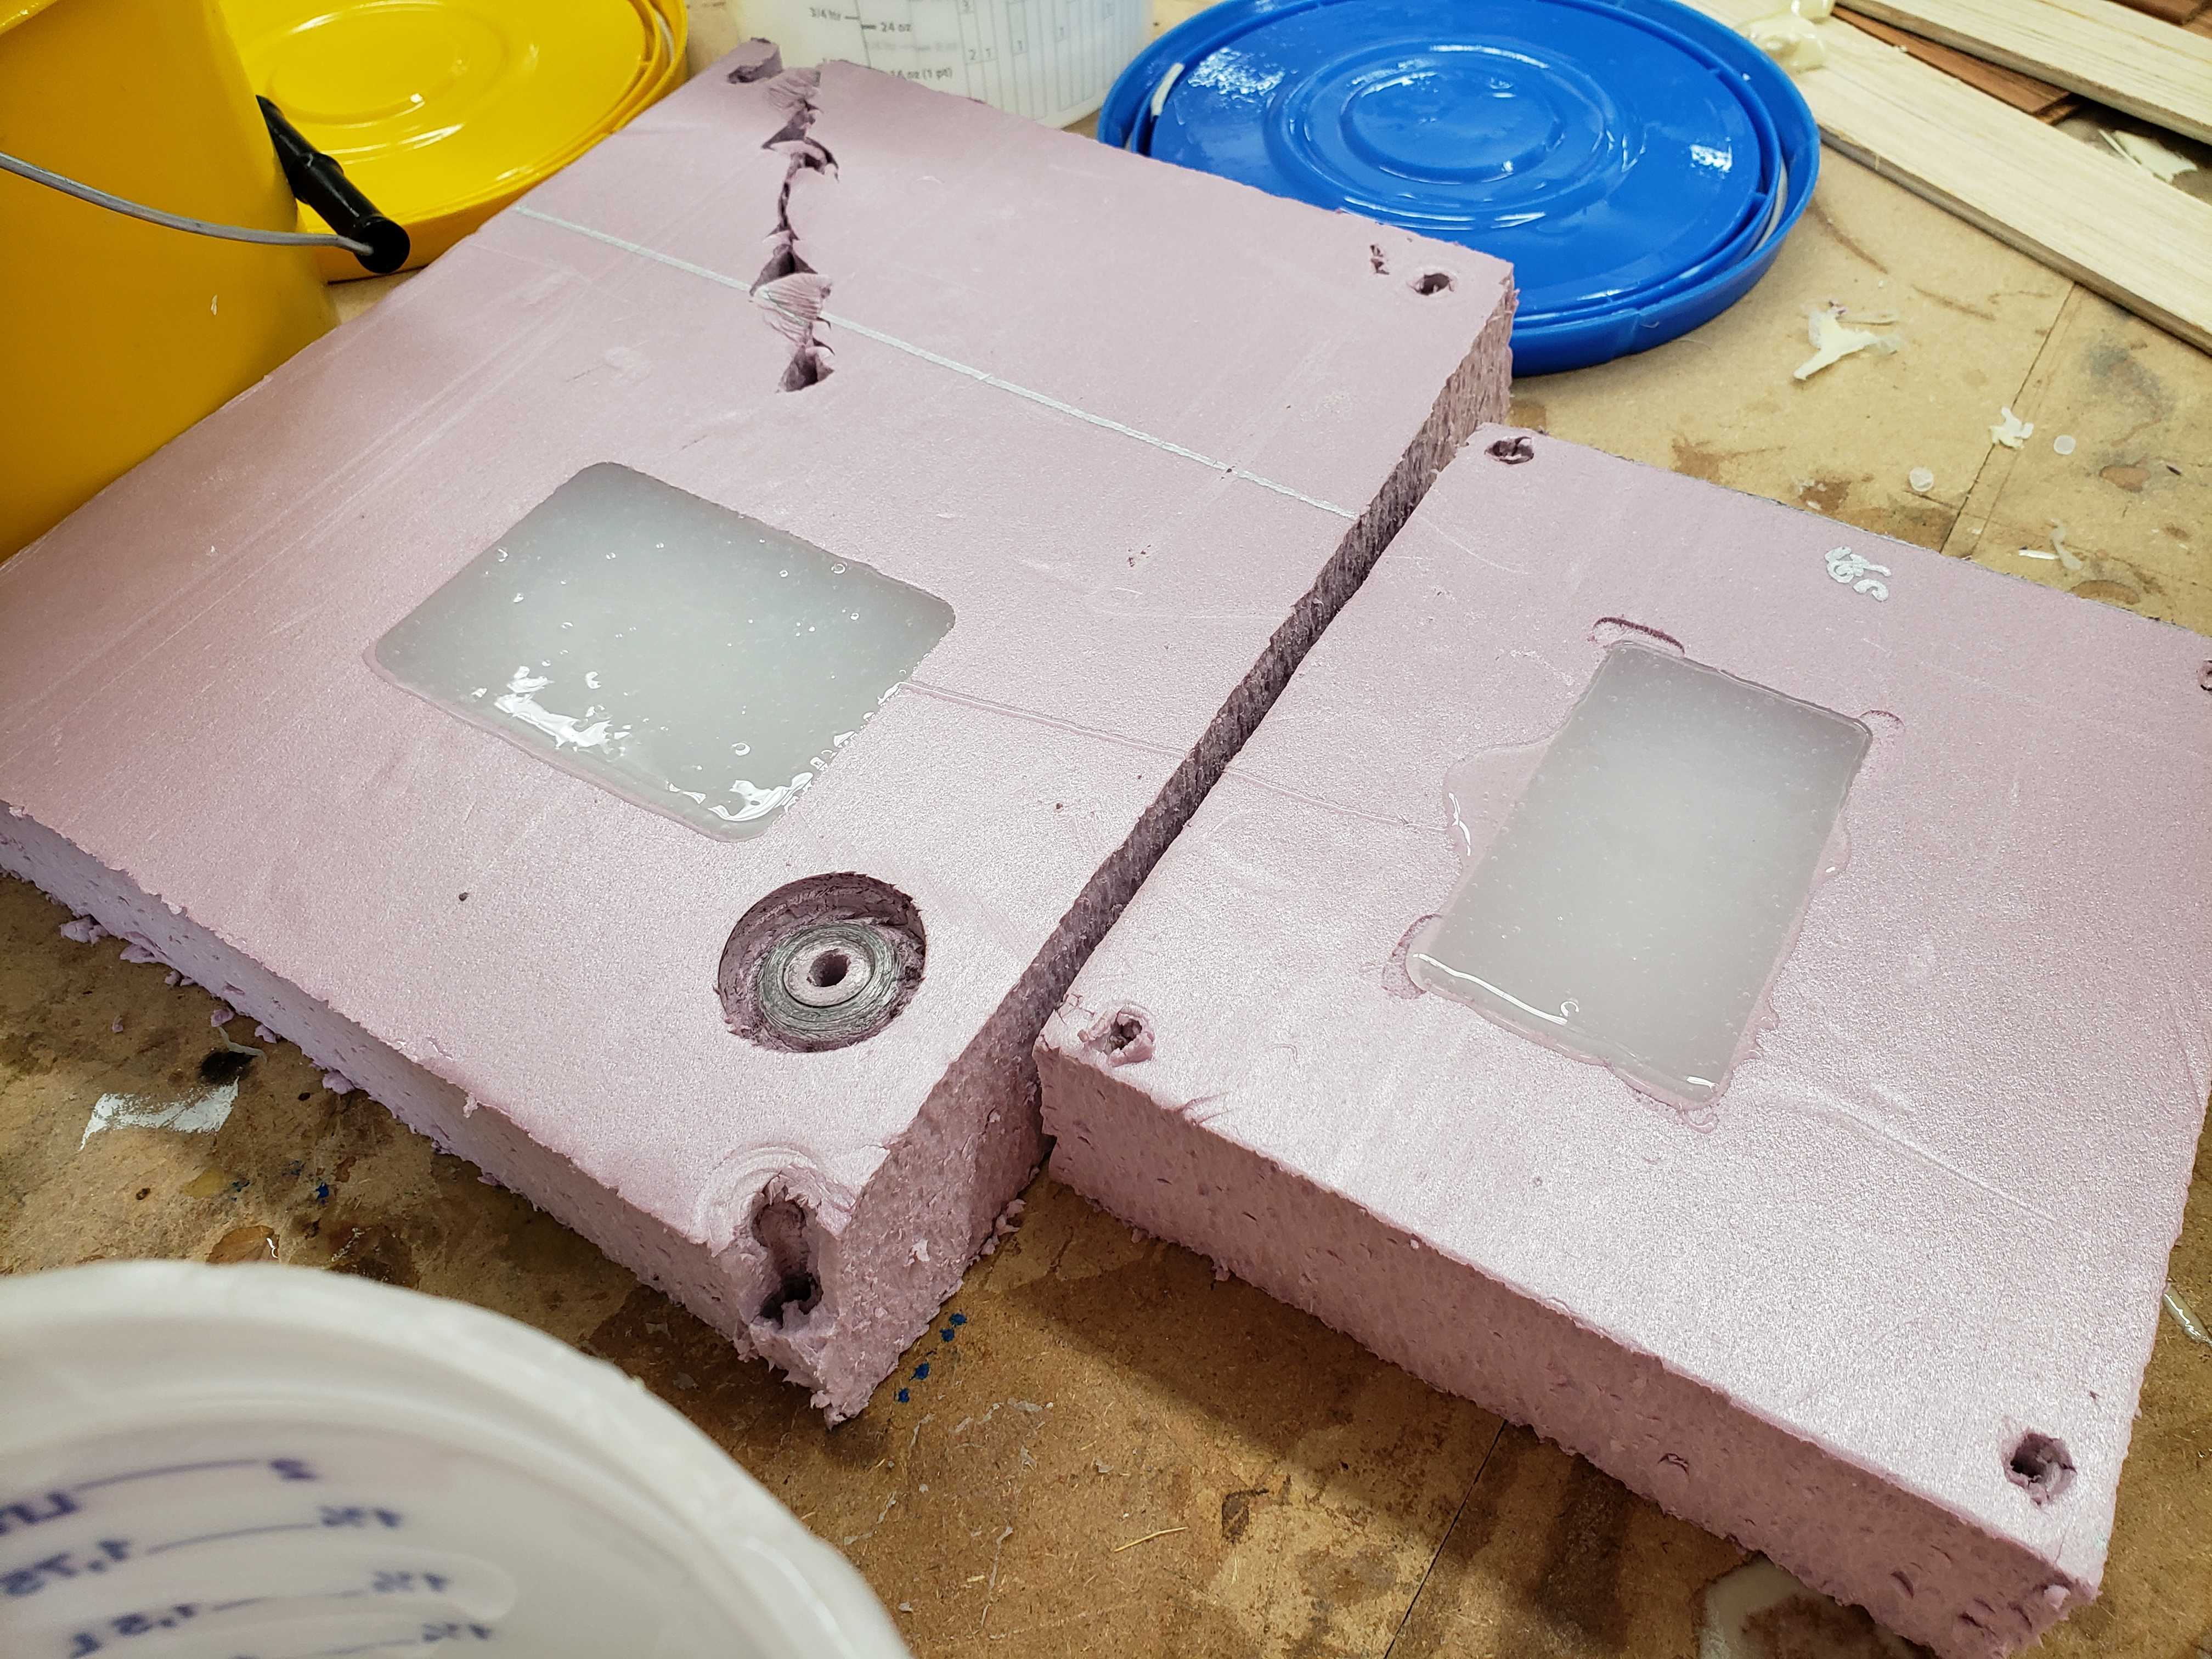
With the soft mold done, I could move on to casting the hard grip. Task 8 is a hard casting material that was readily available at the lab, so it was an obvious choice. The mixing ratio was 1:1 by volume so we repeated the same mixing process for Ecoflex.
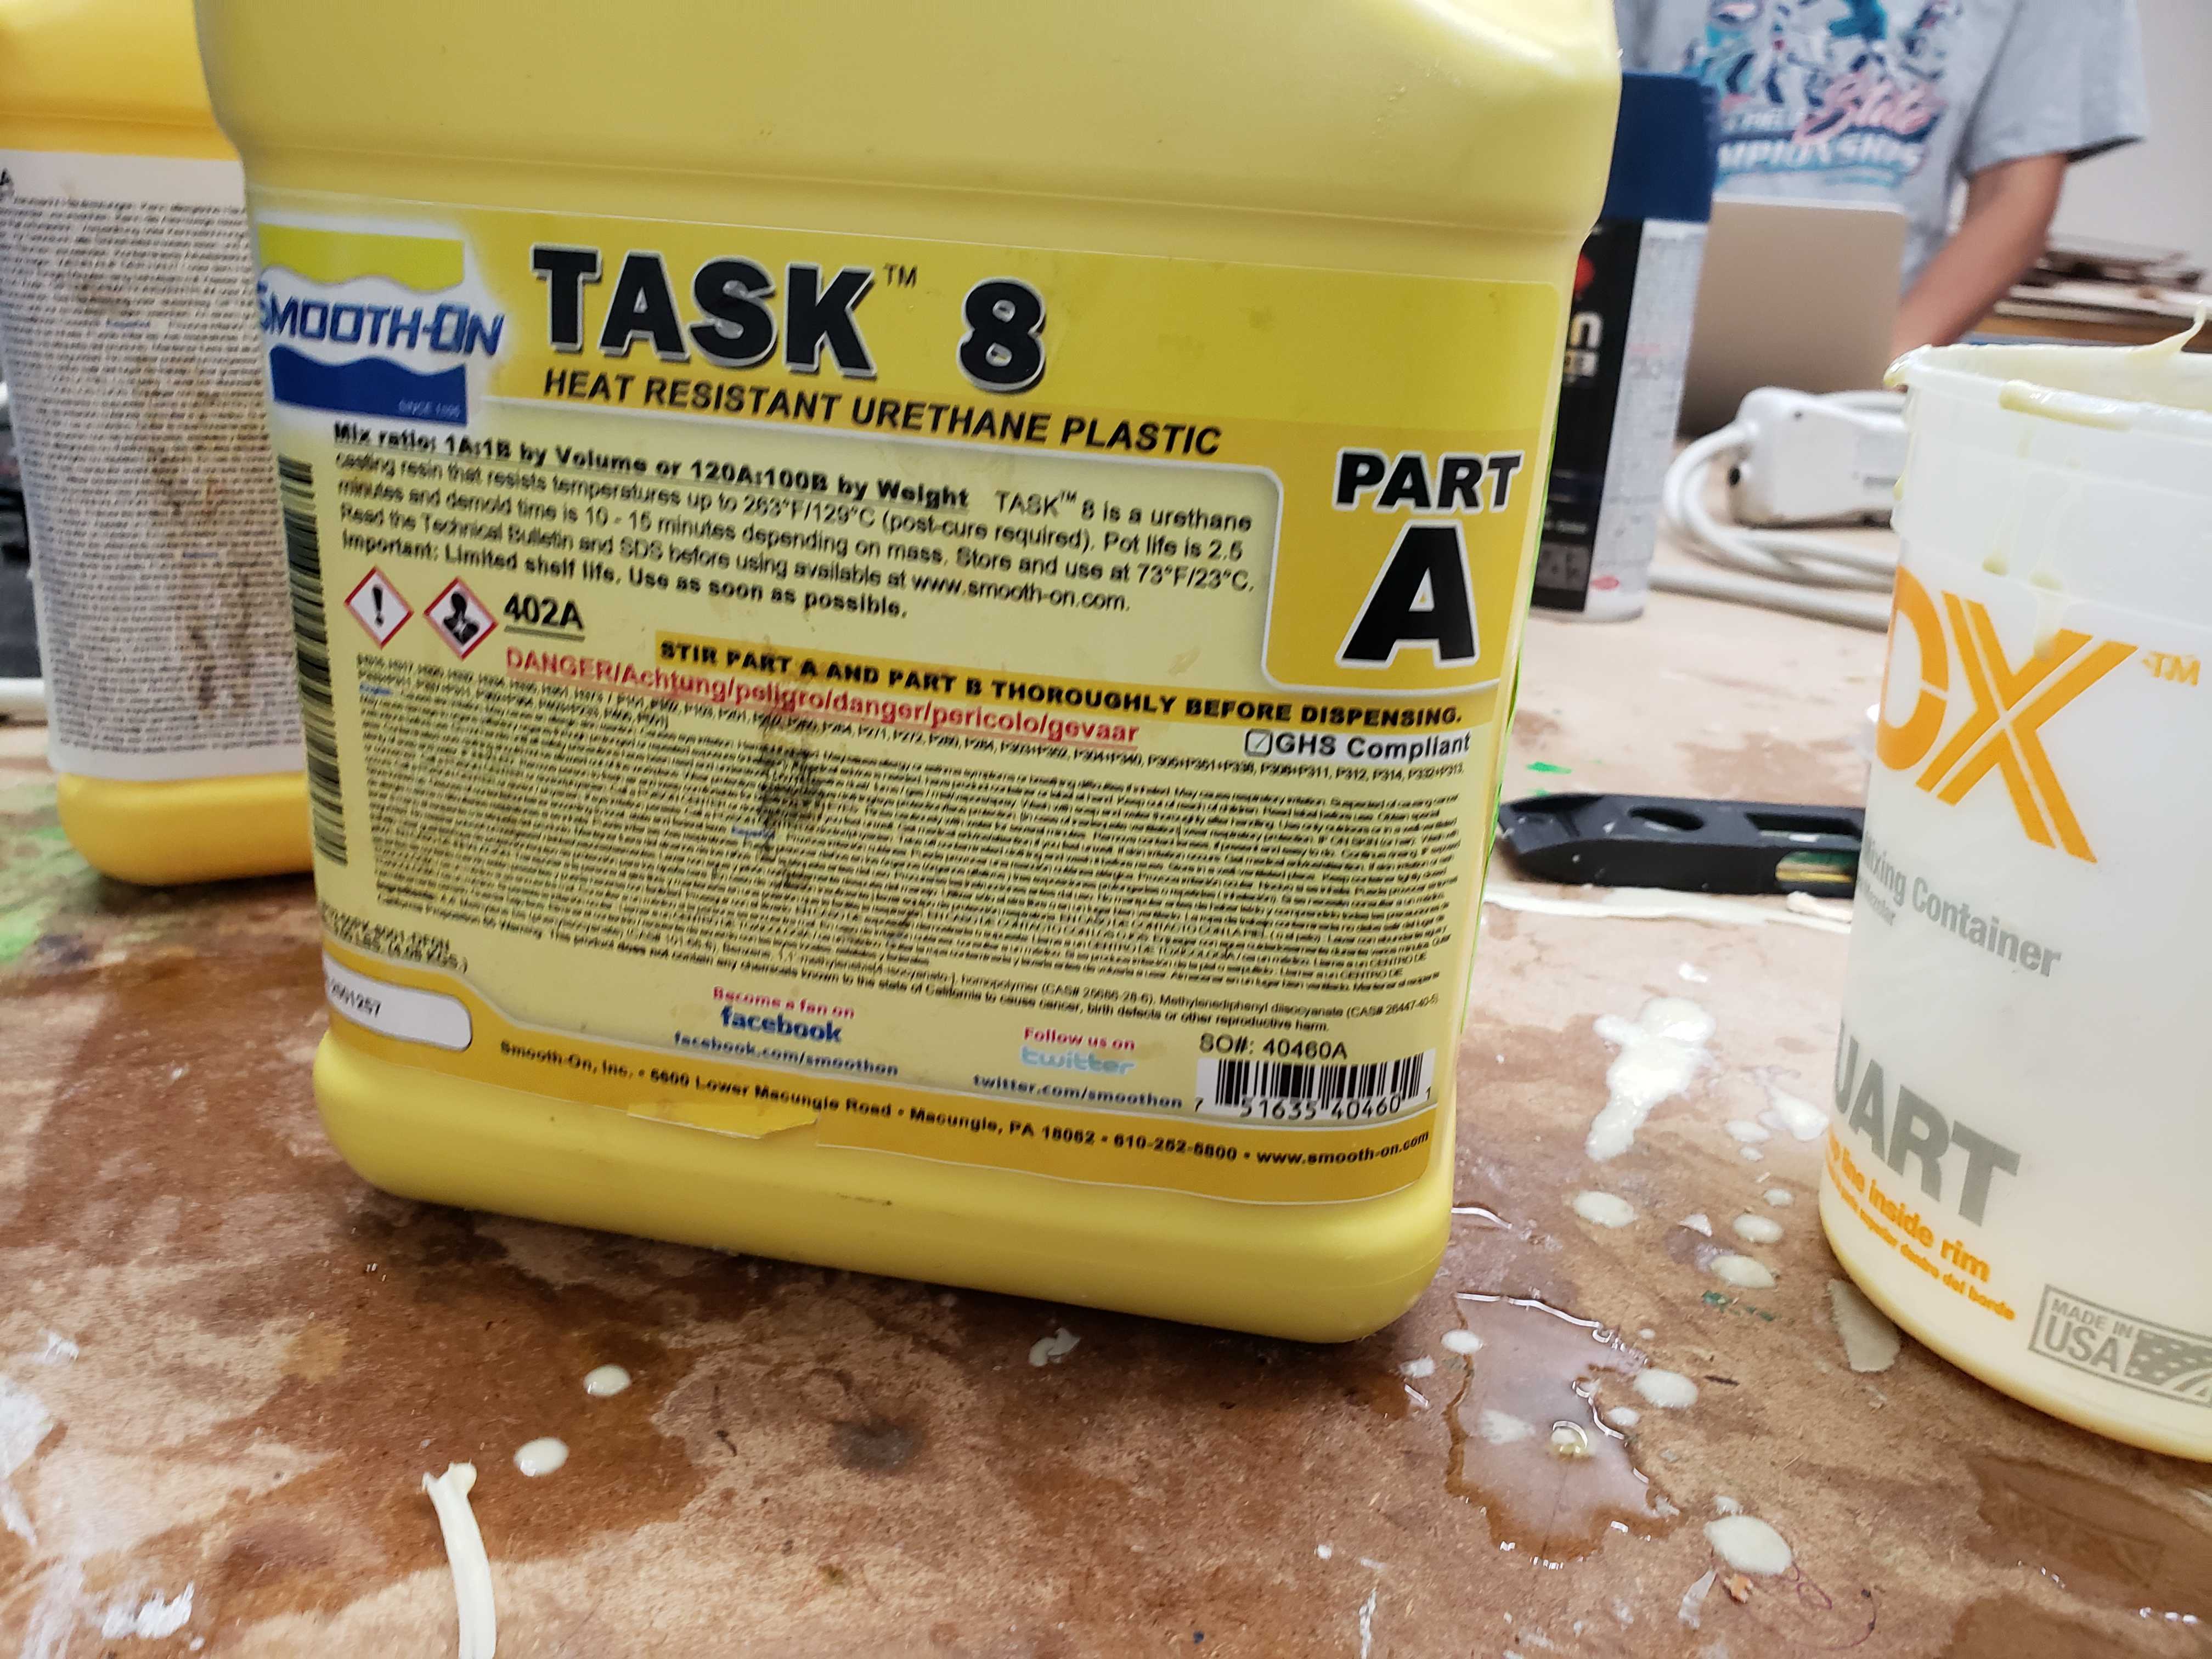
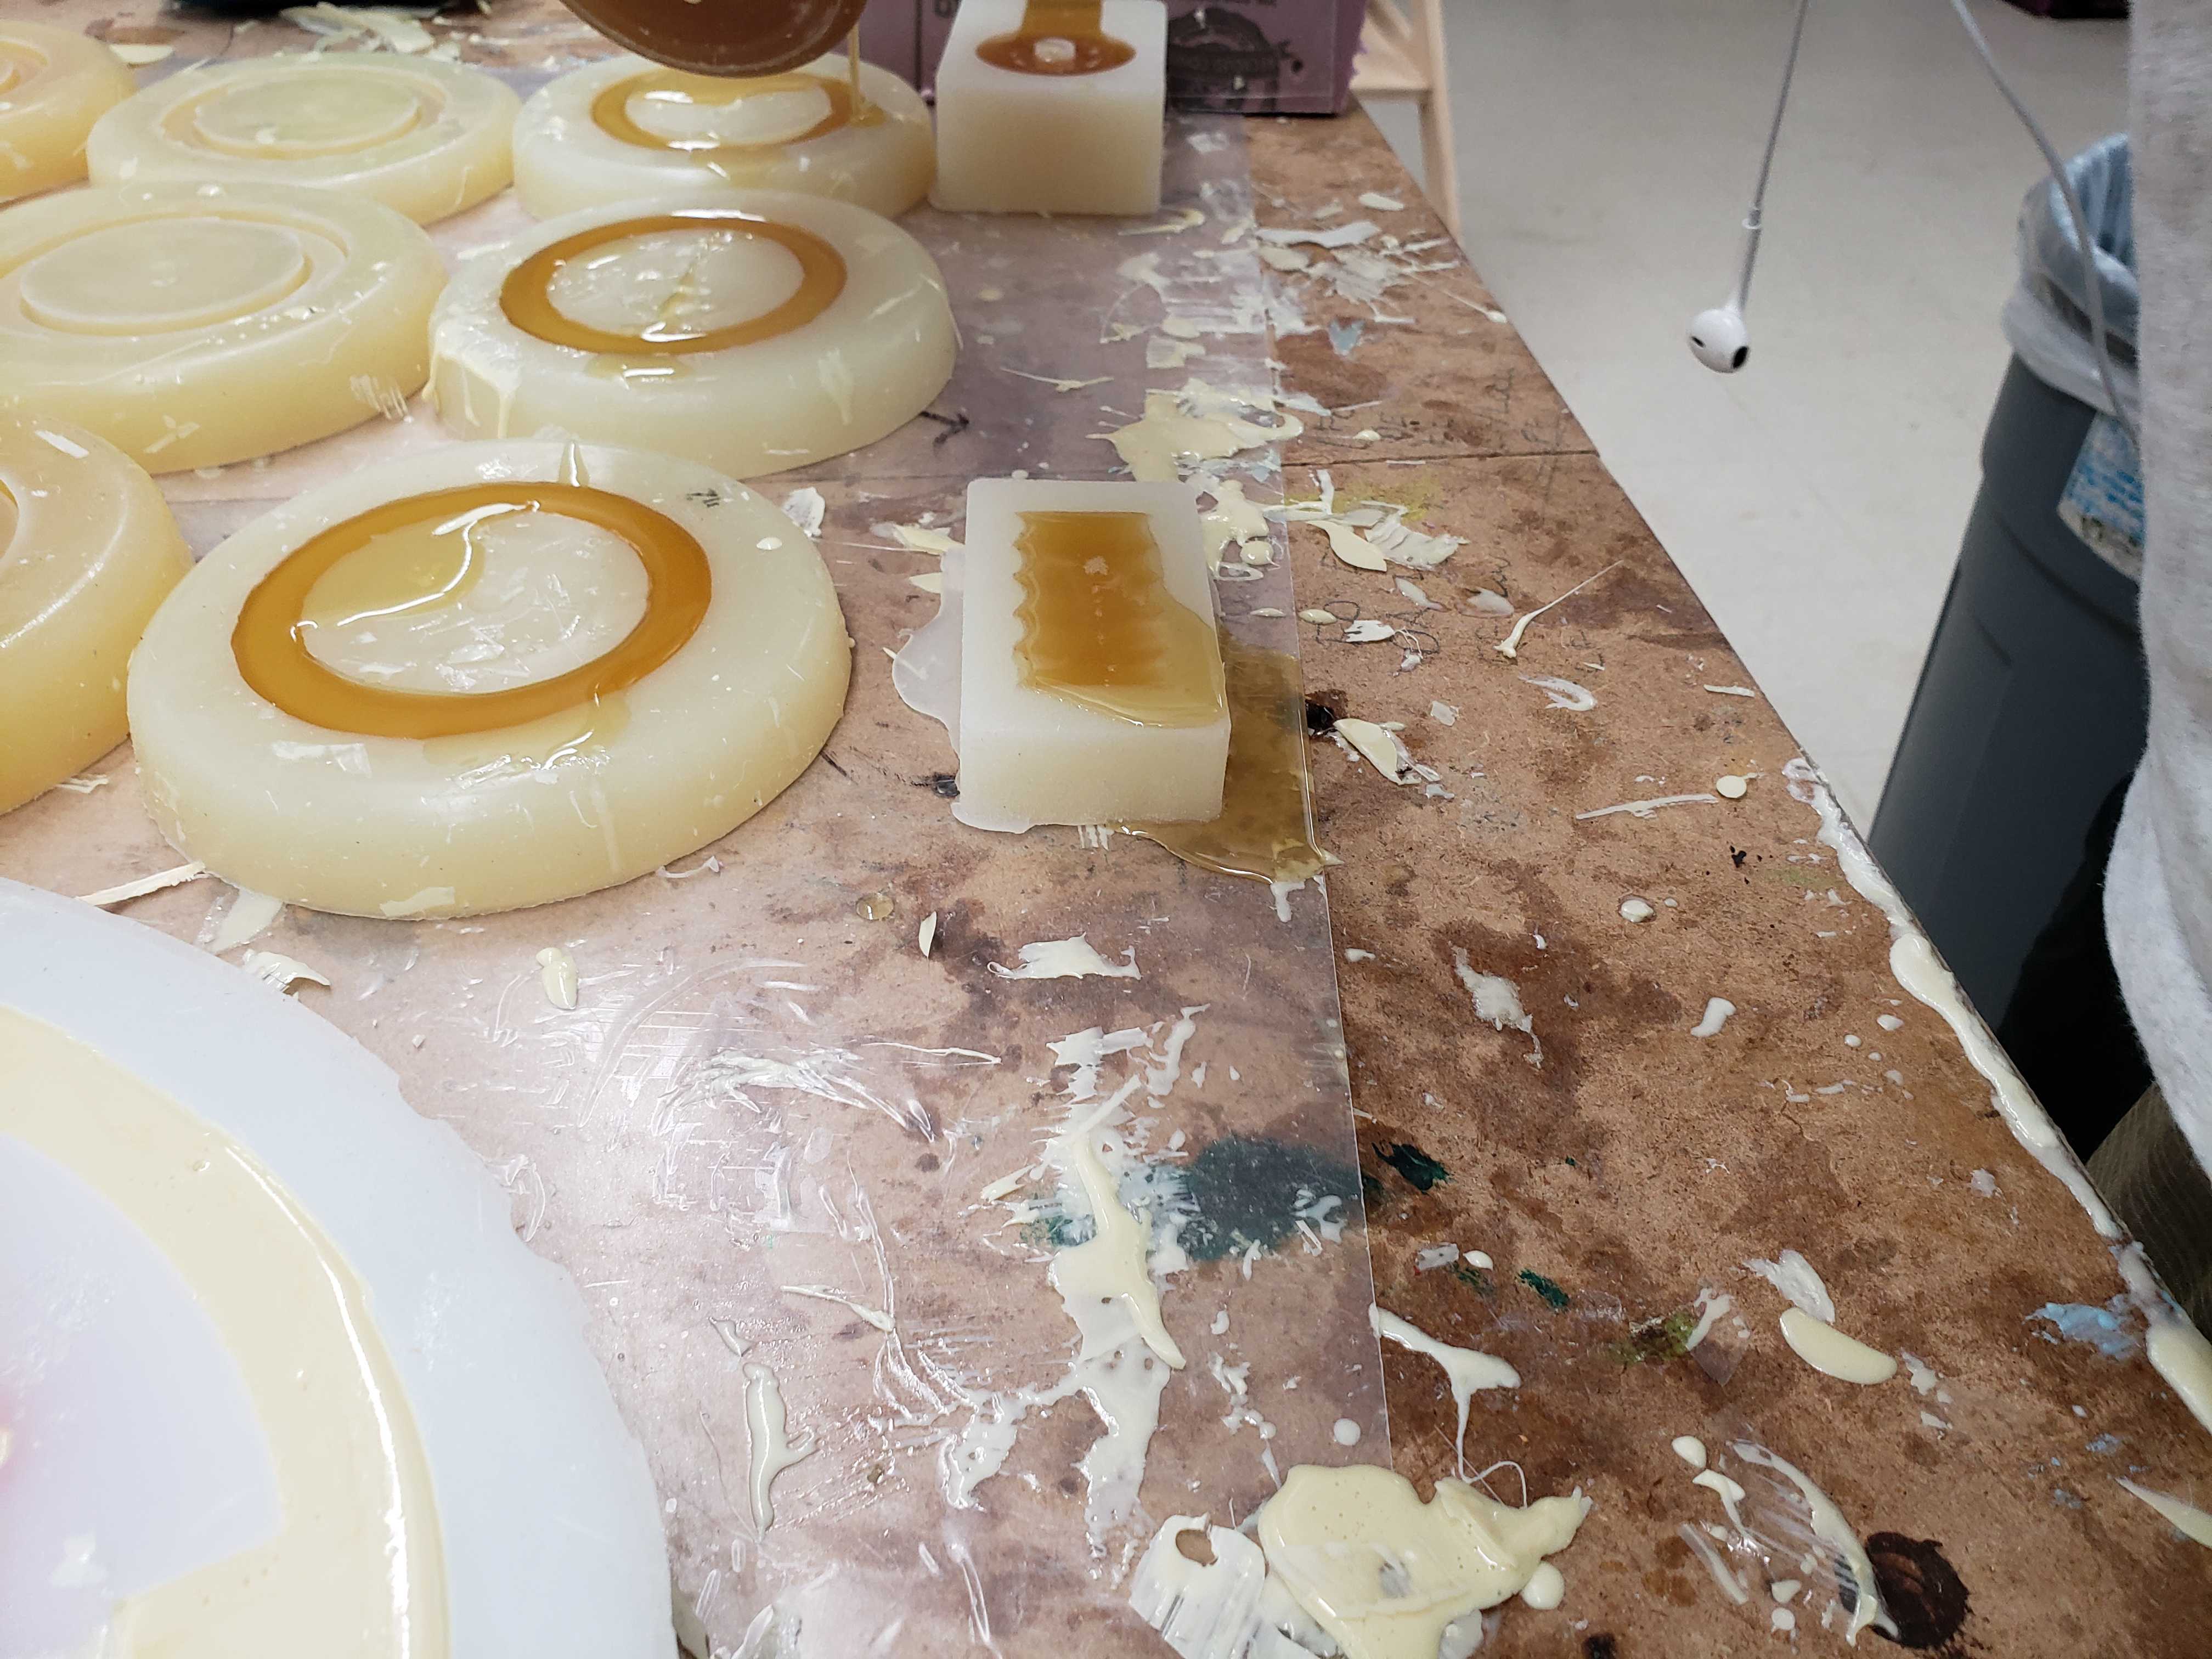
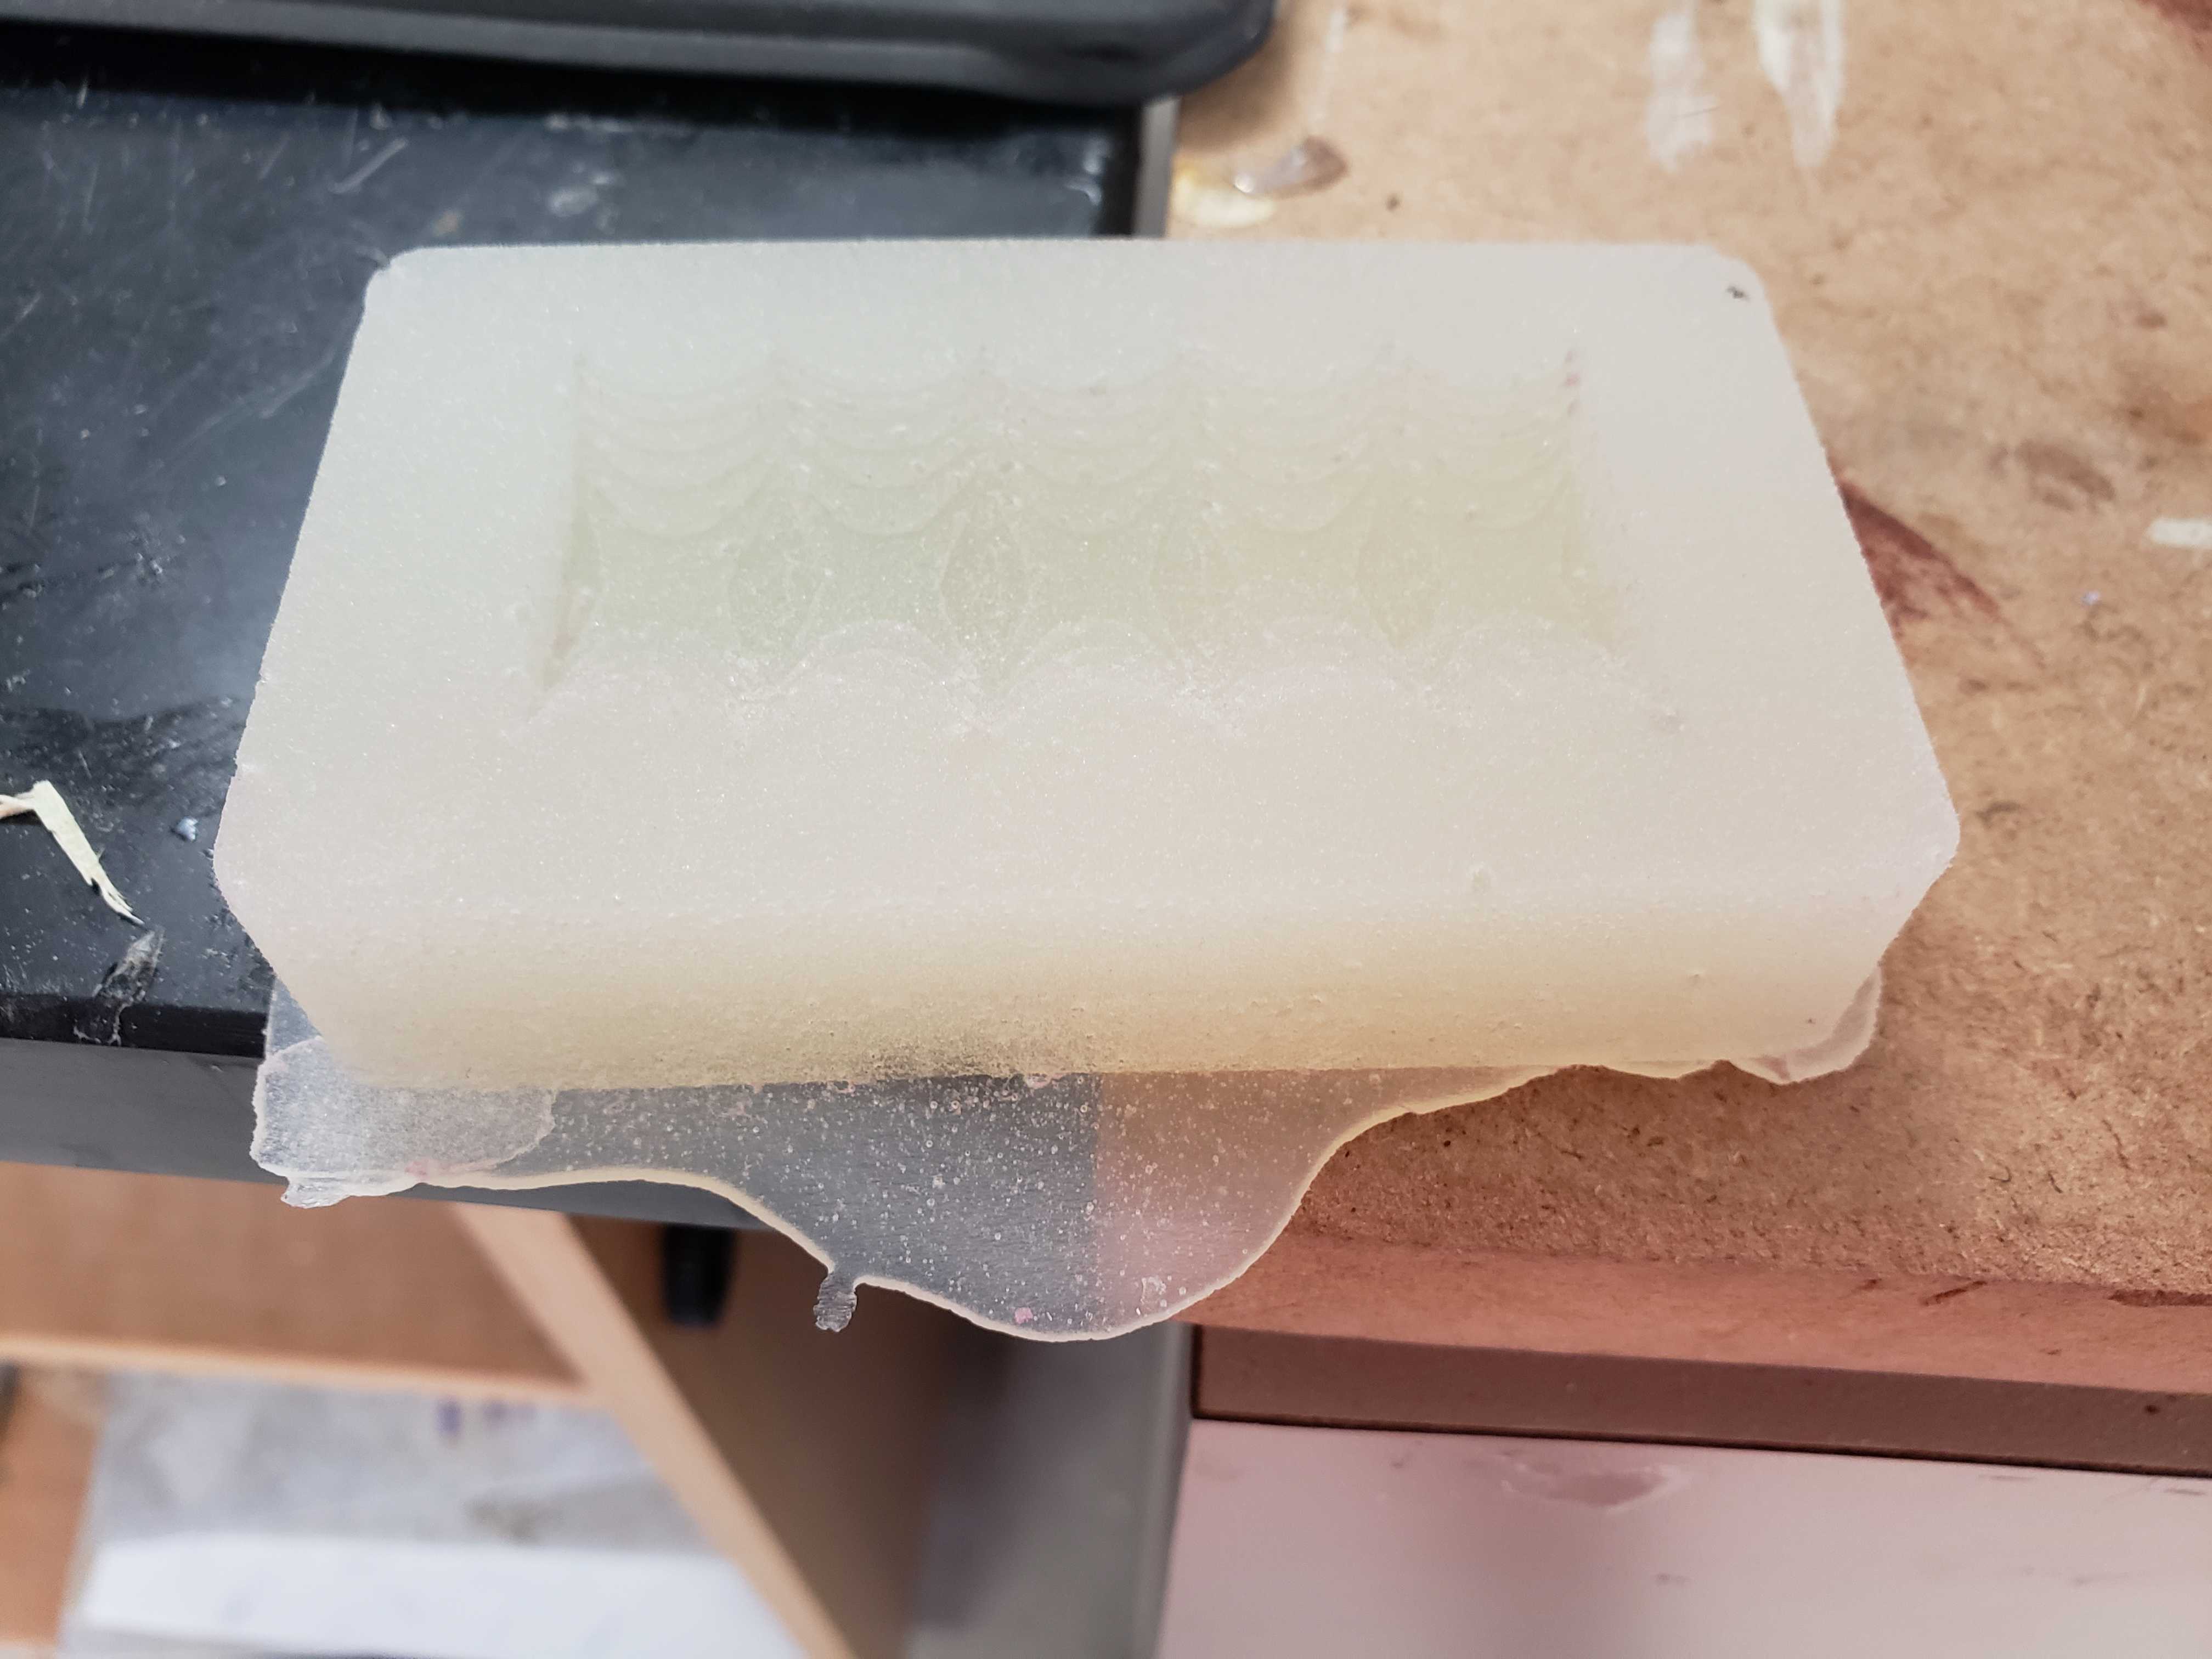
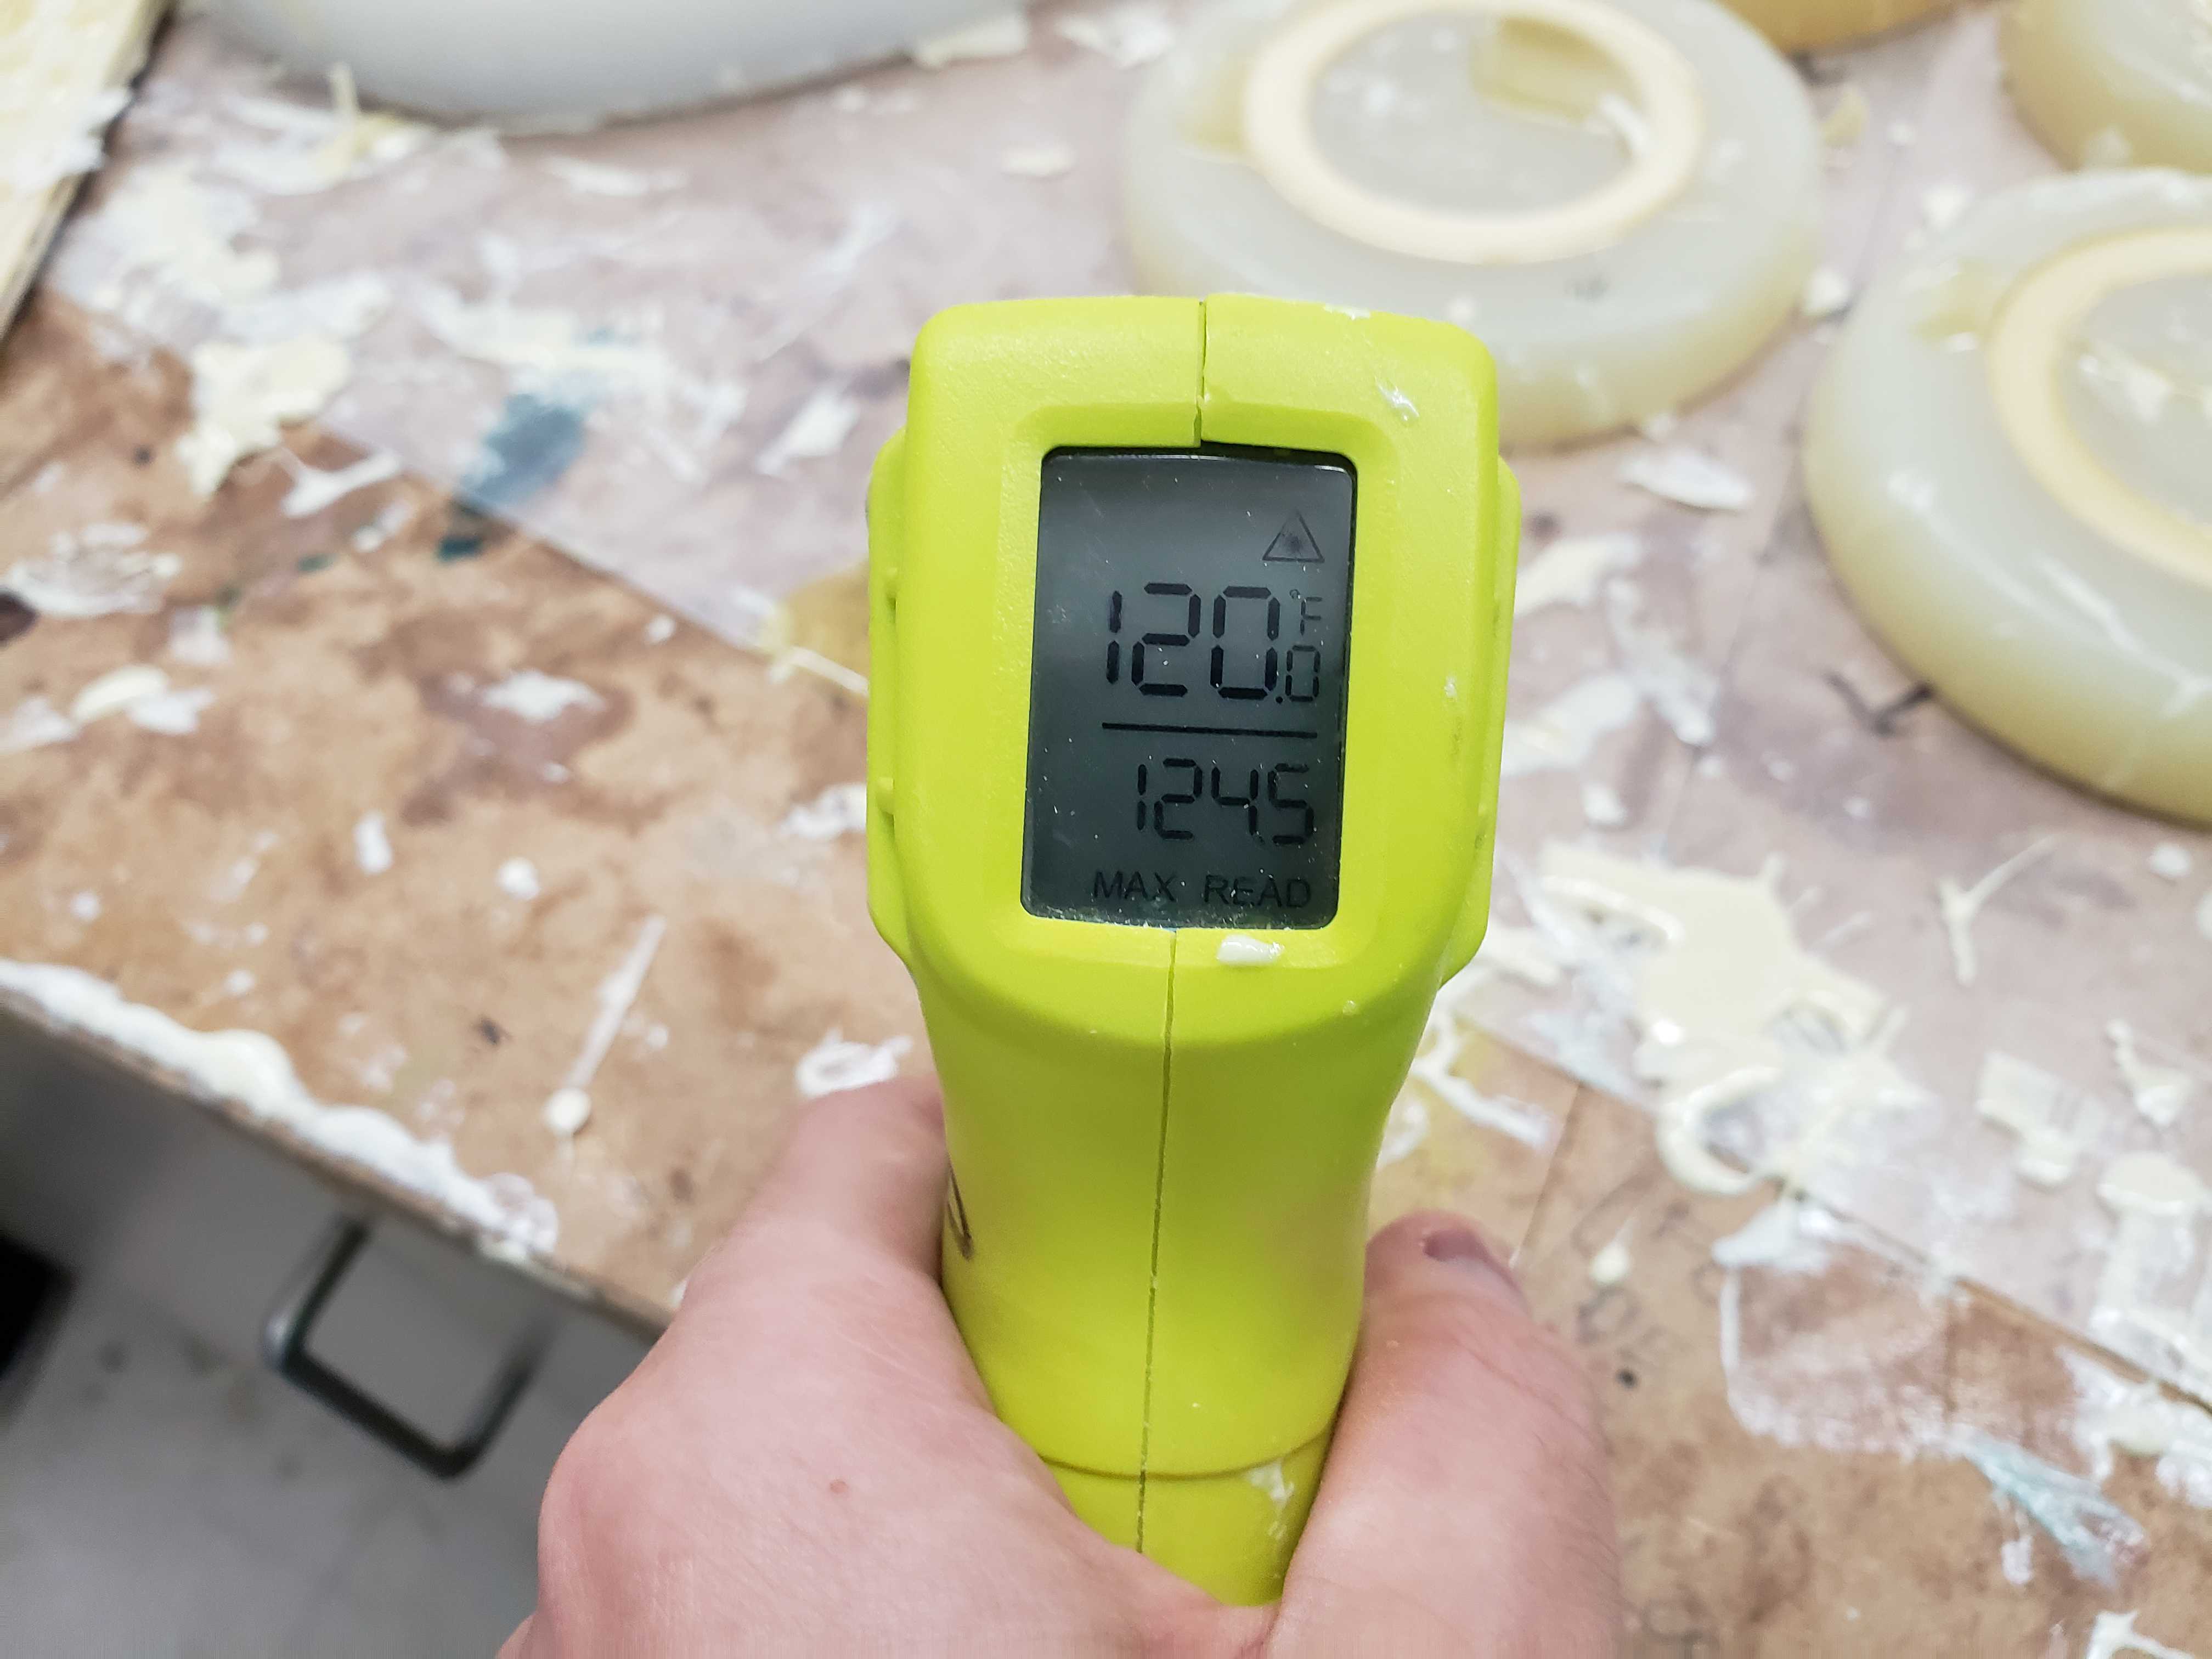
Task 8 sets at a much slower rate than Ecoflex, but we could check on the progress by using a temperature gun because the process is highly exothermic.
Finally, the cast cooled down and hardned, yielding a replica of the grip.
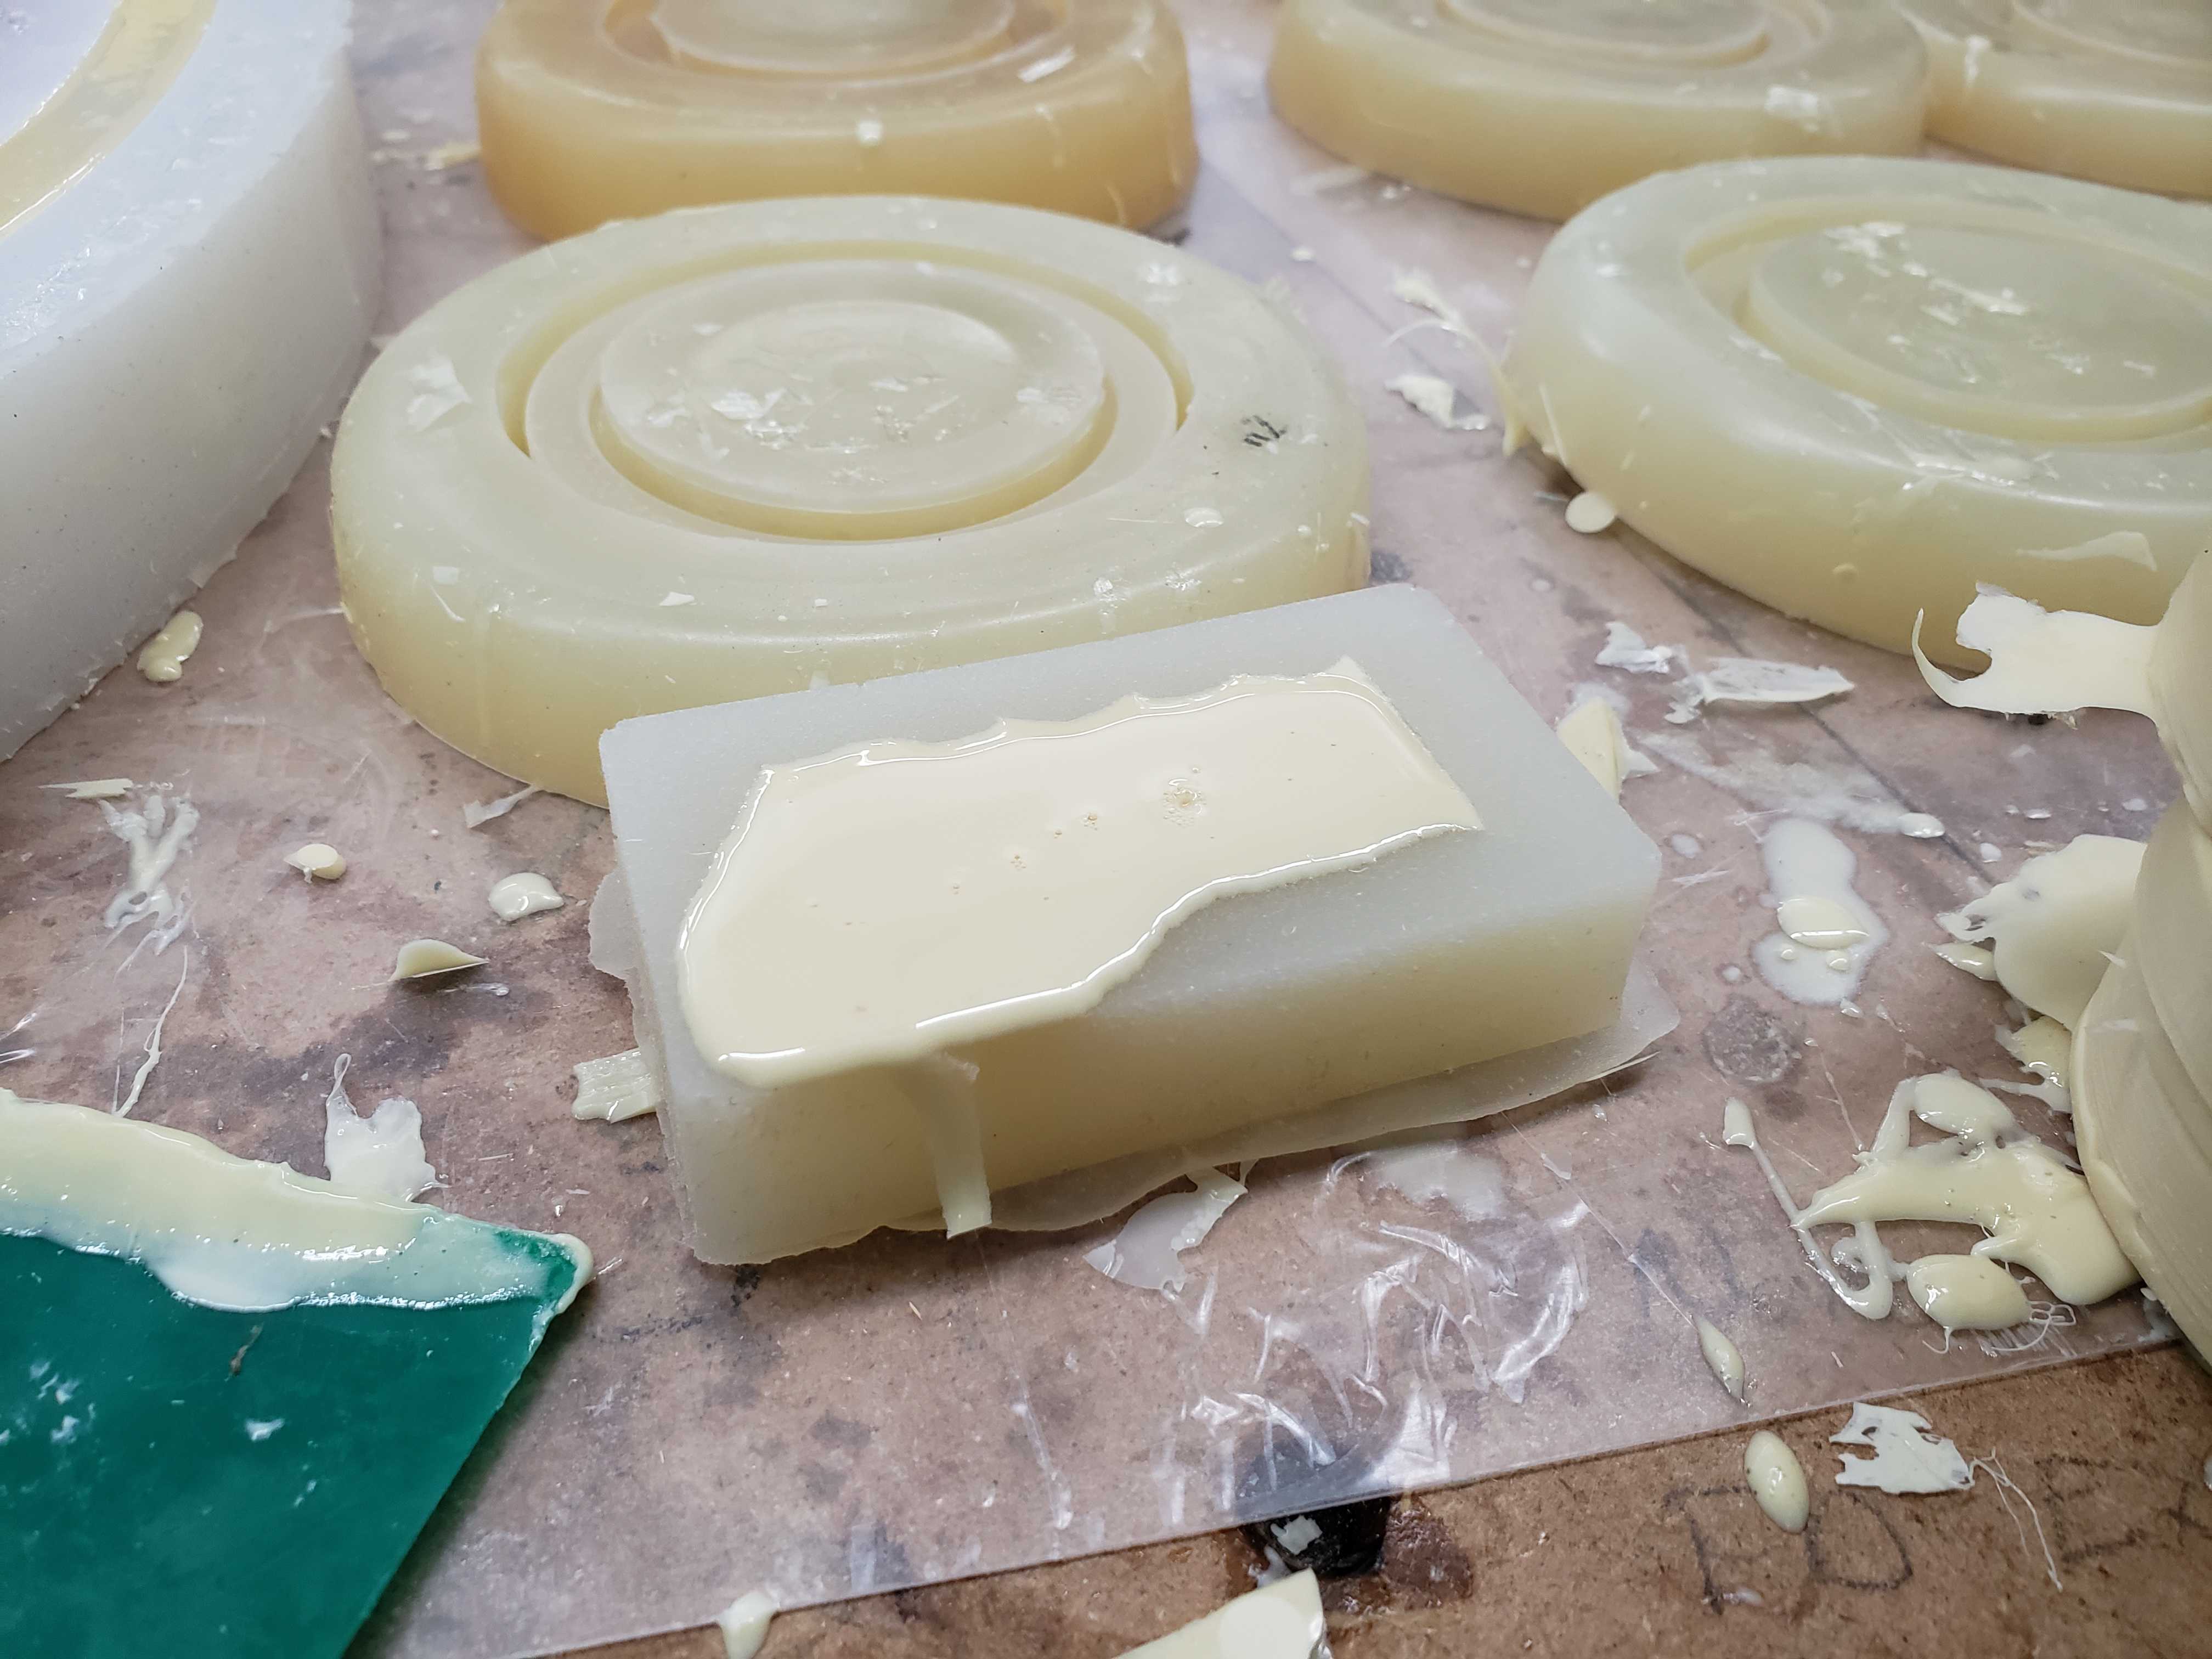
Here is the result:
This week, I learned how molding and casting can be used to create replicas of a shape with differing material properties. This experience will help me create parts of my wand that require physical properties that casting material can only provide.