5. 3D Scanning and printing
This week I had to design and 3D print an object (small, few cm3, limited by printer time) that could not be made subtractively, as well as 3D scan an object. For the group project, we had to test the design rules for our 3D printer.
Group Project
For the group project, we had to test the design rules for our 3D printer. The documentation for it can be found here: Group Project
Personally, I downloaded and organized the files we had to use and worked on definitions for the concepts we had to learn about. I researched the definitions for anisotropy and infill. For 3D printing, I organized the parts we had to print together– the ones that specifically needed supports, and the ones that did not. I helped document as other group members went through the 3D printing process. I’ve 3D printed quite a bit from other classes before, so I felt comfortable with the process. From this project, I learned that I could use details about design rules to customize different prints. I learned what the definitions of each concept was, as well as certain capabilities of 3D printer.
Designing and 3D Printing an Object
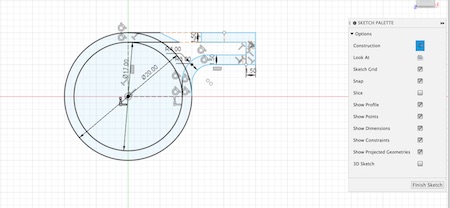
I decided to print a whistle this week, since it is something that cannot be made subtractively. I found inspiration from this post on Thingiverse. I opened Fusion360 and started designing. I made two circles with a difference in radii of 2 mm. Then I added more lines for the mouth piece of the whistle.
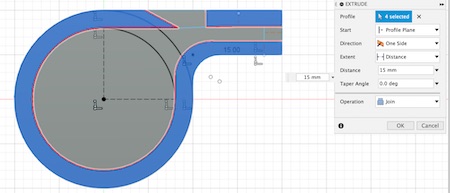
Then I extruded everything down by 2.5 mm. I wanted the total whistle width to be 20 mm wide, so I extruded the exterior parts by 15 mm to leave space for the top layer.

Afterwards, I added four small 0.6mm diameter supports for the inner ball of the whistle.
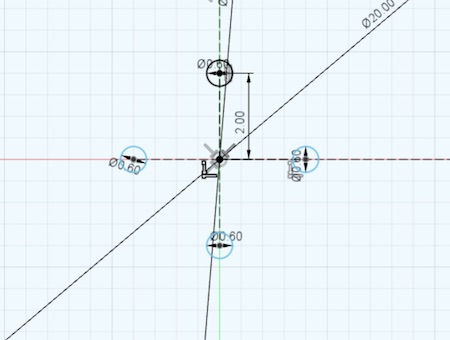
I designed the inner ball. I stayed in the Solid section and went to the “Create” dropdown. I clicked the “Sphere” option. I then made a sphere with a inner radius of 3mm. I moved the sphere forward 3mm so that it touched the inner surface of the whistle. Then I moved everything (the sphere and the four supports) closer towards the opening so that I would be able to use tweezers to poke the supports off.
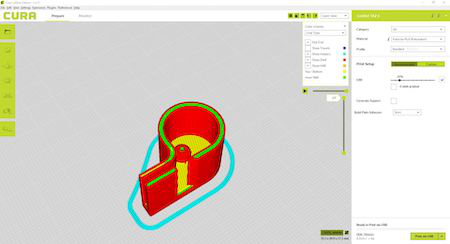
Once I got here, I exported the file as an OBJ file. I then imported it into Cura. Under the Prepare section, I chose my material as “Polylite PLA (Polymaker)” and moved the infill slider to 20%. I left everything else as was. I looked at the layer view so that I could see what the print layers would look like.
Then I moved to the Monitor section and preheated the hot end to 220 degrees Celsius and the build plate to 60 degrees Celsius. I made sure to connect the 3D printer. I extruded some PLA with a Move length of 10 and an Extrusion amount of 10 as well. I then clicked Extrude, and used tweezers to remove the extrusion. Then I made sure the 3D printer was preheated and clicked Print and let the printer to the rest of the work.
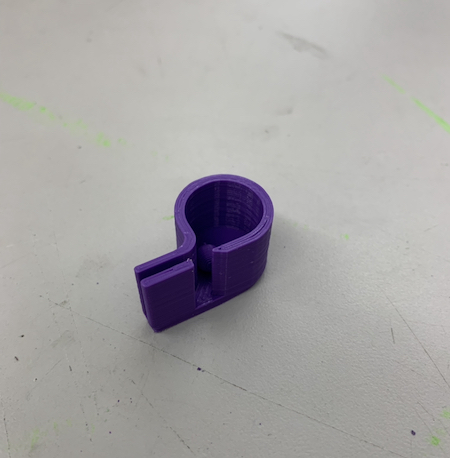
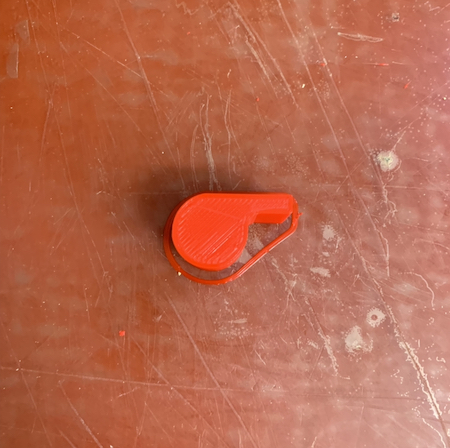
This is what the print looked like after 38 minutes of printing:
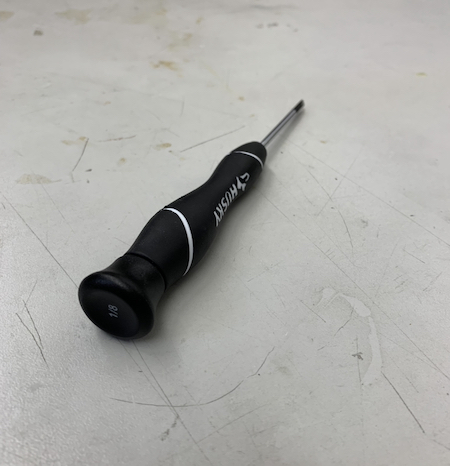
I tried testing out if I could use tweezers to remove the supports of the ball. I used a small 1/8” flat head screwdriver and easily pried the ball off of the whistle base.
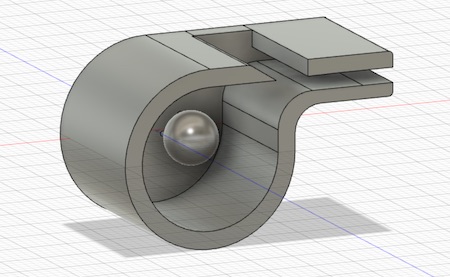
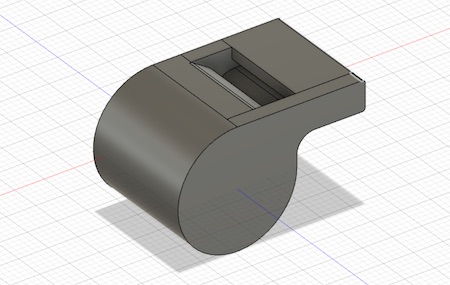
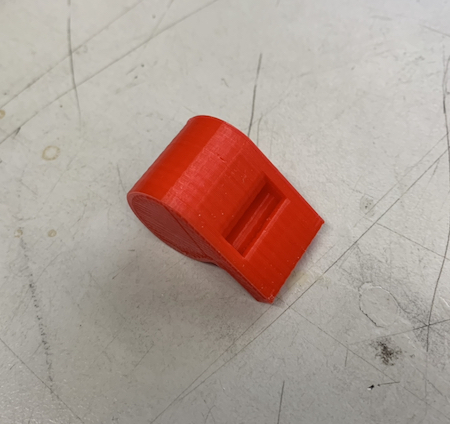
After I knew I would be able to detach the ball from the base of the whistle, I added the top of the whistle. I created another sketch of the whistle outline on top of the top layer of the whistle wall and extruded it 2.5mm. This is what the completed whistle looked like.
I imported the file into Cura and used the same settings to print the design. This is how the print went.
To my surprise, the whistle worked! It’s actually really loud as well. This whistle could not have been made subtractively because of the ball inside. It would be hard to use any subtractive fabricating methods to insert the ball into the whistle. It was only possible because of 3D printer’s ability to print layer by layer.
This was the Fusion design I made for the whistle:
This was the test OBJ file I imported into Cura to see if the ball would fit: Whistle Test
This was the test OBJ file I imported into Cura to see if the ball would fit: Final Whistle
Here’s the .f3d file of the whistle: Fusion Whistle File
3D Scanning
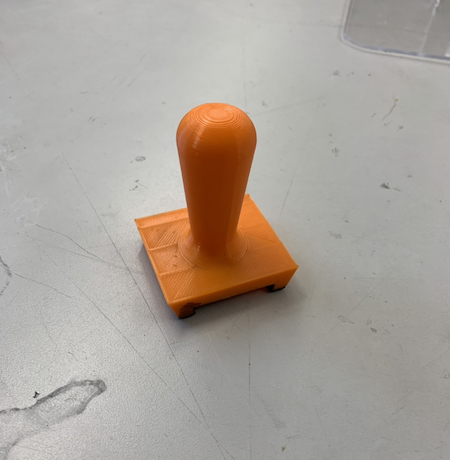
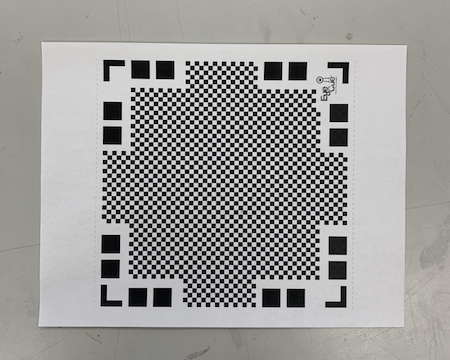
For this week, we also had to scan a 3D object. I looked around the lab and found a stamp handle to scan.
I used the app Qlone on my iPhone to scan the stamp handle. I had to print out a grid mat as provided by the app.
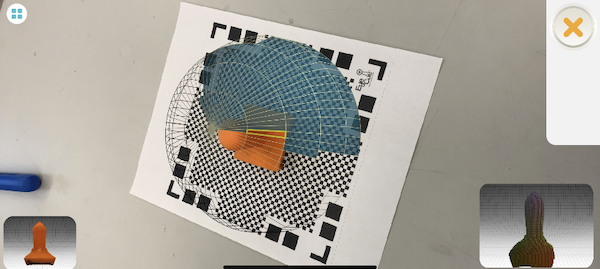
I placed the stamp handle on the mat and used the app’s camera to scan the object. The first time I scanned the object, I placed it upright. Then I rotated my phone around the object while moving the mat around so that I could capture all the necessary angles. (My phone was oriented horizontally but I held it vertically– this didn’t seem to bother Qlone functions.)
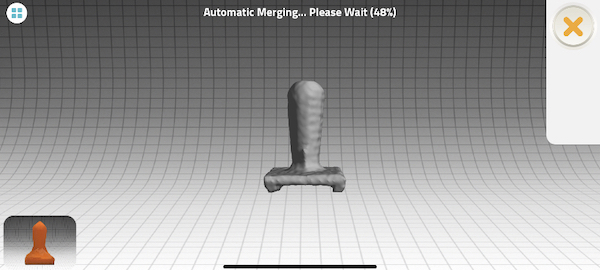
Afterwards, I scanned the object again so that I could merge the two scans. The second time I scanned it, I put it on its side. After I got the second scan, I merged the two by selecting two identical point locations on each.
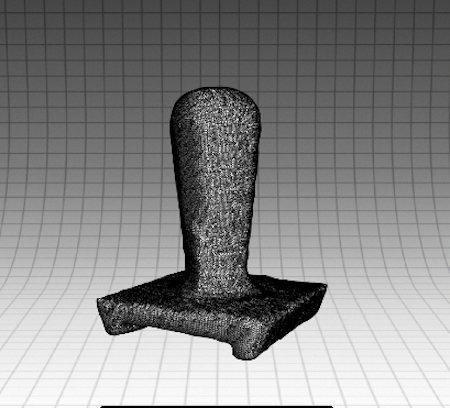
I got a relatively clean scan, but I wanted to clean it up some more. On the edit settings of the app, I edited the smoothness of the object. I went around selecting parts of the object surface to smooth, then tapped the smooth button. At the end, my scan looked like this.
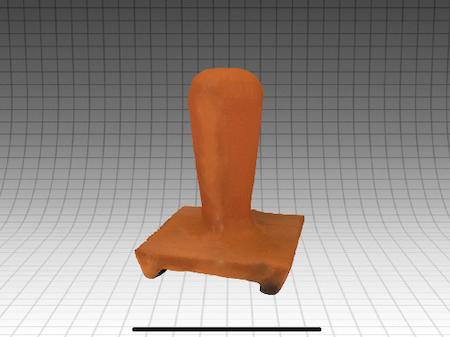
I found out that I had to pay in order to get the stl file (the only free export was a GIF file). So, I planned not to print my scan out. However, if I were to, I would just export the file as an OBJ file and import it into Cura. The rest of the printing process would be the same.