8. Computer controlled machining
The objective of this week is to first, work with a group test runout, alignment, speeds, feeds, and toolpaths for your machine, second to Individually, to design, mill and assemble something big.
Group Assignment
Here is the link for the group assignment.
2D Design
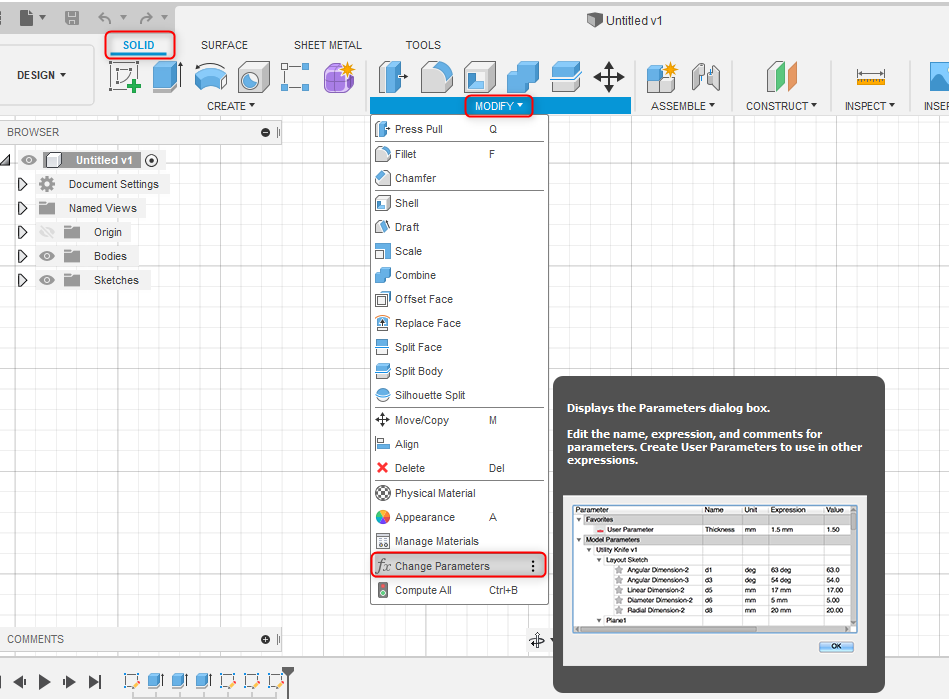
To fulfill this week objectives, I first need to design a 2D design that the CNC machine could cut. So I set my parameter to the desired values taking in consideration the thickness of the Medium-density fiberboard “MDF”. To set the parametric value go to solid>> modify >> change parameter >> click on the plus sign near the user parameter. A window with the name of add user parameter will show up and you fill the name, chose the unit and the parametric value.
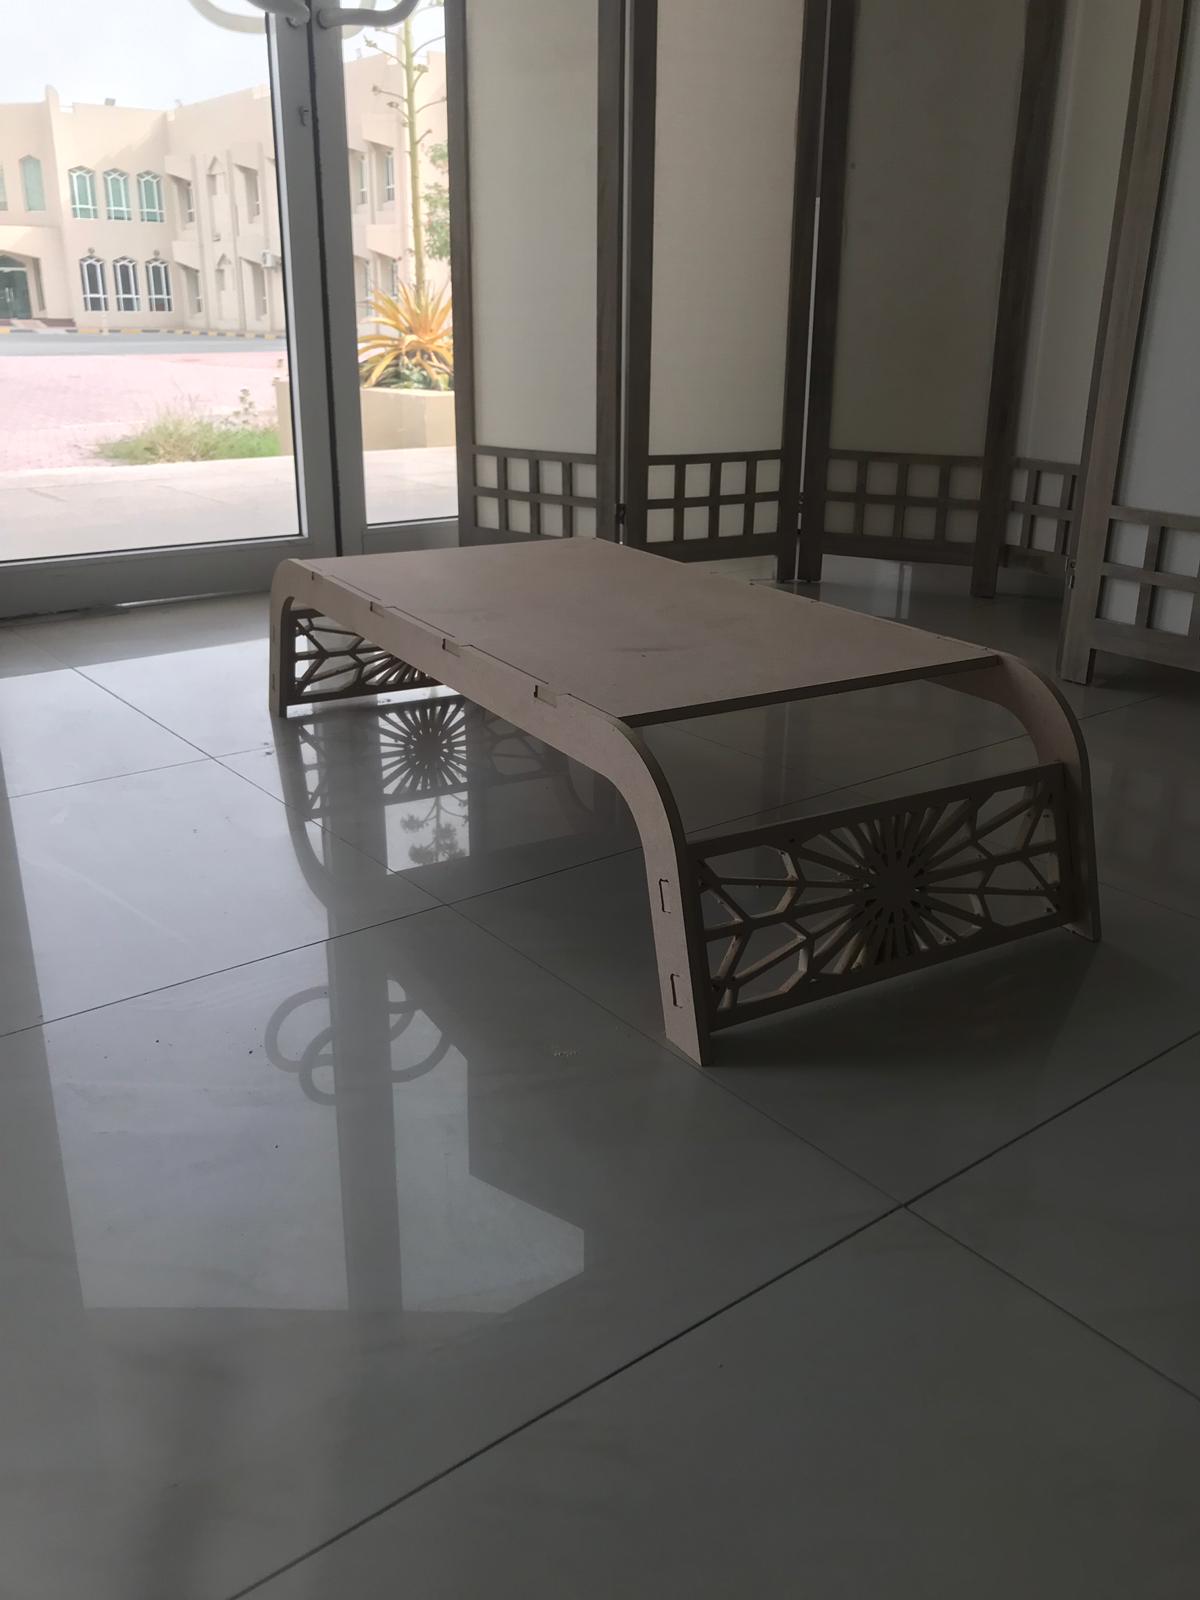
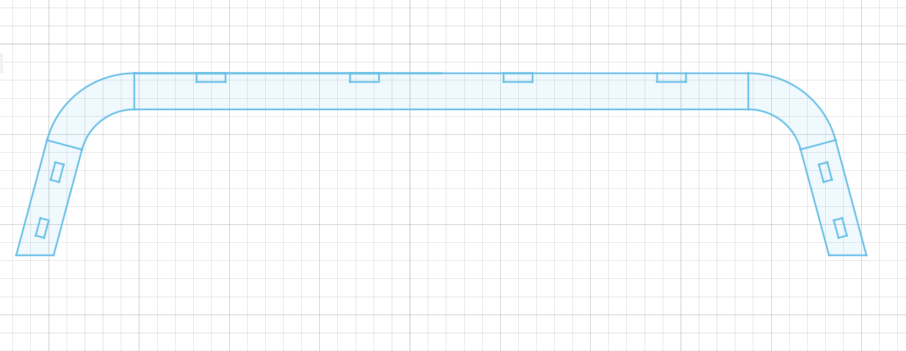
I decided to design a table for my grandma to serve food for har in bed. So I measure the required Hight, width and depth then I start designing according to that. I start to design the front and back side of the table:
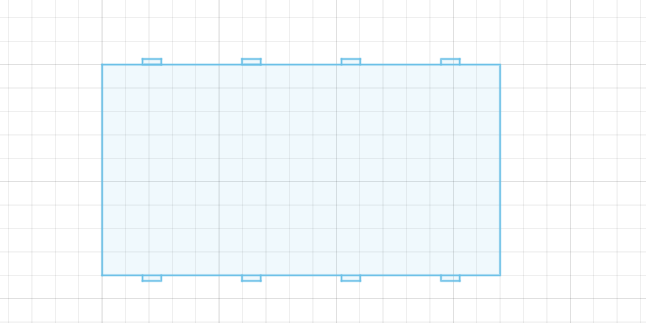
Then I design the top of the table
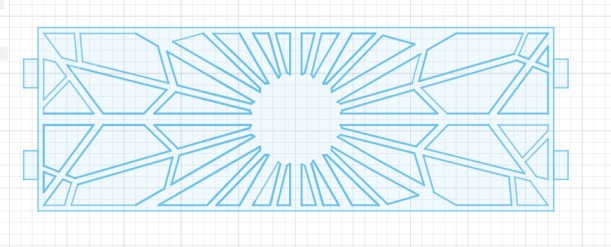
Finally I design the right and left side of the table be adding some Arabian pattern design as I said before the table for my grandma so it must has a special design.
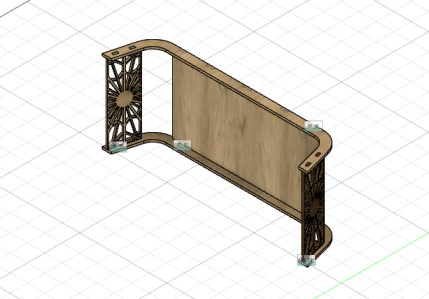
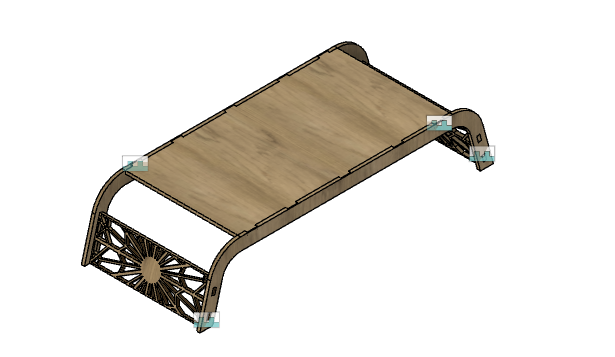
The final 3D design
CNC milling
Software setup
I follow the stepes below:
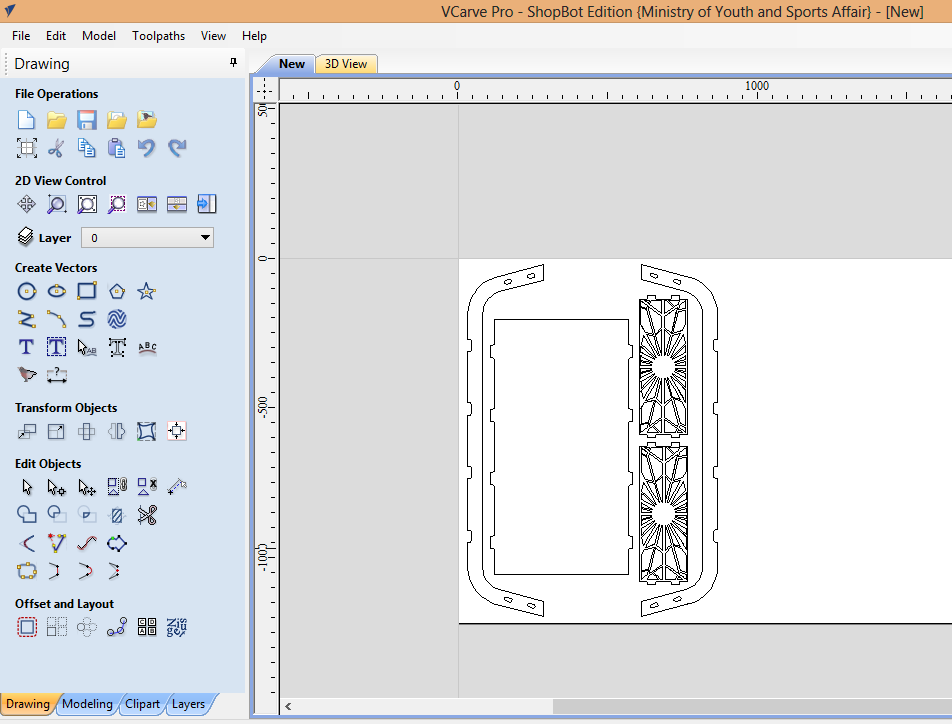
- export the part of the dsign as dxf file and import them to VCarve Pro softwaret for editing.
- Open VCarve Pro >> Create a new file
- sett the dimensions for the cutting.
- click on import part >> import vectors from file
- I use Interactive Vector trim tool to remove the holes made in Fusion 360 and Add new holes by drawing rectangle shapes.

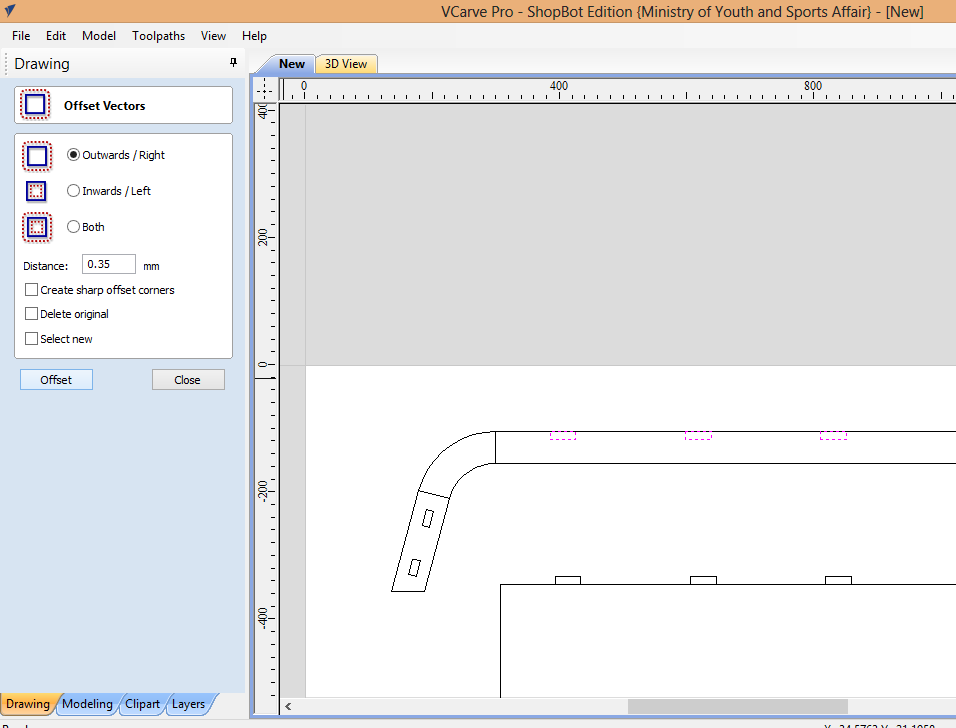
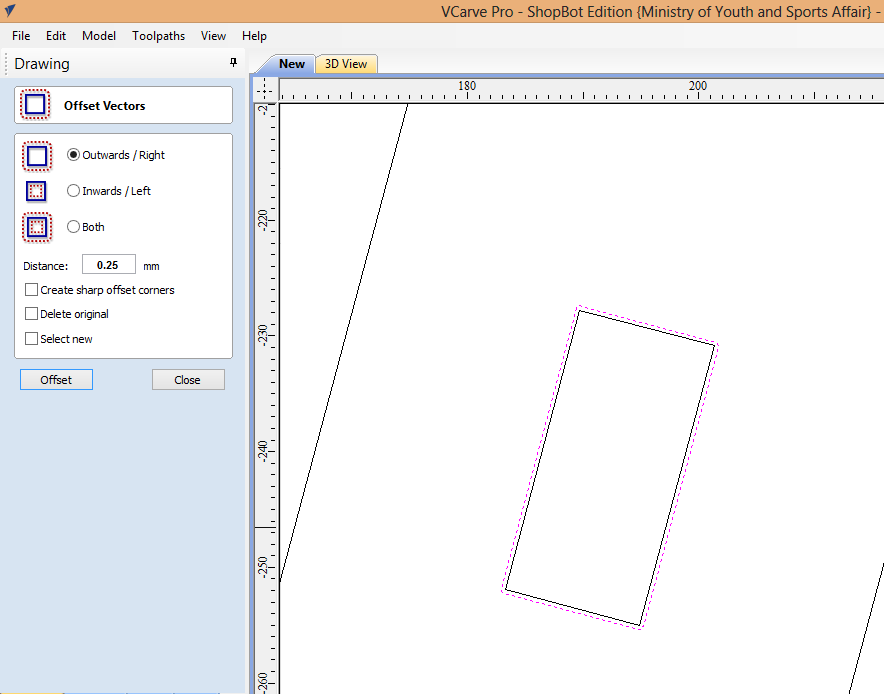
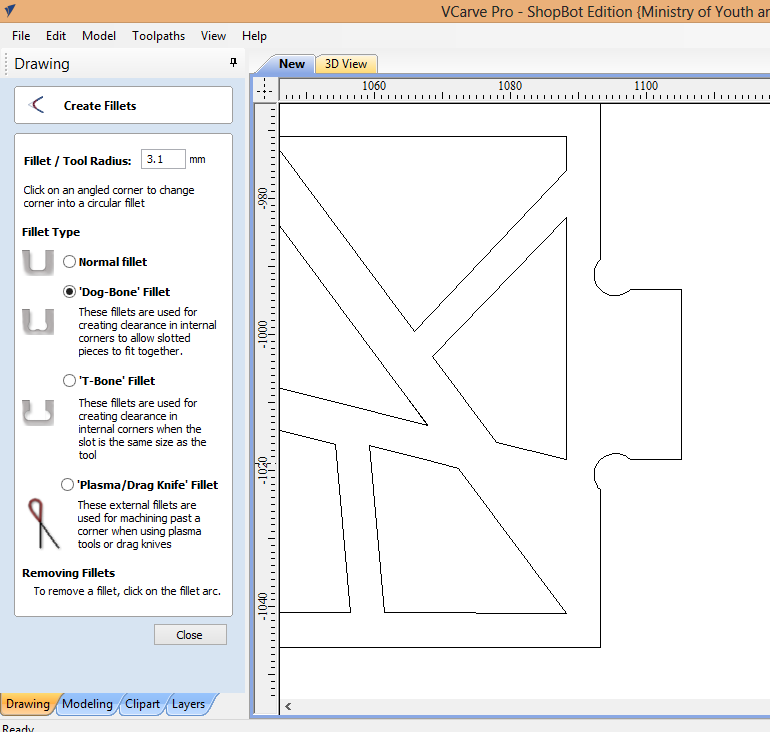
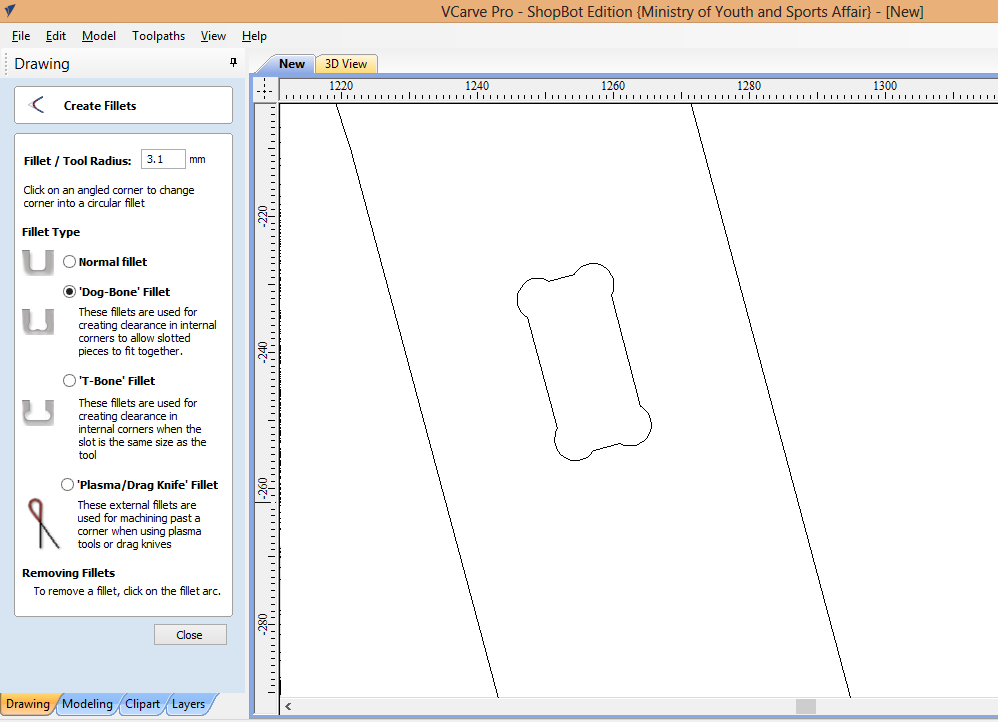
- I add dogbones to all holes in the design and make a fillet in corners.
- Duplicate the side bar from the table to make them two sides with the same holes.

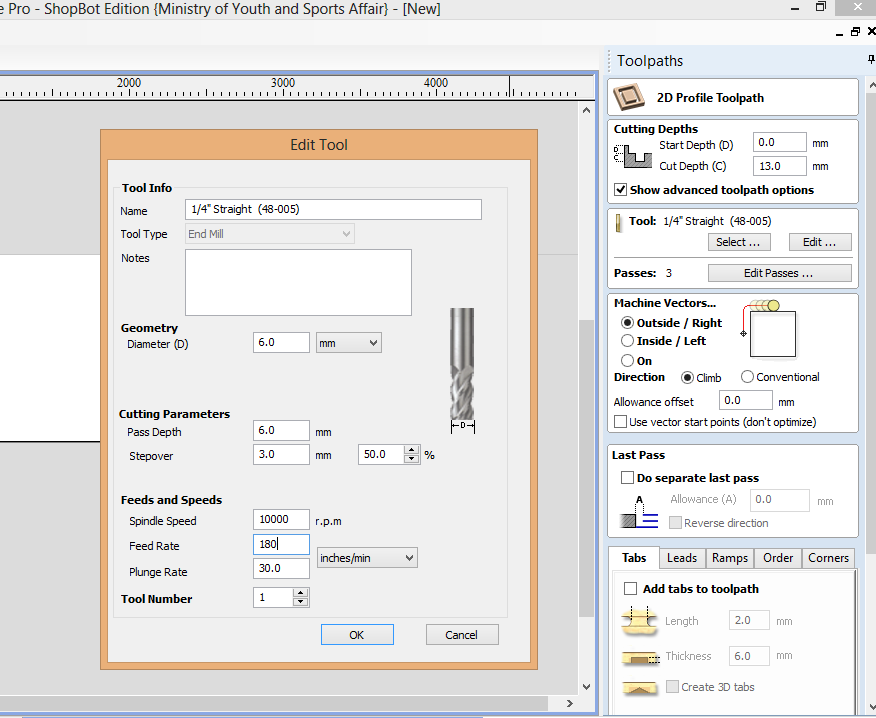
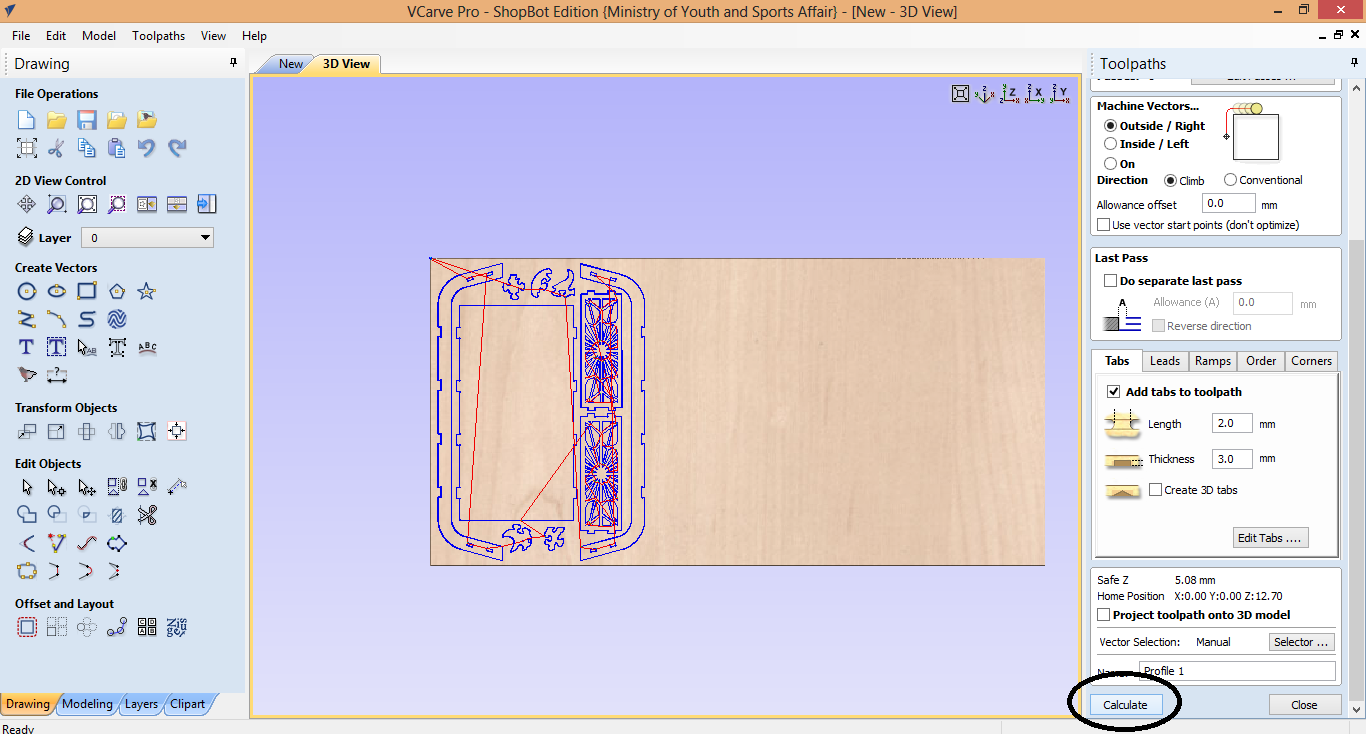
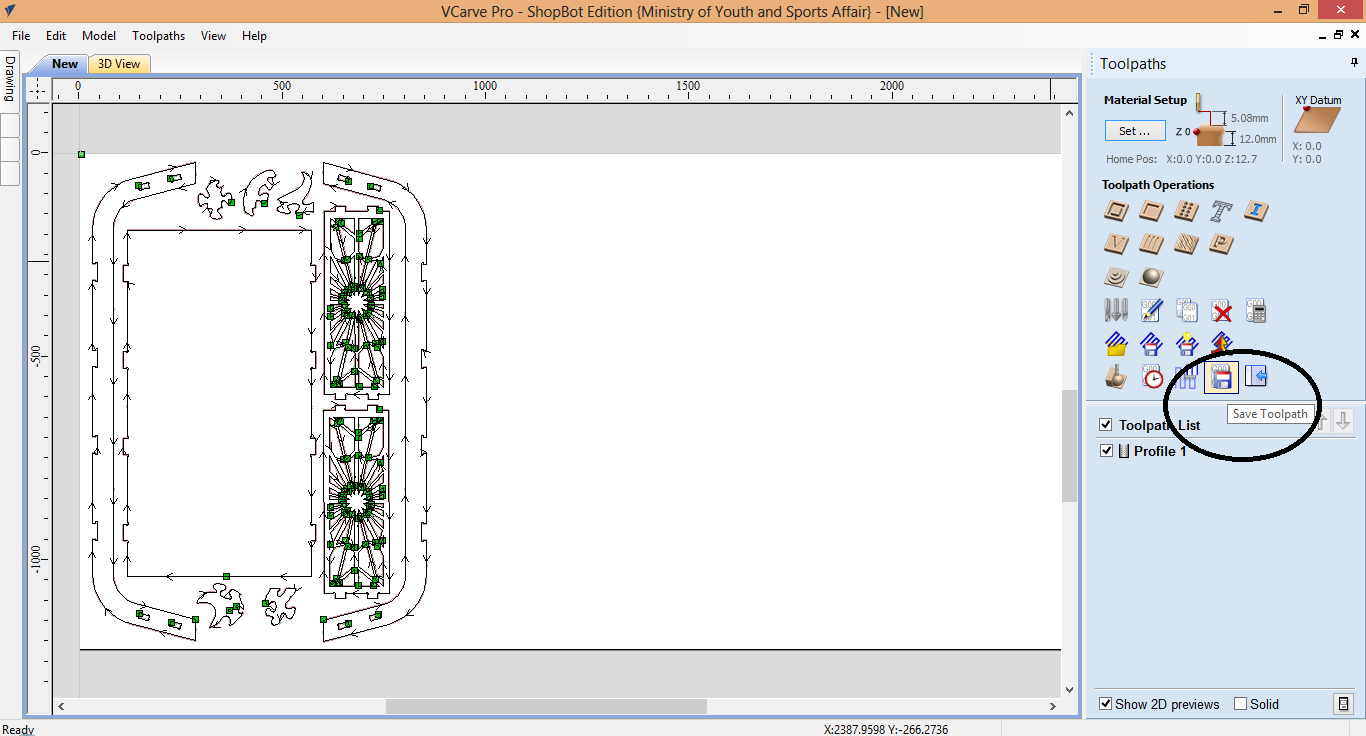
- from drawing toolbar I click on switch to toolpath. Set the cutting depth to 13mm Set the Feed Rate, Spindle Speed, and Plunge Rate of the tool as recommended in the MDF table.


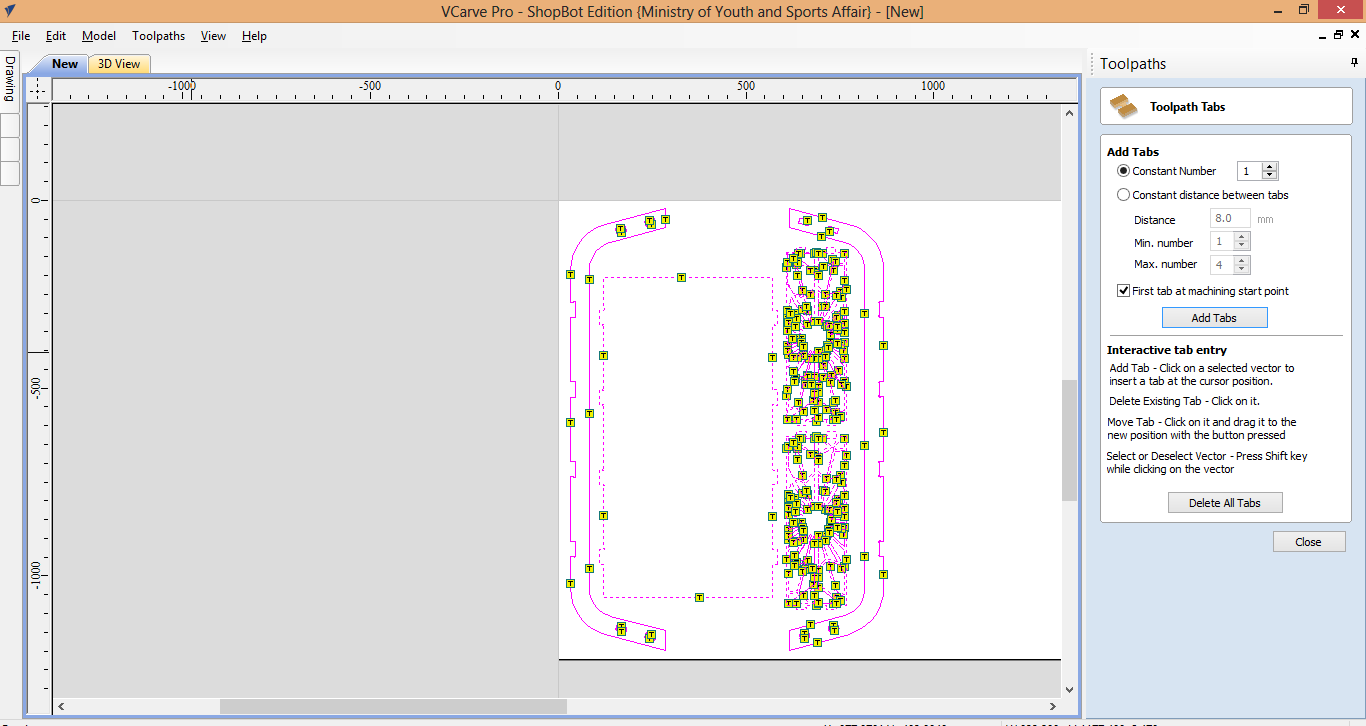
- Add tabs to the to hold the parts after cutting to prevent there moving out of from the cutting bed.
- Save the file and import it to the ShopBot machine program.
CNC Machine
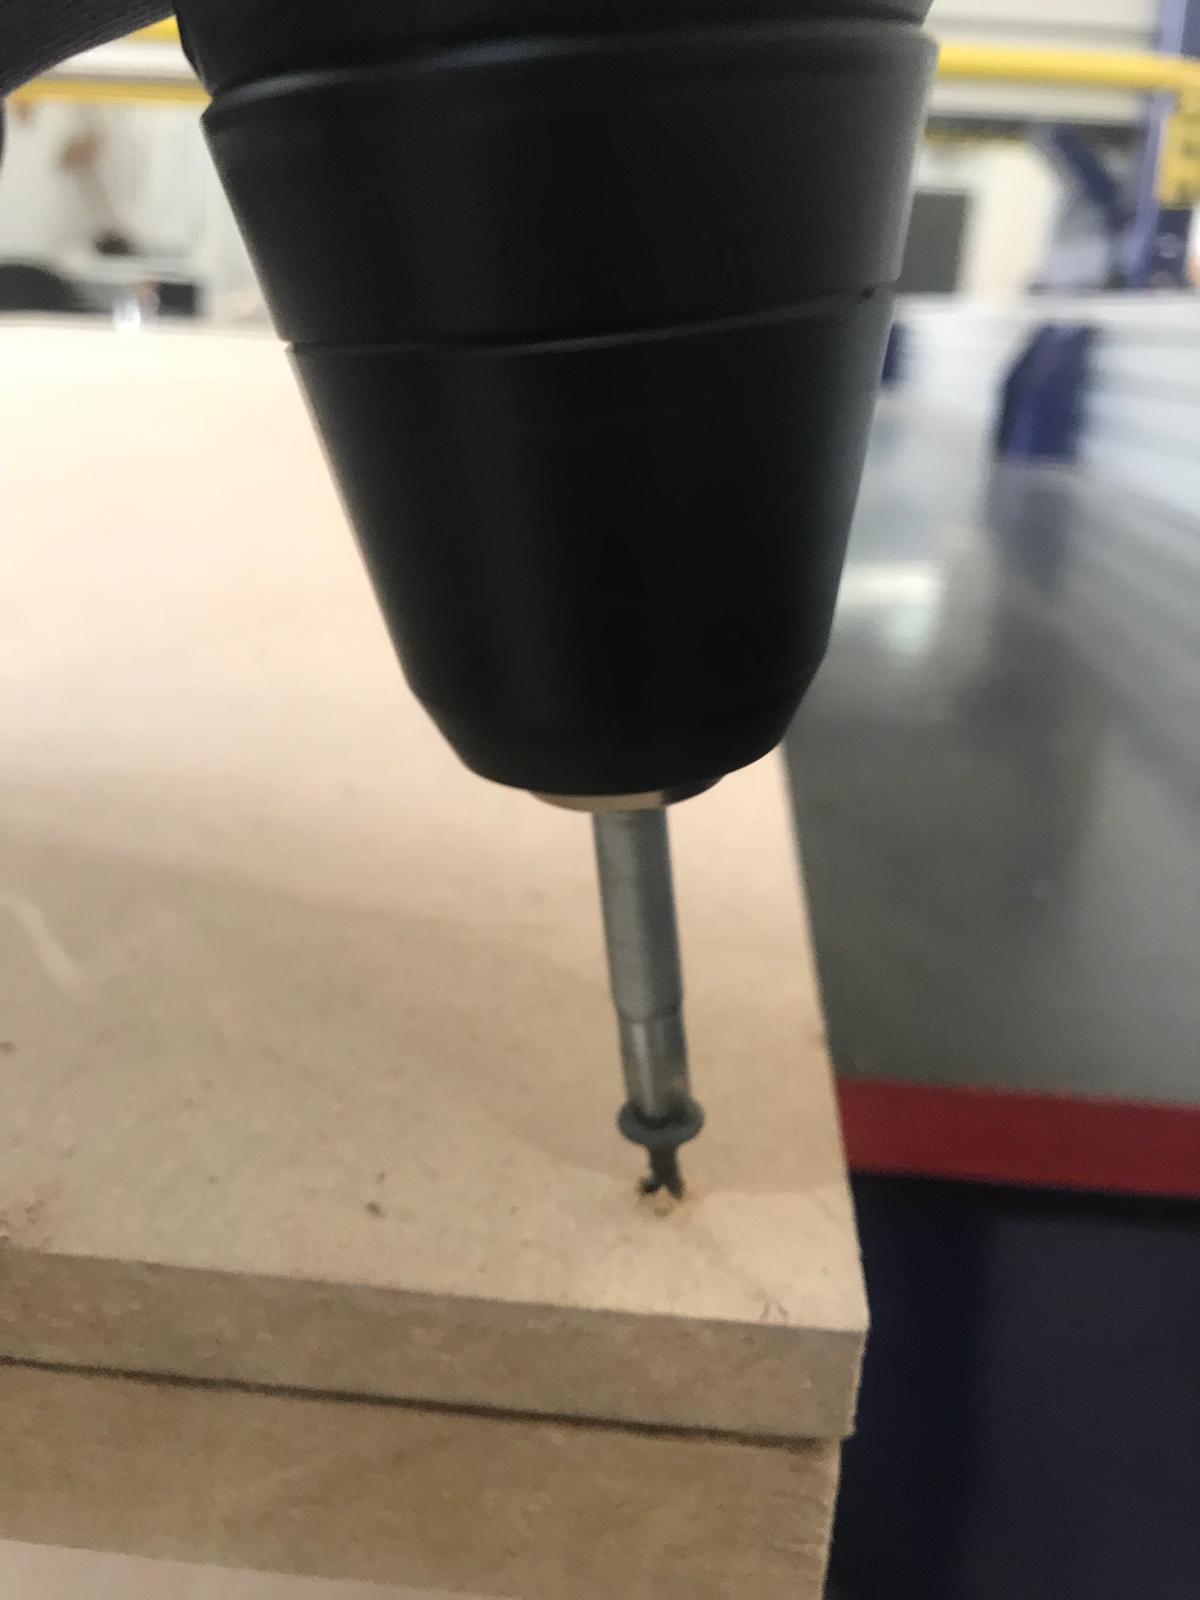
Put the MDF on the top of the sacrificial sheet and fix it using screws. After that turn on the machine and the vacuum, attach the drilling bit to the machine and move the drilling bit to the position you want from the PC. Finally start the cutting.

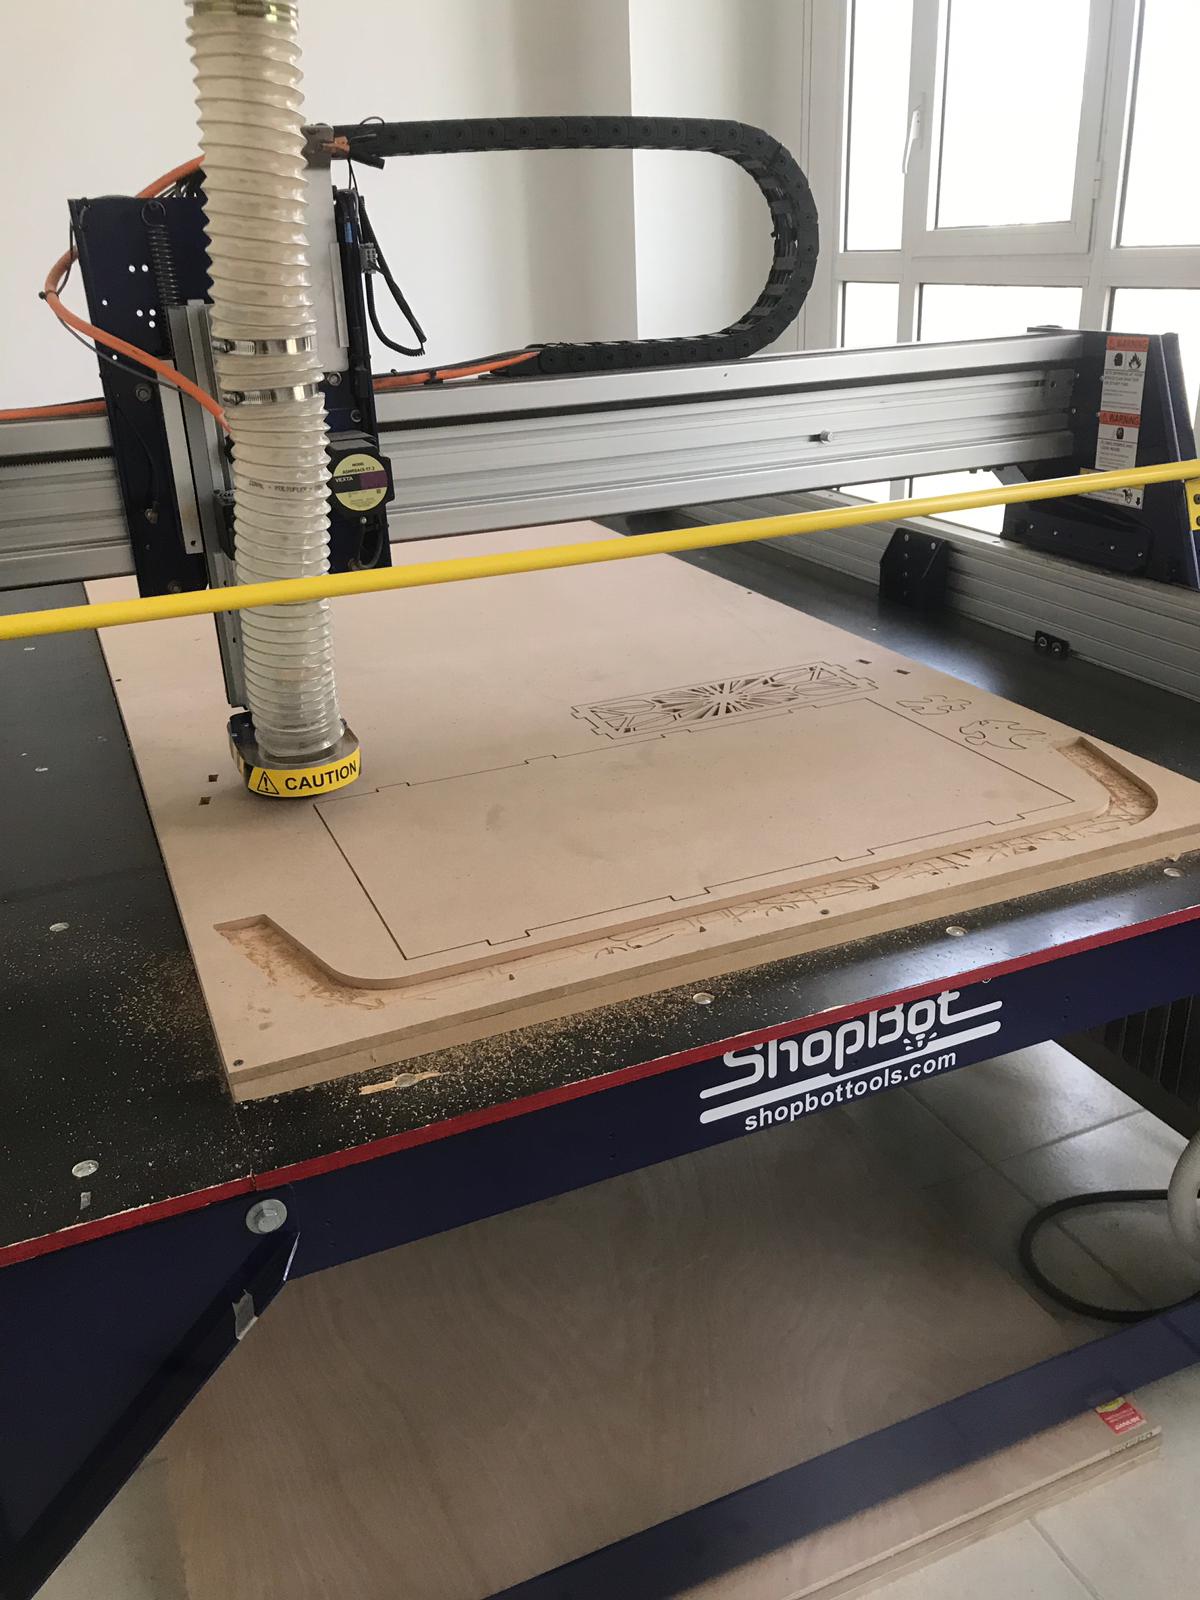

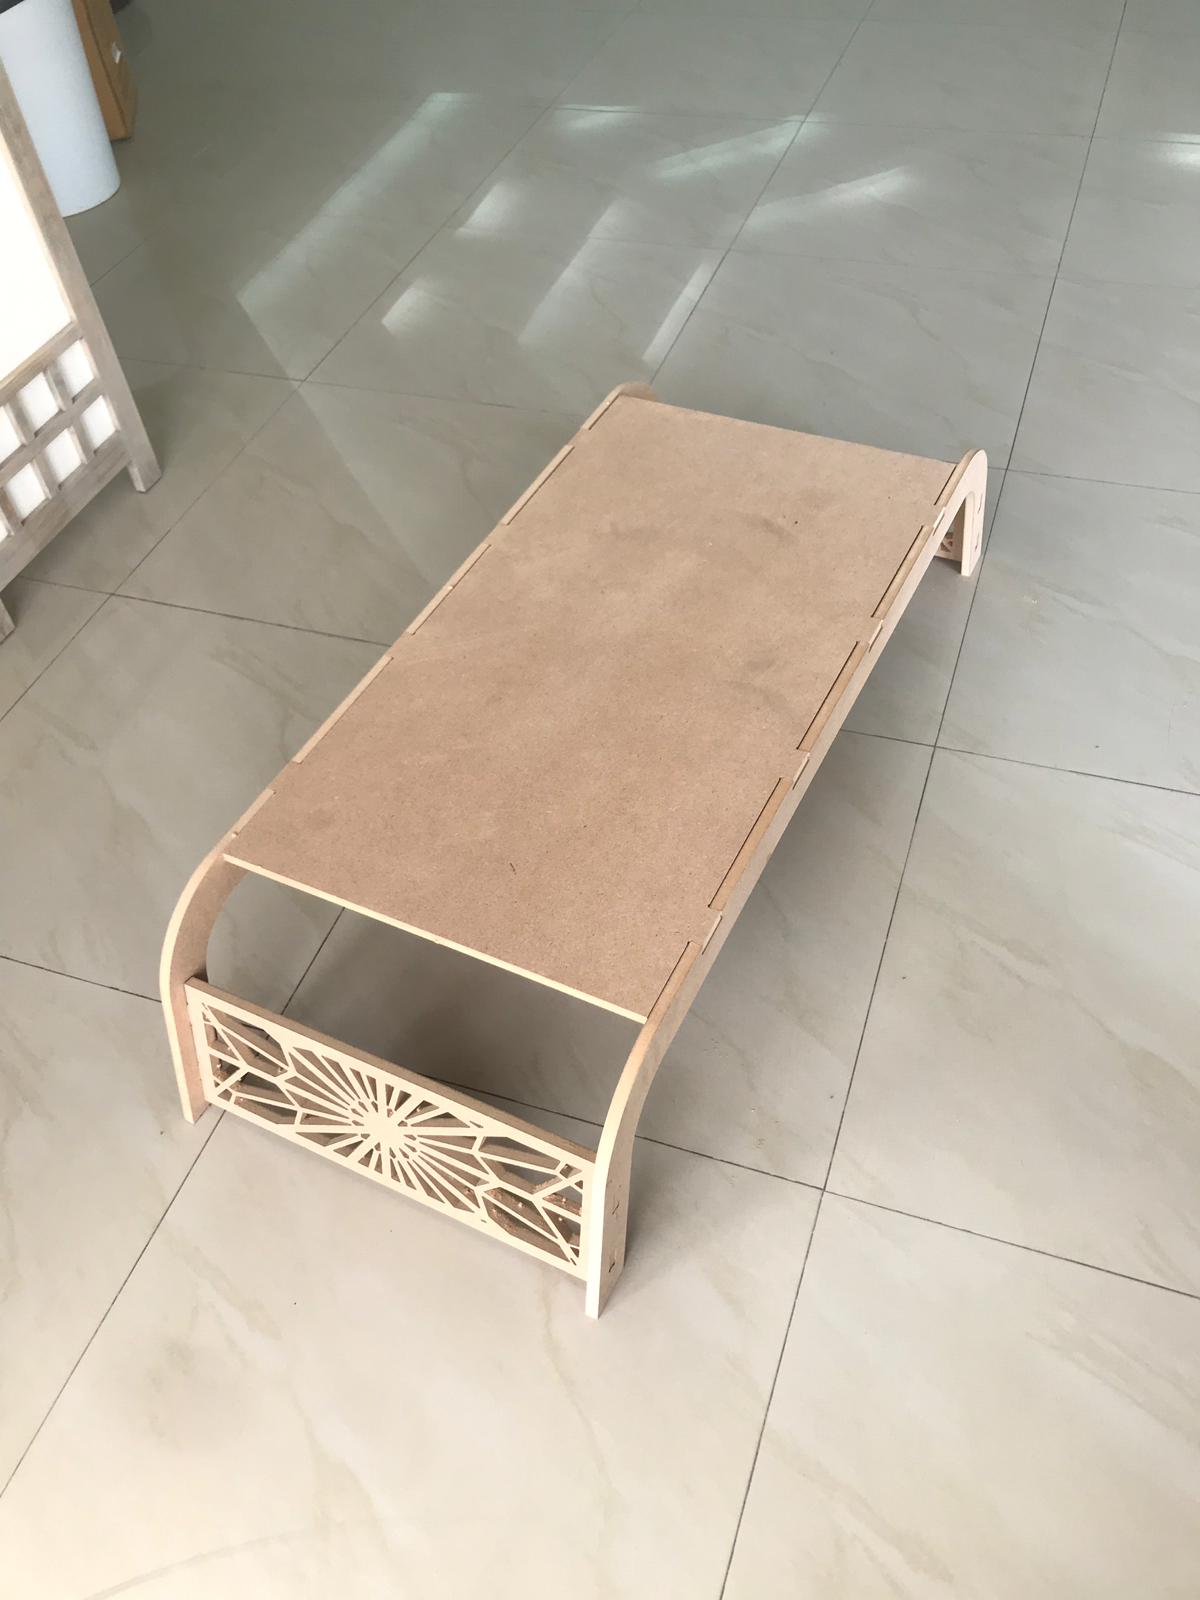
After the CNC is done cut the tabs and take off your design parts then smooth out the surface of the material and finaly attach the part together
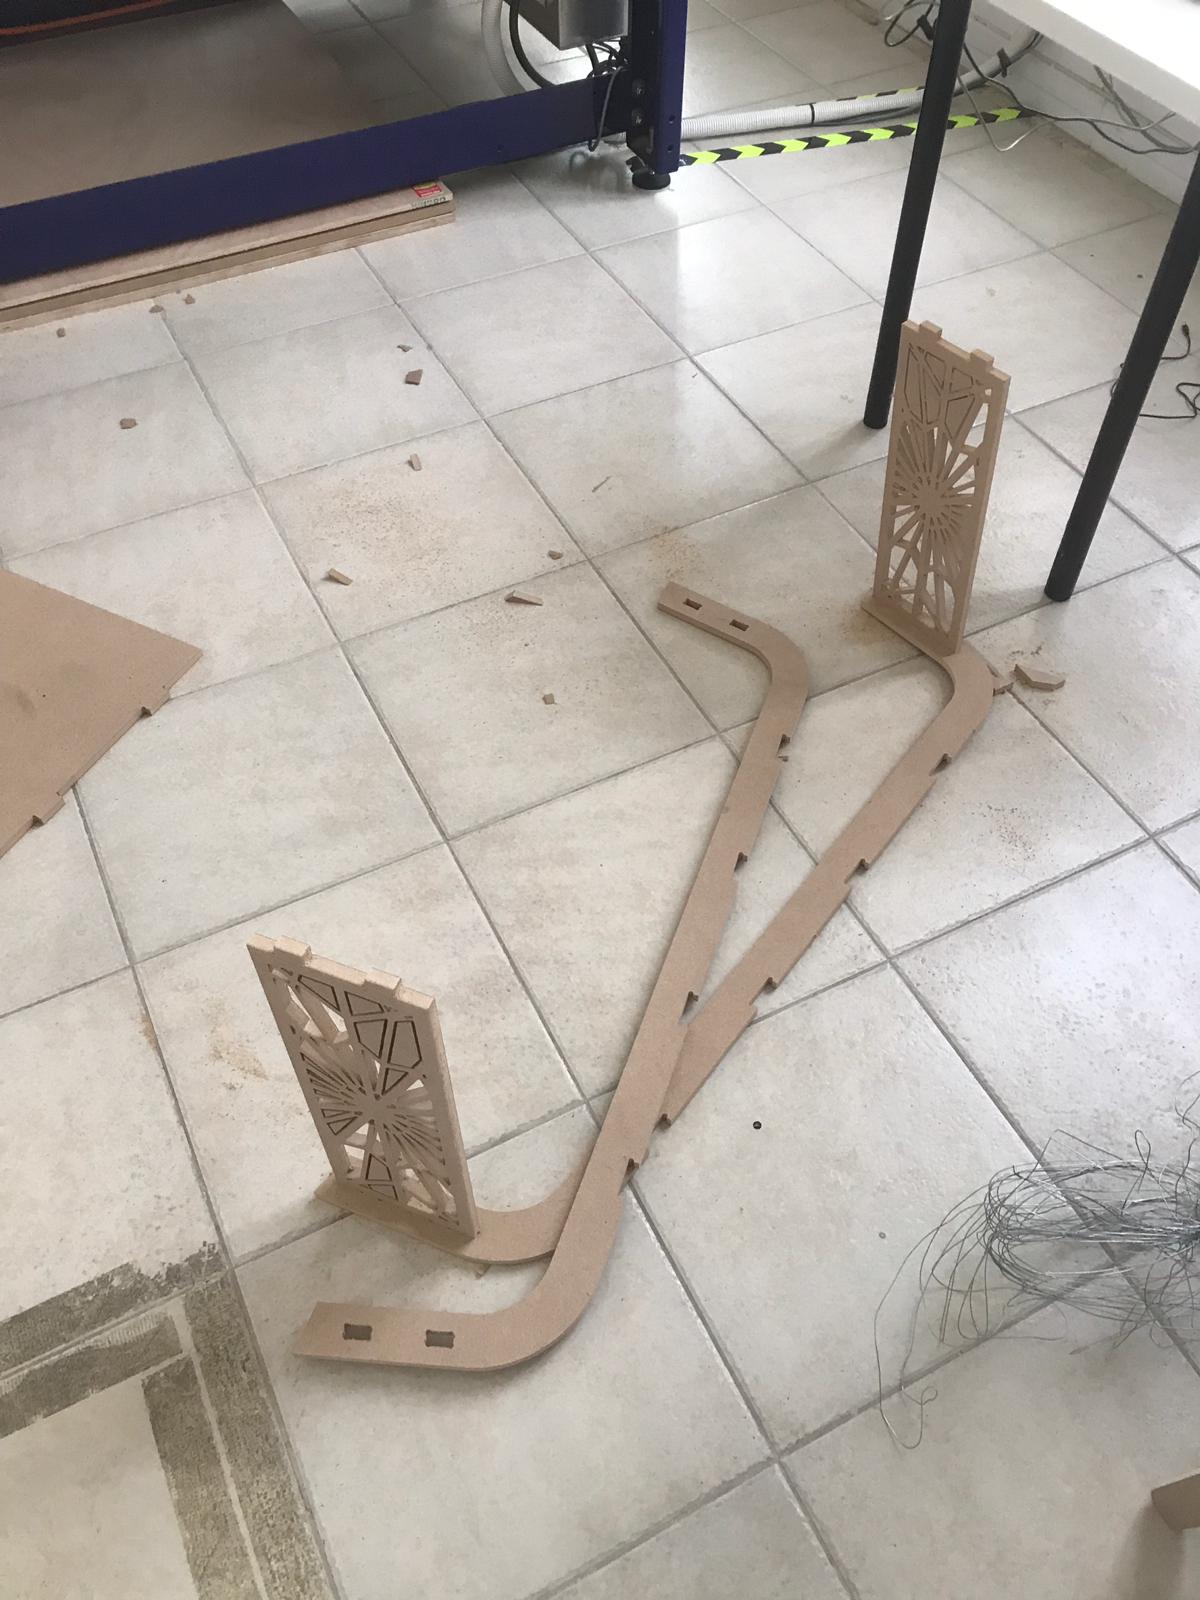
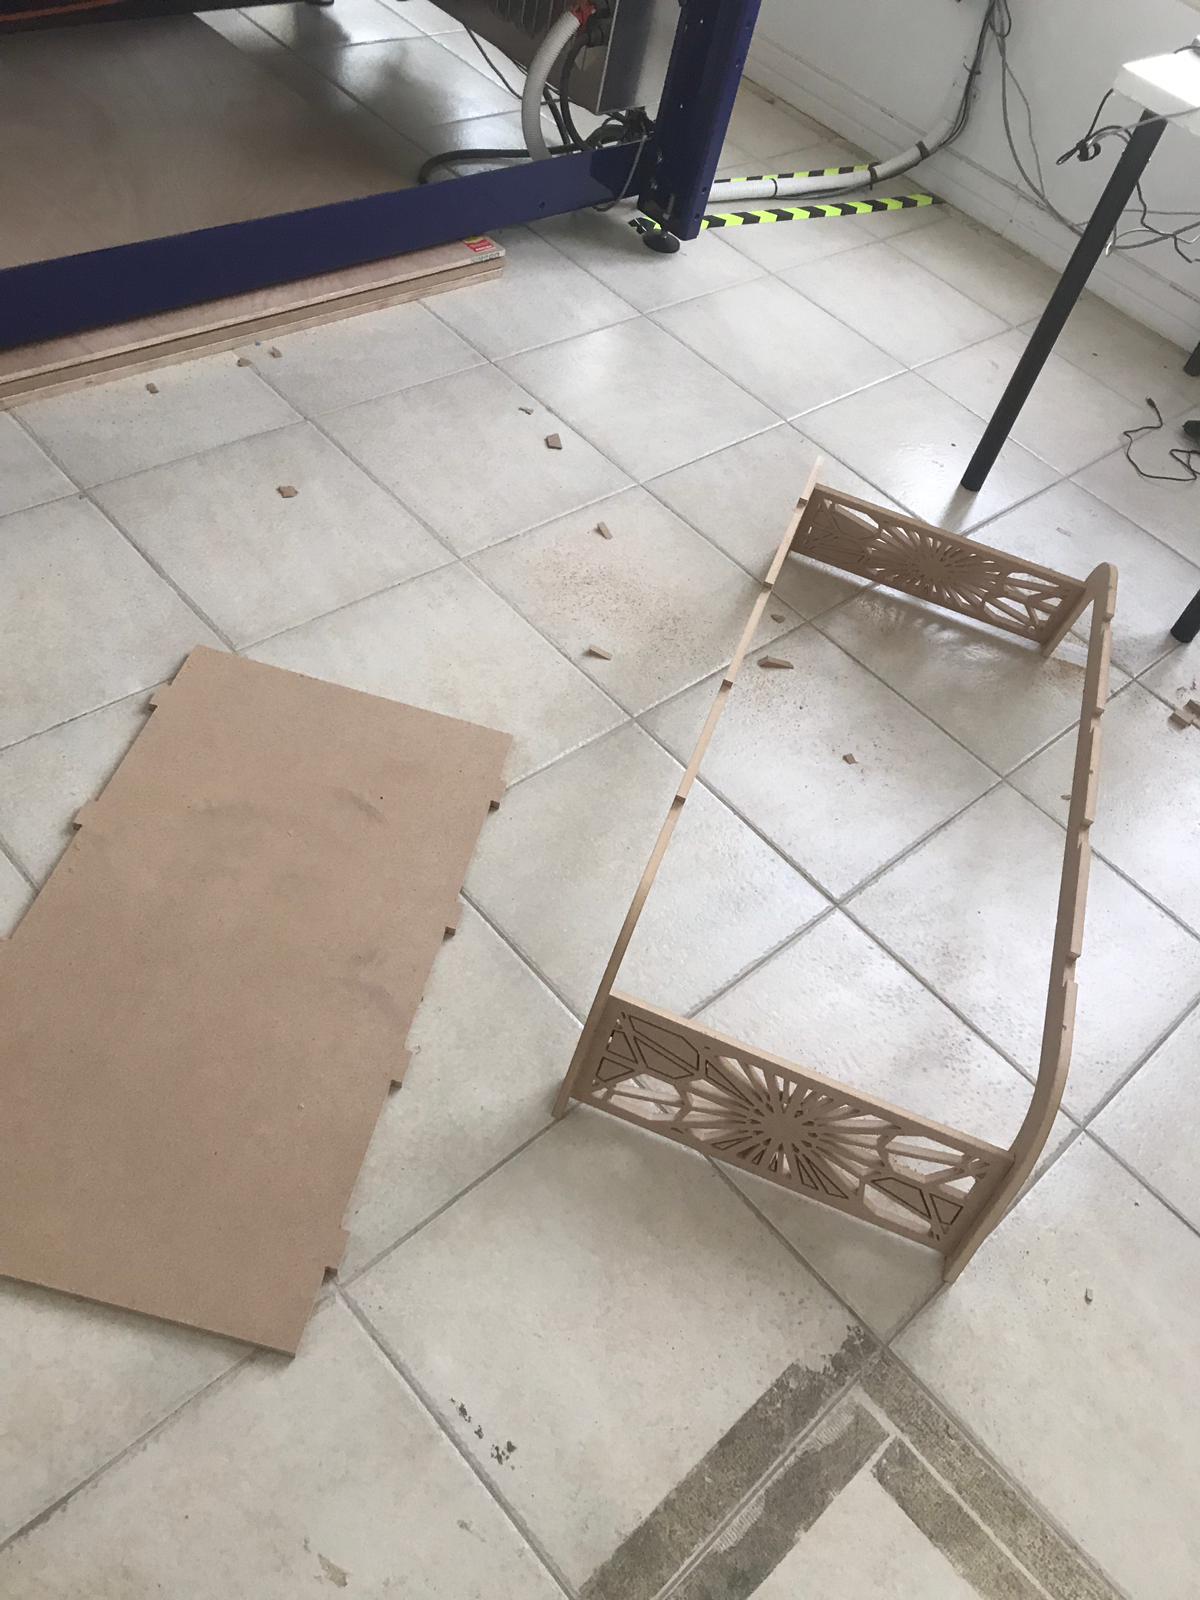
The final result is shown below the press-fit was a little loose so I use glue to stick the parts together. Using glue will make the structure of the table more stable but however, to avoid this issue in the future we could readjust the joint fit.