4. Computer controlled cutting
The objective of this week are to first, work with a group to characterize laser cutter’s focus, power, speed, rate, kerf, and joint clearance, second, to Design, laser cut a parametric press-fit and finally to cut something with vinyl cuter.
Group Assignment
You can find our group assignment in this link
parametric press-fit
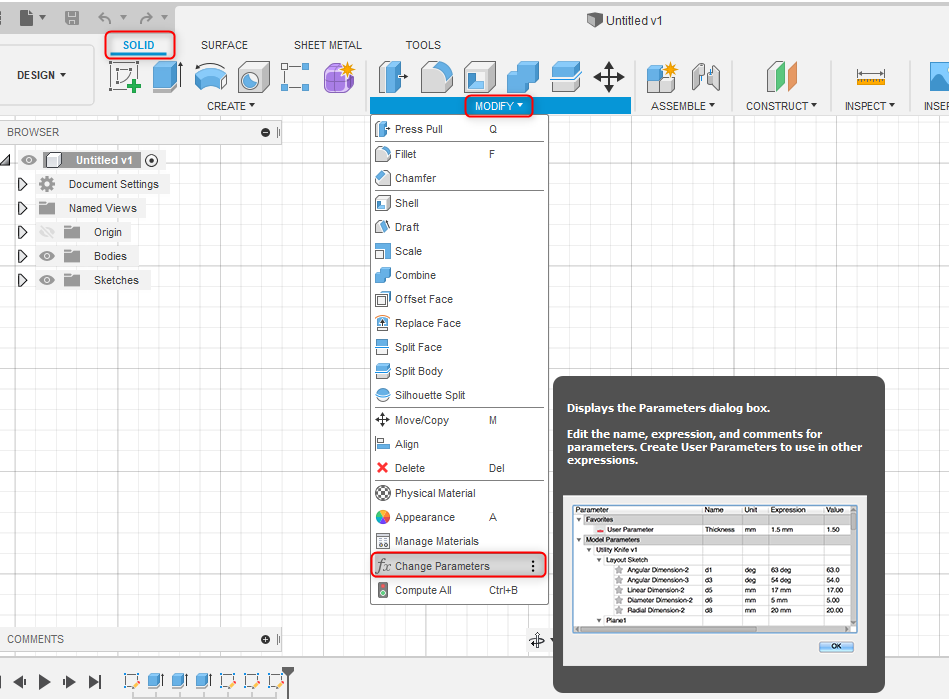
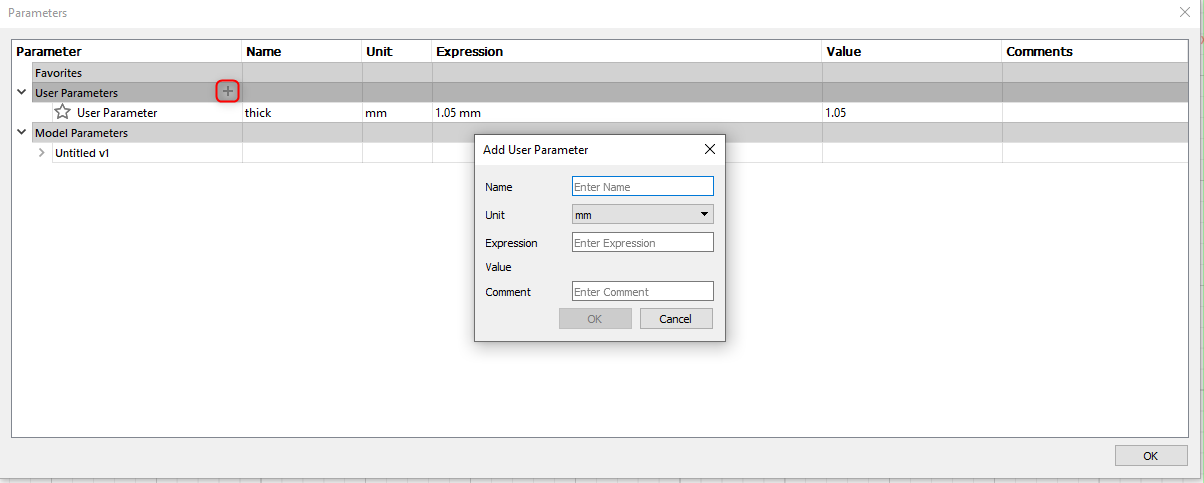
For the laser cutter I need to have first a design for this I used fusion 360, I started to design a pending light by following the steps in the video, but before starting the design, defining the parametric variable is important. To do this click on solid>> modify >> change parameter >> click on the plus sign near the user parameter. A window with the name of add user parameter will show up and you fill the name, chose the unit and the parametric value. After following all the previous steps I start my design by selecting the name of my parametric variable for the press fit dimension.
The aim behind using a parametric value is when you are using a different materials to cut you did not have to change the size of the press fit for each shape once you change the value of the defined variable the size of the press fit change automatically.
In my design I select the parametric value to be 1.05 for Mat Board after testting many values in the group assignment to find the best values for the joints.
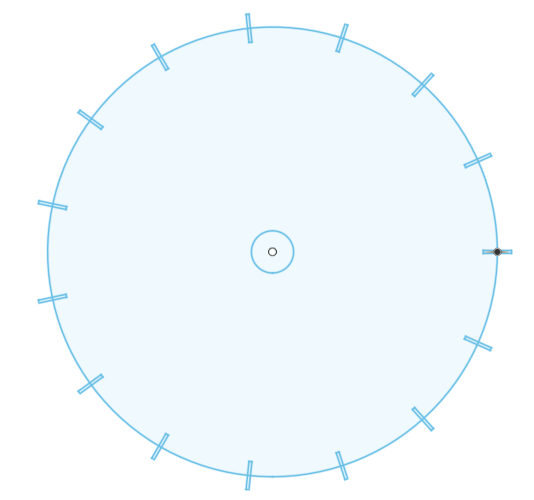
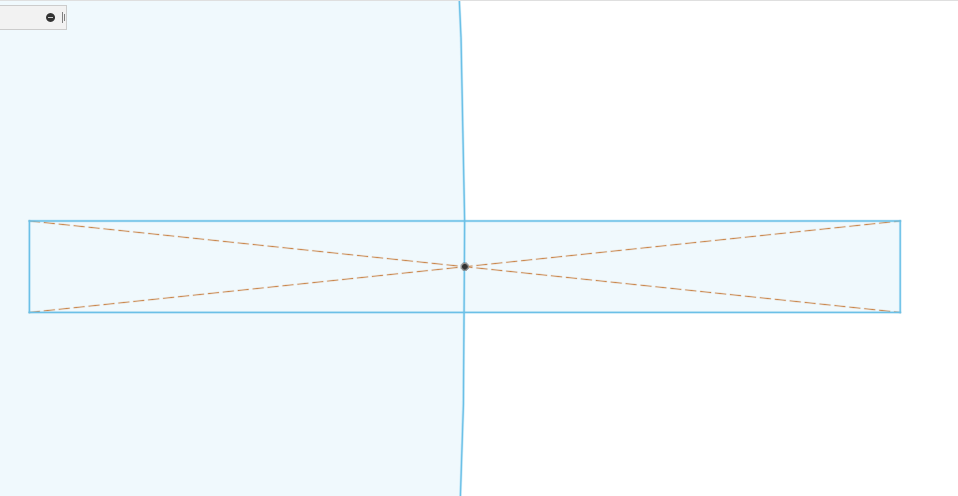
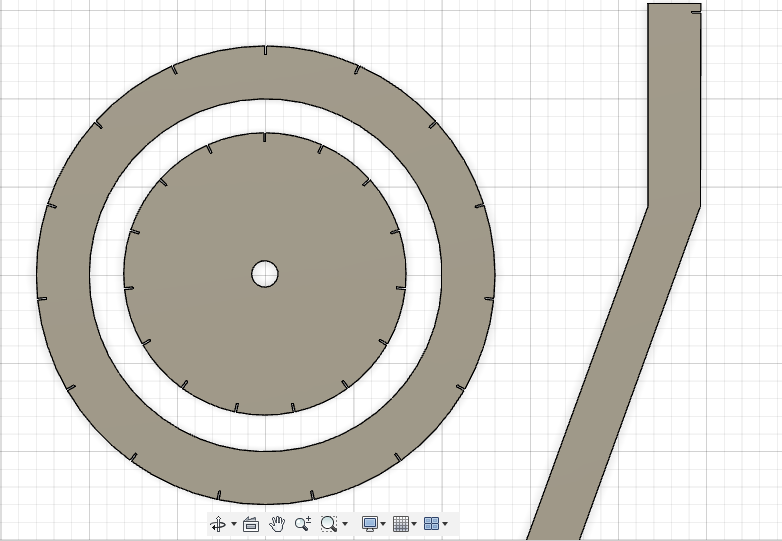
I first draw the a two circles small one to connect the sides of the lamp together in the top and small one to pass the lamp wire through it. I also draw one small rectangle with the width of the parametric value to be my press fit , and to repeat the rectangle I go to create list >> pattern >> circular pattern >> select the object to be the rectangle sides and the axis to be the center of the circle >> Quantity to be 15 rectangle.
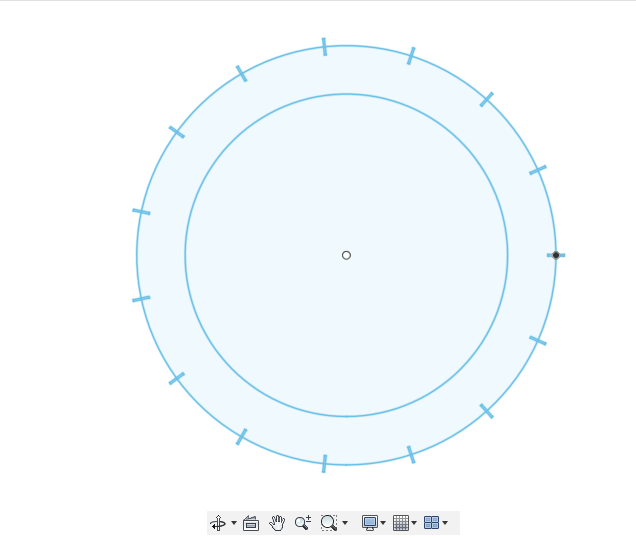
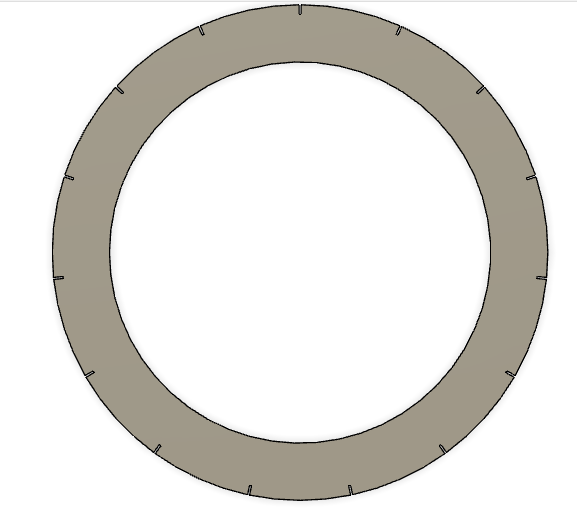
Then I draw two circles to be the base of the lamp and also to hold the sides, the reason behind drawing two circles is when I extrude the design, I only extrude the area between the two circles. After that I draw the same rectangle and repeat the same steps.
Finally, I draw the one side of the lamp with two rectangles one on the top and another one in the bottom in order to attach them in both the top circle and the base circle.
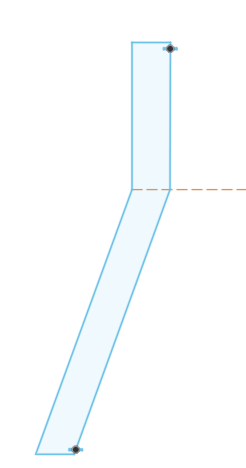
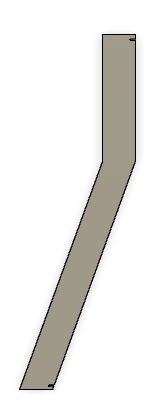
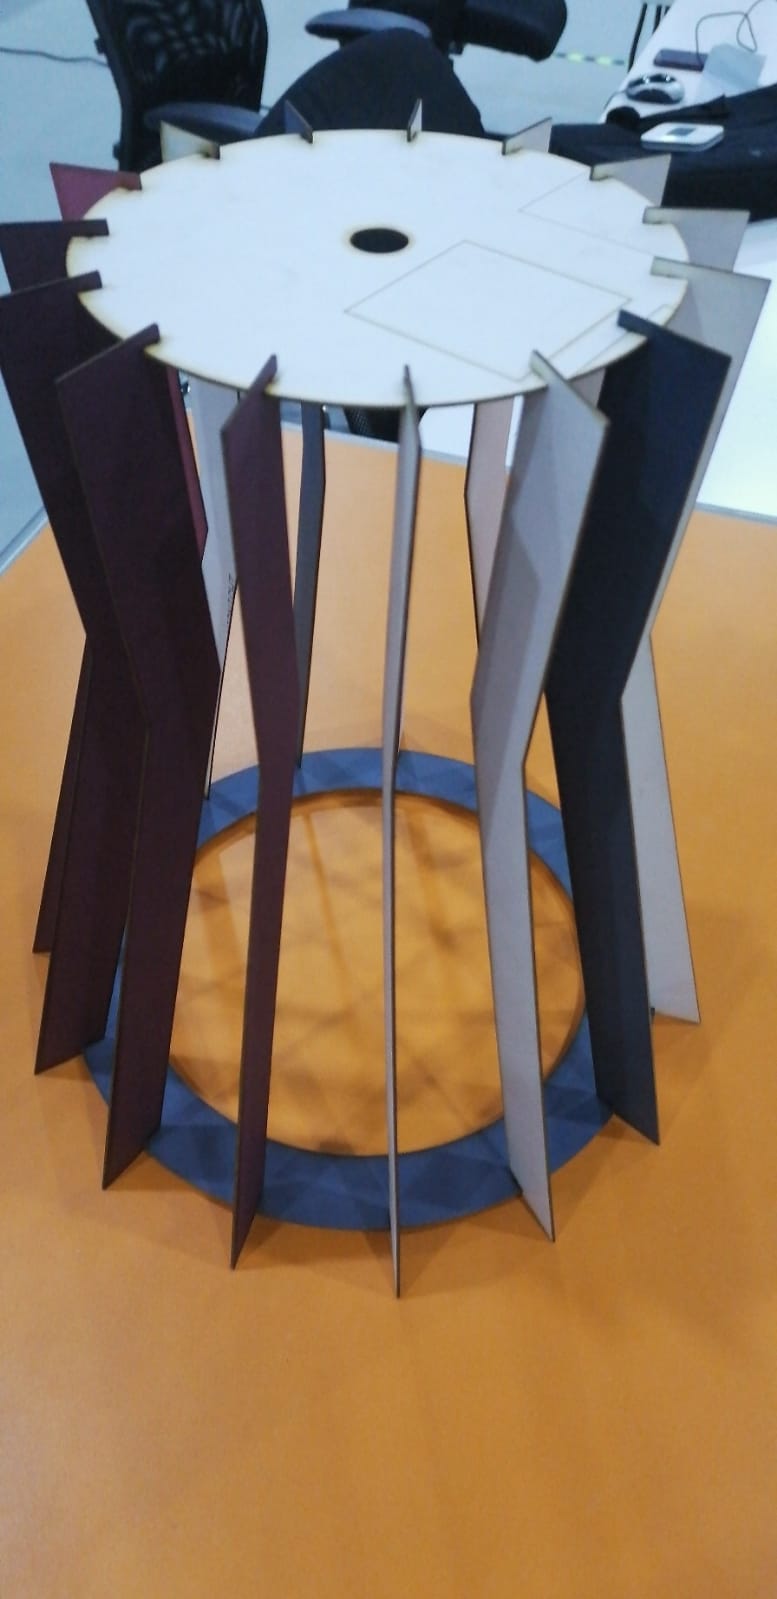
The final result
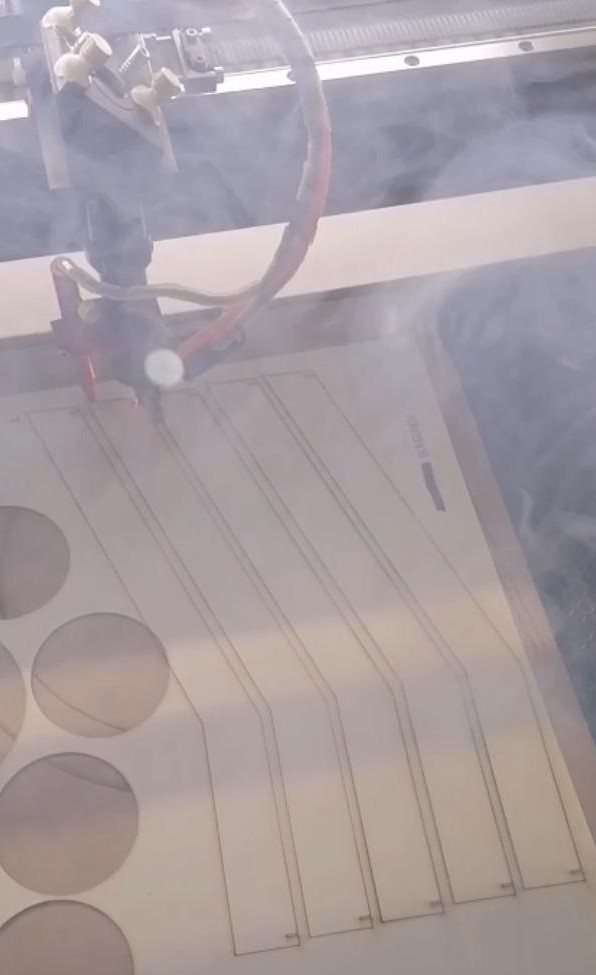
After finishing the design of the pending light, I export my file as DXF file and import it in RD-worksthe software that we use to send the file to the laser-cutter. But before sending the file we must first adjust the power, frequency and speed the following pictures shows the explained steps
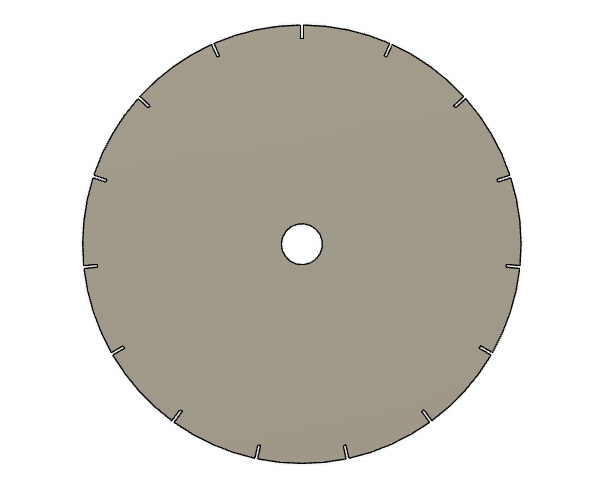
The final result is in the following photo
Vinyl Stickers
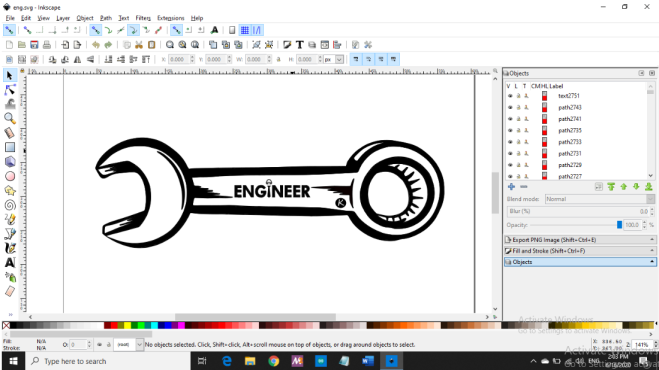
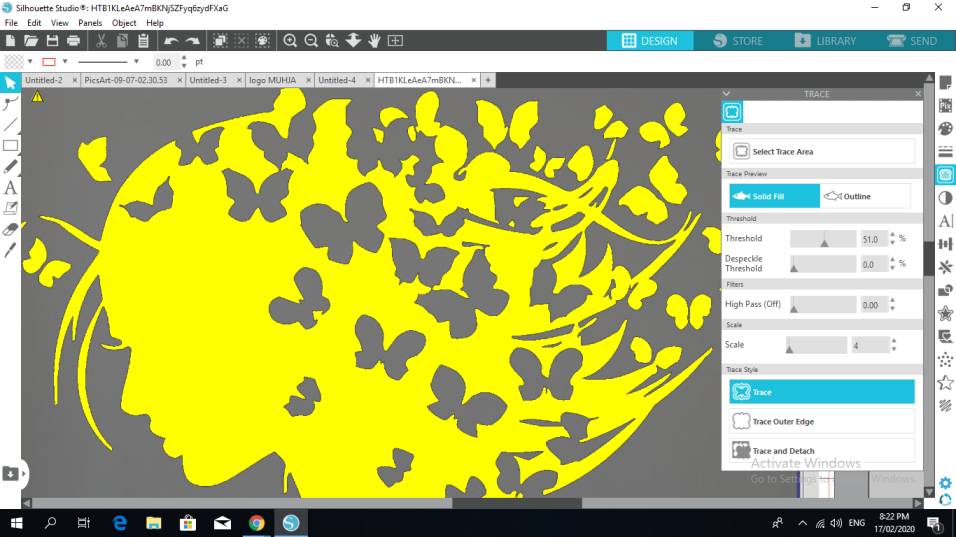
To make a vinyl cutting sticker, I first search for a picture that I would like to have as a sticker. After founding it I import the picture to Inkscape and start tracing it by following the lines.

I export the file as DXF file and send it to Silhouette studio the software that we use to send the files to the vinyl cutting machine and start to edit the setting to ensure that the sticker will be printed as desigined. I Import the design by going to(File > Open > select the file you want to print). After that I click on the (Trace) icon, the (Select Trace Area) and draw a rectangle around my object. From the trace preview I select solid fill then I click Trace.
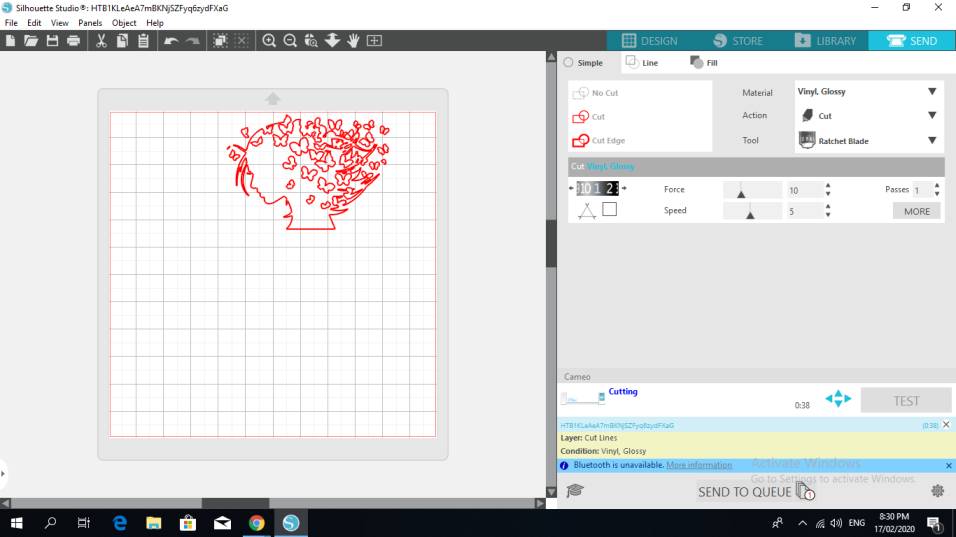
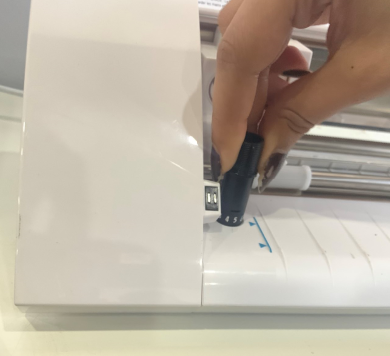
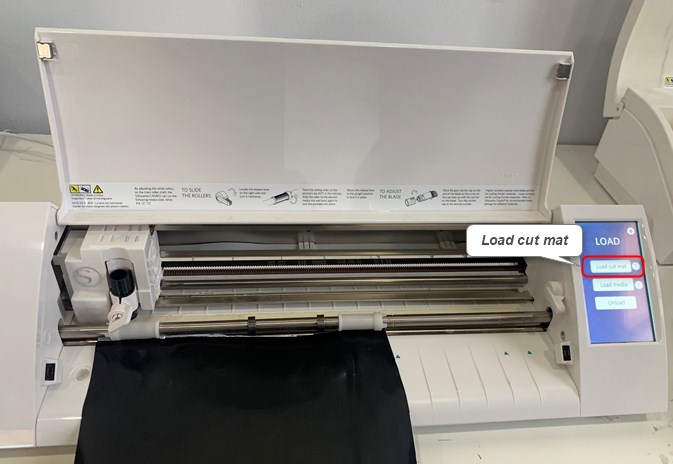
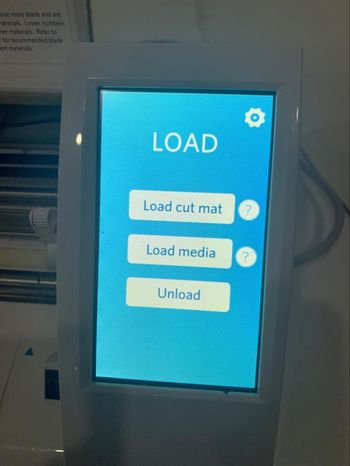
Before sending the file to the vinyl cutting I must first chose the type of the printing material in my case the material was vinyl glossy. And then I change the cutting depth manually from the blade as recommended by the software to ensure that my sticker will be cut properly for the material used, then I load the cut mat to the machine. Finally I send my file to the machine by clicking on send and adjust the printing or cutting setting according to my material.
Once the cutting is done, I unload the material and pull it over by using transfer tape and stick it in my laptop
The results of vinyl cutting machien is shown in the figuer below
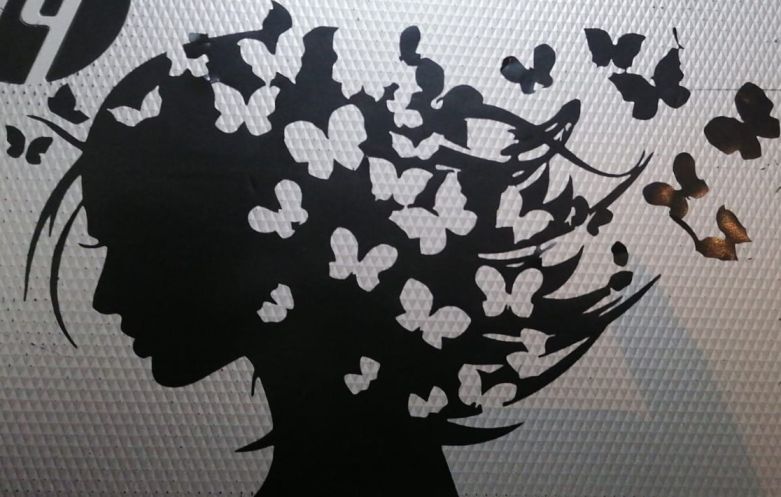
After being familer with the software I tried to draw my own design by selecting the paths tool as it is the perfect tool to make the curves then I colour the shape with black by using the bucket tool nd the final result is shown below