Week 3: Computer-aided Design
In this week efforts were put to familiarize with software allowing us to design by drawing. There are numerous programs, which may be used for this purpose. There are Freeware and paid solutions.
It reminds me, when I was making plots to my Master Thesis and I decided to use MS Paint. Still I believe my best sketches were made in pain(t).
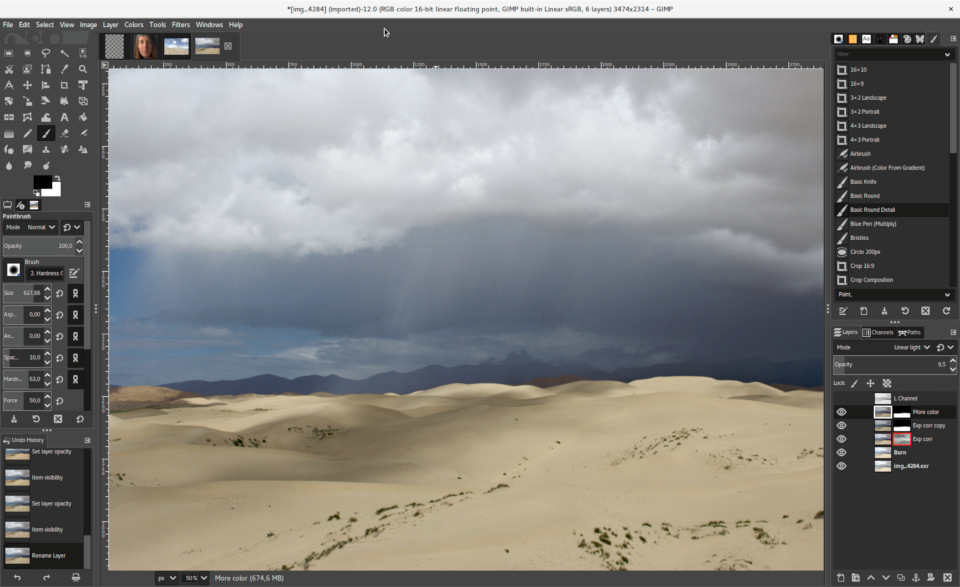
I really like Freeware software. Despite of using MS Windows as my main OS, my heart is probably with Linux. Thus, first and most obvious choice is GIMP. I was already using it for different purposes. It may be used for countless applications. So far I was using gimp to:
- Make presentations
- Create simple animations
- Edit photos
- Create patterns in order to cut it with laser
What makes Gimp so special? If you are really eager to learn it and become master - you will be able draw/edit pretty everything. Including 'photoshopping' photos. Gimp has layers, tools, and most importantly tutorials all over Internet. If you don't believe me, just CLICK!
Other solution - Inkscape
If you are still voting up for Freeware programs you might be interested in Inkscape. It is a bit similar to GIMP, so if you familiarize with his bigger brother you will feel comfortably with Inkscape too. The choice is yours. There are also countless tutorials for this software too. In this point let me quote "Auntie" Wiki: Inkscape is a free and open-source vector graphics editor; it can be used to create or edit vector graphics such as illustrations, diagrams, line arts, charts, logos and complex paintings. Inkscape's primary vector graphics format is Scalable Vector Graphics (SVG); however, many other formats can be imported and exported.

Designing with Inkscape
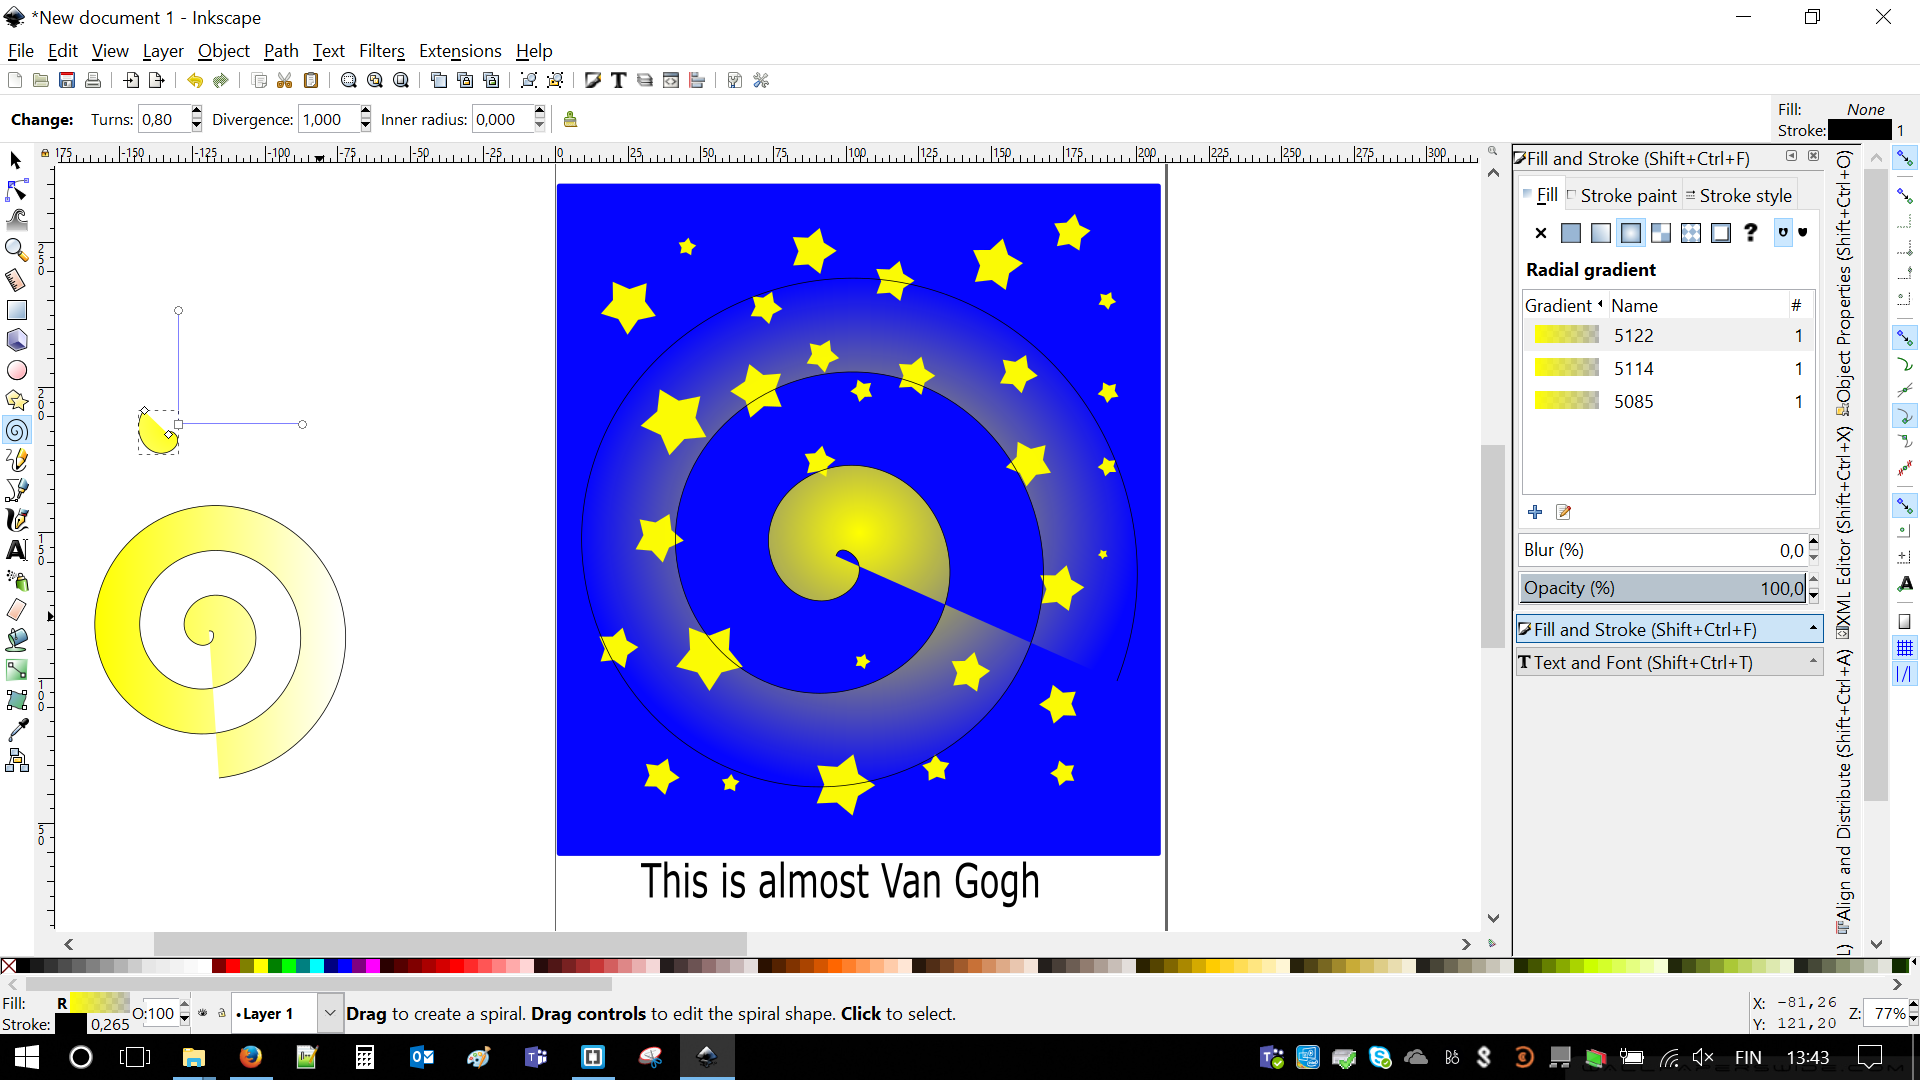
Let's say I'm having banana importing company and I need a logo. I decided I will design it in Inkscape. Let's go trough the process. First of all, I create a background with some color. As I'm planning to import it to European Union, there is no other choice than EU blue, as I call it, just check the flag. I draw big blue rectangle by pressing F4 or clicking on Create rectangles and squares in the menu tab. Then I have a moment for thinking. What EU likes? Stars! Fortunately, there are star shapes in menu. Simply press (*) or Create stars and polygons. I put some test stars

In the meantime I move my blue square on the are indicated by big rectangle (A4 size) so I can print it after. I change color of every star by highlighting it and using panel on the very bottom. This is what I achieved.
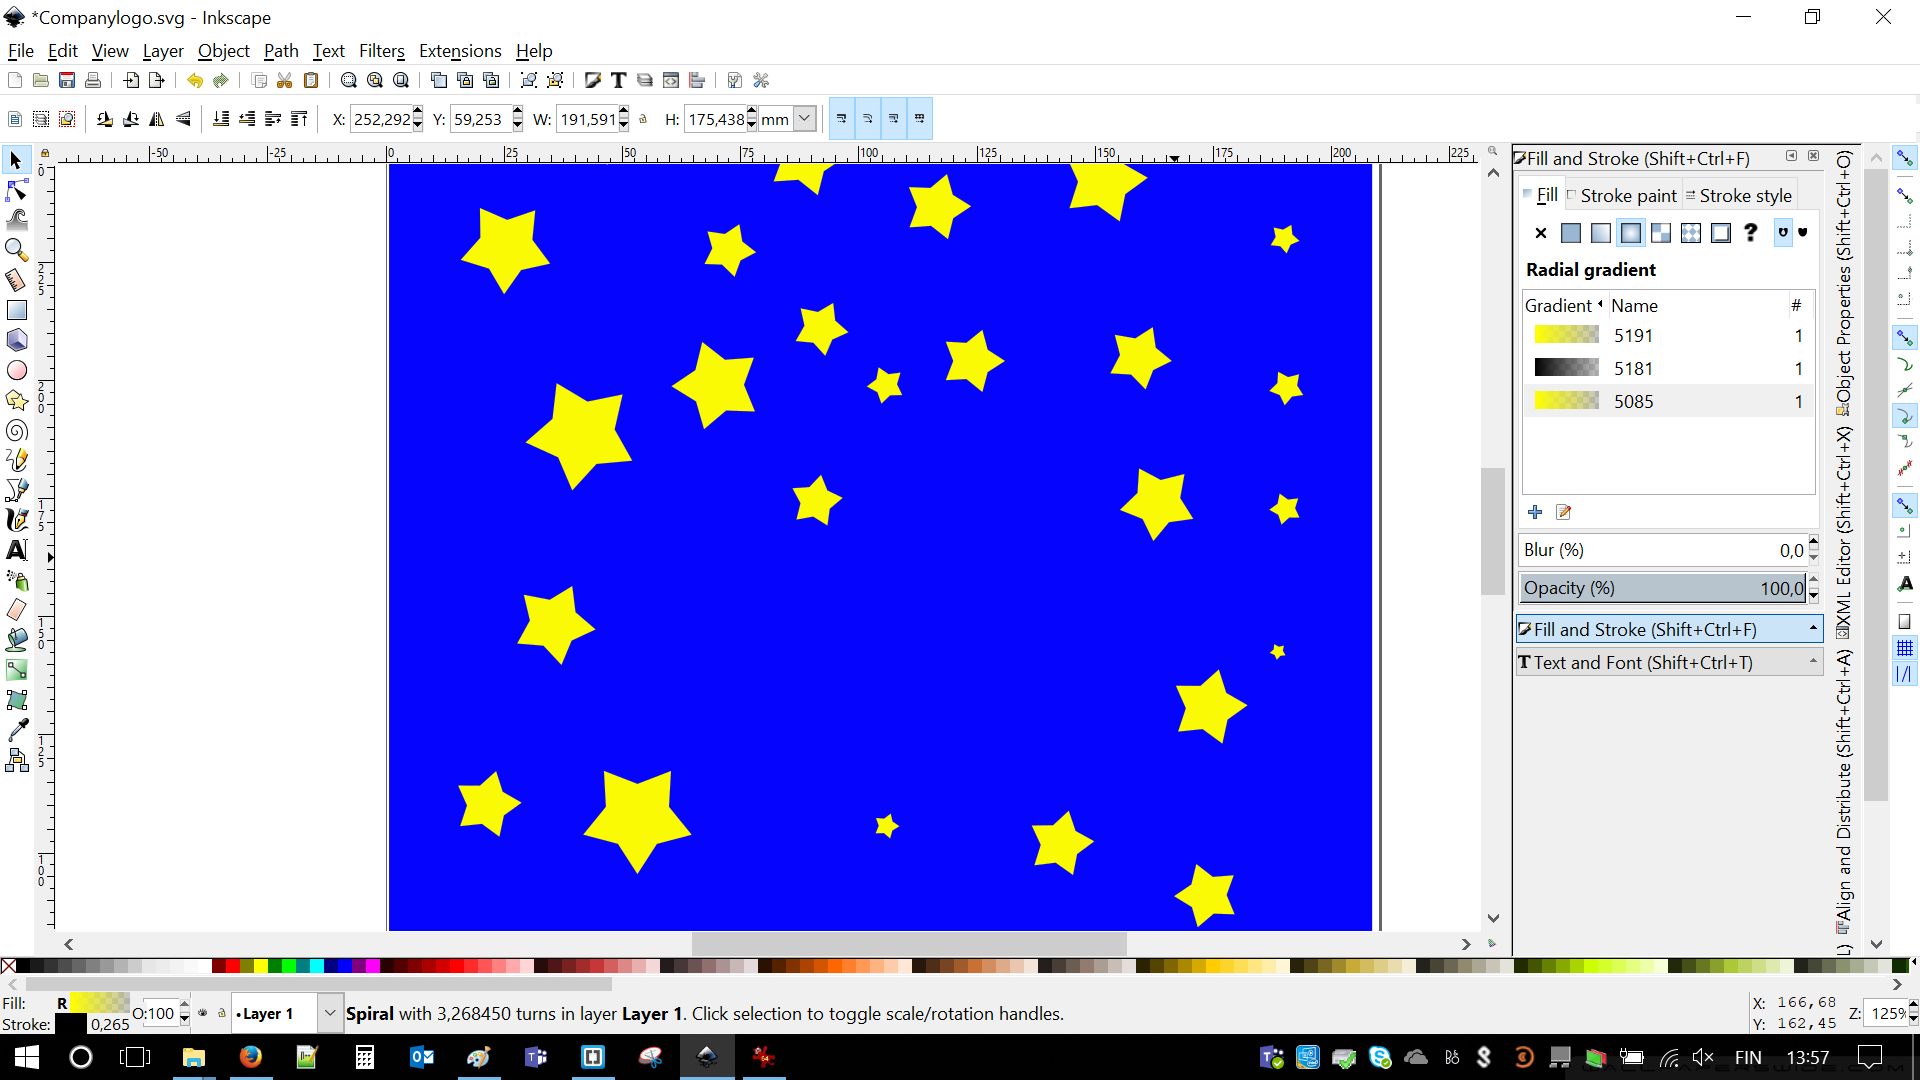
Okay, time for some real magic. By pressing F9 I created a spiral. This will add some charm onto my company logo. Using Fill and stroke menu I' coloring it and adding some crazy effect. There are couple things, which might be adjusted such as amount of spins, size and line thickness.
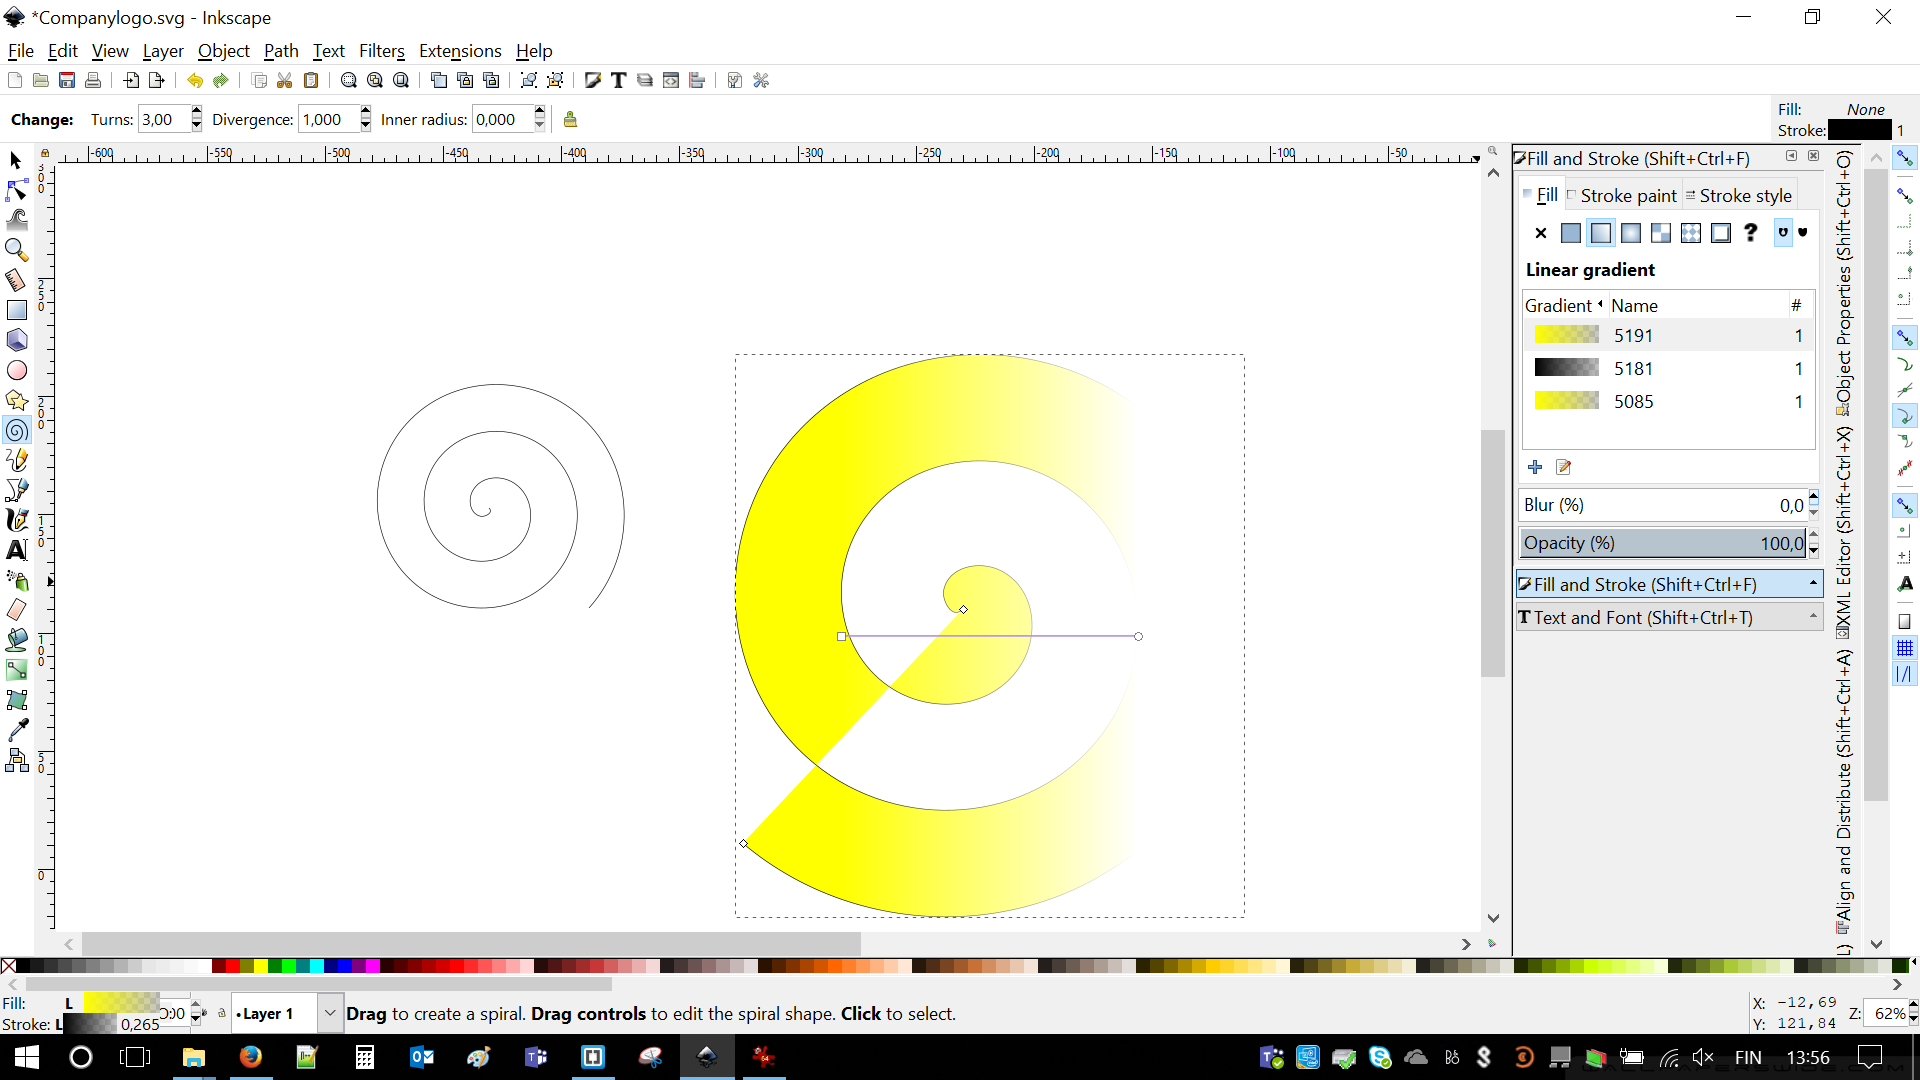
I place spiral in the center of my image. In the meantime I'm adding text "This is almost Van Gogh by pressing on text button. The reason is that I'm in artistic mood and this is so close perfect drawing.
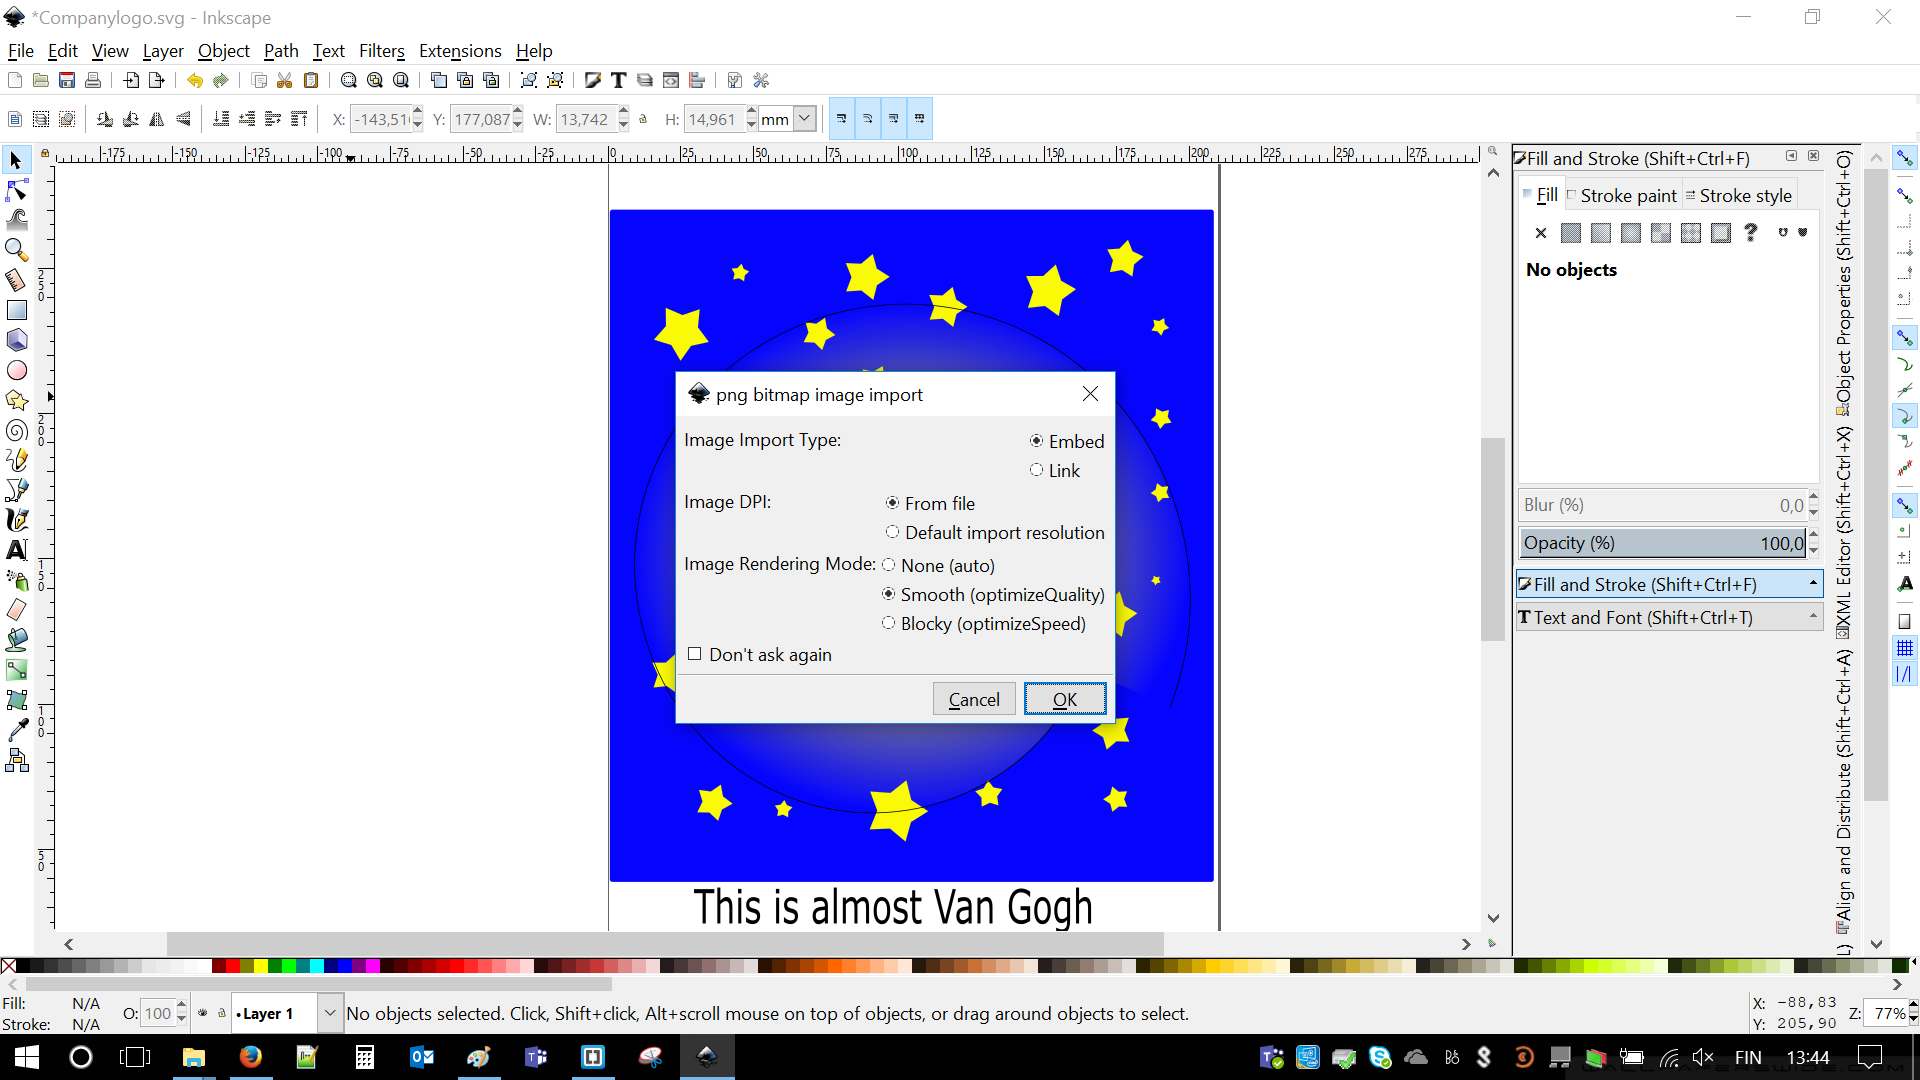
Then I'm finding some banana without background (.PNG format). And import it using File/Import. Scaling it by pulling small rectangles on the borders and put it in the very center of the spiral. Awesome.
What is left is CE mark (bottom left), called China export by some. In order to add it I'm pressing CTRL+F6 and write it by hand. Next I'm making my own artistic signature (bottom right). I can remove it afterwards if I won't need it. Villa! My logo is ready
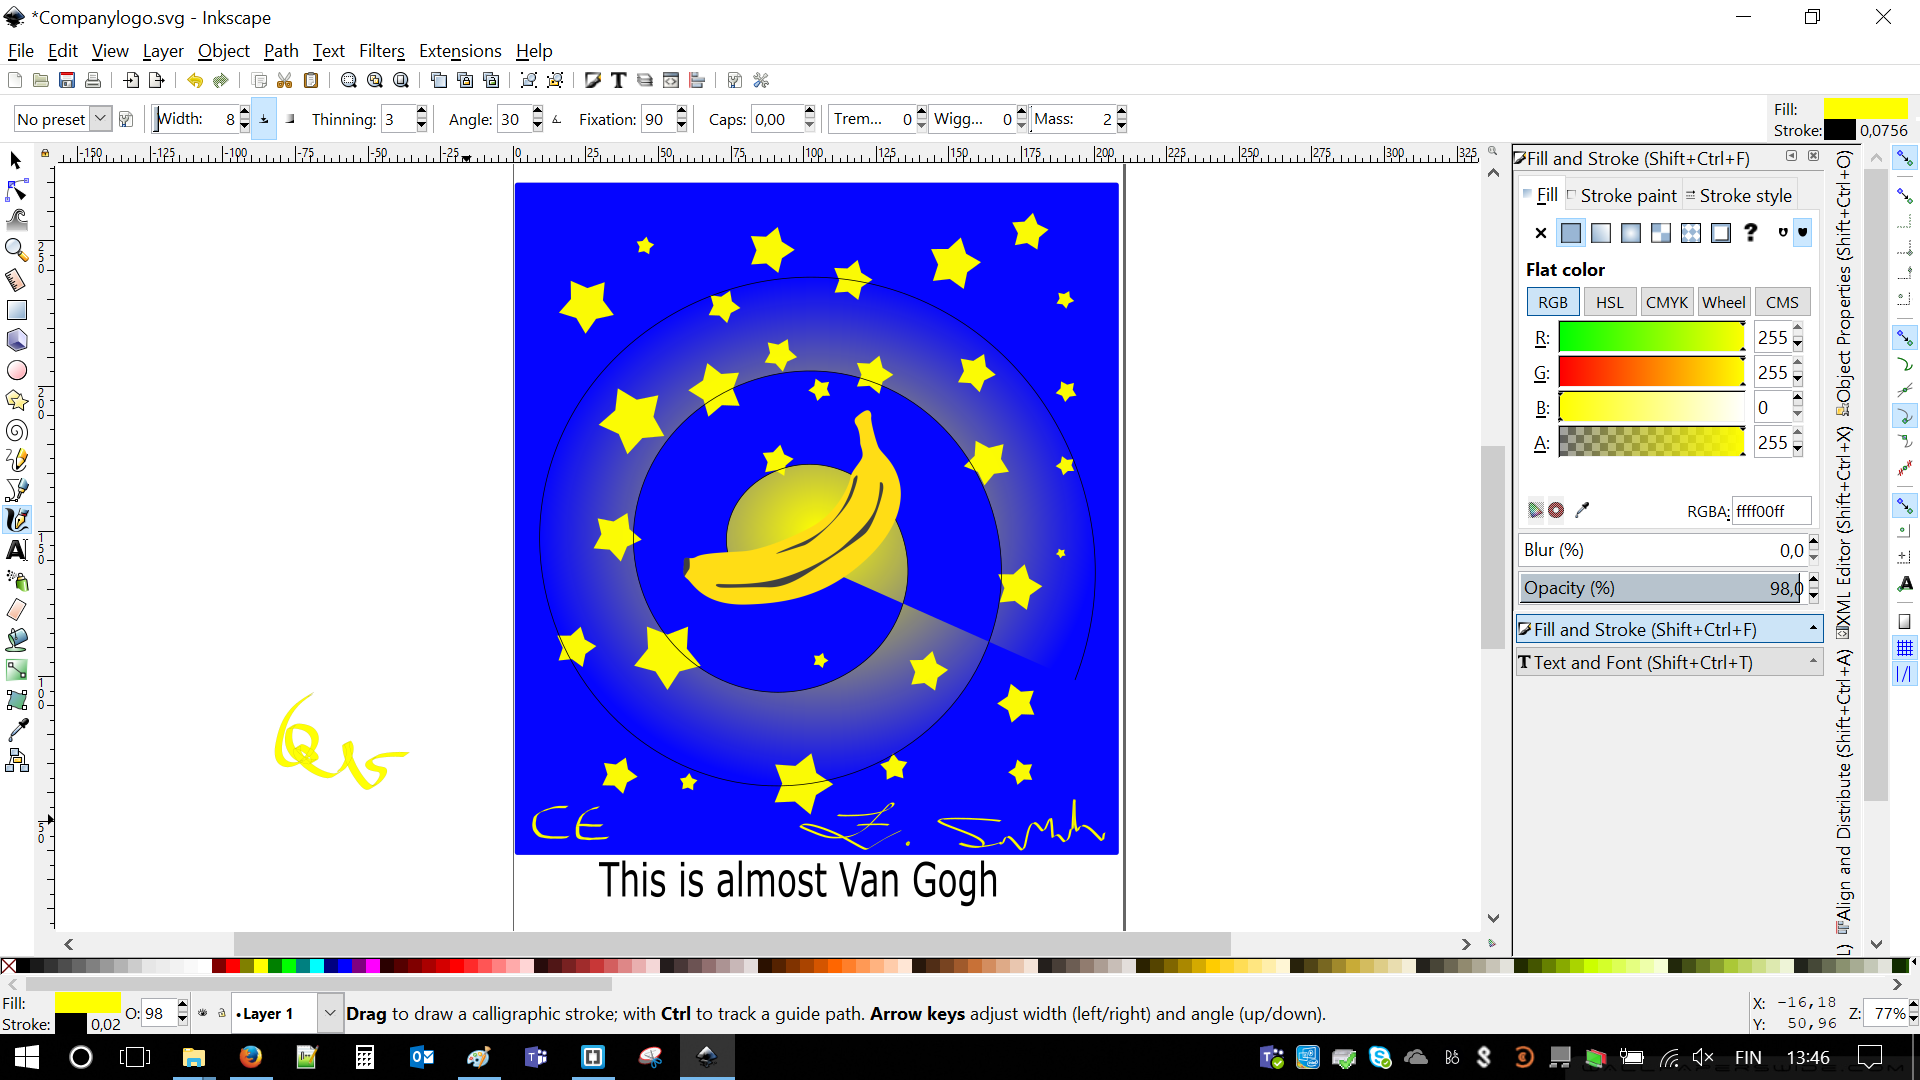
My logo is ready. Now I just need to register my company and start importing. Hopefully, there will be no spiders inside of my bananas. Actually, company name could be "This is almost Van Gogh".

More action - 3D designs
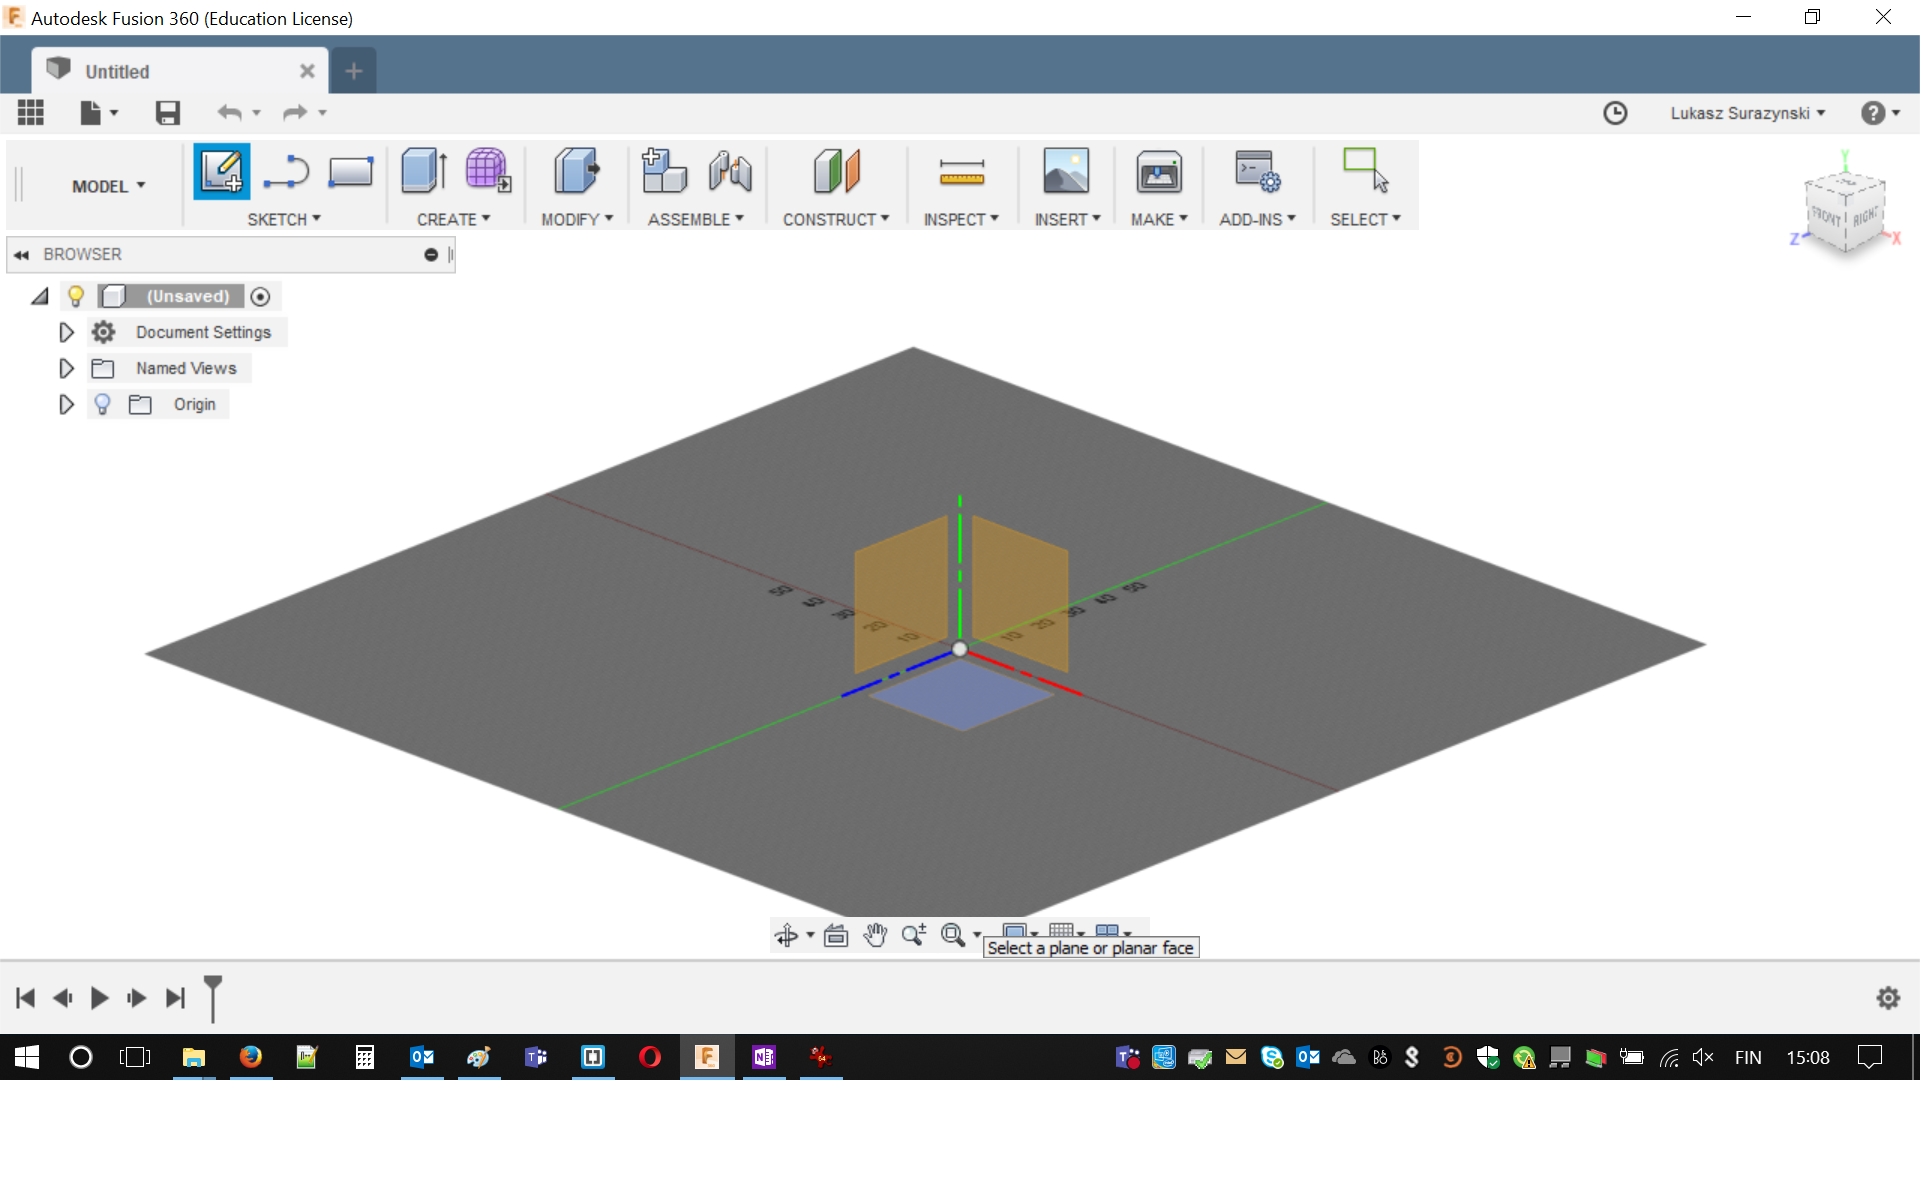
Let's do something more interesting. 3D designs and printing. I was working with Autodesk Fusion360. Name of the software is right, you may rotate around of everything you design. I believe one of the biggest advantages of Fusion is relative simplicity. In the very same moment it is pretty powerful and allows you to create not only designs with future idea to print it in 3D. You may also create patterns to cut it with laser.
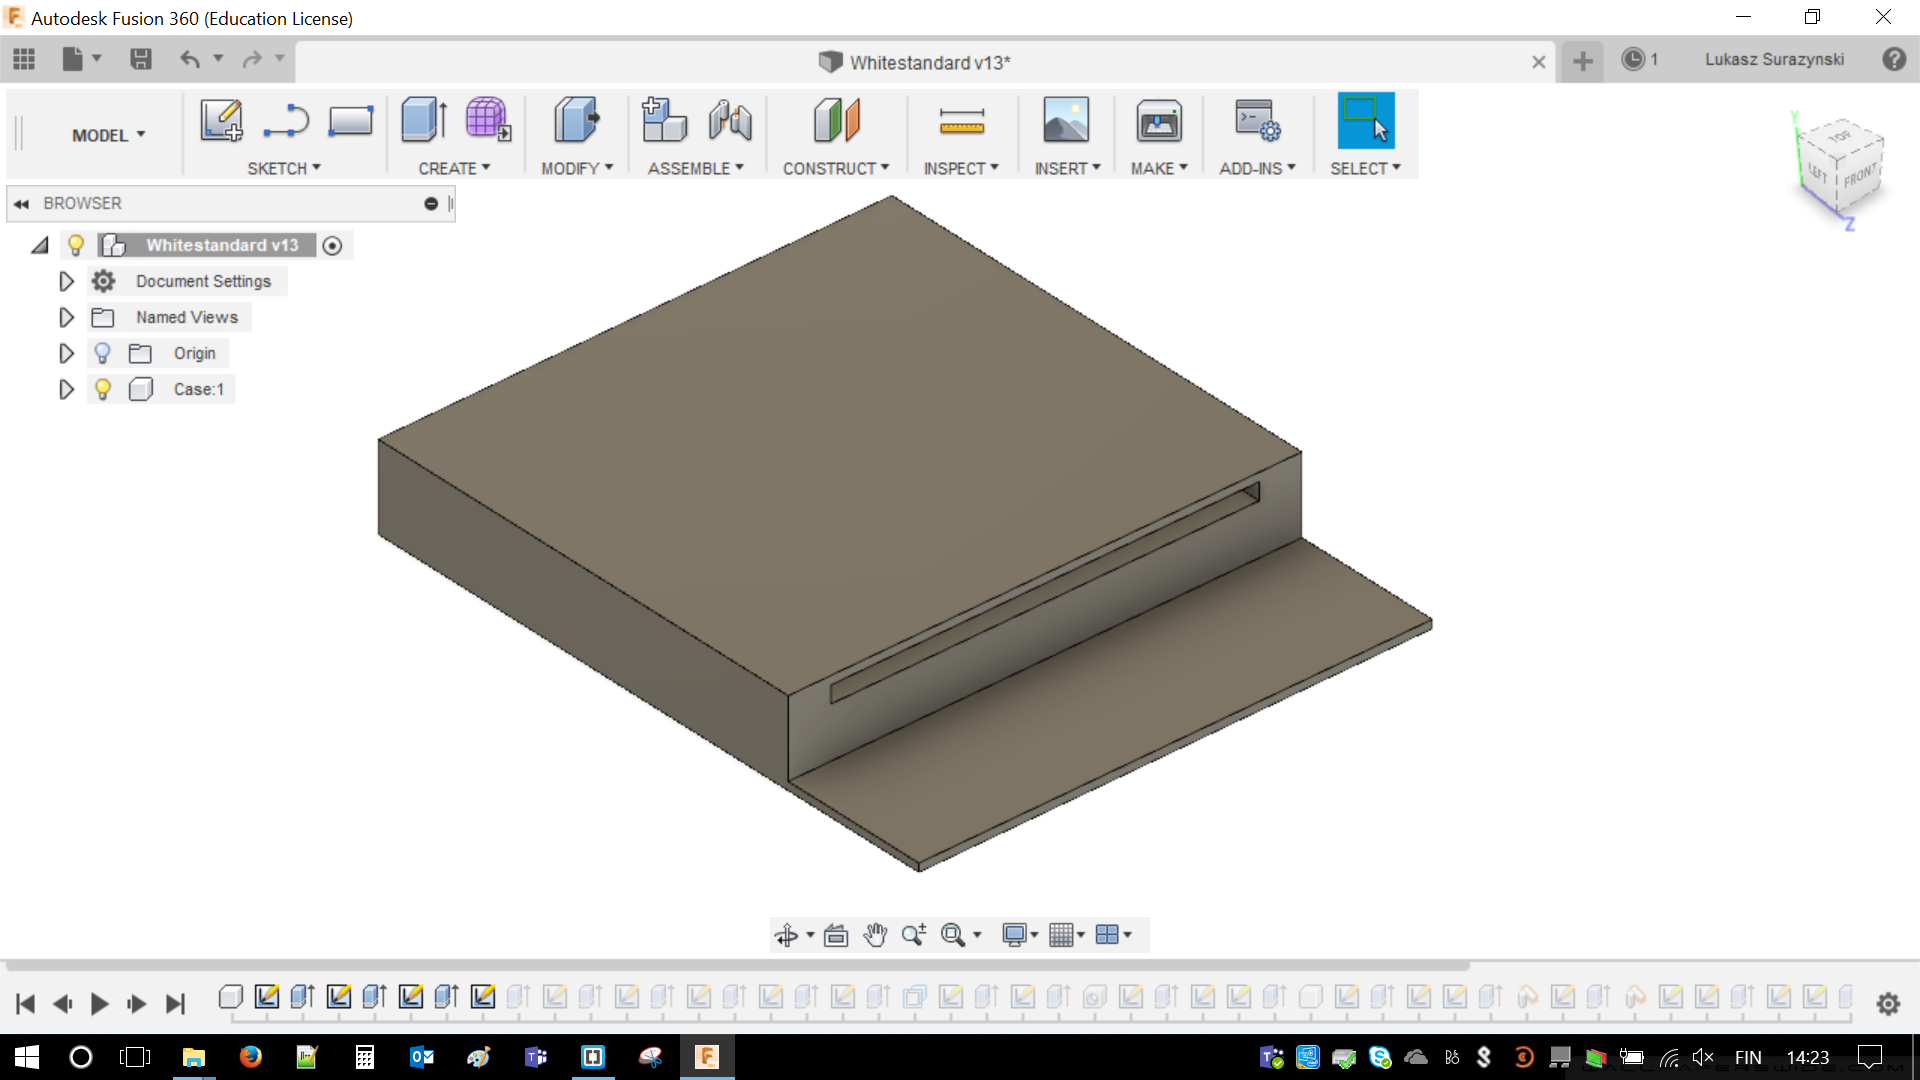
I was using it before and because of that I will present you object that I designed previously. It is a box for my white standard samples, used for calibration. I would like to keep it dry, safe and in the darkness. Box I designed is very handy. I think couple tutorials are the best start. Please check them out, as they will teach how to use menu bar(below) and its features.

Youtube is also great place to search for tutorials! An example: CLICK Using caliper, Youtube hints and trying a lot I remember I managed to create box. We can also call it in more sophisticated way - a chassis. At this point biggest hint is that combination of keys CTRL + Z are working very well. Those are also very important
White standard box
As I needed some fancy box to keep my standard sample safe, dry and covered from dust and UV I decided to design it. Idea is to create one solid brick and extrude holes in it using Modify/Press Pull command. Everything starts with empty sketch, where I drawn desired size of rectangle and pulled it.
Time to carve first holes. As there are not strict requirements how I would place it I just decided to measure sizes with caliper and design everything with some nice symmetry.
Okay, so far so good. I added some thin walls on the bottom so my sample wouldn't slide. I don't need anything else than Pull or Q-shortcut.

There is also hole in the middle of the standard plate. Once again caliper and correct placing was important. I just realized that I won't be able to take it off as there are not tolerances. I created a hole in the bottom so I can push sample with something. Still there will be no way that dust enter the sample from the box bottom. Extruded everything once again.

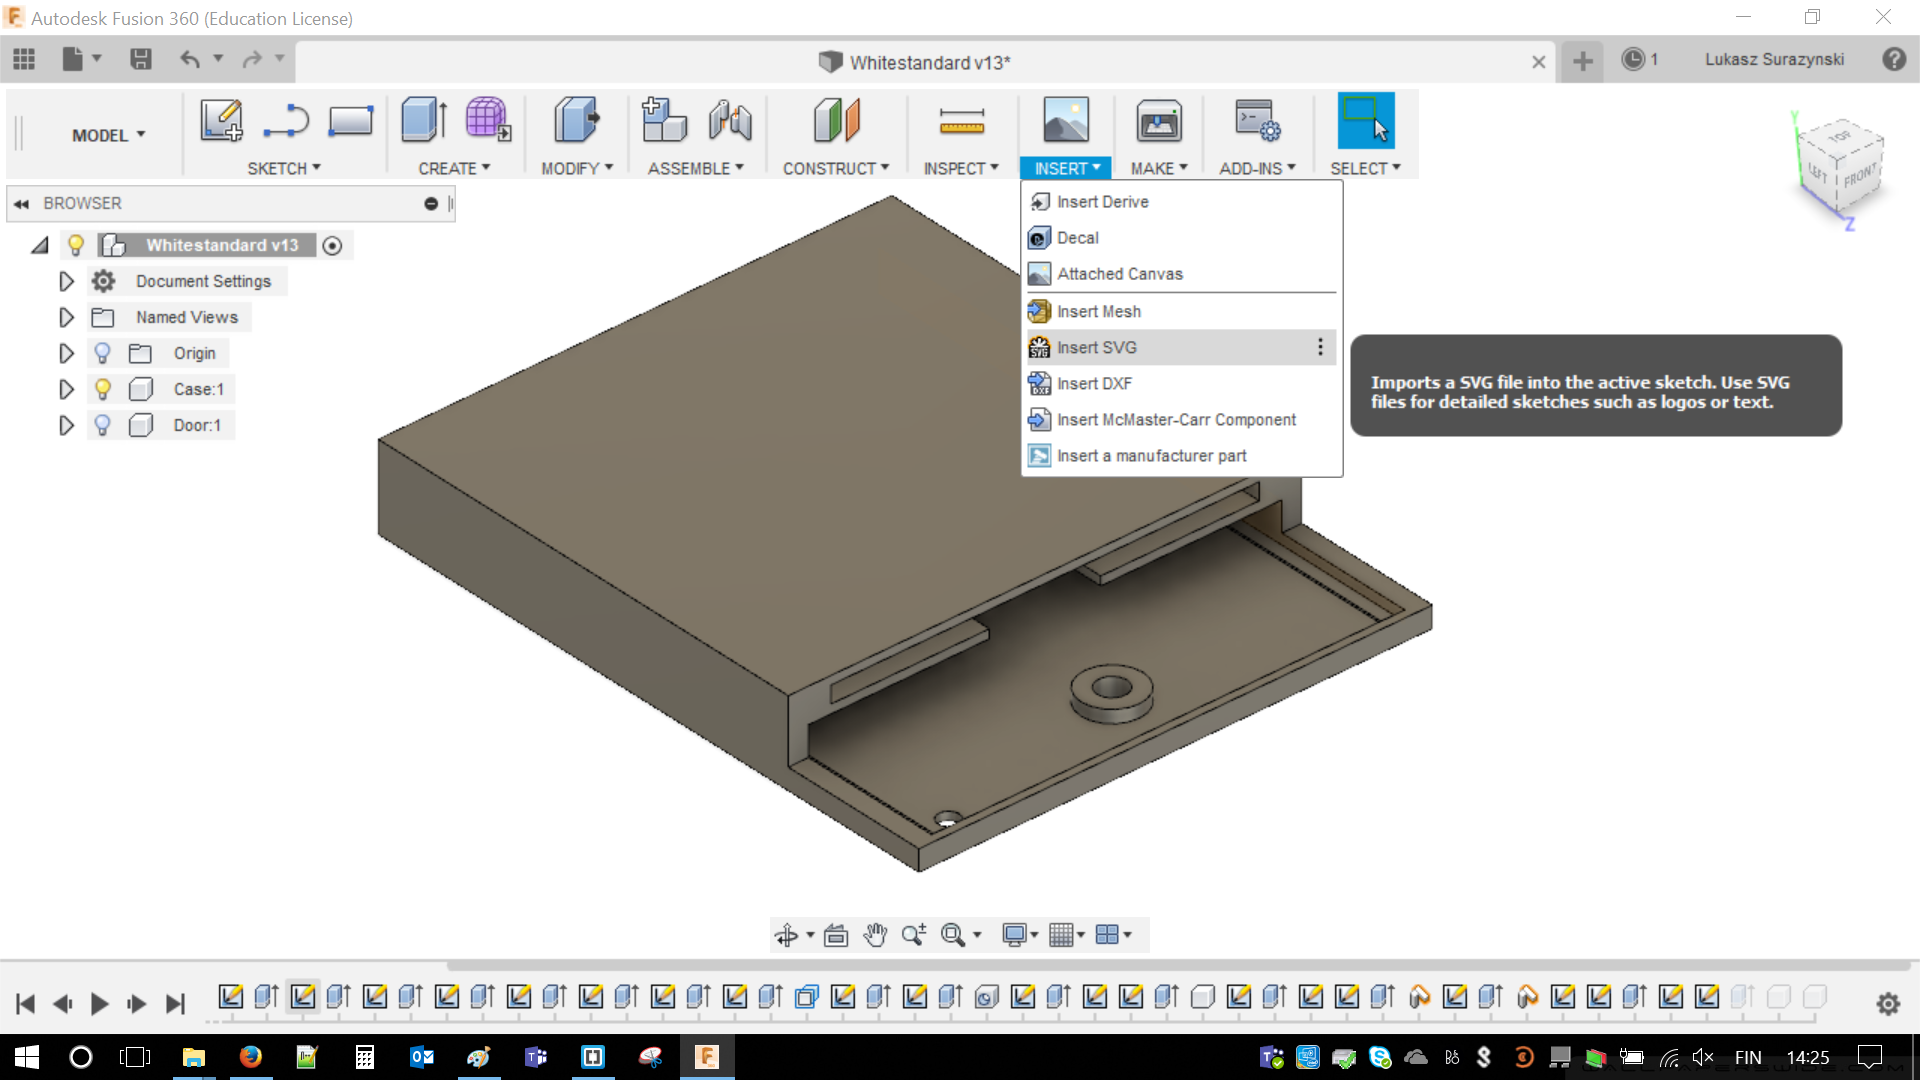
Time to add University of Oulu logo on the top. I used .SVG file and imported it to Fusion by INSERT/Insert SVG. Moved it to the top. Scaled in a way it till fit
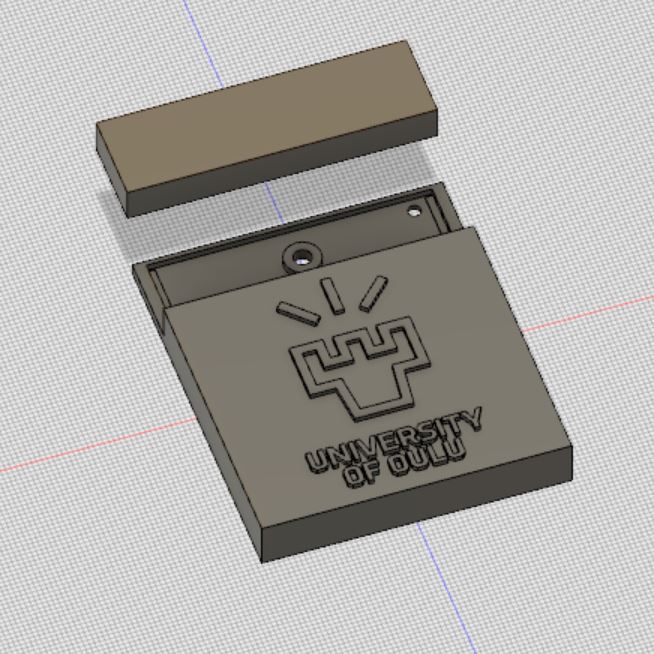
Time for sanity check. I made walls transparent and checked how does it look inside. Everything seems to be alright. Logo is not visible in order to see trough the box better.

Time to look for final version. Looks good. I just added one more body to close my chassis (if needed).
Rendering
I could choose from couple tasks. I choose that I will render my chassis. In three dimensional plane:
Rendering is the final process of creating the actual 2D image or animation from the prepared scene. This can be compared to taking a photo or filming the scene after the setup is finished in real life. Several different, and often specialized, rendering methods have been developed. These range from the distinctly non-realistic wireframe rendering through polygon-based rendering, to more advanced techniques such as: scanline rendering, ray tracing, or radiosity. Rendering may take from fractions of a second to days for a single image/frame. In general, different methods are better suited for either photo-realistic rendering, or real-time rendering.
Fortunately Fusion360 has ability to render designed projects. Simply by changing the biggest tab from MODEL to RENDER. Once again Youtube proven helpful. Using this lesson: Rendering tutorial,
I managed to do it.
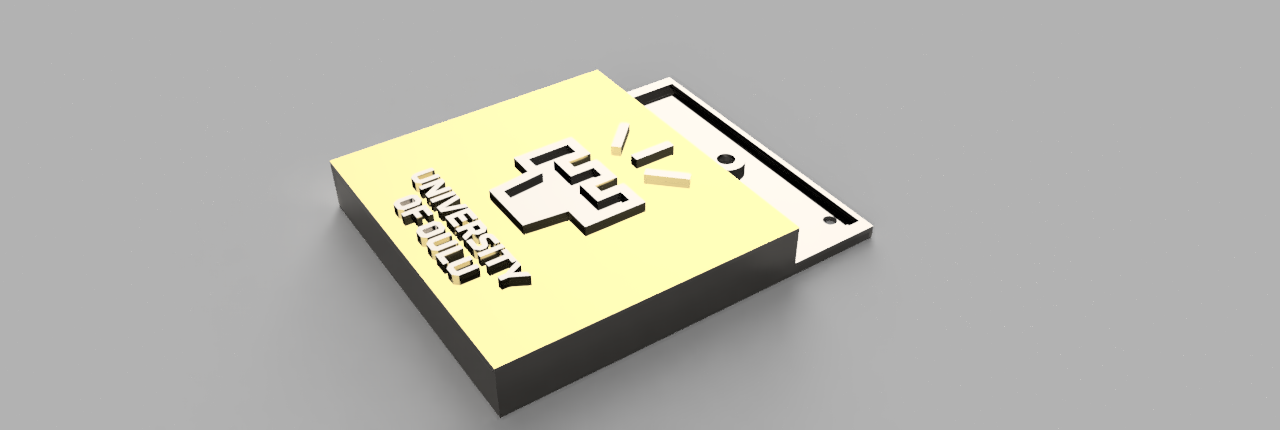
I began with changing whole chassis into titanium, simply because I was interested how it would look-like. I have to admit that it was shiny. Then I covered top surface in gold using SETUP > APPEARANCE tool, which turned color of top layer from silver into yellow(-ish).
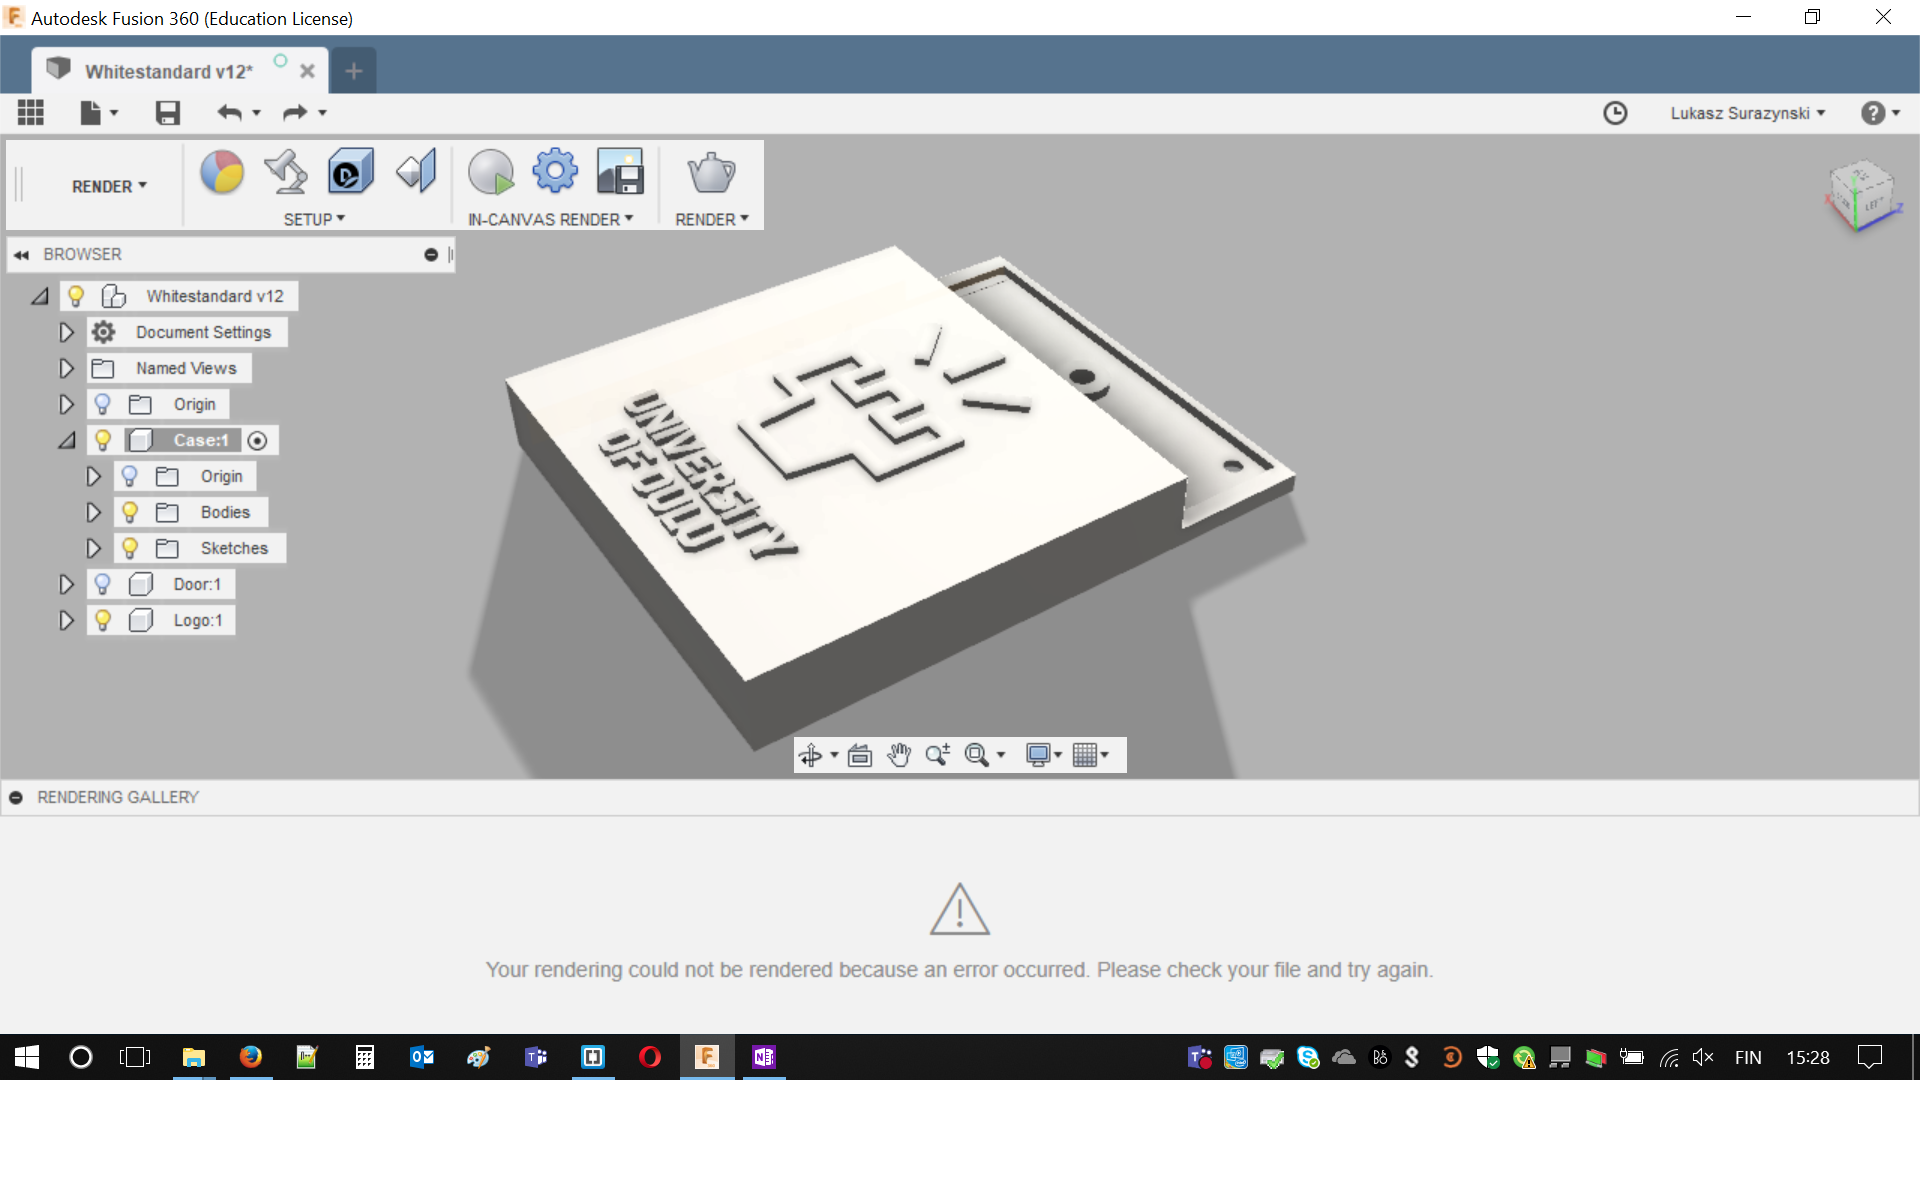
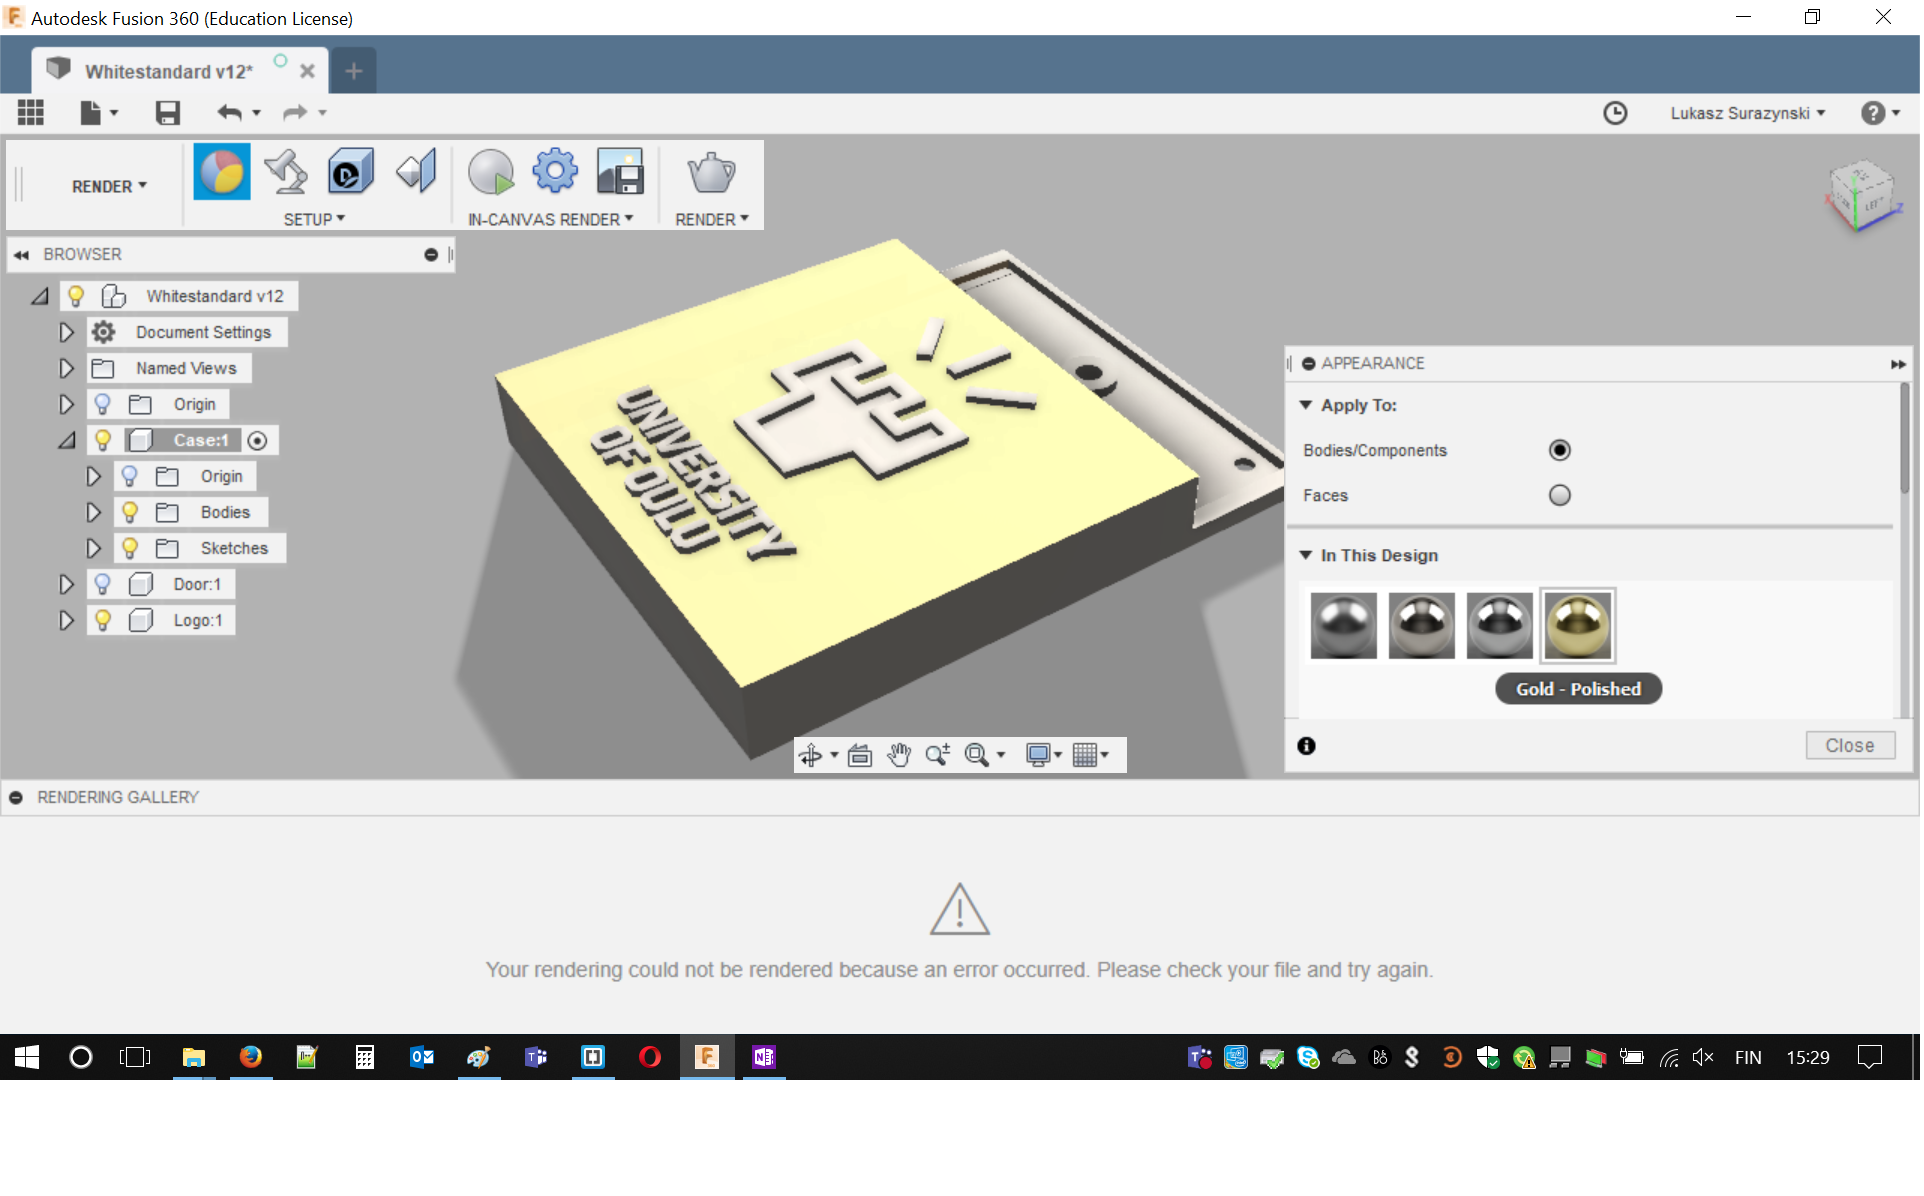
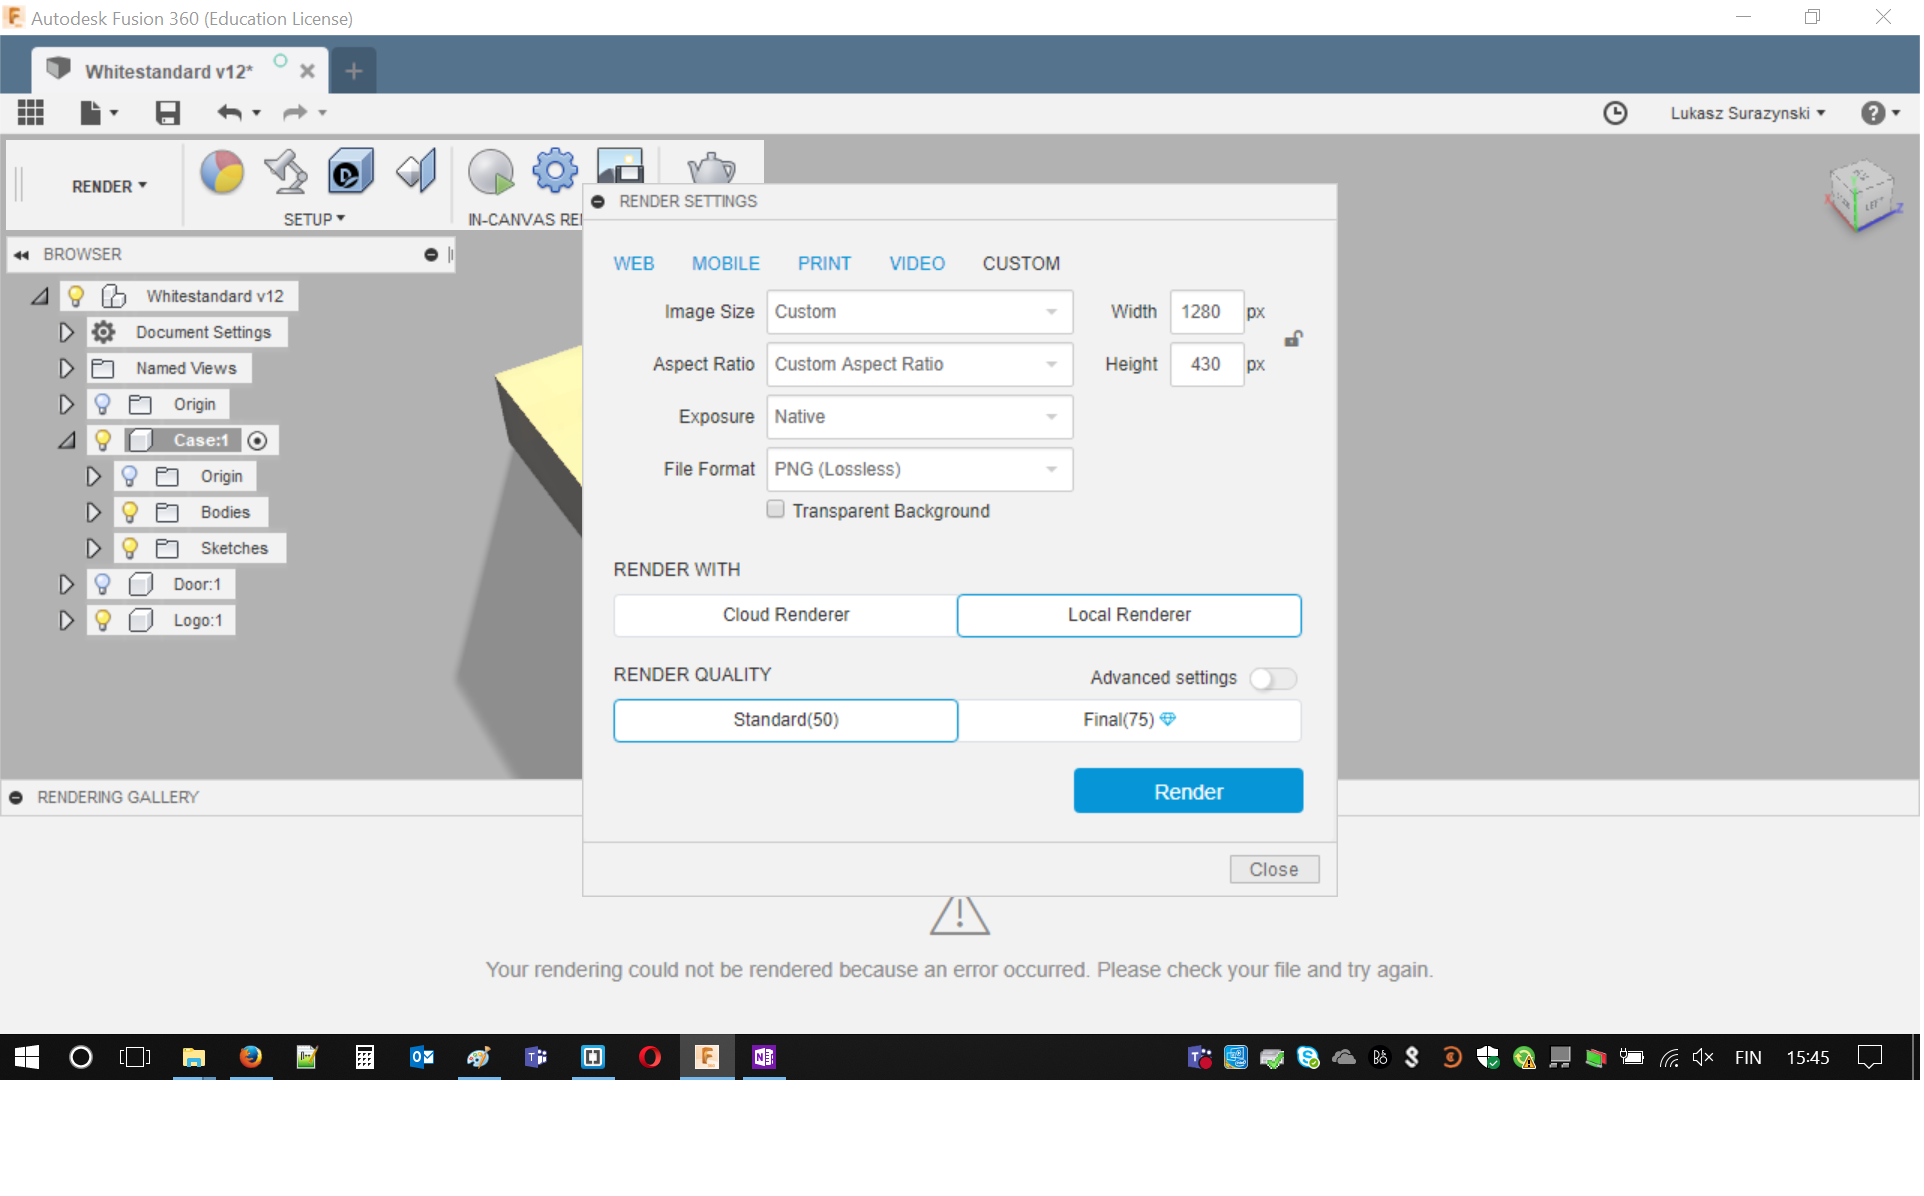
At this point I was happy with the result and decided to render it. The only required step is to click on the kettle from menu tab. I decided to use my own computational power: local rendering with standard quality of 50 steps. I did not feel necessary to mess with output image ratio so I left it be.
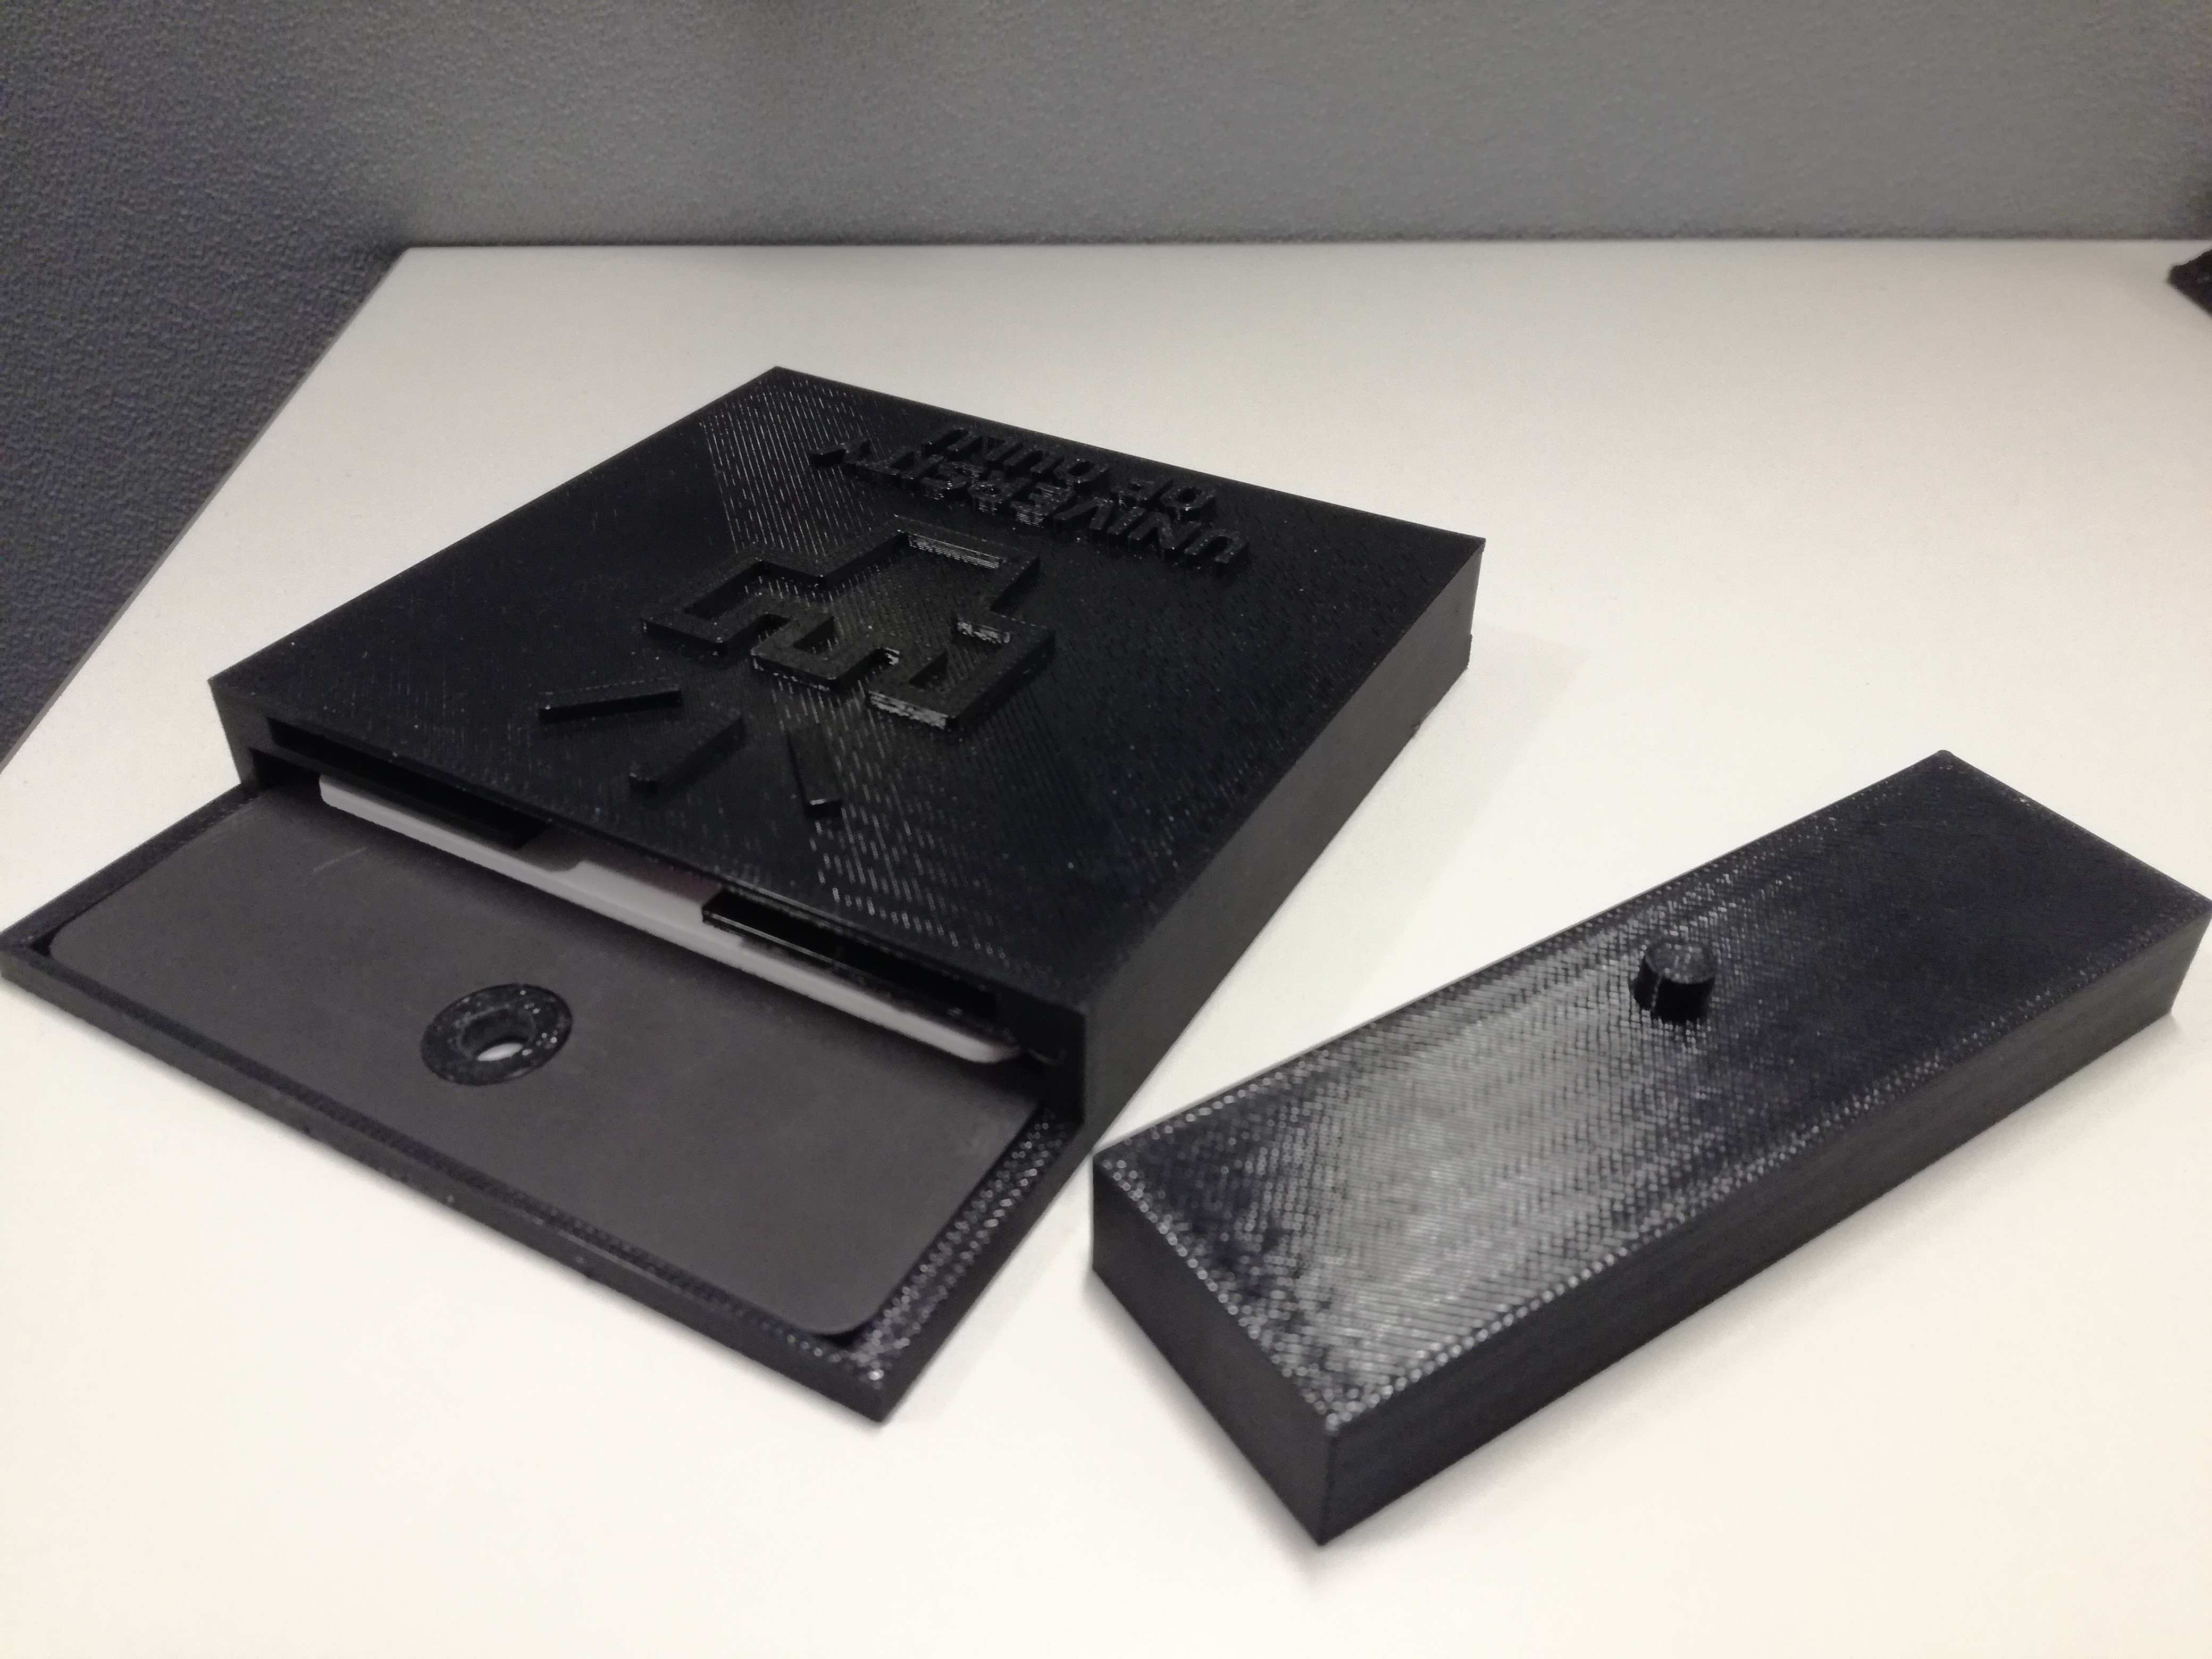
Just after a minute or two I got the result. As I had my box printed I could compare it with reality. Even if my box/chassis is not made of gold and titanium I still like it as it is very handy in the lab!
Files:
Download: 2D file
Download: 3D file
Download: Rendered object