Week 17: Wildcard Week
Design and produce something with a digital fabrication process (incorporating computer-aided design and manufacturing) not covered in another assignment, documenting the requirements that your assignment meets, and including everything necessary to reproduce it. Possibilities include (but are not limited to) composites, textiles, biotechnology, robotics, folding, and cooking.
In the moment I realized that we have sandblaster in our FabLab I decided within a moment. I always wanted to try it as I've seen what sort of magic it can make on shiny and polished surfaces. It was also interesting to test different kind of materials...
...even stupid choices, who never tried before me, like cardboard. Well, by "never" I mean no one in our local FabLab. Probably there were such people in the history of humankind.
Individual Assignment: Sandblasting!
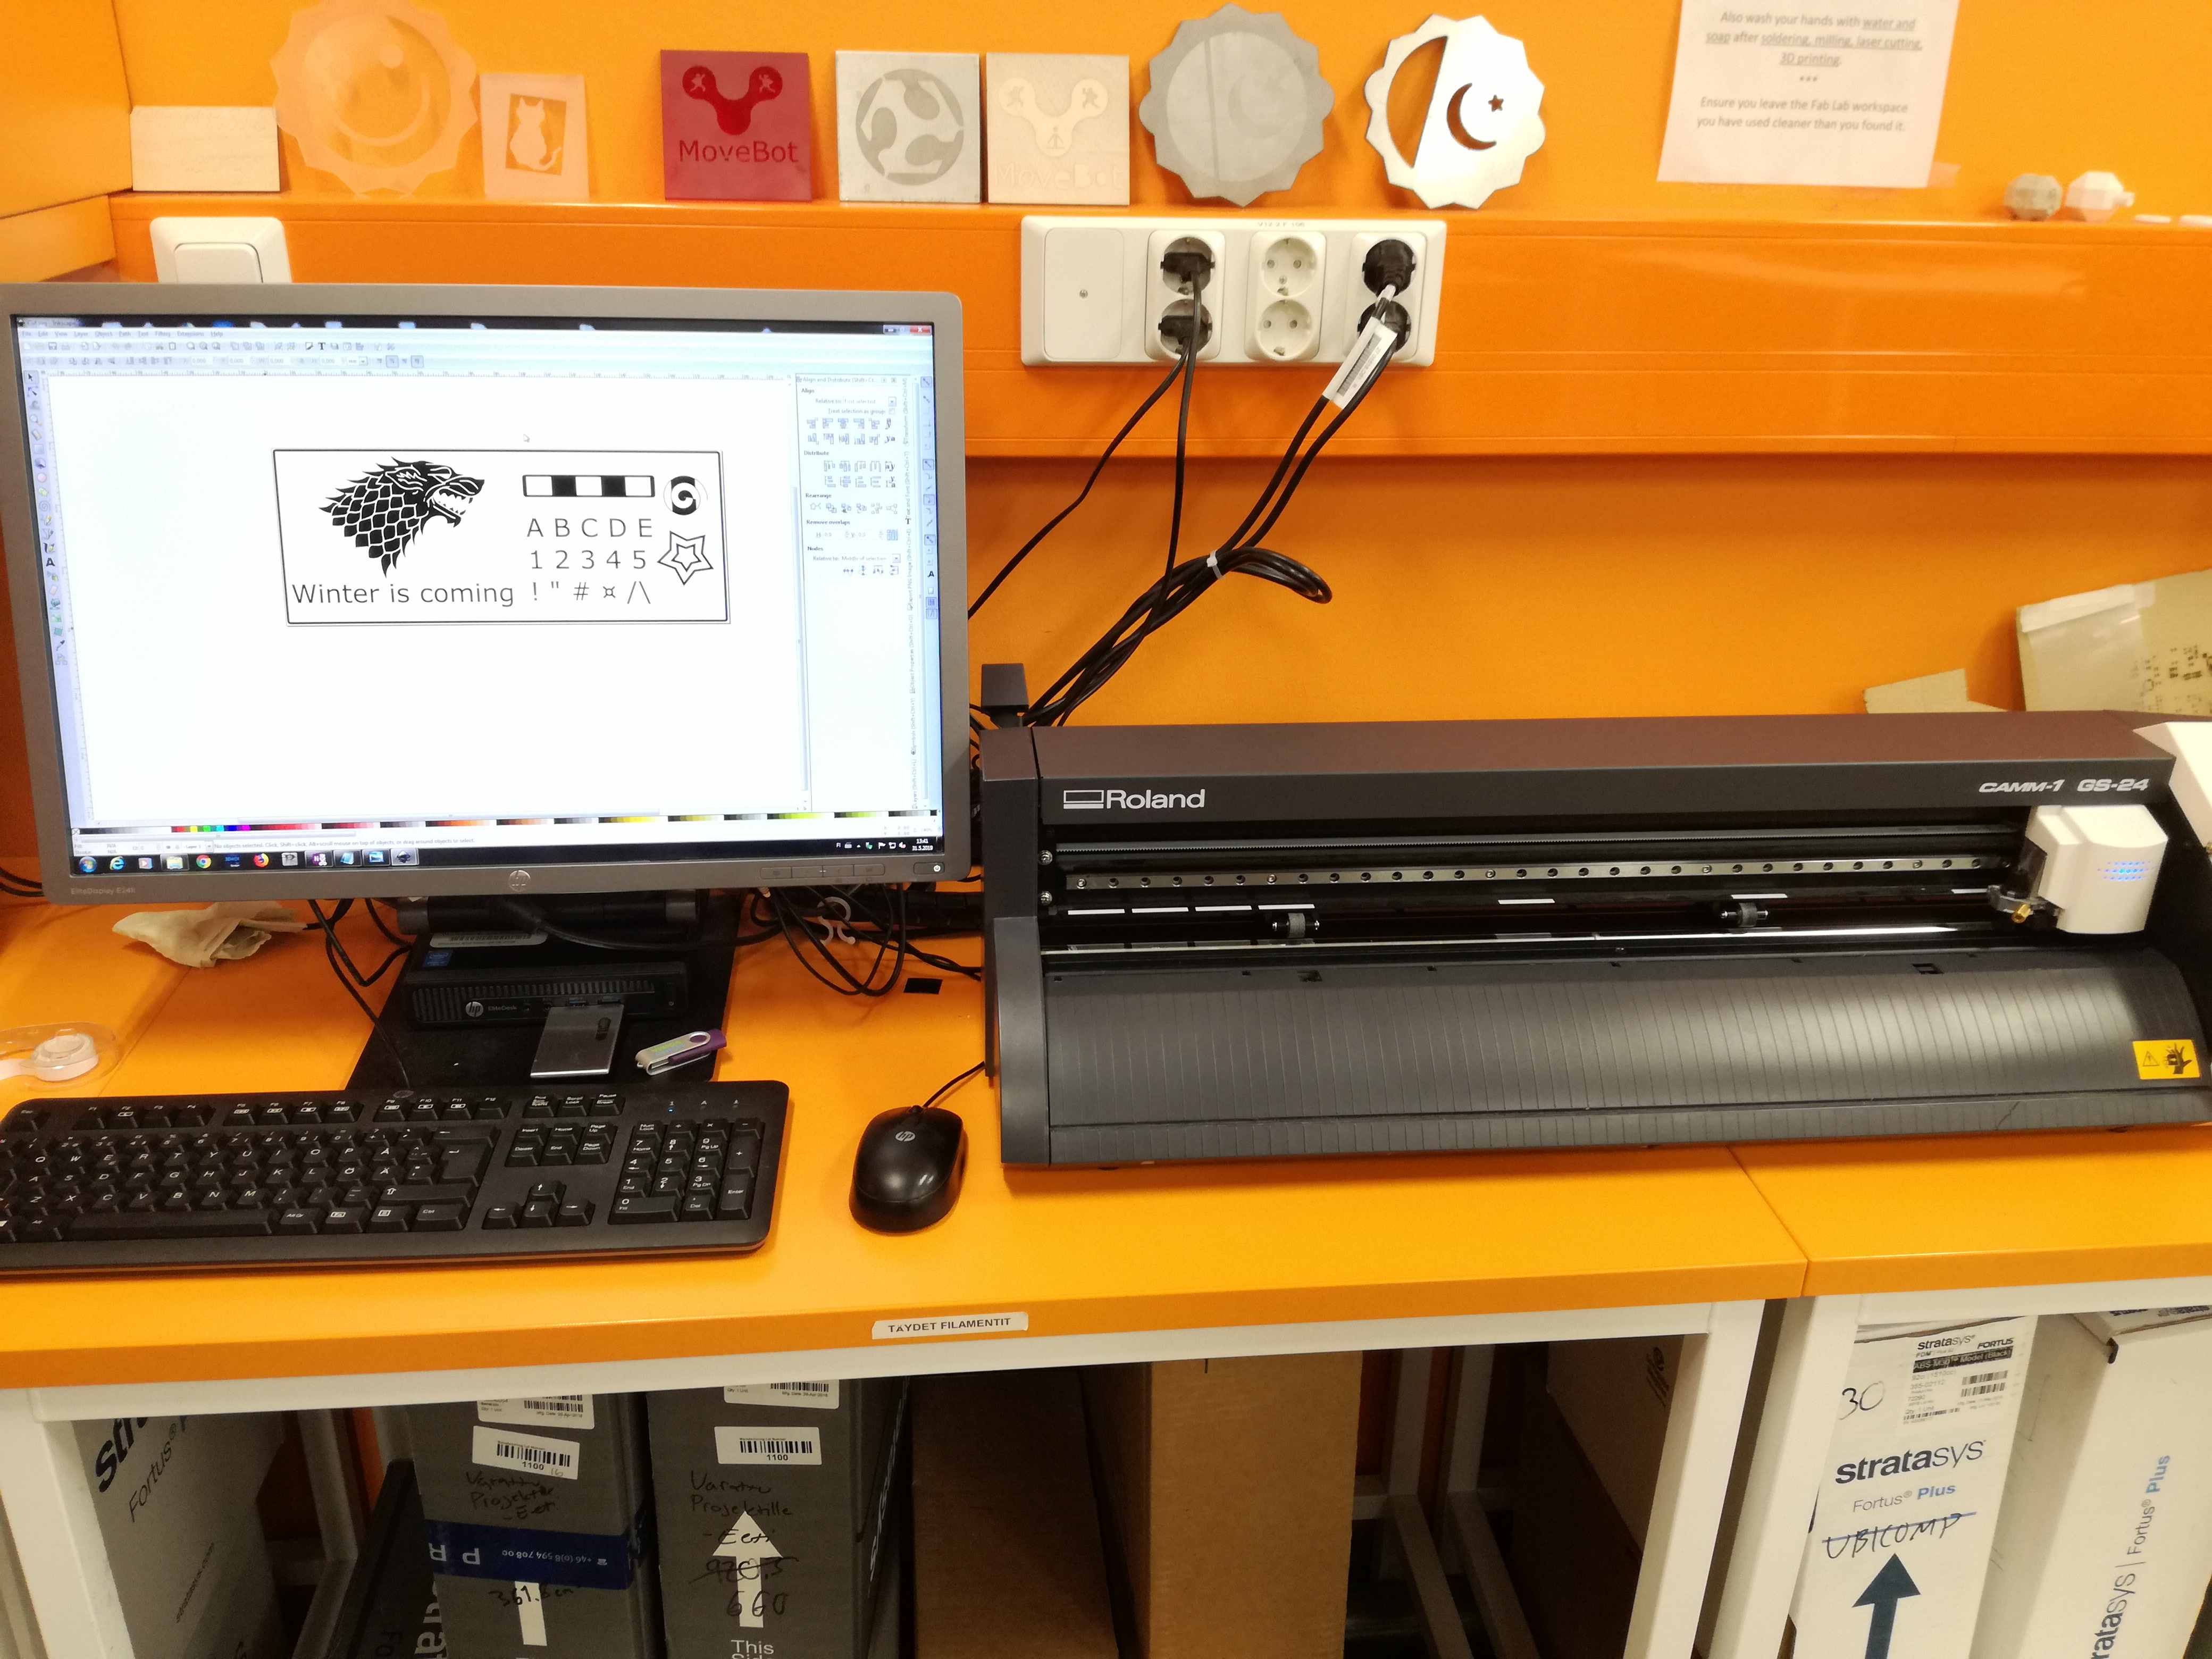
Designing with InkScape
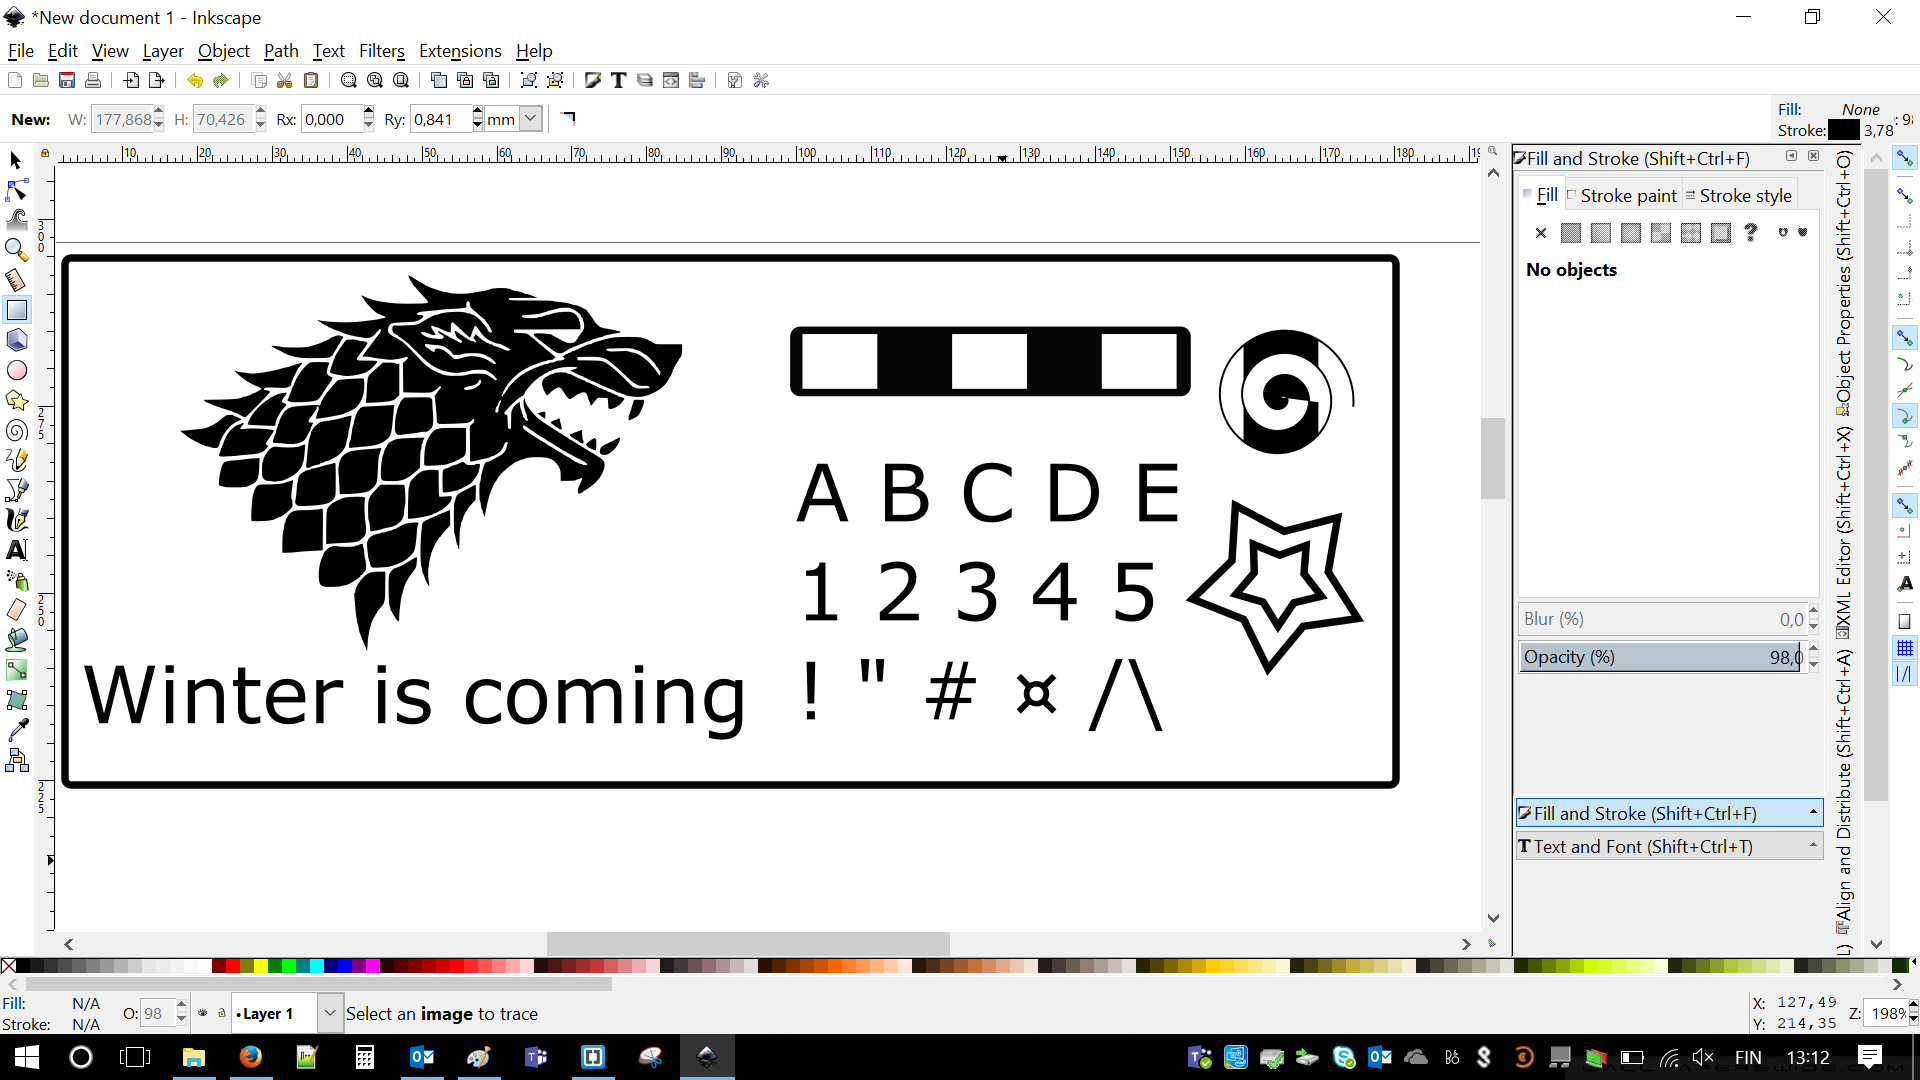
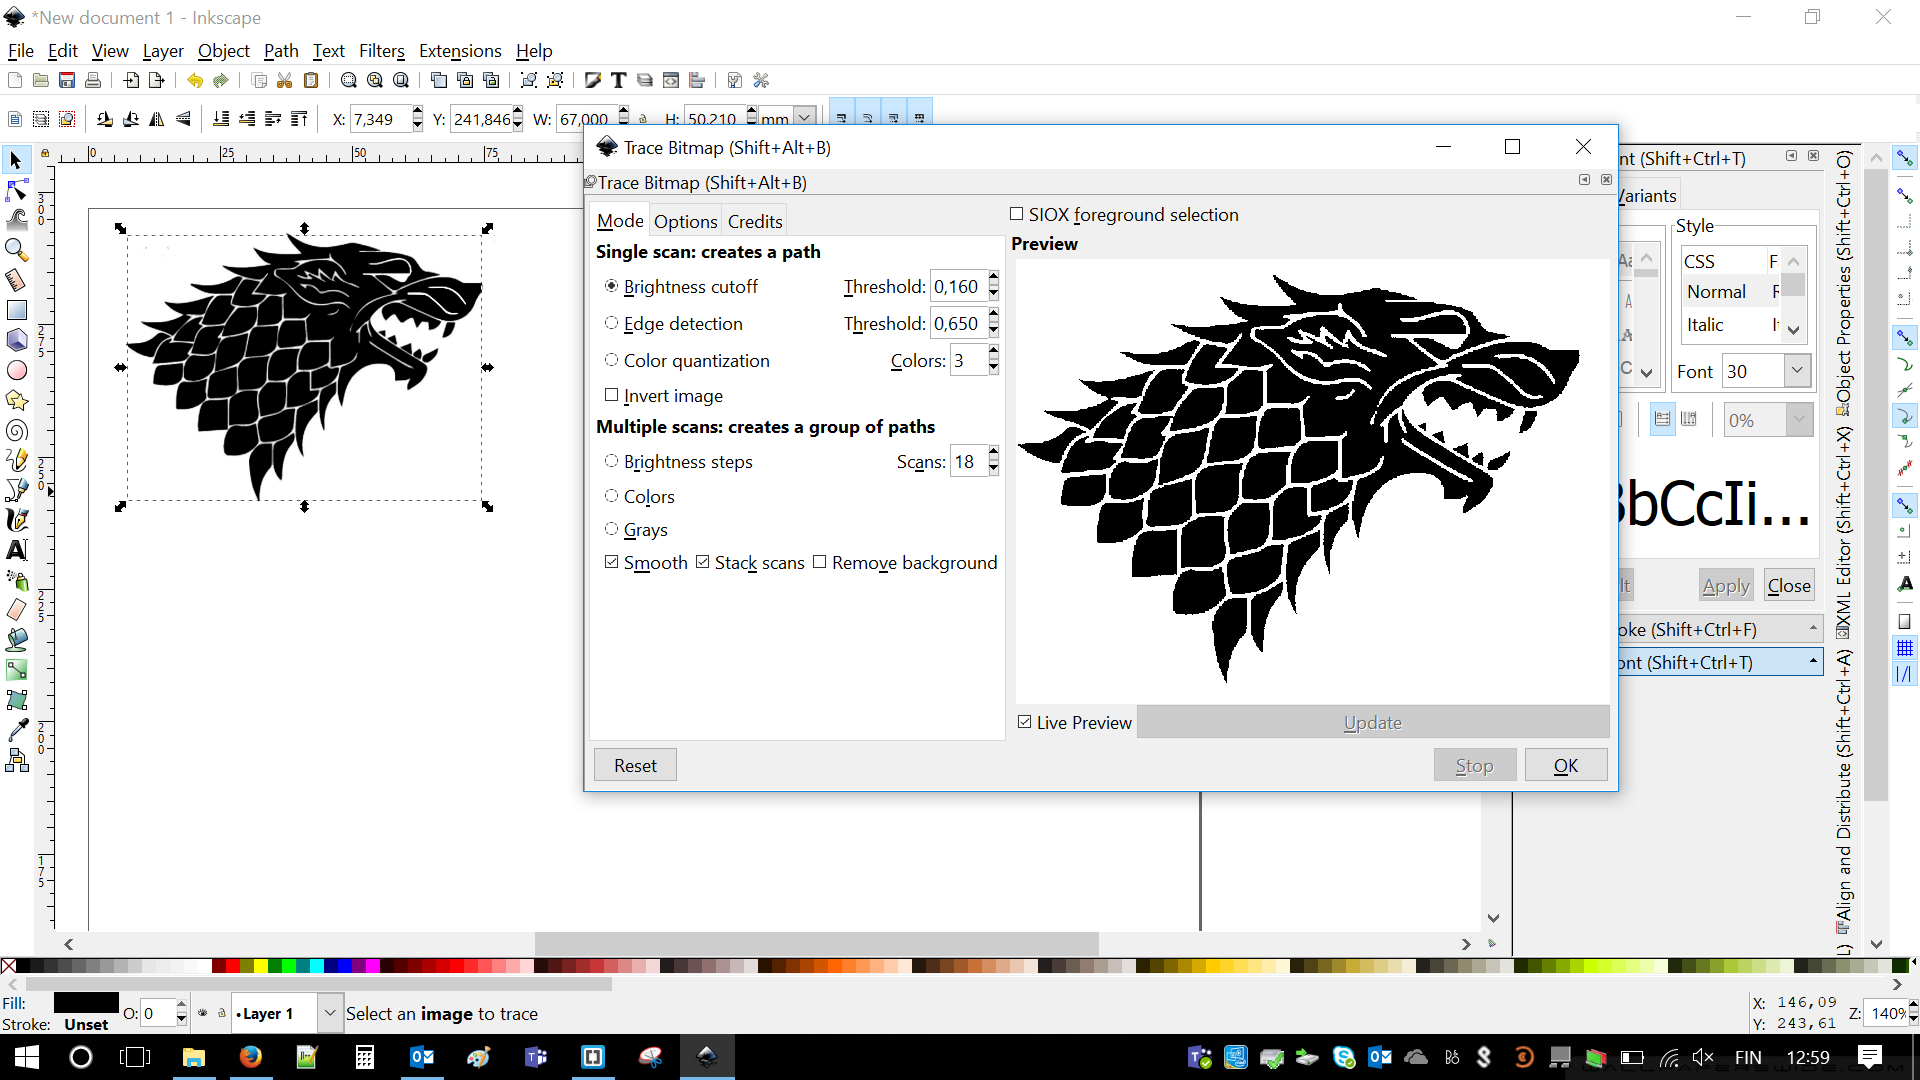
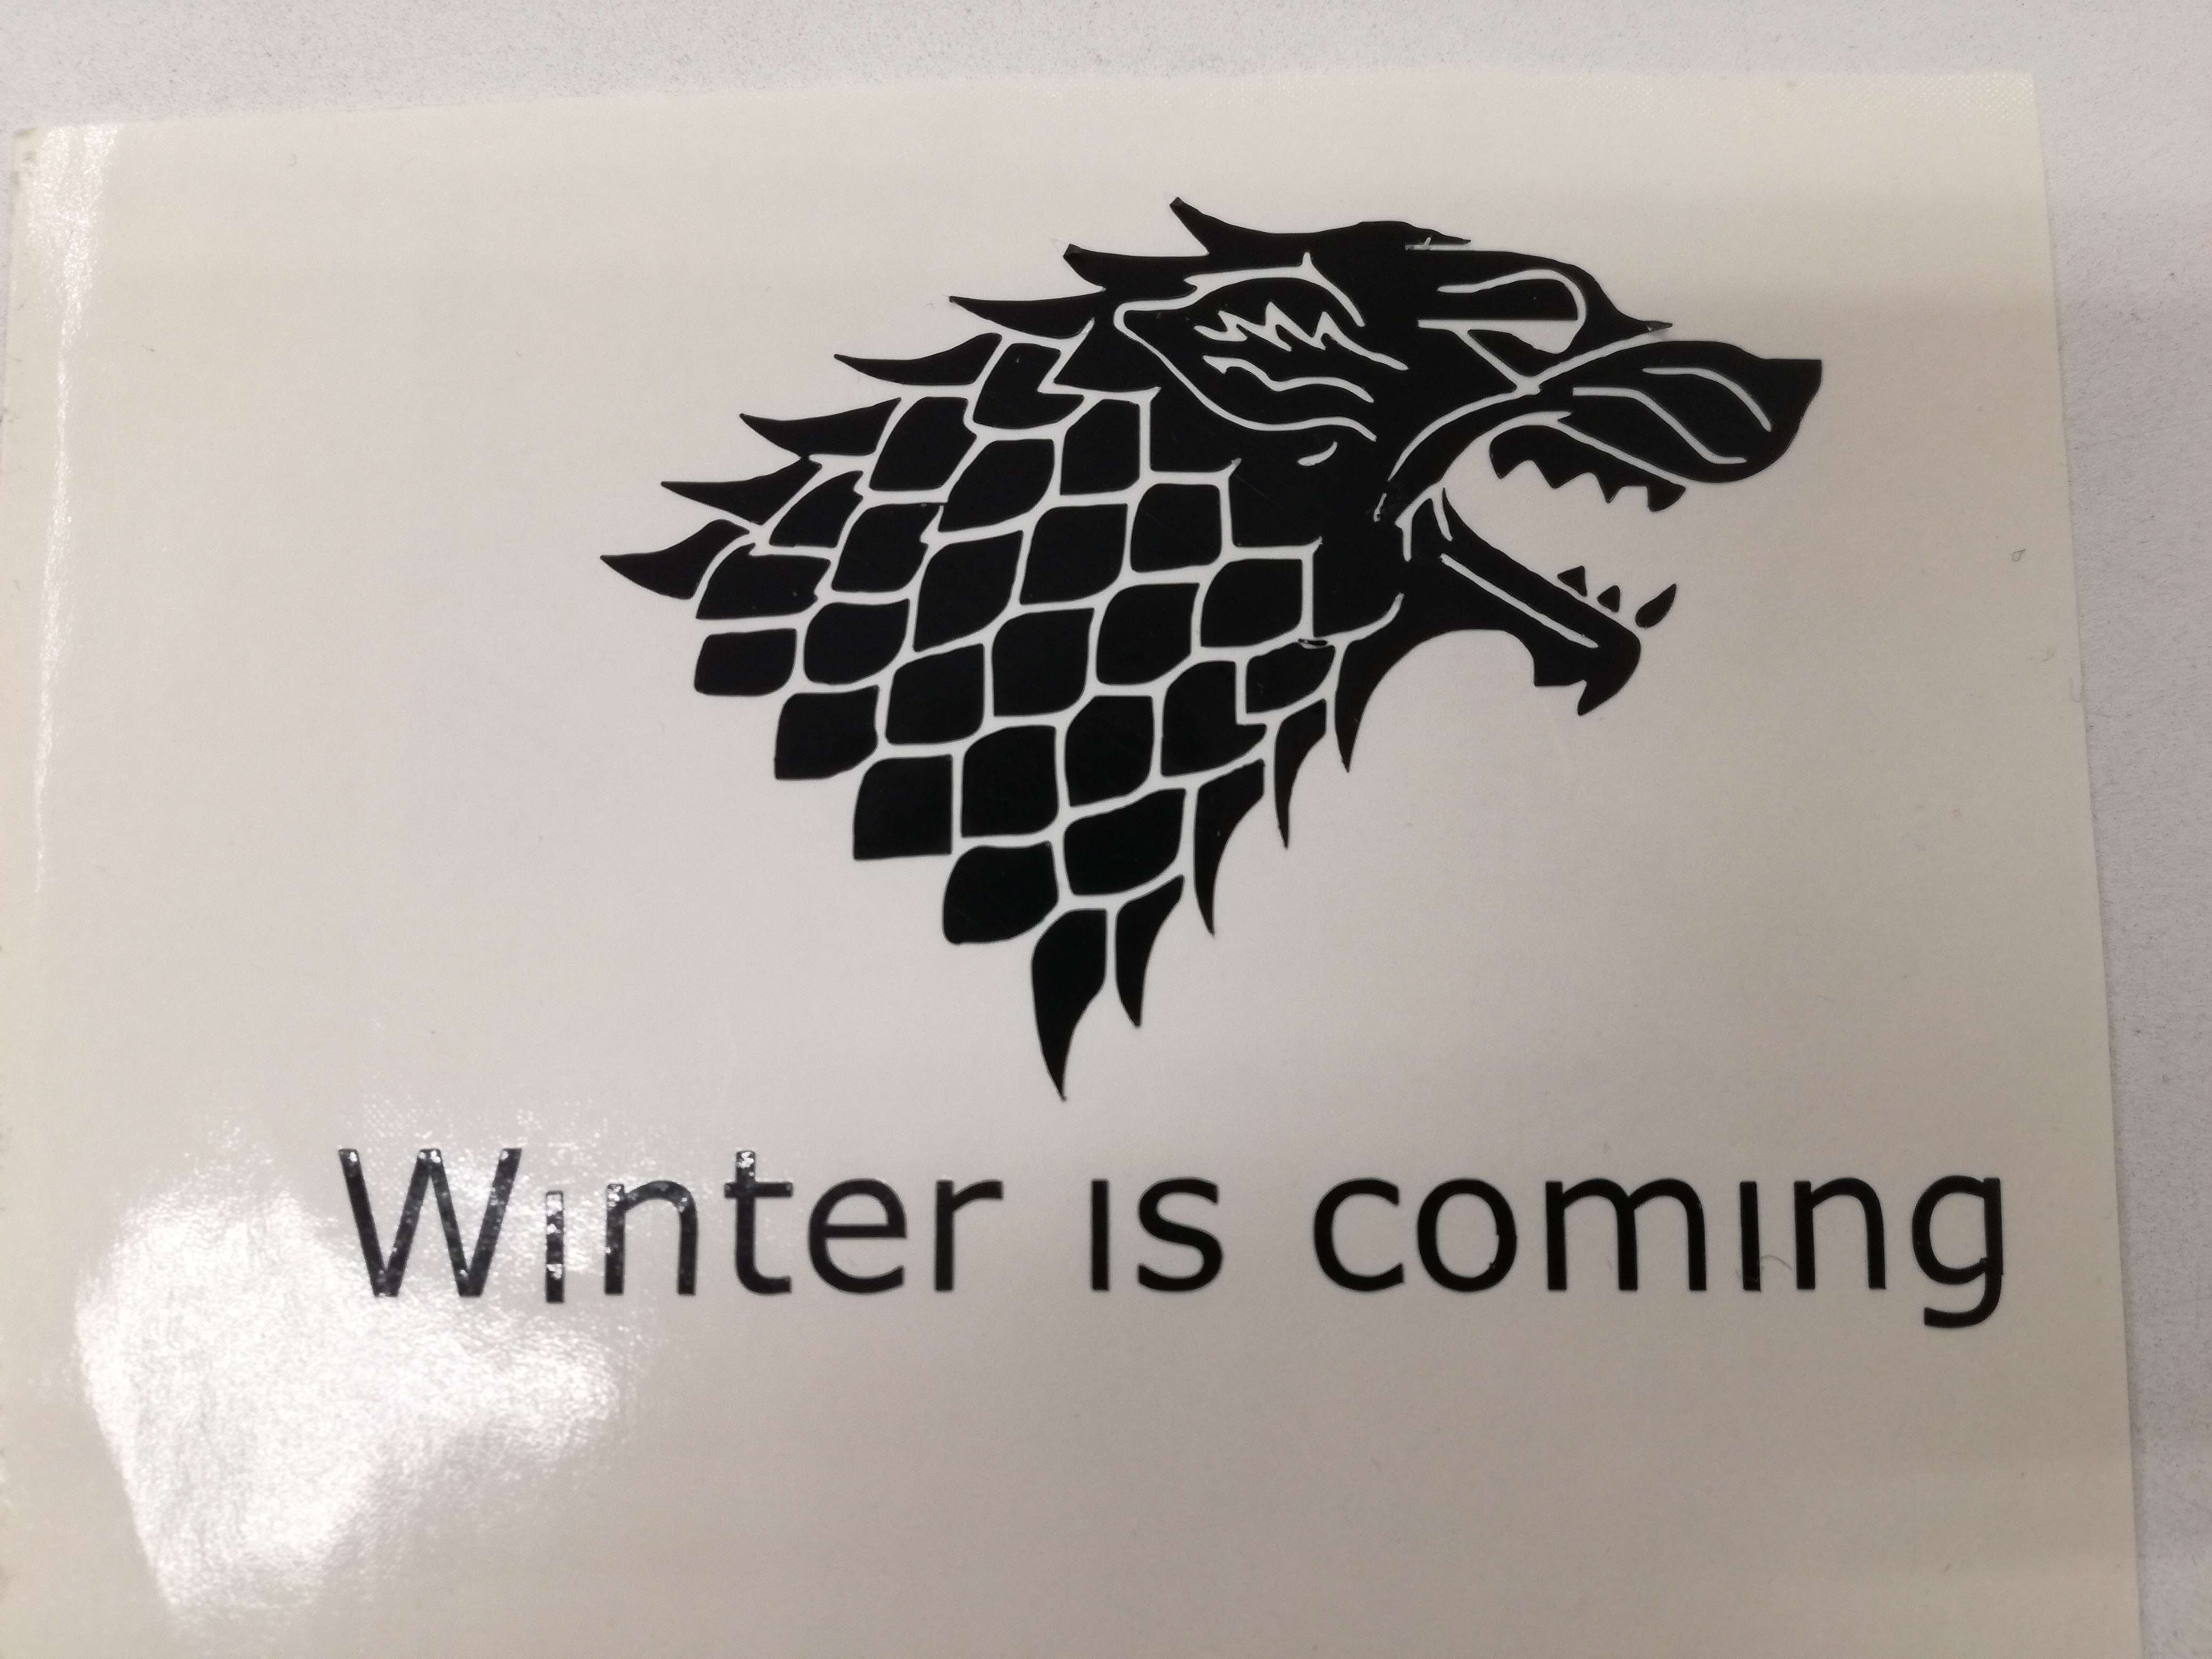
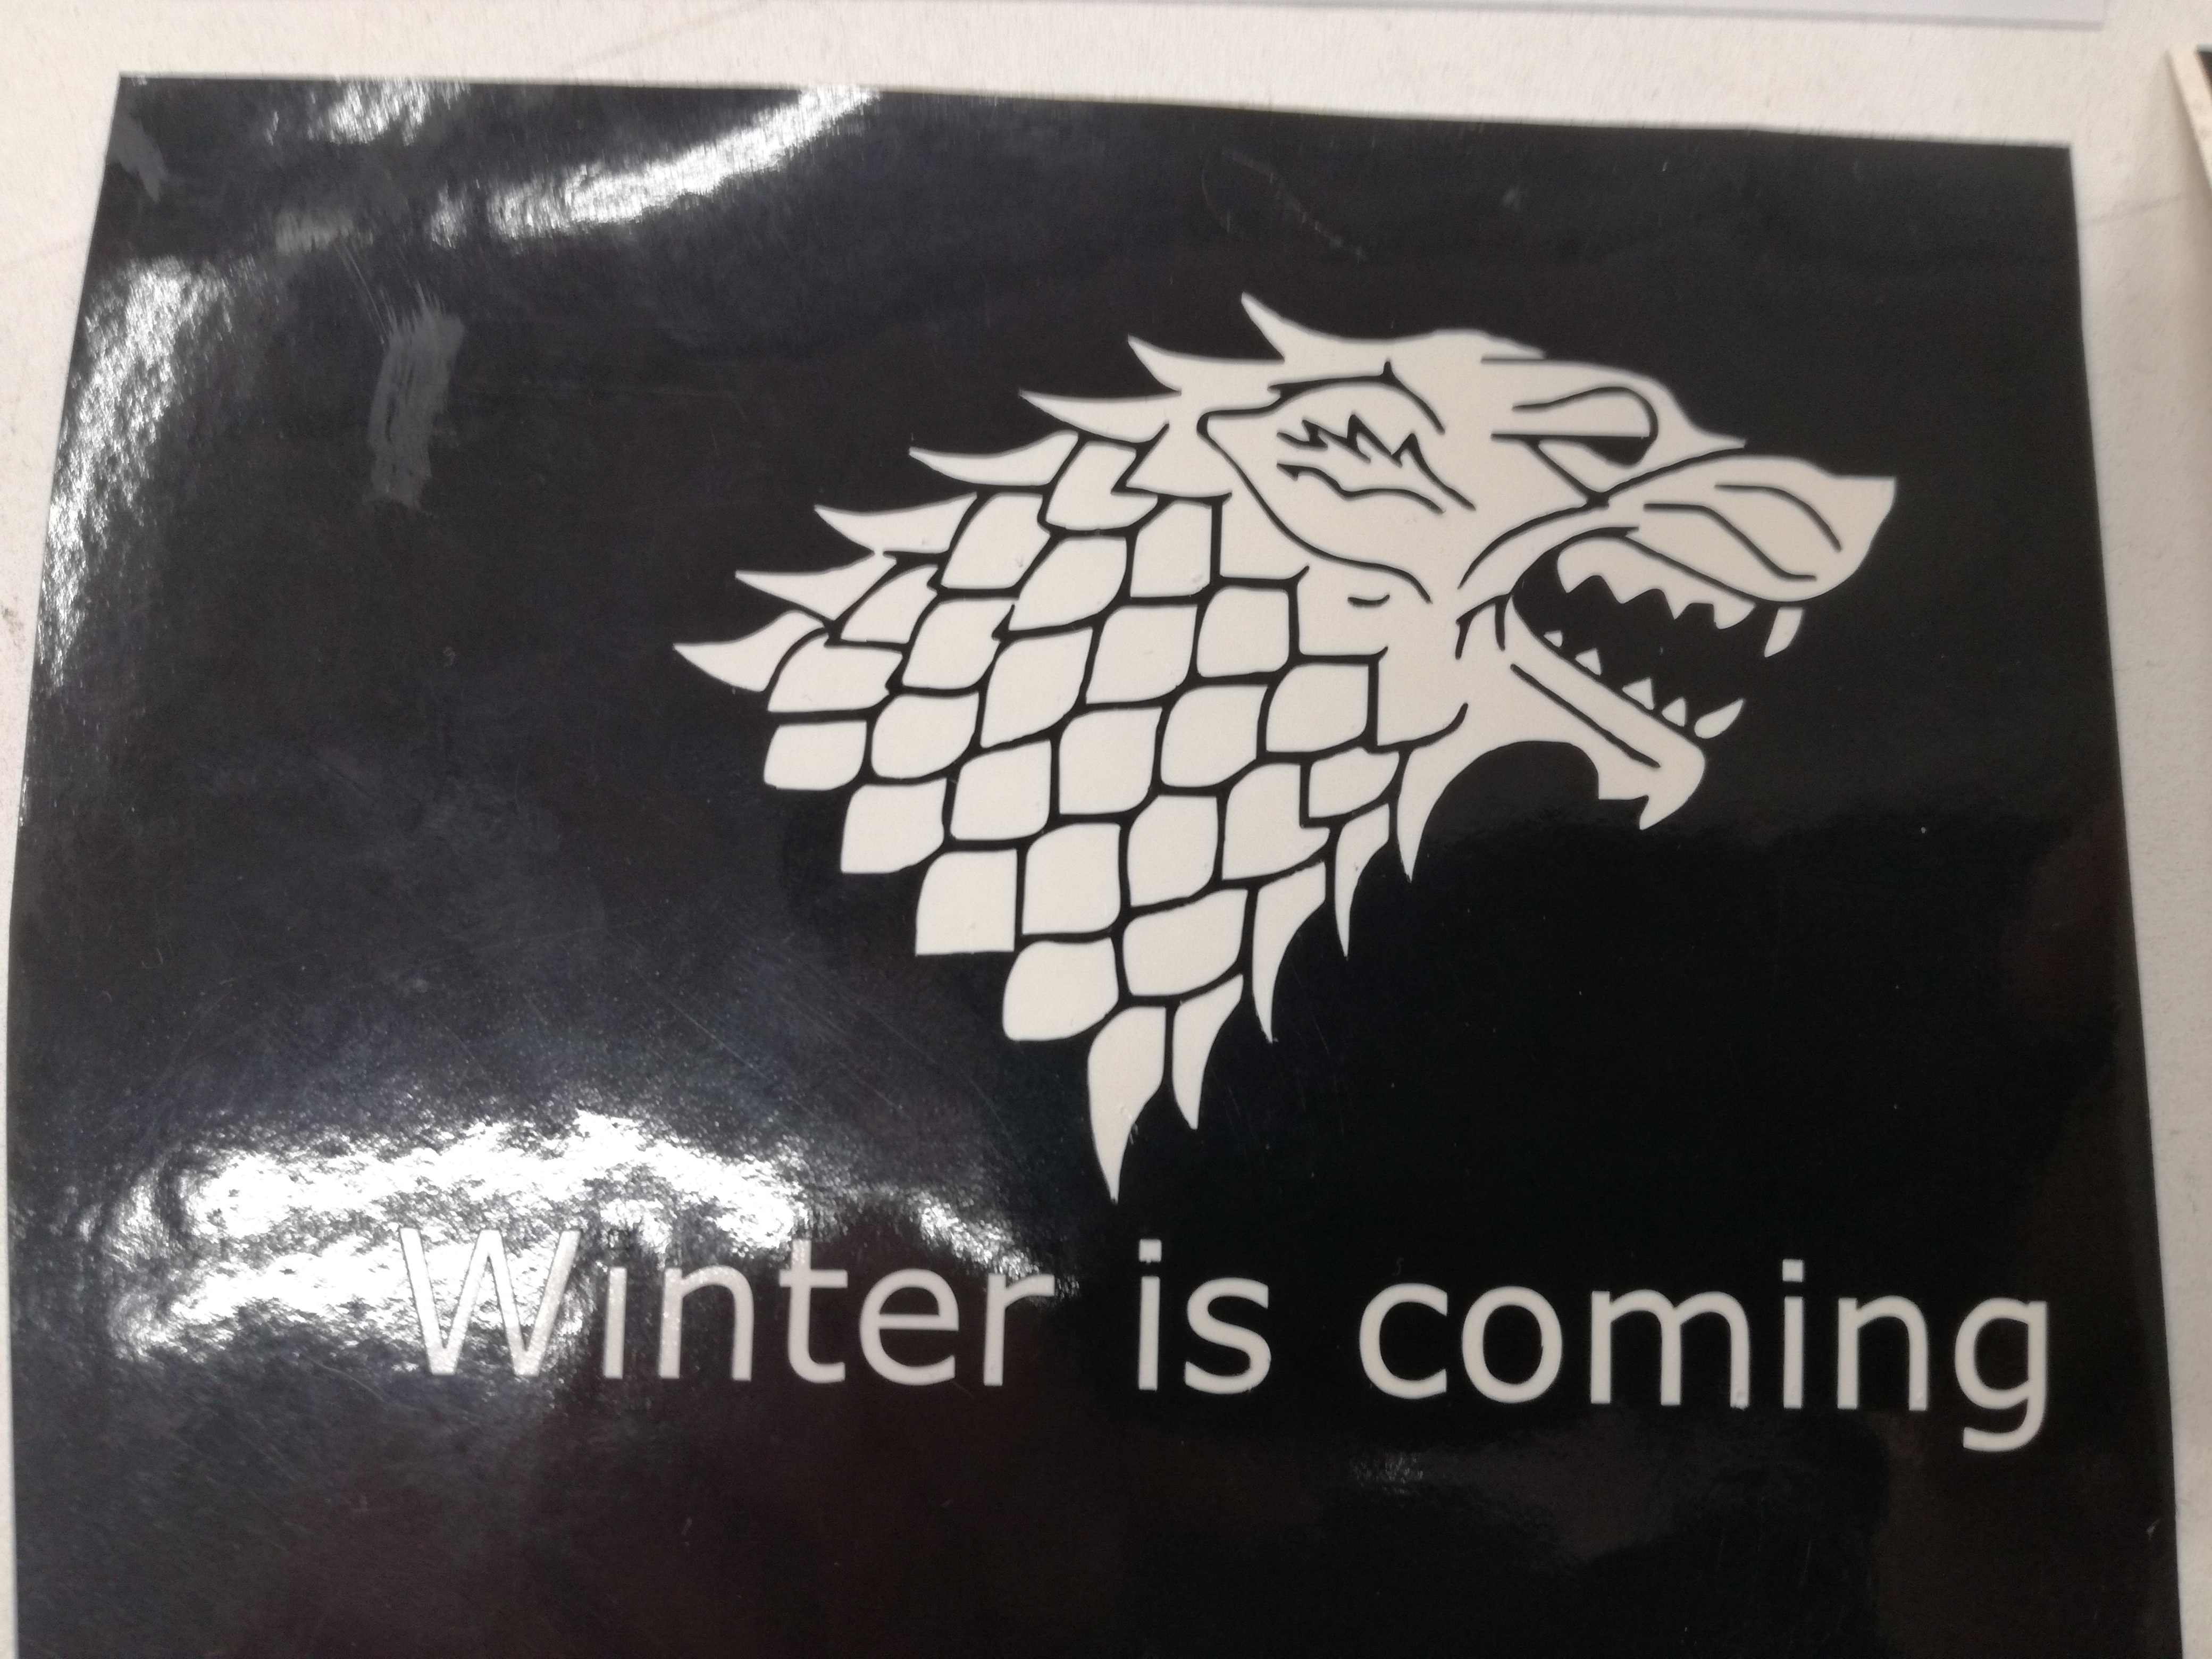
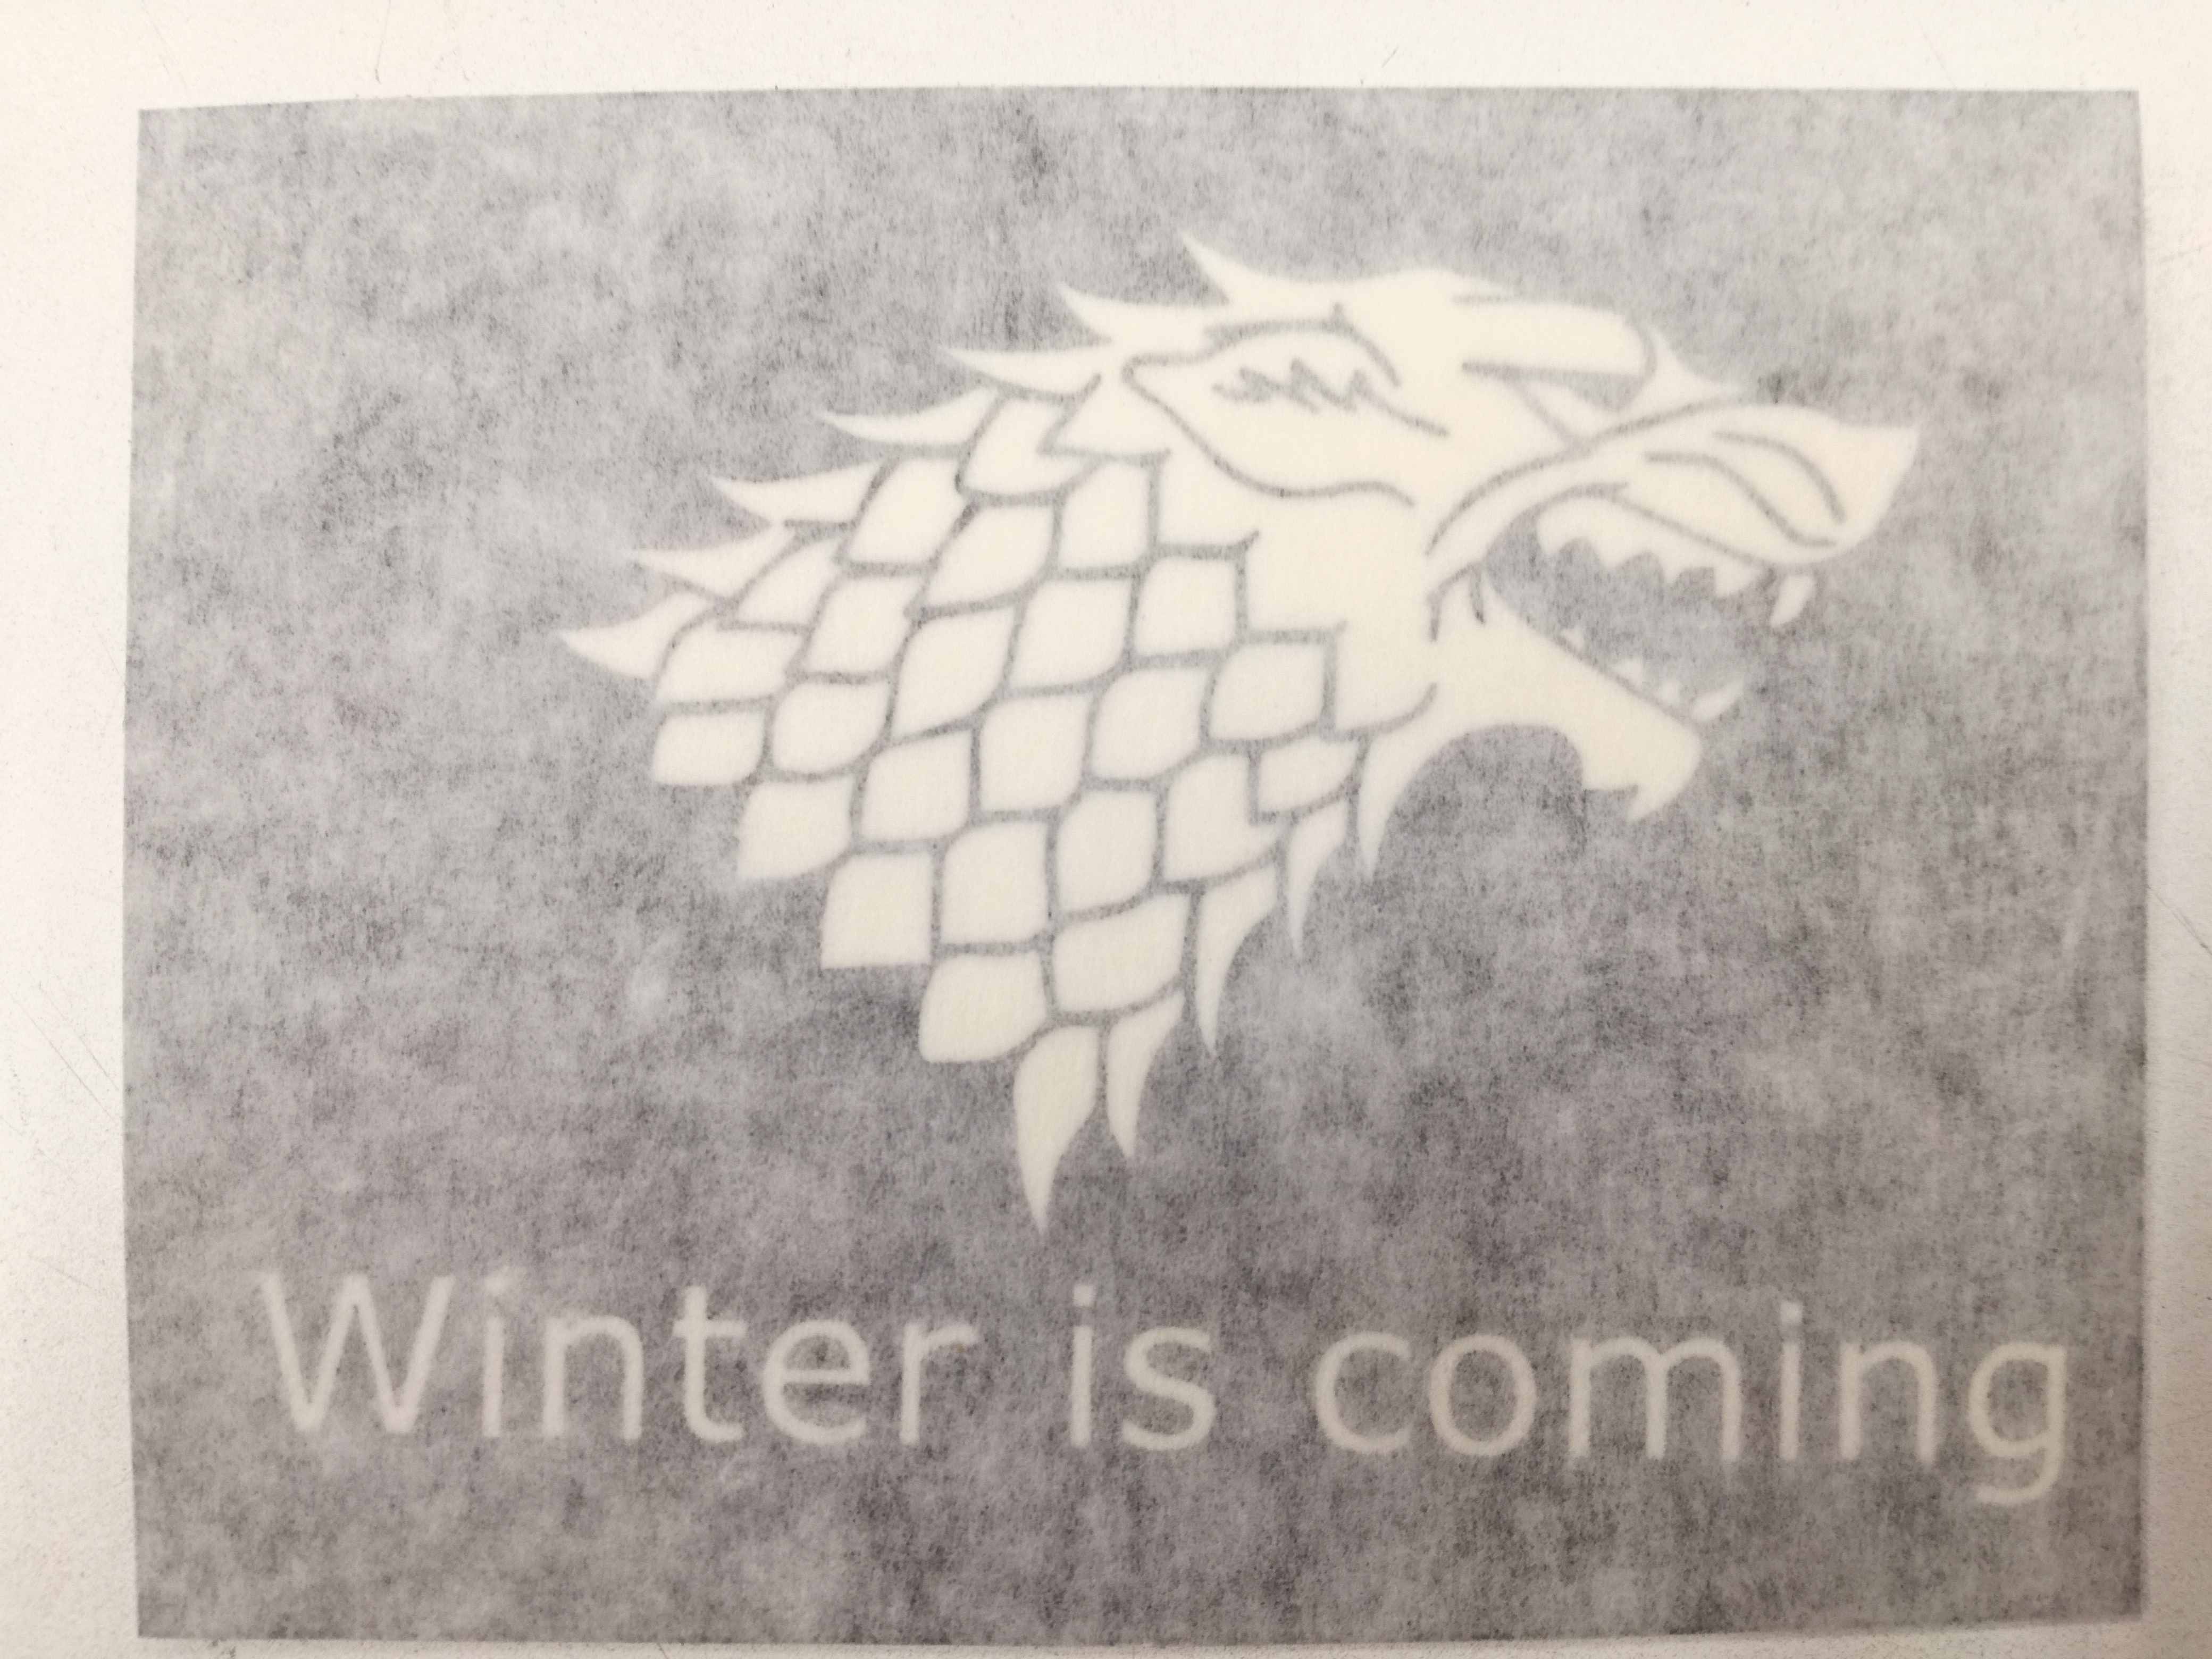
Designing was fairly simple task. To honor last season of Game of Thrones I decided to sandblast House Stark banner with their family motto. In order to do it I searched for graphics using Google. Then I imported it into Inkscape and by using Trace Bitmap changed it into vector graphics. Below there are values I used to proceed efficiently.
The plan was to cut the mask on Vinylcutter and cover areas, which should remain untouched by sand.
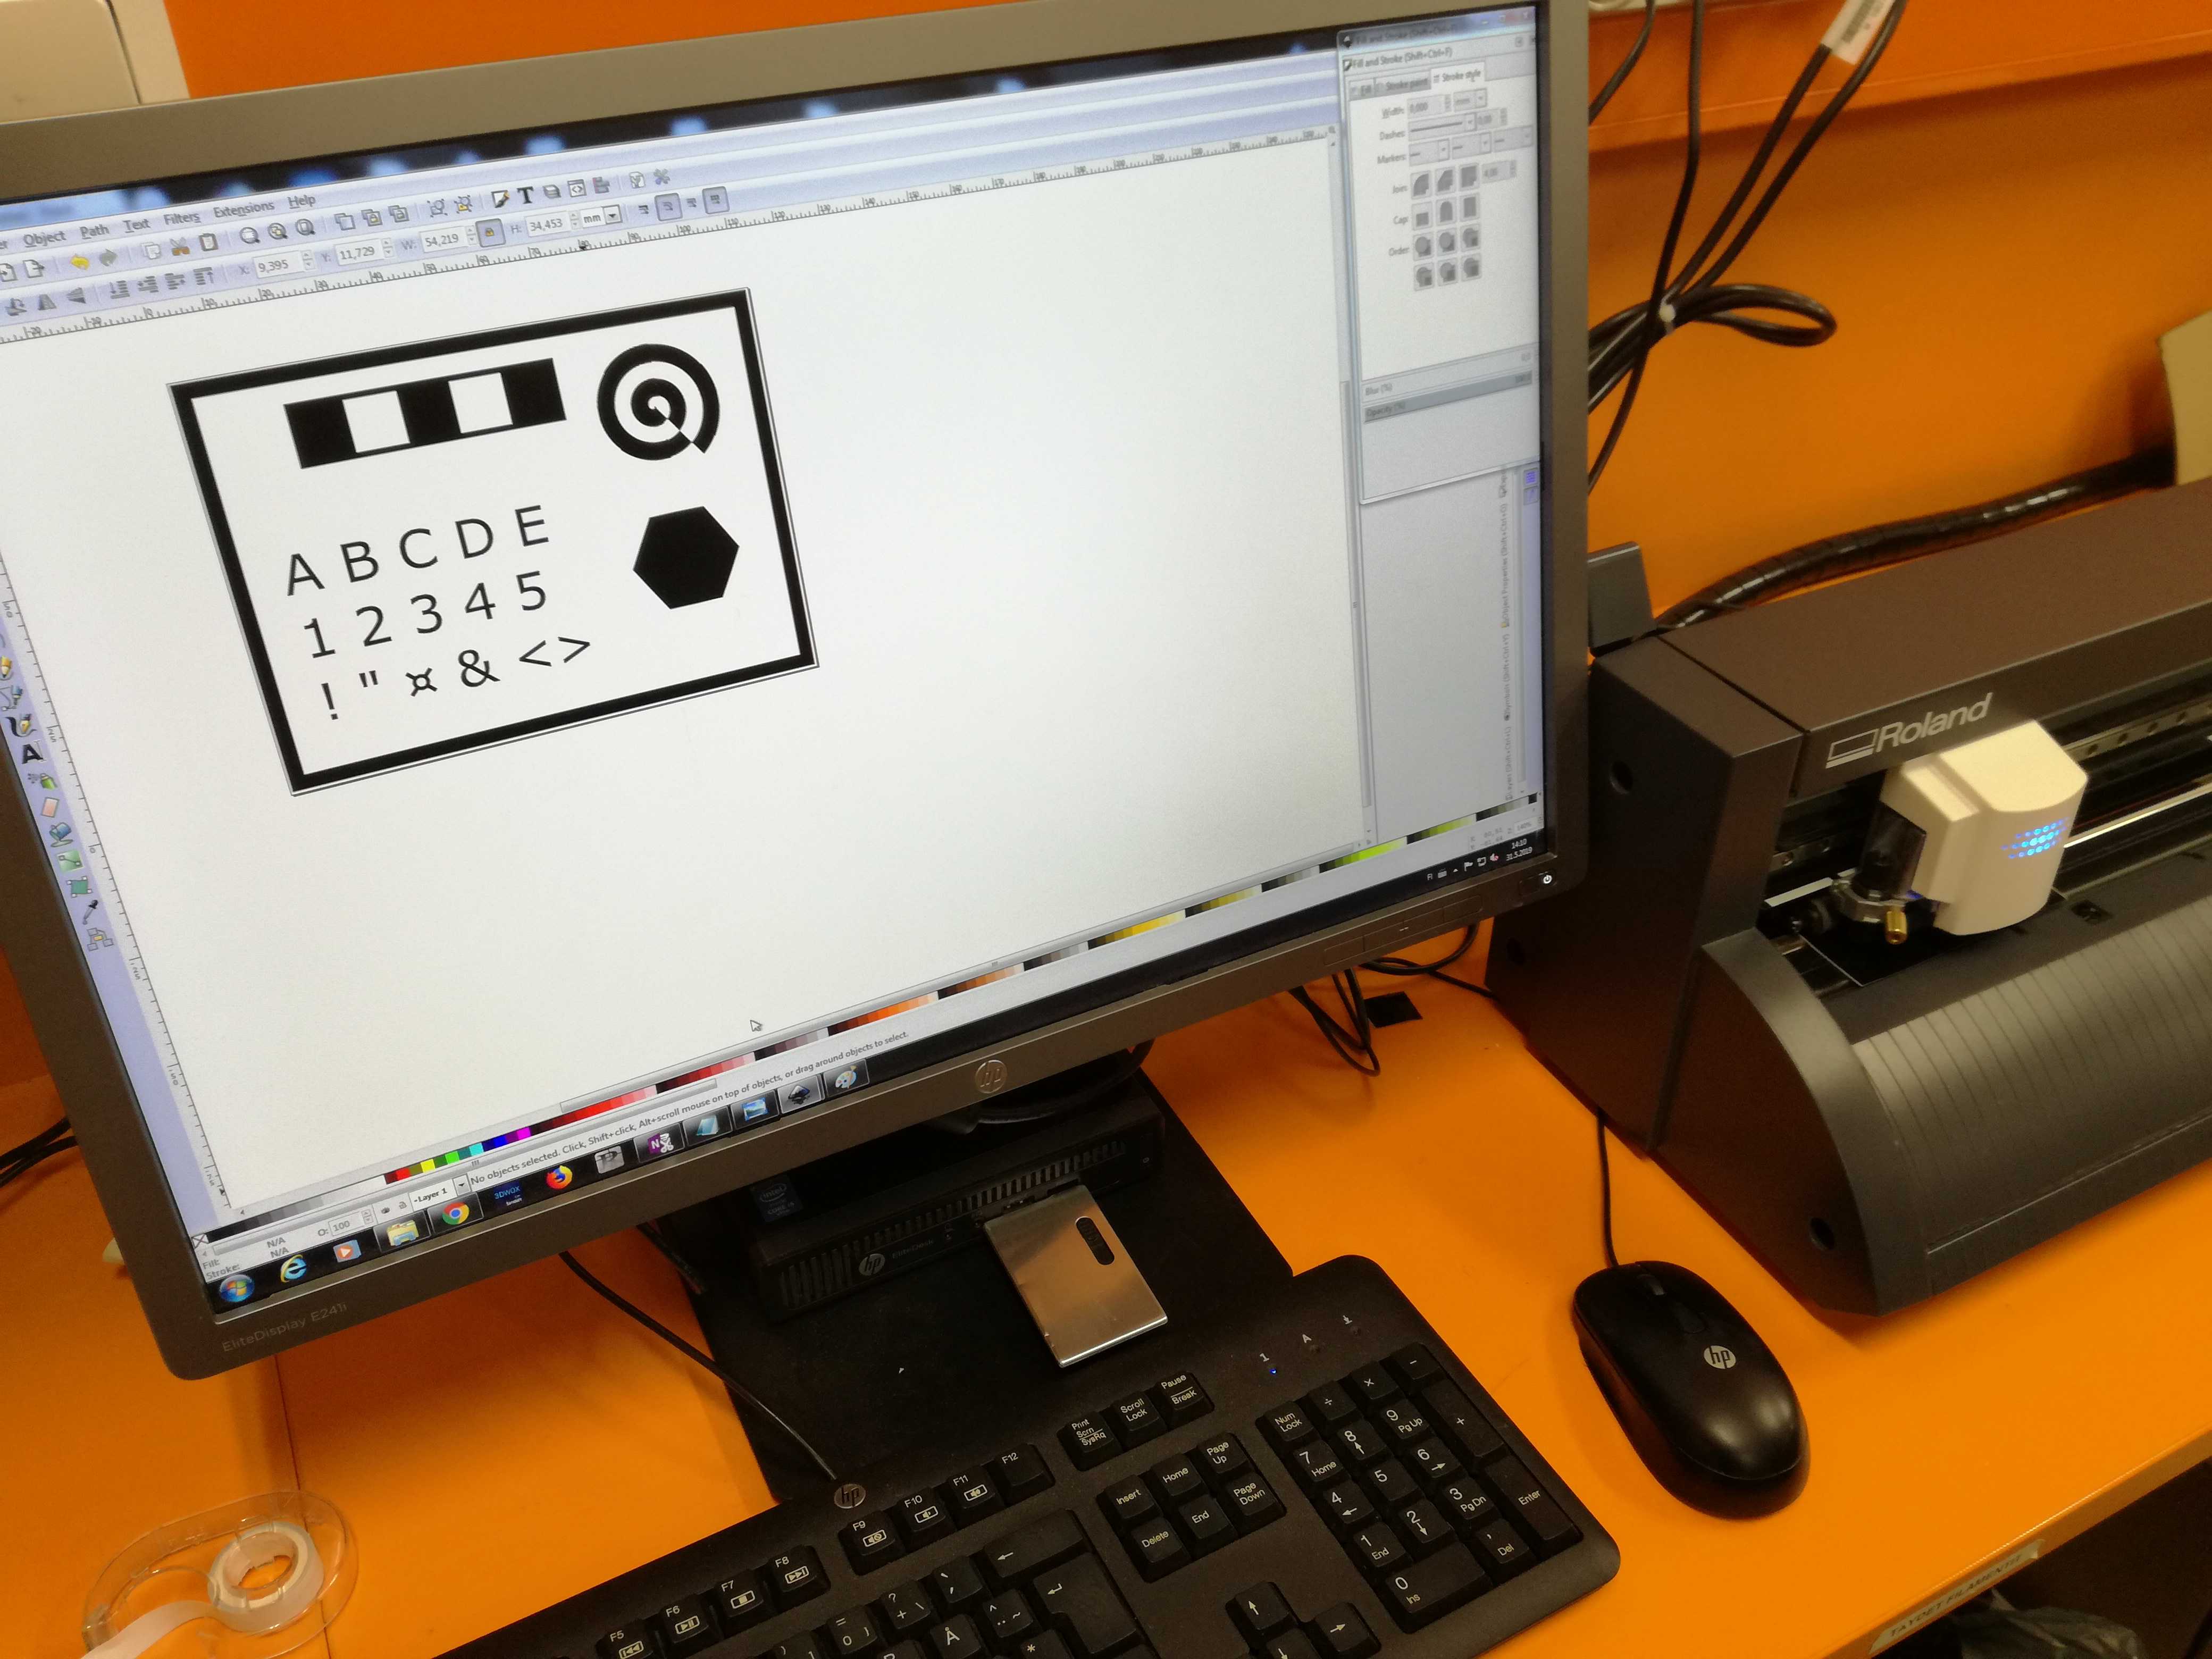
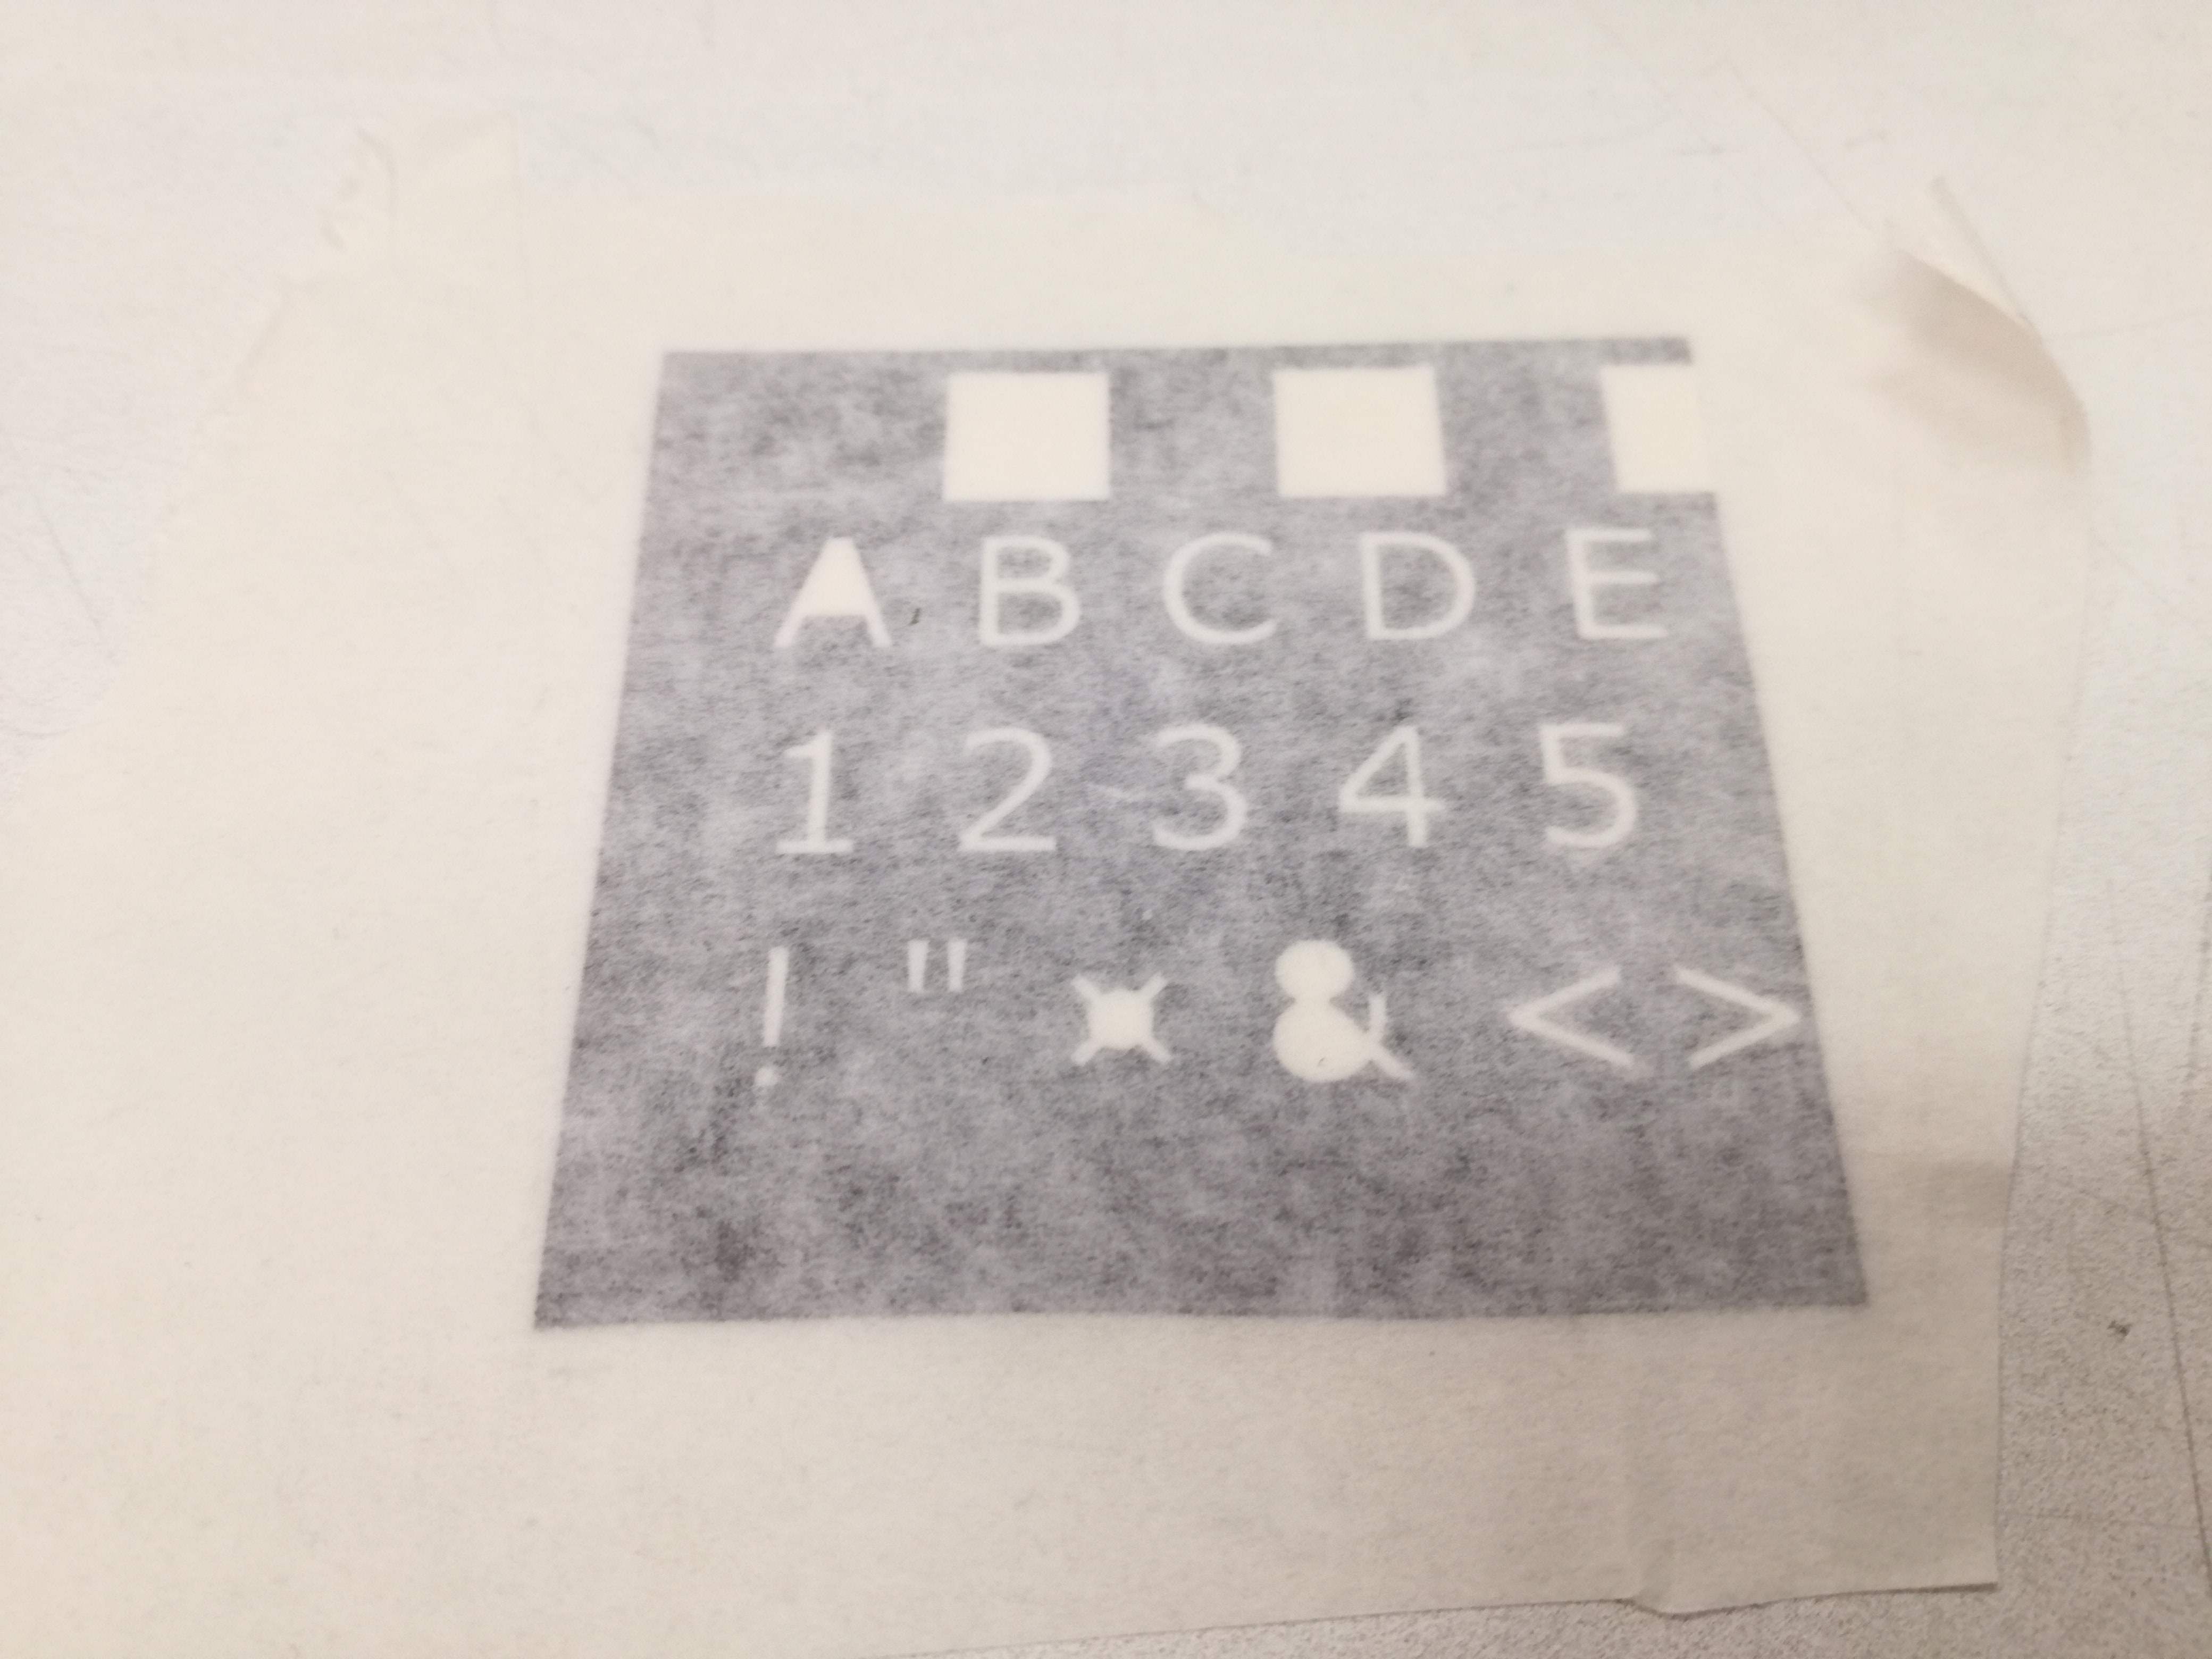
However, I was not sure about how sharp edges I can create with sand. To be honest I totally didn't know what to expect. I required some test runs. I was wondering how thin lines or objects I could leave.
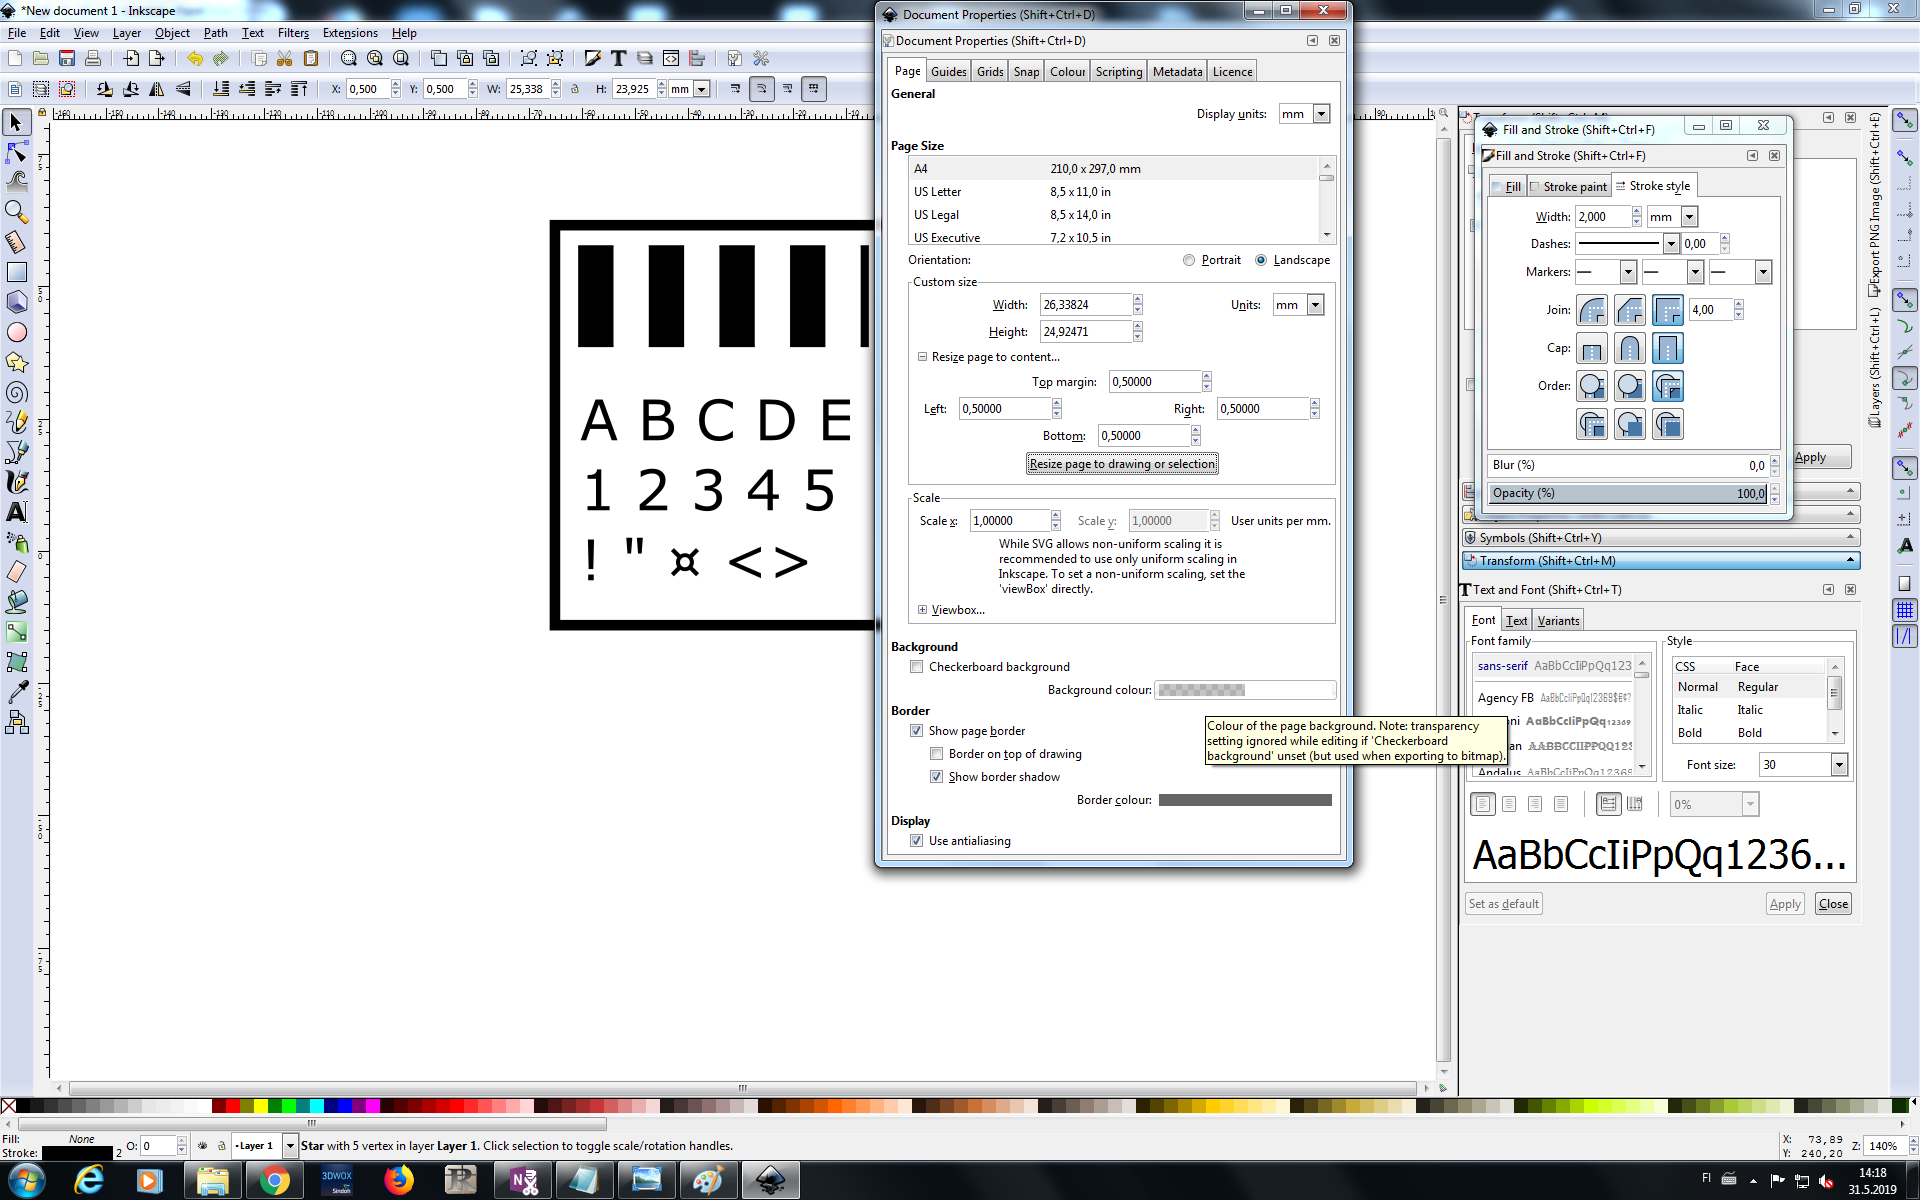
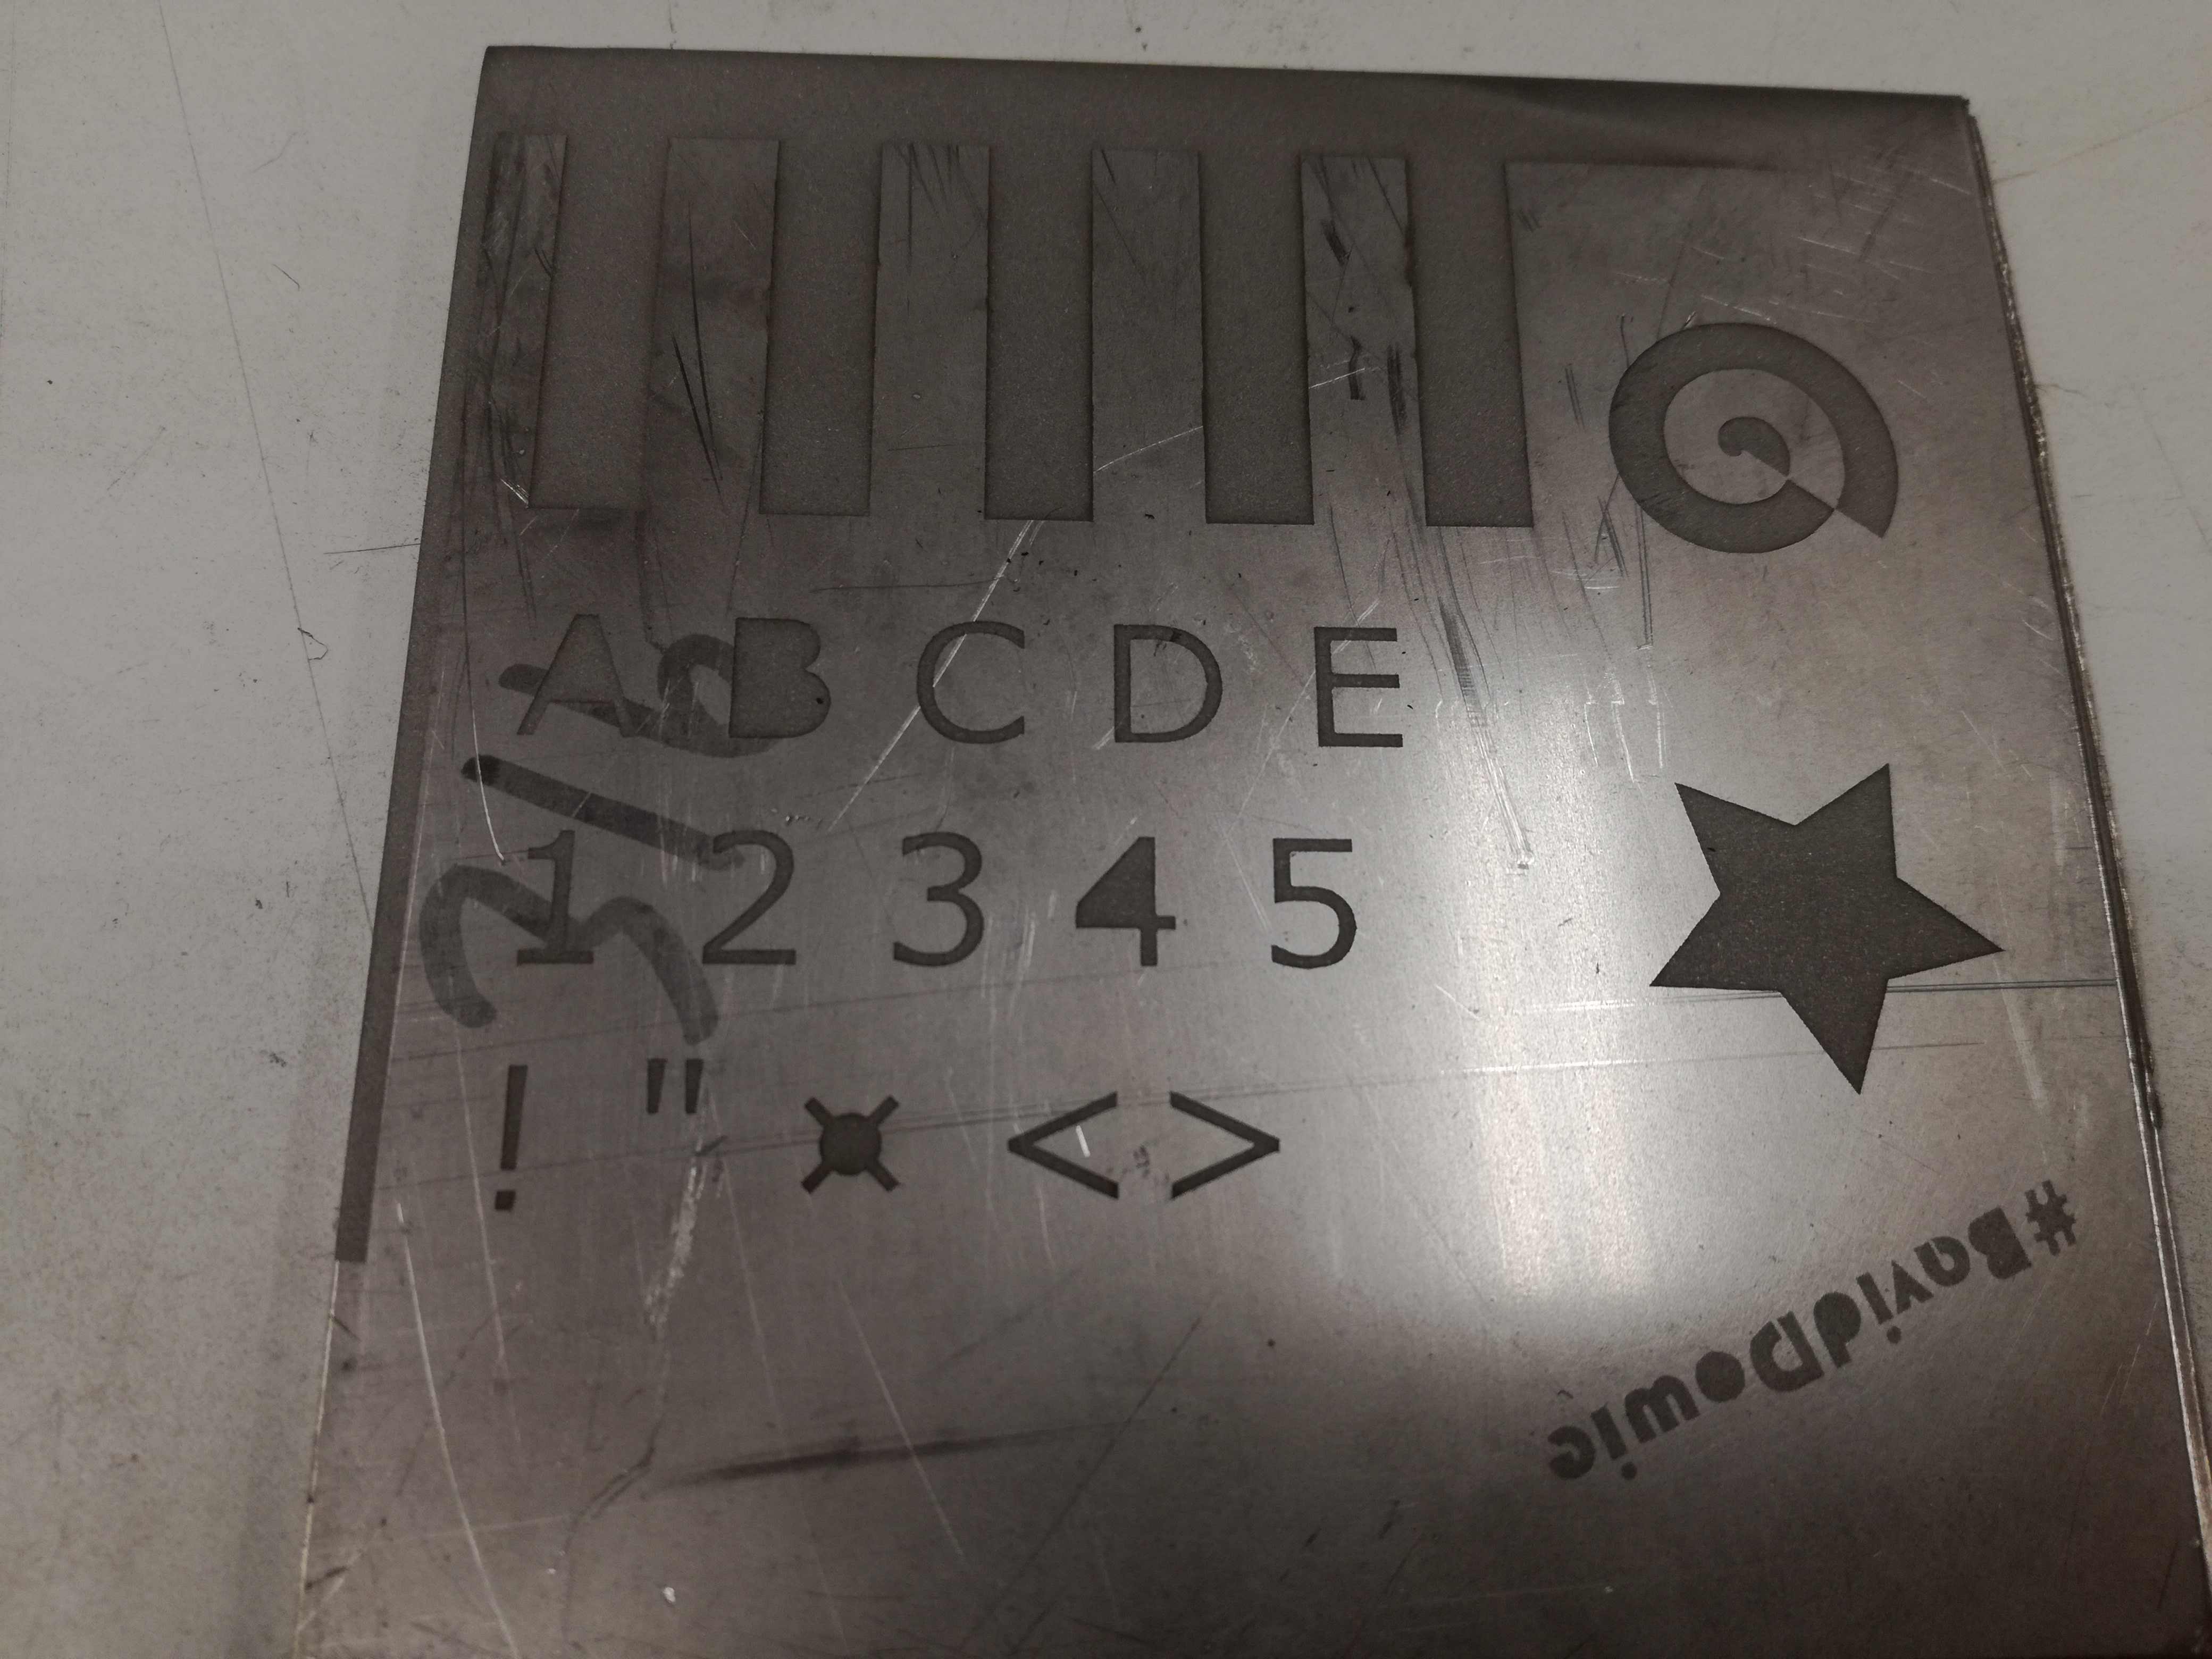
For testing purposes I create test mask with couple objects such as vertical lines, spiral, polygon, text, numbers and special characters. I used menu tab on the left-hand side to create shapes. I played with width, which was equal to 1.5 [mm].

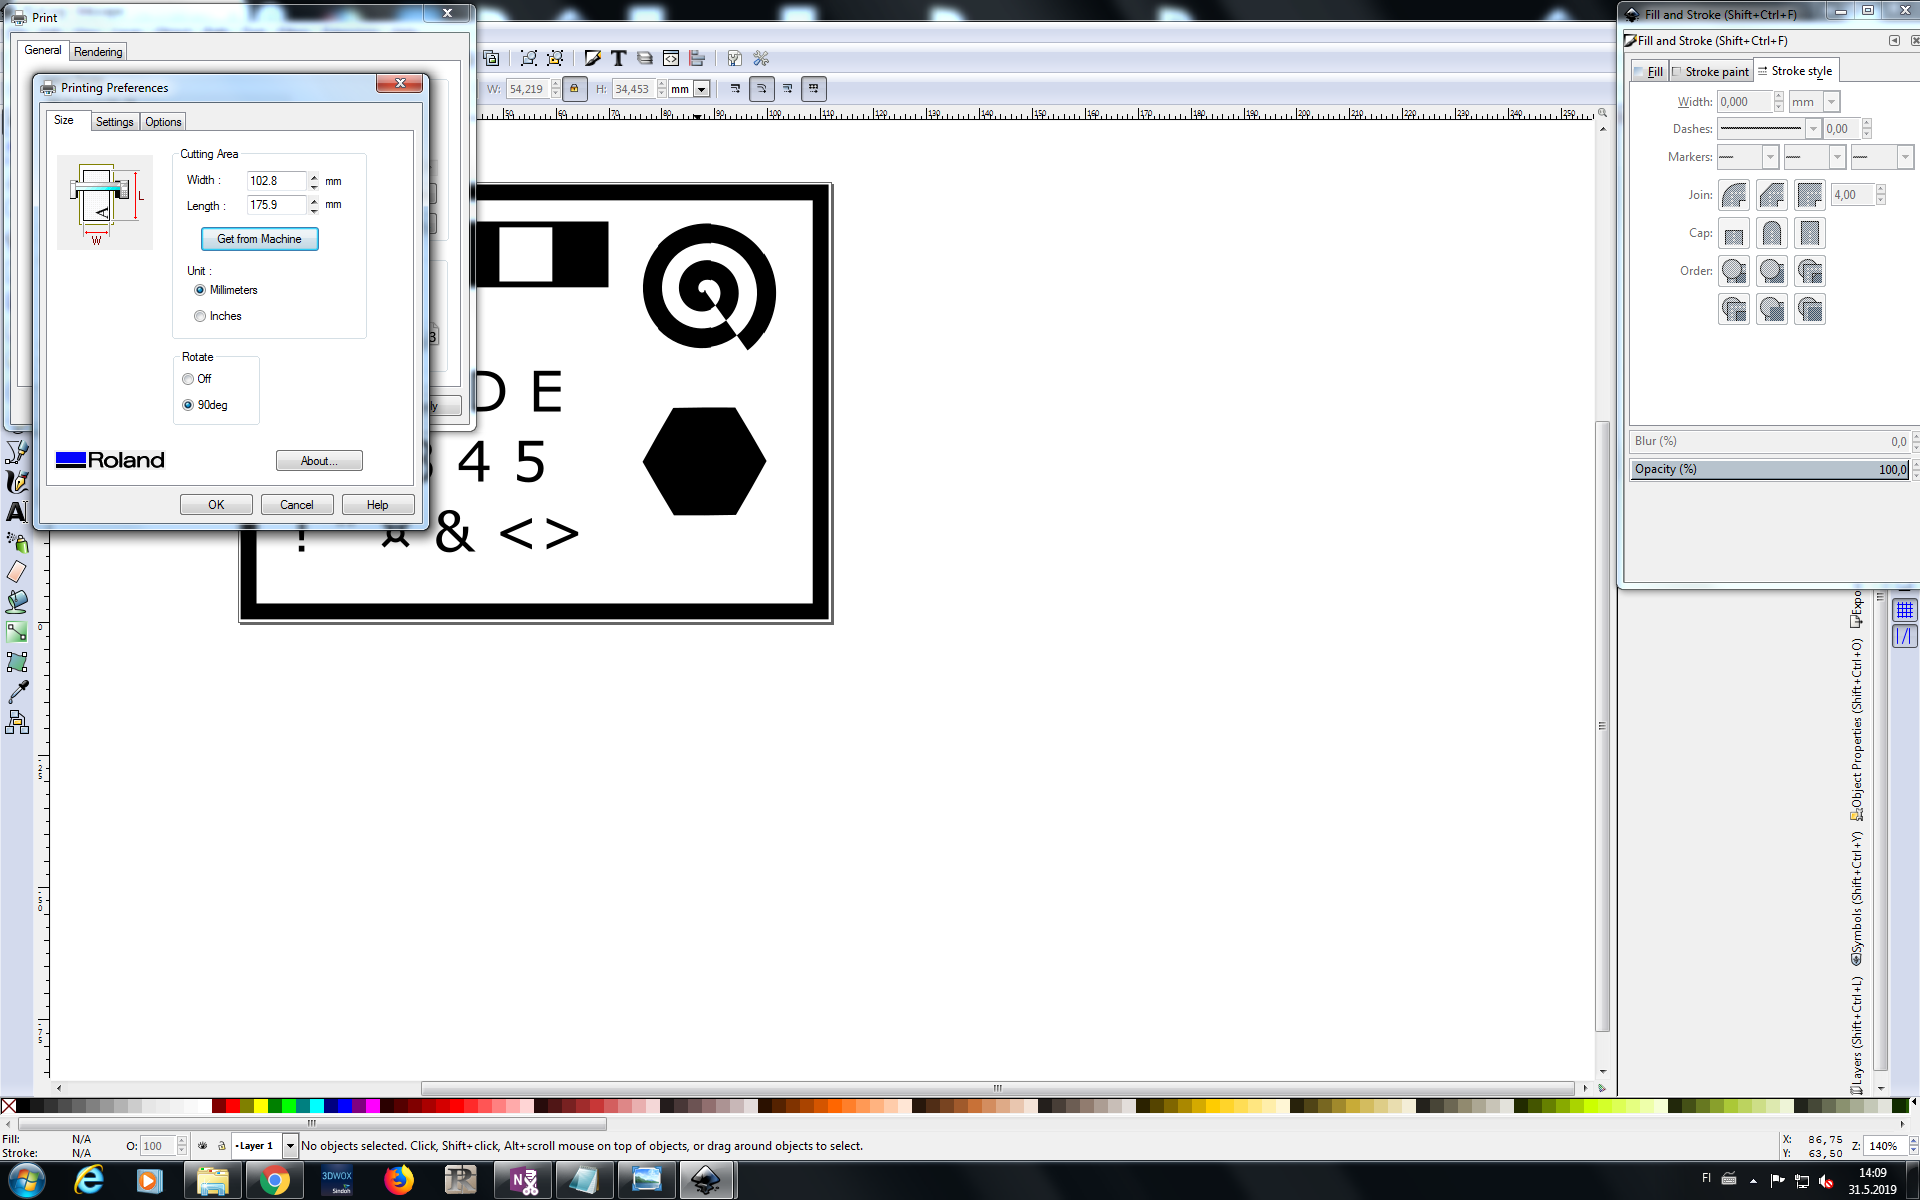
In the end I put everything inside of rectangle and edited Document Properties. I added 0.5 [mm] to each side and Resized page to fit drawing. This step ensured printing only designed part without leftovers.
Sandblasting environment
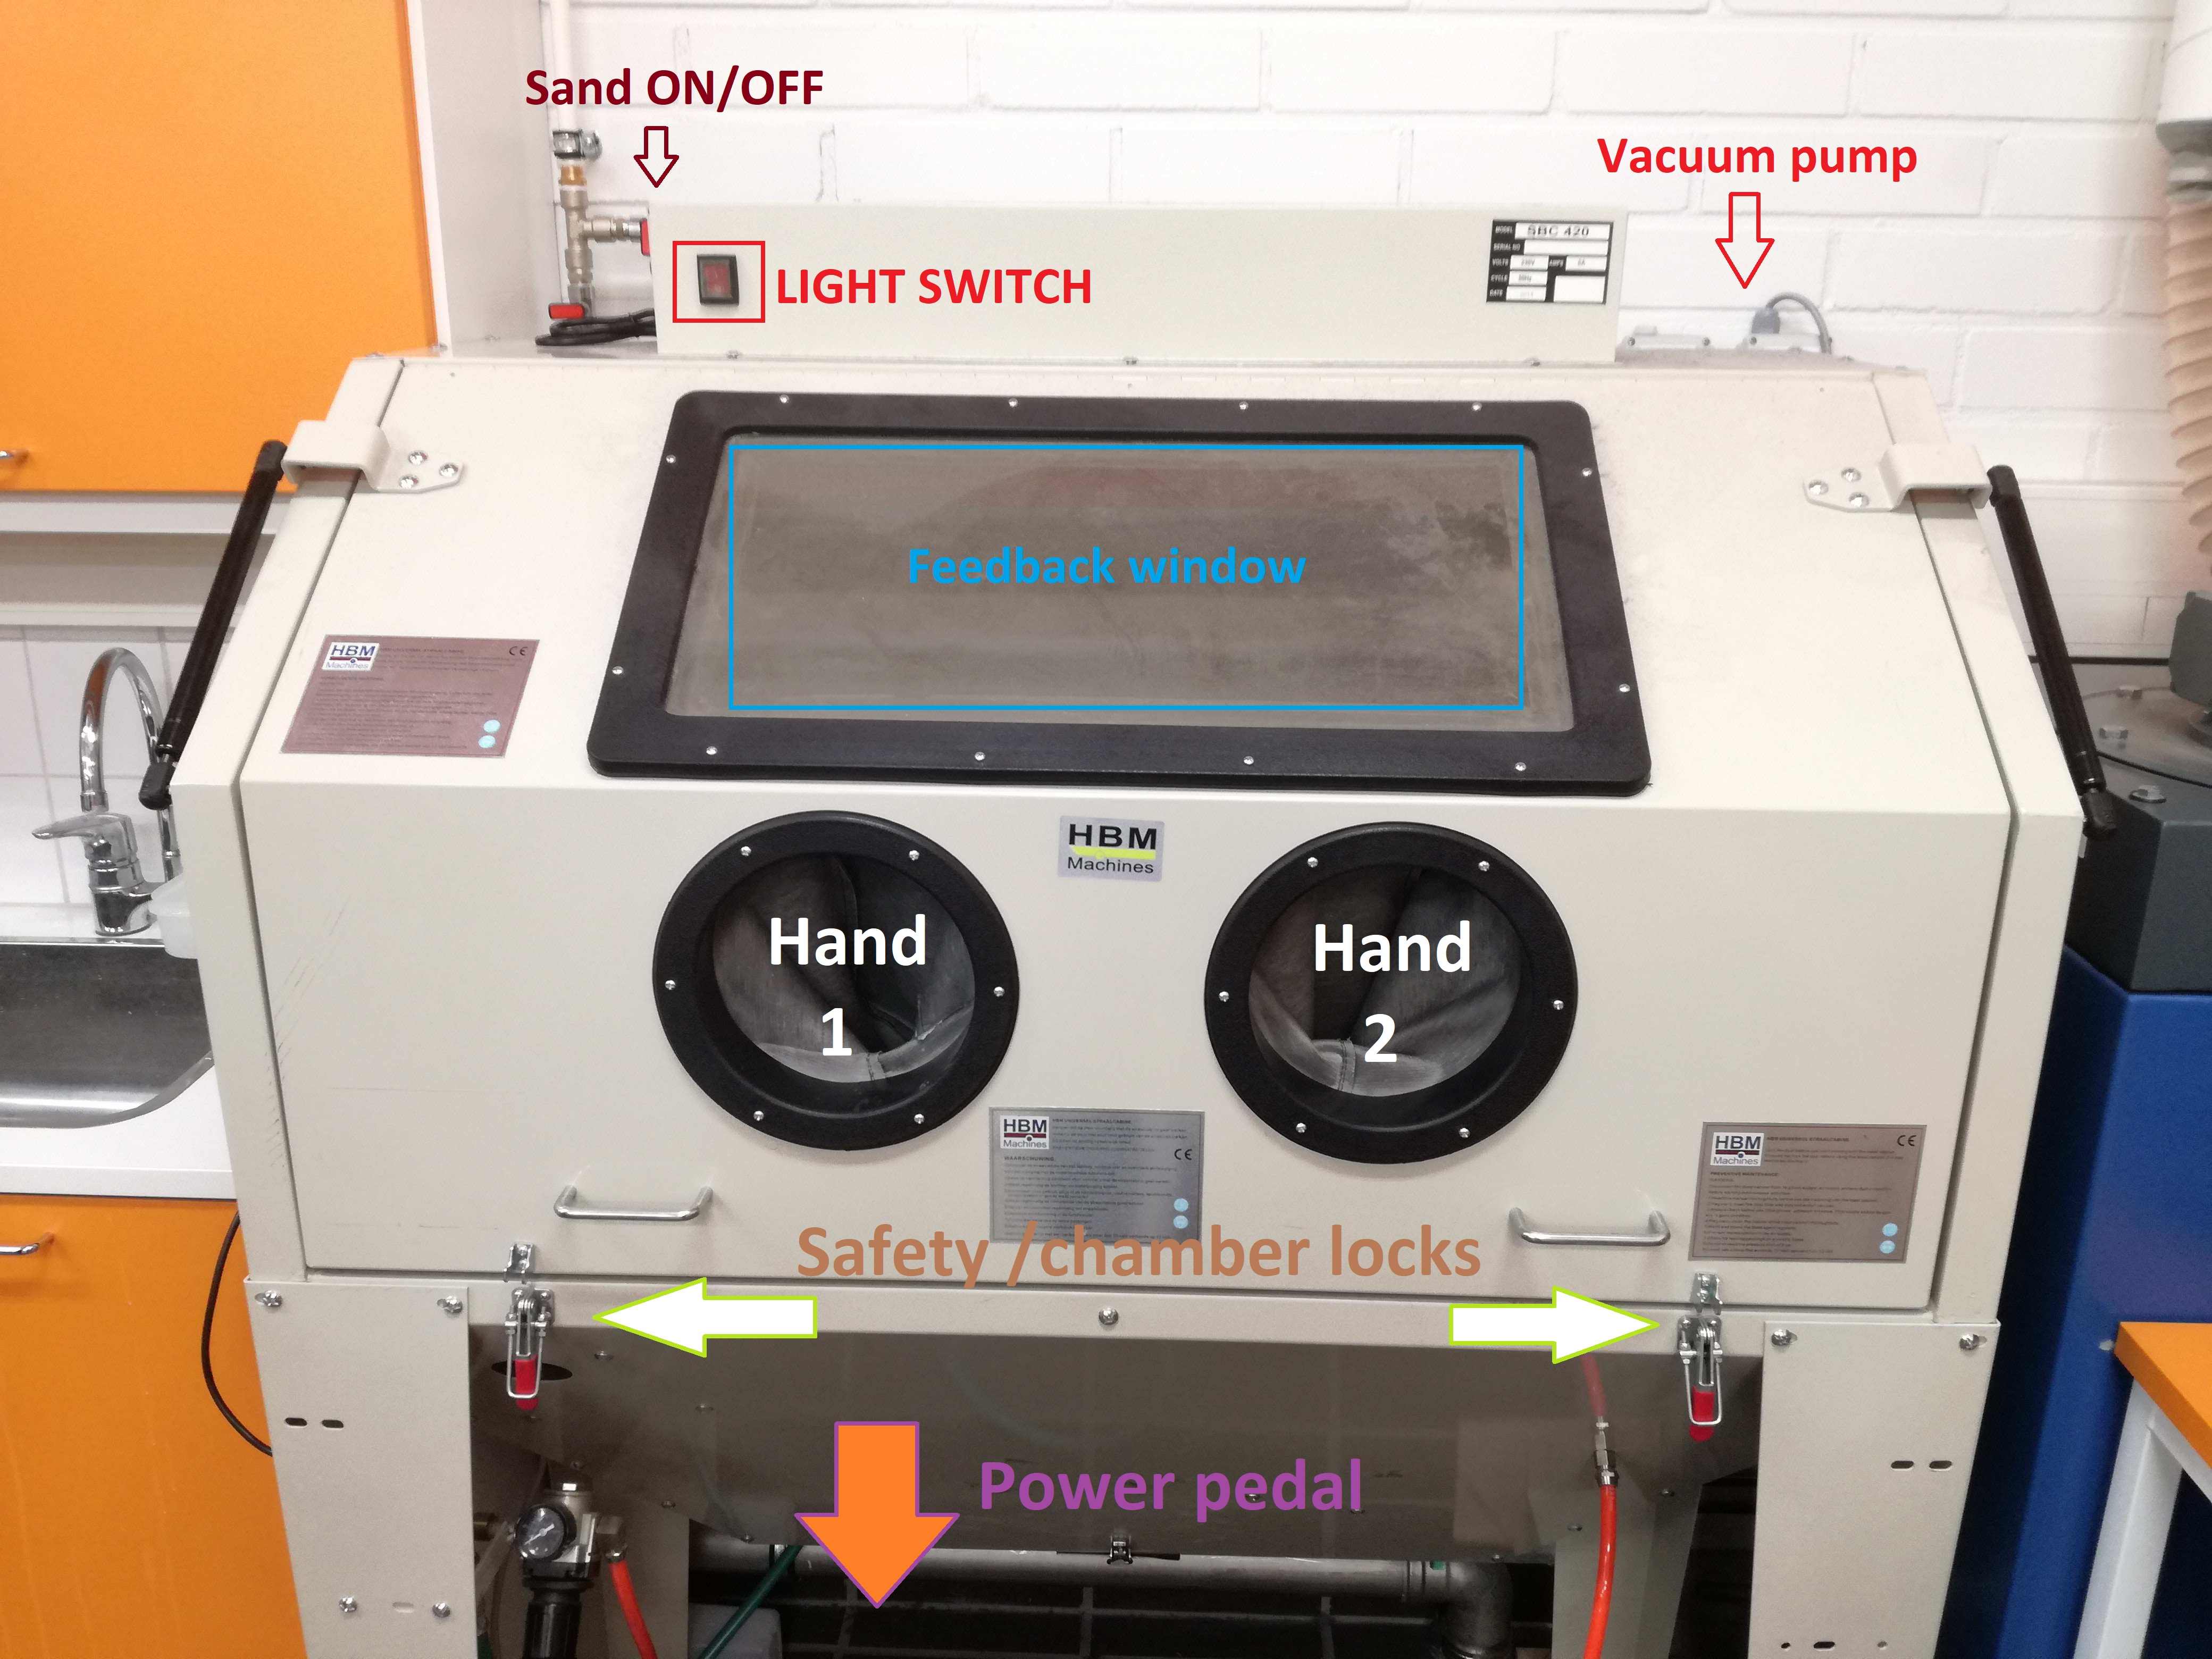
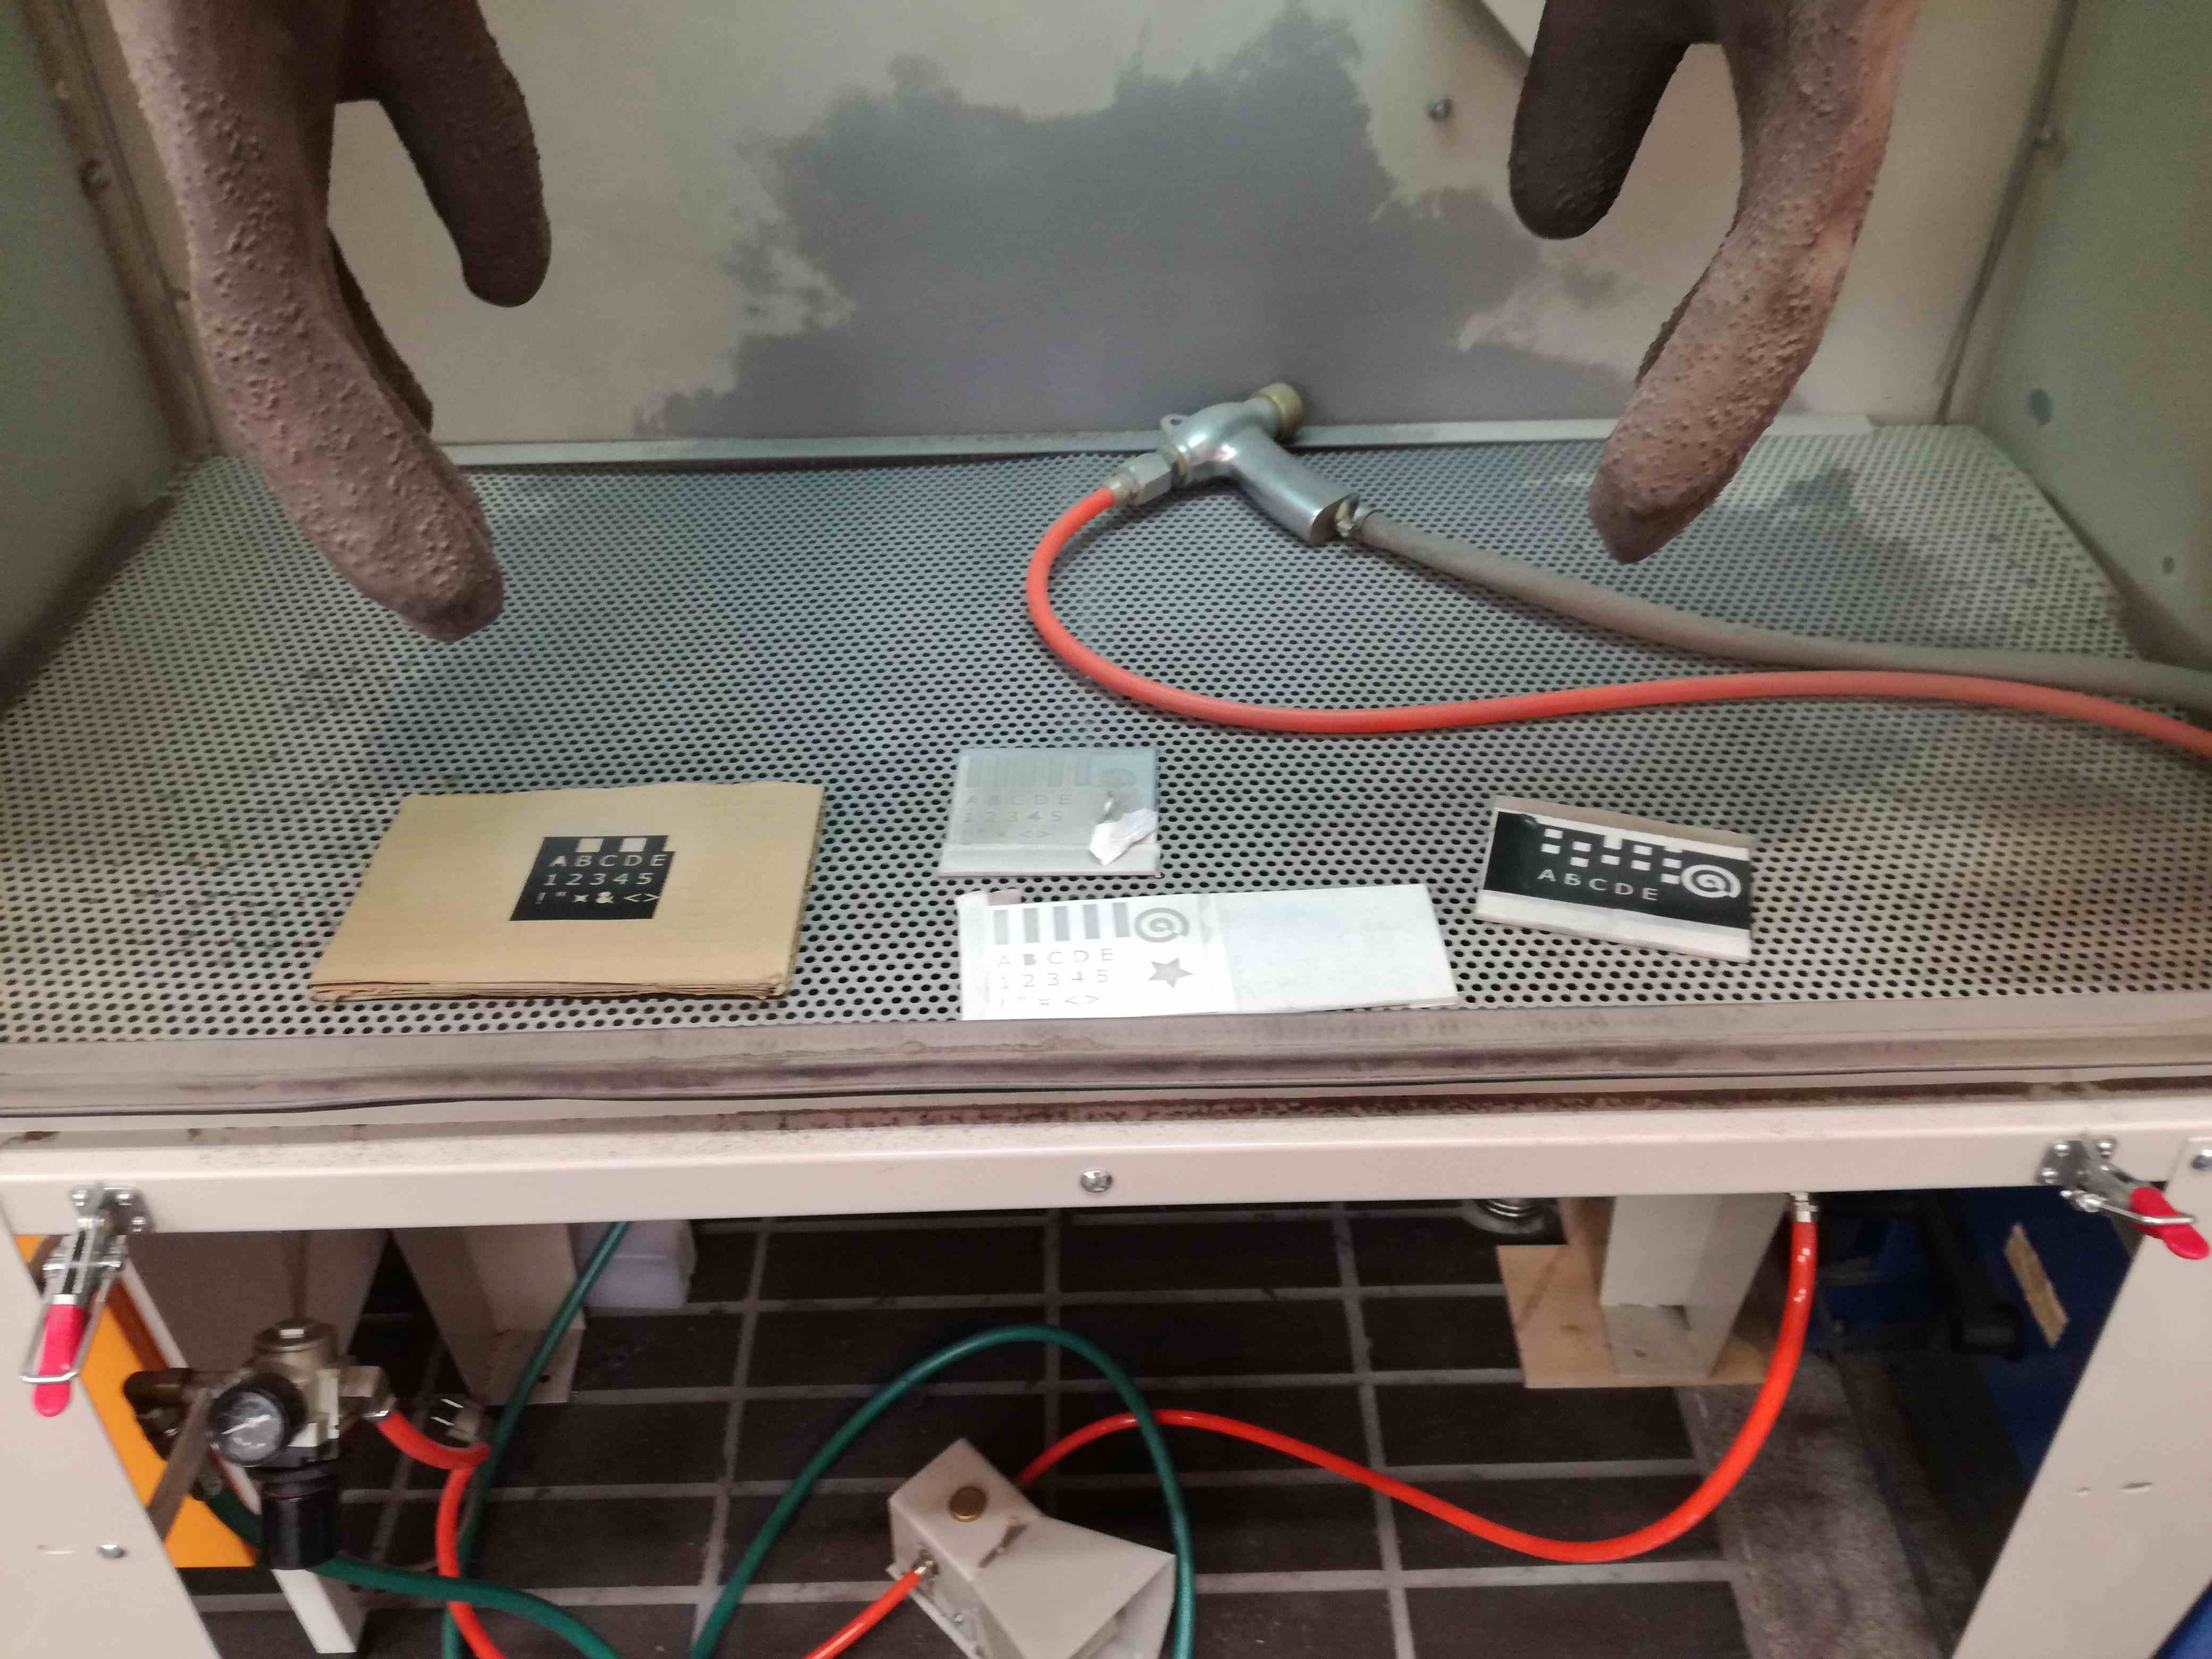
Time to introduced Sandblaster, for the sake of this assignment I will call it Blaster, as those famous guns from Star Wars. In general Blaster is very easy to handle as it only have couple switches.
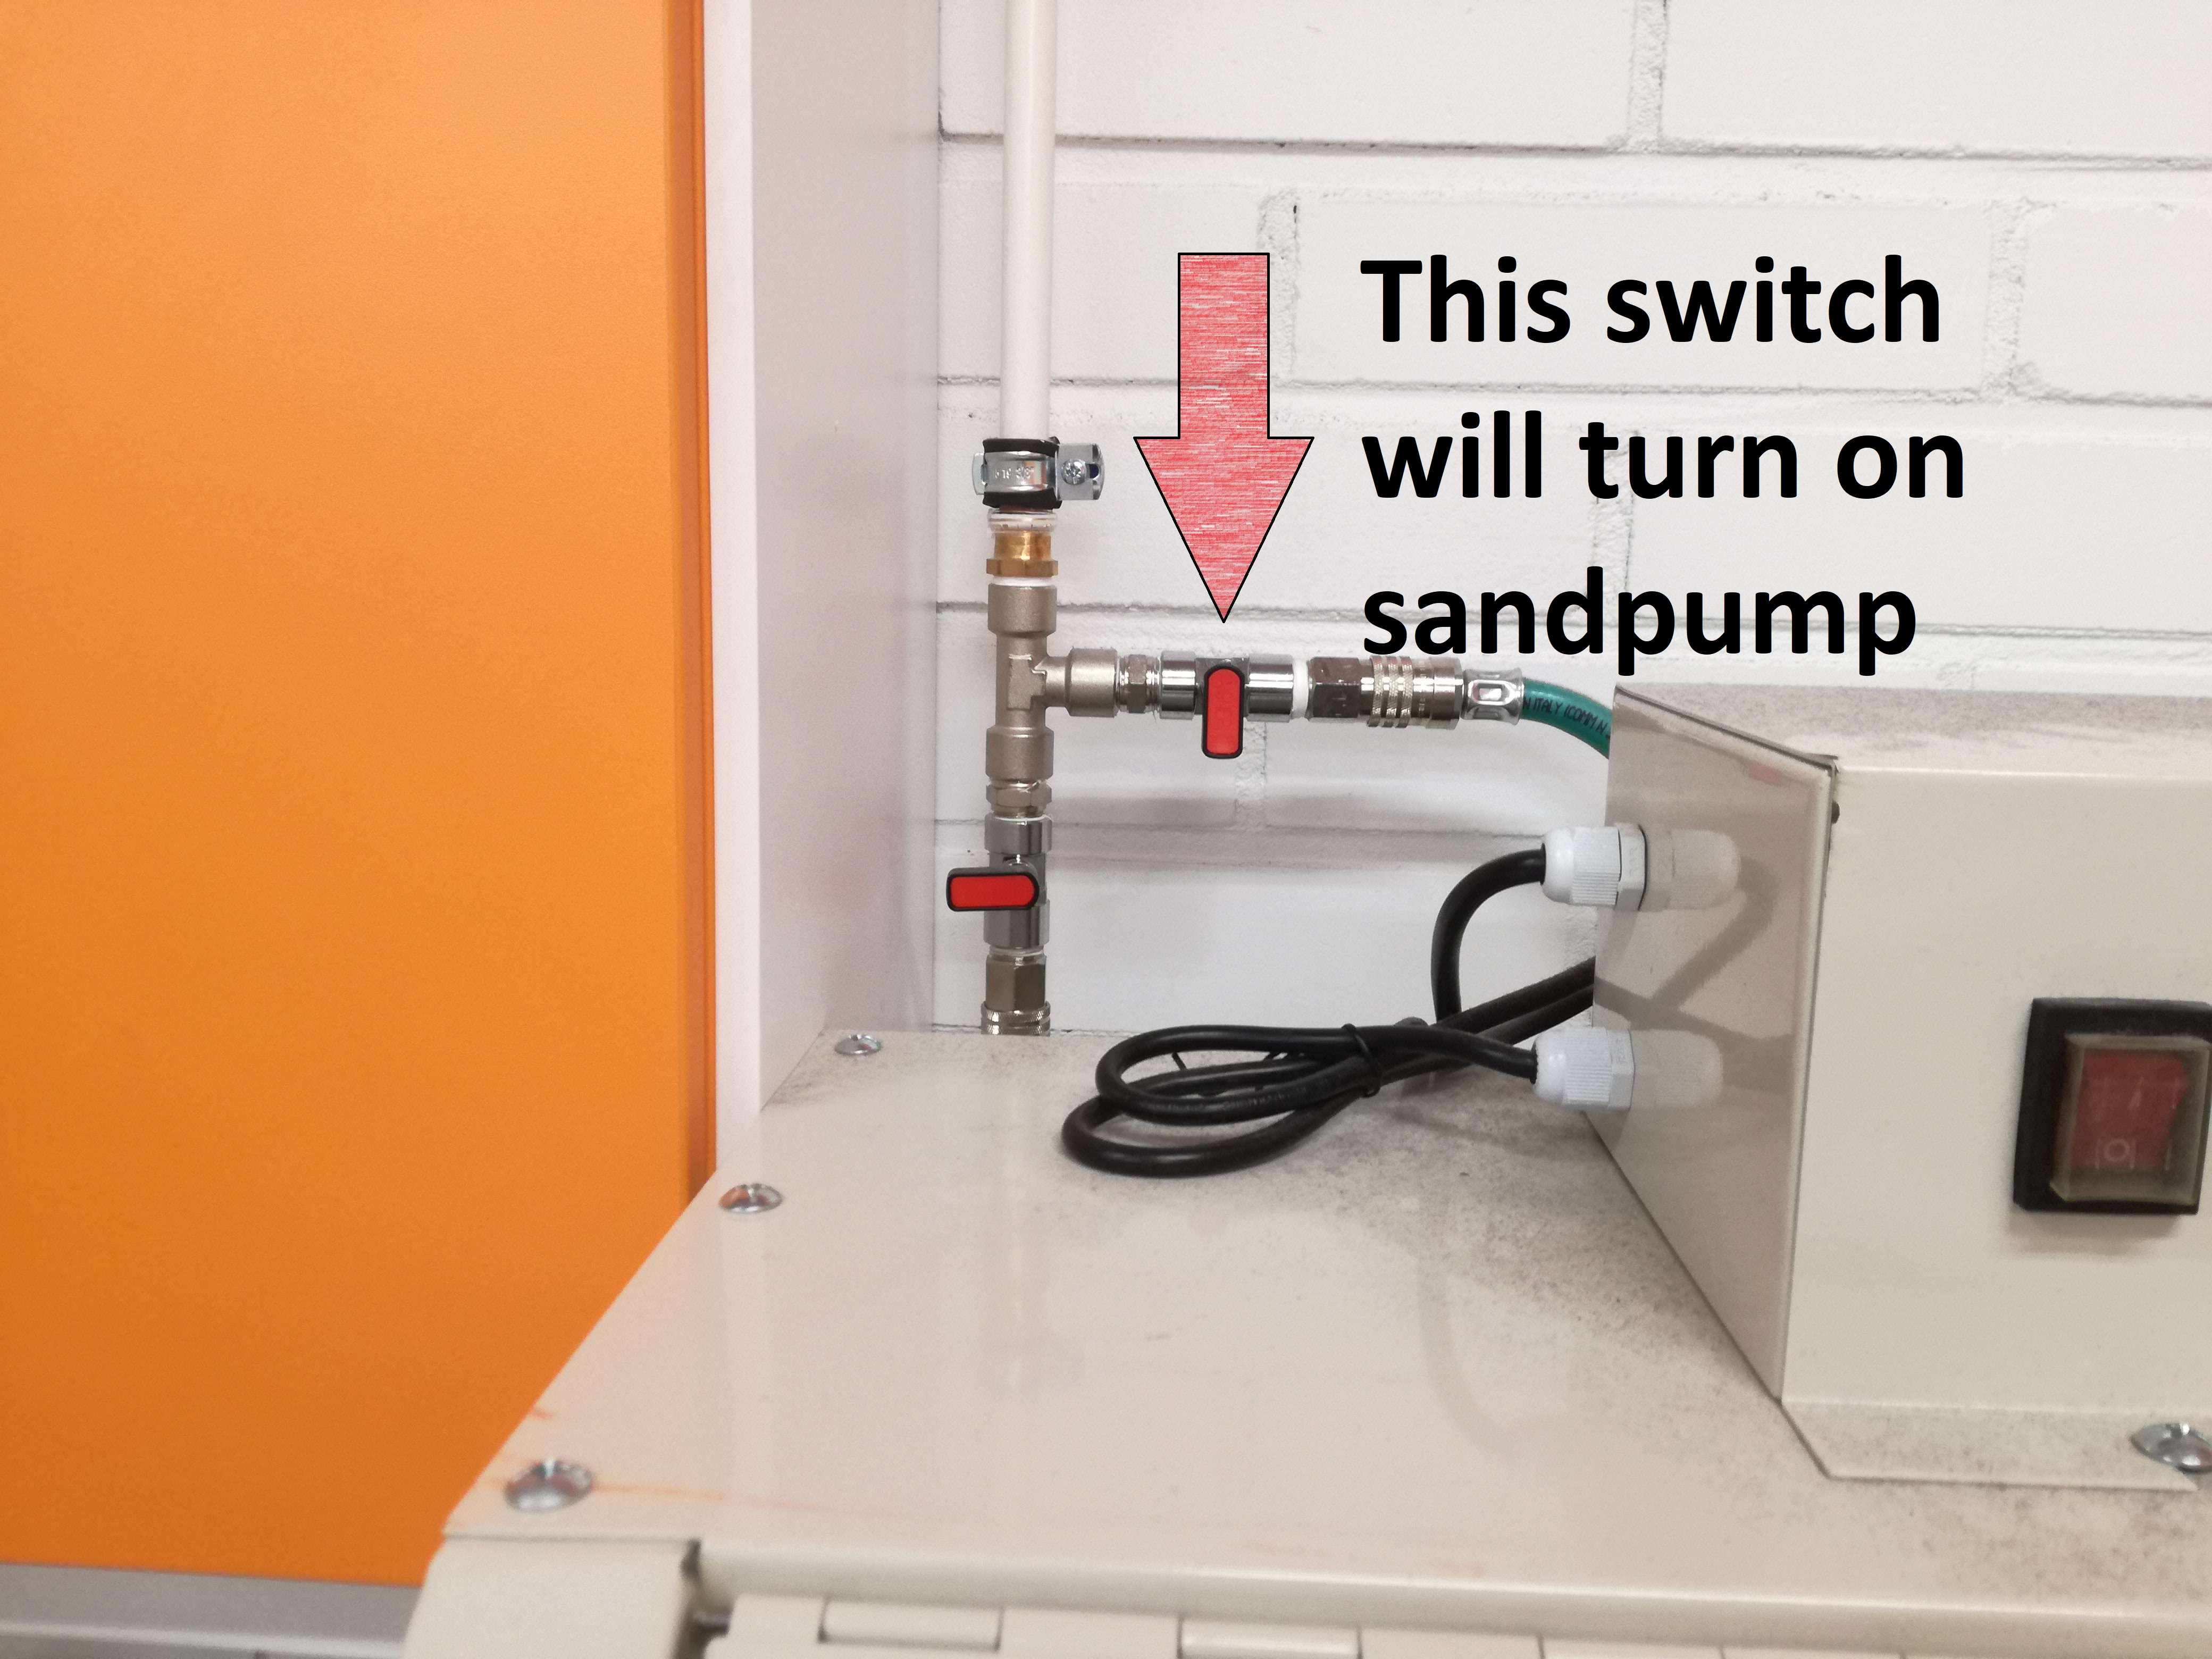
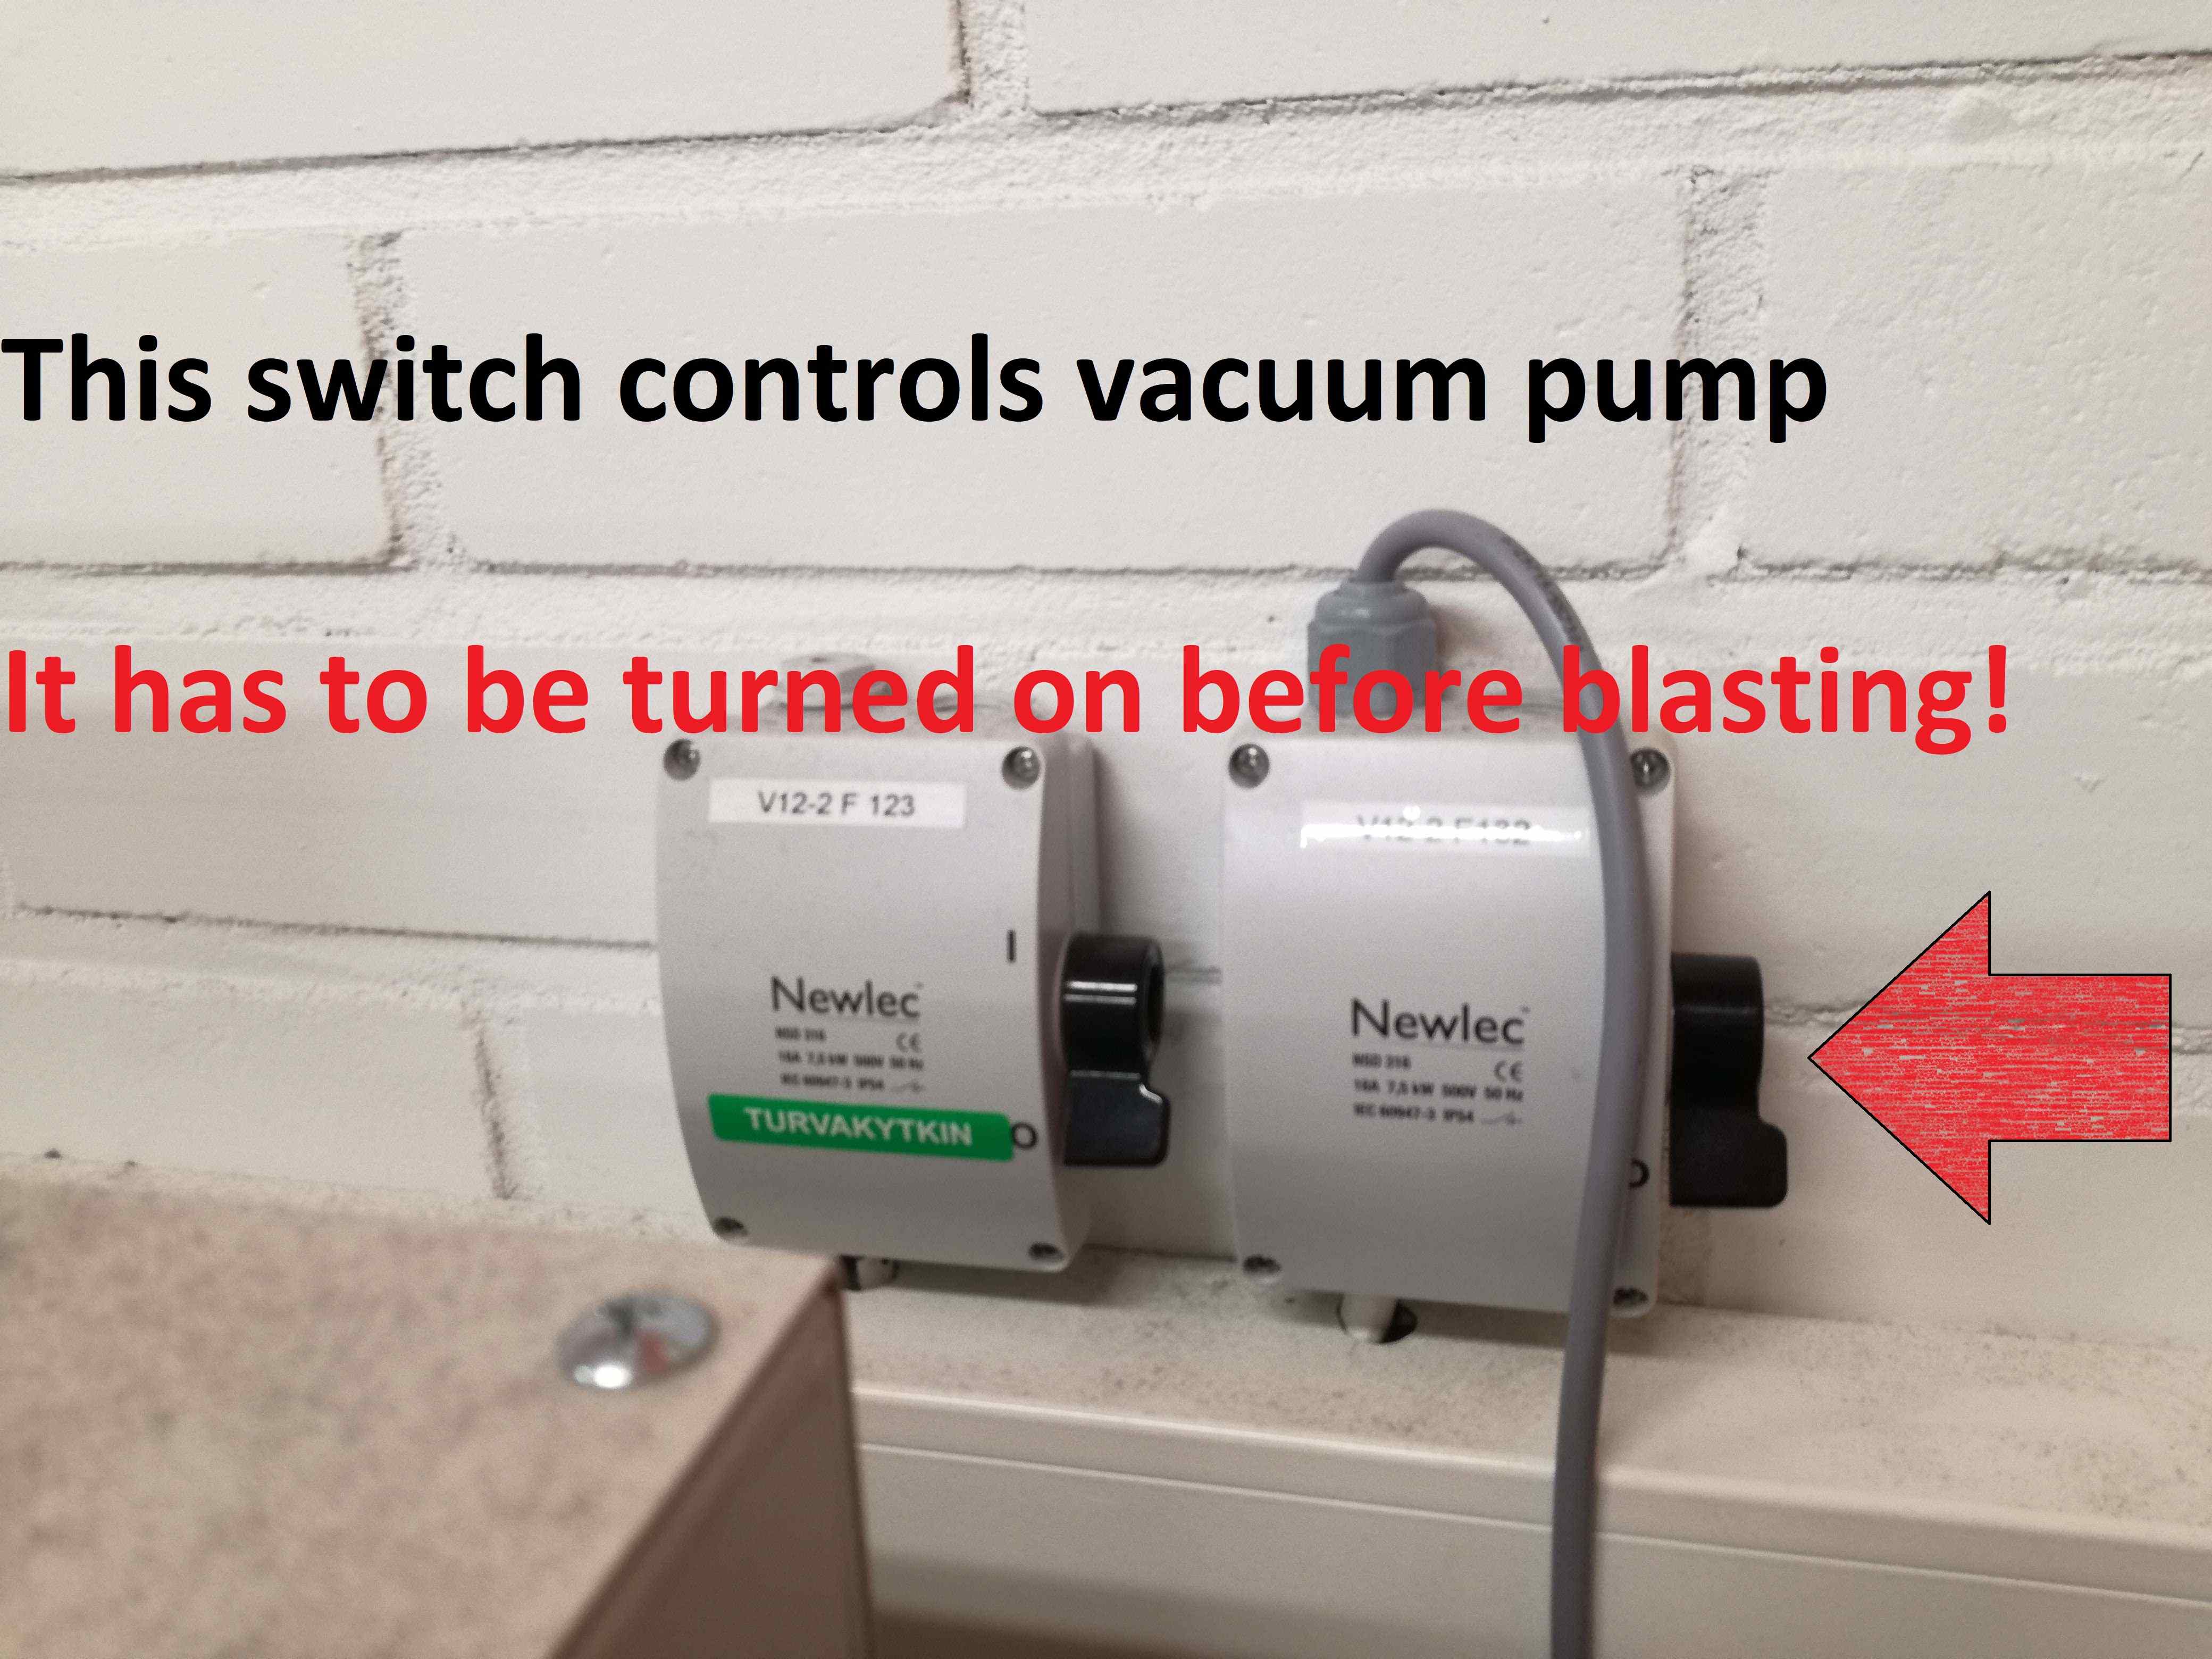
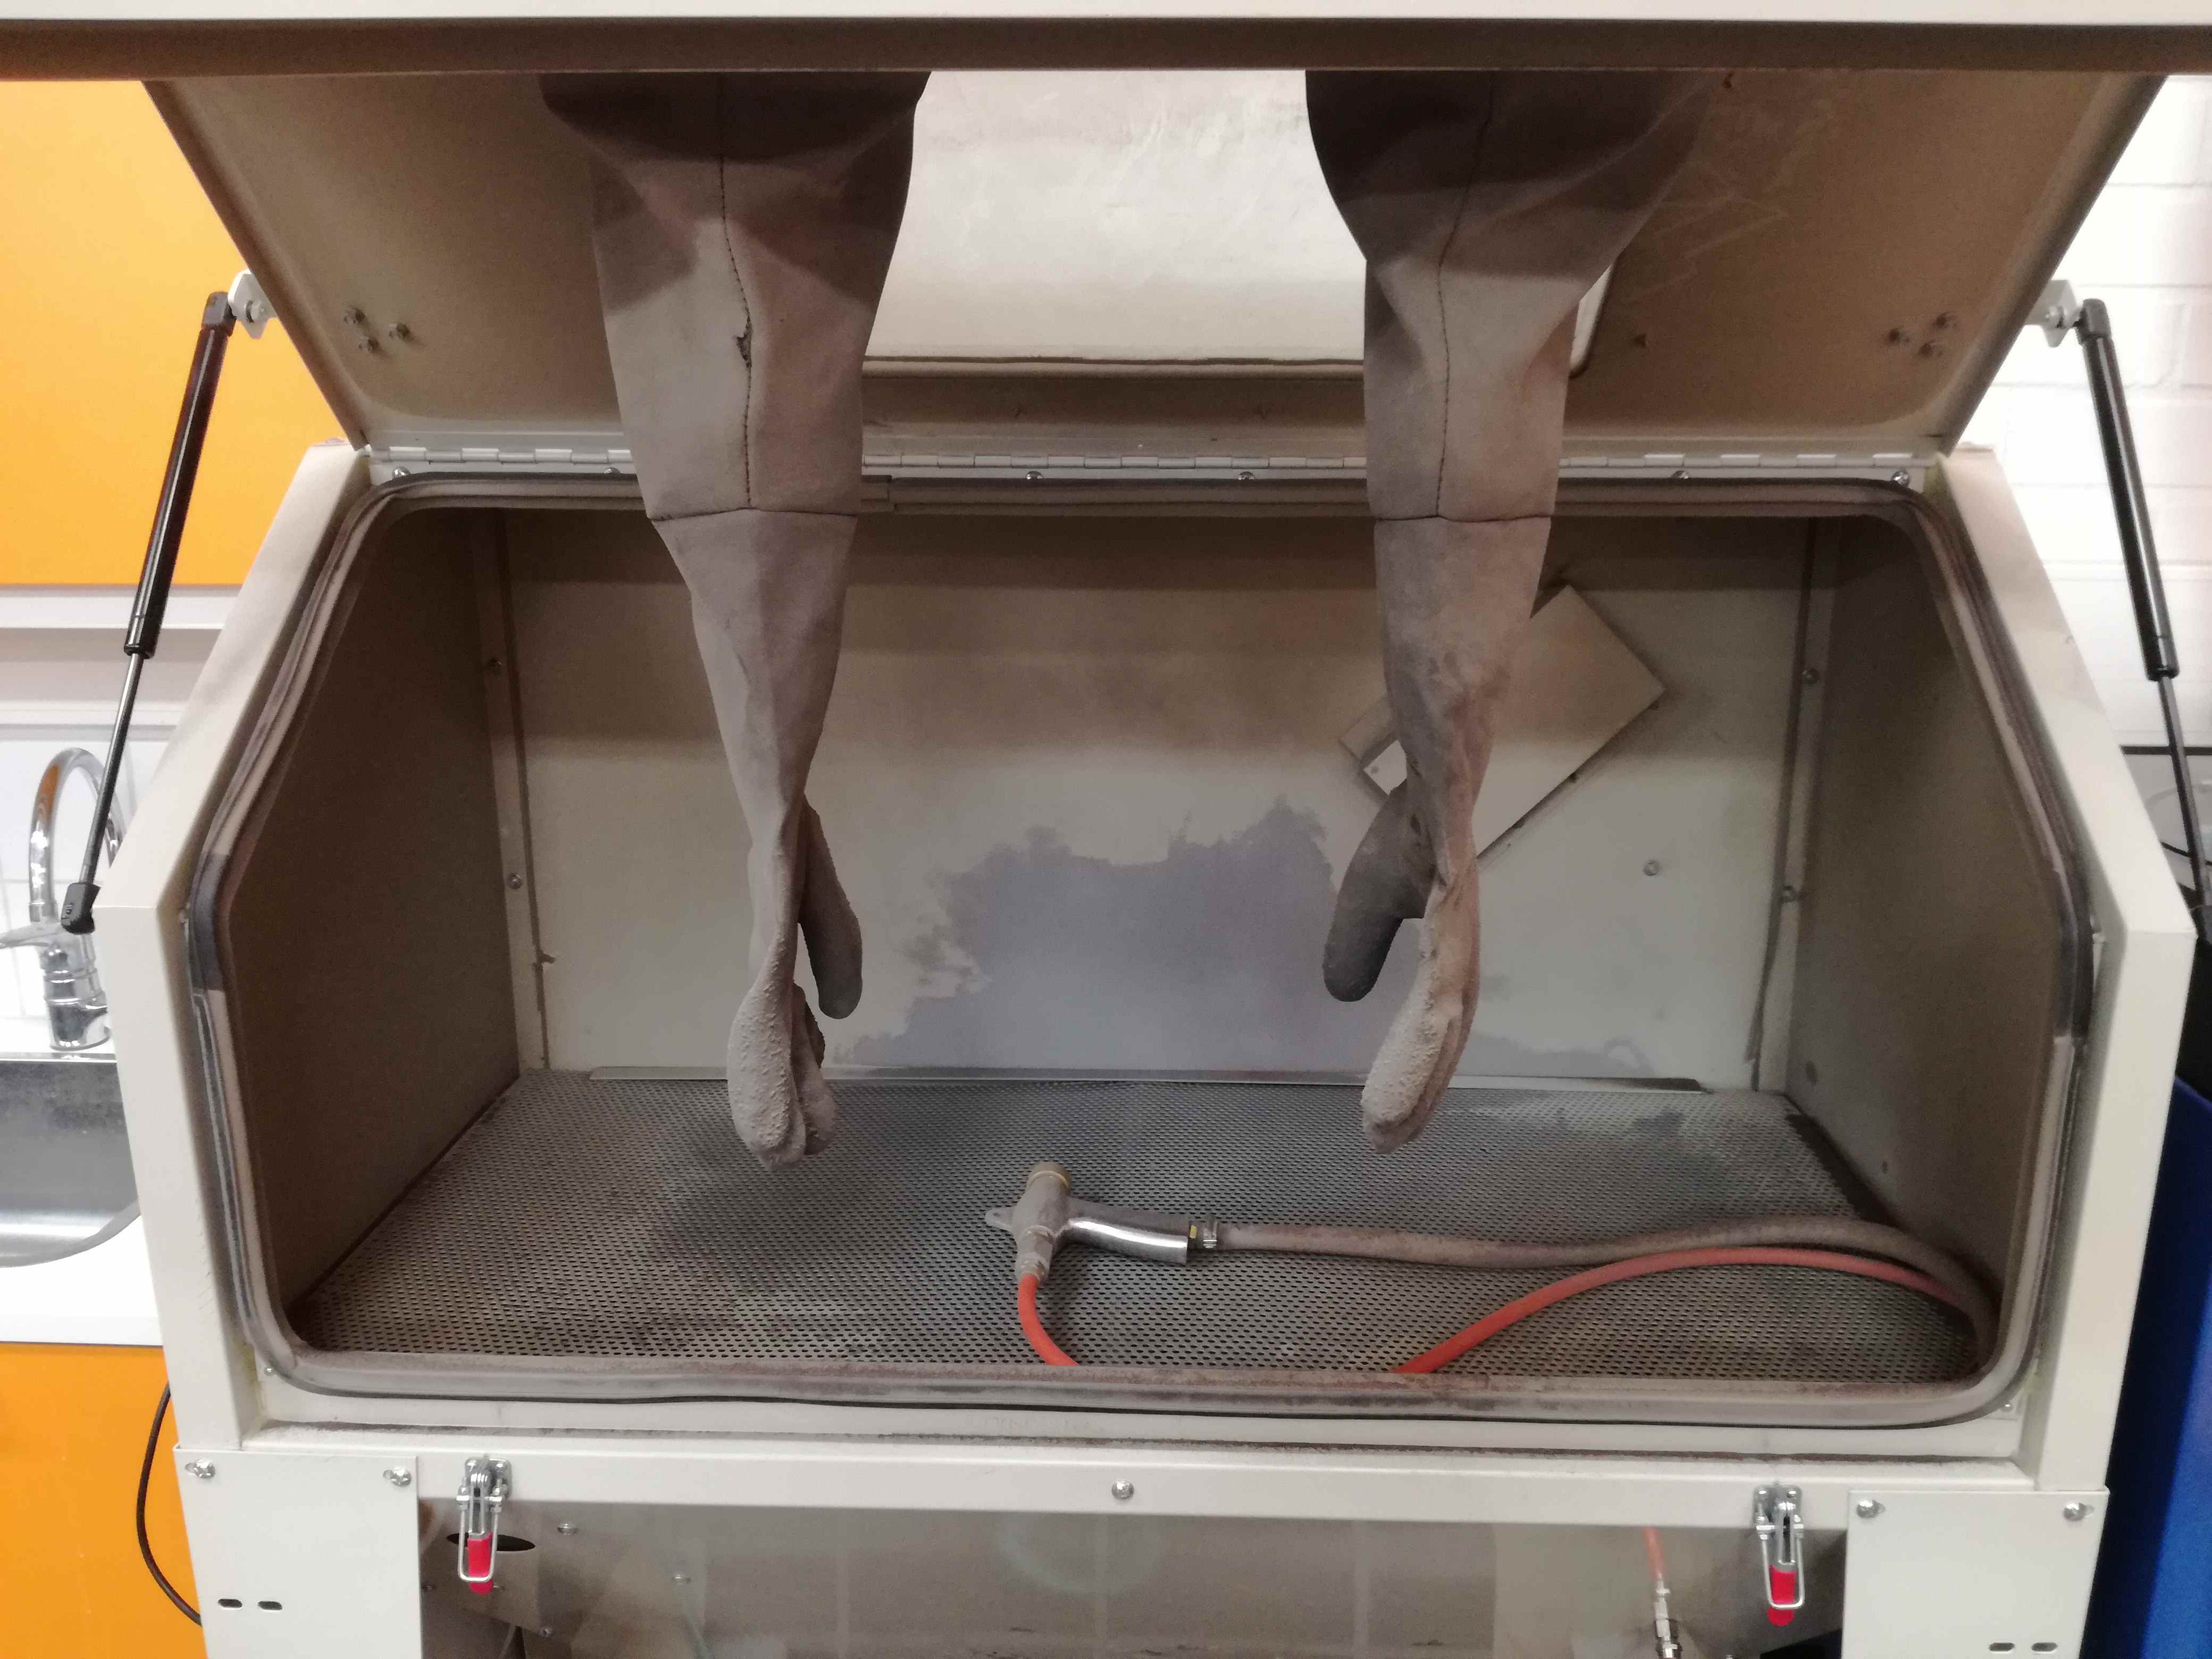
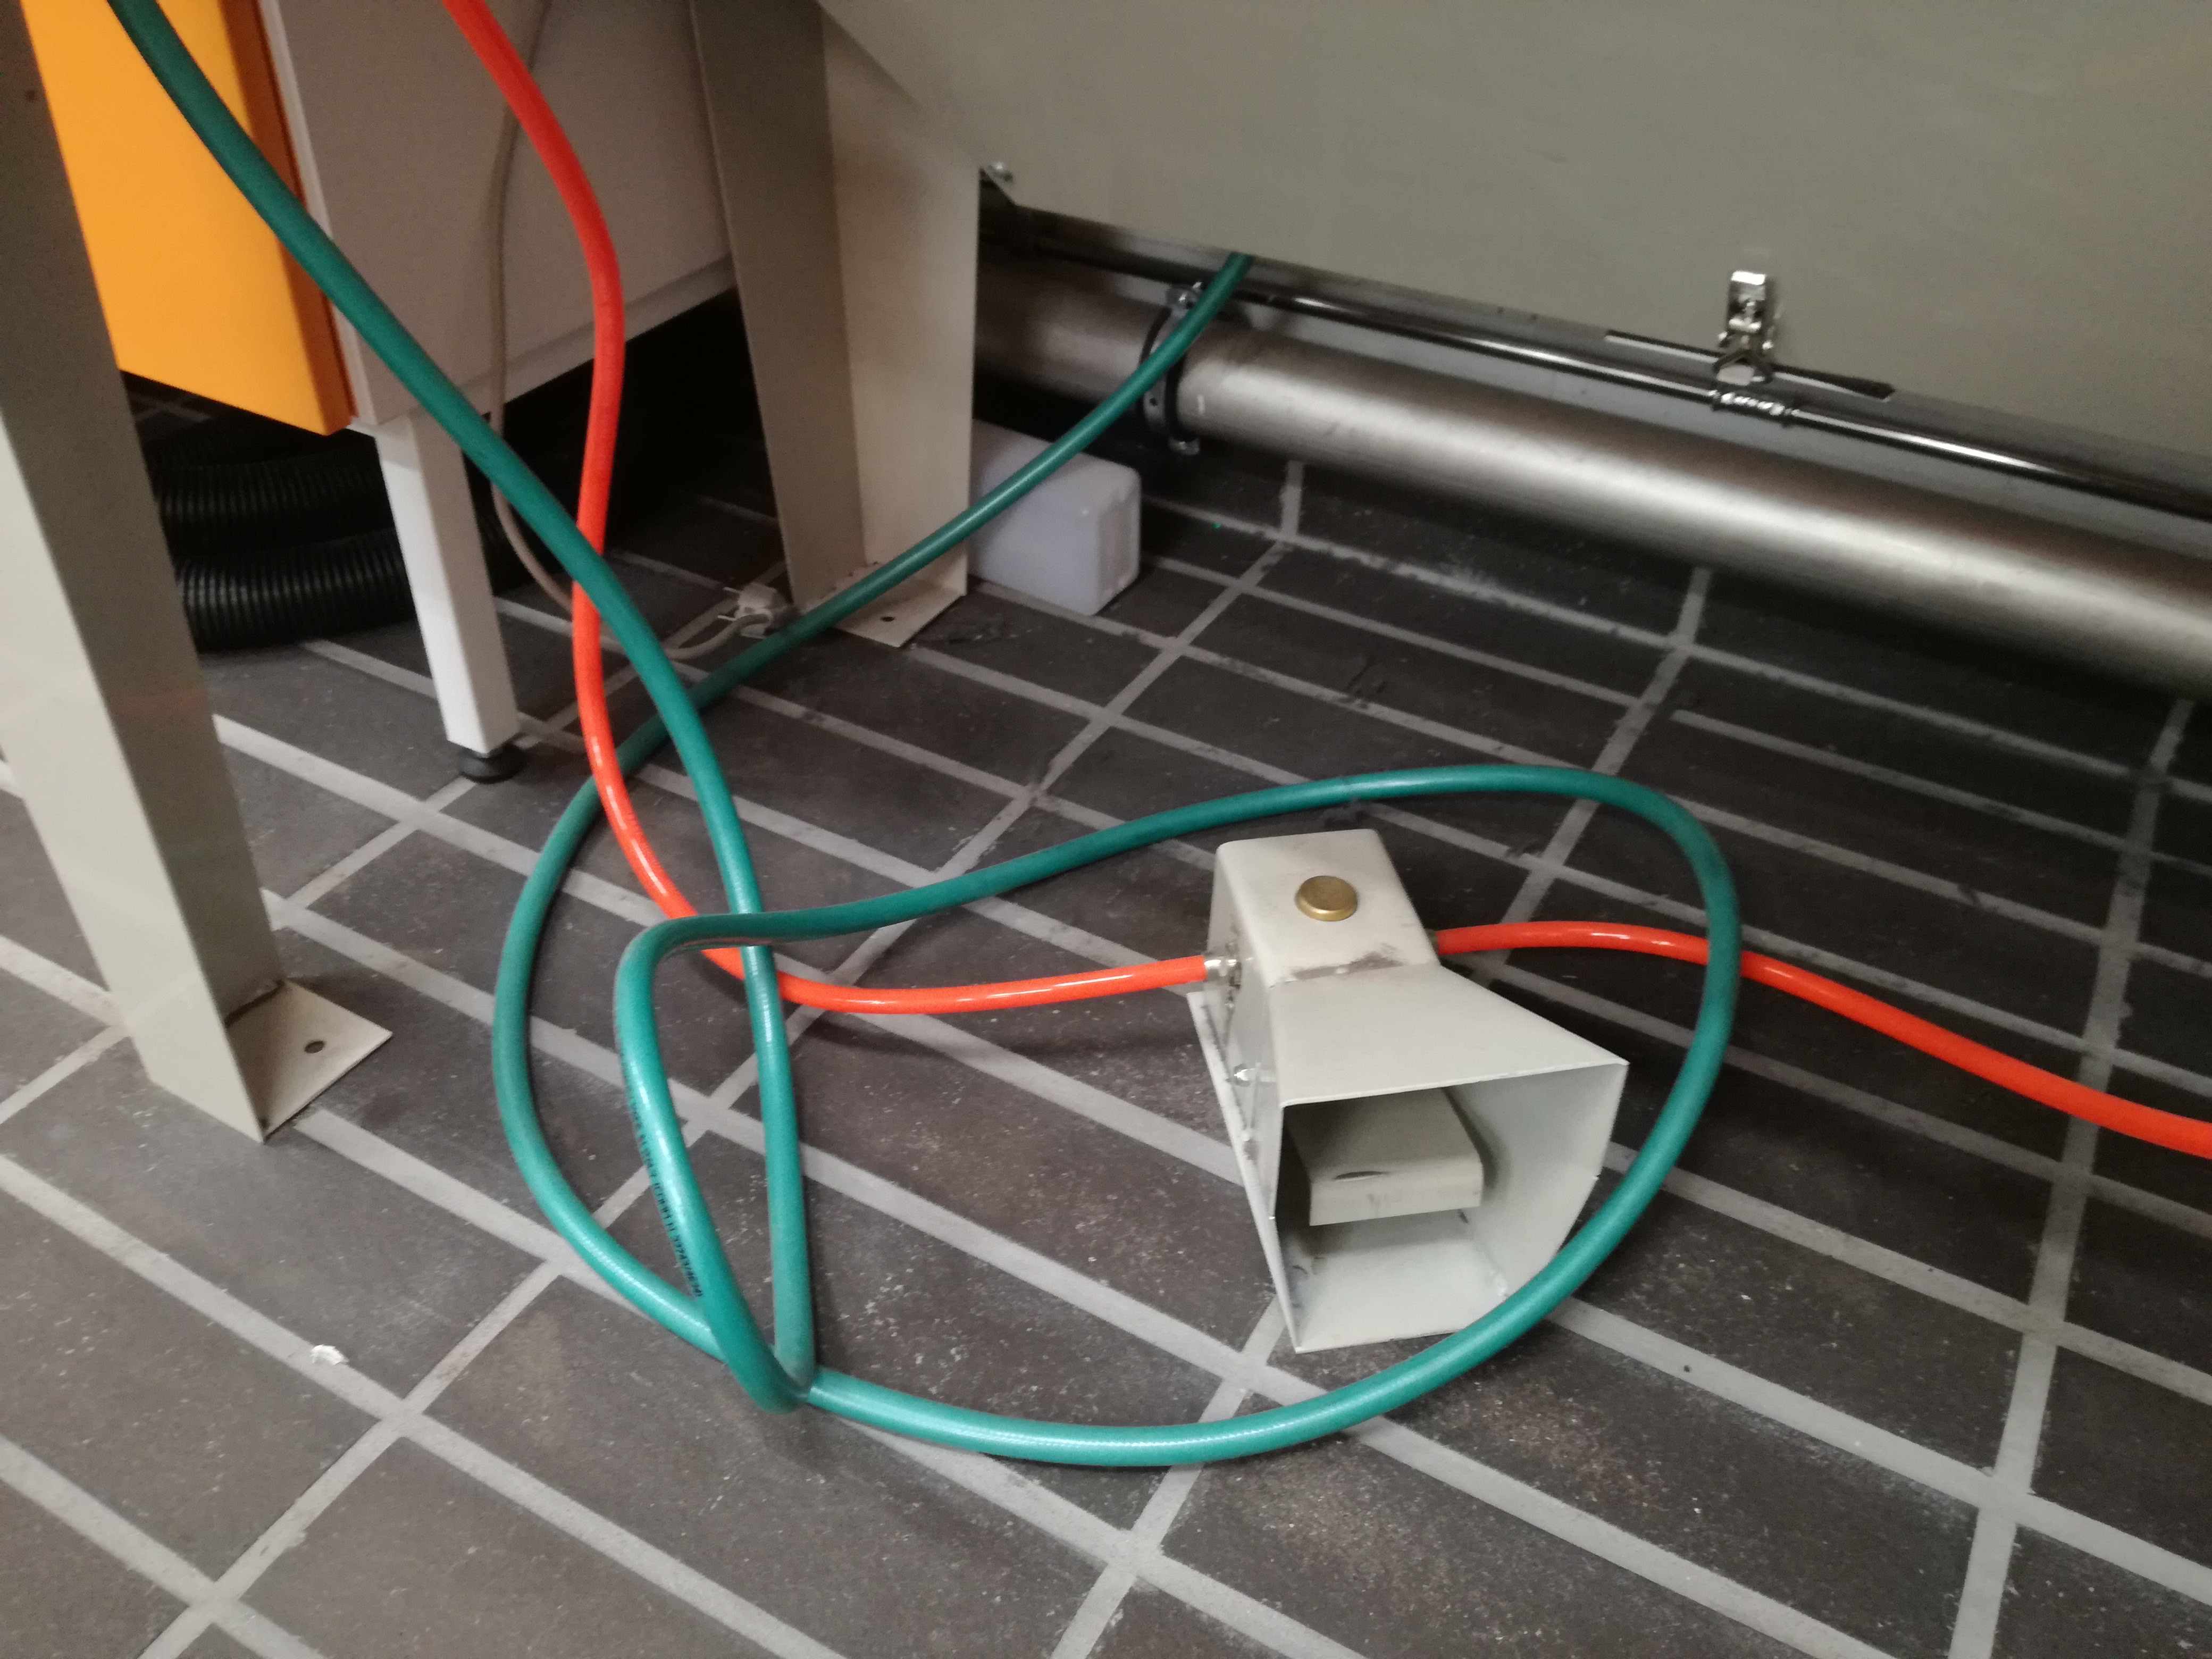
Probably the most important parts are safety locks. Those are ensuring that surroundings will remain clean. Magic is happening inside locked chamber. THere are three switches, which have to be turned one before procedure. Vacuum pump is first and obvious one, then light switch in order to see anything and in the end sand pump switch. Power pedal is used to control strength and amount of sand. I remember that I used full power.
Below I created graphical description. One image worth a thousand words.
 |
 |
 |
 |
Masks - Vinyl cutting
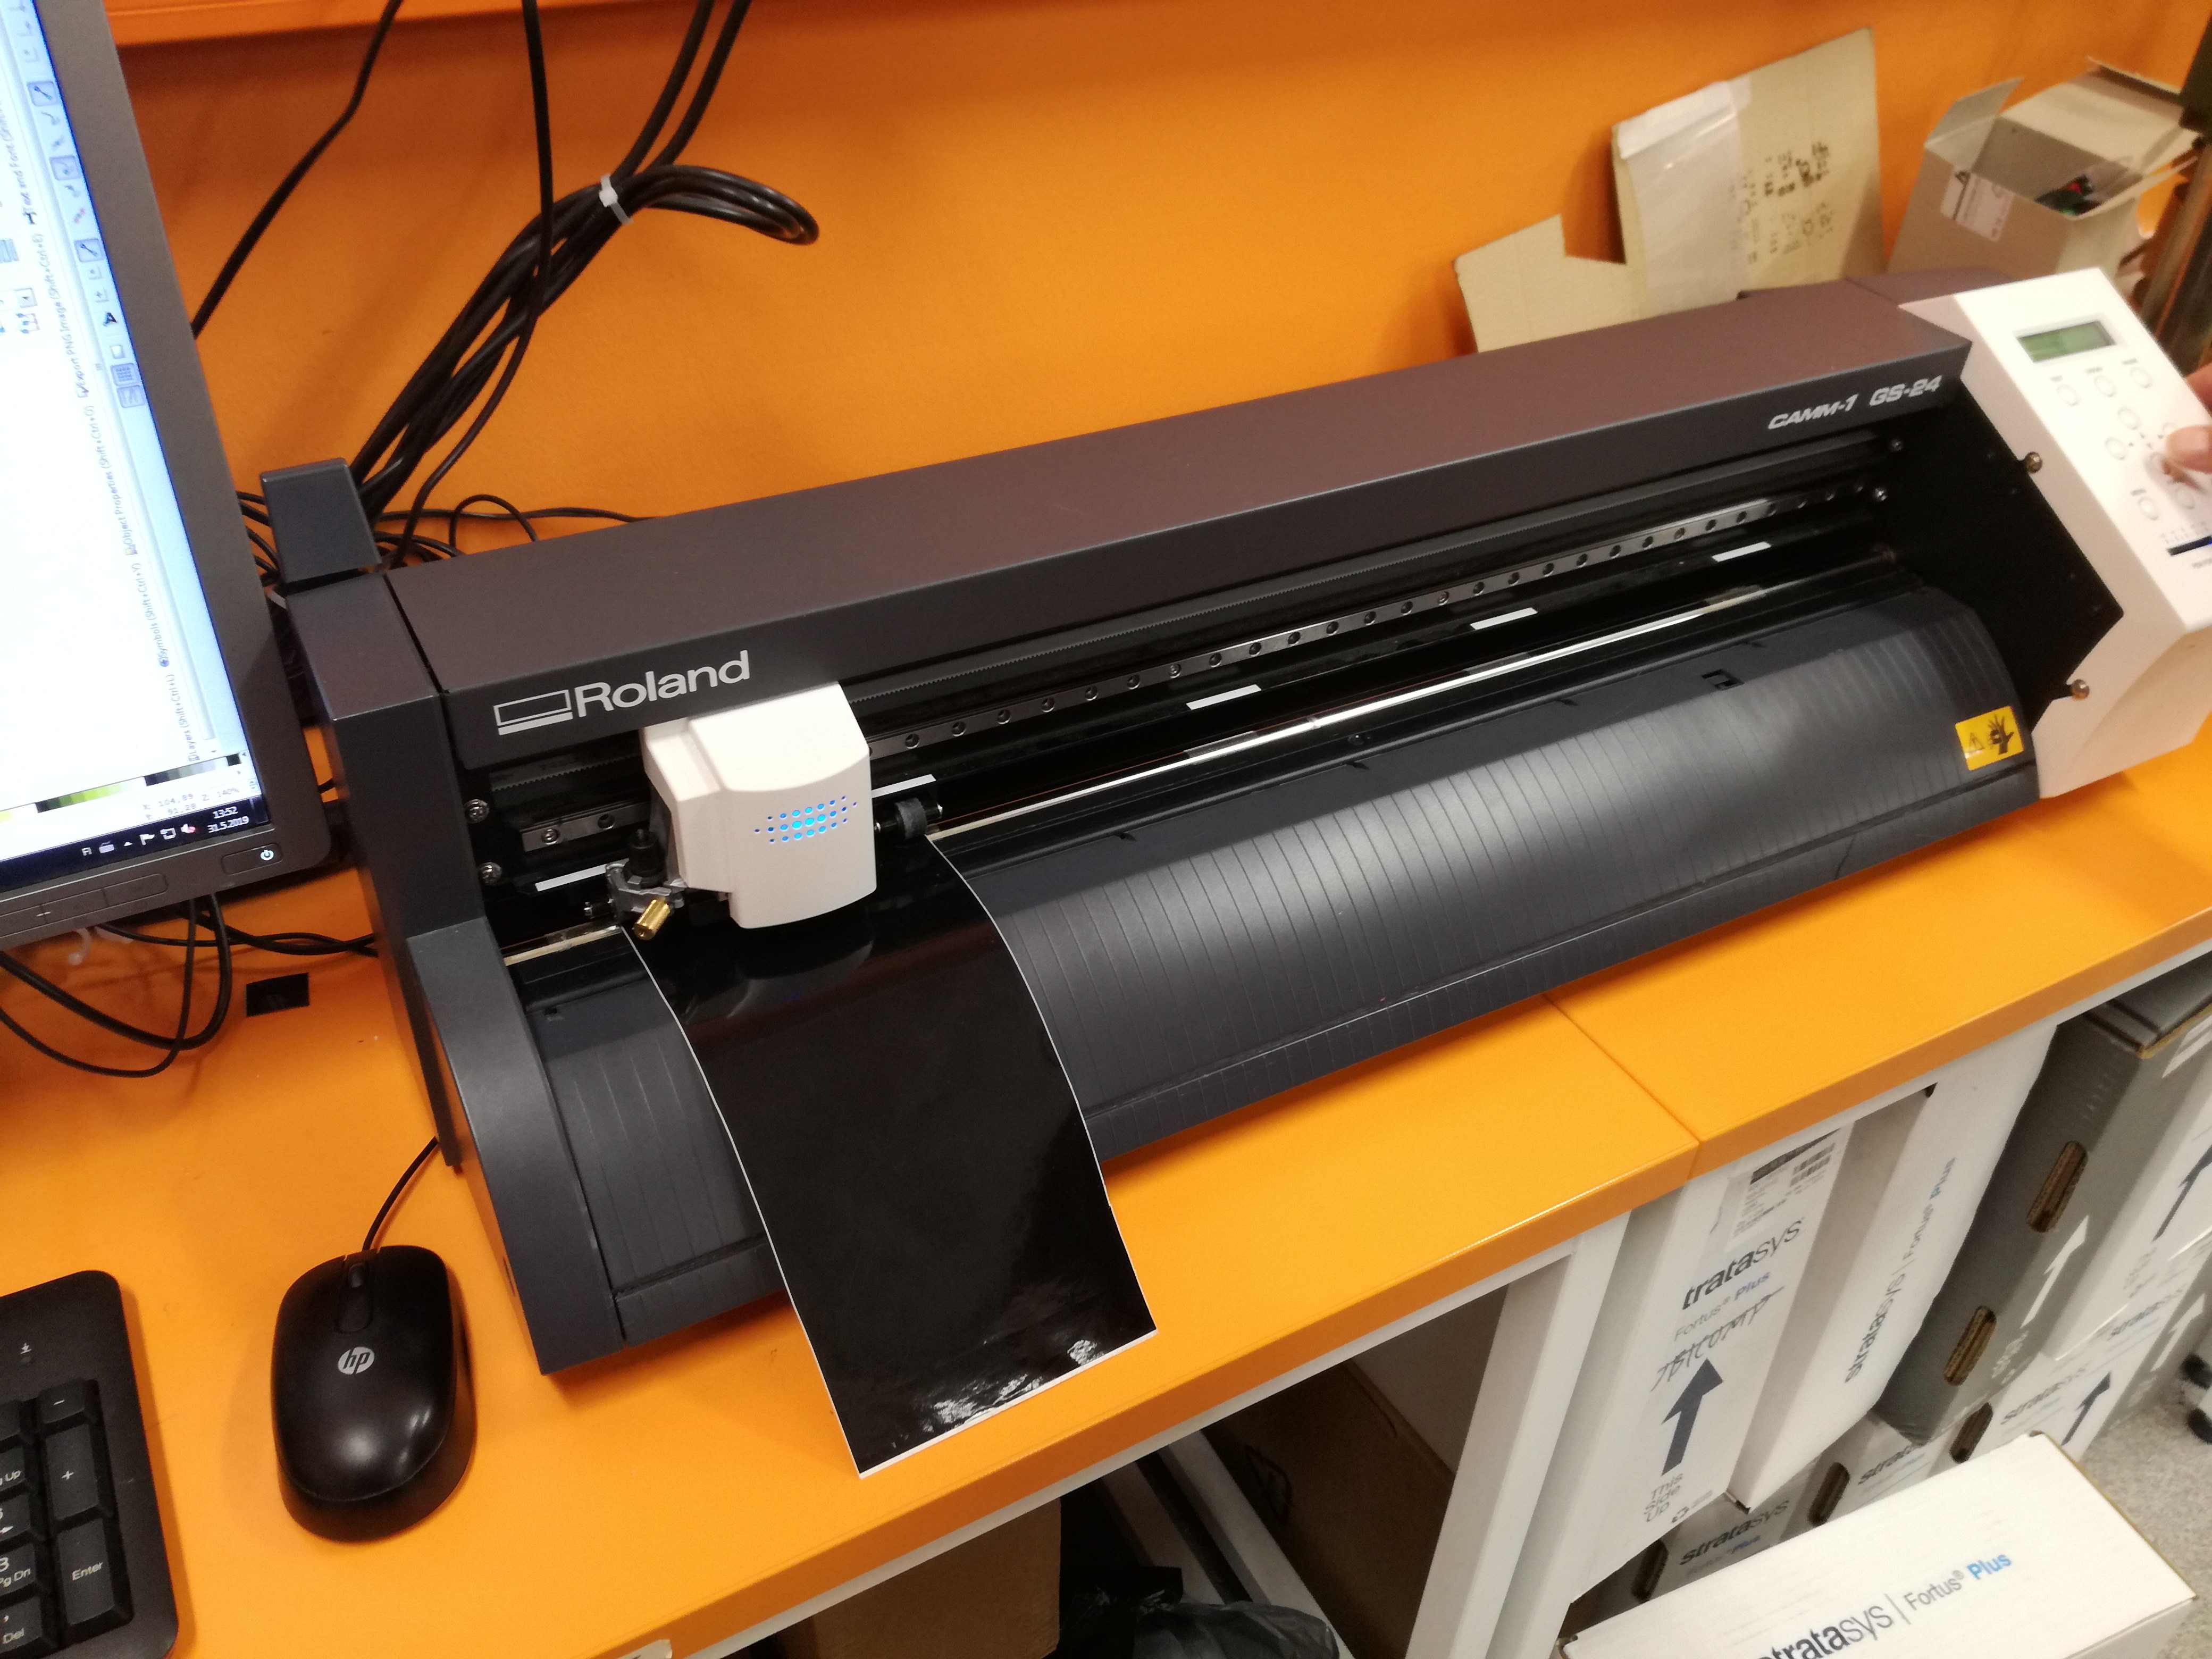
I cut masks using vinyl cutter GAMM-1. It was previously introduced in Computer-controlled cutting week. As I mostly used scratches of material I used function of auto-measuring substrate. It was very handy as I just picked randomly shaped scraps and then I measured it with the cutter. If size was enough I used it. It supposed to be smaller than 70 x 70 [mm] for test mask and a bit bigger for Banner mask.
Whole procedure of vinyl cutting is automated. The only manual part is to lift up clamps and attach material that has to be cut. Cutter is maintained as regular printer. Below couple images during preparations and cutting.
 |
 |
 |
 |
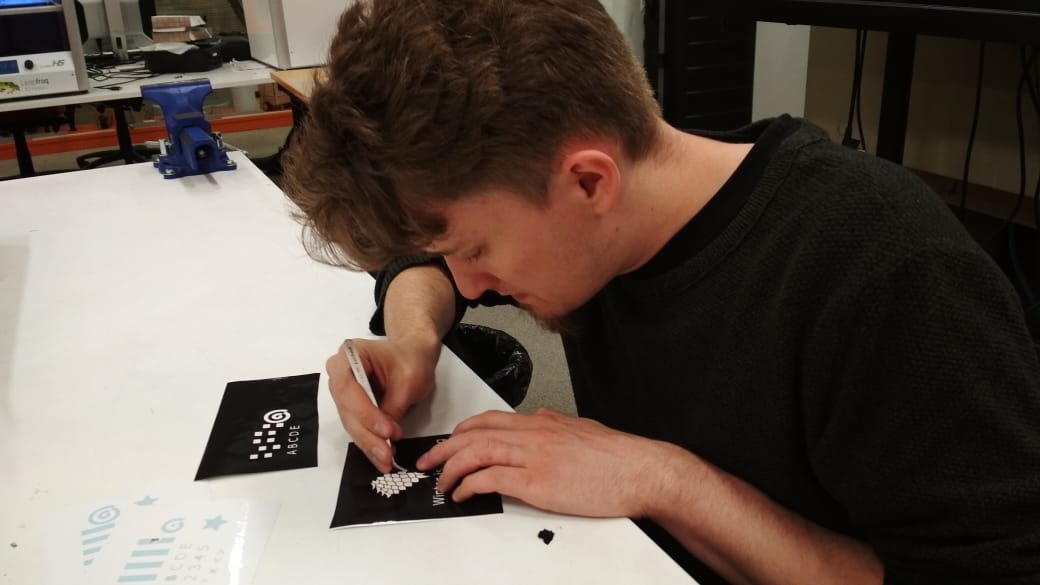
Masks - shearing and transferring
After cutting 4 test masks and three banner masks (I expected issues). It was time for some shearing. By some I mean A LOT of shearing. I decided to create two kind of Stark's banner masks. One, which included all parts connected to each other and second one, more difficult with many unconnected parts. If test masks will prove good sanding results I will use second banner mask as those have more details but most likely will look better.
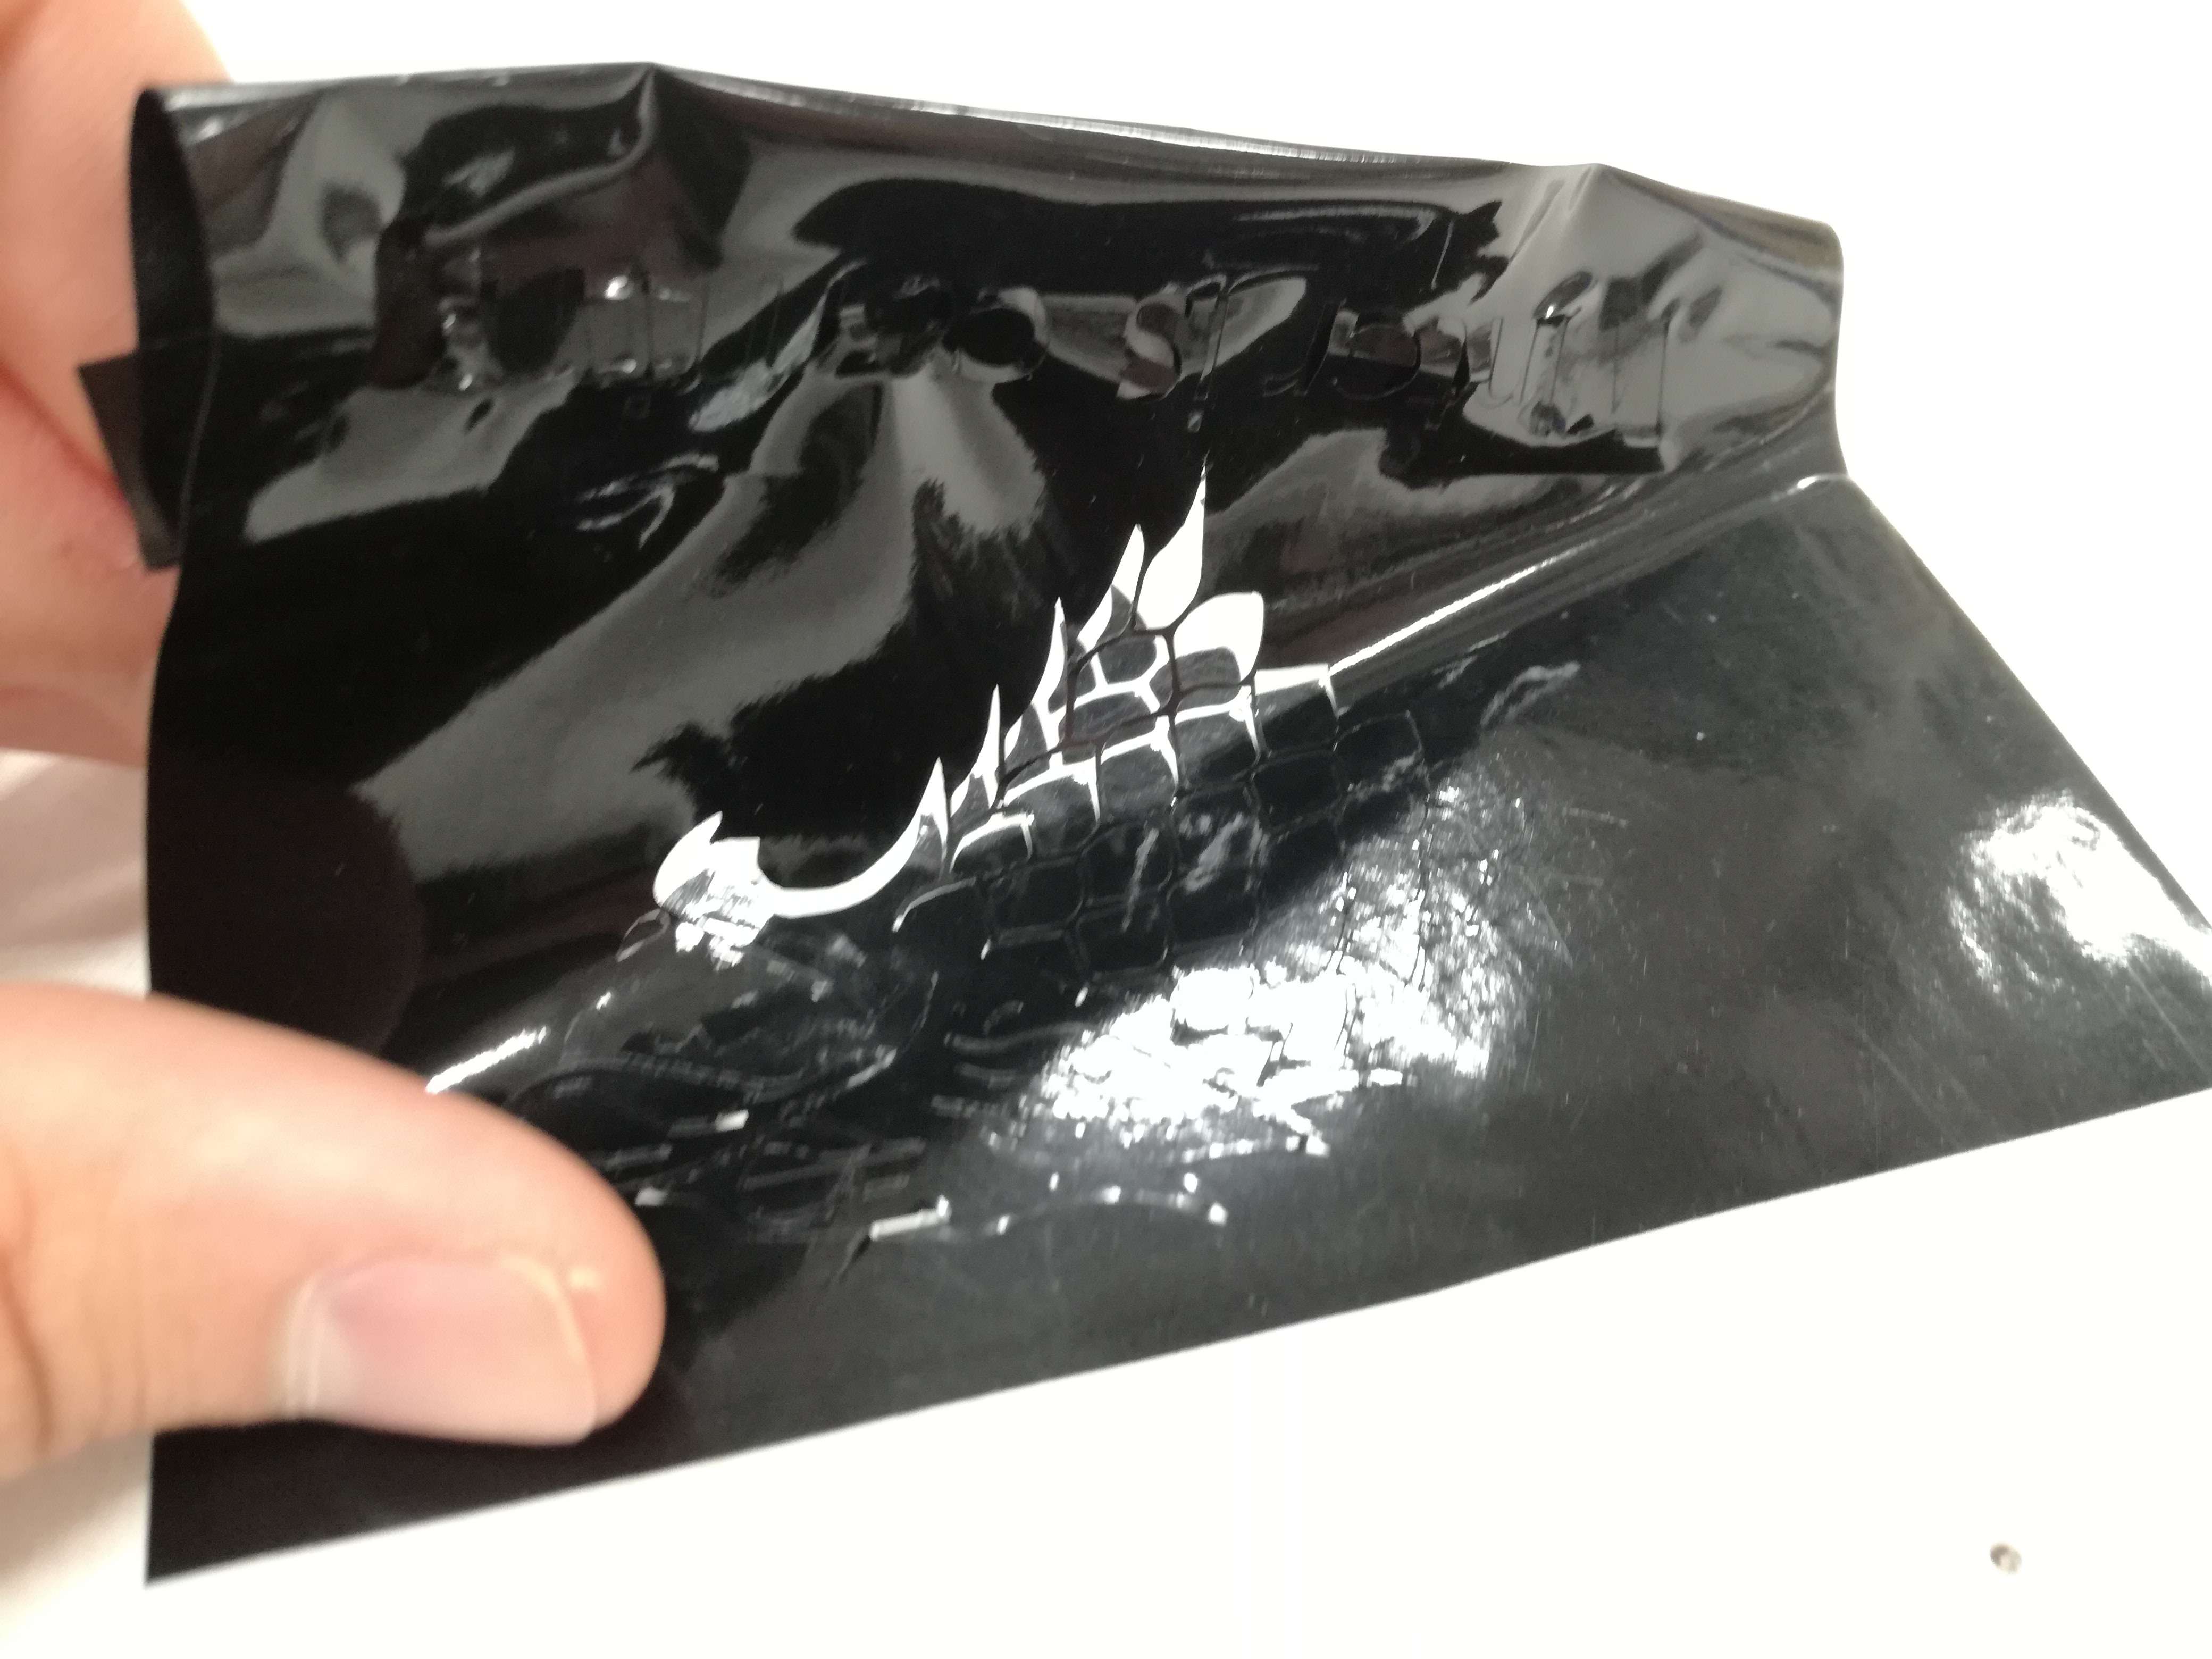
Below two kinds of banner mask presented. They are just negatives.
 |
 |
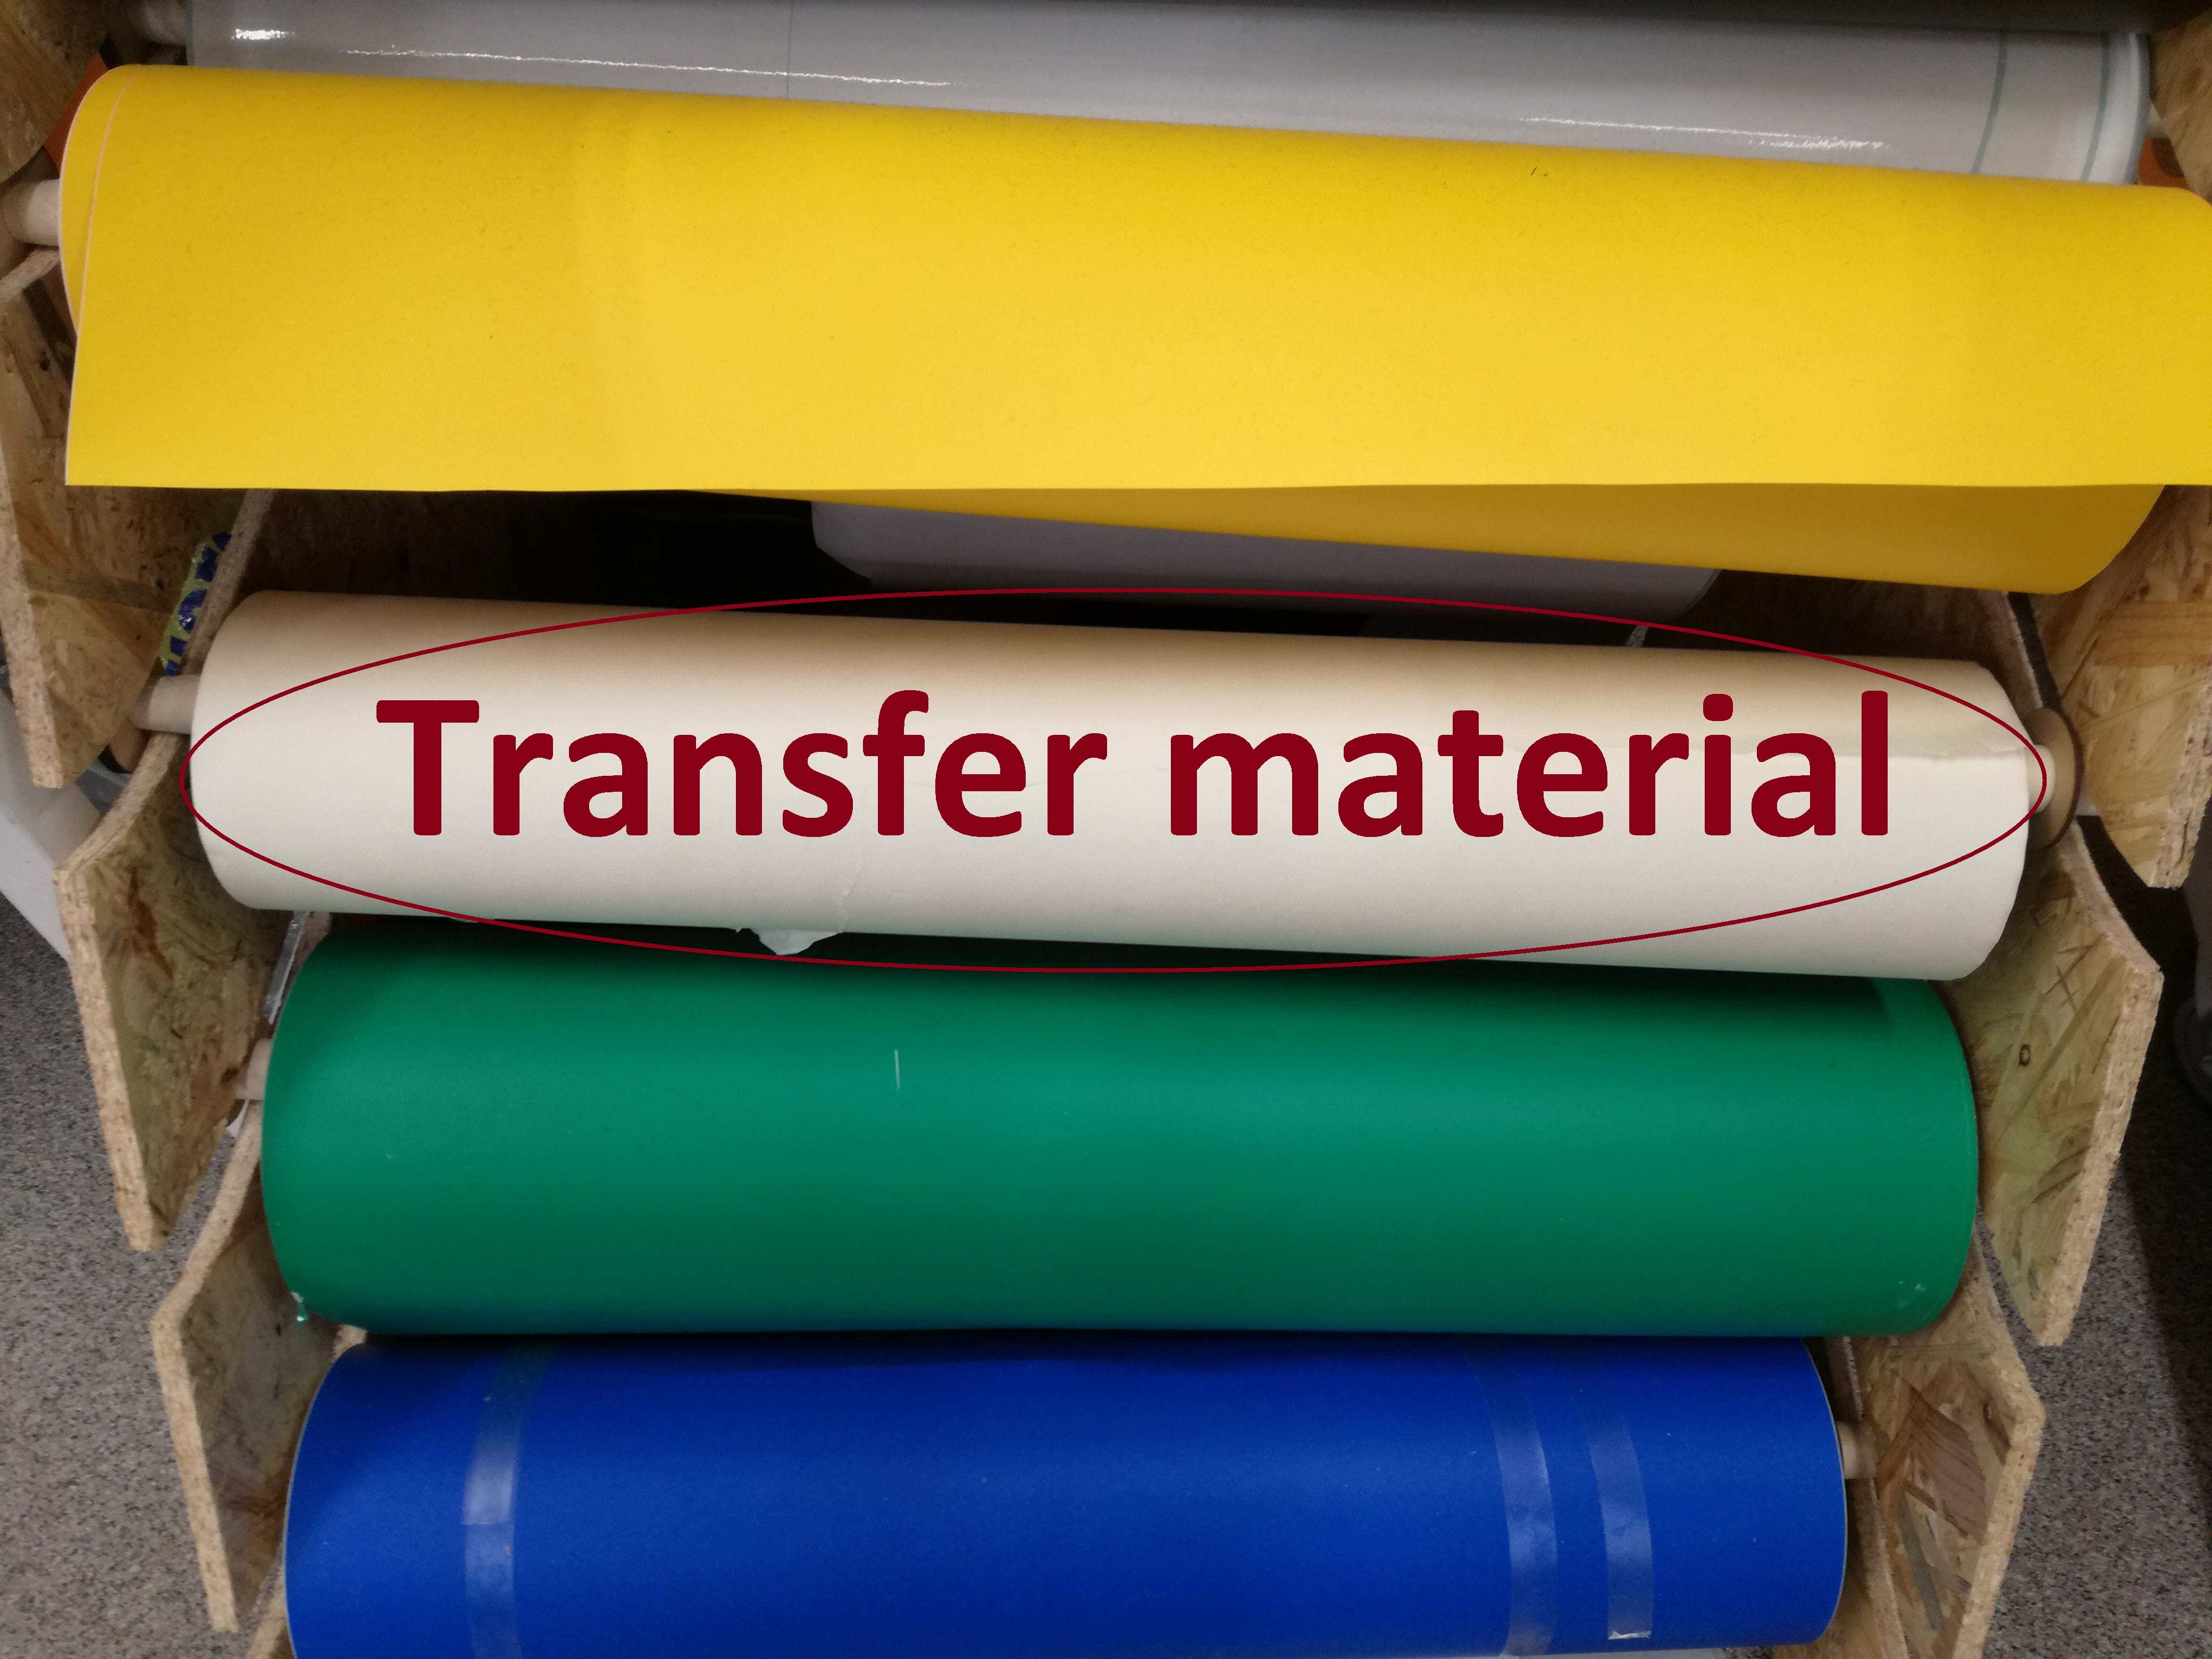
After shearing all the unwanted parts it was necessary to use so-called transfer material. Another sticky paper, which will allow me to move masks on their corresponding backgrounds. I decided to use:
- Metal plate
- Acrylic plate
- Plywood plate
- Cardboard (sic!)
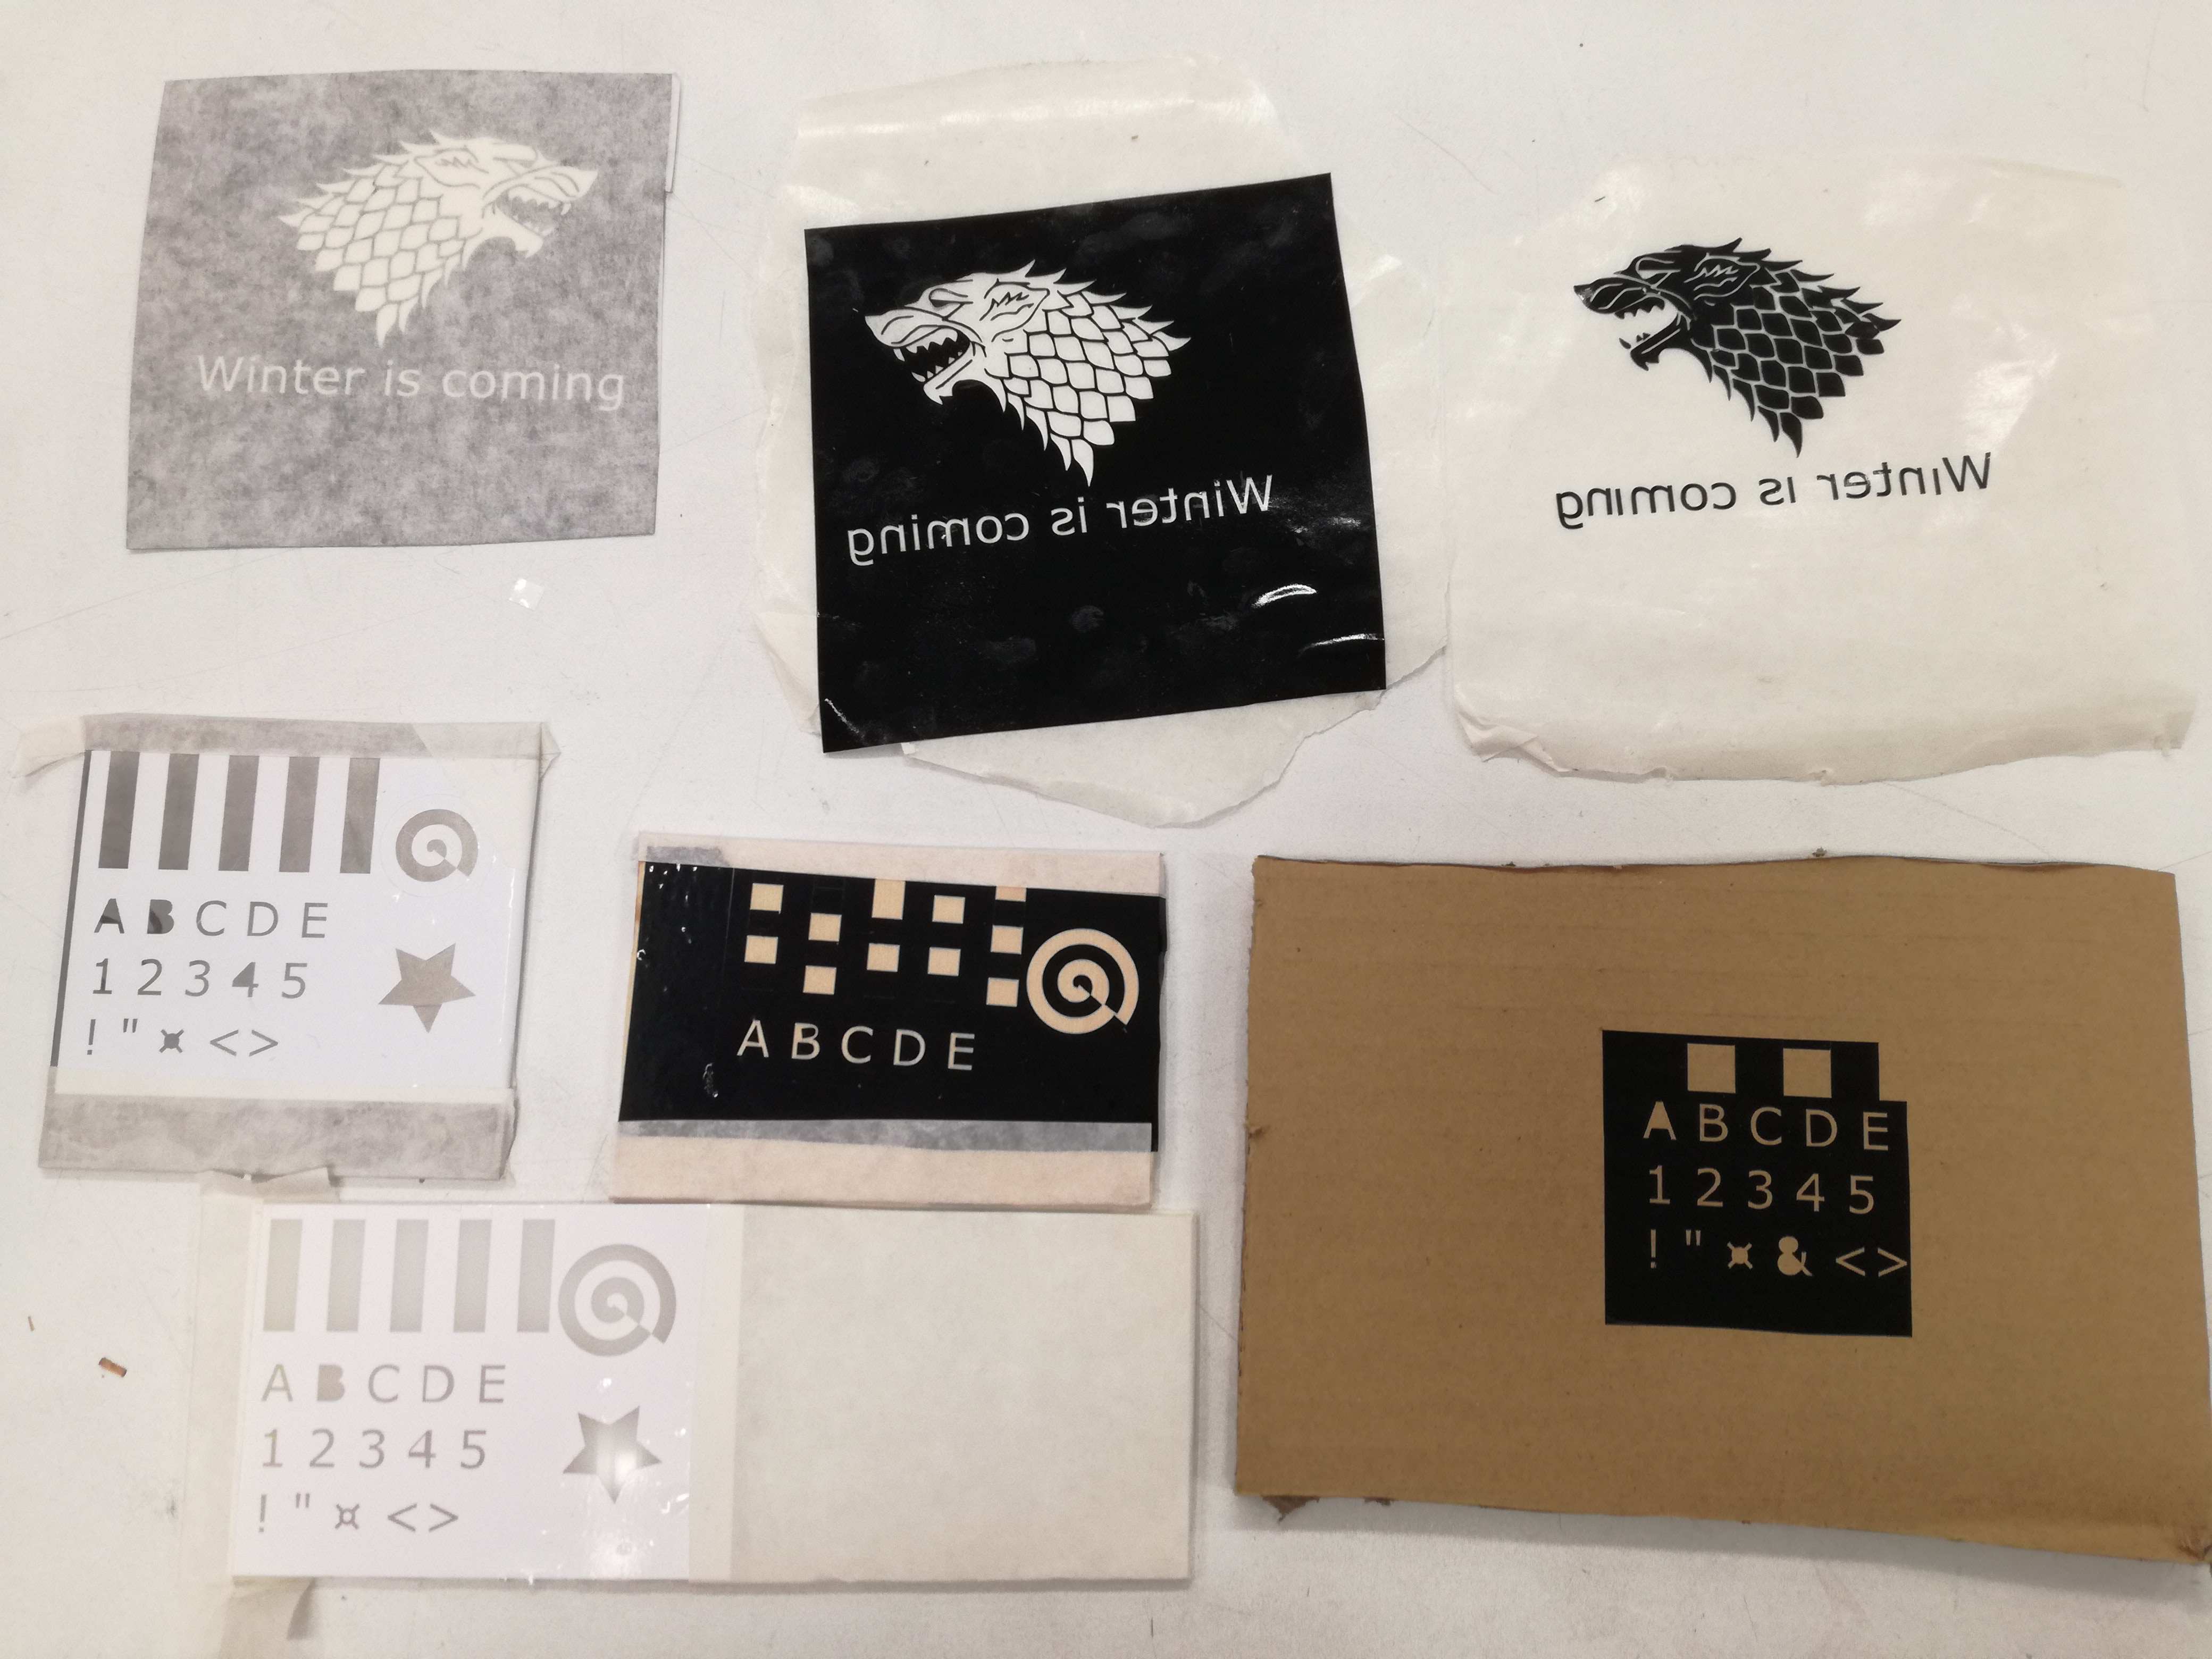
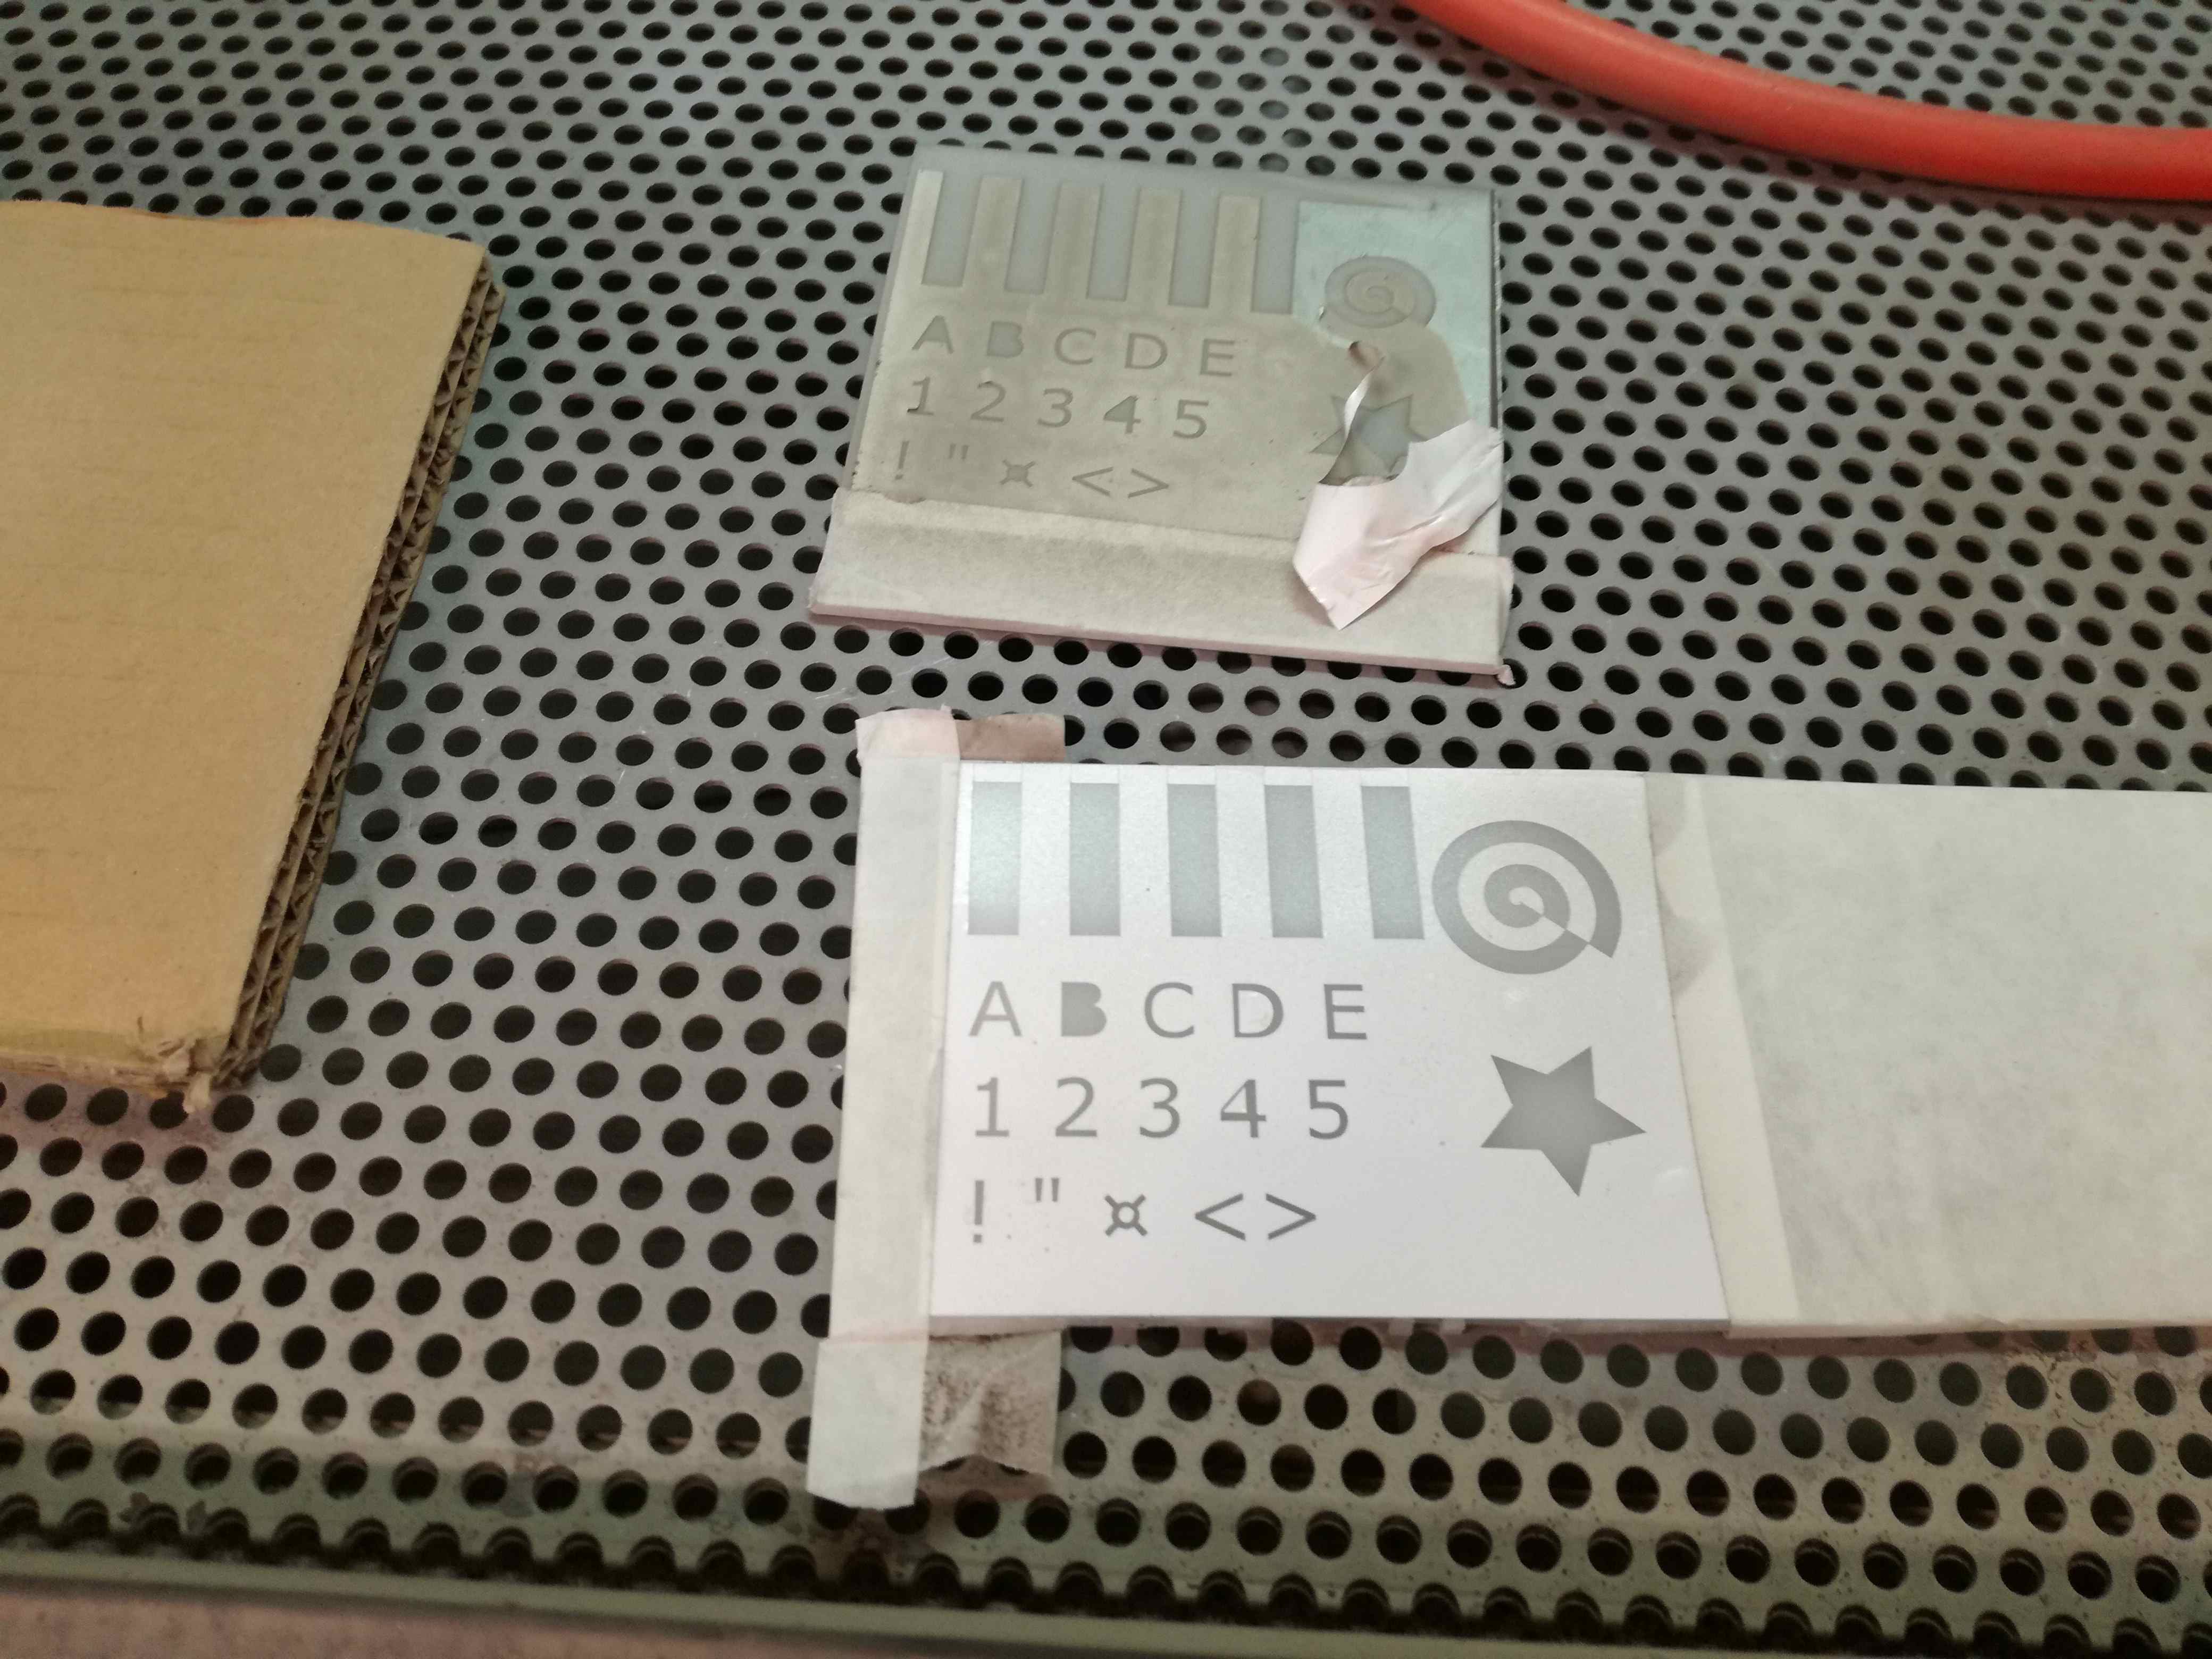
Below I'm proudly presenting every single mask I was able to cut, shear and transfer on the substrate. Some parts are covered with tape to prevent them from being sandblasted. Top left Banner mask was not prepared to be transfered I kept it as backup.
Sandblasting!
Time to make hands dirty. I put everything inside of Blaster's chamber. Turned up all of the pumps. Took the gun in my hand, pushed pedal to the metal and blasted every single piece. It took around 2 -3 minutes for each piece with various distance from gun to piece. However distance was no more than 2 [cm] and within 10 [cm]. I tried different angles. Some kind of results were visible via control window but it was rather messy inside. Side note: It is rather blind process, you have to feel it. You may always inspect everything from time to time but if you are lazy you are just blasting and waiting.
 |
 |
Results
I got four different masks. I really enjoyed sandblasting. It was fun and rather relaxing experience. It wasn't possible to cut trough materials like with Water Jet cutting (which I considered as second option) but it anyway brought some knowledge and joy. Below hero shots and couple thoughts. Those are presented from worst to best background material.
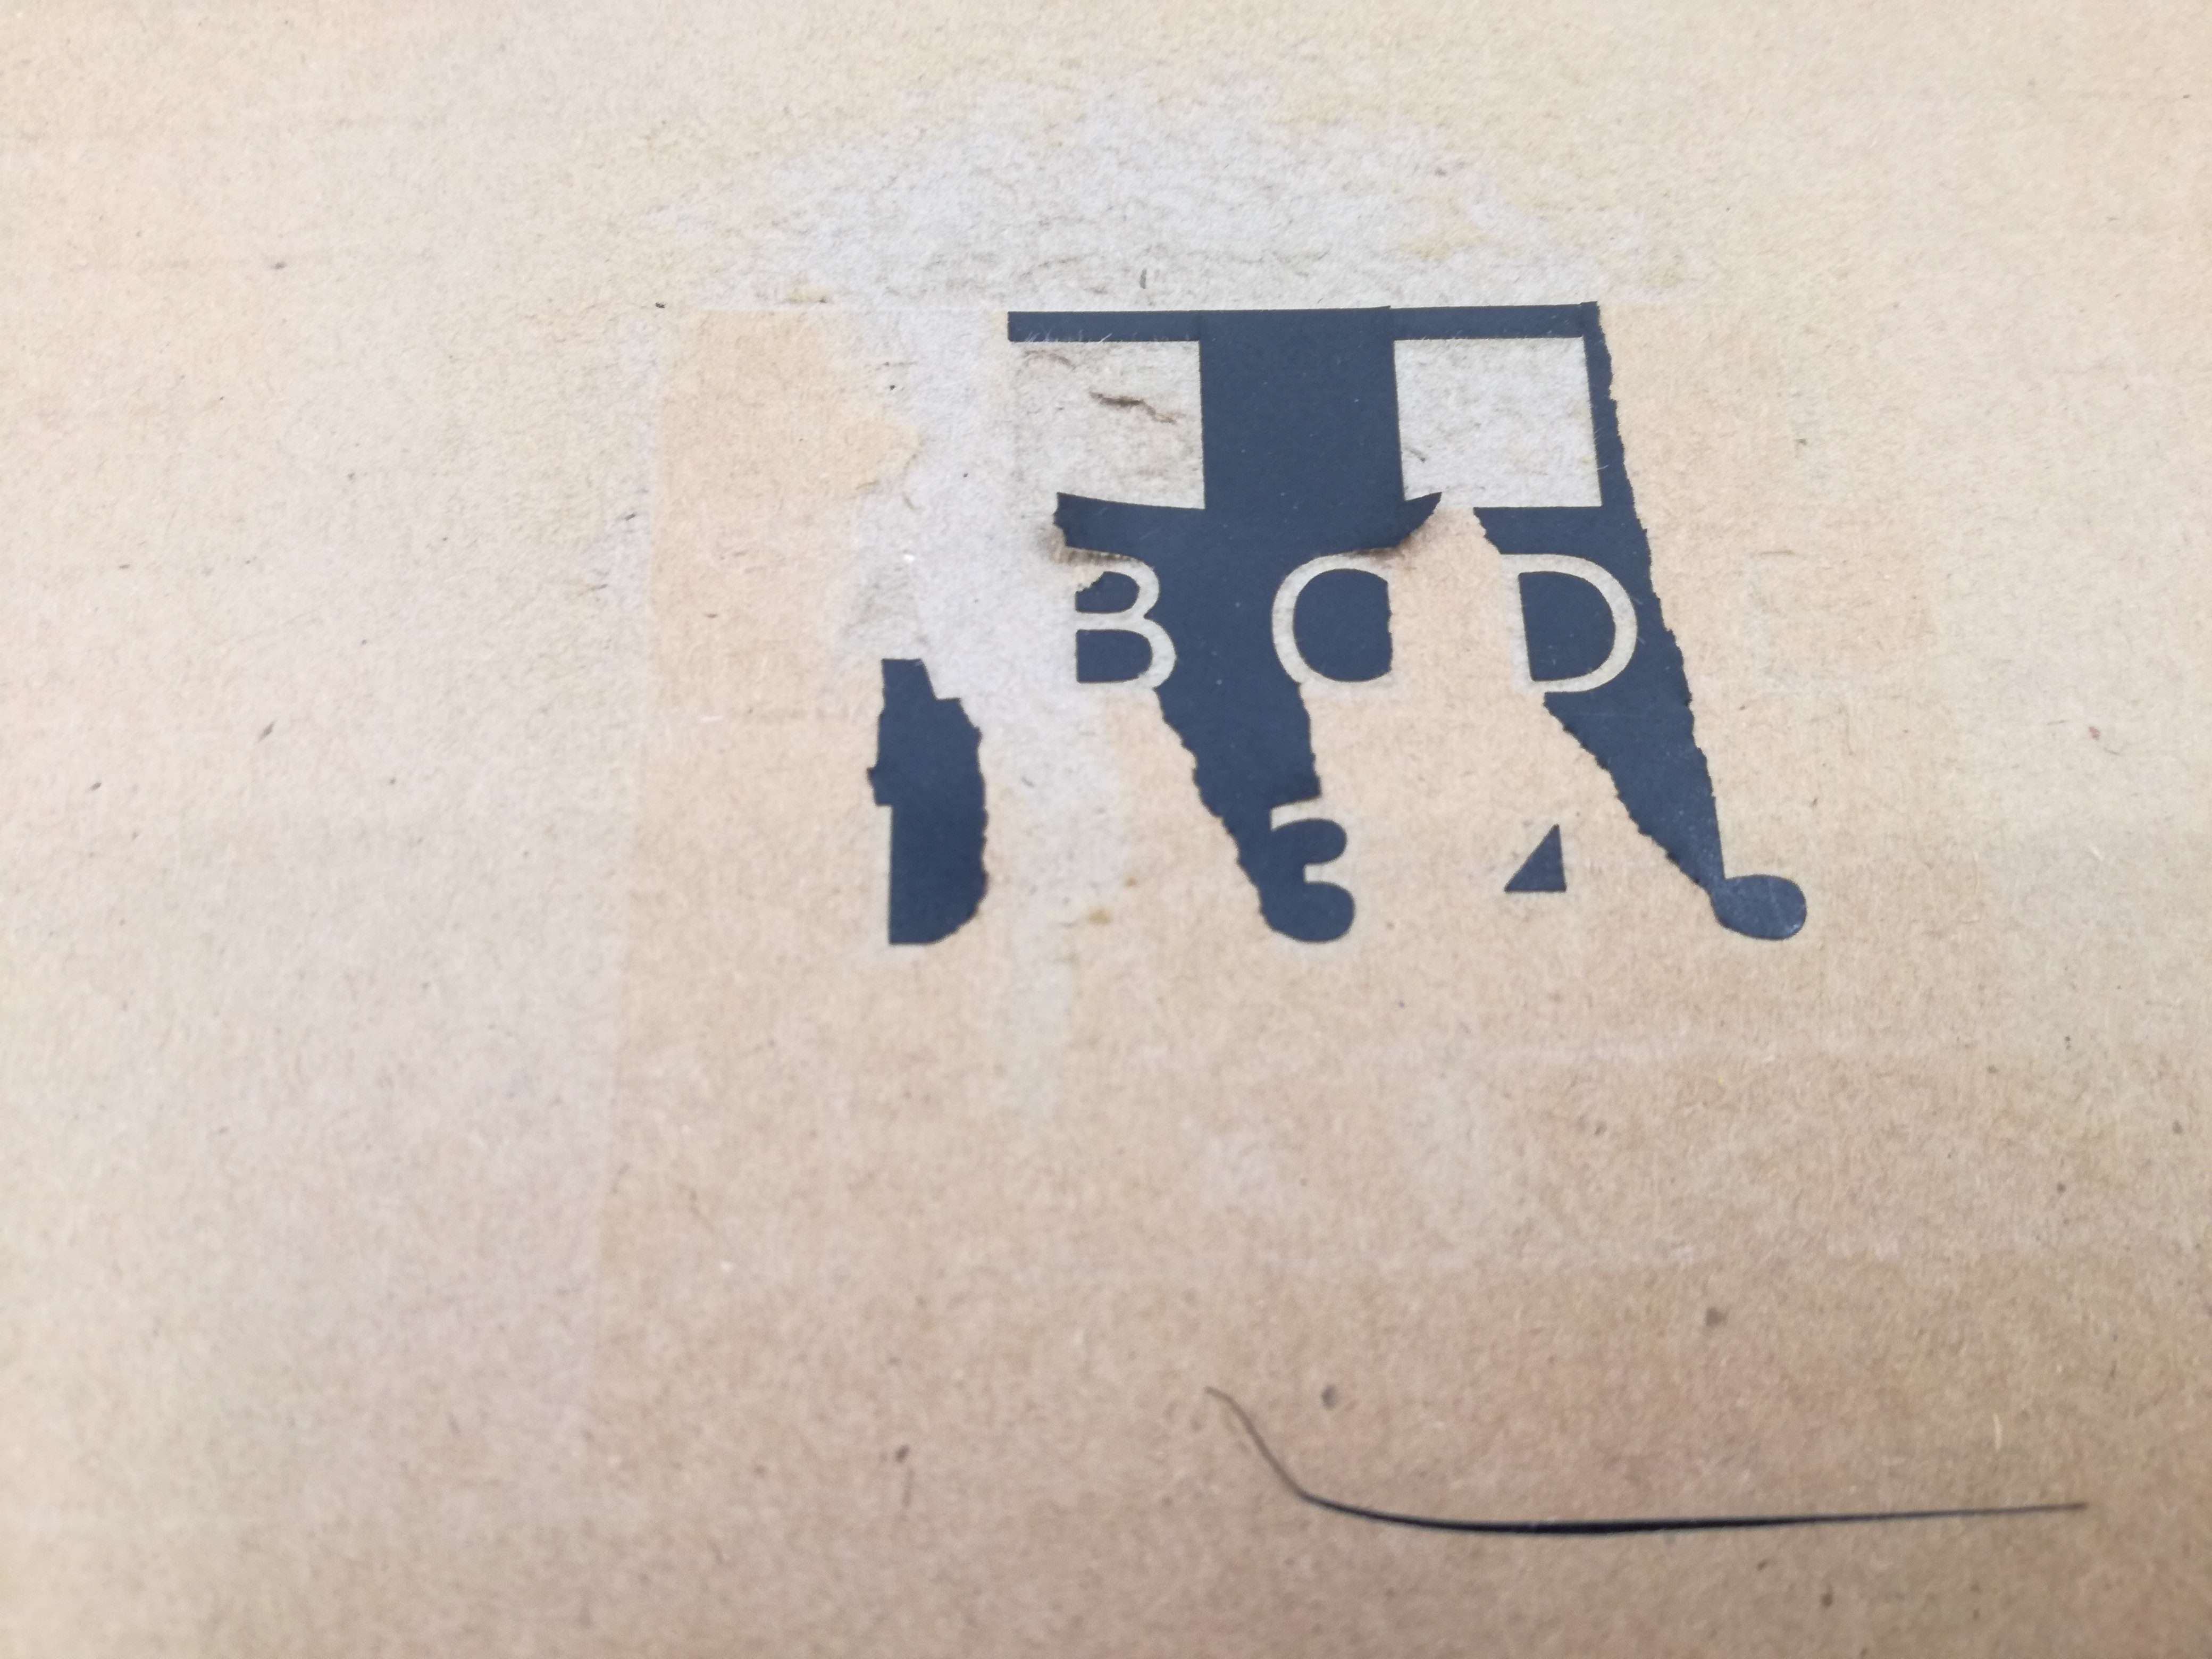
Cardboard - ouch, that was dumb. Not only I could not remove mask after blasting but it also left almost no mark. Well, the only marks were just scratched paper. Definitely I do not recommend.
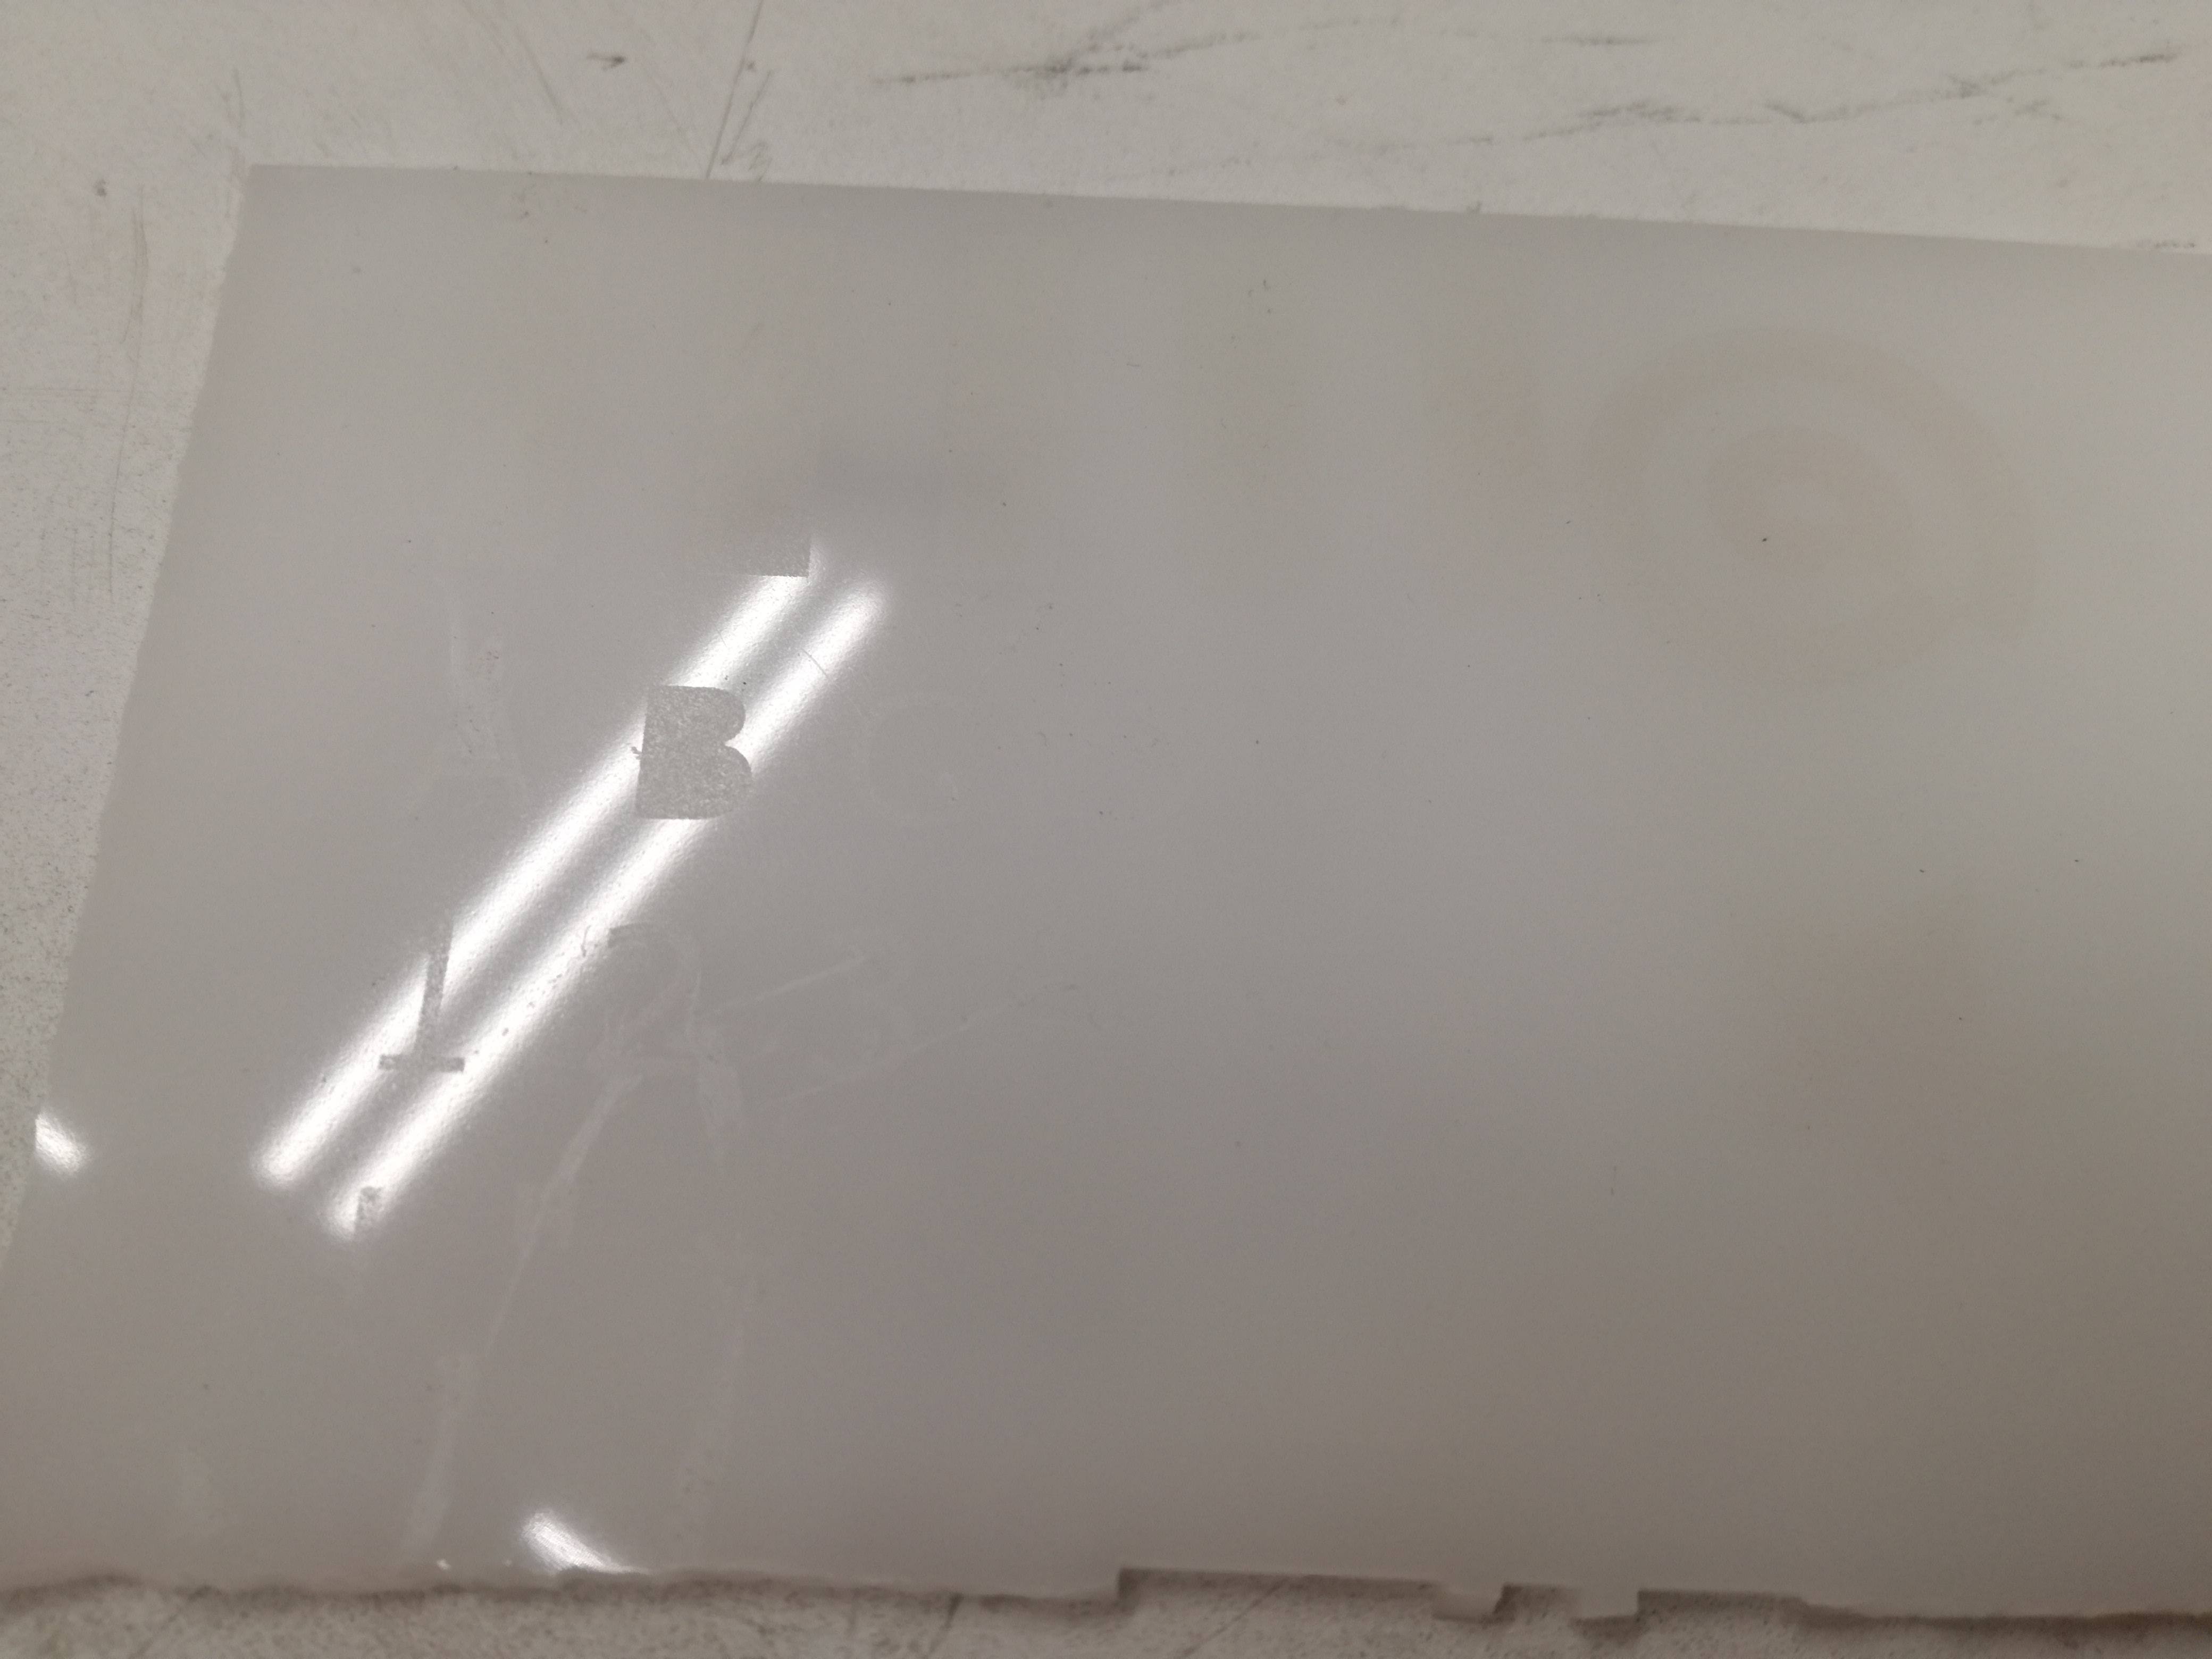
Acrylic - this wasn't that bad. With quite longer time it could be very promising material. Nevertheless, the issue is low visibility of any results. Mask hold nicely to it but very poor visual effects.
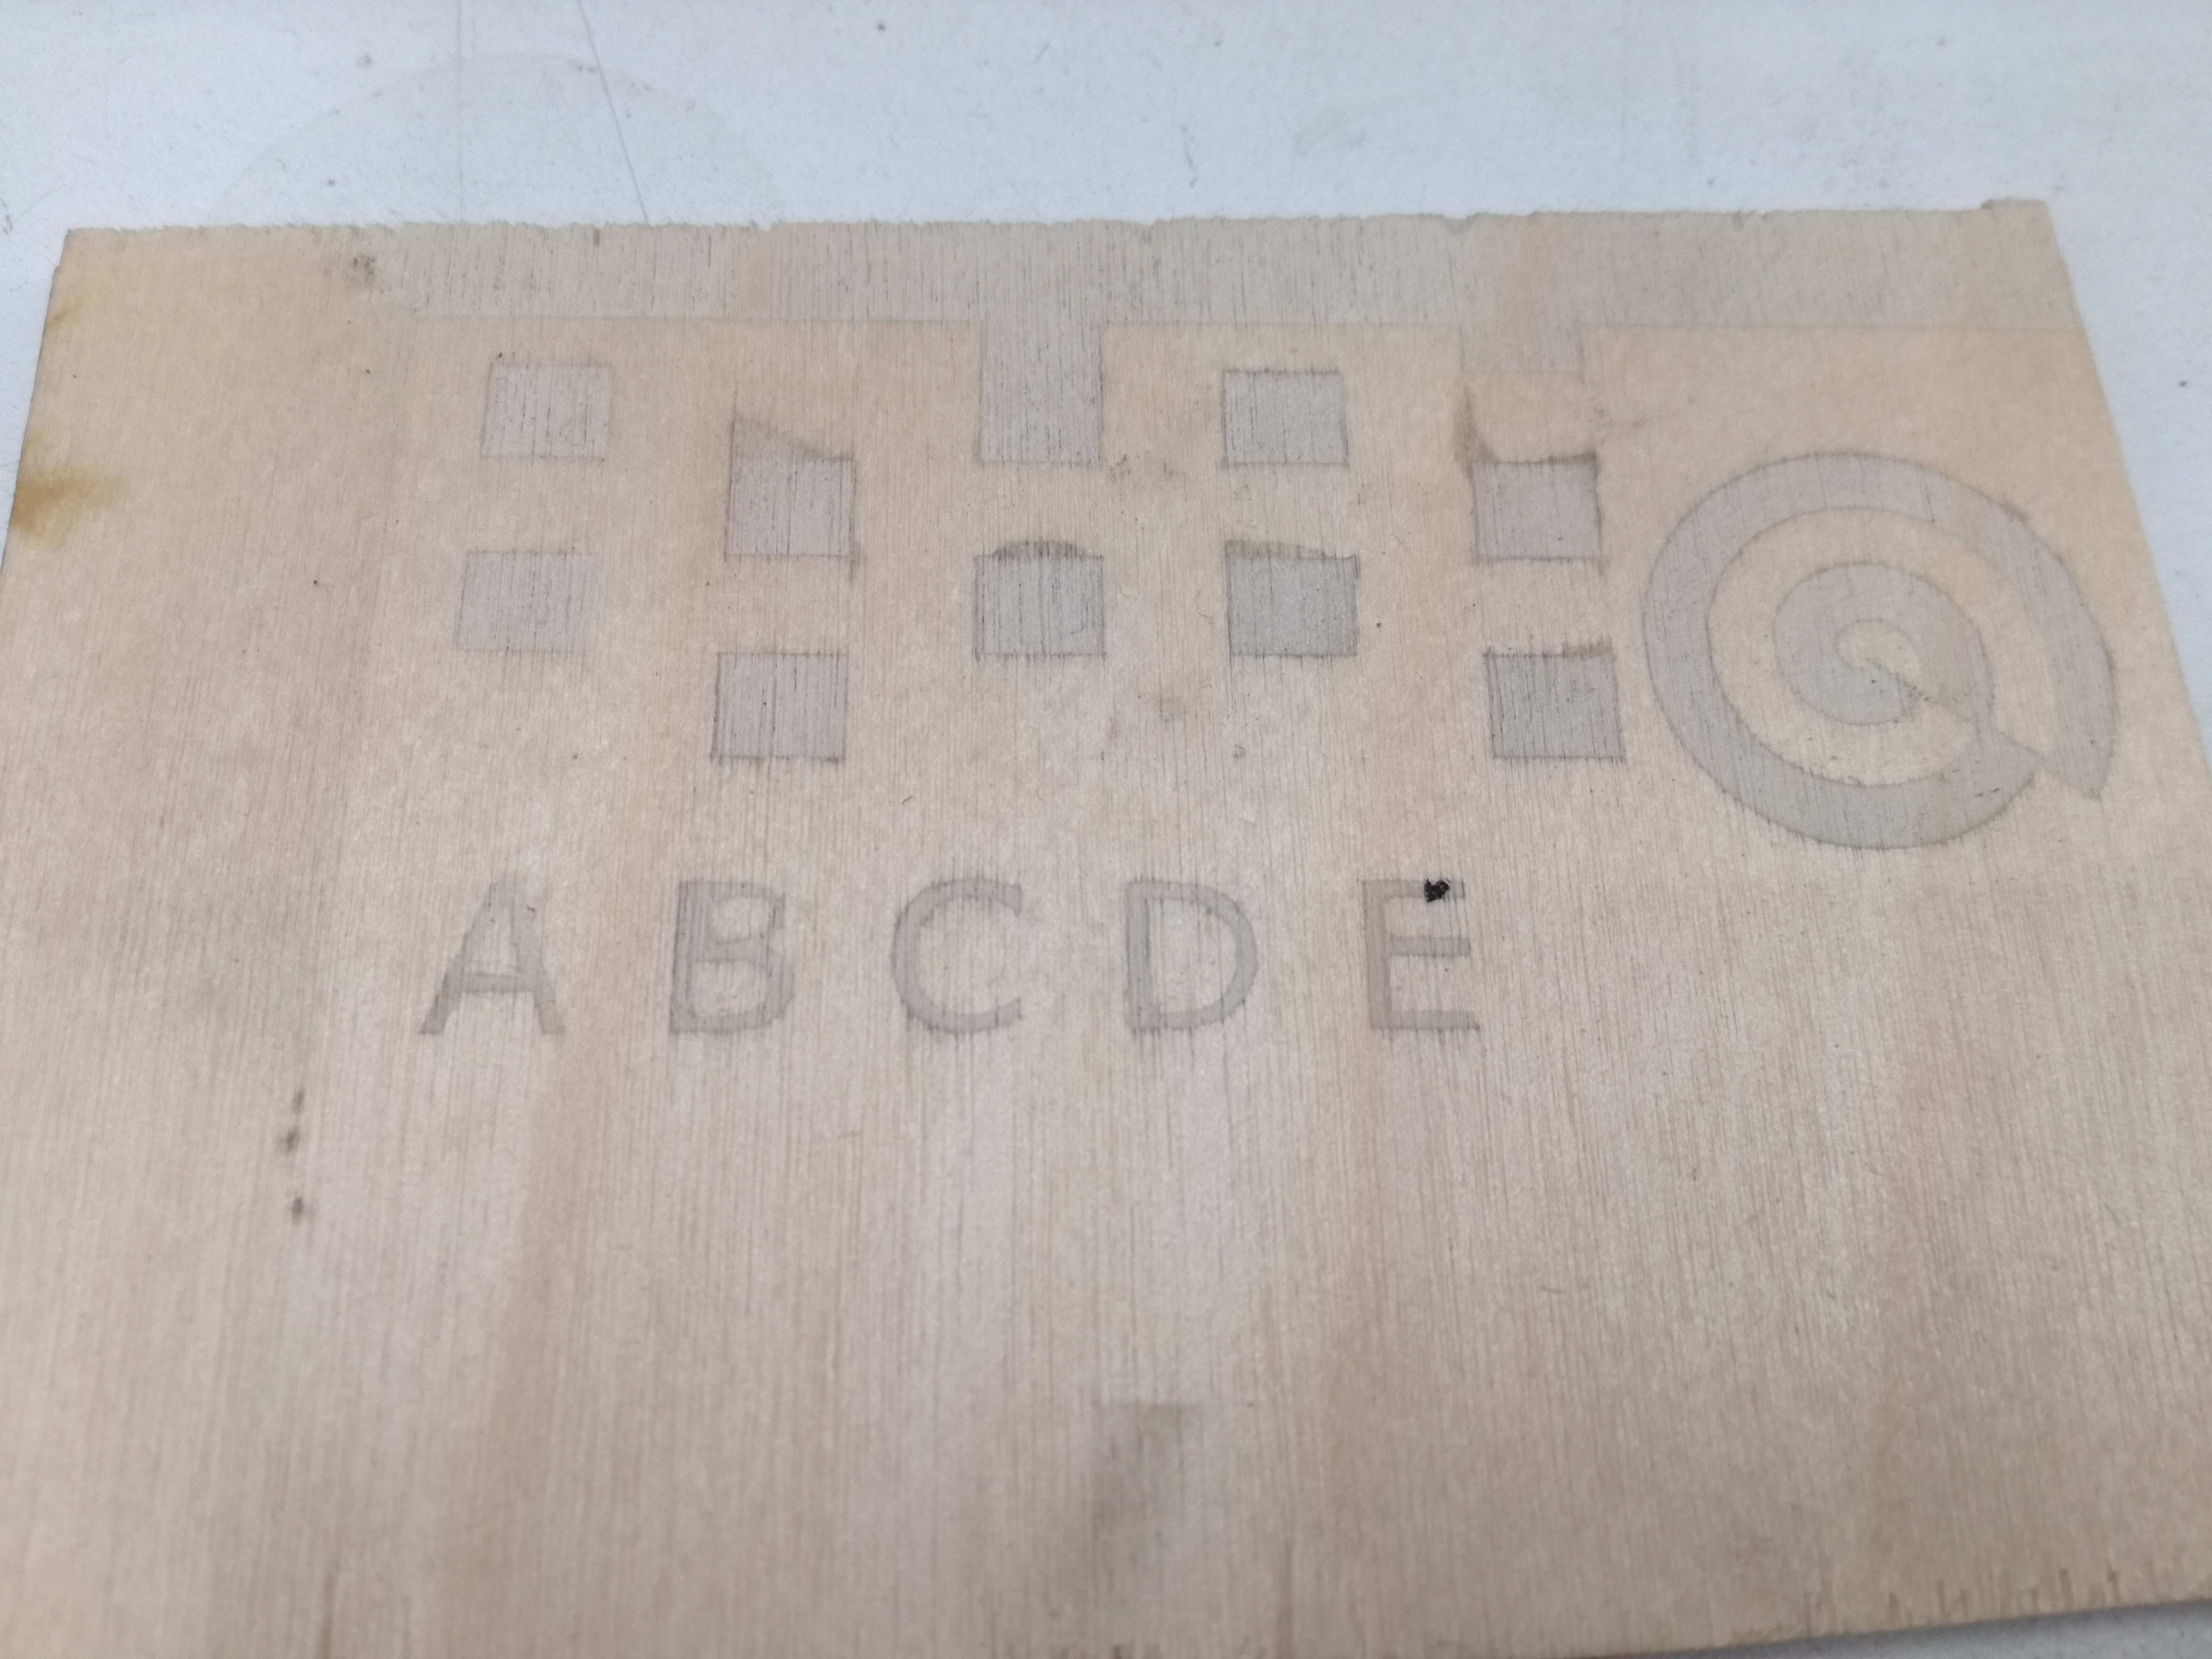
Plywood - quite difficult to glue mask to it but results are quite nice. Blaster regions are grayish. Even letters were visible.
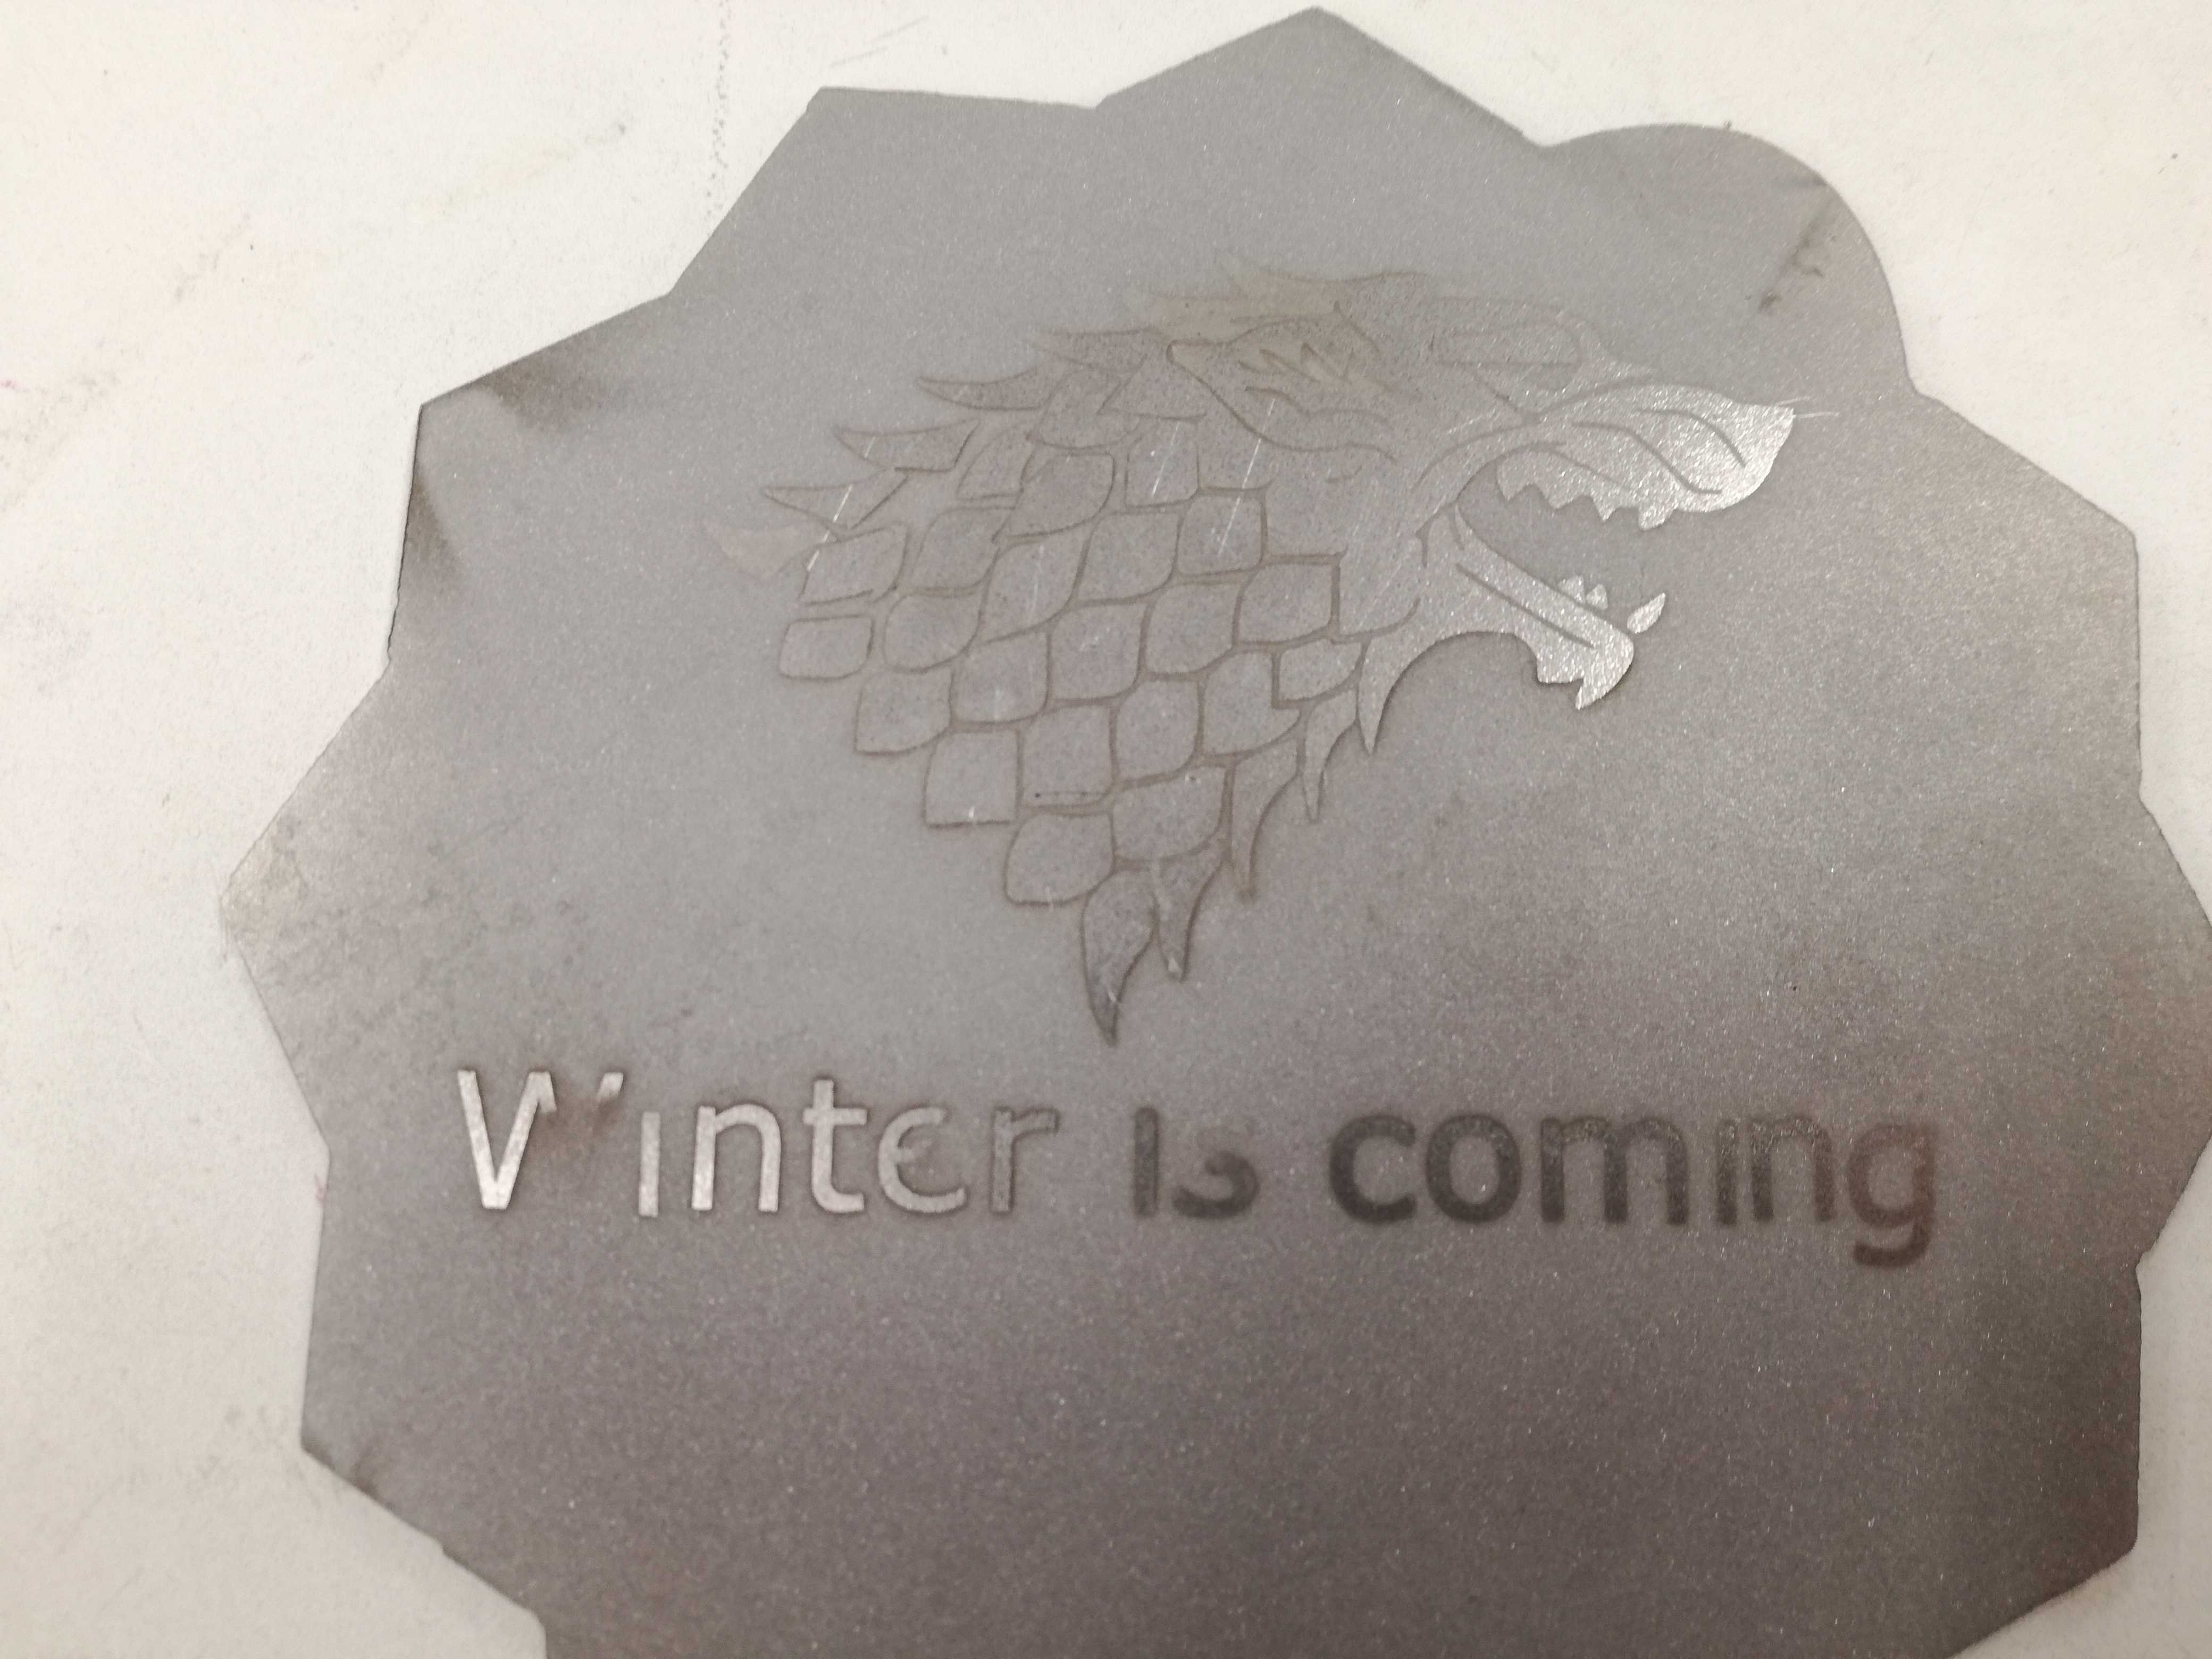
Metal - best results (Capt. Obvious, mask holds tight to the background and results are well visible. I have to admit it look very nice after. Details are preserved but some very small things may be blown (dots, inside parts of letters, poorly glued figures, etc.). This is my choice for blasting House Stark banner and motto.
 |
 |
 |
 |
Time for final work. I decided to use detailed mask (unconnected pieces) as I observed that details preserved on metal background. In my eyes it would look better, almost like hockey team banner. On the left photo before and on the right - after blasting.
 |
 |
Conclusions
Never use cardboard as background for sandblasting. Metal works nicely, anything polished. If you don't like taste of sand then close chamber using locks. Blasting object may be cleaned with water after, it removes remaining sand. In general it is relaxing and quite simple process. Outcomes may be very detailed but it depends on your own manual intelligence and patience.
Files:
Download: Test cut.svg
Download: StarkLogo.svg