MACHINE DESIGN| WEEK 16
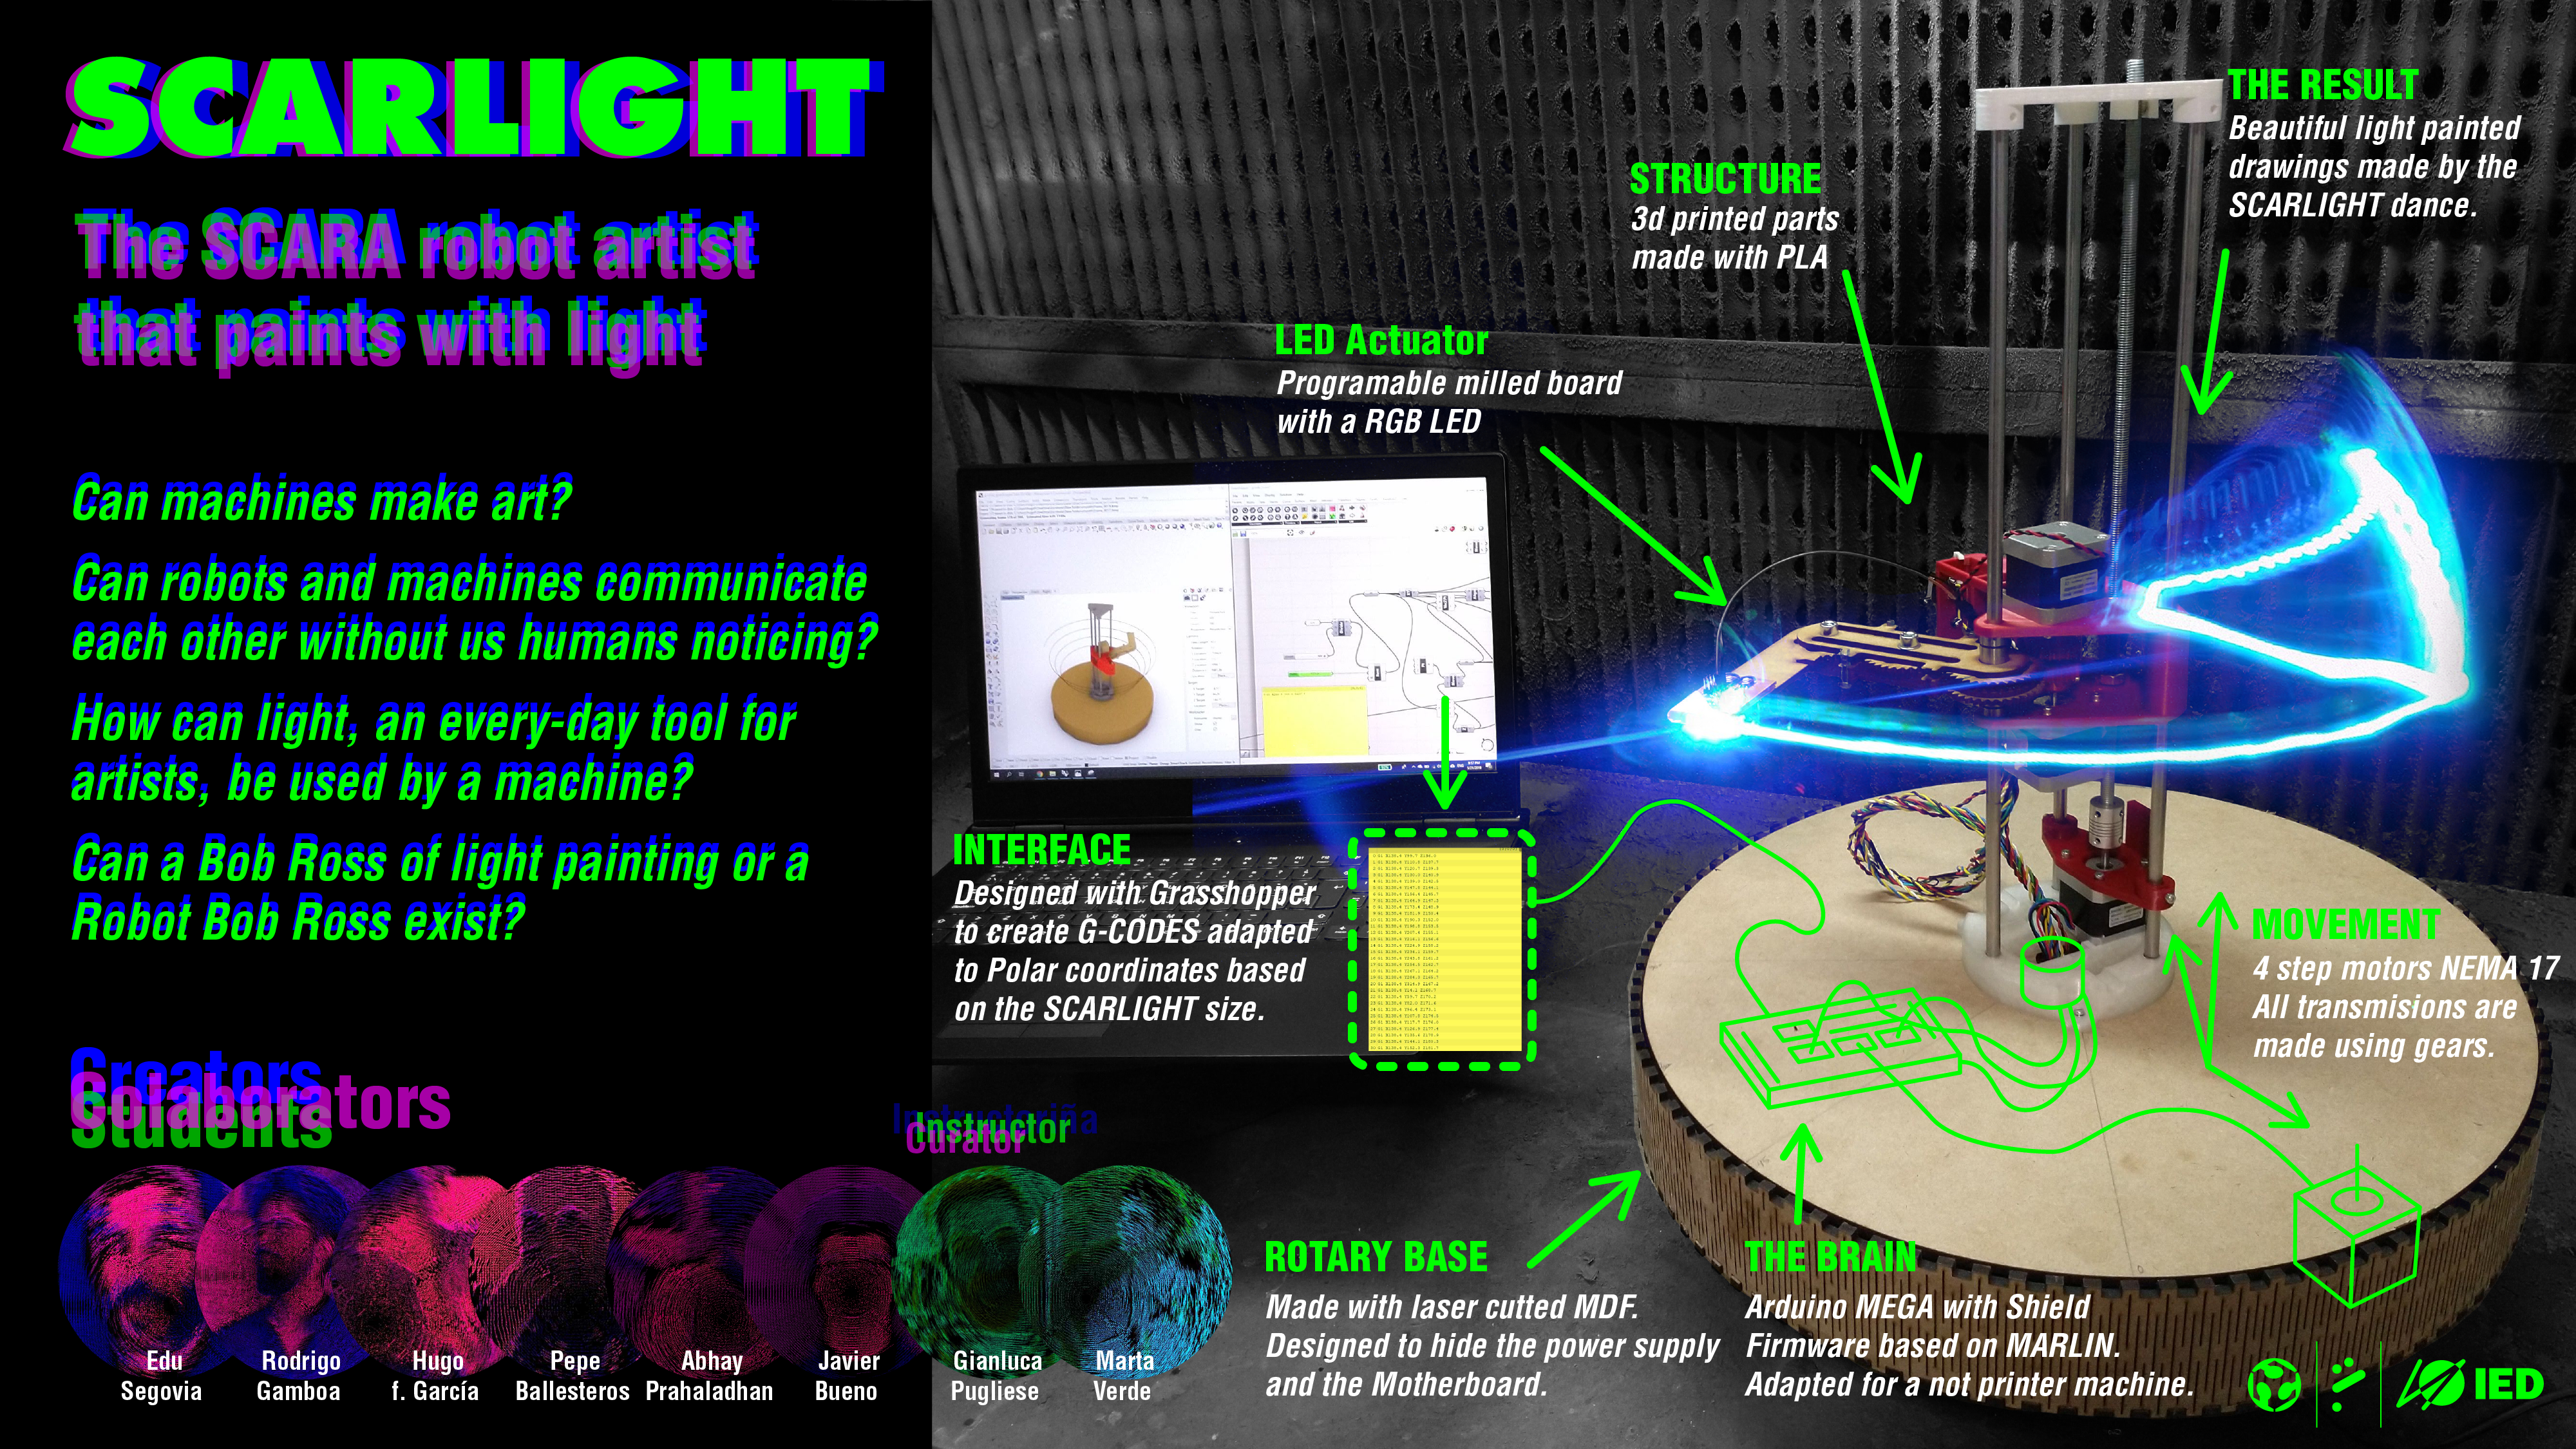
A0 Links
You can see the group assignment hereThis Assignment continues the work made in the week 14
At first I got in charge of the wires and electronics. I used dupont connectors to prepare all the wires and connect them to the Arduino Mega Shield.
.jpg)
It's important to use a good pliers to crip correctly the wires, after that you need to put them in plastic box in the correct order. If the connectors are not correctly crimped, it won't be easy to put them inside the blackbox.
.jpg)
I connect the motors to the shield using separate wires, I did it like this because i thought that it would be easier to connect them later to the arduino, which is wide in the rotary base.
.jpg)
For the end-stops I could use screws but I preferred to sold them. When I finished I left everything in the rotary base waiting for the next day to put all the parts together. I think It's a nice picture.
.jpg)
We made many tries without the base mounted but I want to show you here the final part of the electronics and how we manage to connect everything and close the rotary base. Maybe we could think about this better... Anyway, at the end all the wires were inside, alive and well.
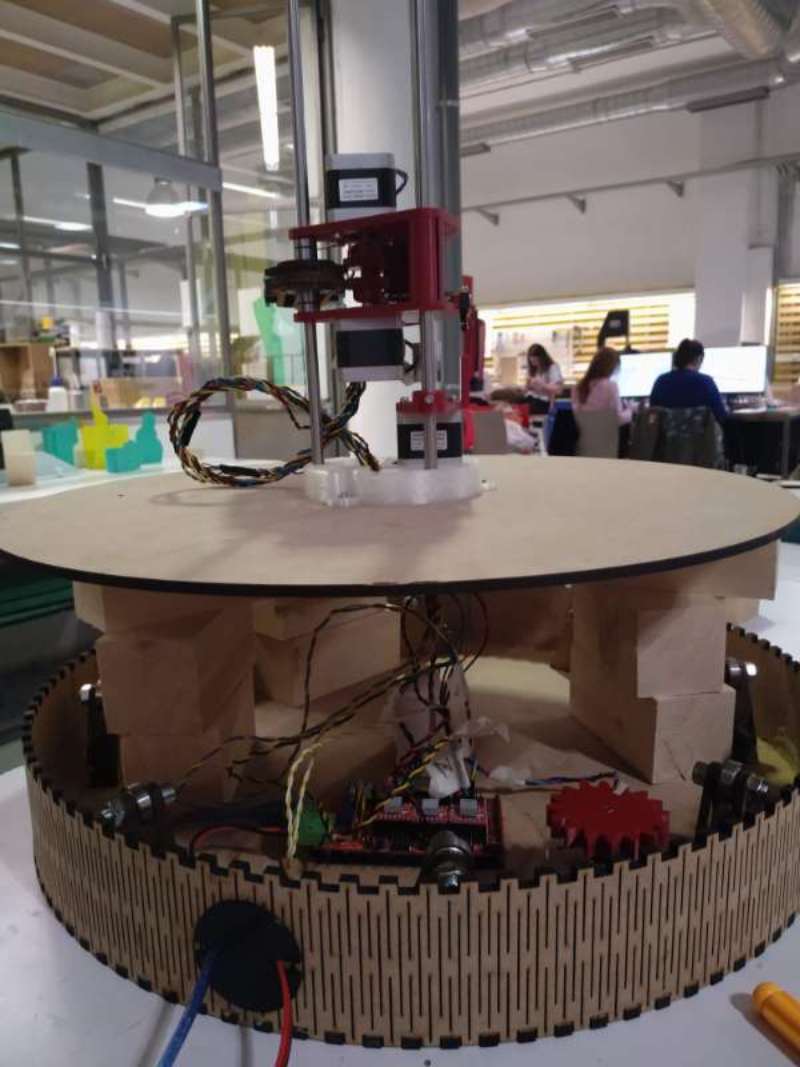
P.D. the black piece to hide the hole for the power and connection wires it was a quick upgrade of the machine. Just a 3dprint part made designed in minutes. I uploaded the file anyway.
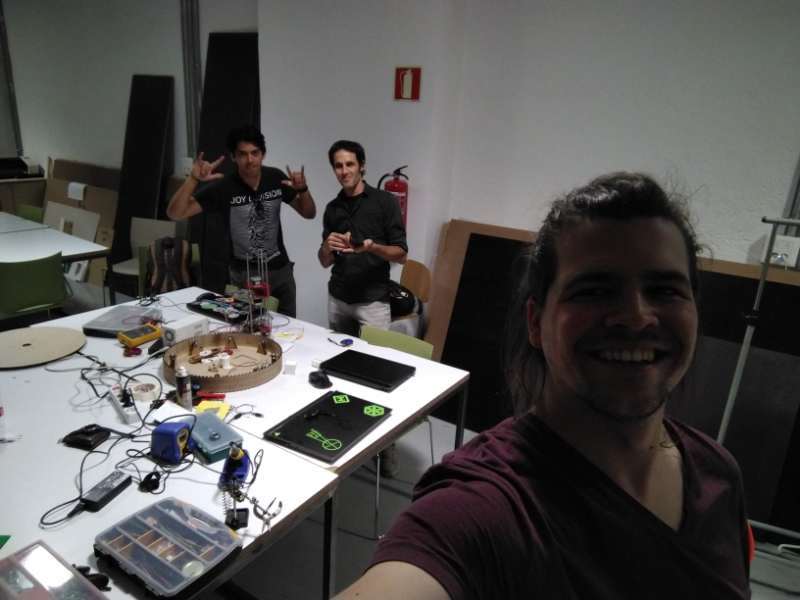
Rodrigo Gamboa acted like the master of this assignment but the three of us collaborate during a very long weekend getting crazy to understand our version of Marlin and learning to make it work without a hotend working. It was hard but we enjoyed a lot.

We based on the adapted Marlin version of this guy but when we tried to make it work we have a problem after other, and the worst of them: We could not find a logic to explein them. At some point we chose to look for another version of Marlin. And the version of Oscar Gonzalez in bricogeek it was the answer to all our prays, and I meant this for real. He is something close to a hero for us.
His version has disabled the hotends and all the other security measures for 3dprinters, which is perfect for us, because our actuator is a LED.
Calibrating
The calibration it was a long day of fails and victories, mostly because we did not understand the program a lot. We learn many things about GCODES this days. For example:
- M114 Gives you the exact position of the motor in every axis, we use this to adjust the maximum steps for the home that the servo could do.
- G28 send one (if you specified one) or all the axes to home
- G1 X10 Y10 Z10 The values after G11 is where the machine is going.
- G1 x10 y10 z10 f500 If you put fxxx after them you are also defining the speed.
To calibrate the machine we found two problems, our distances (except Z) are defined in degrees not in mm.
here is a video of our first success
When we understand that our machine uses polar coordinates I started to think a way to create gcodes that can be read correctly by our machine. I used grasshopper to do this. It's a basic code but very useful for us. Basically I divided define the movements that the machine can do and then I divide the curve that I want to draw in point and translate the world coordinates of this points into polar coodinates based on the size and positions of the arms of the SCARLIGHT machine.
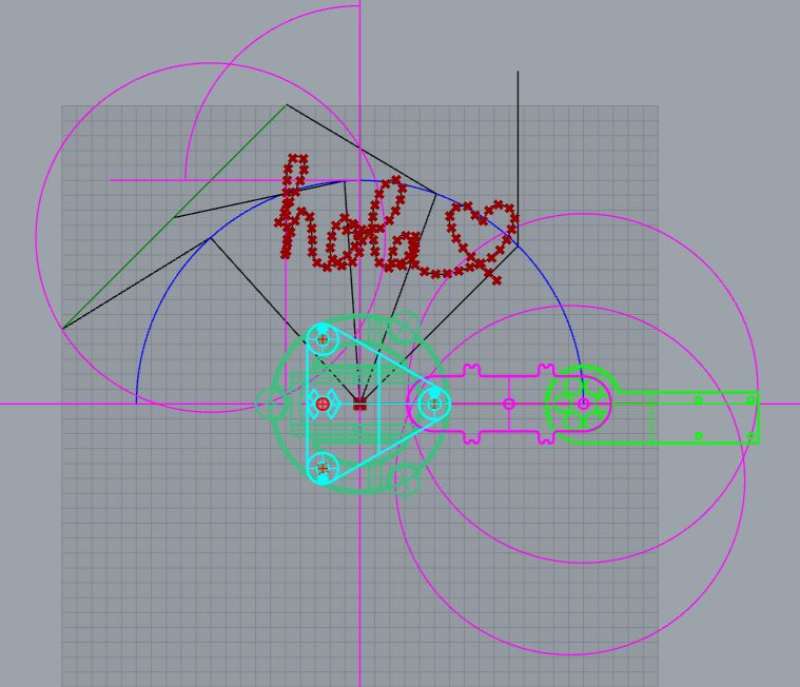
Here is a plan where is posible to see the curves that the machine could do, in this first version I was only worried about the x-y plane, because is the one that is made using polar coordinates, Z is linear and much easier to define.
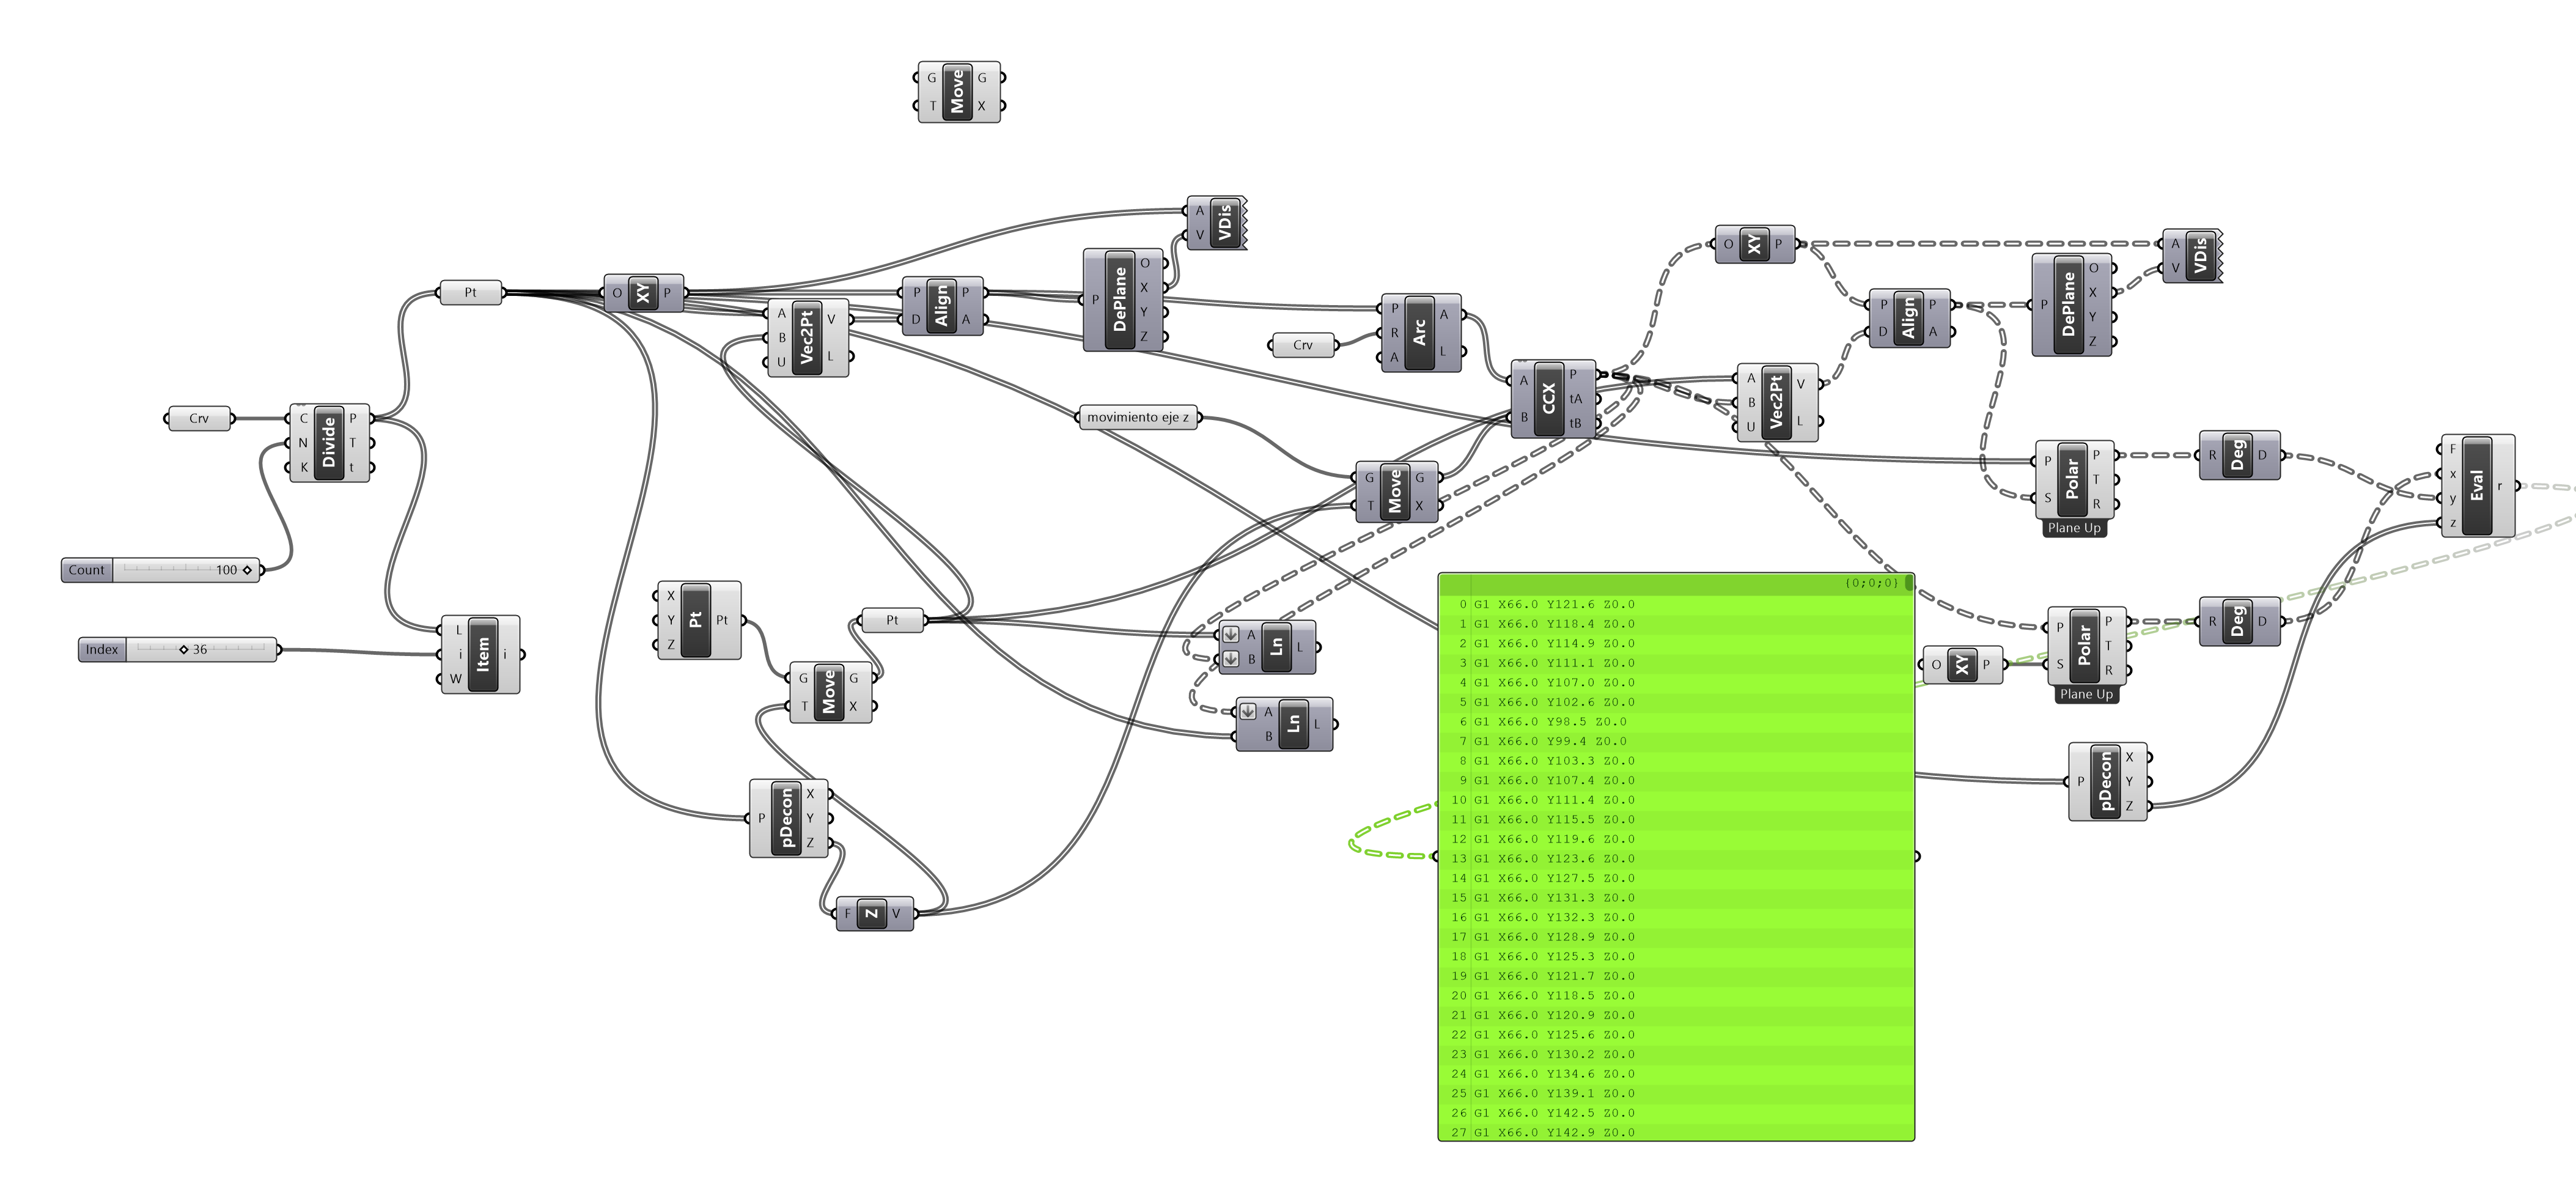
Here is the grasshopper code that it's necessary to transform the coordinates and then adapt to the gcode. the result is a list of point defined by a new coordinate system based on our very specific machine.
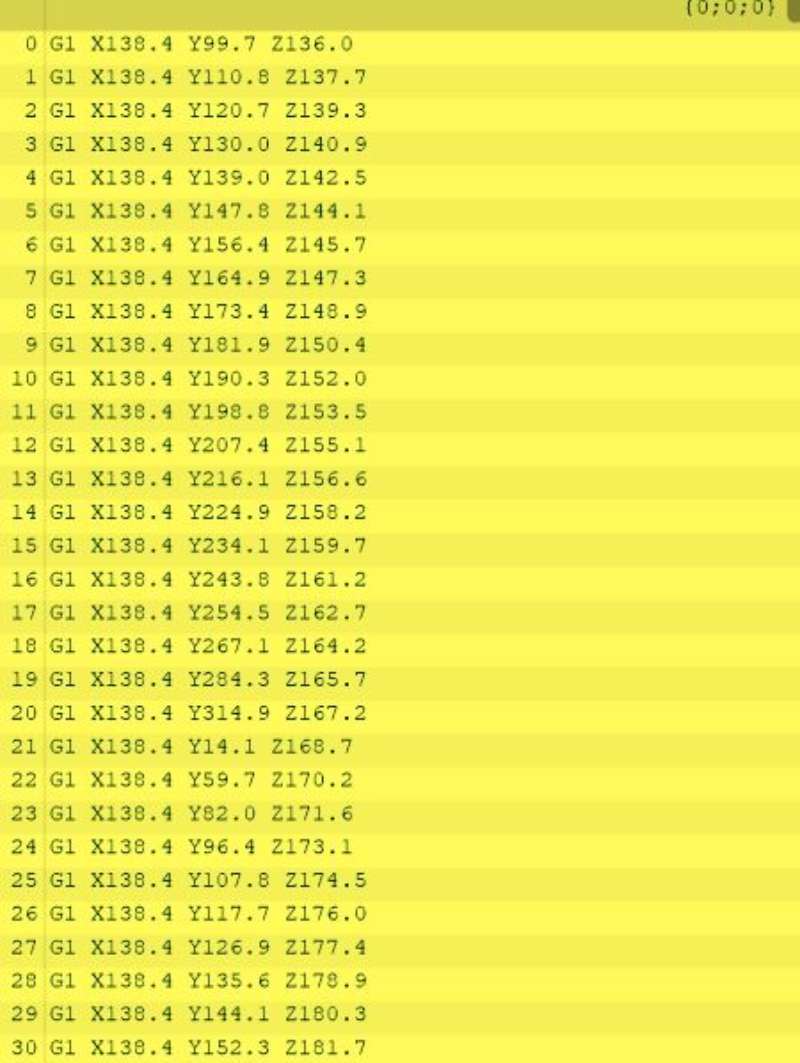
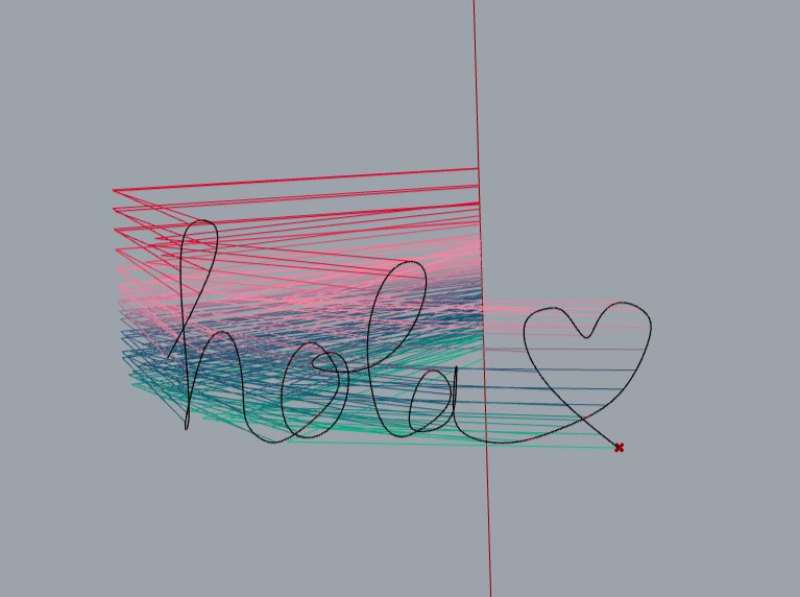
Now is posible to draw anything and the program transforms the points into a list ready to send to Marlin. Here is an example saying "hola" which means hello
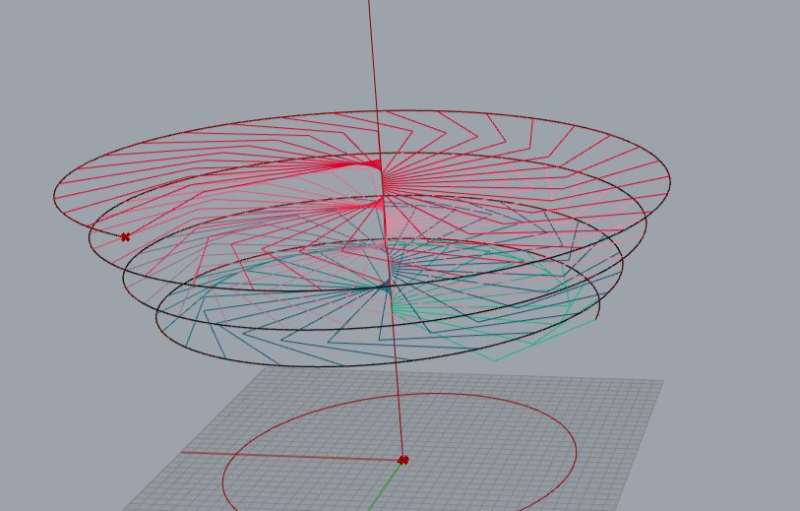
And here is another one creating a xpiral around the centrar axis
I created some videos to test the machine interface
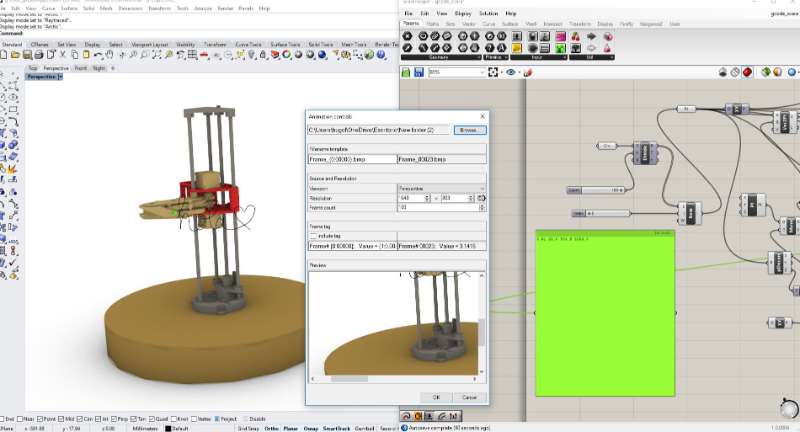
They can be seen in our final video but here is a little gif for starters.