
Class Assignment #
8
Make it BIG!
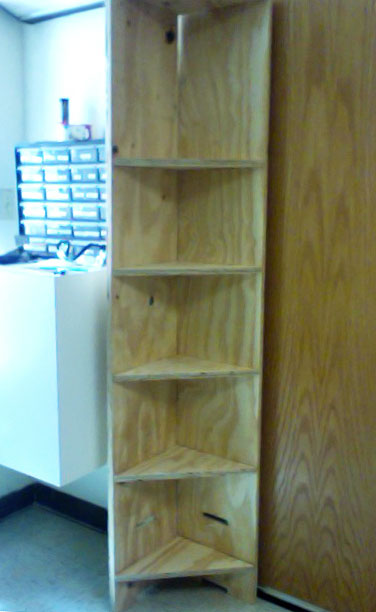
So...i started out wanting to make a really cool organic looking asymmetrical chair with flexures and flourishes... and then i thought, "keep it simple." i can always circle back and upgrade... so i decided to make a bookshelf that will fit neatly into a corner.
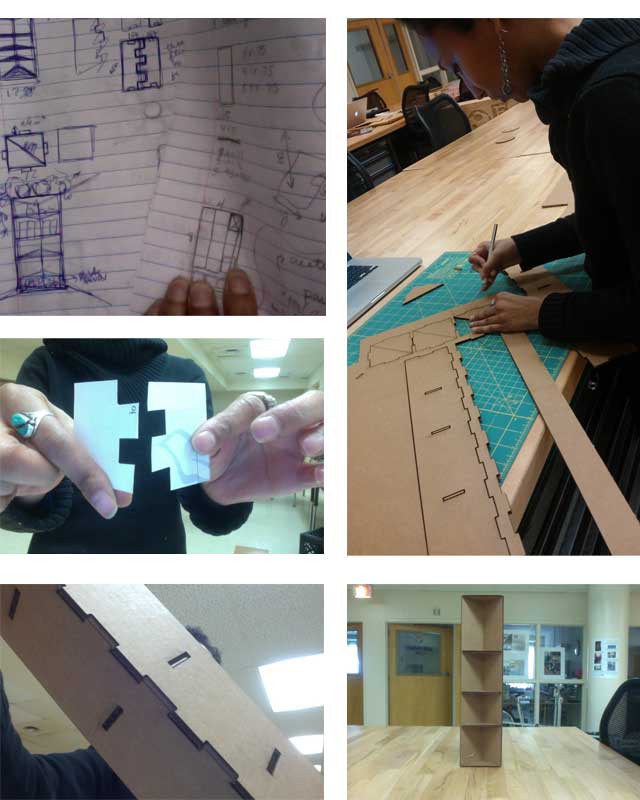
i started by doing a cardboard model to work out some of my thoughts and questions. Sketching first, then laying out a 1/4 sized model in Corel Draw, and then lasercutting on the Epilog. It was great to use the laser cutter again and reinforce that knowledge. Had some thoughts about inner perimeter and kerf, as well as compression as it translates from cardboard to wood.
After a conversation with our lab guru, i decided to do a joint test out of the plywood i planned to use for the piece after thinking about how the properties and wood and cardboard differ. After testing 8 options of slighlty different width and chamfer combinations, i chose to make tabs 4 x 1 in. with .5 in. chamfer, and slots slightly smaller in length at 3.95 in. and height of .75 in. so that it will be enough friction to be stable. In this test we had to use the rubber mallet to get our test pieces in and out.
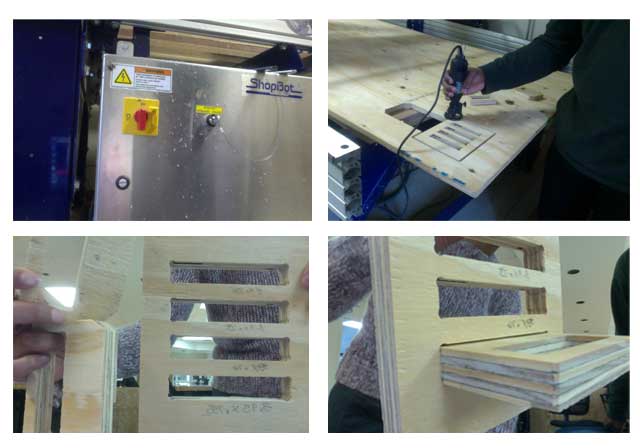
Doing this joint test was my first time using a machine like the shop bot. Zuberi, our lab manager guided me through the safety and operational procedures. i decided to make a tutorial on the operational process.

i then scaled the Corel drawing up to the size that i want the book shelf to be, which is 6 feet tall. i then exported as a .dfx file and imported into Partworks. In Partworks I added the dogbone corners to the slots, and .5 in. chamfers to tabs. After the vectors were exactly how i wanted them to be cut, i created an inner toolpath, and an outer tool path and saved to a jump drive to take to the shopbot.
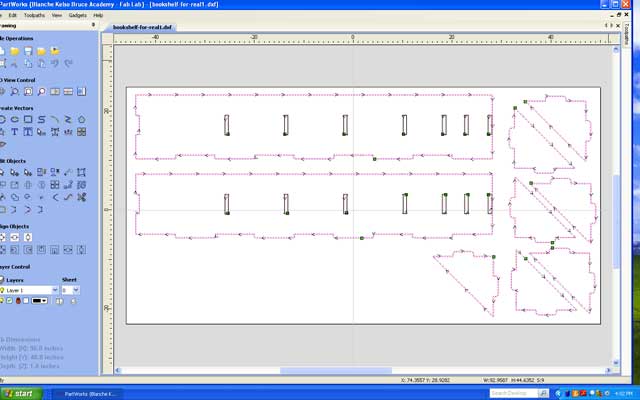
click here for the .dxf file.
click here for the .svg file.
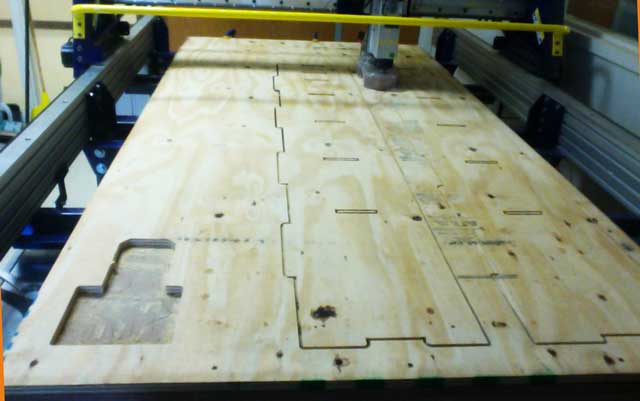
My material did not cut all the way through because of the warpage and not being screwed down in as many places as would have potentially made it flat on the bed. It was zeroed in a place with some warpage therefore, i had to use the Dremel to finish cutting and touch up some pieces.
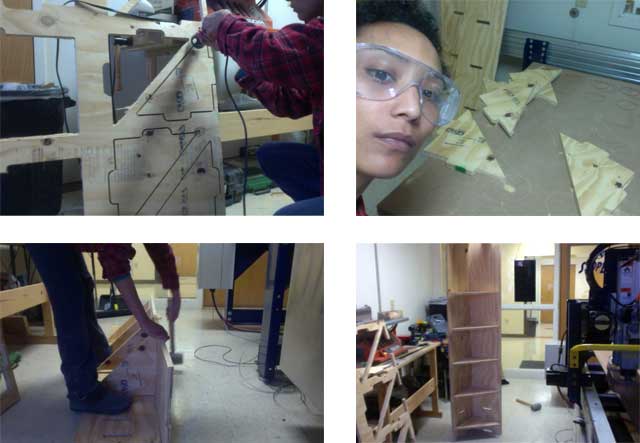
After hammering with the mallet, and having one side pop out while getting the other side in, i noticed how much effect a little warp in the wood can hav, especially with press fit. so i am going in with a few screws in the morning.
So the screws didn't pull it together as much as i thought it would... i will remember to never again underestimate the warpage of wood, and select pieces that are as straight as possible.
i feel a little bit like this guy...
BOM
corel draw
partworks
shopbot
wood
screws