
Class Assignment #6 Electronics Production
So... i really appreciate having gone through lesson #4 a couple of times and then making the tutorial because the mechanical process of making this took a small percentage of the time. i had to start with some basic electronics 101. Thankfully our guru gave an awesome lecture on basics and then i made some flash cards, but really in digging deep into fundamental understandings, this is what i come to...
Electronics is yet another language to describe the universal truth that we are all bodies in motion seeking balance, but it is the journey that IS life energy.

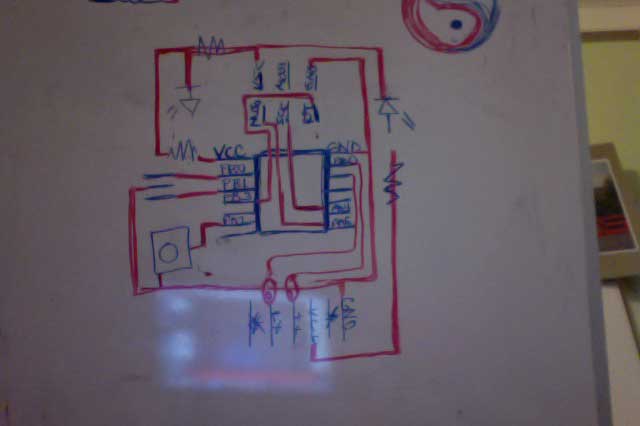
so i really did spend alot of time looking at the flow of current, how voltage and resistance interact, and why and how to place and arrange the components of the board. i found that the erasble white board is my favored medium
The process...
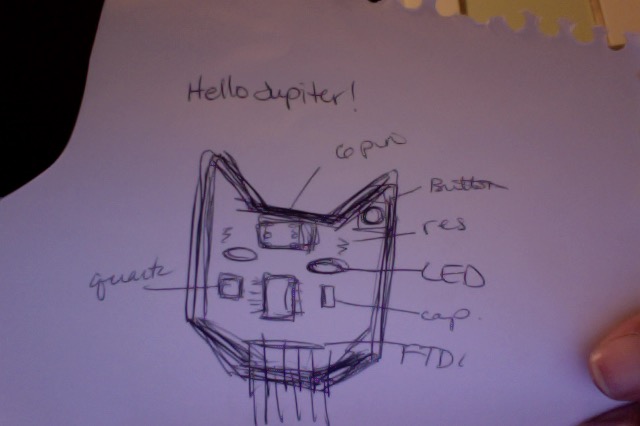

so i decided to totally reshape the board into a cat-shape and name it "hello Jupiter" (after a former cat) and give it 2 LED eyes. After many hours of trying to make the connections line up with design rules, i decided to at least do the board successfully within the time-frame and come back to my more ecclectic design. i looked at tutorials as well as previous student's work and made this.
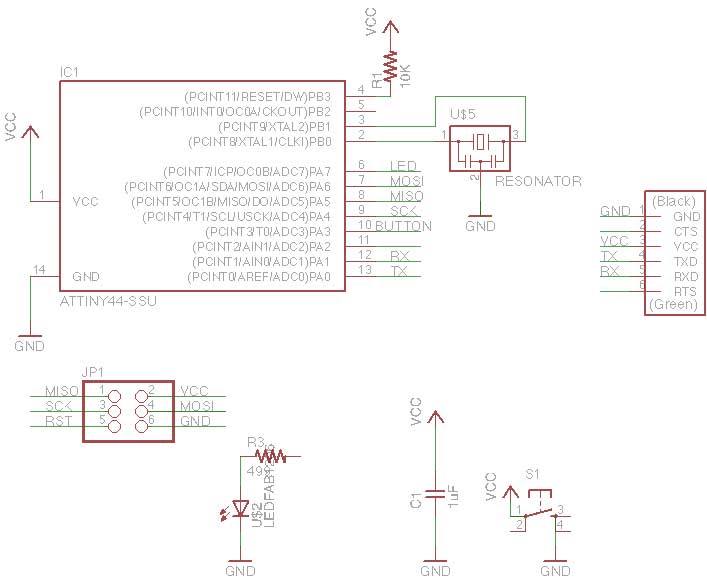
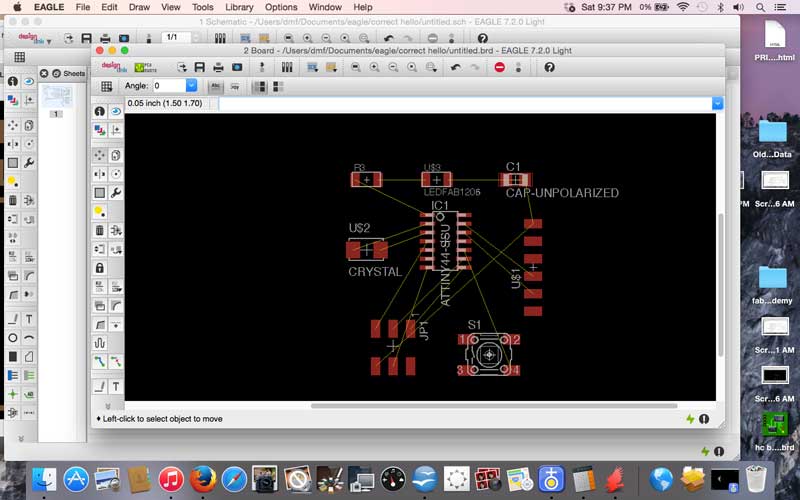
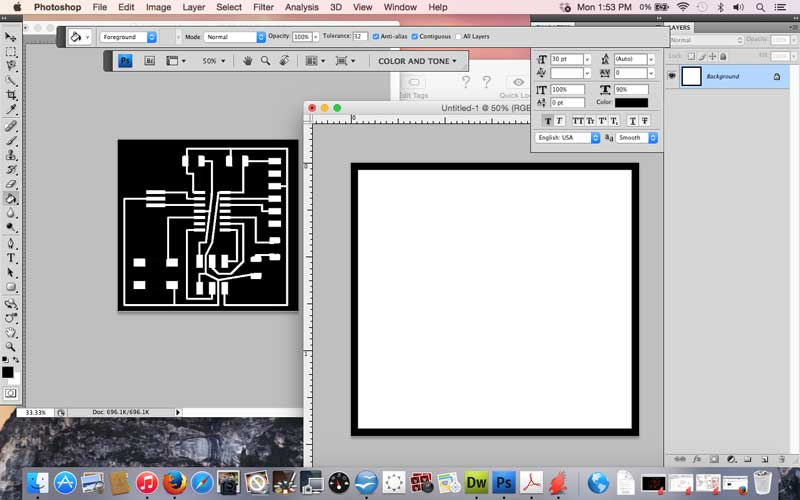
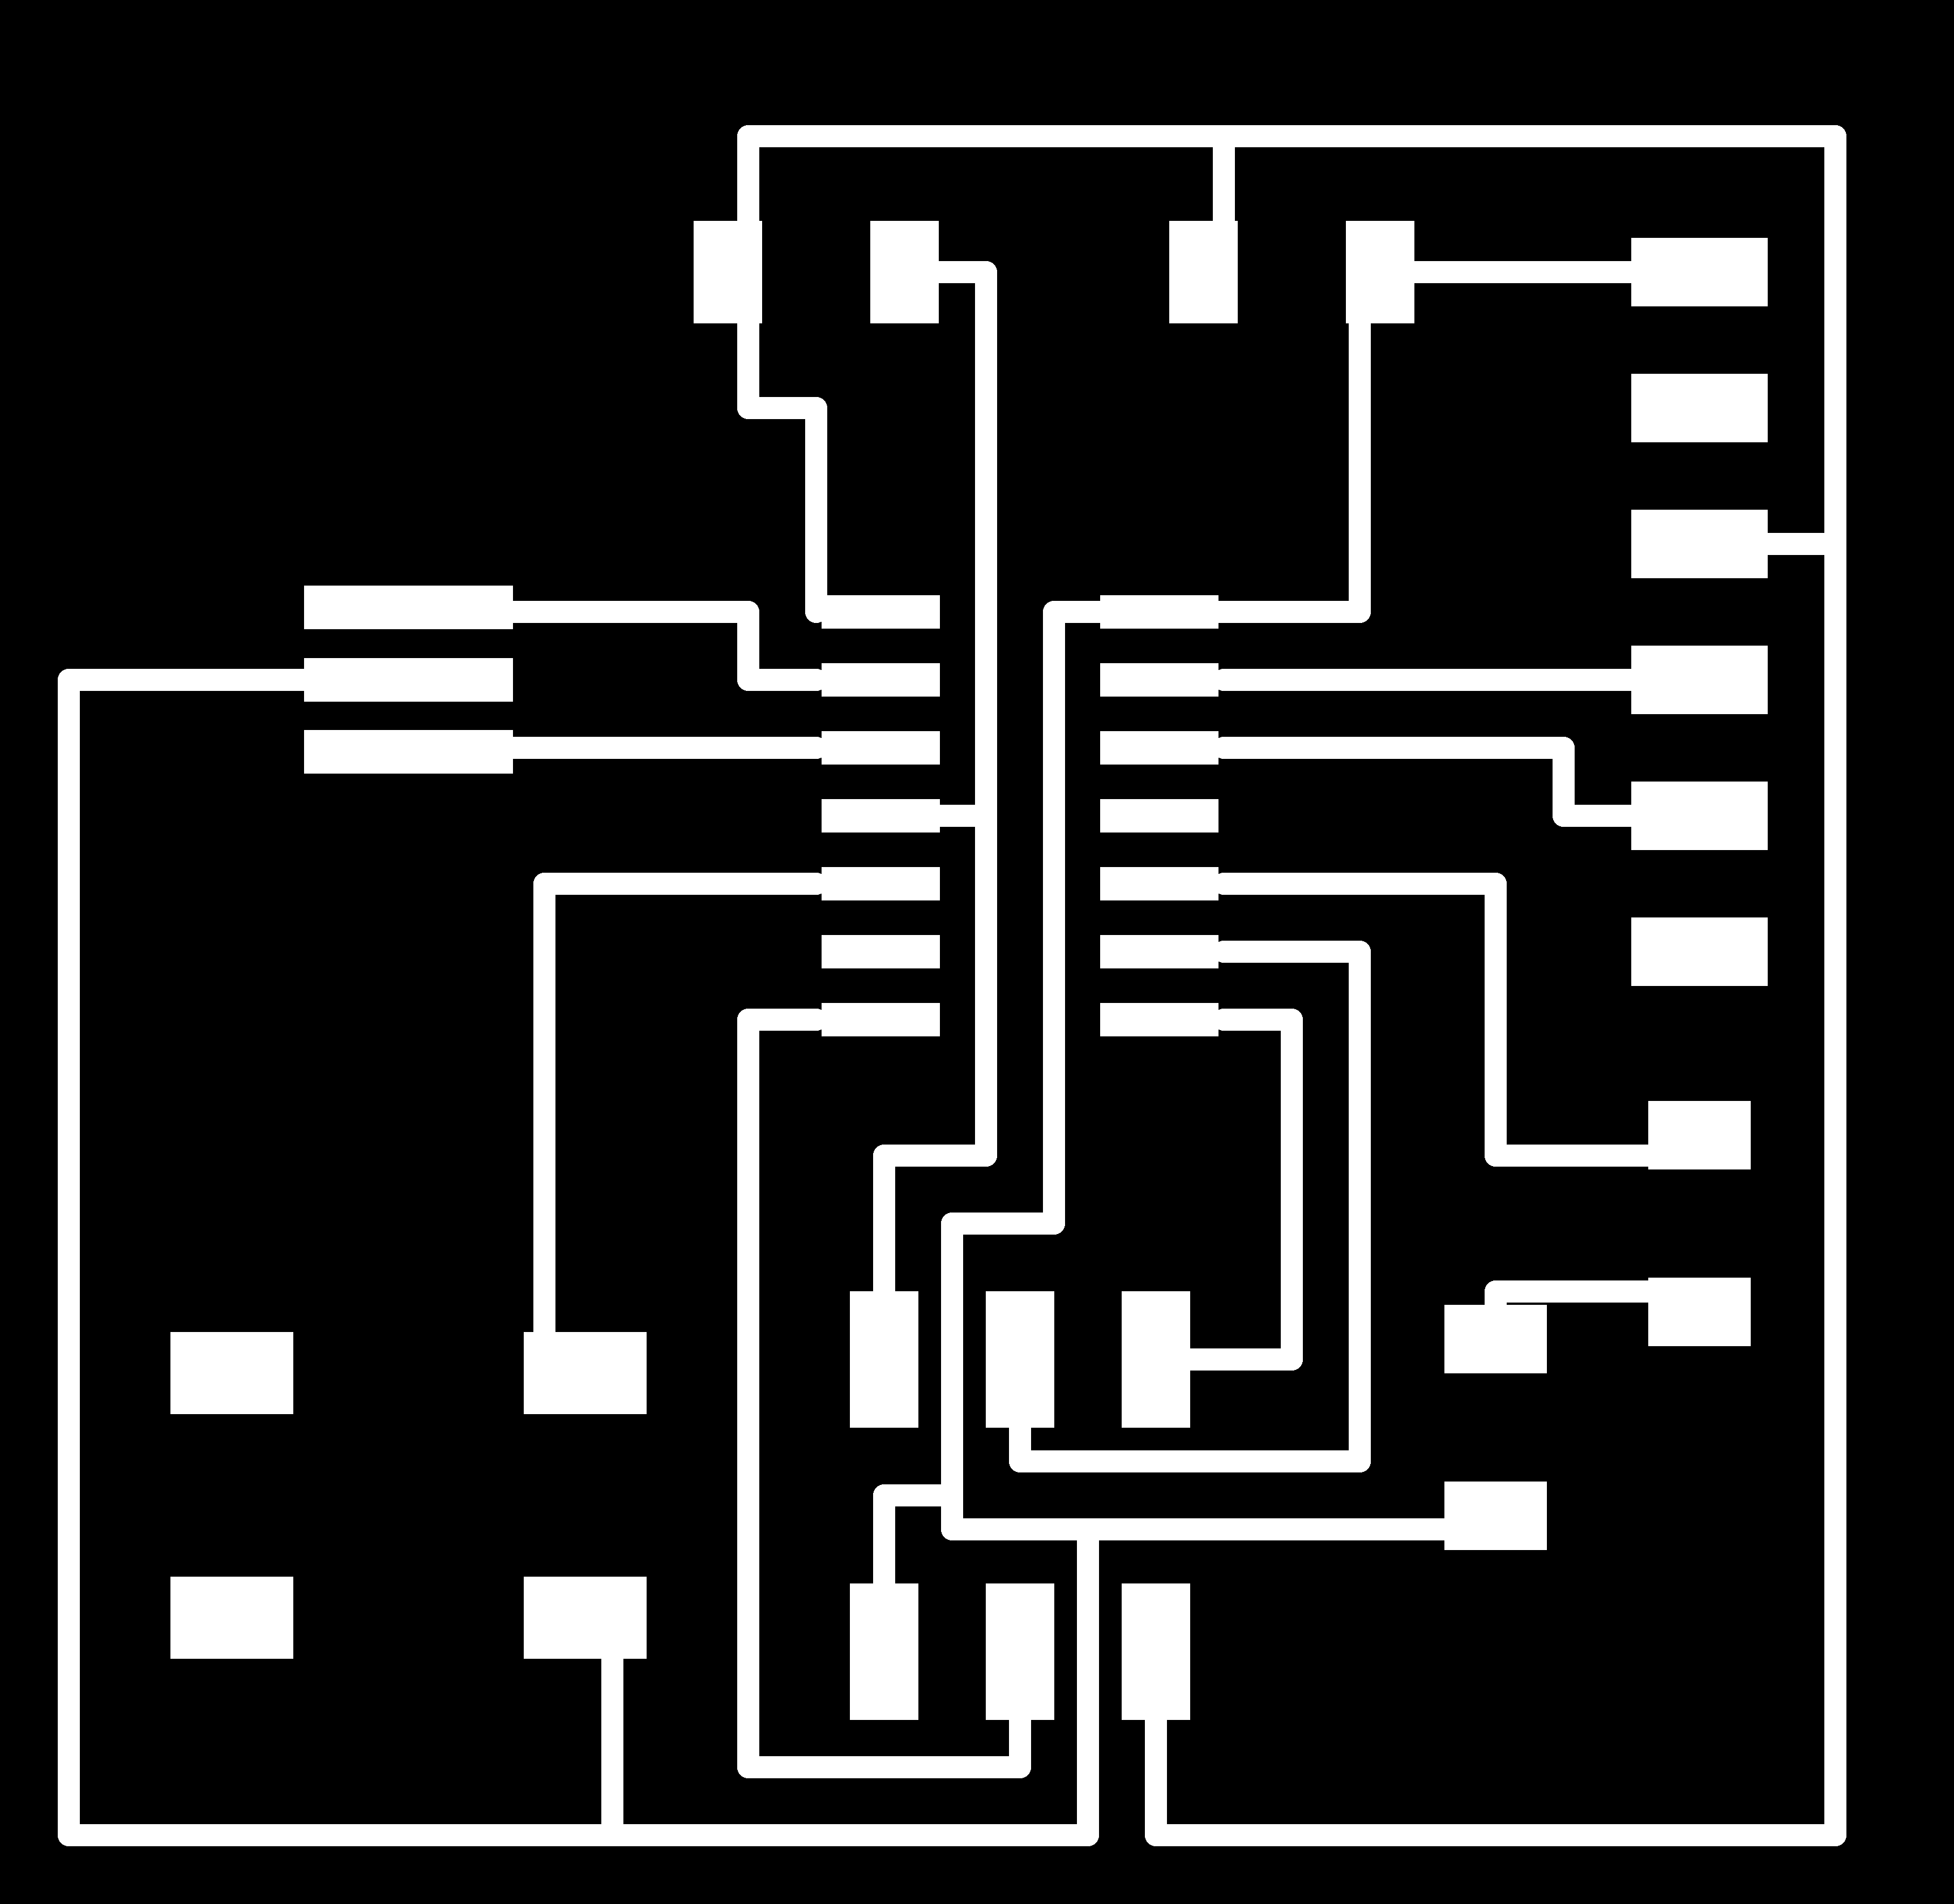
did schematic did board layout, manually routed it all... will do a more inventive board now that have some basics... Went from eagle to png. looked up tutorial on instructables.com.. tried it their way, less worked then noticed "export image" option under file... used it.. it worked.. opened photoshp and made the outline. Notice all the airwires were still there, so then i clicked "display" and "top only" and they disappeared.
.png)
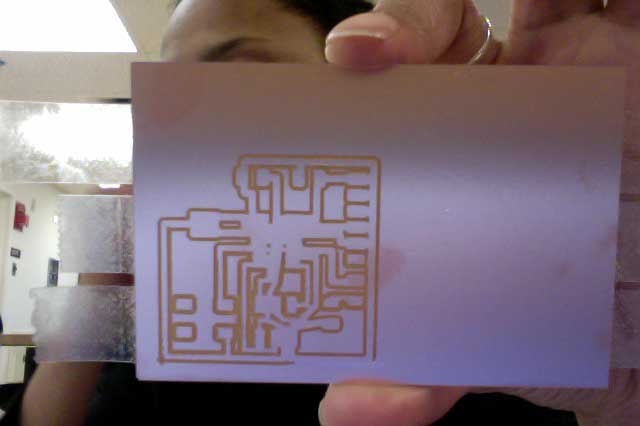
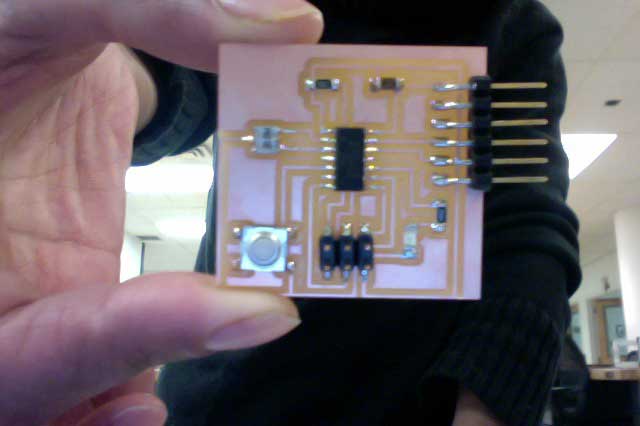
Exported the pin and then went to mill, and the resolution needed to be better. Went up to 2400 dpi, resized the grid so that all the traces would snap neatly where i wanted them. i then milled according to prior knowledge and stuffed the board successfully.
Click here for Eagle file.
Click here for .rml file.
BOM
Eagle
Fab Modules
Roland MDX-40 milling machine
Copper-faced PCB boards
1/64 in end mill
1/32 in end mill
ATtiny44
1 uf capacitor
button
FTDI connector
(1) 499 ohm resistor
(1) 10K ohm resistor
(1) LED
6-pin header
computer
multimeter
soldering station