
Class Assignment #5
3-D Print!

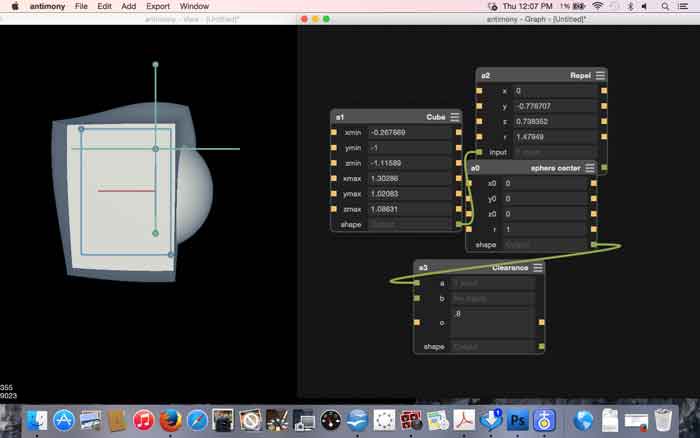
So... i wanted to make some sort of sculptural socket. I decided to use antimony... i created a shape that i liked using a cube and sphere and then transforming using the repel and clearance functions. i then took this shape into meshmixer found there were no holes, so i decimated it down to be simpler and then saved as a .stl file.
Click here for the antimony file.
Click here for the makerbot file.
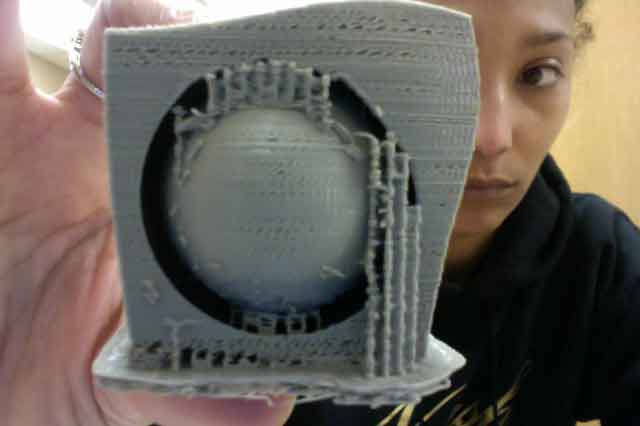
i was excited to find out that one of the 3-d printers uses plant-based filament, so i chose that one (Z-18) to print out... after importing i checked the path and then began my first 3-d print! It was exciting until i saw that my 5cm object would take 5 hours to print, and the first 3 times that we started i kept getting a "filament jam" error and had to unload, cut the tip, and reload.

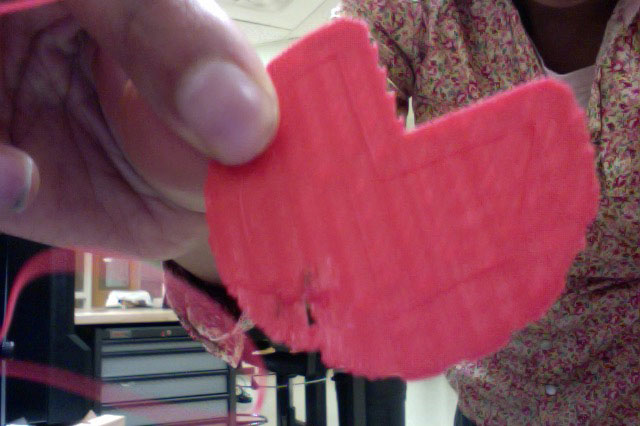
After printing, i noticed a foreign object was on the printer base, and caused some stuctural inconsistencies on the bottom of my piece, but all in all i am happy that it came out, and i will do another piece soon to further refine.
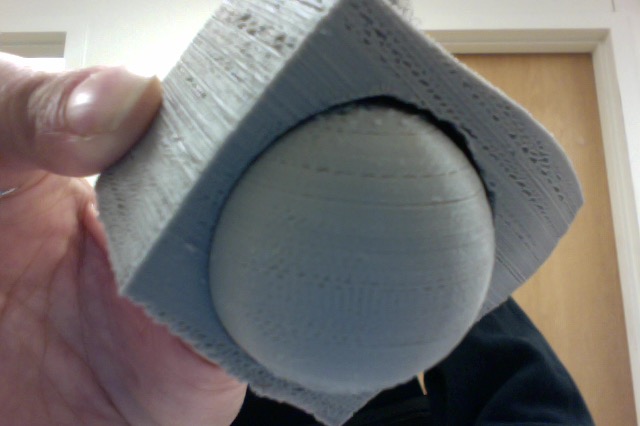
i used an exacto knife, tweezers, and snips to remove the supports and excess material. Now onto the scanning...
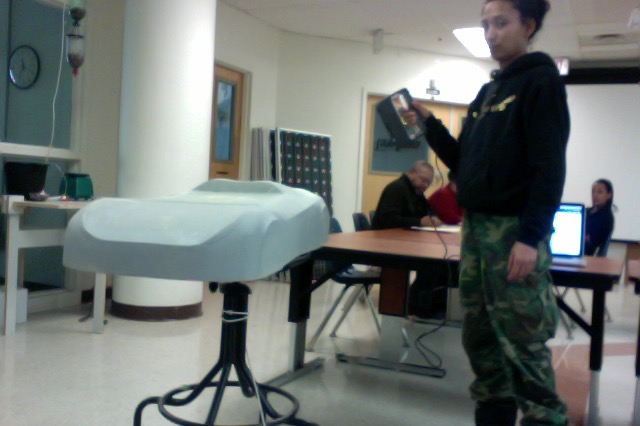
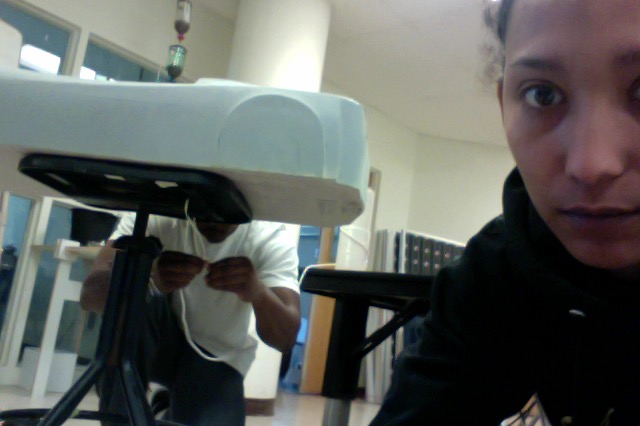
Right now, at Incite Focus, there is a group that is working on building a car. i decided to use their model as my object to scan. Using the Sense hand-held scanner, i began to walk around the model on the table, but it kept losing tracking, so then we decided to put it on a stool, tie a string, and keep the scanner still, while turning the object. This worked better, but it also lost tracking a couple times and would give partialscans. i decided to use 4 successive scans and combine in meshlab.
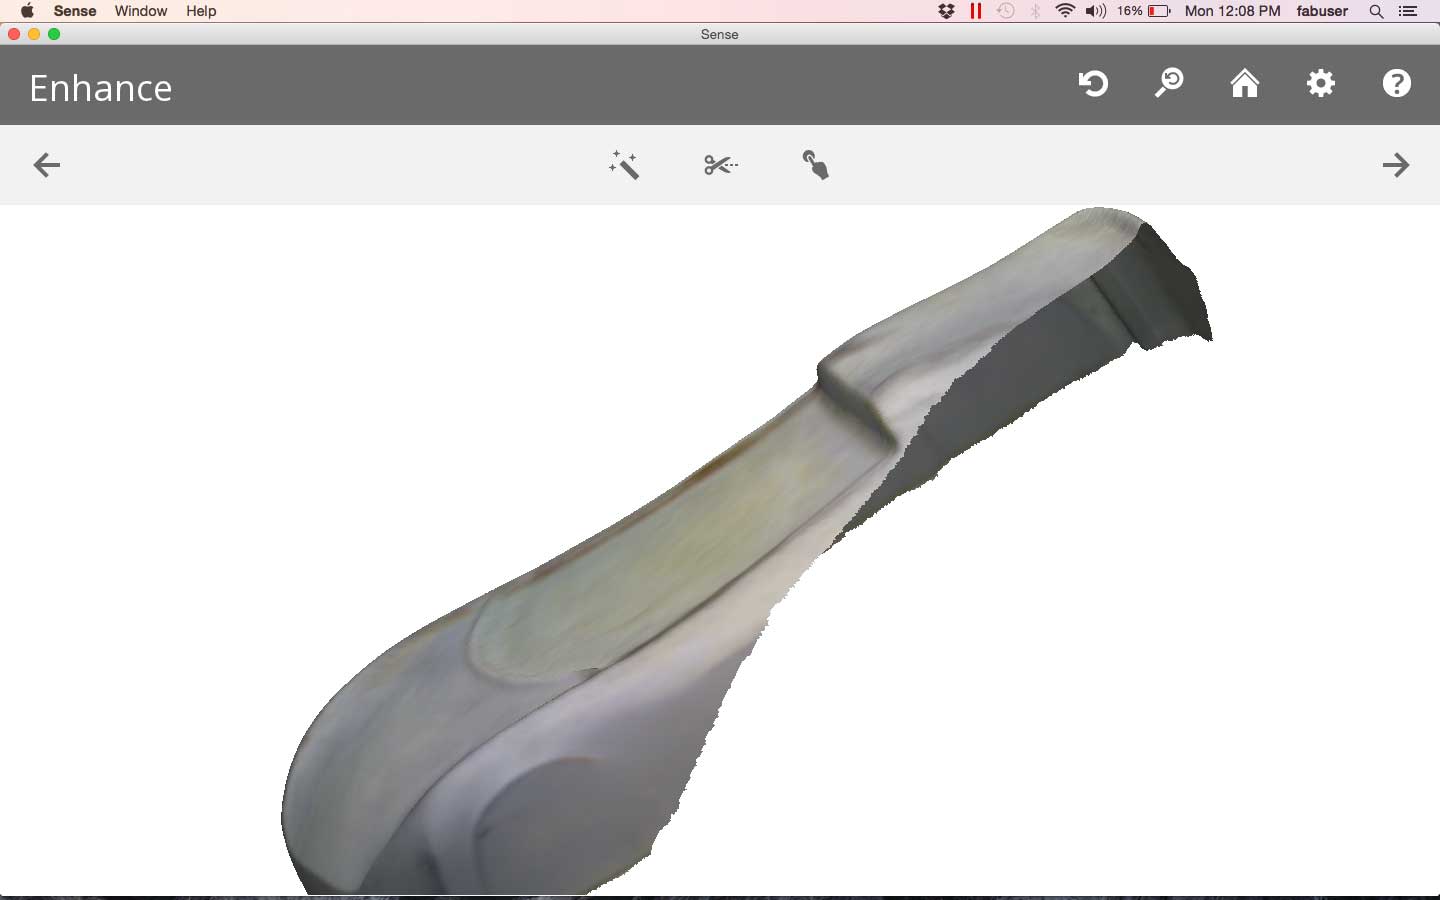
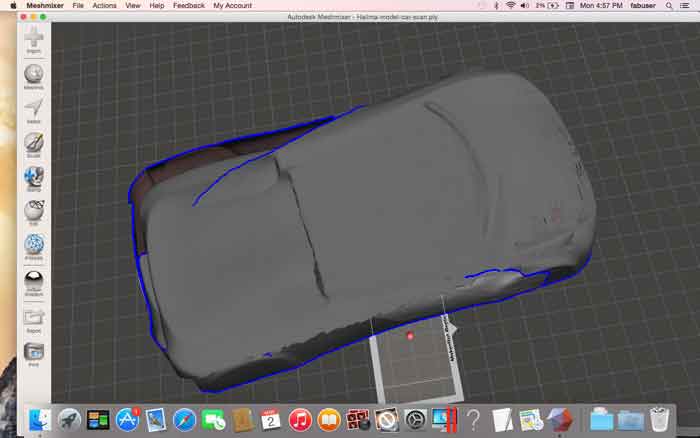
The combining and aligning in meshlab worked less easily and well than i thought, perhaps partially because i am new to the program. so i decided to rescan the model car with a different option "large object" and paid special attention to maintaining a constant distance (15in) from the surface of the object. This worked out alot better...
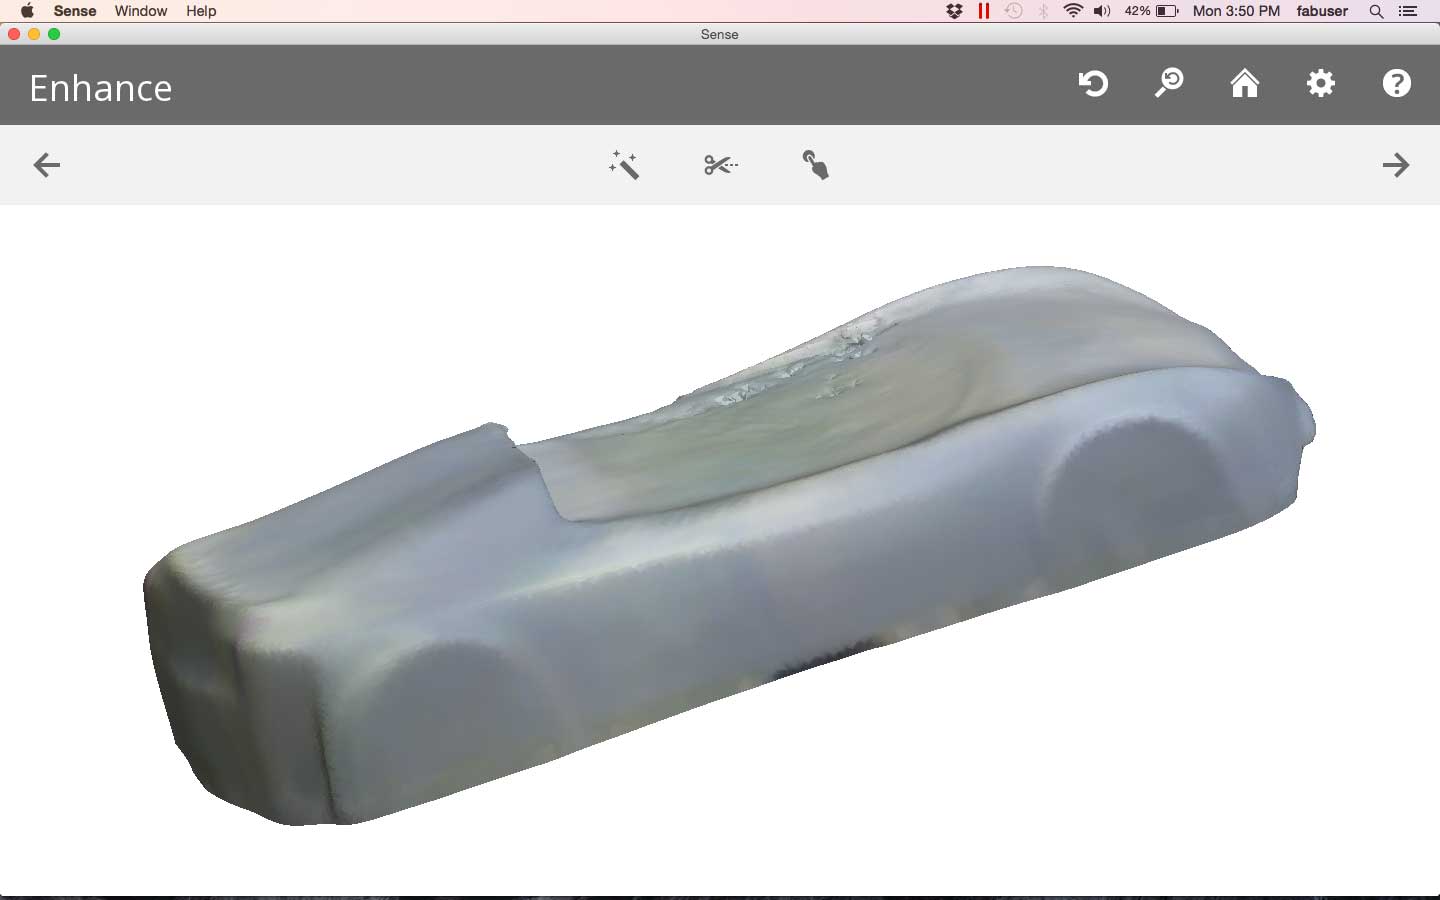
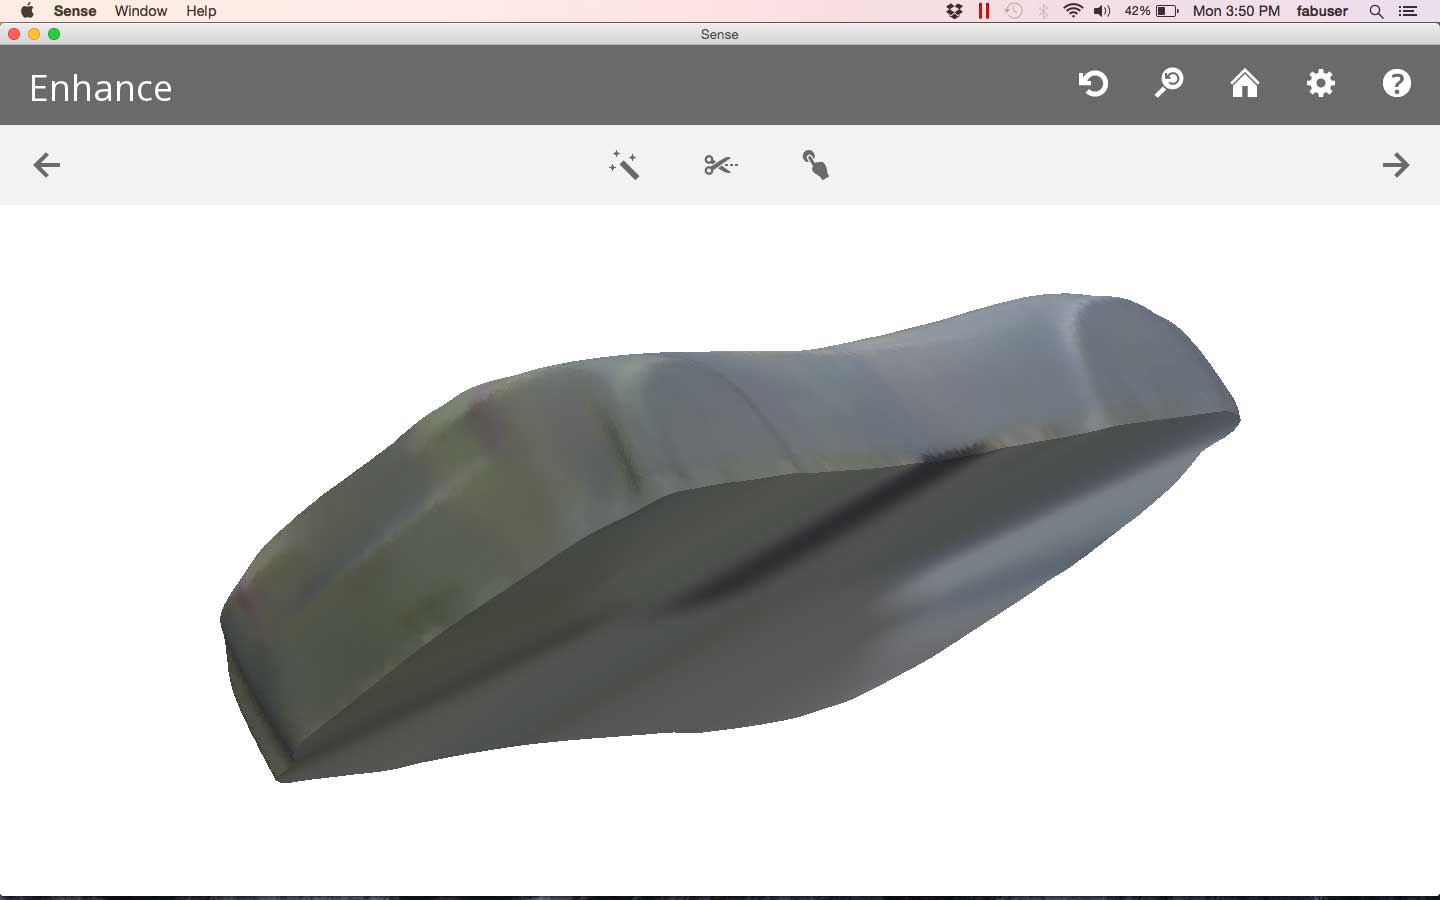
click here for the scan file.
**REVISIT**
So, i needed to do another 3-D print, since the my socket was kind of lumpy. Coincidentally a neighbor who knows i am in Fab Academy, learning how to make *any* thing, asked if i would make a piece for a table.
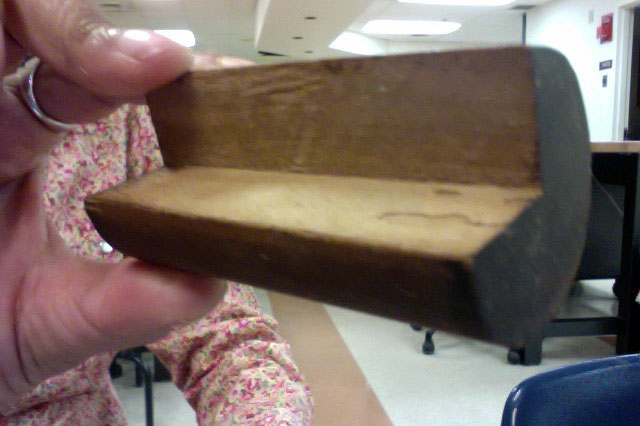
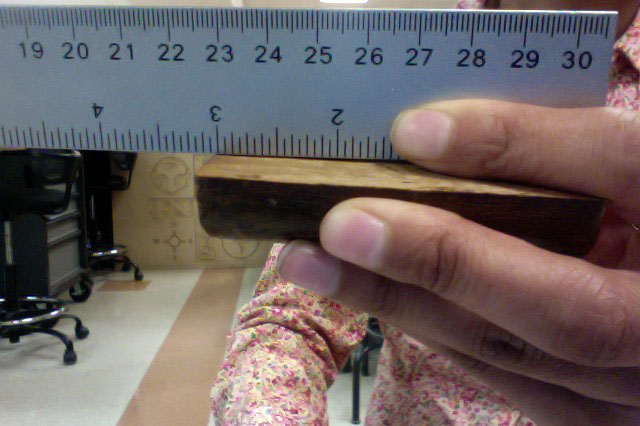
She gave me the piece, and i measured it.
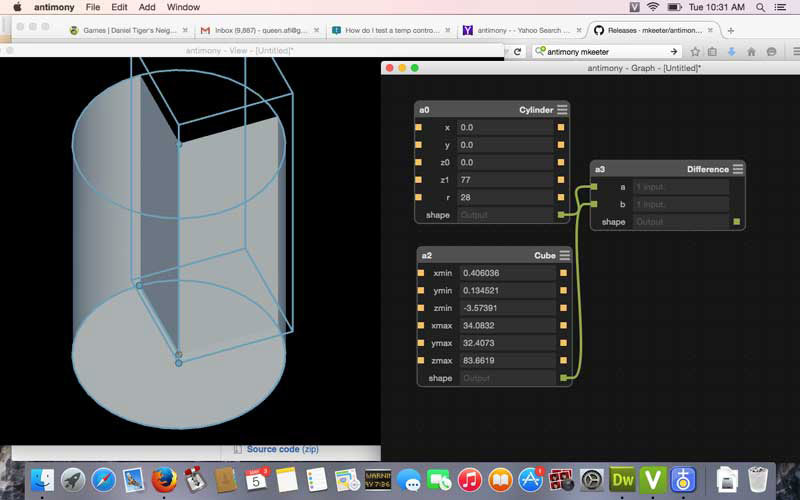
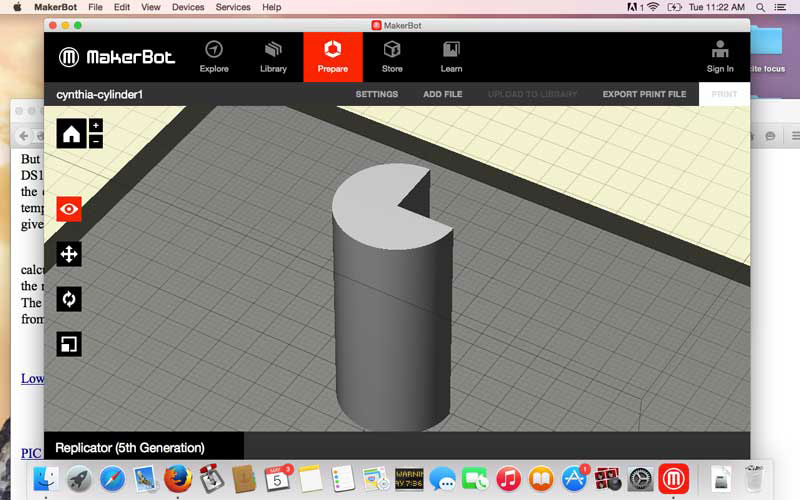
Then i used antimony to recreate it, exported as an .stl, and imported into makerbot software.
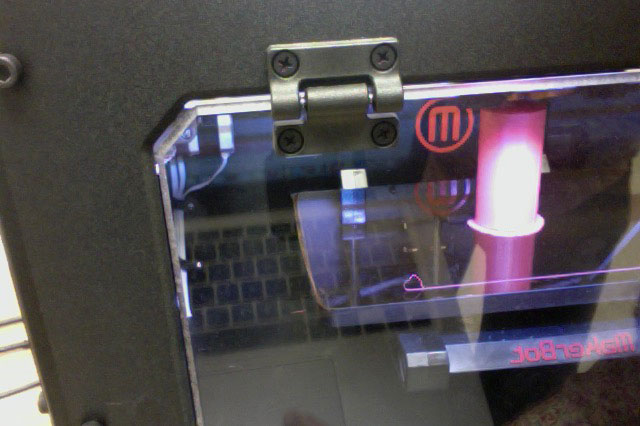
Using the Makerbot Replicator, i noticed the first print was a little gnarly coming out, so i immediately stopped it, cleaned the plate, re-loaded the filament, did the preheat routine, and ran the job again.
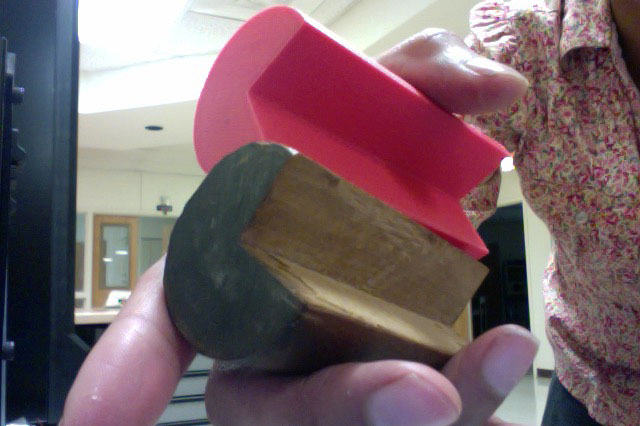
Success! a smooth print that exactly matches the wooden piece given to me by my neighbor.
click here for antimony file.
click here for makerbot file.
BOM
Antimony
Makerbot 3-D printer
filament
Sense ahnd held scanner + Sense software